Clarity’s Blog Tutorial: How To Create A Jolly Holly Ribbon
Hello hello! Grace here.
Happy Sunday. I hope this finds you well and enjoying it, whatever you might be up to and wherever in the world you are.
Today we are joined by the wonderful Glynis Whitehead. She has put together a fabulous step-by-step project for us. It’s only August (only?!) but it’s absolutely time to start thinking about those fabulous Christmas cards you’re going to make this year.
This is perhaps a Christmas card for a very special person in your life. I’ll hand you over to the lovely lady herself…

Holly Jolly Christmas
Ingredients
Linda’s Joy to the World Groovi Plate (GRO-CH-41820-03)
Fresh Cut Nested Squares Picot Dies (ACC-DI-30666-66)
Red parchment from the Mixed Pack of Christmas Parchment Paper A4 (GRO-AC-40382-A4)
A Piece of Plain Parchment (GRO-AC-40024-XX)
Perga Colours Exclusive Pens (PER-CO-70060-XX) (Numbers 7 & 16)
Pergamano 2-Needle Perforating Tool (PER-TO-70037-XX) (Fine) or (PER-TO-70279-XX) (Bold)
Red-liner Tape (ACC-AD-30375-XX)
7 x 7 Clarity Card Blanks (ACC-CA-30619-77)
Two Strips of Green Ribbon (ACC-MS-31107-XX)
2 Red Bows
Method
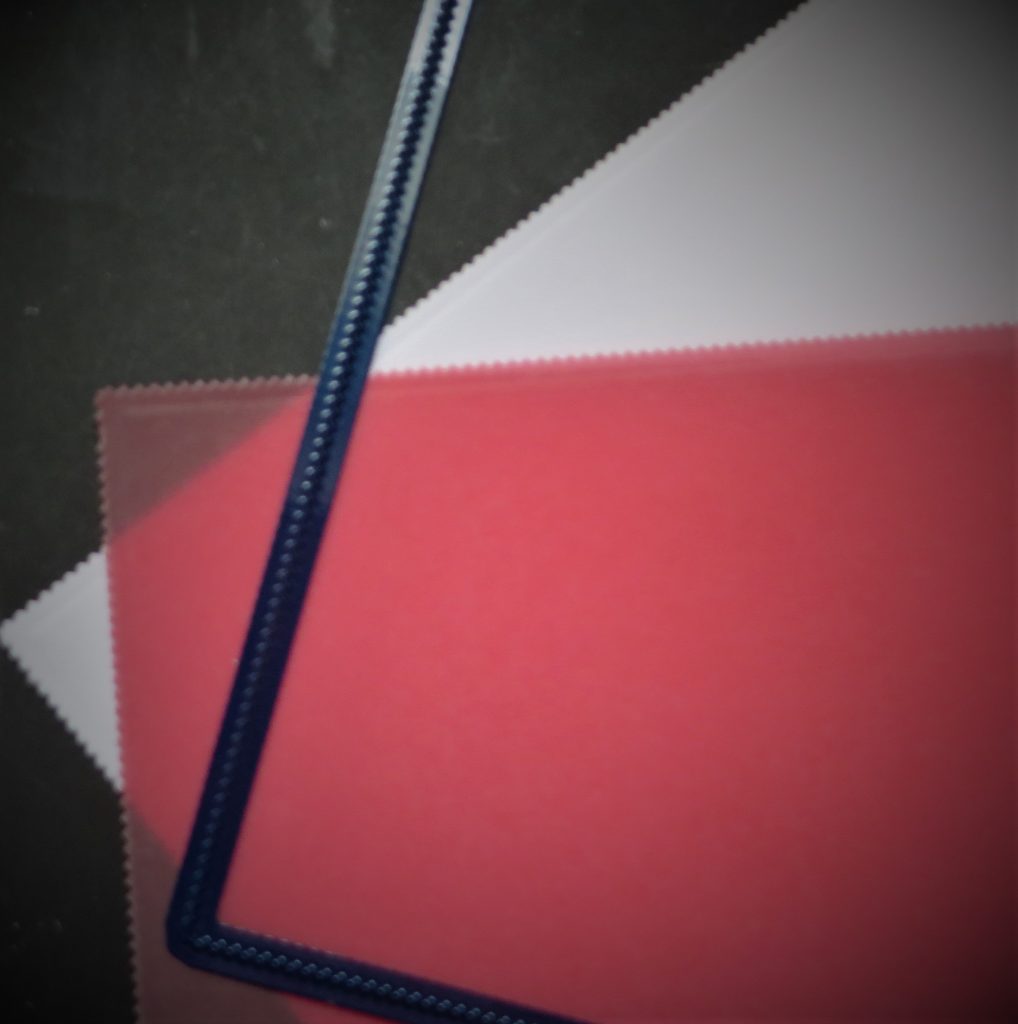
Step 1. Die cut the second largest square from red parchment, making sure that the duller side is facing upwards – this will ensure that the square is cut on the correct side of the parchment.
TOP TIP: Put a piece of copy paper underneath the parchment and cut both at the same time. Fresh Cut dies will go through any die-cutting machine.
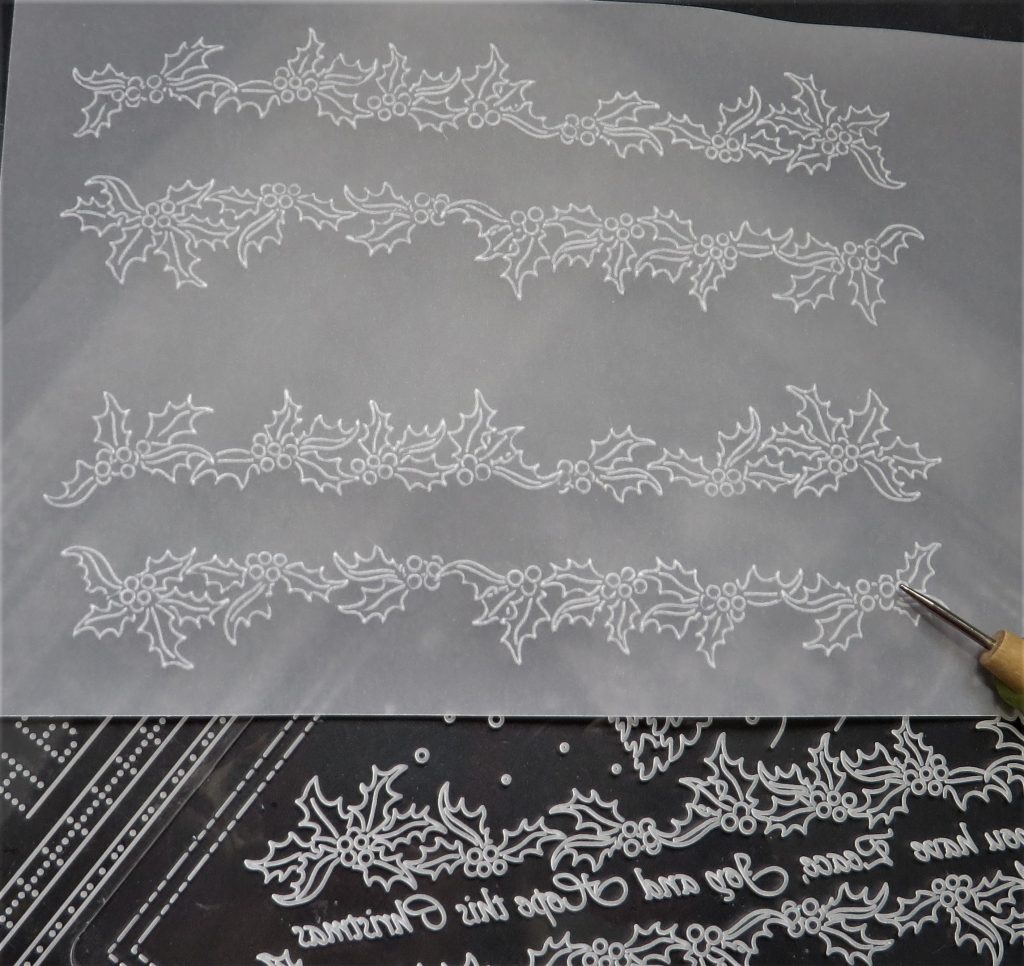
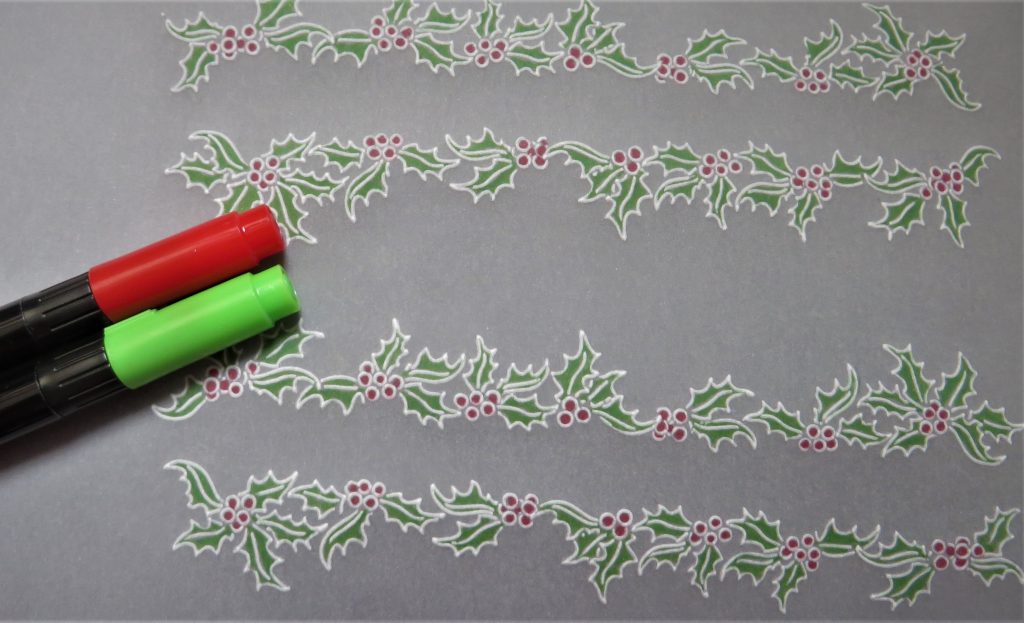
Step 2. Use the plain parchment to trace out two strips of the holly.
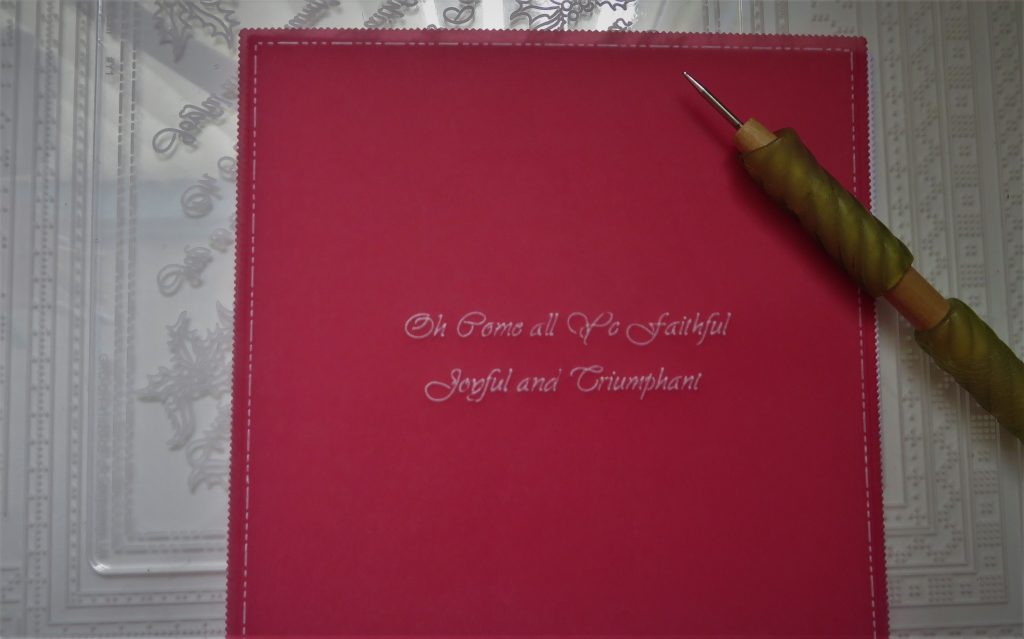
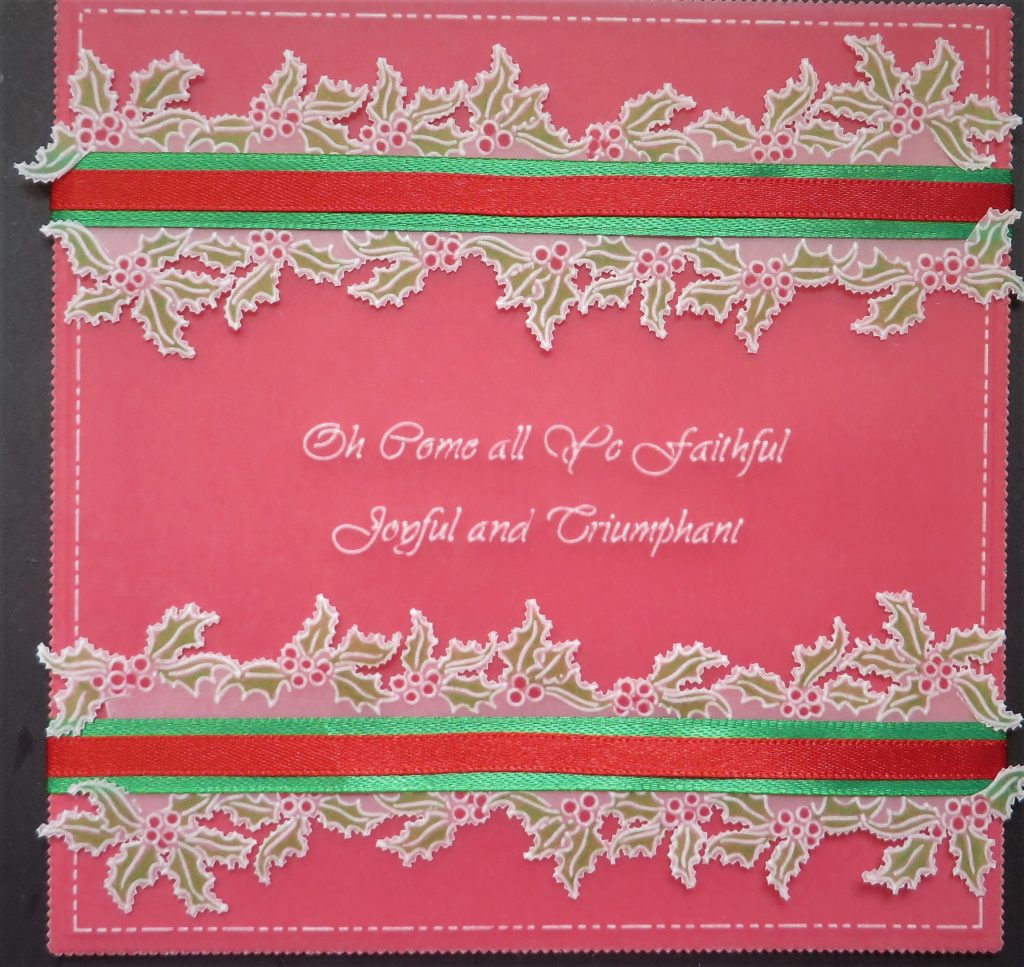
Step 3. Working on the back, line the red parchment up so that you can write the verse “Oh Come All Ye Faithful” into the centre.
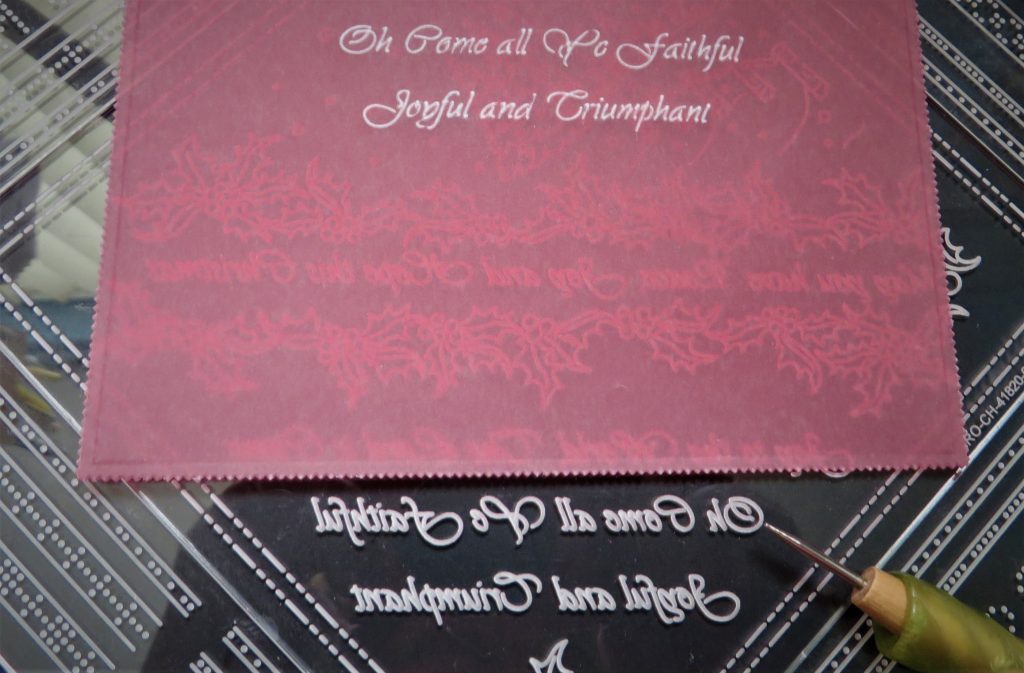
Step 4. Still working on the back of the red, centralise the piece onto the plate and emboss the border of dashes around the edges.
Step 5. Using the green and red pens, colour the holly and berries on the back of the parchment.
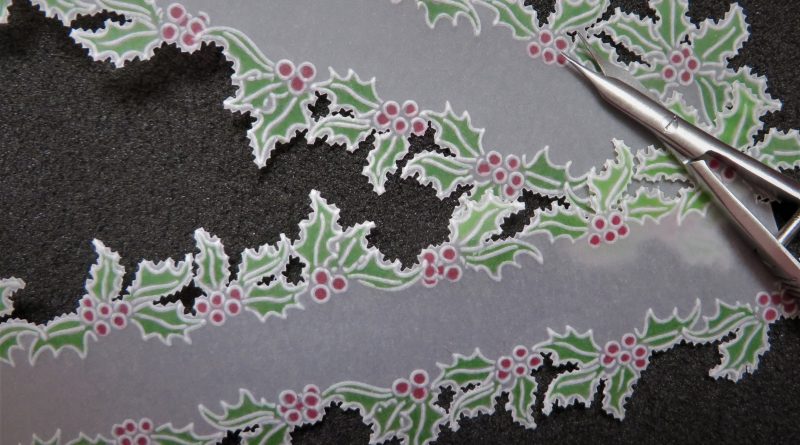
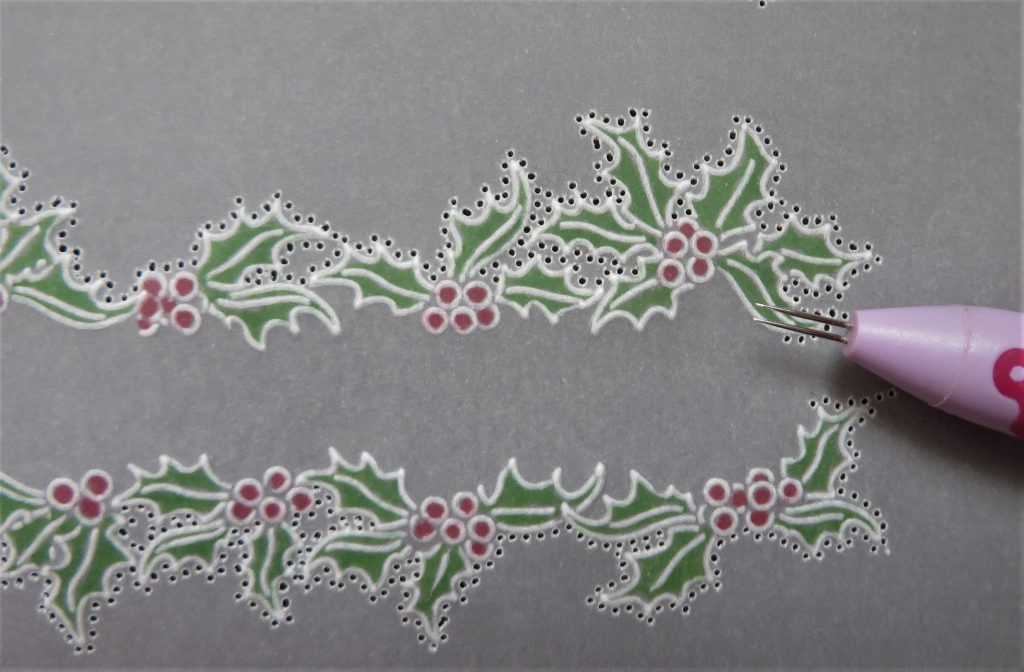
Step 6. Go around the outsides of the holly borders using the 2-needle perforation tool – perforate deeply.
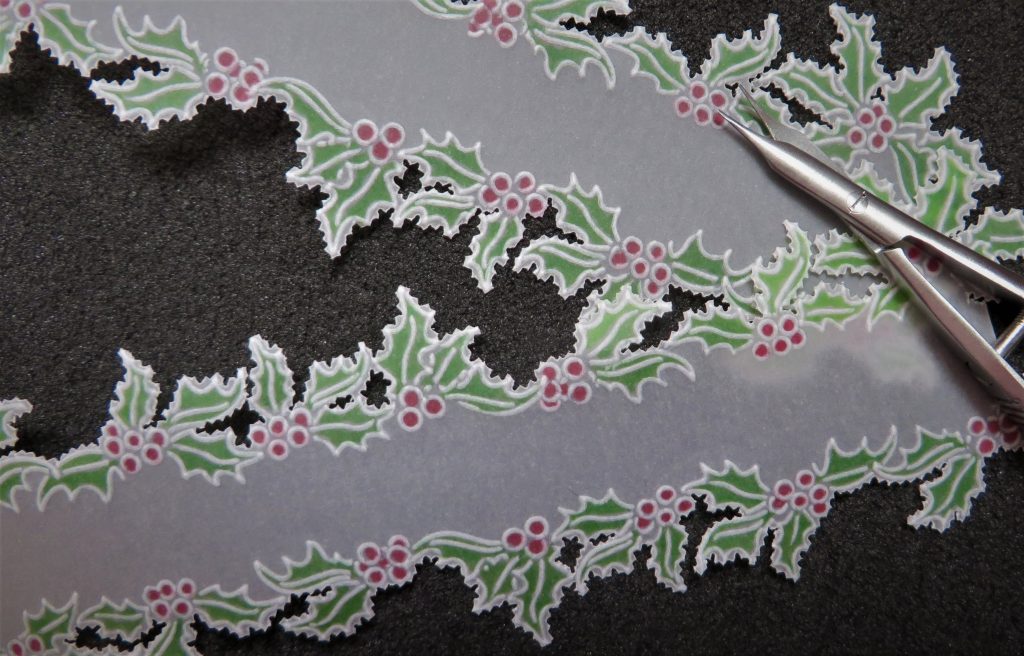
Step 7. Snip out the holly borders. Take care to keep turning the work so that your hand is in a comfortable position, rather than twisting and turning to get around the pieces.
Step 8. Add a strip of red double-sided tape to the backs of the strips of ribbon and red bows. Stick them along the centres of the holly strips.
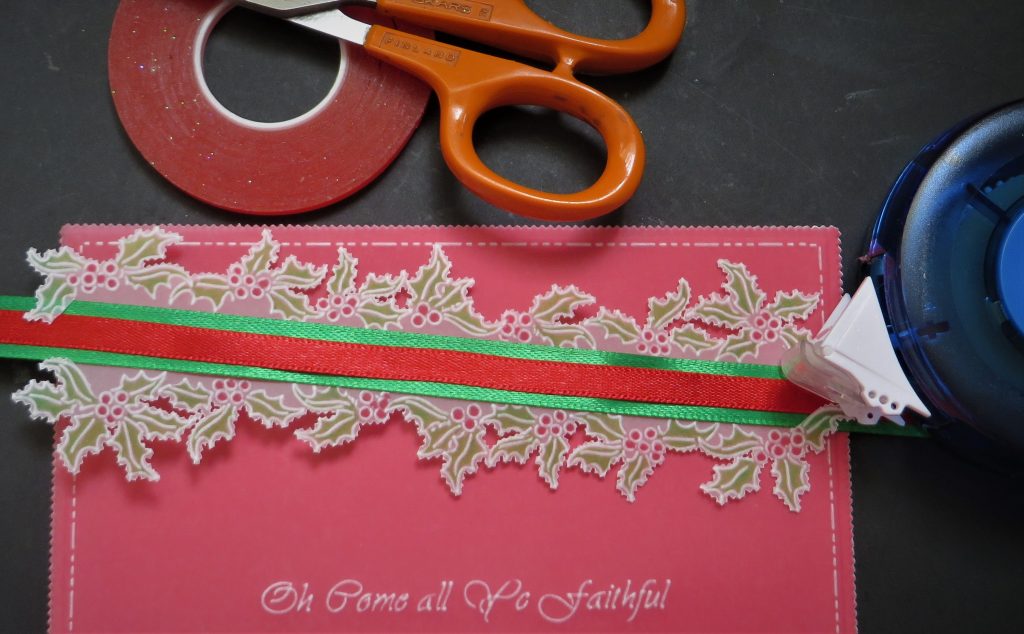
Step 9. Back the red parchment with the white copy paper square. You will see that the red colour will really pop when you do this. You can add some little slivers of tape to hold it in place
TOP TIP: Do this where it will be hidden by the border. Stick the borders – top and bottom ones, wrapping the ribbons around to the back and securing the ends in place with tape.
Step 10. Attach the bows to the centre of the ribbon strips. I used a tiny bit of red double-sided tape and a couple of tiny dots of glue for this job. Then attach the piece to a 7 x 7 card blank. And you’re all set! Joyful and Triumphant.
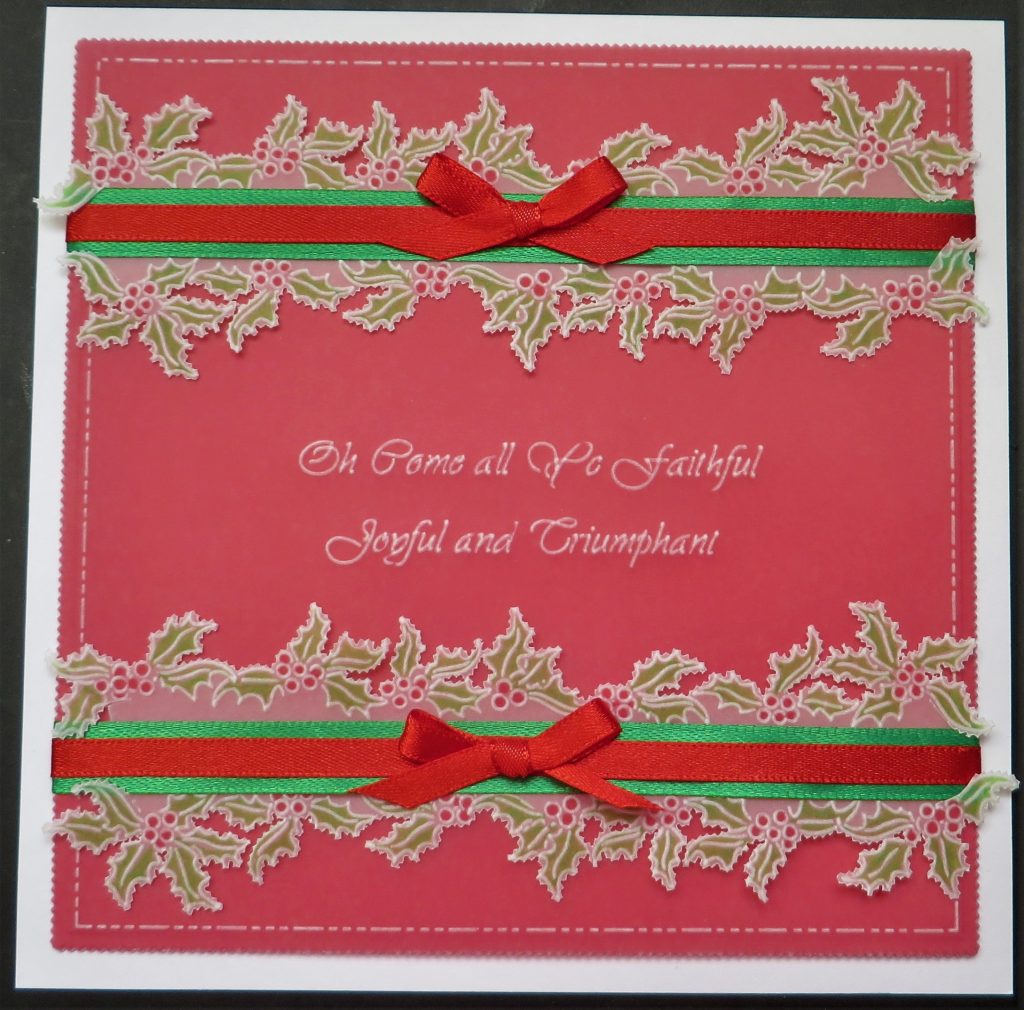
What a stunning card. Thank you so much, Glynis, for sharing your tips and tricks with us. You never cease to amaze.
Everything that Glynis has used can be found over on the Clarity website HERE
I’d originally thought that this was too difficult to make many of, and perhaps to keep it for that special person in your life… but after seeing Glynis break it down into manageable steps, it’s not so hard to imagine these being your Christmas cards in bulk. It’s incredibly achievable, once you know how to do it, and break it down into achievable steps.
Bit like the SHAC Shack really. So many of us have looked at the Shac artwork and thought ‘not a chance!’ and then fully surprised ourselves with the results.
As many of you know, Mum is postponing the SHAC until Monday September 5th. She’ll be back, with bells on! She just needs to focus in on and prioritise some family things. I’m sure you understand.
Don’t forget, Mum is on Create and Craft today for her usual first Sunday of Month Clarity Classics from 3pm until 5pm.
What’s coming up at Clarity Towers this week?:
Tuesday, August 9th:
Groovi Tuesday with Paul – Live at 10am on Facebook & YouTube
Wednesday, August 10th:
Groovi One Day Special with Paul on Create and Craft – 6pm & 9pm
Thursday, August 11th:
Groovi One Day Special with Paul on Create and Craft – 10am & 2pm
Travel gently, friends.
Lotsa love, Grace & Glynis xo
Clarity – The Home of Art, Craft, and Well-Being.
Thank you for sharing such a lovely project, much appreciated xx
Another great project from Glynis, I really need to find my No 16 green pen !! its gone AWOL. I have given instructions to OH to keep his eyes open – his immediate reply was ”I haven’t used it”
My plates arrived yesterday so no excuses but I need to get a few birthday & anniversary cards done first. I am ready for the PJ Party though on Friday at 7pm on FB live. Grace you missed that off the list, hopefully it will still be able to go ahead as last night there was good news about your Grandad over on your mom’s blog. I wonder what Paul has lined up for us on the ODS ??
Have a good week everyone xx
What a fantastic project Glynis, thank you for sharing and inspiring.
These Groovi plates are great. Mine arrived yesterday and are already being used.
Thank you both for sharing this demo.
🍒
Hi Grace & Glynis
Thank you – another lovely project -will be having a go at this
Have a good week Xx
Beautiful, my set of Linda’s plates are on their way, looking forward to having a play. Great step by step. xx
Hi G & G
Thanks for a beautiful project, I’d seen this one and wondered about it and now I know how ! have a good week both of you x x
Love this project!!! So many possibilities to adapt for other plates. Thank you , Glynis!! And thanks to the blog for keeping us inspired!