Clarity’s Blog Tutorial: How To Use the Grid Starter Kit
Hello hello! Grace here.
Happy Sunday! I hope you’re having a peaceful & creative weekend.
We’re joined by the incredibly talented Josie Davidson. I’ll hand you right over to the lovely lady herself…

This is a step-by-step using the plates in the grid starter kit but it also shows how to centre a duet frame inside one of the frames on the grid plate mate A5 plate.
INGREDIENTS
Deluxe Groovi Grid Starter Kit (GRO-SK-41818-XX)
Square Picot Fresh Cut Die (ACC-DI-30666-66)
A4 Plain Parchment (GRO-AC-40024-XX)
7×7 Card Blank (ACC-CA-30619-77)
Pergamano Gold Brads (PER-AC-70274-XX)
3mm Red Liner Tape (ACC-AD-30375-XX)
3mm Ribbon
Backing Card of your choice
METHOD
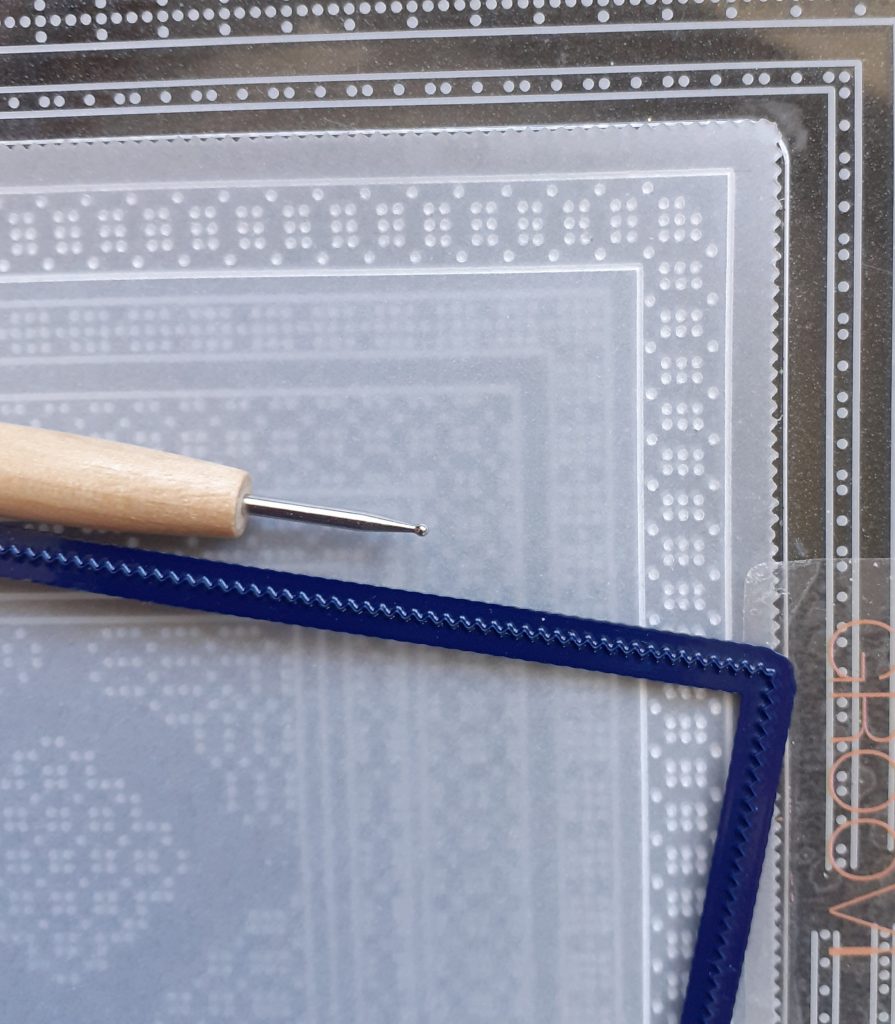
Step 1. Cut a piece of plain parchment using the 2nd die from the outer edge of the square picot dies. Emboss the outer border design from the A5 plate mate plate using the No 1 and 2 Groovi tool. Place this to one side for the moment.
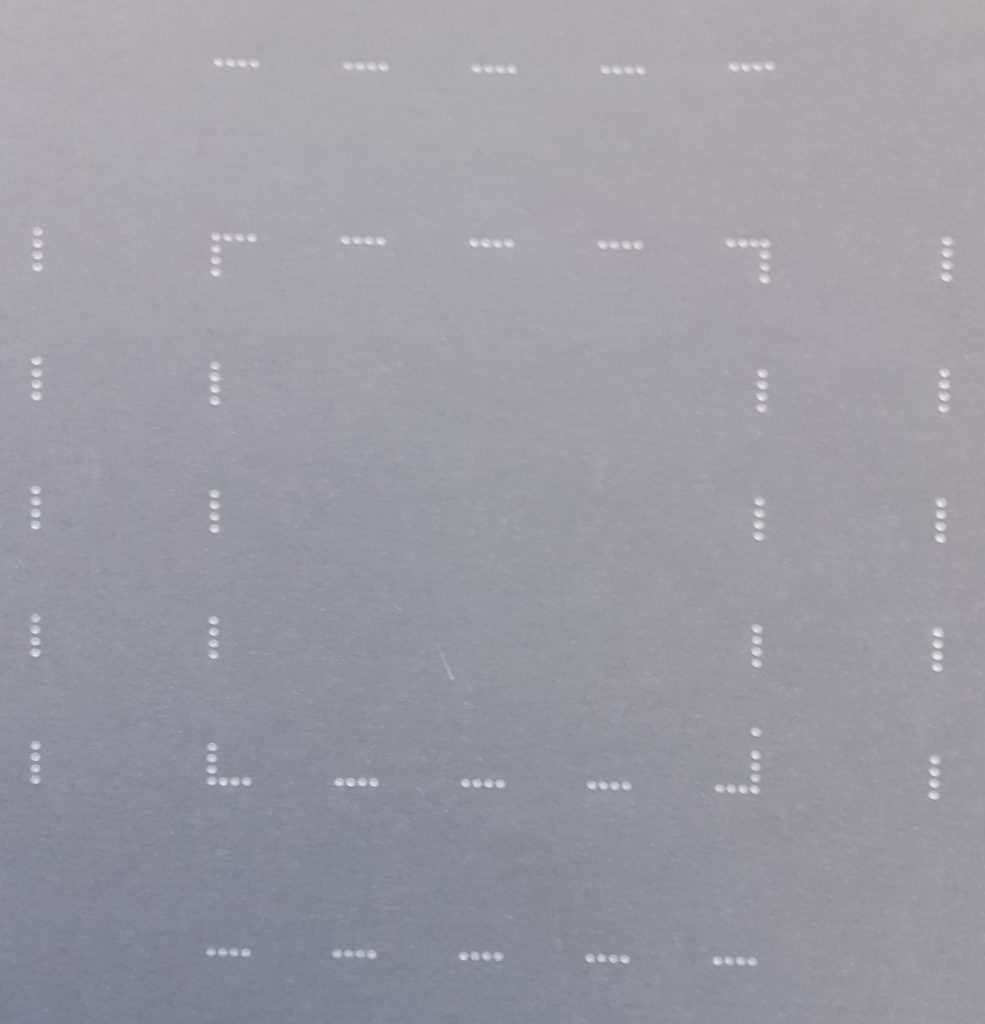
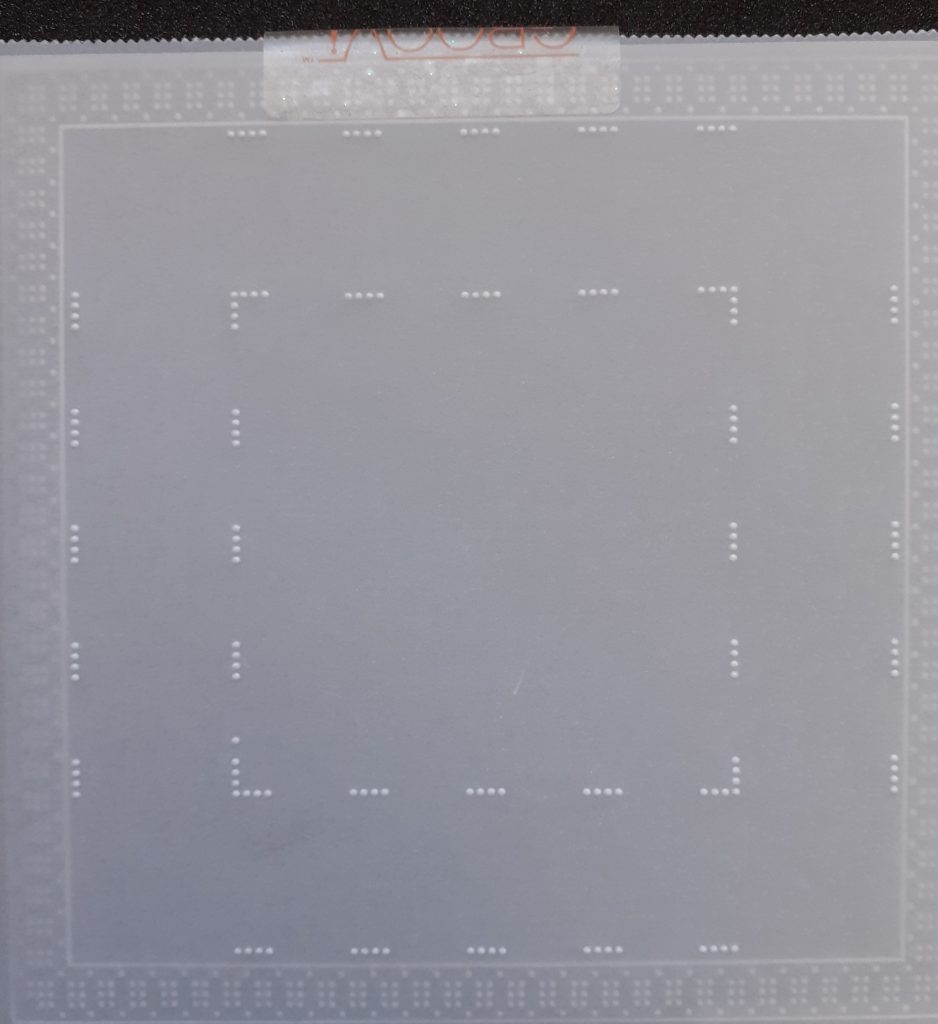
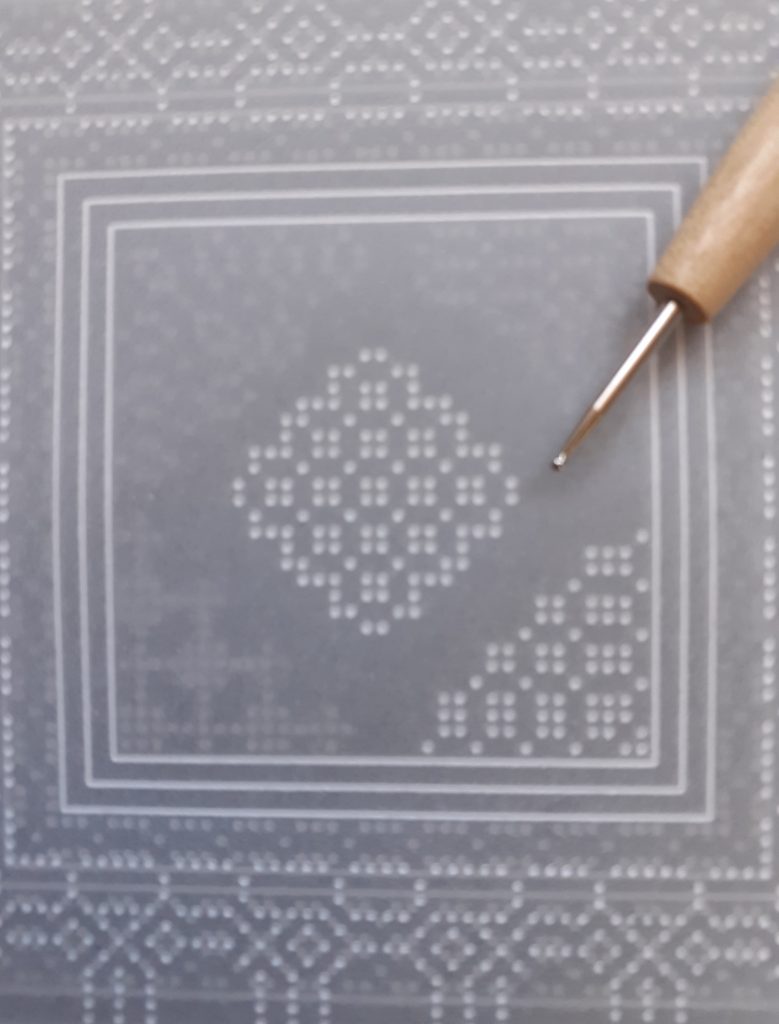
Step 2. You now need to make a template for the centre of the square on a spare piece of parchment using the oval duet plate. Your square needs to have 5 ovals on each side. Emboss registration marks to create a square, no need to emboss all of the design as this is going to be used for a guide only.
Your template should now look like this.
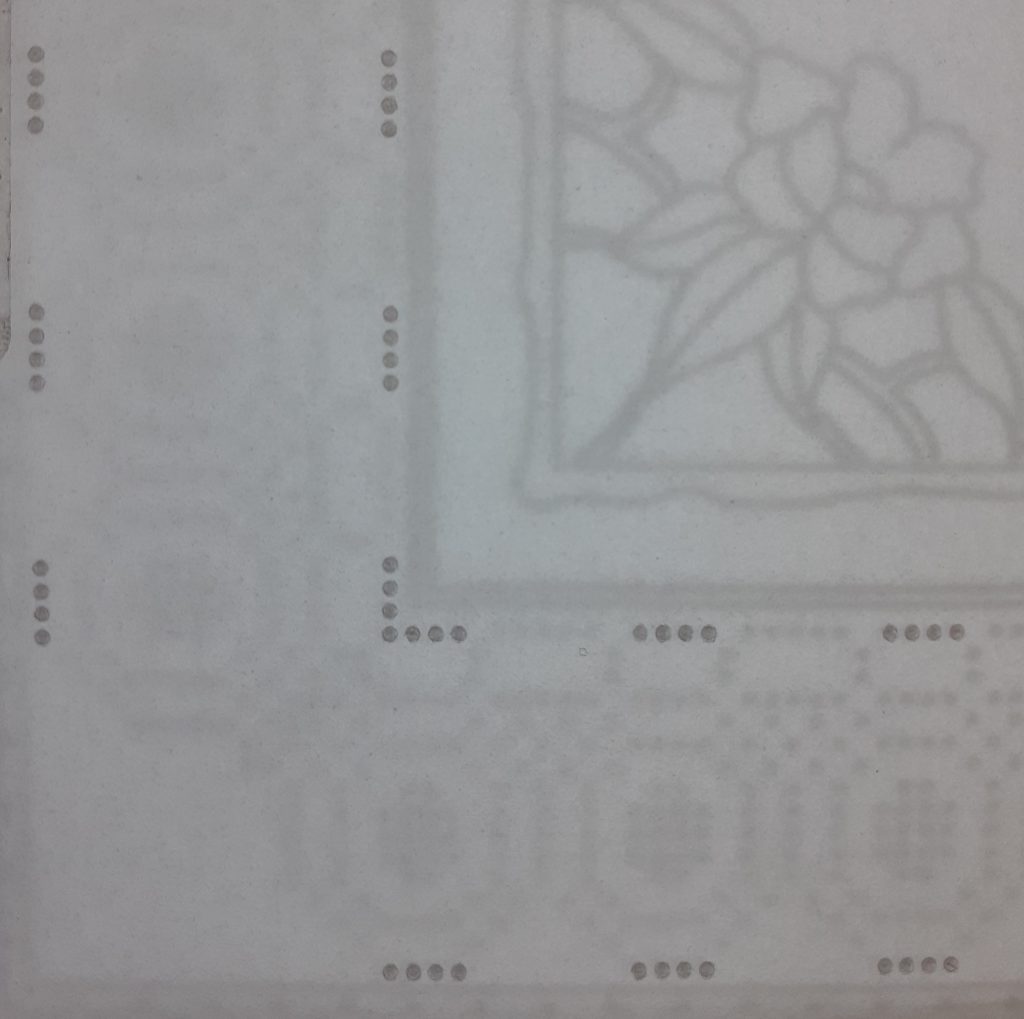
Step 3. Place the template onto the back of your picot cut square and centralise the dots inside your embossed pattern. Attach the two pieces of parchment together with Groovi tabs.
Step 4. Place your work onto the oval duet plate and line up the dots of your template with corresponding dots on the plate. Attach your picot square to the Groovi plate with Groovi tabs.
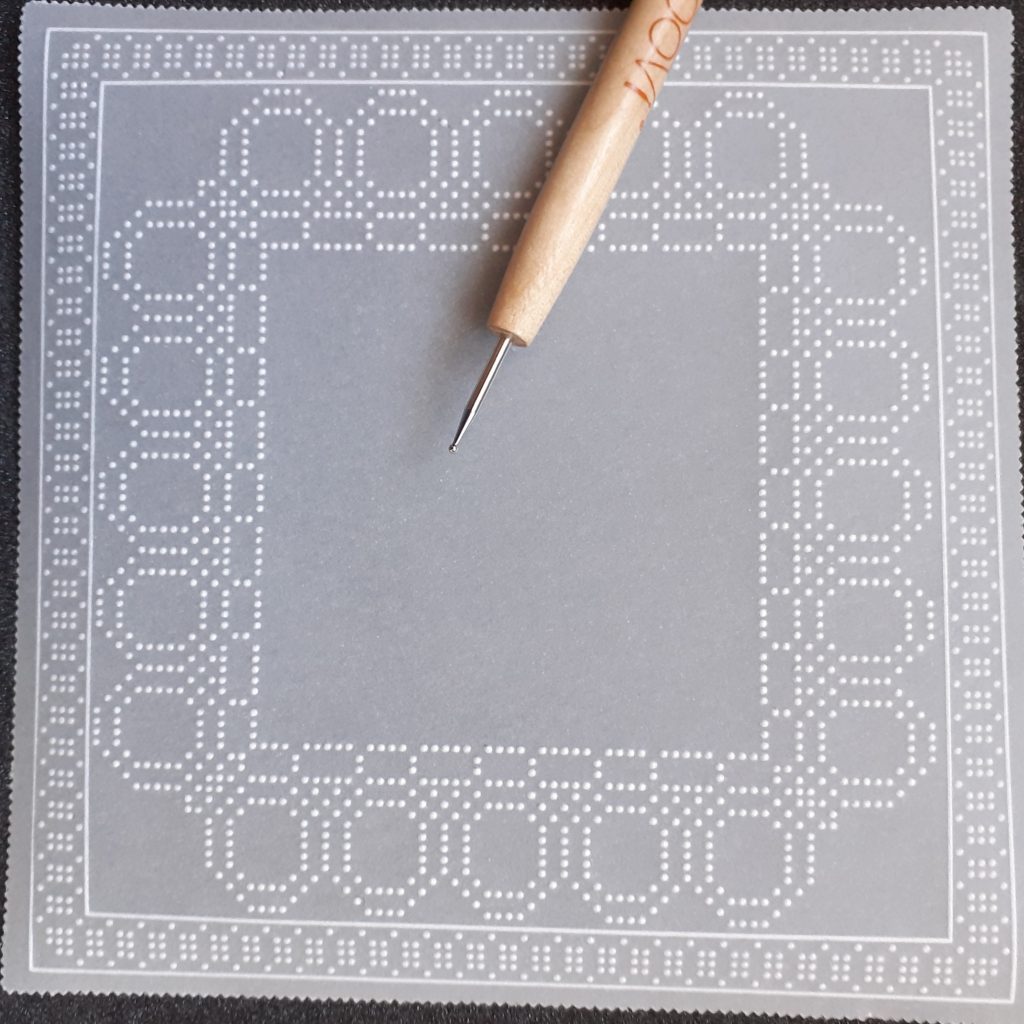
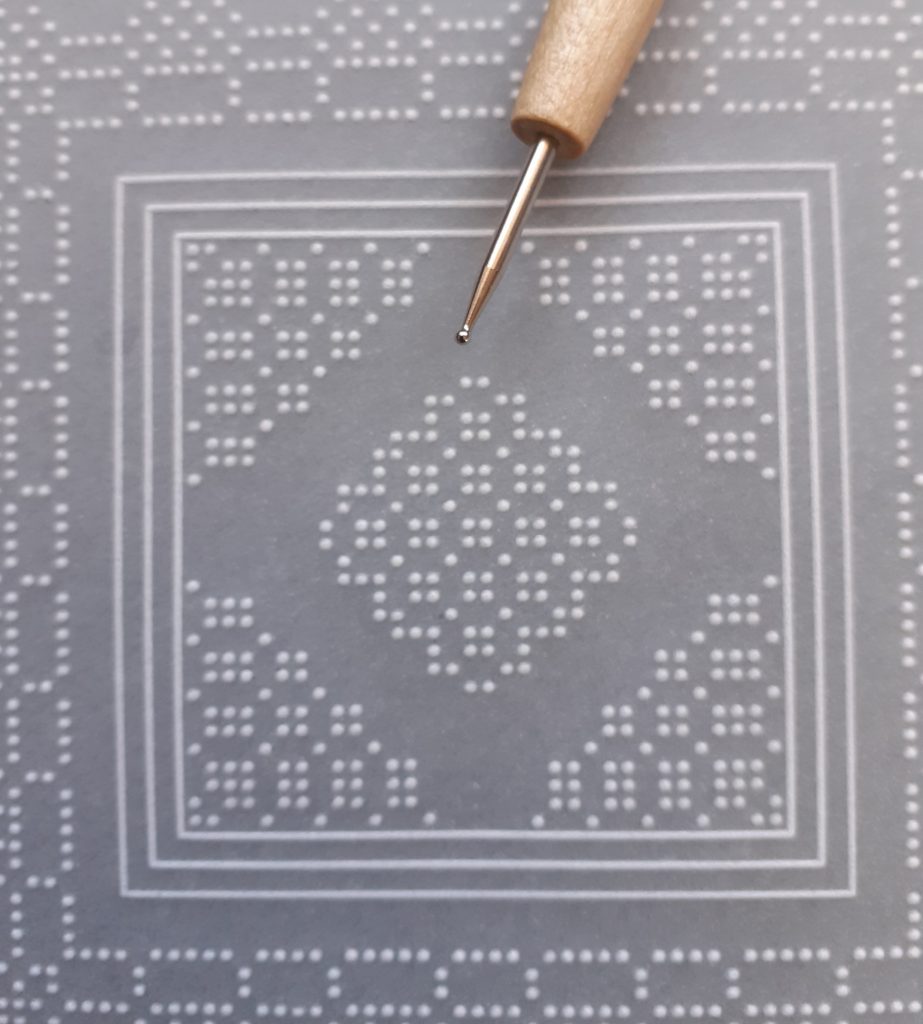
Step 5. Remove your template and emboss the dots of the oval plate using the Groovi No 2 tool. I advise that you work registration marks to emboss the square.
Step 6. Once you have worked all of the registration marks you can complete all of the dot embossing. The centre dots of each oval are not embossed because we are going to picot cut this area out, though if you prefer you could emboss these dots and not do the extra picot cutting.
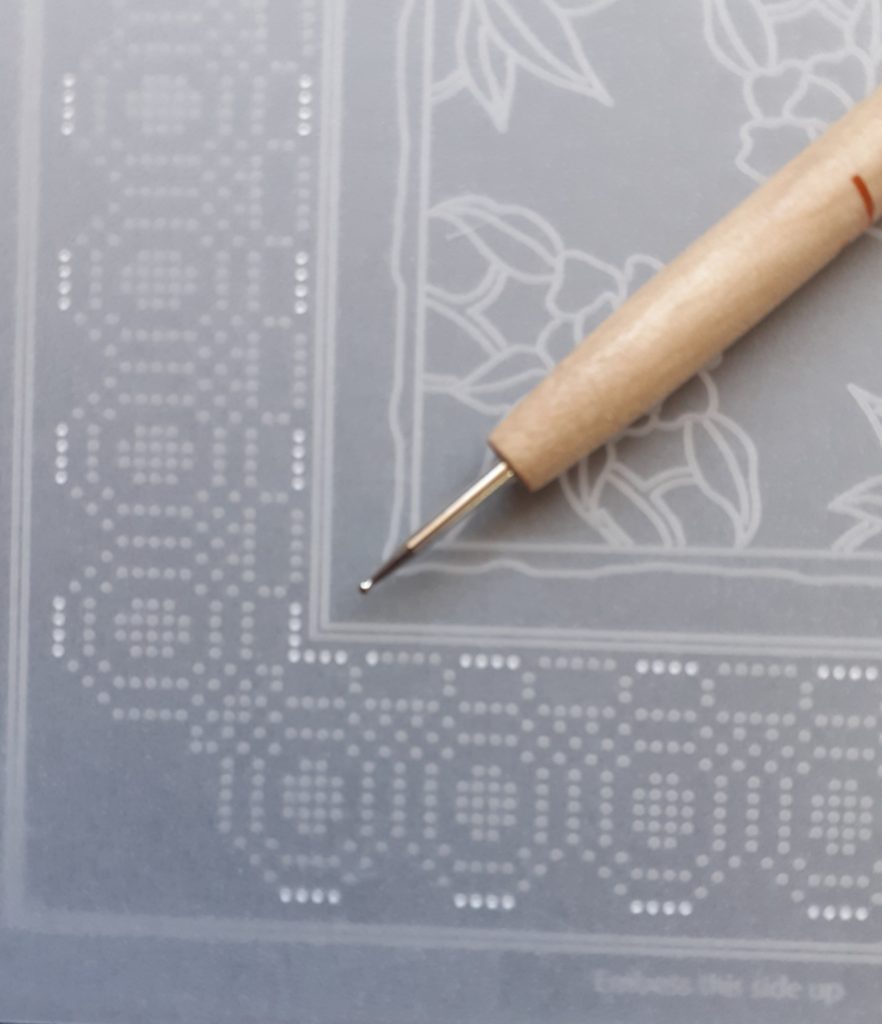
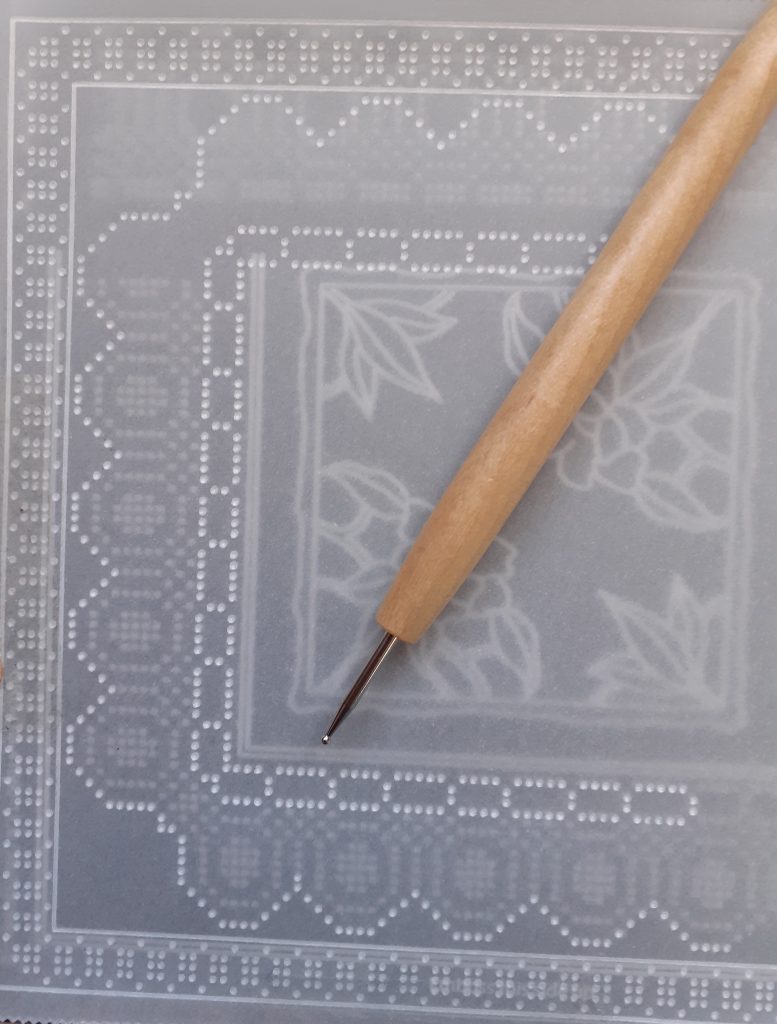
Step 7. Now you can add the centre design. Centralise the centre 3 lines of the A5 plate mate plate inside your lace border and emboss them using the No 1 Groovi tool. Emboss the centre dot design using No 2 Groovi tool in one of the four corners.
Step 8. Turn your work and realign your embossed lines into the grooves in the plate. Emboss the same corner in the second corner, and repeat for the other two corners.
Step 9. Place your oval duet plate inside the plate mate with the words ‘perforate this side’ facing you. Turn your work over and line up the holes in the plate between your embossed dots. Perforate the inner holes using the bold single needle tool – do not perforate the outer row of holes. Repeat until you have perforate all of the oval design.
Step 10. Picot cut the slots and the centre of the oval using scissors.
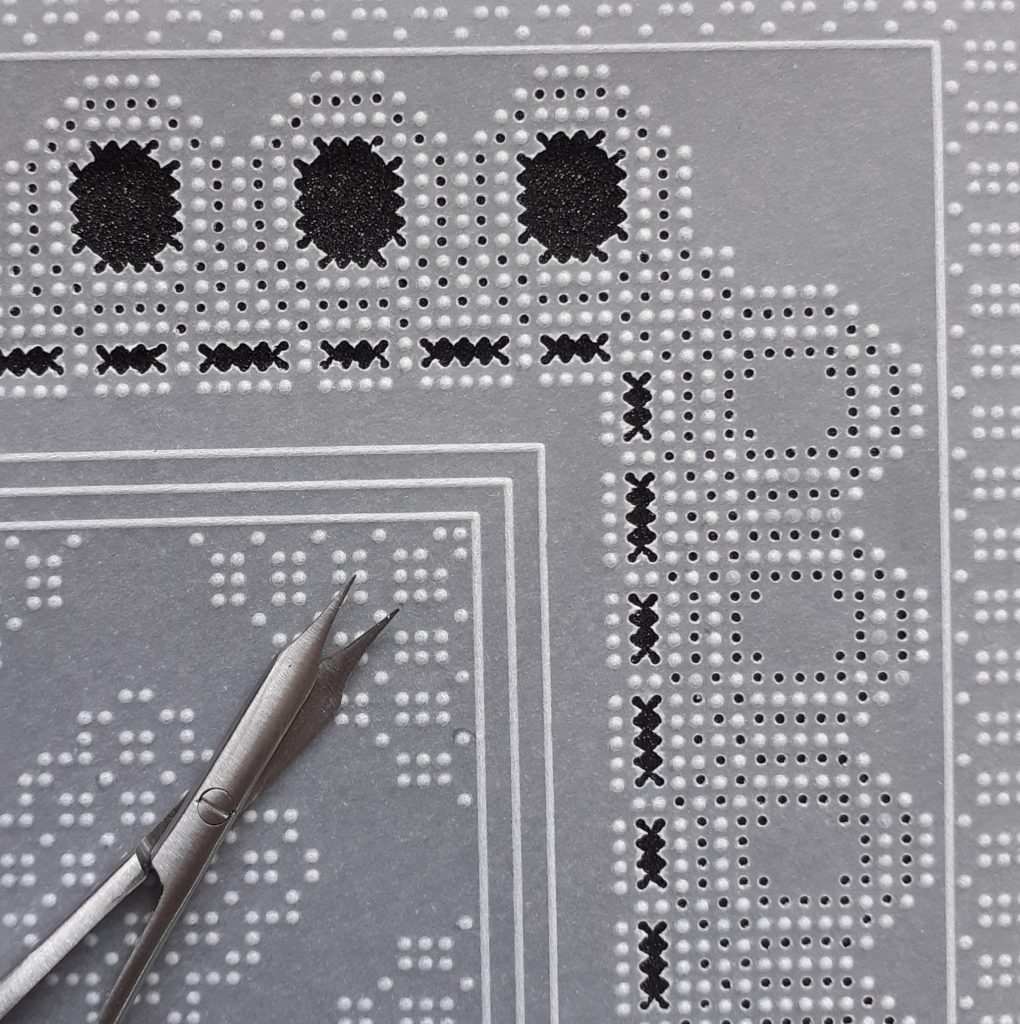
TOP TIP: When cutting lace borders always start with the inner areas, then cut the ones outside these. Repeat until you have done all of the snipping. If you are cutting the outer edge always cut this last because your work will be more stable if you have the waste parchment around it.
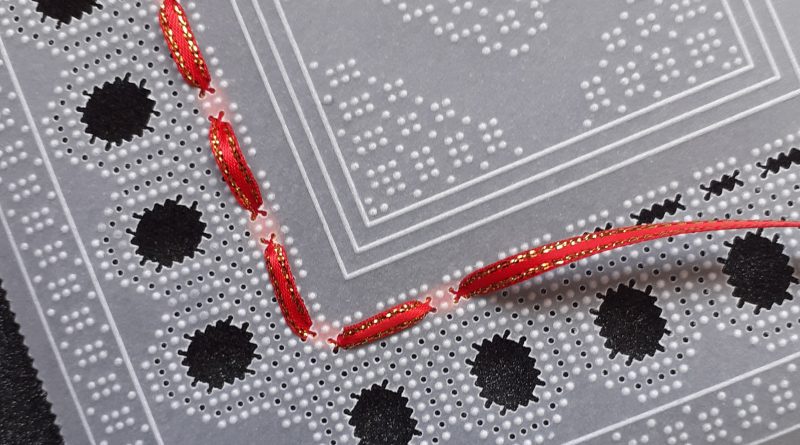
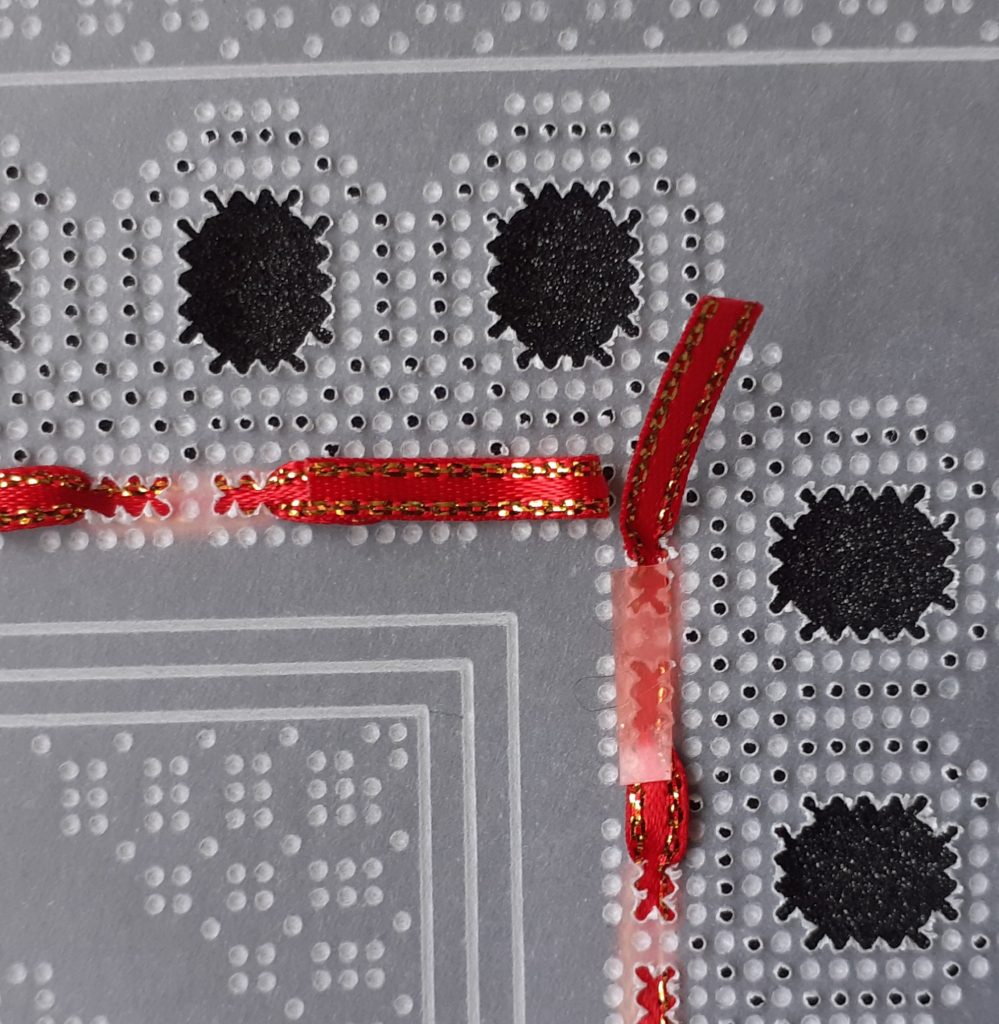
Step 11. Wrap a piece of Groovi tab around the end of your ribbon and cut at an angle to make the ribbon easier to thread through the slots. Start at one corner and carefully weave the ribbon through the slots, in two corners the ribbon will go on the front of your work and on the other two it will go behind.

Step 12. Use red liner tape to stick the ends of your ribbon back onto itself at the back of your work.
Step 13. Cut your backing card to fit your card blank. Attach your finished artwork to the backing card of your choice, using the brads. Attach it to the card blank. Make a bow out of the ribbon and stick this to one corner of your work with red liner tape. And you’re done!
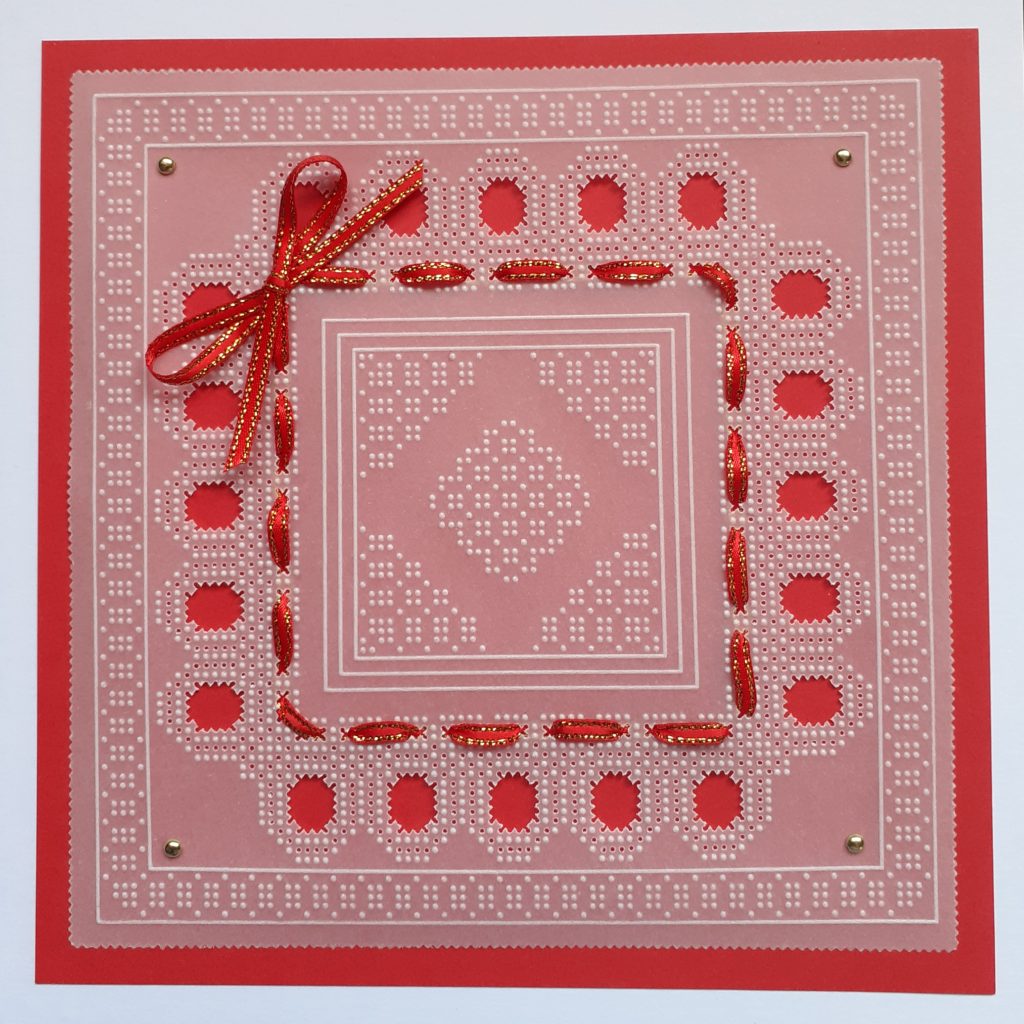
How delicate this card looks! I really enjoyed Josie’s tips and tricks in this project. You make it look easy, Josie, thank you!
Everything that Josie has used can be found HERE on the Clarity website.
What’s coming up at Clarity Towers this week?:
Monday, August 1st:
SHAC Shack with Barb – Live at 10am on Facebook & YouTube
Tuesday, August 2nd:
Groovi Tuesday with Paul – Live at 10am on Facebook & YouTube
Thursday, August 4th:
SHAC Shack with Barb – Live at 10am on Facebook & YouTube
Have a great week!
Lotsa love, Grace & Josie xoxo
Clarity – The Home of Art, Craft, and Well-Being.
Beautiful tutorial, thank you Josie. X
Thanks Josie for another great project which is quite achievable now the process is broken down into the step by step stages. Yes I have the plates so no excuse not to do it !! First I must get ready for our first visitors for ages – got out of practice but at least the house is now tidy although not totally craft free. I have even hung my framed projects on the wall !! Have a good week everyone & stay safe on those roller blades Grace xx
Thanks Josie. When I get home from holiday I must definitely try this one xx
Lovely card, definitely going to be my next project
Have these plates but haven’t used them yet. This project has inspired me to make it for a friends special birthday this month. Thanks Josie.
🍒
Lovely project again this week. Definitely going to try it. Have a lovely week everyone. Thank you Grace and Josie.
Thank you Josie for a great step by step, entered on my “to do” list. Not sure which is the longest, my “to do” list or my “wish list”. xx
Have everything I need to try this. Just need to find time!
Nice one Josie must give it try x