Clarity’s Blog Tutorial: How To Colour An Amaryllis
Hello hello! Grace here.
I hope this finds you safe & well.
Another Sunday, another epic step-by-step tutorial by a talented teacher. We are joined this weekend by Glynis Whitehead. I’ll hand you right over to the lovely lady herself!

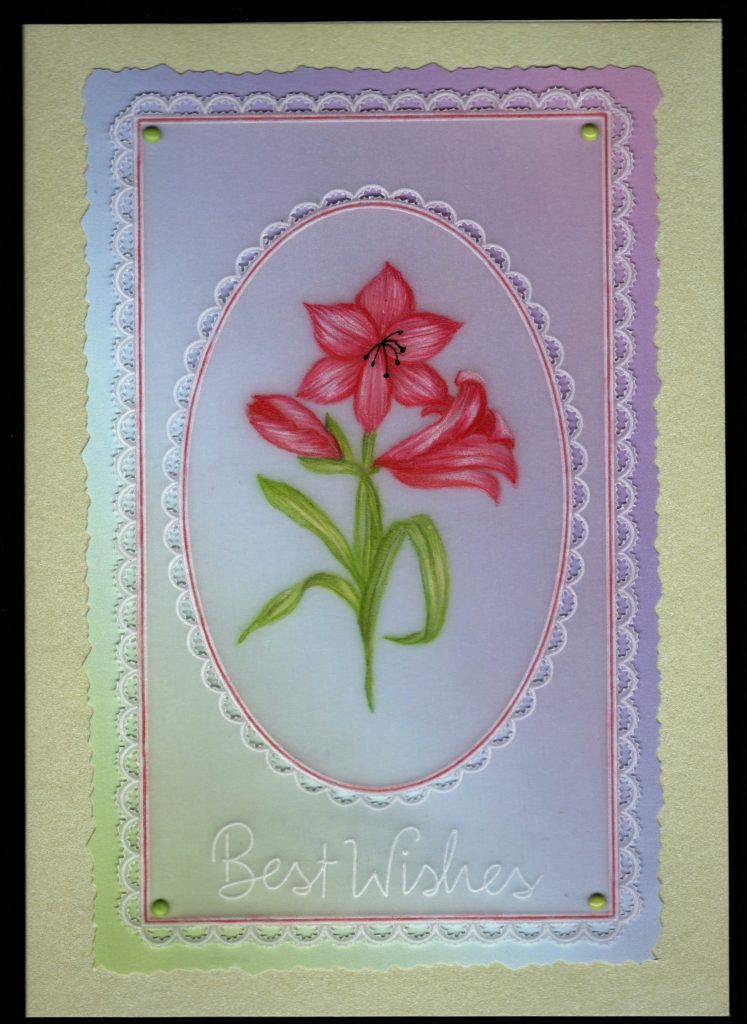
How To Colour An Amaryllis
Ingredients
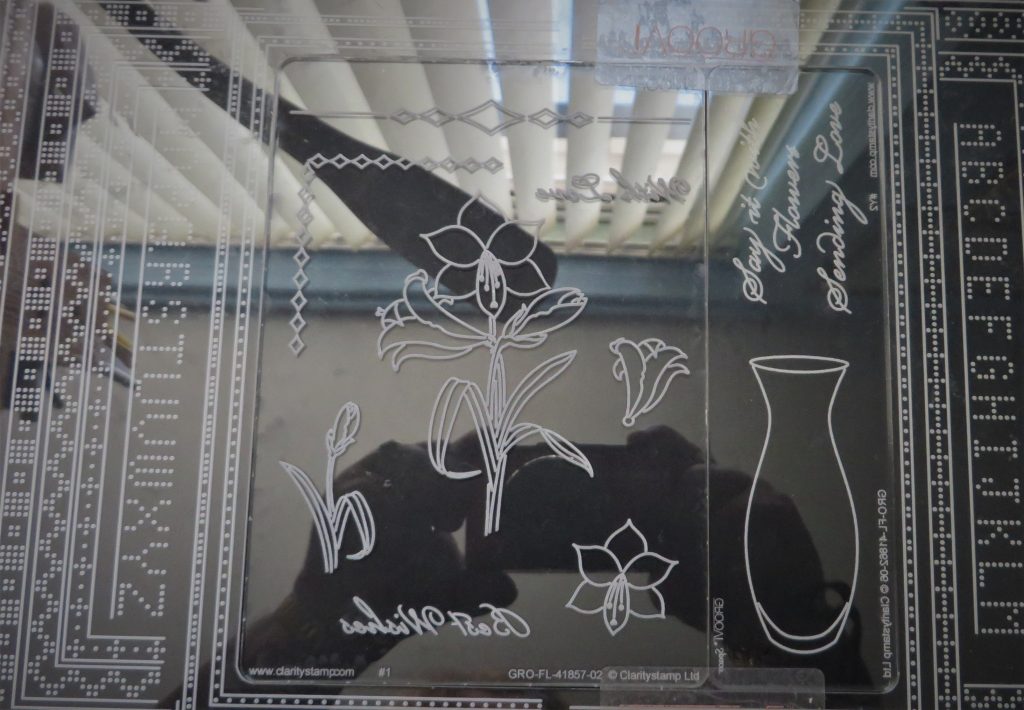
Amaryllis Frosted Floral A6 Rectangle Plate (GRO-FL-41857-02)
Spacer Plate (GRO-FL-41862-06)
A5sq Plate Mate for Grids (GRO-CO-41706-08)
Nested Scallops Ovals A5 (GRO-PA-40586-04)
Nested Scallops Rectangles A5 (GRO-PA-40587-04)
Entwined Sentiments A5 Sq (GRO-WO-41437-03)
Polychromos Pencils from the set of 60 (ACC-PE-30797-XX)
*You will need a light, medium and dark colour in both red and greens. A white pencil to help blend the red of the petals and the palest yellow you have to help blend the greens in the leaves.
Plain parchment (GRO-AC-40024-XX)
Method
Step 1. Set up your plates, using the A5 Sq plate mate and the spacer. Put the spacer next to the floral plate with the grooves facing down.
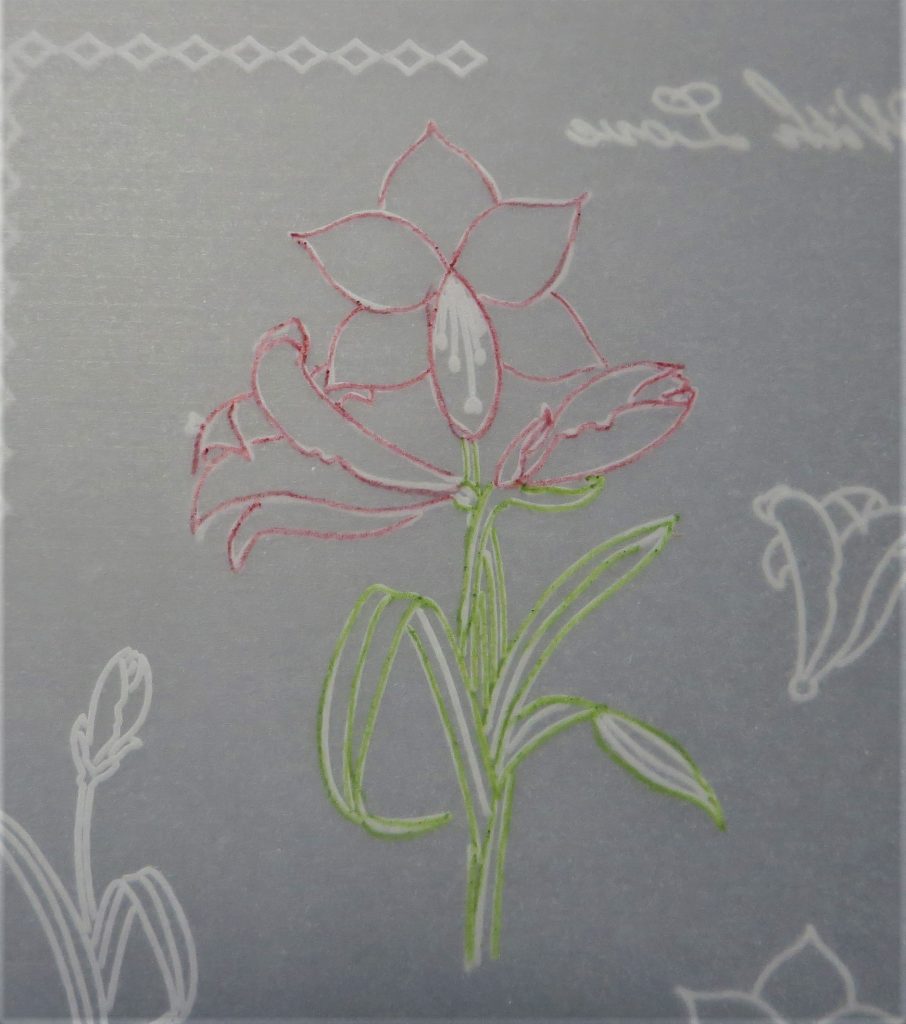
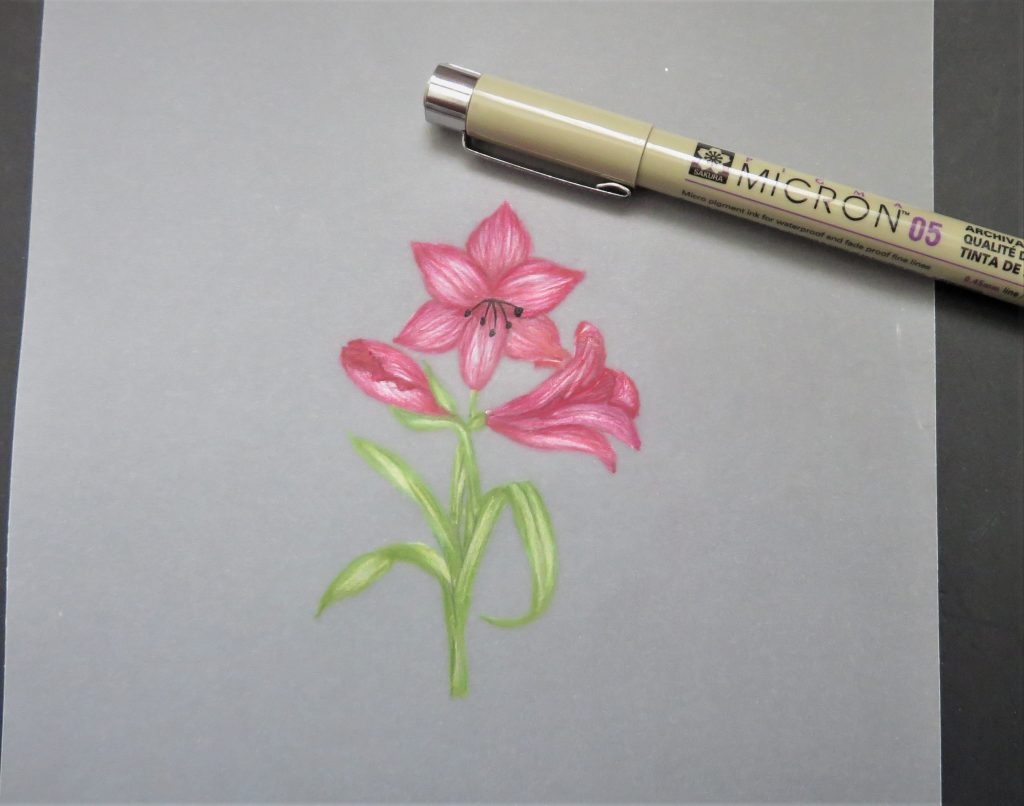
Step 2. Attach the parchment centrally over the Amaryllis. Use a red pencil to trace the petals and a green pencil to trace the leaves. Make sure your pencils are very sharp. Ignore the stamens as we can put them in later with a micron pen.
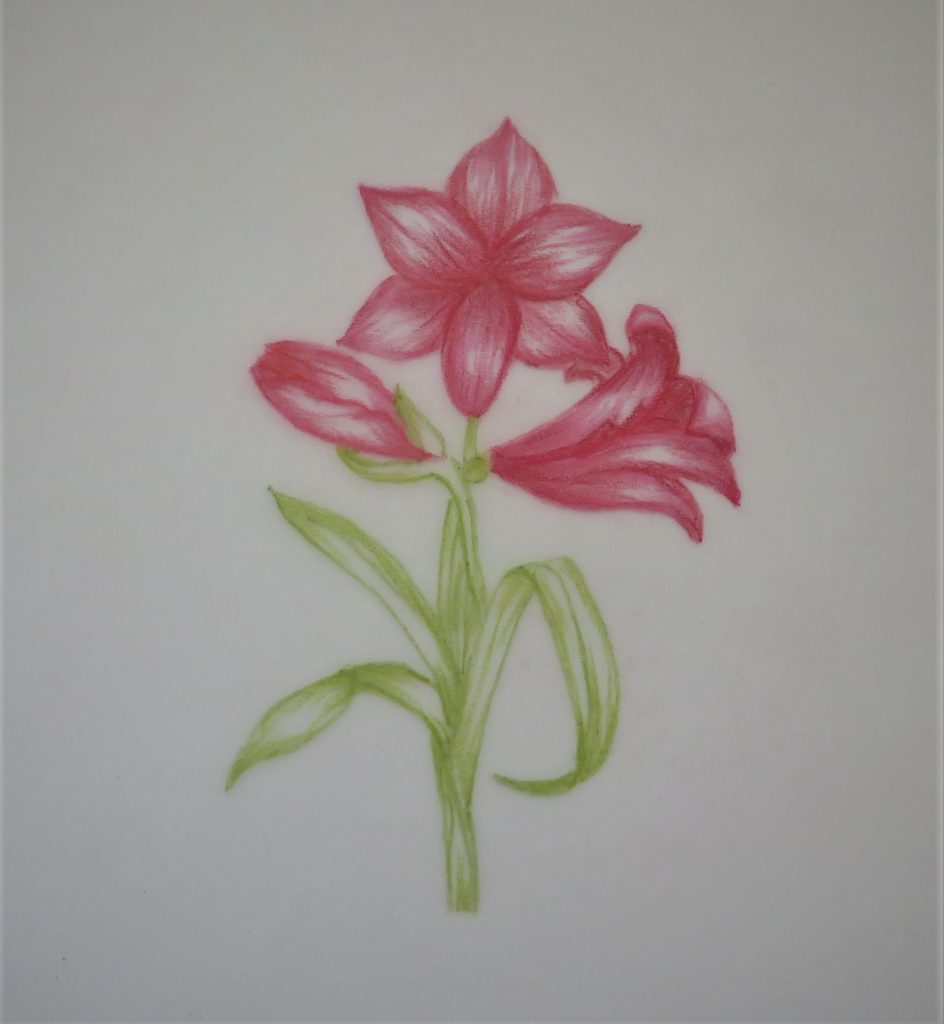
Step 3. Turn the work over and work on the right side of the parchment. Lay it on a sheet of copy paper so that you can see what you are doing. The darkest red goes to the centre of the flower and where the shadows would be – making gentle flicking motions. Do the same with the green and use the darkest colour at the base of the leaves.
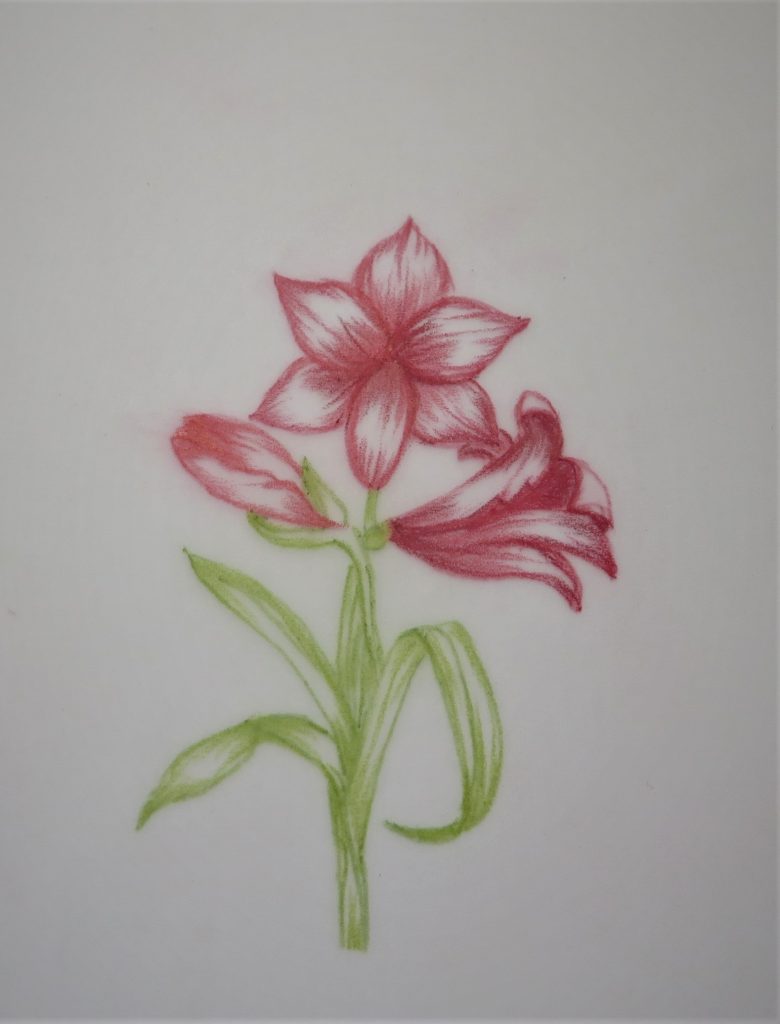
Step 4. Use the medium colour to define the edges of the petals – again, keep your pencils very sharp. Leave some white areas. Do the same with the stems and leaves.
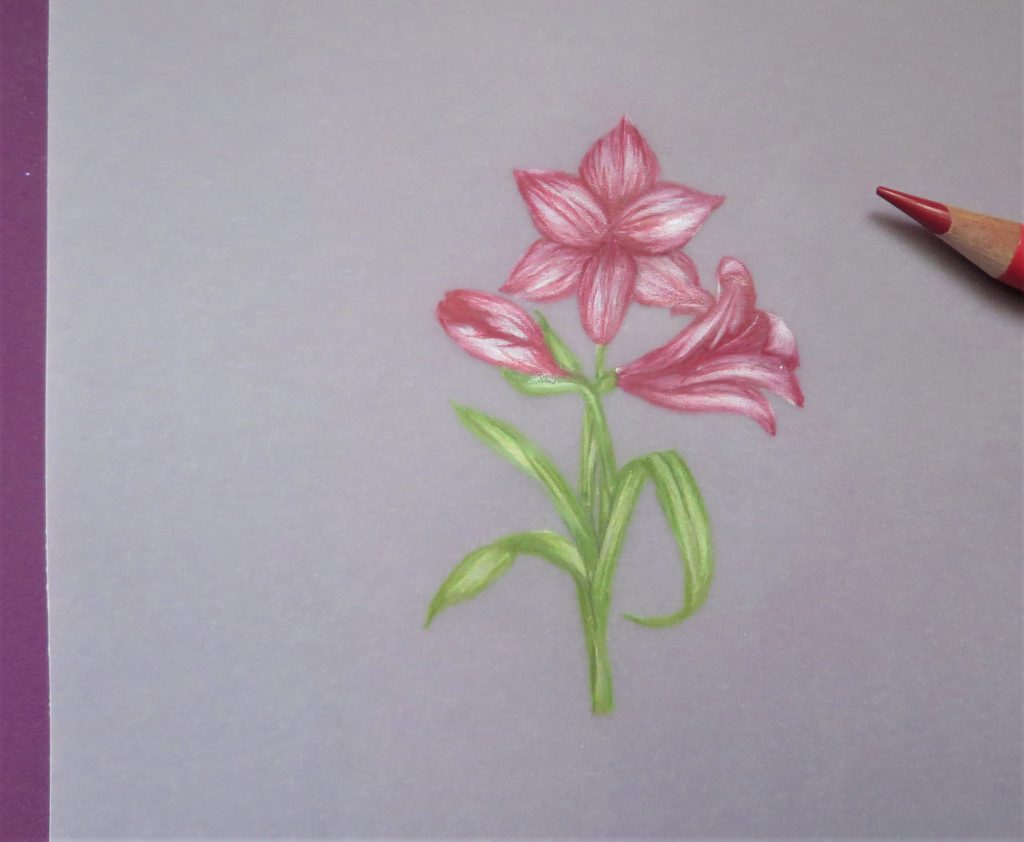
Step 5. Now add some light colours to the petals and leaves – you still need to leave some white areas, where the light/sun would be hitting.
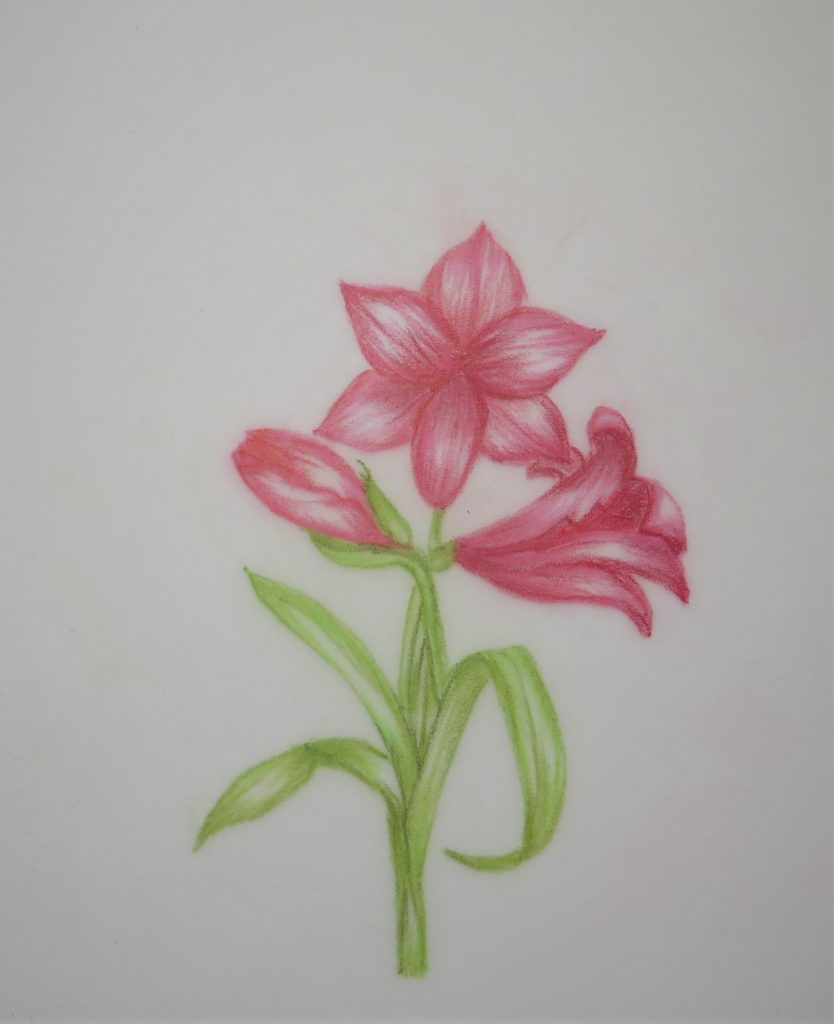
Step 6. Take the white pencil and going in the direction of the petals, drag the colours into together over the white areas. Do the same using the pale yellow down the length of the leaves.
Step 7. Working on the back of the parchment, use a 6mm ball tool to very lightly emboss the petals and leaves of the Amaryllis. You just need to give it a bit of shape.
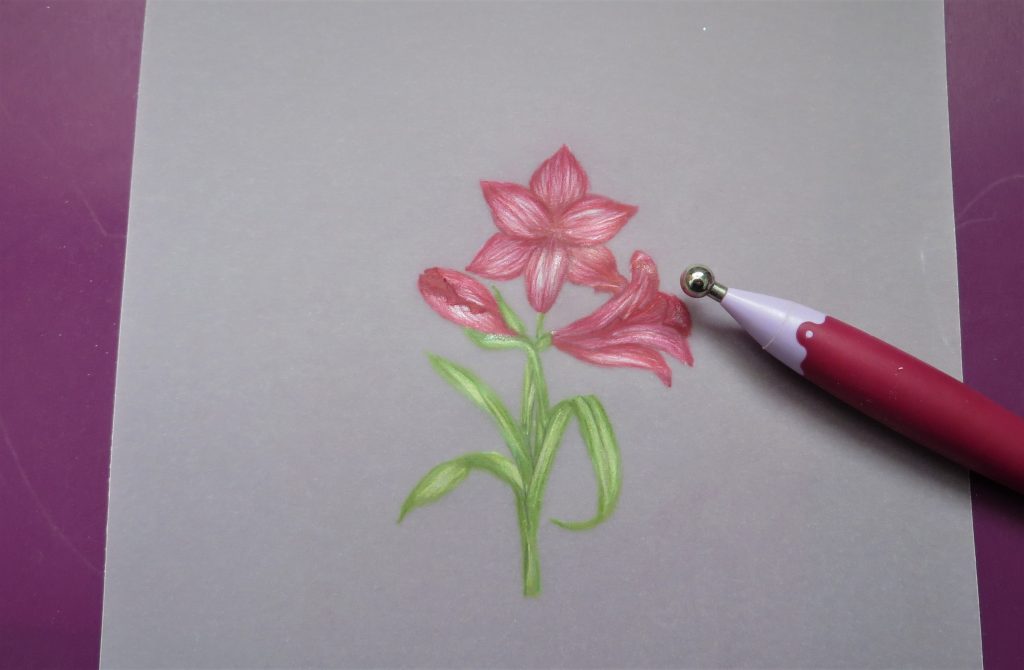
Step 8. Take a Micron pen and add some stamens to the large flower.
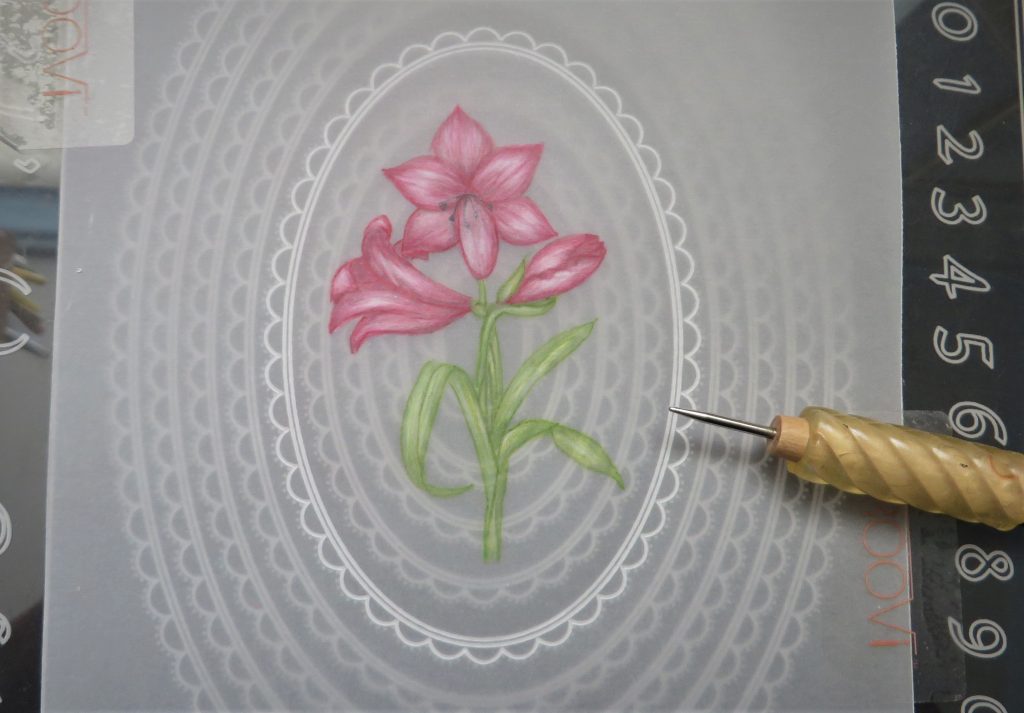
Step 9. Centralize the flower into the 5th oval (from the outside) of the nested scallops ovals plate, and emboss.
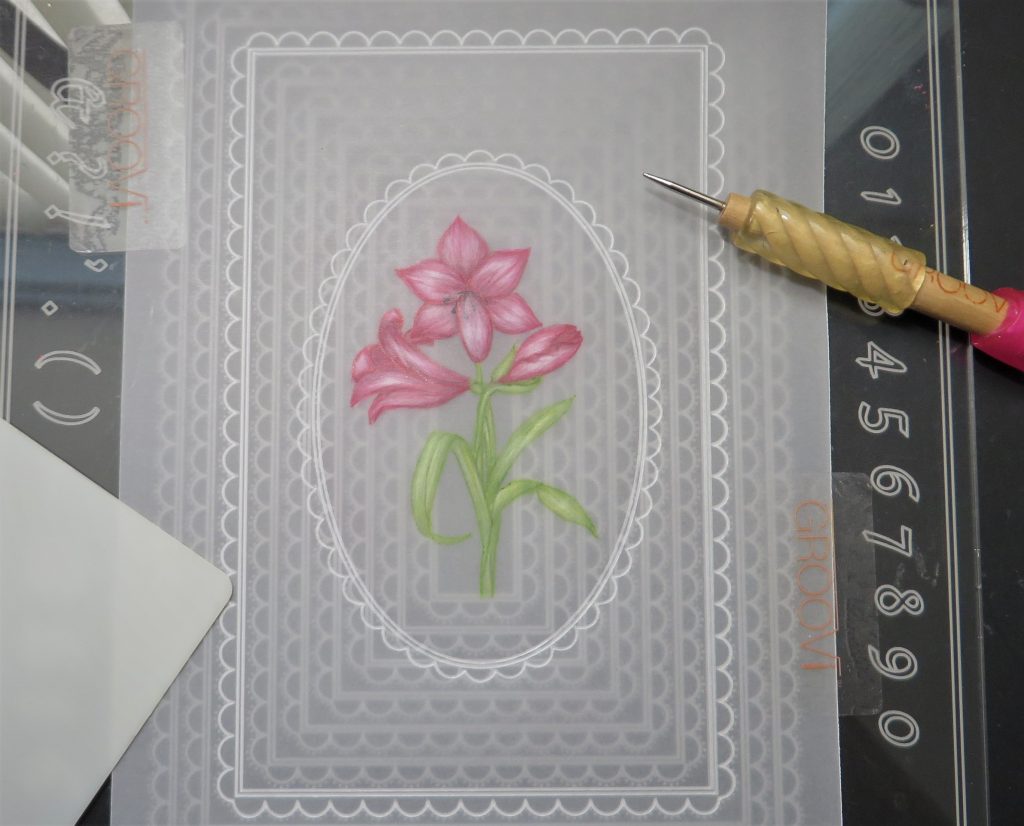
Step 10. If you keep your parchment taped down to the plate mate, you can take out the ovals plate and put in the scalloped rectangle plate. It should be in the right place to go ahead and emboss the 3rd scallops in from the edge.
Step 11. Colour in the margins between the tram lines and then go around the inside of the scallops with a two-needle tool. Also, go around the outside edge of the piece.
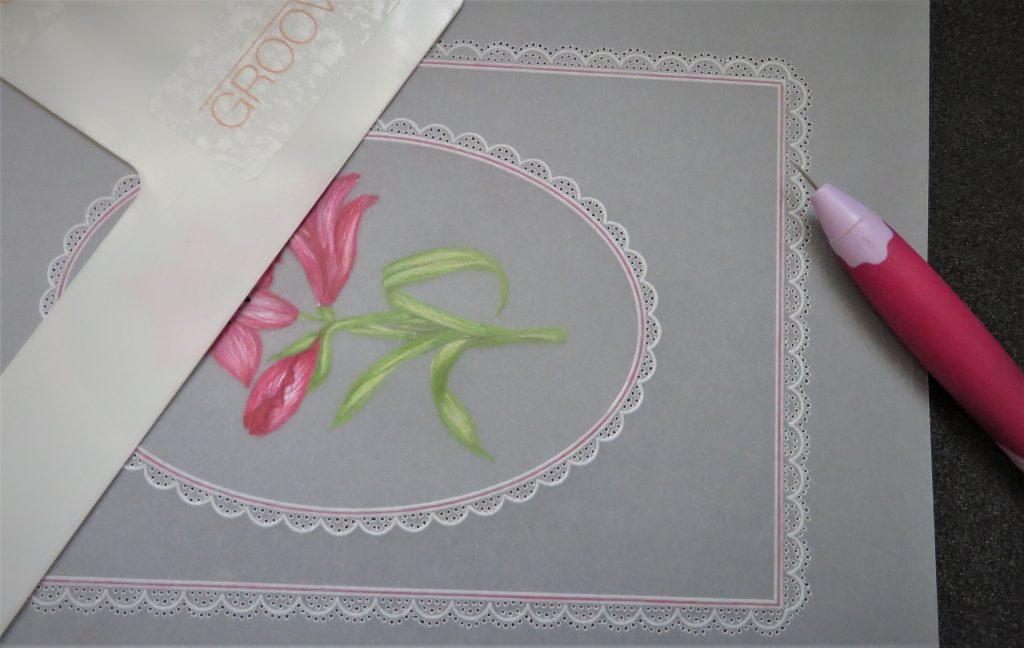
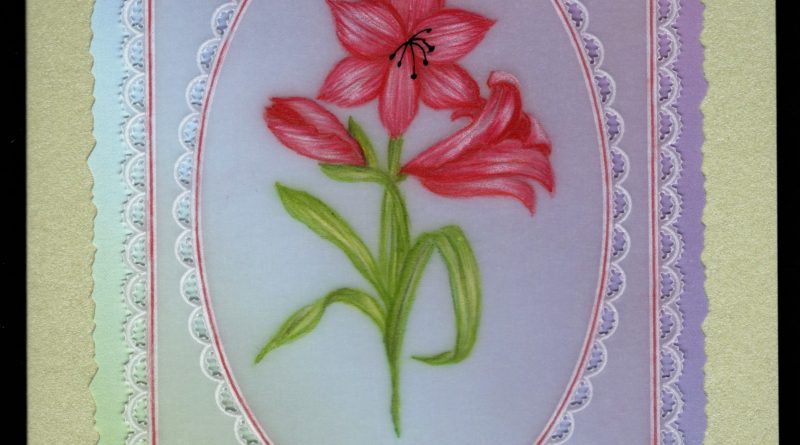
Step 12. Snip out the inner scallops and then snip around the outside edge. I added a sentiment at the bottom of the oval. Matt and layer your finished piece onto your chosen backing paper and card blank. And you’re all done!
Thank you, Glynis! What a lovely card. That project is so helpful for so many of us. Colouring can be a bit daunting for some, so a broken down process from start to end is brilliant. I see so many comments in the SHAC Shack colouring sessions with Mum about how much is learned about the process. It’s not as simple as so many of us have always thought! And those beautiful results really do take some time and thought.
Thanks again, Glynis, for sharing your techniques with us!
Everything that Glynis has used can be found on the Clarity website HERE.
It is all systems go at Clarity Towers this week as we prepare to celebrate our 29th Birthday on the new Create and Craft TV!
Tuesday, August 30th:
Groovi Tuesday with Paul – Live at 10am on Facebook & YouTube
Friday, September 2nd:
6pm – One Day Special on Create and Craft with Mum & Paul
8pm – Weekender on Create and Craft with Mum & Paul
9pm – One Day Special on Create and Craft with Mum & Paul
Saturday, September 3rd:
10am – One Day Special on Create and Craft with Mum & Paul
12pm – Weekender on Create and Craft with Mum & Paul
2pm – One Day Special on Create and Craft with Mum & Paul
4pm – Weekender on Create and Craft with Mum & Paul
Sunday, September 4th:
1pm – Weekender on Create and Craft with Mum & Paul
3pm-5pm – 2hr Clarity Classics on Create and Craft with Mum & Paul
5pm – Weekender on Create and Craft with Mum & Paul
6pm – One Day Special on Create and Craft with Mum & Paul
9pm – One Day Special on Create and Craft with Mum & Paul
Monday, September 5th:
10am – One Day Special on Create and Craft with Mum & Paul
2pm – One Day Special on Create and Craft with Mum & Paul
See you there 🙂
Travel gently, friends.
Lotsa love, Grace & Glynis xoxo
Clarity – The Home of Art, Craft, and Well-Being.
Thanks Glynis and Grace. When I first started colouring on the front of parchment and then embossing on the back it left colour on my embossing mat. It sometimes spoilt the look. Now I always put a poly bag under my work which keeps the mat clean and the work pristine.
Received my club package yesterday so have some new items to play with over this bank holiday while waiting for the new orders to arrive.
It already looks like Autumn here after the heatwave but it has cooled down to a reasonable level and the forecast is moderate for next week so your visit to the UK will be comfortable.
Enjoy your weekend 🍒
What a great project, thanks Glynis for the step by step instructions. I have just packed some stuff to take with me to Wales & I am sure I have all the ingredients in my box. Can’t check as its all in the car but can’t see anything relevant on my desk.
Looks as though its going to be a nice sunny Bank Holiday so stay cool & enjoy it everyone
Thanks Grace for the heads up on the Birthday Weekend TV shows – its going to be a busy one xx
Thank you Grace and Glynis, a beautiful piece of artwork. I had not thought of turning the plate over and tracing from the back, when you know it is so simple. Thank you. Enjoy your weekend. X
Great tutorial, i’m always nervous of colouring! I shall be looking through our plates to see what images we have that might be suitable (when I get them back from Mum! We share our craft stash and I had all the Groovi for quite a while, so it’s Mum’s turn now!)
Thank you Grace and Glynis, lovely artwork, beautiful colouring. x
Hi Grace & Glynis – Thank you for another wonderful tutorial
Xx
Hvala, da delite znanje z nami, ki smo amaterji. V Sloveniji tega ni veliko, zato mi veliko pomenijo vaši nasveti. Škoda, da ste tako daleč!