Clarity’s Blog Tutorial: How To Use A Semi-Circle Mini and Swirl Tool – Part 2
Hello hello! Grace here.
I hope this finds you safe and well. I can’t believe it’s already January 23rd. Time is flying! And we’re already a few more episodes into our Pergamano School tutorials with Linda Williams and Paul Church. You can find all of them on our Youtube channel, HERE.
We’re lucky enough to have the fab Glynis Whitehead in our Blog Tutorial bubble this week.

Glynis is going to use the same tools that Linda was working with in Lesson 11 on Groovi Tuesday this week. Let’s get into it!
Semi-Circle Mini and Swirl Tool
Ingredients
Pergamano Handbook for Multi-Needle Tools Volume 1 by Linda Williams (PER-BO-70291-XX)
Nested Arch Tags Groovi Plate A5 (GRO-PA-41465-04)
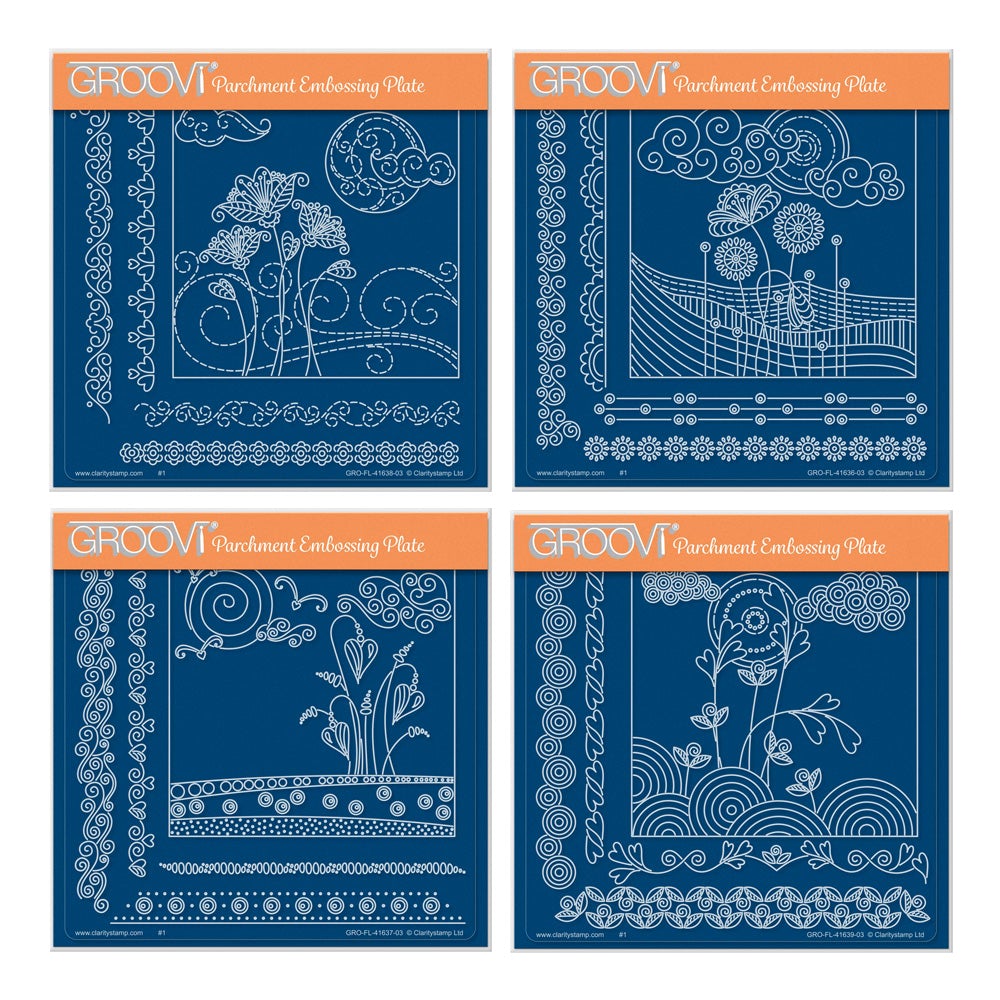
Tina’s Doodle Landscape (GRO-FL-41637-03)
Semi-Cirlce Mini Perforating Tool (PER-TO-70034-XX)
Swirl Perforating Tool (PER-TO-70032-XX)
Moon Perforating Tool (PER-TO-70031-XX)
Single Needle Perforating Tool (PER-TO-70035-XX)
5 in a Circle Perforating tool (PER-TO-70025-XX)
1mm Embossing Ball tool (PER-TO-70011-XX)
1.5mm Embossing Ball tool (PER-TO-70004-XX)
3mm Embossing Ball tool (PER-TO-70005-XX)
1 & 2 Tool (GRO-AC-40026-XX) and the 3 & 4 Tool (GRO-AC-40027-XX)
(^These are the tools from the starter kit ^)
Faber-Castell Polychromos Pencils (ACC-PE-30797-XX) or Perga-Liner Pencil (B) (PER-CO-70063-XX)
Blending nibs (PER-AC-70300-XX)
Dorso Oil (PER-CO-70066-XX)
Perga Glue (PER-AC-70133-XX)
Method
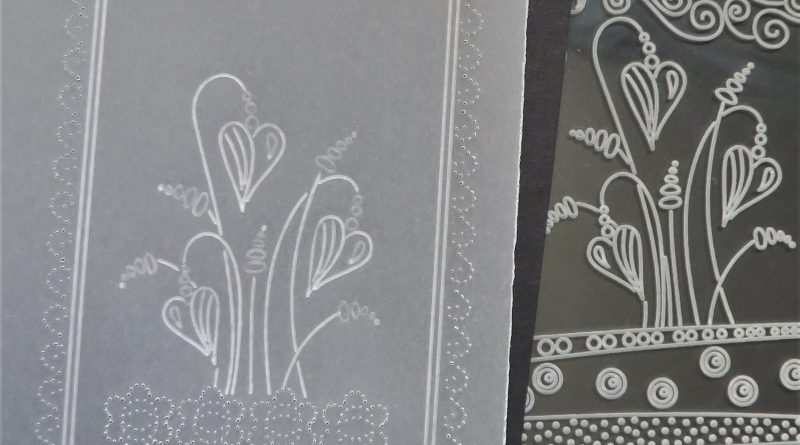
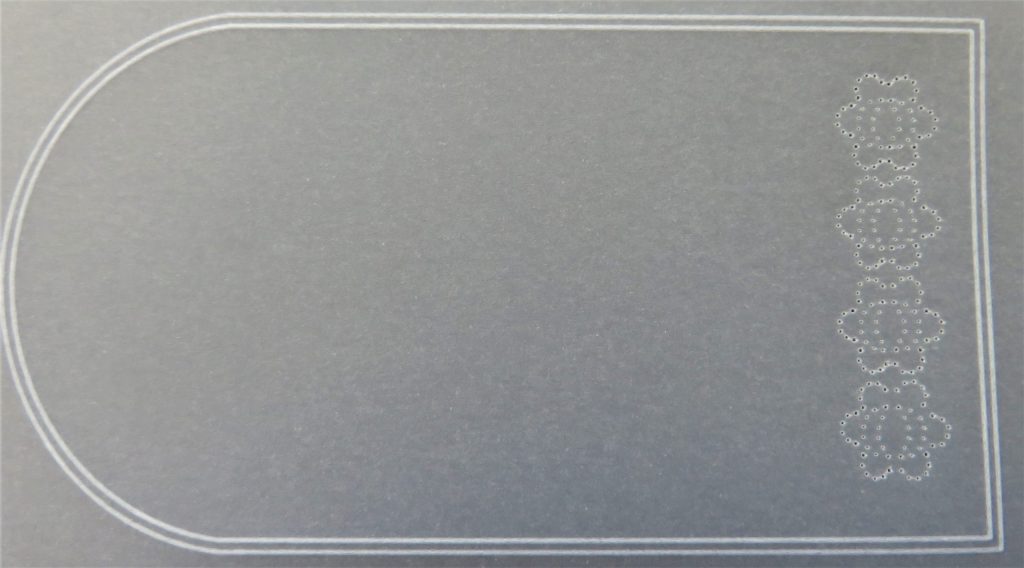
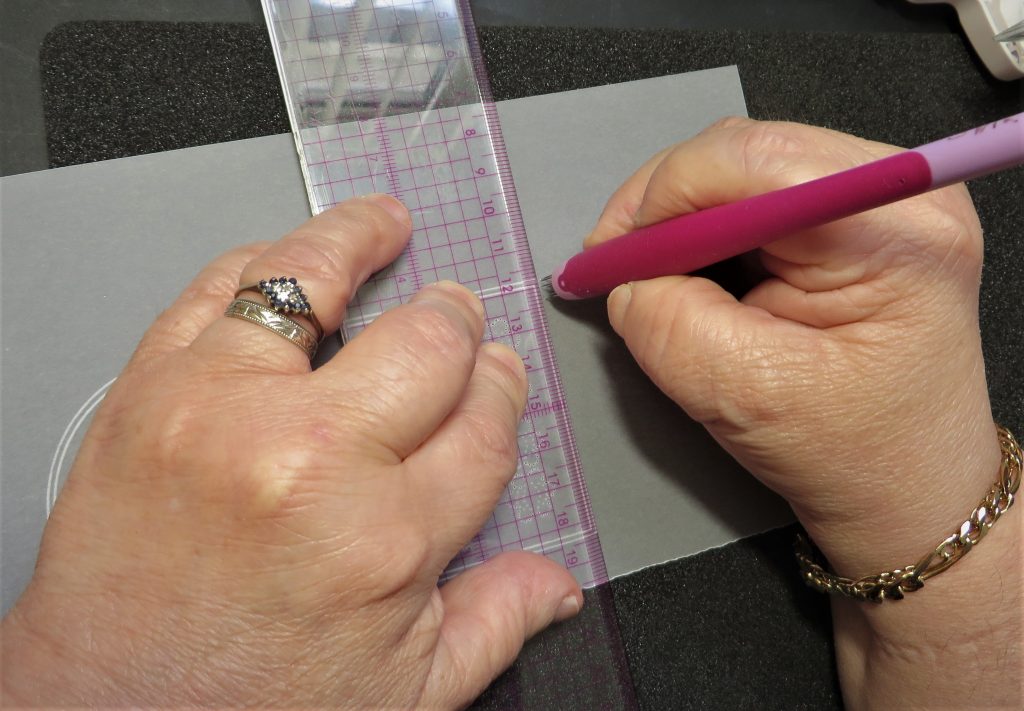
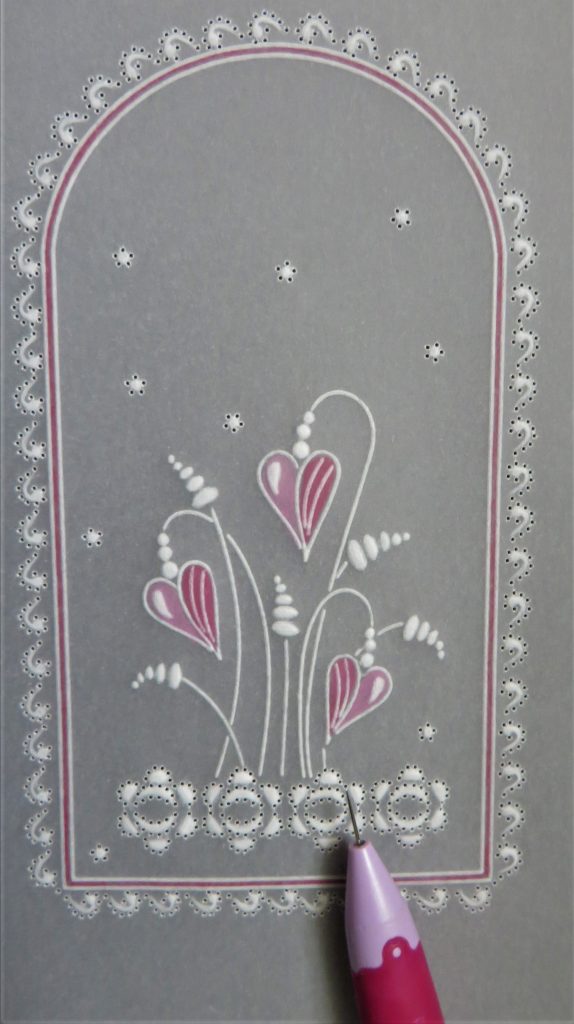
Step 1. Trace out the 2nd largest tag from the Nested Arch Tags Groovi plate.

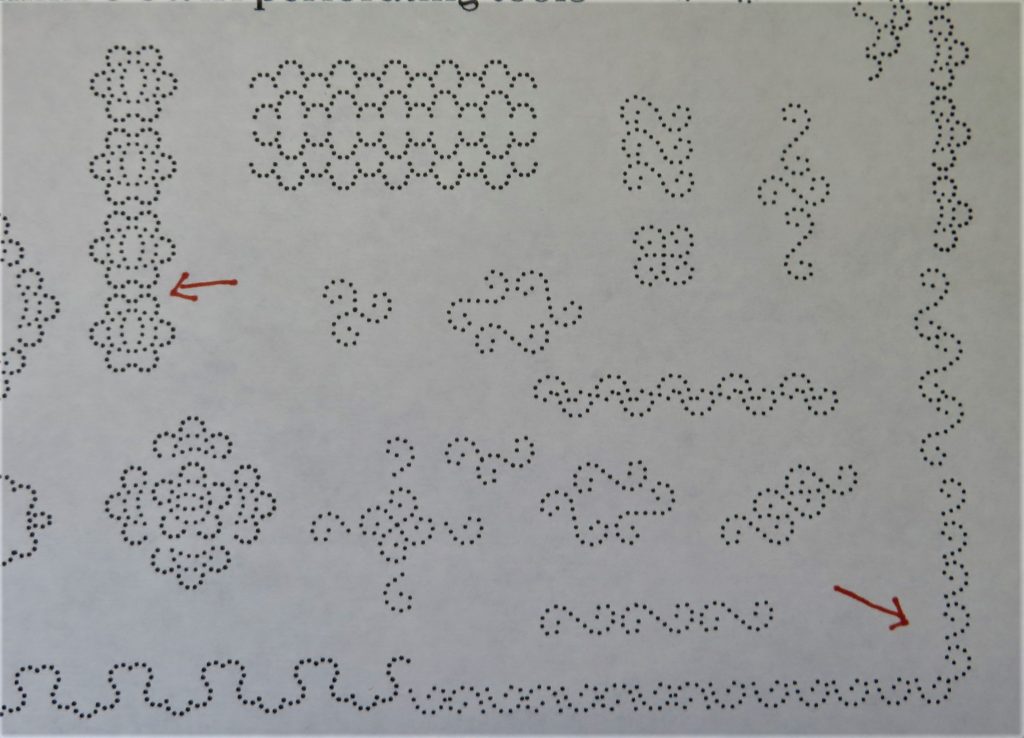
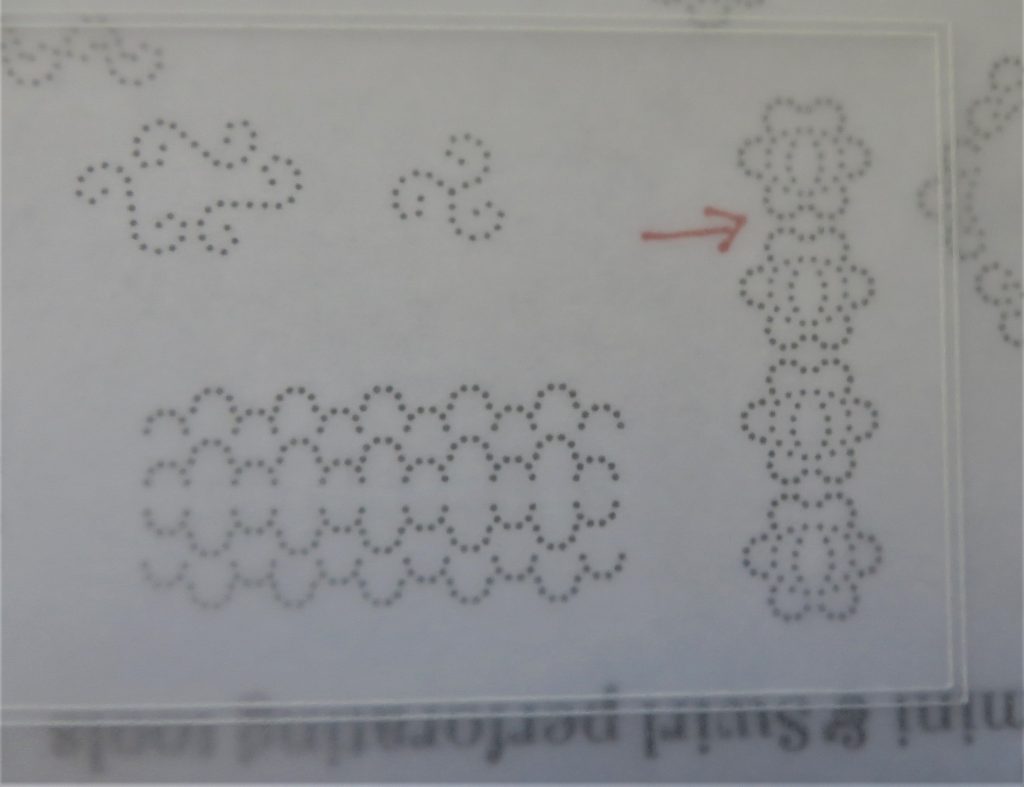
Step 2. The patterns I will be using from Linda’s Handbook are from pages 34-37 and the sampler you need to photocopy is on page 37. I have marked the perforation combinations with red arrows.
Step 3. Putting your parchment over the paper pattern, line up your tag so that the pattern (above left) I have indicated goes across the bottom of the tag.
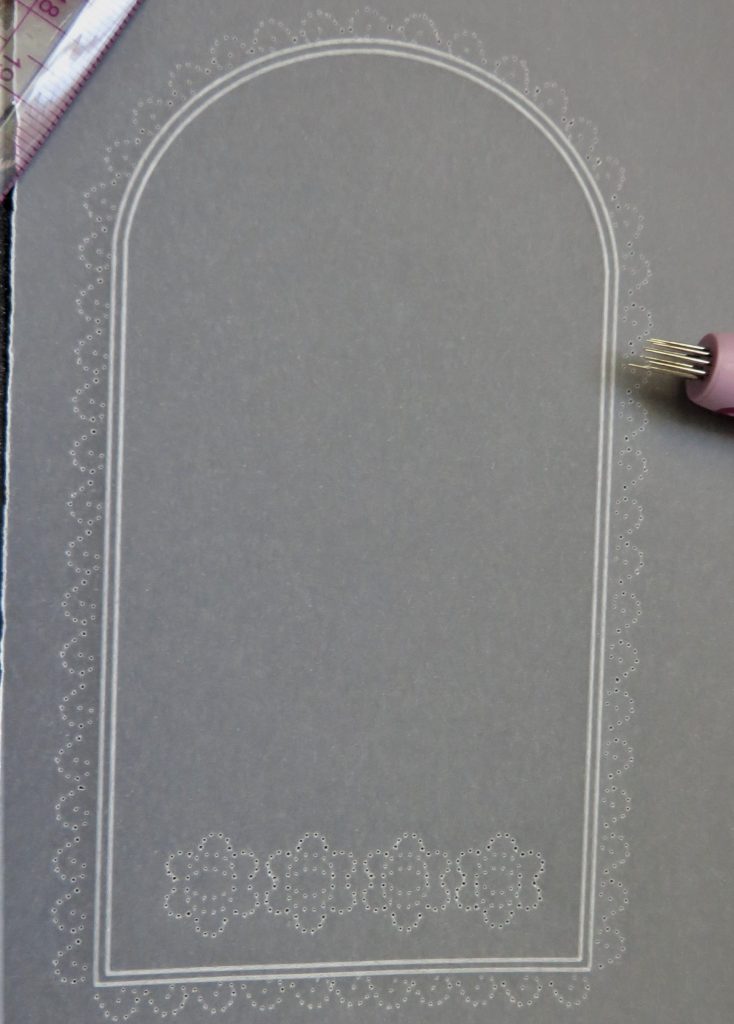
The moon perforating tool has been used in combination with the semi-circle for this one, so if you haven’t got a moon tool, you can use a 1 needle fine.
Step 4. Perforate shallowly, matching up all the little dots to the points of the needle and perforate right through the pattern. Linda has provided lots of information in the handbook.
TOP TIP: Always practice on some scrap first to help get your eye in.
Step 5. Use the Swirl tool in the same way around the edge of the tag – use the pattern indicated by my red arrow. If you saw Linda, in Summer School week 2, she told us to use a ruler over the line to save us running into the embossed edge with the needles. By doing it this way I have been able to move the pattern away and space out the swirls to fit my edge.
Step 6. When you want to space out any perforating tool shape along an edge, go from corner to corner, meeting in the middle. This way you can see how they fit into the space. If there is a gap a little larger than the rest, it will not show too much. I also had to go free-hand around the arch of the tag and did catch a couple of needle on my white line. Here, it isn’t as crucial as I know there will be a nice bow to hide it! Where there is a will there is way!
Step 7. Put the flowers into place (from Tina’s Doodle Landscape Groovi plate) so that the stems are coming out of the perforation pattern you just made. There are lots of embossing opportunities in the flowers, so use the number 2 tool from the starter kit for these.
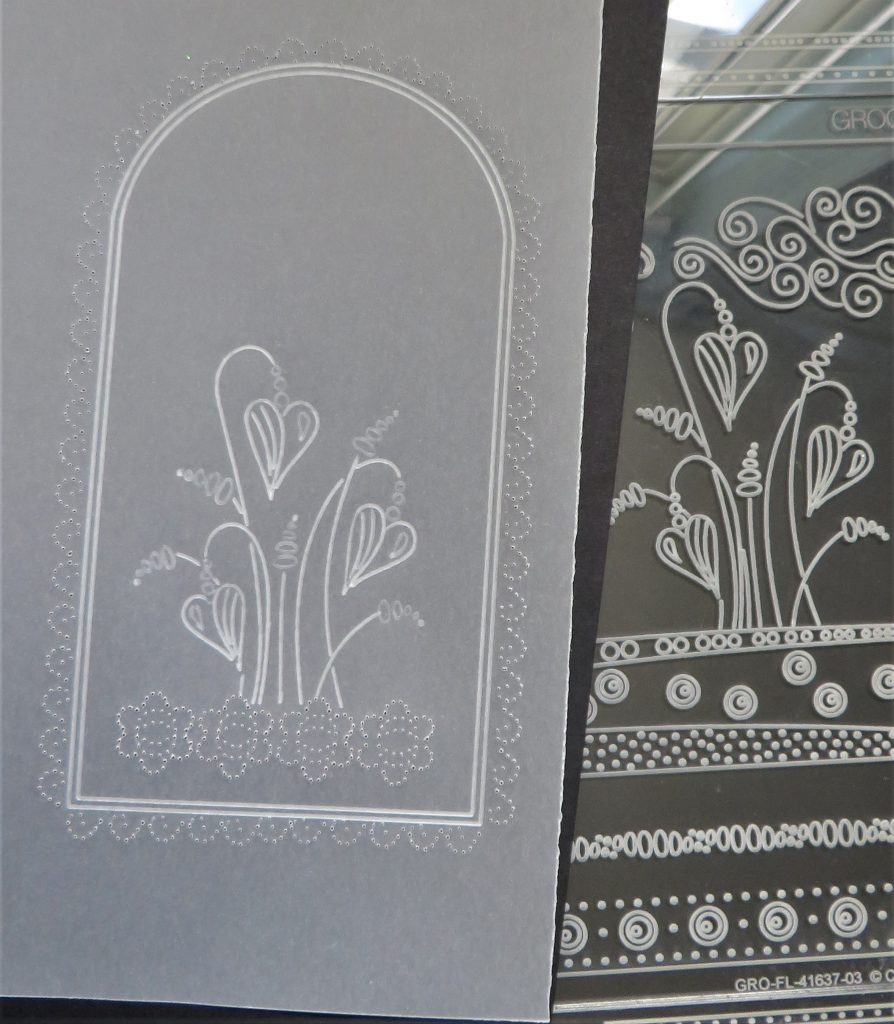
Step 8. Use the 3mm embossing ball tool to emboss the semi-circles, moons and the larger dots in the flowers. They should not be too white straight away. Whilst those are resting, use the 1.5mm ball tool to emboss into the swirls. Make a larger dot at the tight curl of the swirl, narrowing out to a ‘tail’ – like a tadpole.
TOP TIP: Check out Linda’s sampler on page 34 for reference. Once the work has had a rest, go in again and whiten the embossing.
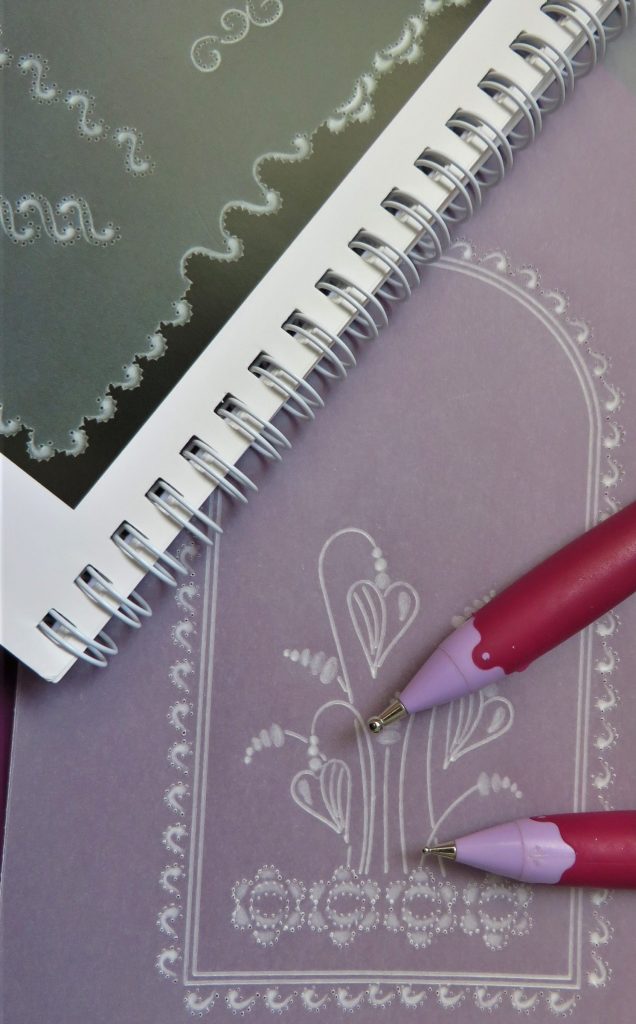
Step 9. Add some colour to the back of the flowers and then re-perforate all the holes with the fine 1 needle tool. I’ve added some 5 in a circle perforations to decorate between the flowers.
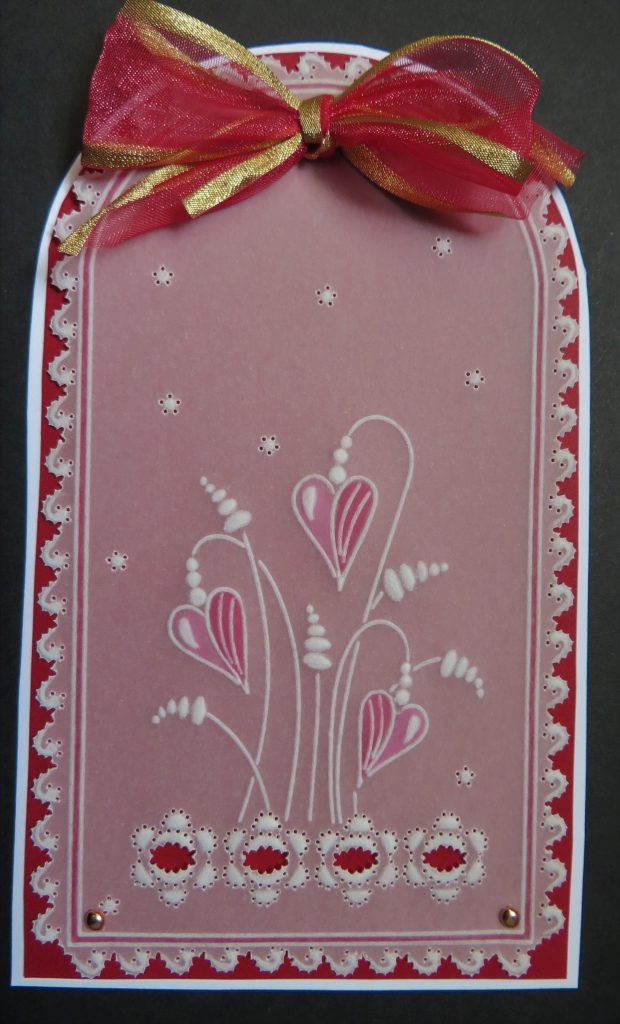
Step 10. Snip out the centres of the moon/semi-circle perforations and then around the edge of the tag. Don’t forget to keep turning the work and making the artwork come to you when you do this. Mat and layer the tag to the backing of your choice and add a bow.
And you’re done!
GORGEOUS. Could you imagine receiving that on a gift?! I wouldn’t need the gift, just the tag thanks 🙂
We have put everything that Glynis has used in one place over on the Clarity website HERE
Did you see Mum on Create & Craft on Friday? Tina’s Doodle Landscape plates were featured on the show. If you missed the shows, you can watch via catchup on the Create & Craft website HERE & HERE
Thank you Glynis (as always) for your skill and generosity each week with these brilliant step-by-step blogs. We love you. INFACT… Let’s have a little Glynis Gallery shall we. So you at home can see what your step-by-step teacher (most Sunday’s) is made of…
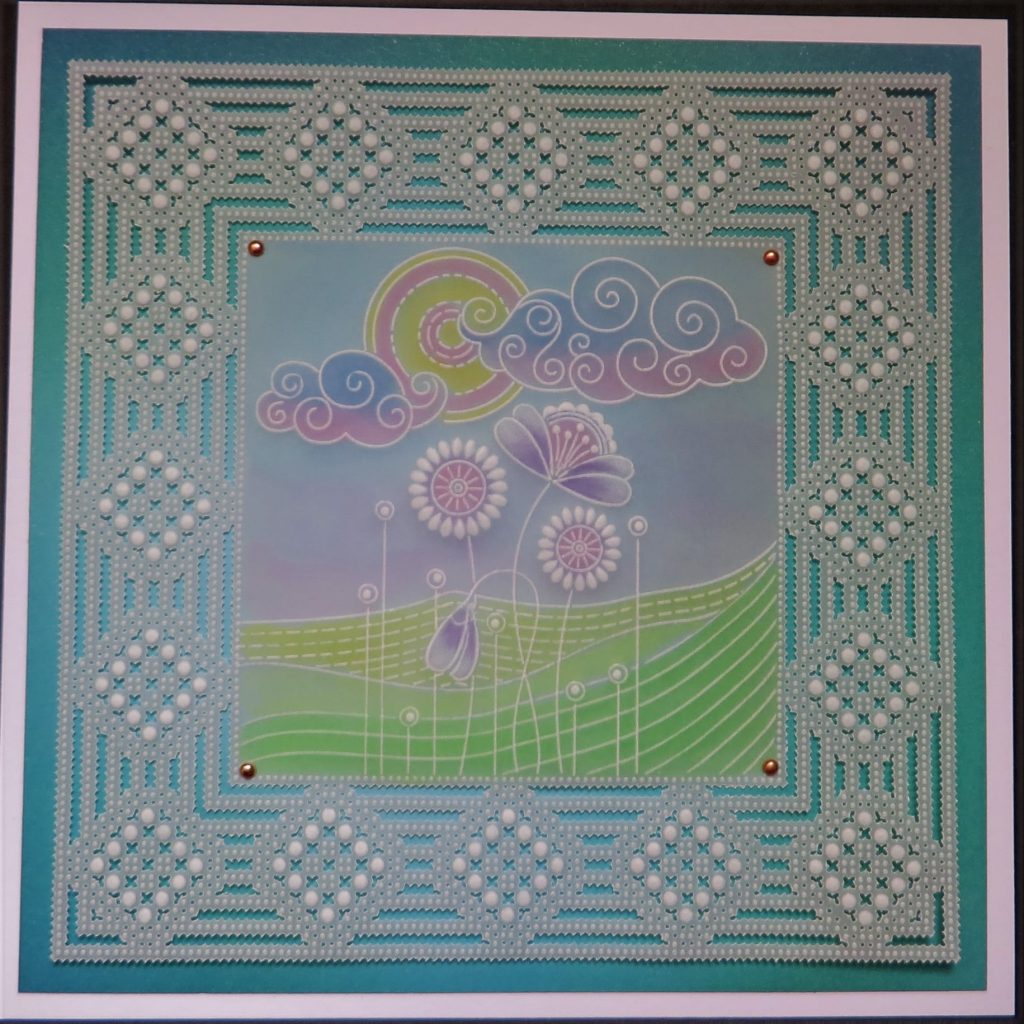
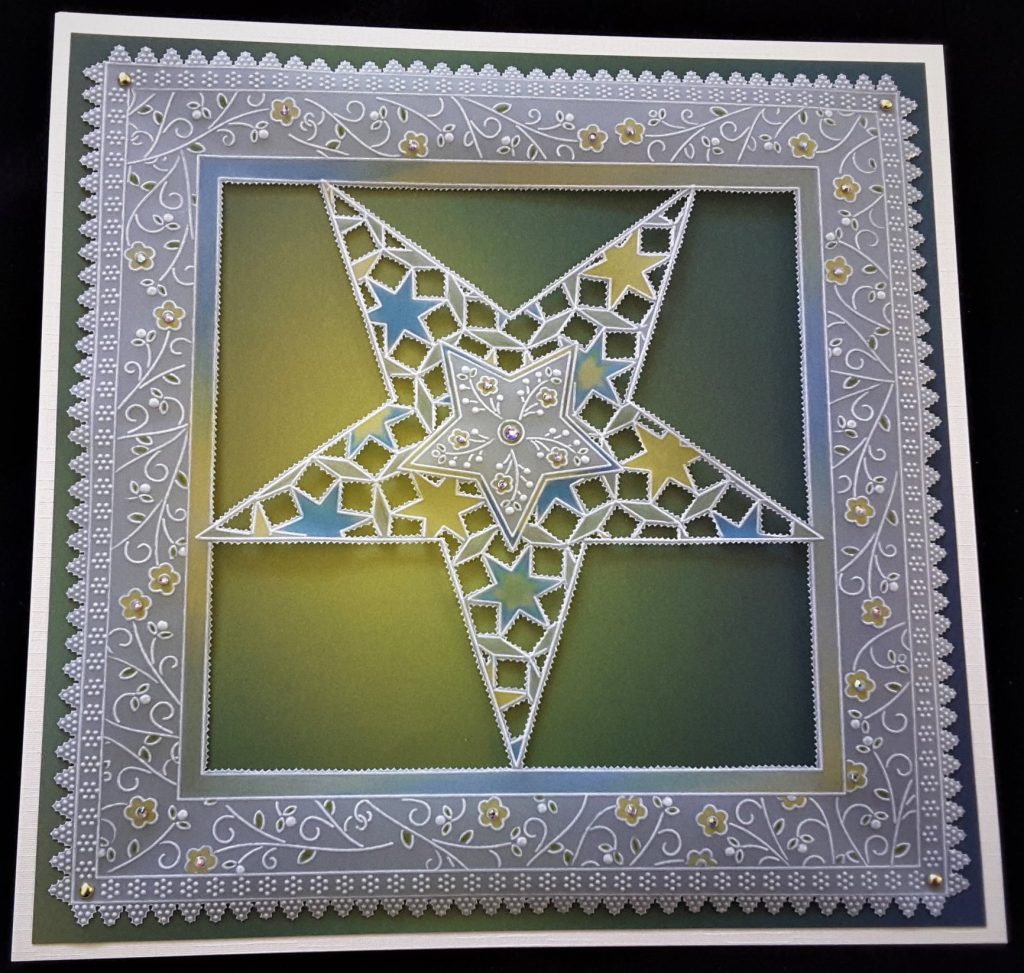

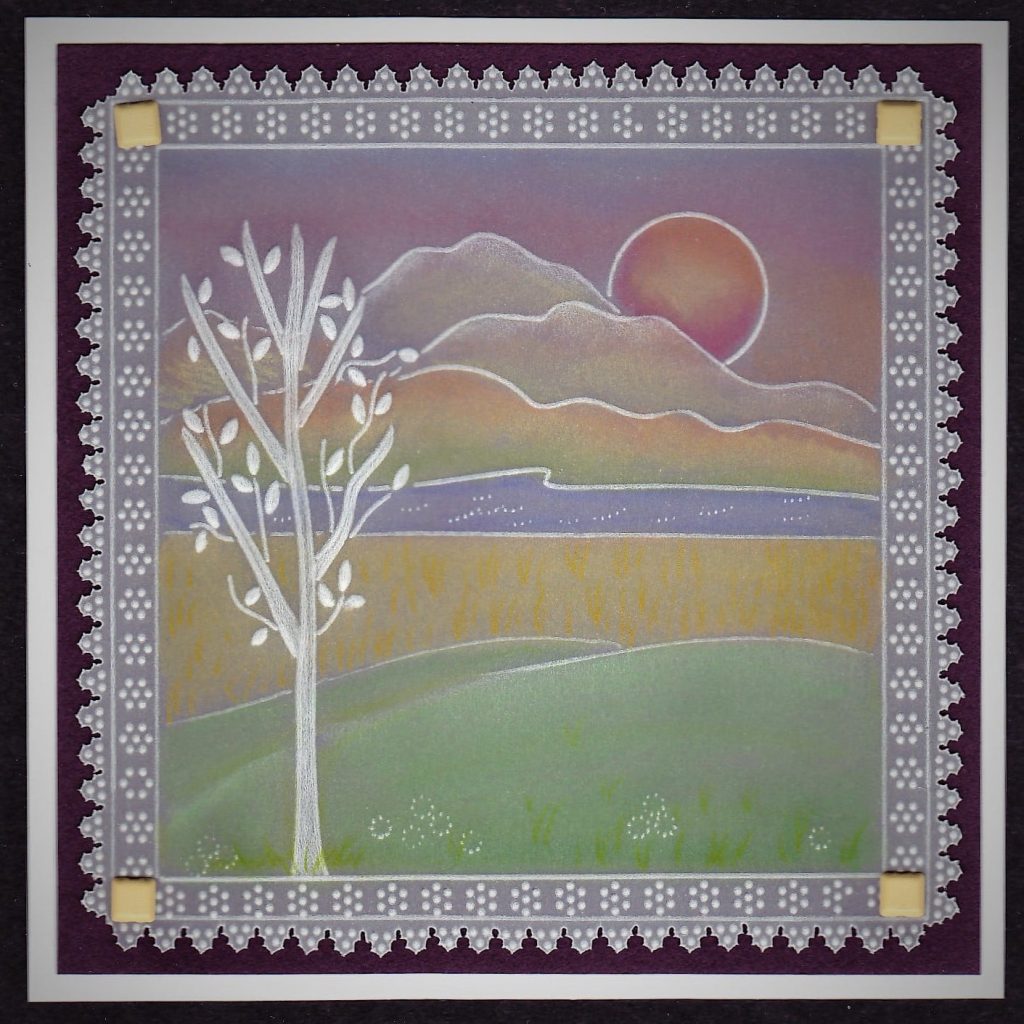
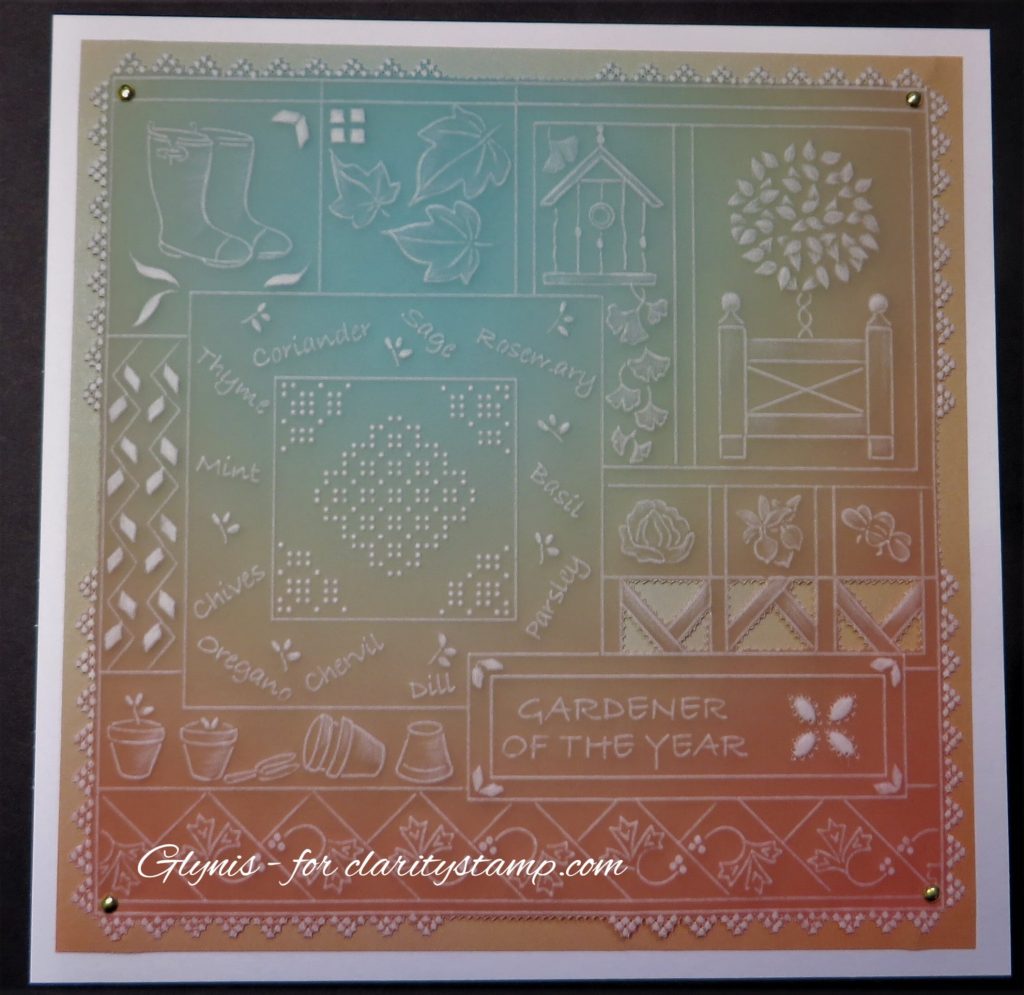
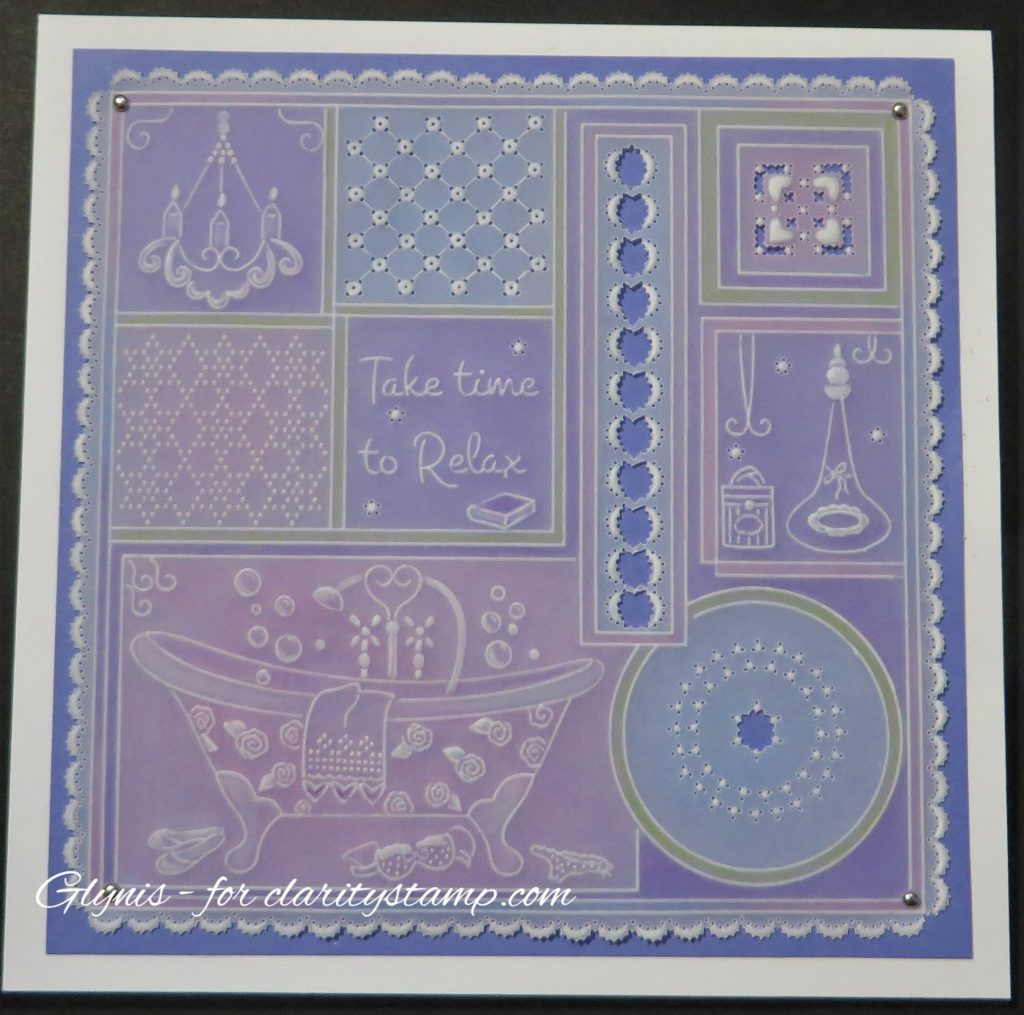
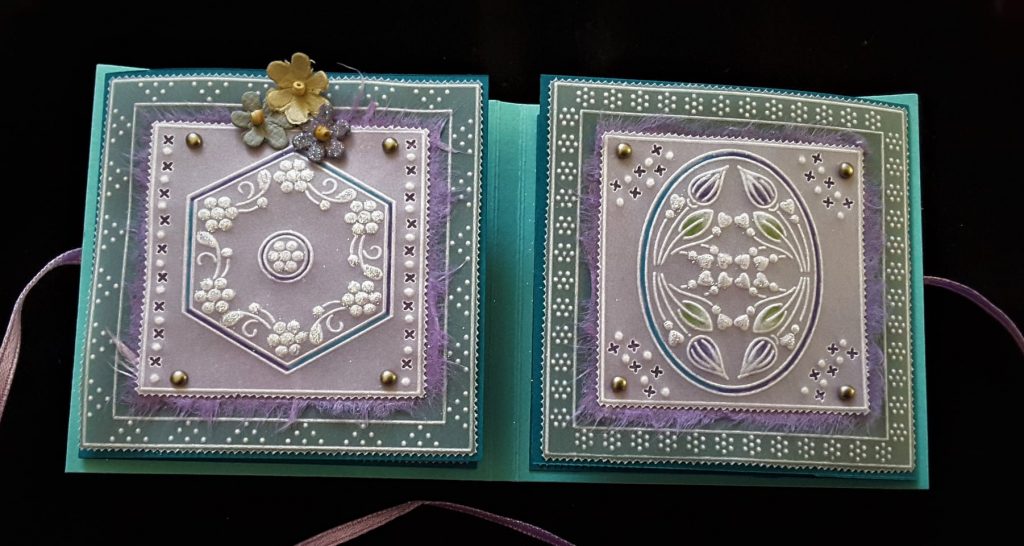
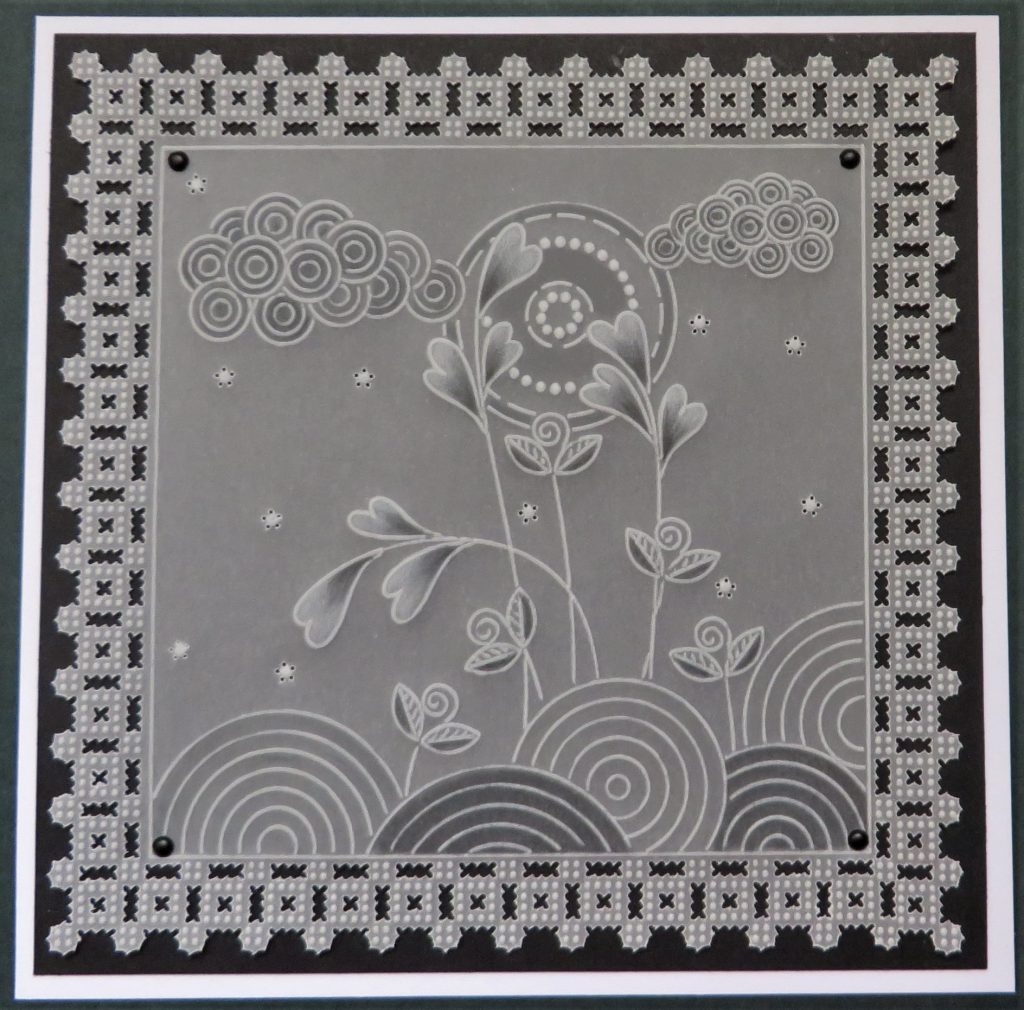

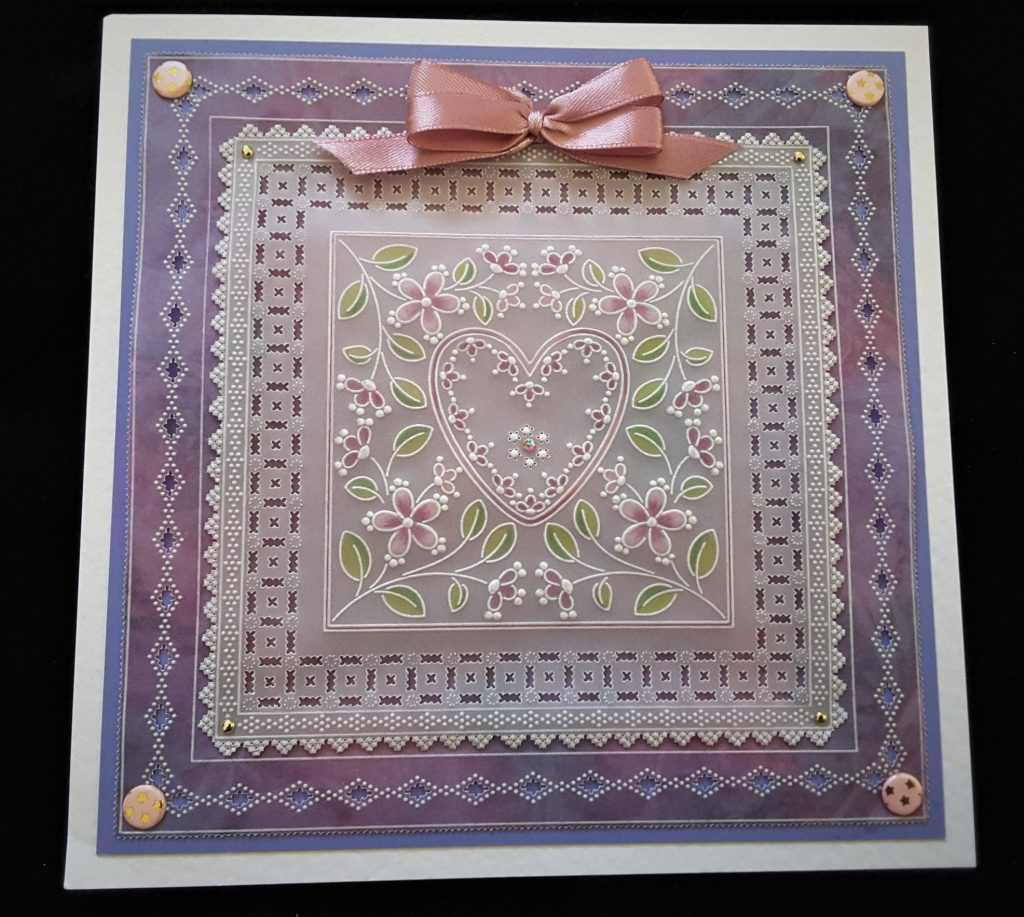
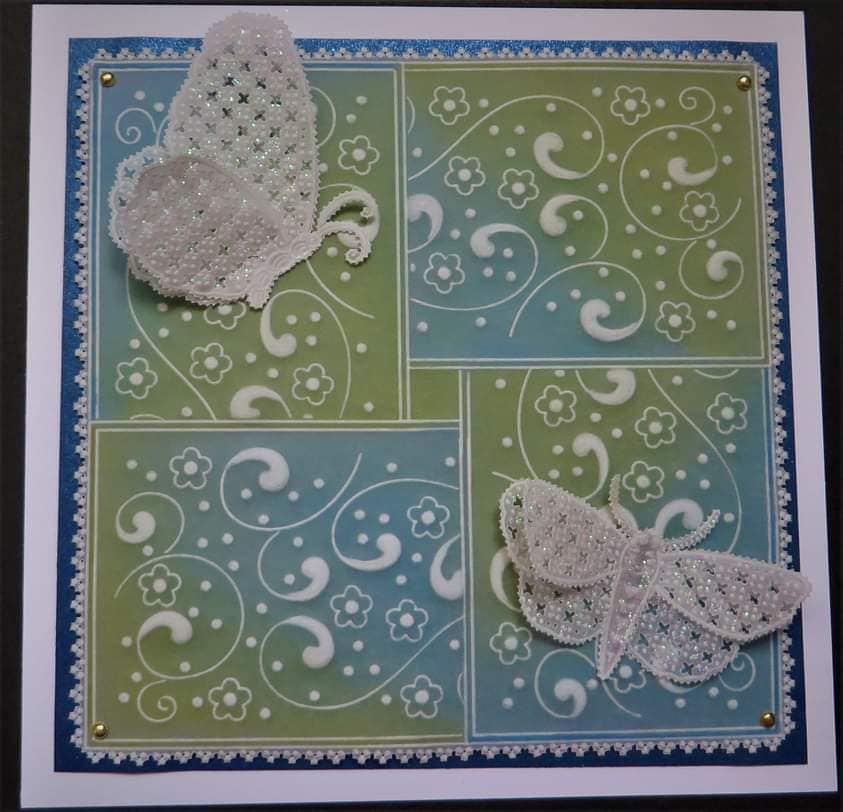
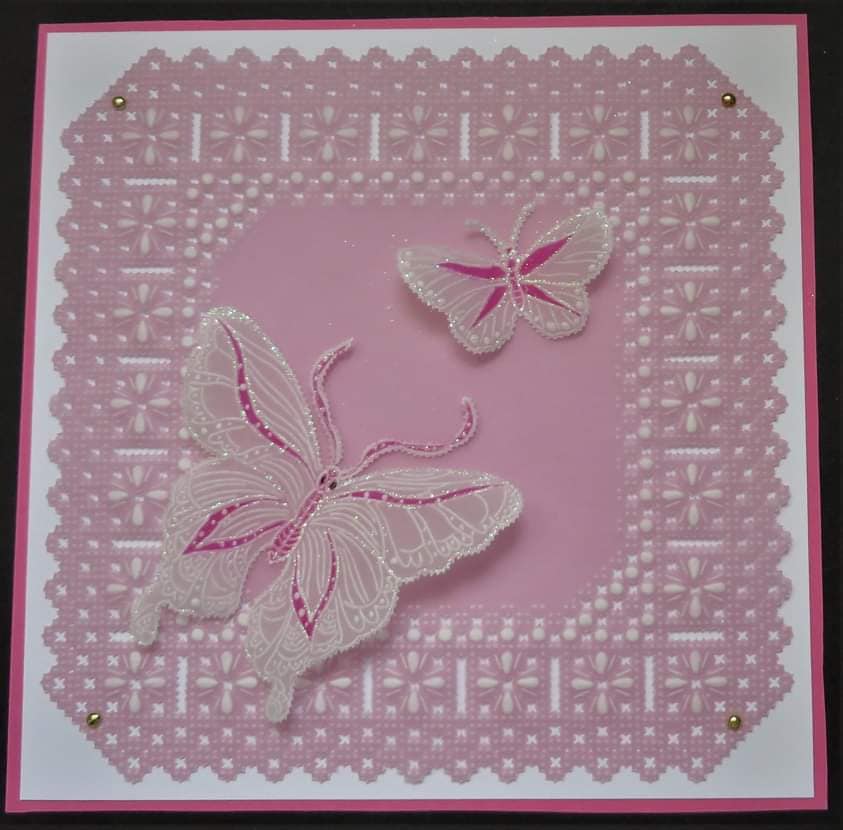
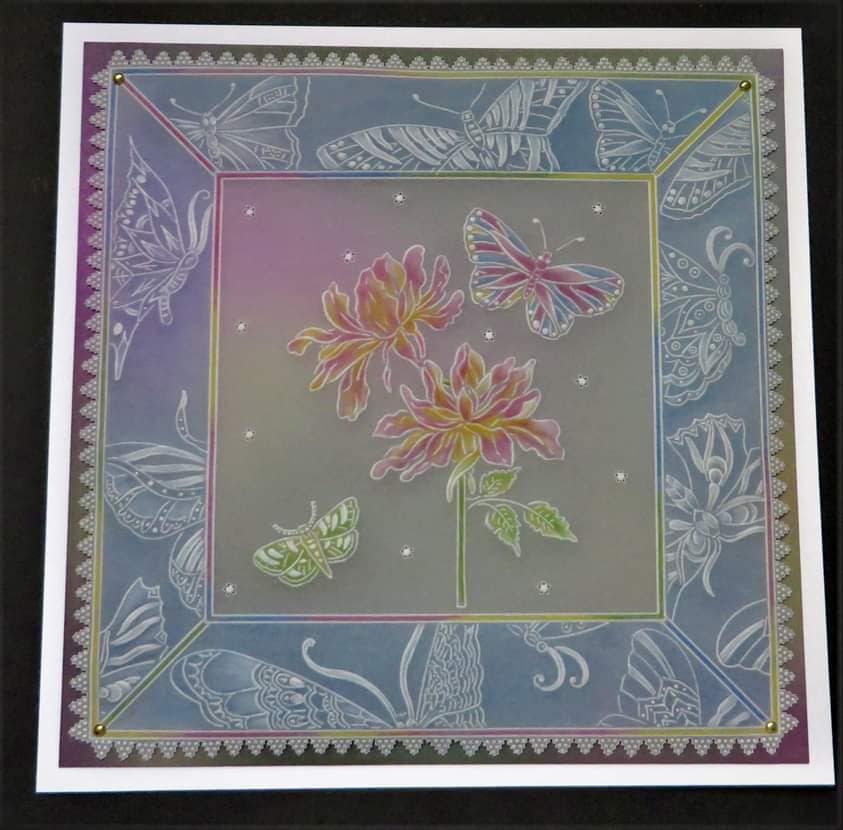
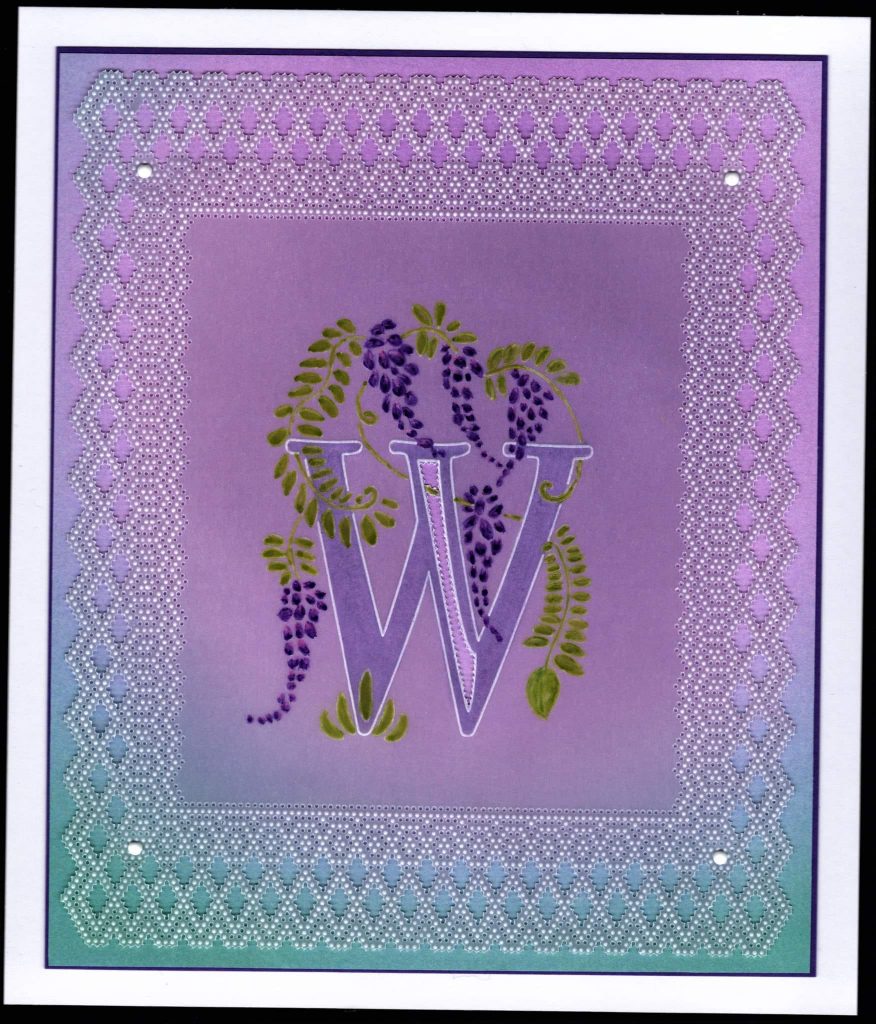
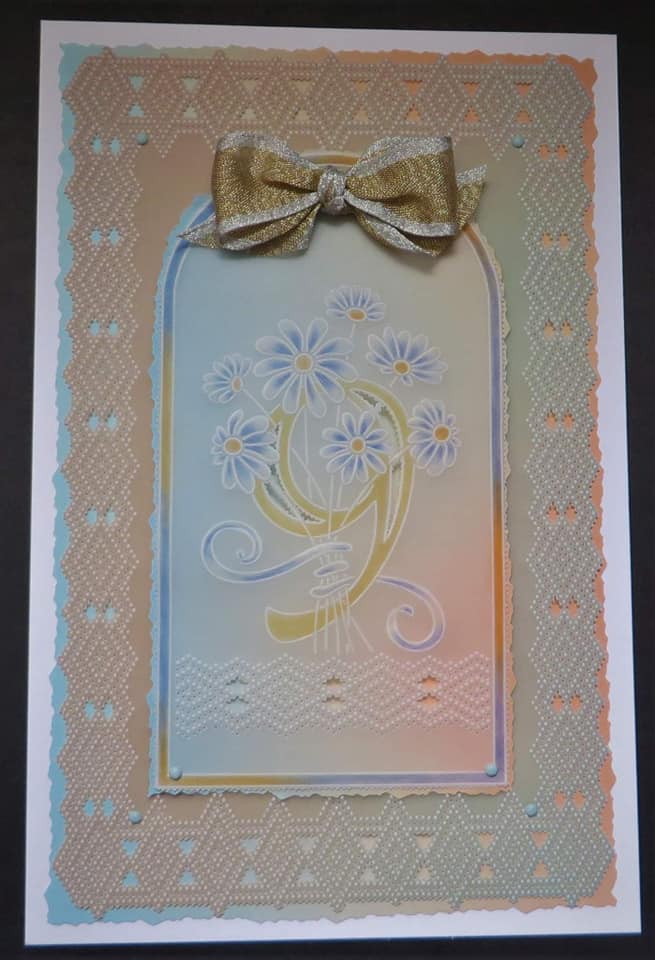
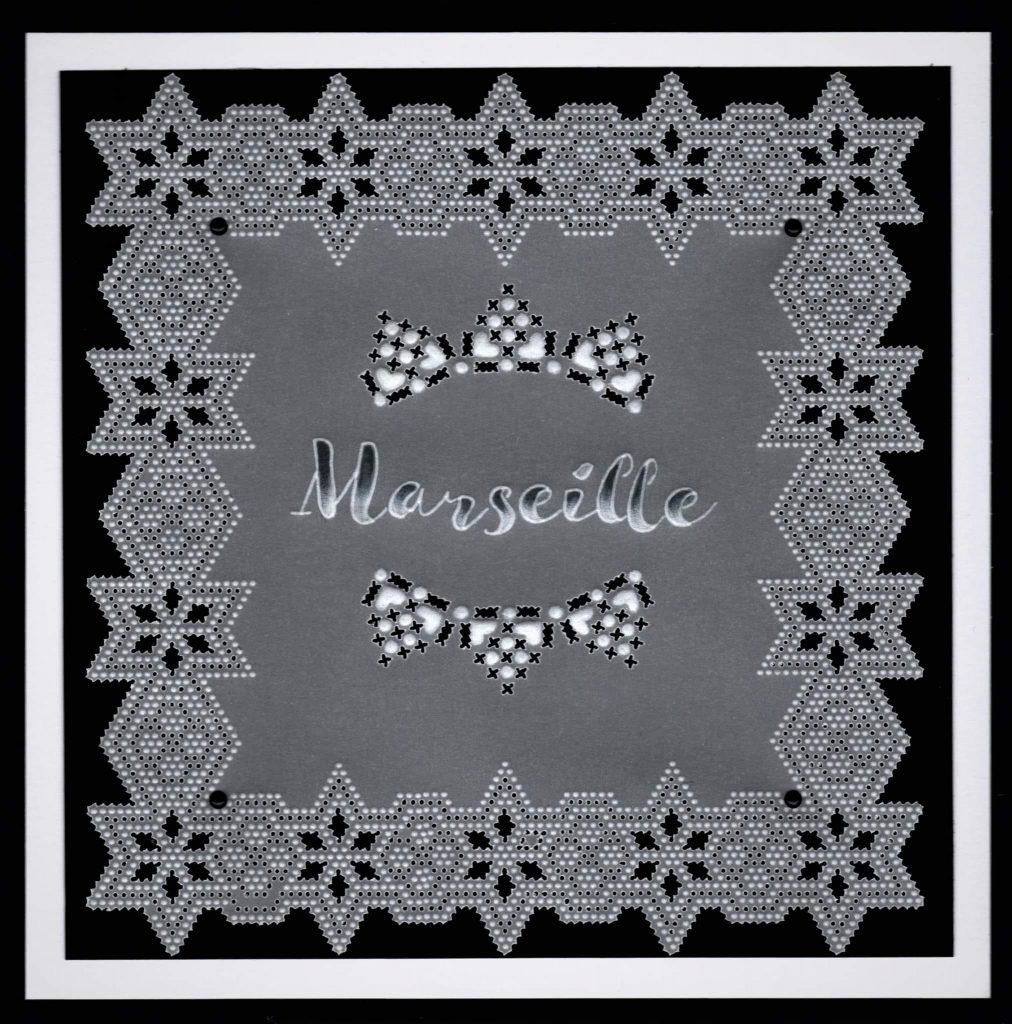

*Raises eyebrows* Every photo in this epic gallery is just the artwork that Glynis has shared on Groovi Worldwide in the last WEEK. She also puts her stamping samples on Clarity Worldwide. She’s so so good. I saw so much beautiful artwork this week online that I just needed to add this on to another wonderful step-by-step project. Hope you’ve enjoyed 🙂
Travel gently!
Lotsa love, Grace xo
Clarity – The Home of Art, Craft and Well-Being.
Thank you Glynis for another fantastic, easy to follow tutorial. Thank you too Grace for sharing Glynis’ amazing groovi cards. Wow what a post xxx
Another great project from Glynis again this week & her samples are beautiful. She seems to be on a roll especially with her stamping posts. Thanks for sharing them on here Grace.
Decided that I really needed to check out what was lurking in the loads of A4 storage boxes I have stacked on my shelves. I am now surrounded by UFO’s, some of which are way out of fashion !! Just goes to show how crafting has evolved over the last 15 years !!
Glynis must be like a well-honed machine to accomplish this amount of works of art in a week!😉However it’s an absolute testament to her skills in that quality still outshines quantity…I am in awe of the wonderful work she produces and the inspirational projects she shares with us. Clever lady!👍
I’m lucky she’s my teacher. Thank you for show casing her work.
Wow! Don’t know what to say except thank you so much. Xxx
Nice one Glynis. Thank you also to Team Clarity for my birthday card – much appreciated.