
Clarity’s Blog Tutorial: How To Make A Frame (With The A4 Square Plate Mate)
Hello hello! Grace here.
I hope this finds you well, safe and relaxed on this Sunday afternoon (depending on where you are in the world!).
We’re joined by the fantastic Jane Telford again this week. Lucky us!
I’ll hand you right over to our pink haired pro 🙂

Making a frame using the Plate Mate for A4/A4sq Grids
I do enjoy making grid patterns but they take ages and I usually end up with a mistake or two in them which makes me want to start over. That’s why I love the new patterns on the plate mate. Both the A5 and A4/A4sq versions are fabulous but the A4/A4sq version offers diagonal patterns which are always more of a challenge. I thought I would show you how I made a border for one of my samples using Cherry Greens butterfly collection of plates and show how I completed the card too.
Ingredients
Cherry Green’s Splash Some Colour A6 Plate (GRO-AN-41771-02)
Cherry Greens Splash of Colour A5 Plate (GRO-AN-41744-04)
Groovi GO plate mate (GRO-MA-40748-18)
Plate mate for A4/A4sq Grids (GRO-PA-41779-XX)
Basic Diagonal grid piercing plate (GRO-GG-40529-17)
A4 Plain Parchment (GRO-AC-40024-XX)
1 Needle Bold Tool (PER-TO-70028-XX)
1mm Ball Tool (PER-TO-70012-XX)
1.5mm Ball Tool (PER-TO-70004-XX)
3mm Ball Tool (PER-TO-70005-XX)
4.5mm Ball Tool (PER-TO-70015-XX)
Groovi Embossing Tool 1&2 (GRO-AC-40026-XX)
Groovi Embossing Tool 3&4 (GRO-AC-40027-XX)
Polychromos – 106, 109, 117, 170, 267, 154, 156, 149, 246, 263
4 white brads (PER-AC-70269-XX)
Indian summer designer paper (ACC-CA-30524-88)
8×8 card blank (ACC-CA-30620-88)
Method
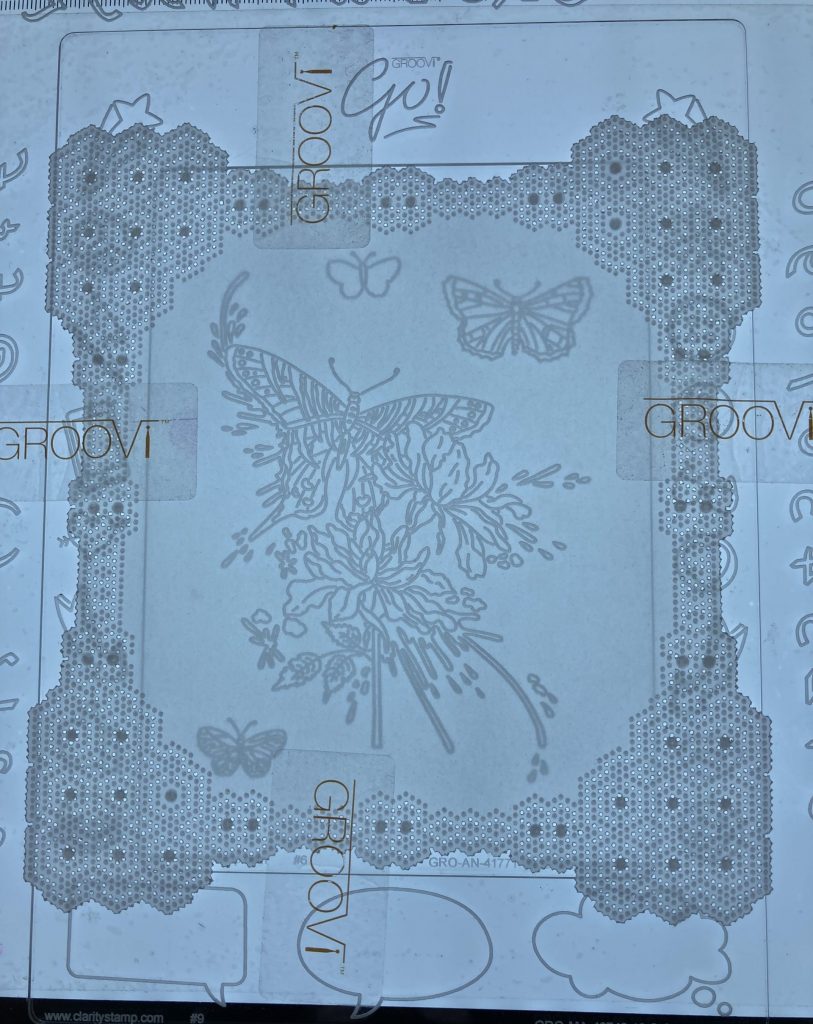
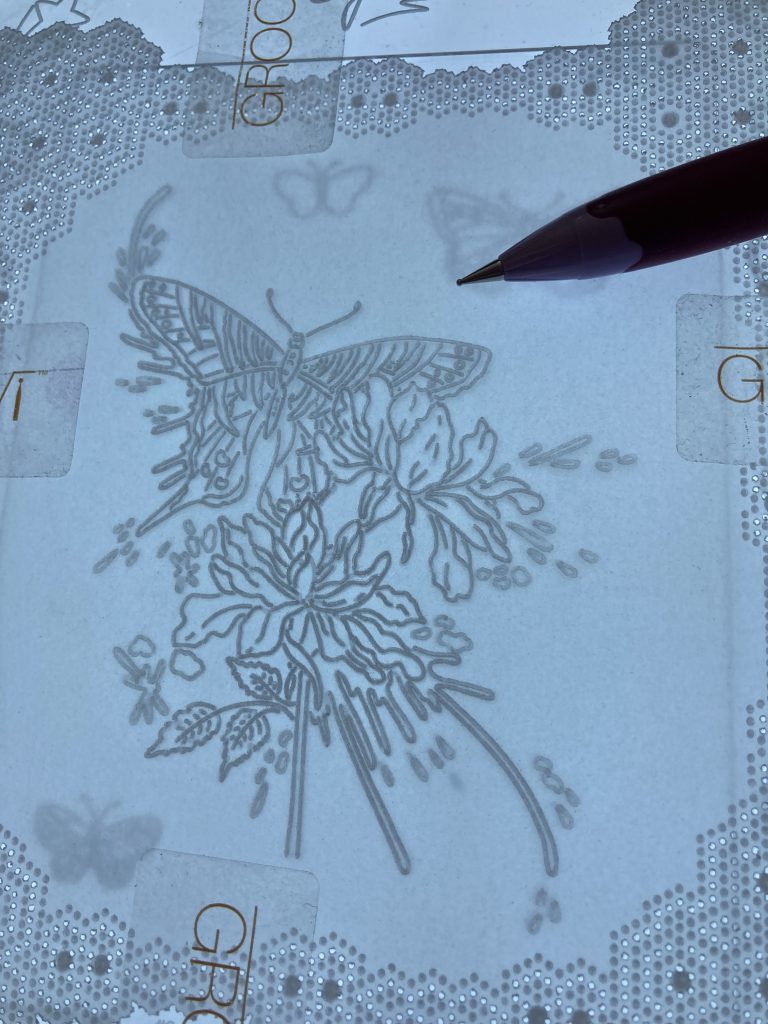
Step 1. Attach the parchment to the plate mate using the lines on the plate to ensure that it is lined up straight. It is important to keep the parchment square when working on this plate so that the frame will line up easily.
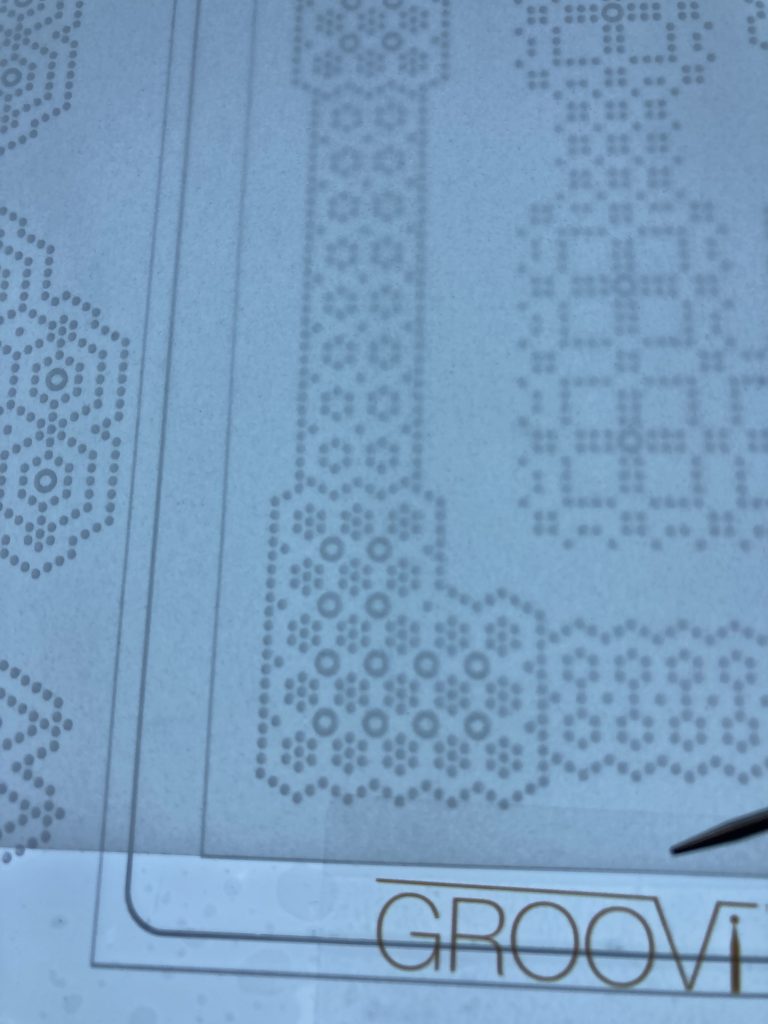
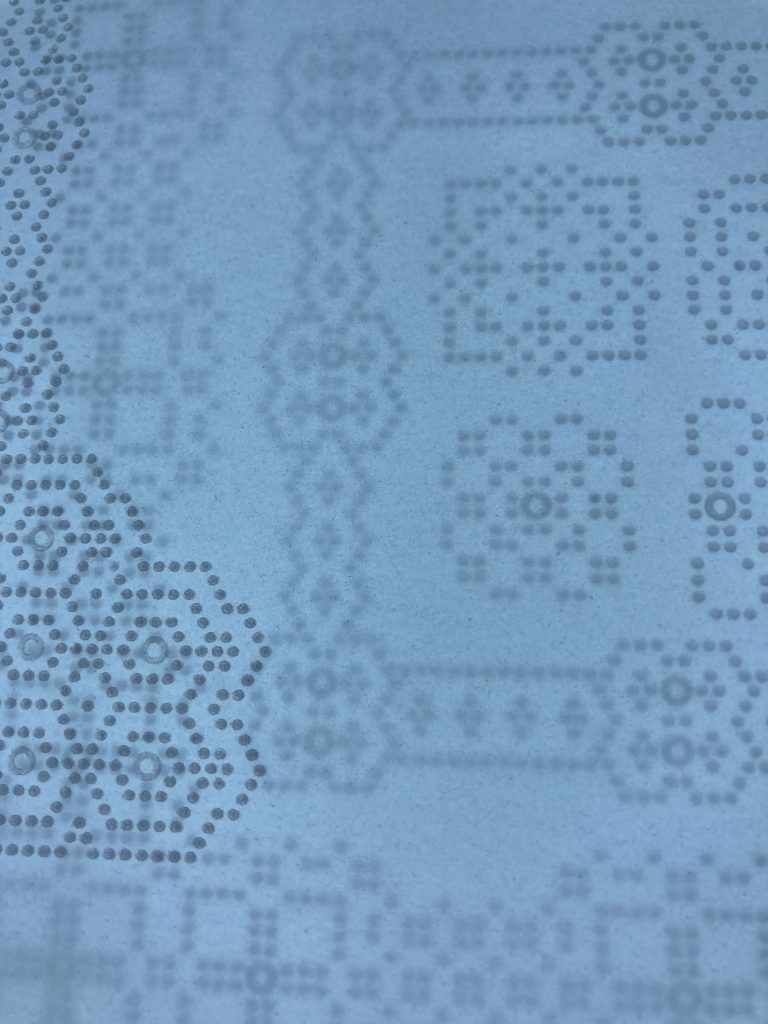
Step 2. Emboss the corner part of the border using the Groovi No.2 tool.
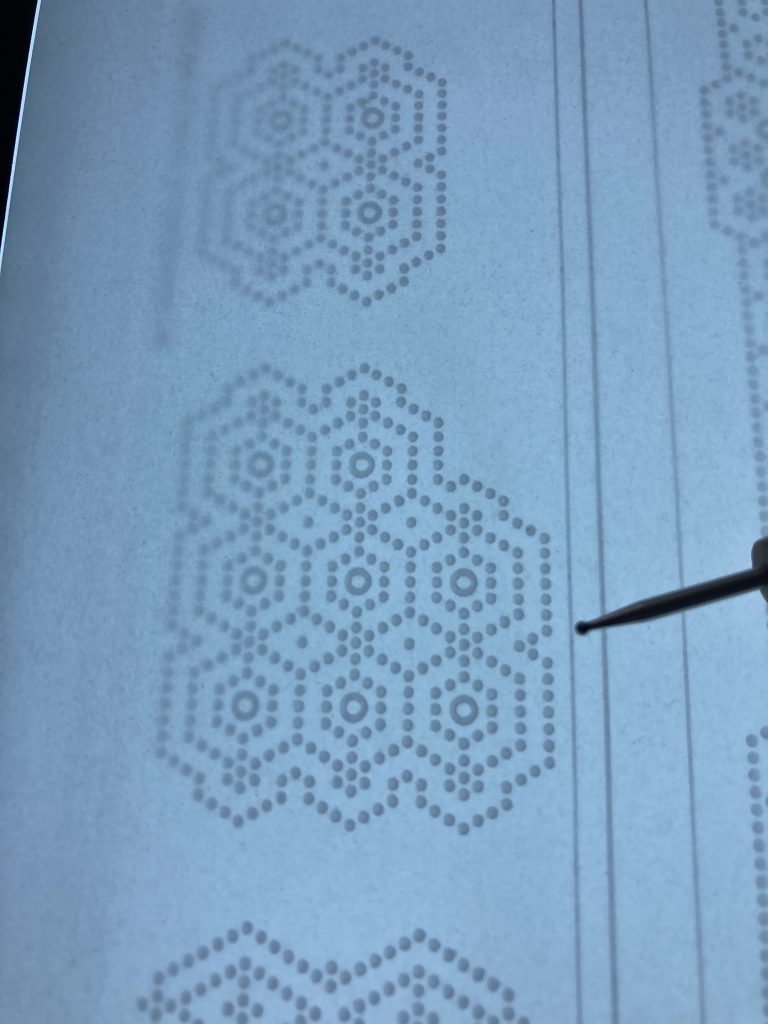
Step 3. Move the parchment and line up with the side piece that you like. Use the lines and dots on the plate to check the parchment is straight and even. Emboss the pattern.
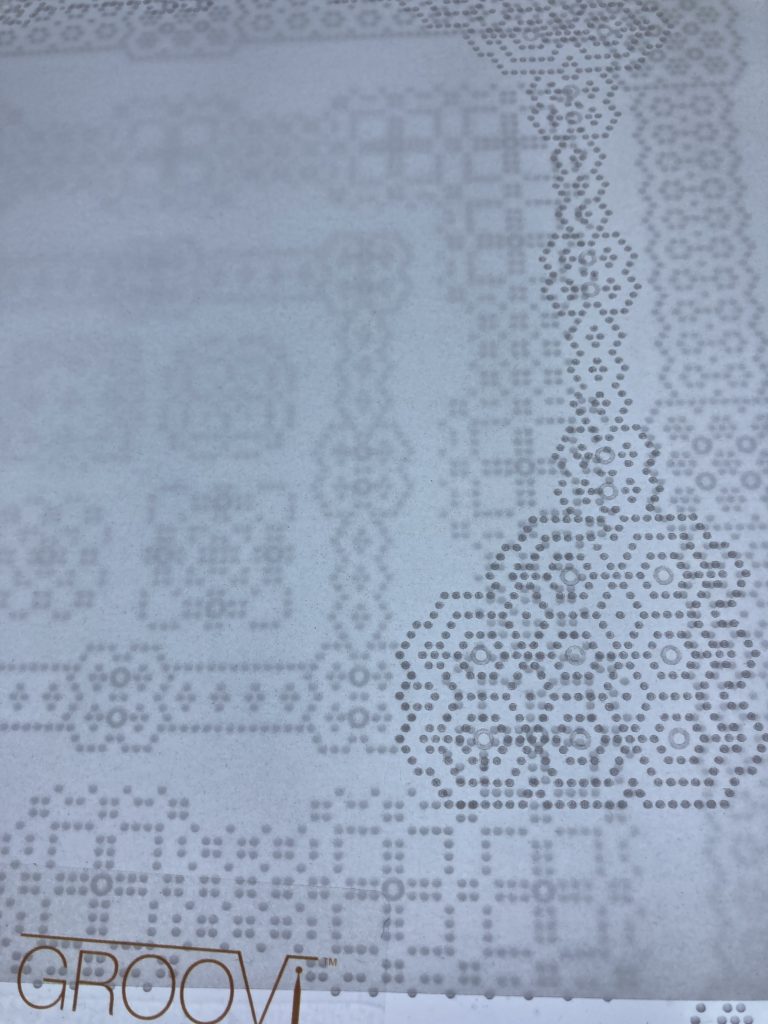
Step 4. Emboss the next corner and then the next side.
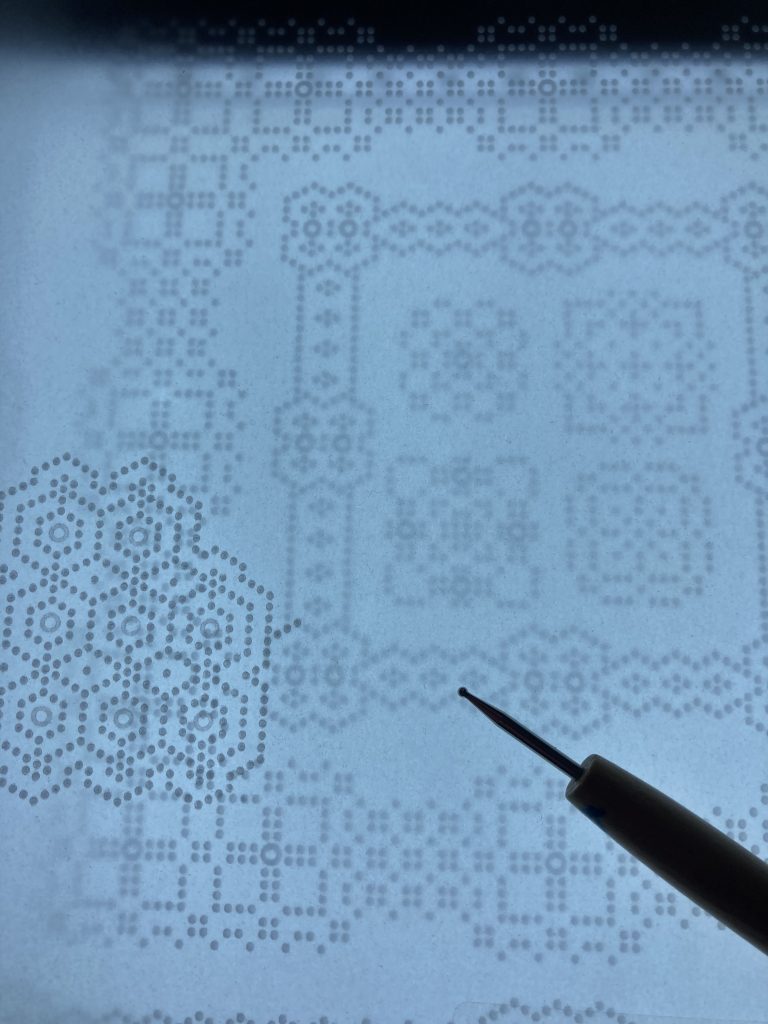
Step 5. Continue to move the parchment, adding the sides and corners until you get to the last corner. If you have lined it up correctly it should match up.
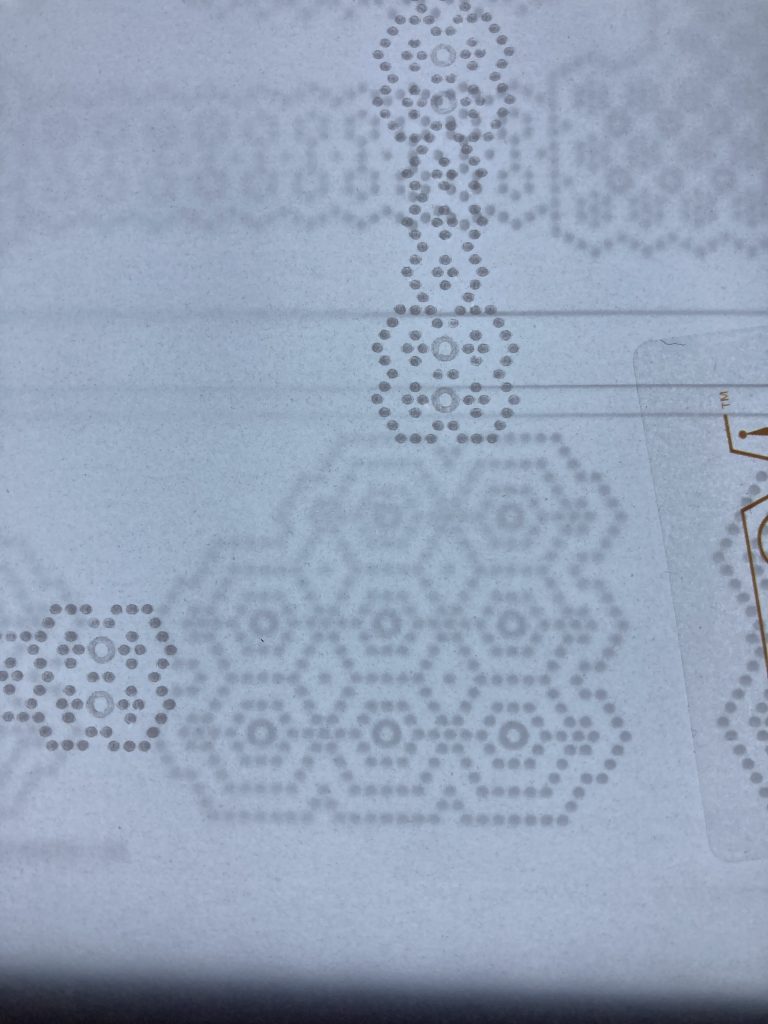
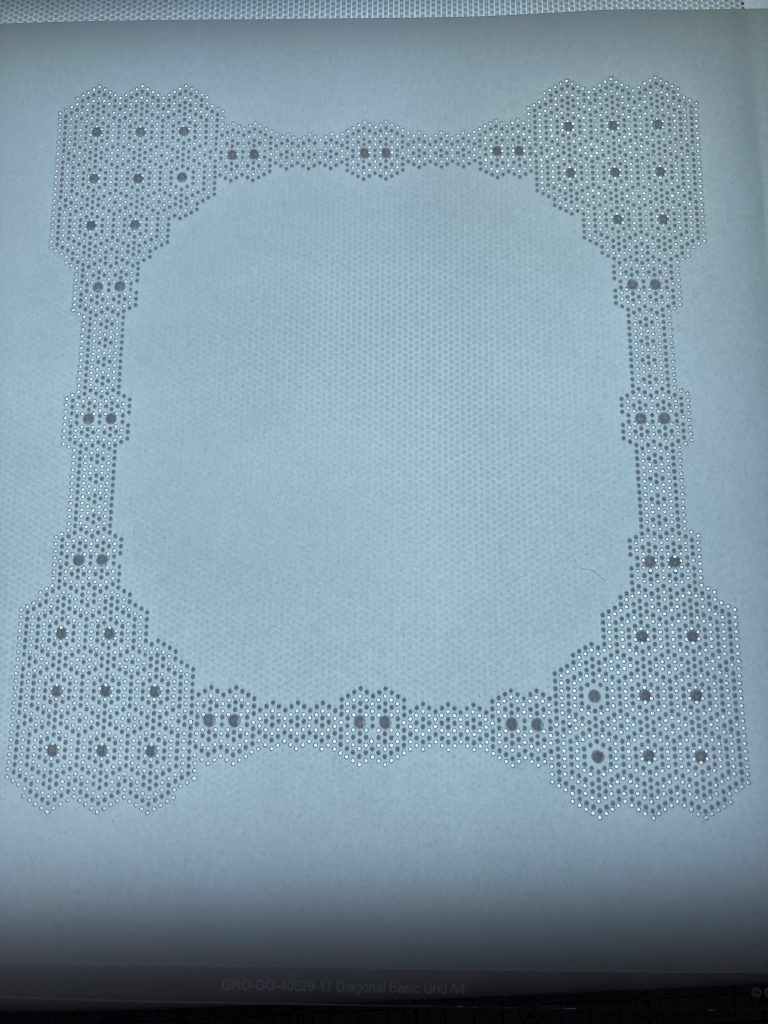
Step 6. Here is the completed fram which you could just trim on a paper trimmer or picot cut.
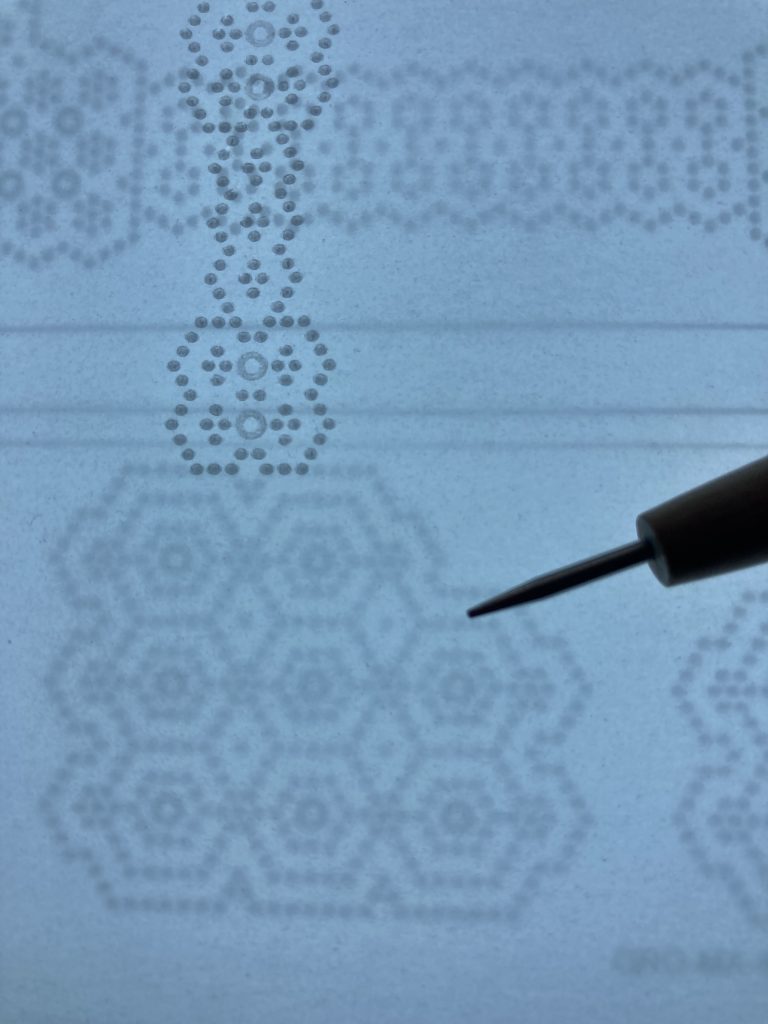
Add white work to the larger circles/dots.
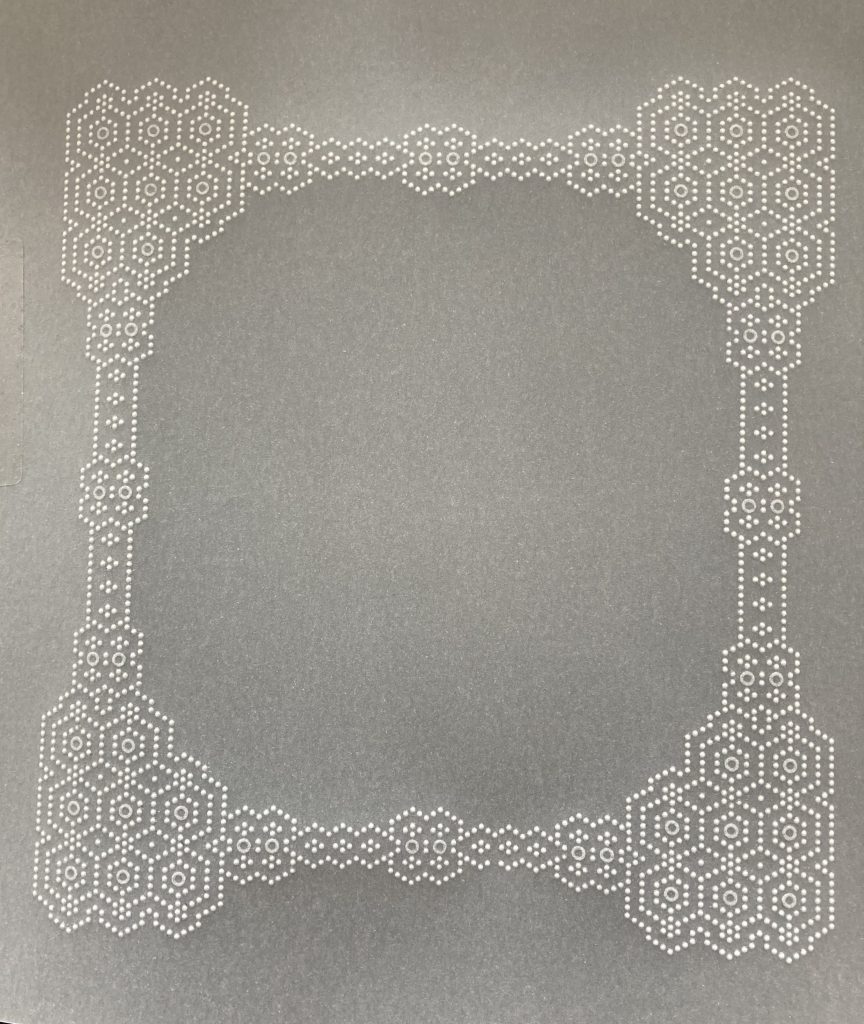
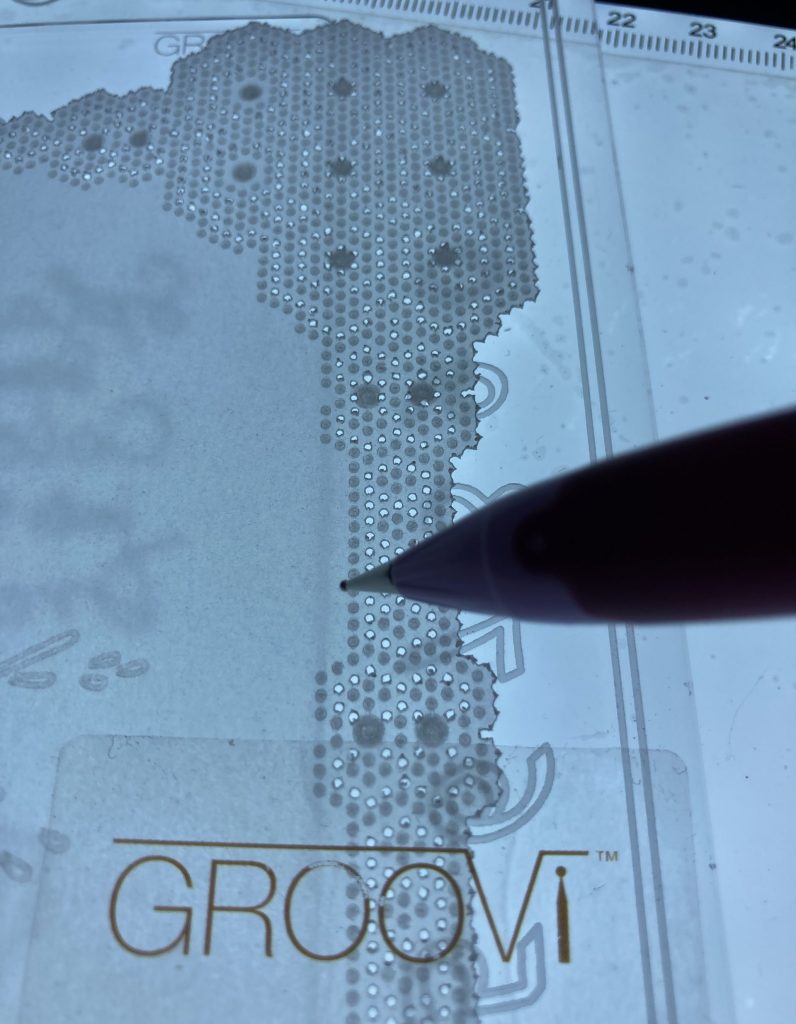
Step 7. Using the A4 Diagonal basic grid, line up the embossed pattern on the grid plate using pins. Using the A4 Diagonal grids means that you can do all the perforating in one go, rather than having to keep moving the parchment if you are using the A5sq Diagonal basic grid.
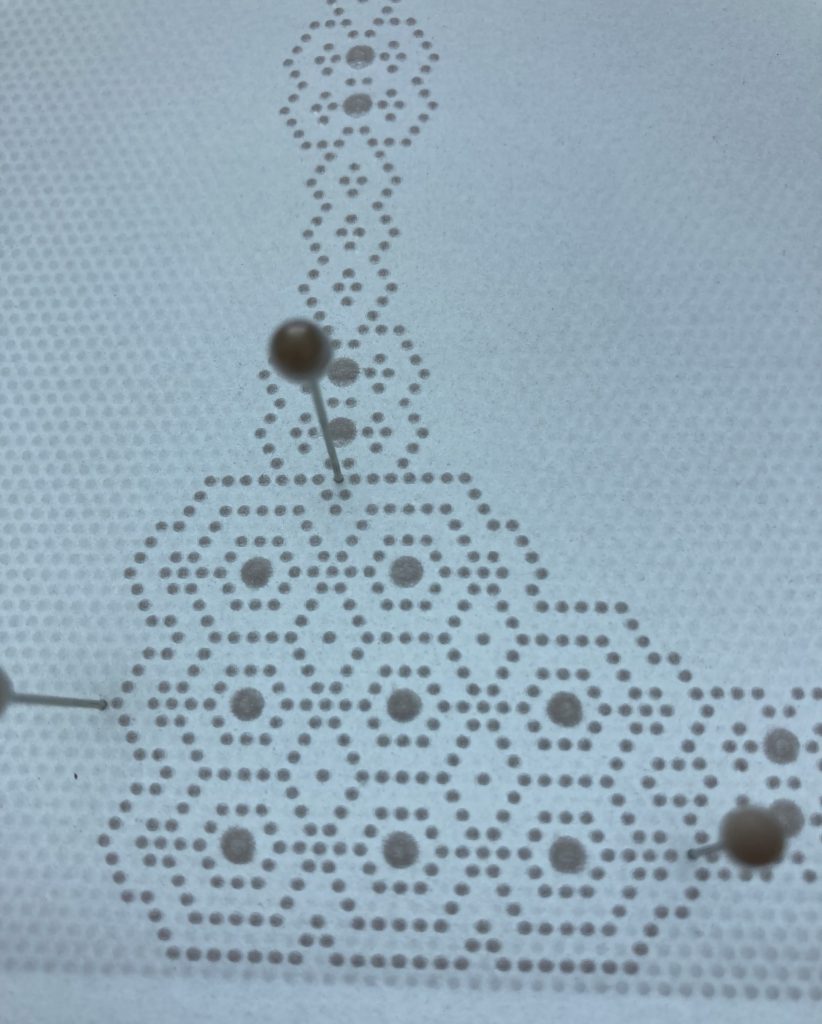
Step 8. Perforate all around the outer part of the frame and also within the design using the Pergamano 1 Needle Bold Tool.
Picot cut away the waste from around the frame and you now have a frame ready to use.
Step 9. Using the A6 plate in the Groovi GO plate mate, attach the frame with Groovi tabs so the back is uppermost.
Step 10. Emboss the splashes in the design using a 1.5mm ball tool or the Groovi No2 tool.
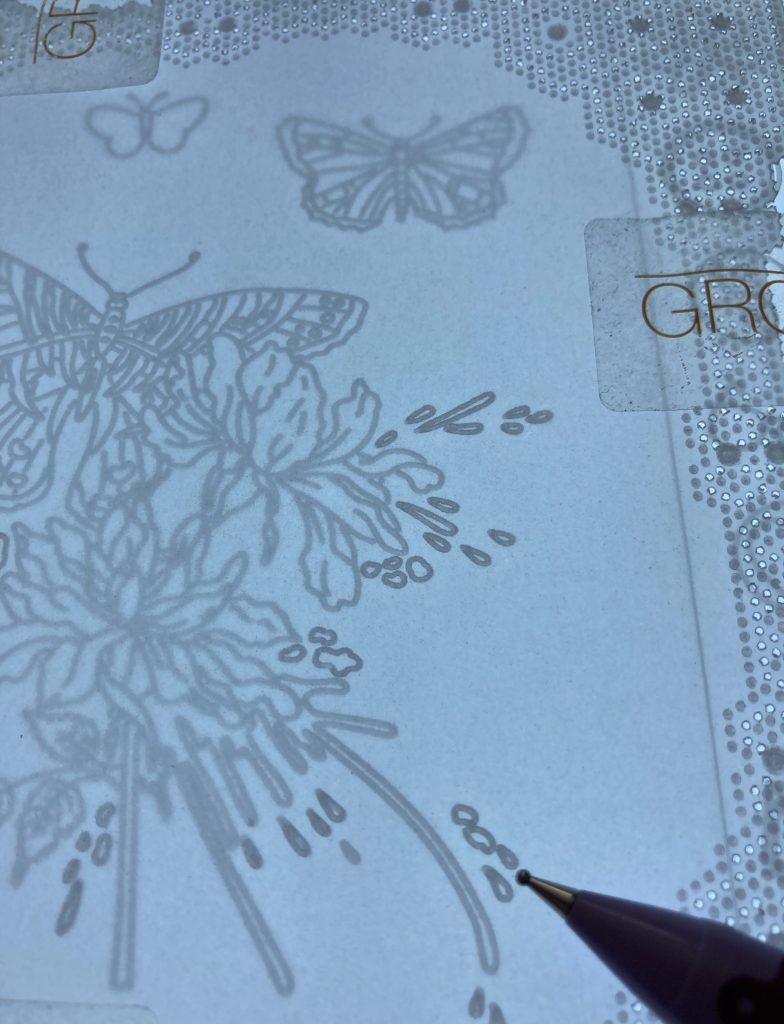
Step 11. Emboss the rest of the main design using the 1mm tool or Groovi No. 1 tool.
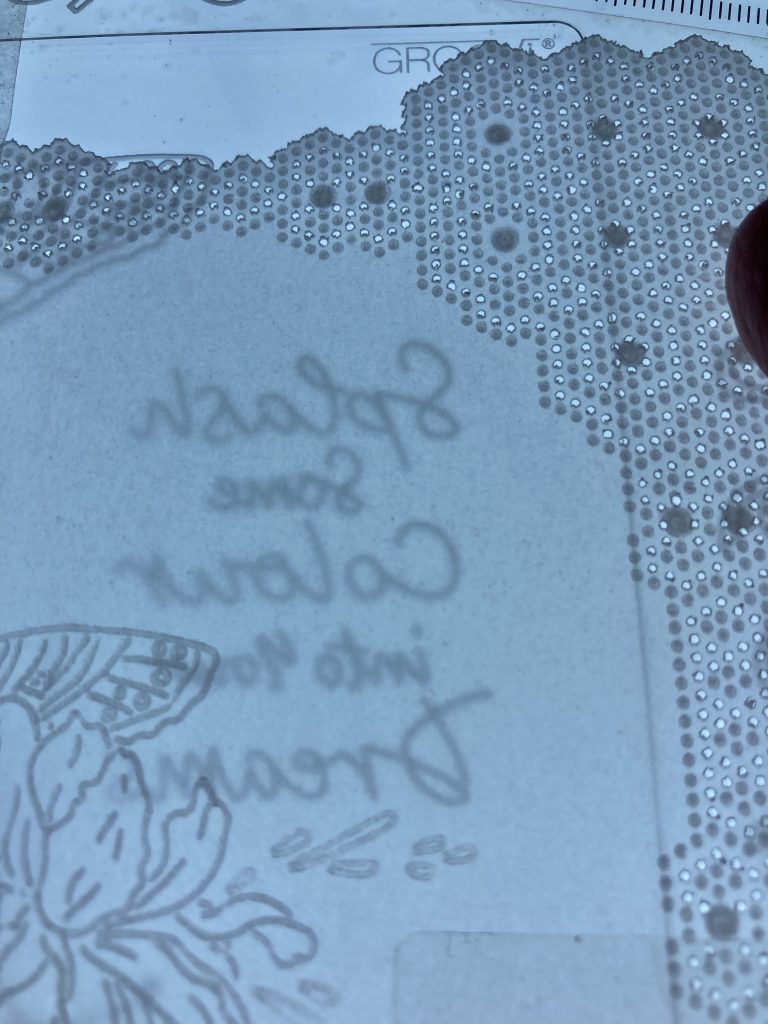
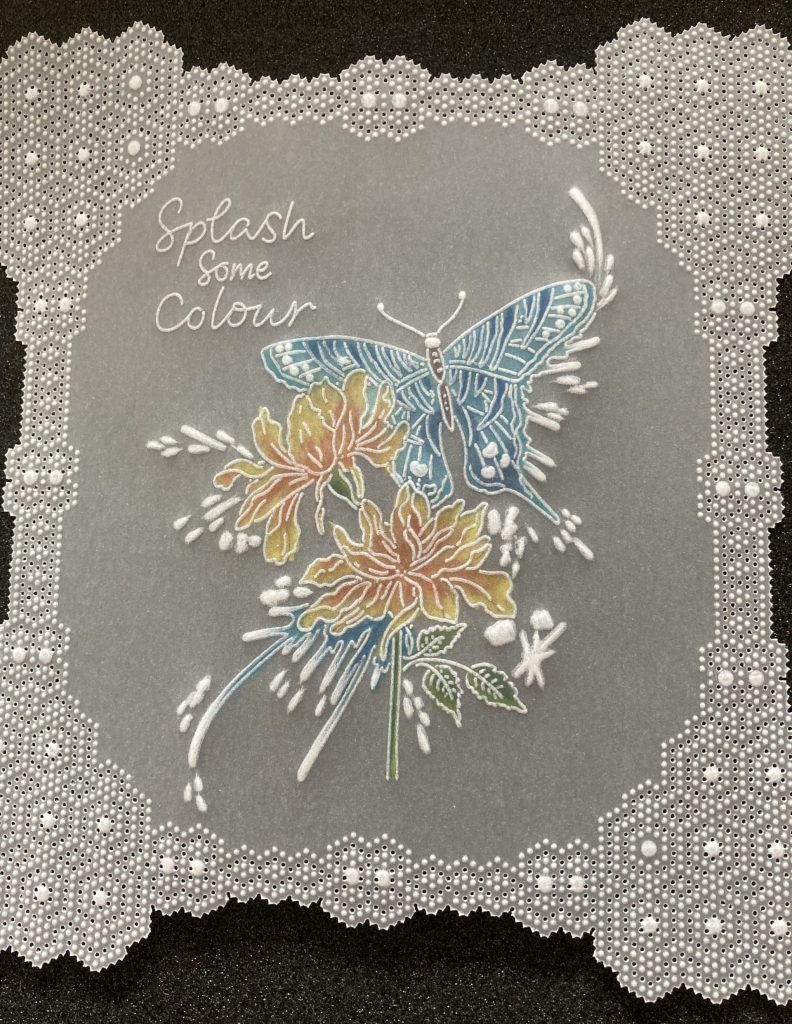
Step 12. Line up the parchment so that the words ‘Splash Some Colour’ are centered in the space you have. Use the lines on the plate to help you get the parchment straight for this.
Step 13. Use the 4.5 ball tool to start off the white work within the splashes.

Step 14. Use the smaller ball tools to complete the whitework.

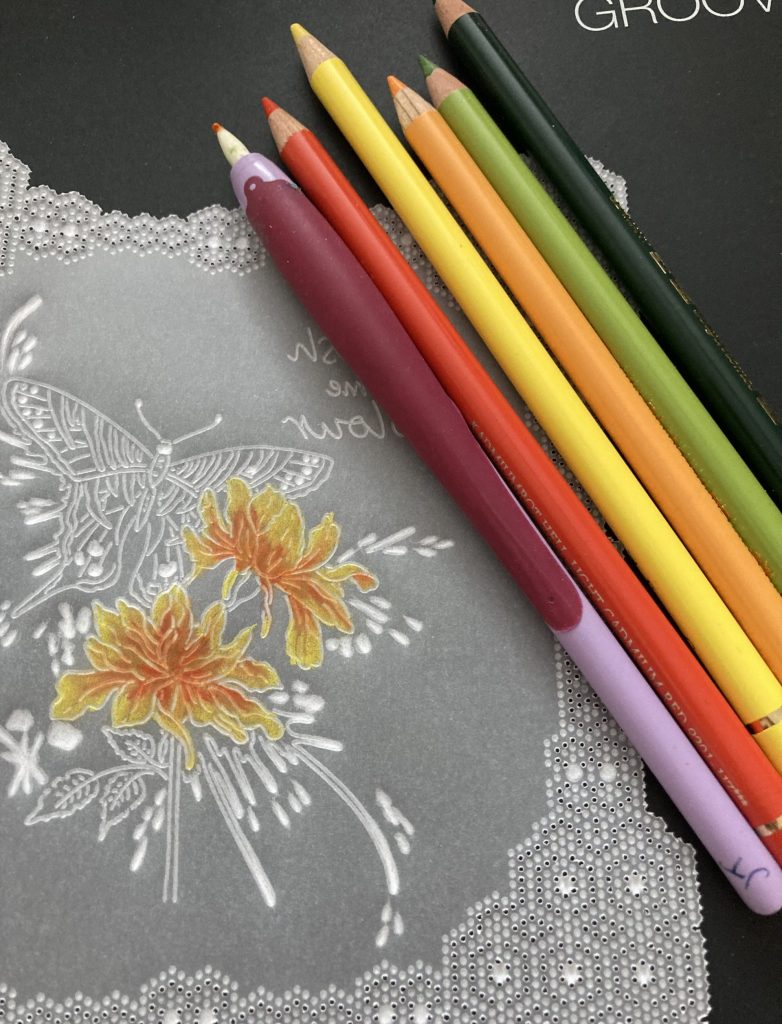
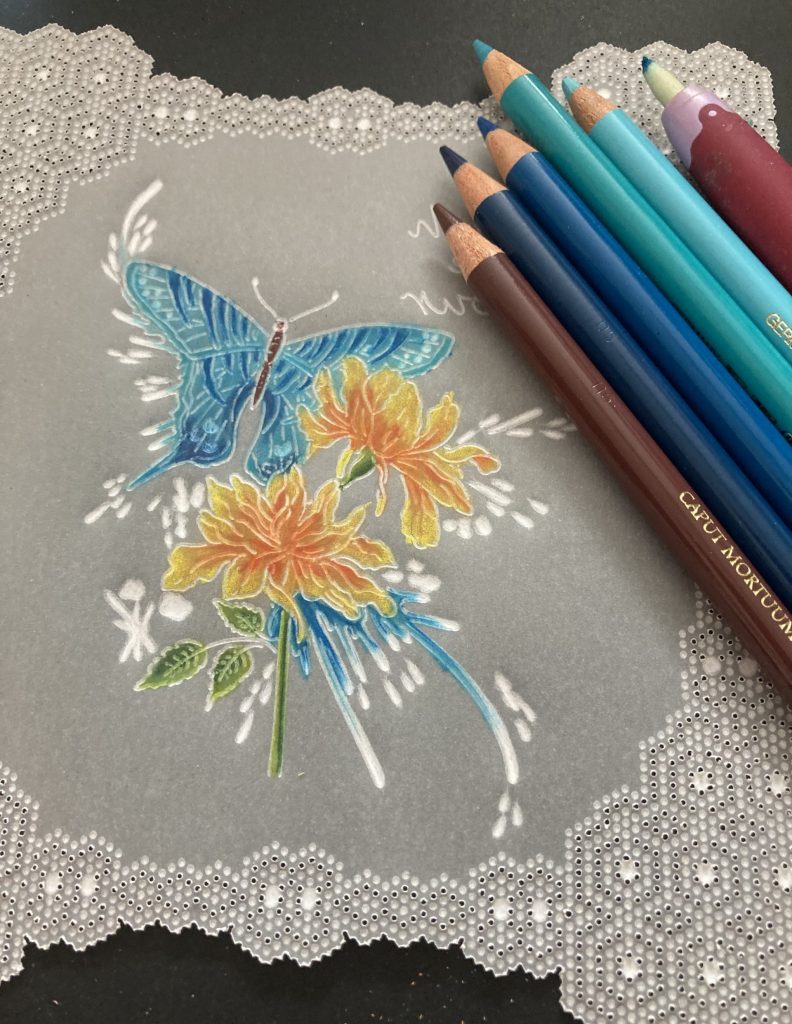
Step 15. Add colour to the design. I have used the Polychromos pencils but you could also use the Pergamano Perga Liner Pencils.
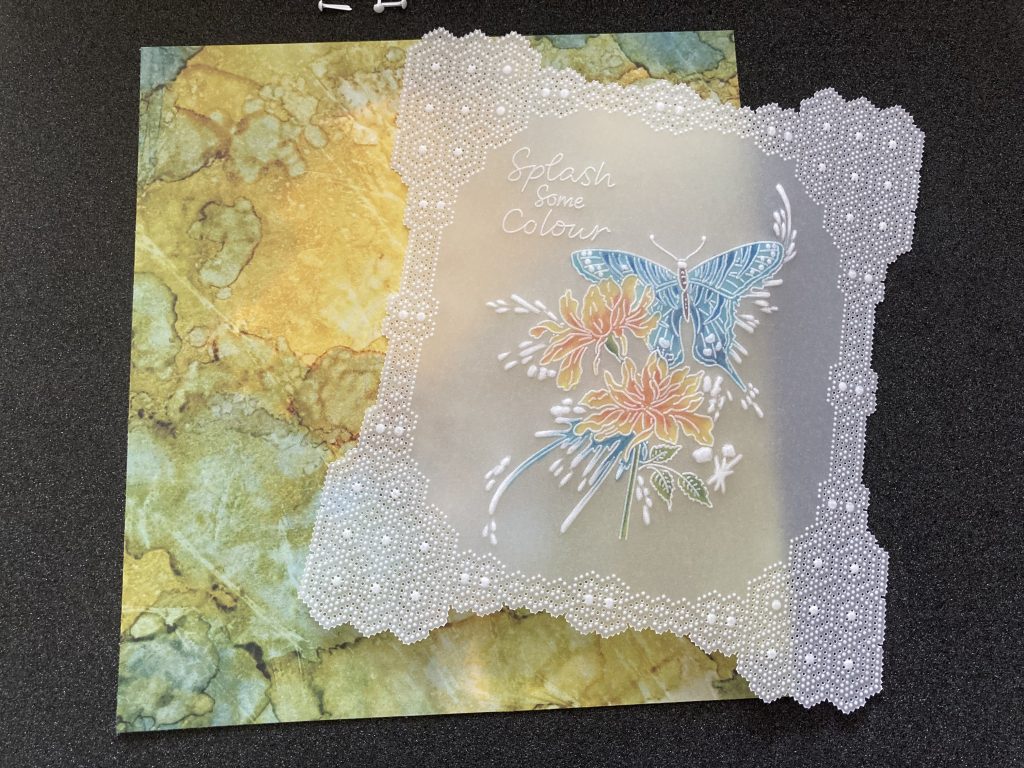
Step 16. Attach the parchment to a piece of designer paper using white brads.
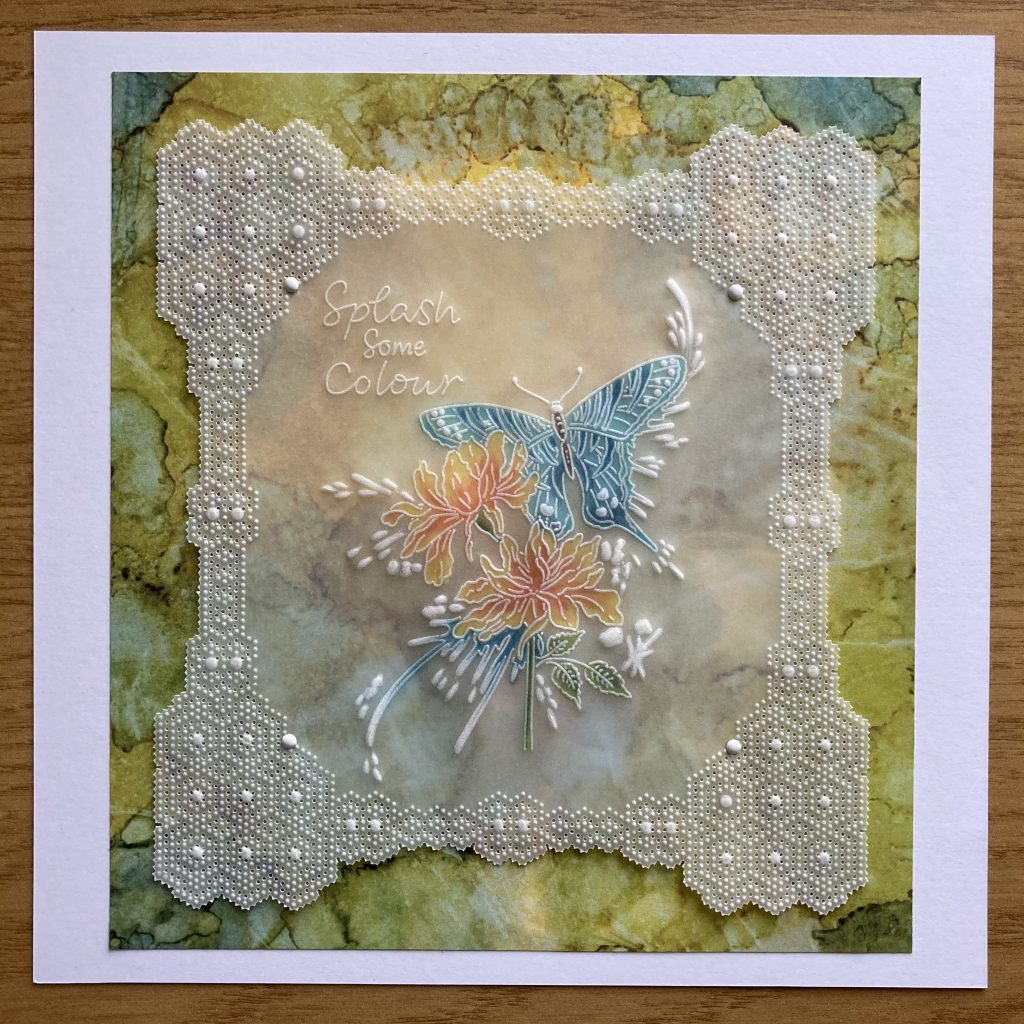
Step 17. Attach to an 8×8 card blank and the project is complete!
THANK YOU, JANE! That is absolutely stunning. We are so lucky to have your tutoring via these blog tutorials.
You may have seen some of your lovely cards from Jane’s last blog tutorial shared. Thank you for sharing them and/or emailing them to me. It is so wonderful to see the work you’ve created using these step by step projects. It makes it all worth while for us. If you’d like to send your versions of this week’s card, you can do so here: Grace@claritystamp.com
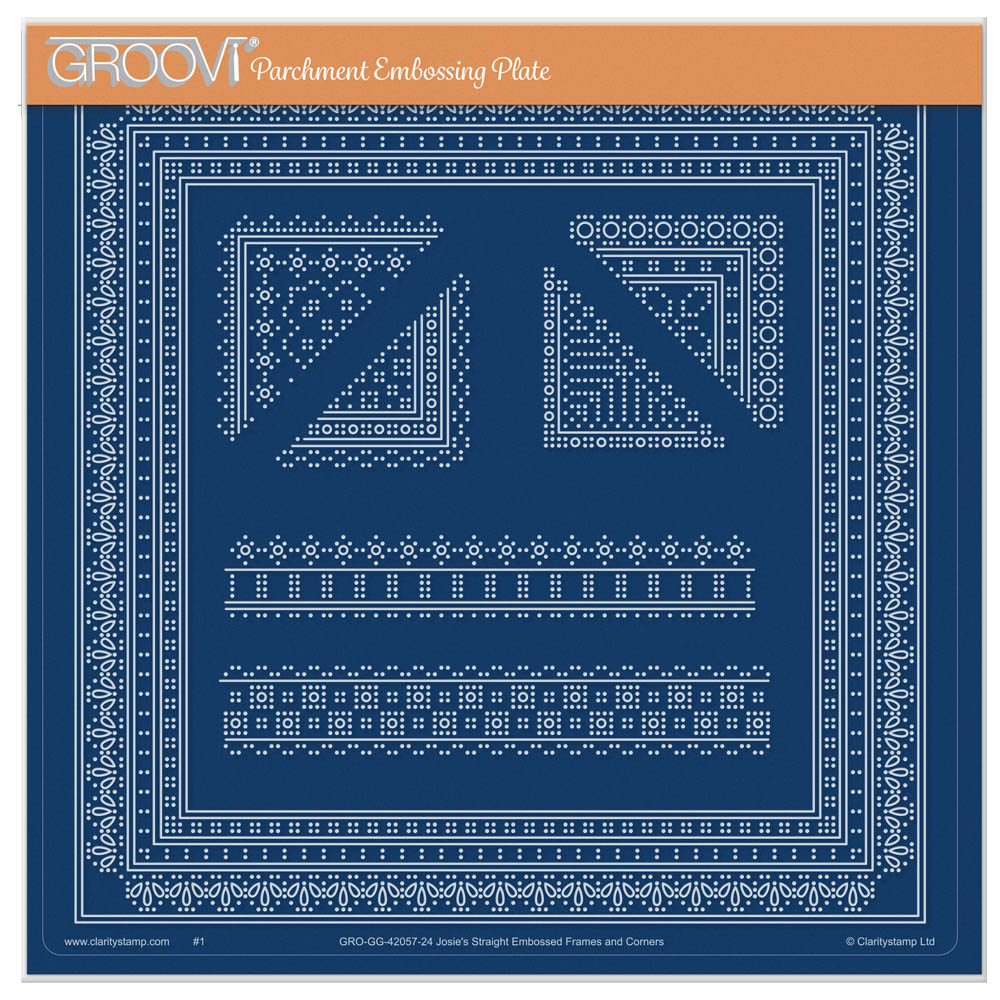
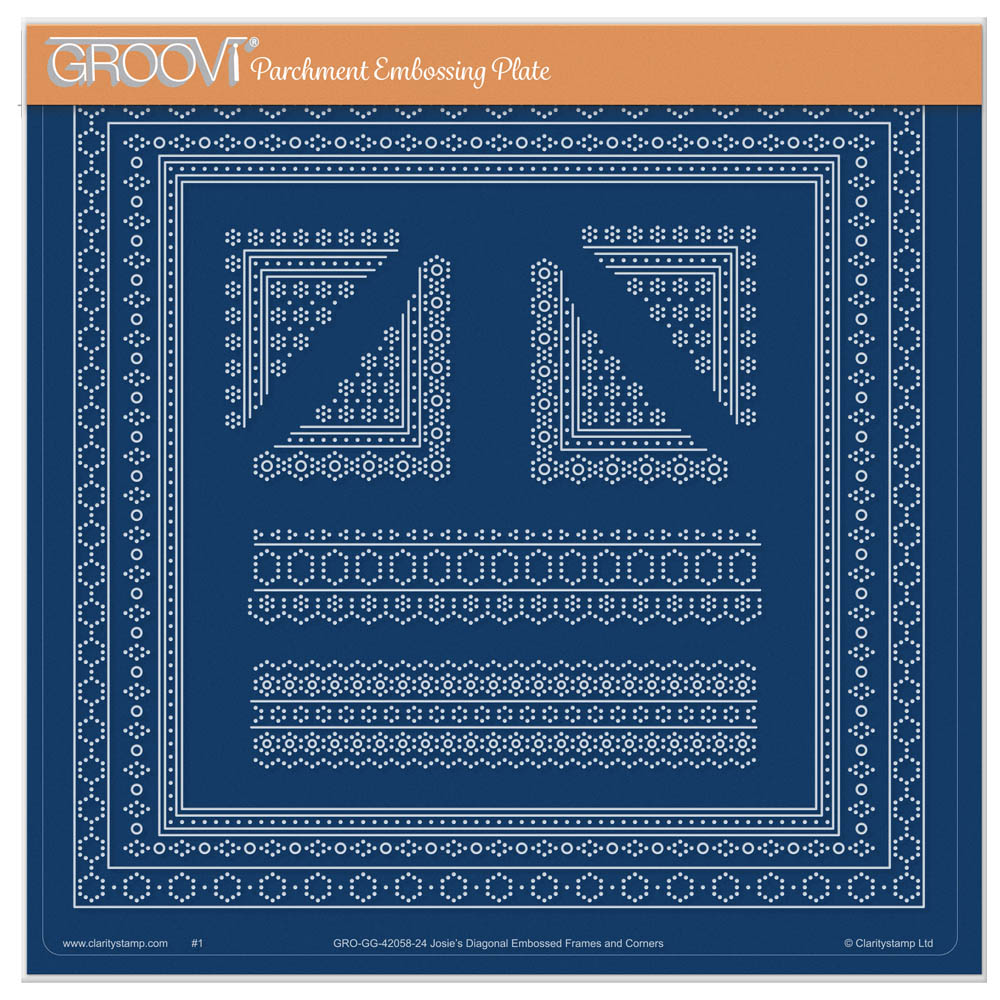
If you like to the look of this frame but don’t have the confidence create your own, then you may like the latest designs from Josie Davidson:
Josie’s Straight Embossed Frames & Corners – Available HERE
Josie’s Diagonal Embossed Frames & Corners – Available HERE
Everything that Jane has used has been put in one place over on the Clarity website HERE
Lotsa love, Grace & Jane xo
Clarity – The Home of Art, Craft and Well-Being.
Stunning as always. I really enjoy this inspirational blog. Thanks to both of you.
Absolutely beautiful! Such an inspiration to a novice such as myself.
Love all the tutorials. Wish I had time to complete them all. Thank you all at Clarity for all the time and effort you share with us.
Hi Grace, Hi Jane, Stunning, stunning, stunning, what an elegant card, truly stunning.
Lots of love from Patricia xx
Thanks Jane for your demo it’s made me use the plate I don’t know which plate I will put in the middle I’ve certainly plenty to choose from xx
That looks lovely Jane. Thank you and Grace for posting this project.
Thank you Grace for sharing another great project by Jane. I realised I had read the blog on my phone yesterday but hadn’t commented. I have already said to Jane that I won’t be quite so quick off the mark this week but will definitely try the frame as they always useful to have finished. Hope you have a great week, will catch up with you on Saturday xx
Thanks Grace and Jane, a beautiful project. I did a simple pattern without a plate just the square dots one, and, yes, it was difficult and yess, I did make a mistake or two ! still impressed myself for working it out ! However, the plate with the pattern on is on it’s way ! X