
Clarity’s Blog Tutorial: How to Snip Delicate Lines
Hello hello! Grace here.
I hope this finds you safe, happy, and relaxing on this sunny Sunday! It’s sunny here in Brooklyn anyway! To our UK friends…

On this lovely English Mother’s Day, we have a real treat for you! The wonderful Glynis Whitehead is back in our virtual bubble this week 🙂 This is her third bloggy tutorial focusing specifically on snip snip snipping! You can find project #1 here, and project #2 here.
But let’s get cracking on number 3! I’ll hand you over to the lovely Glynis…

Ingredients
Willowy Wreath (GRO-40570-03)
Nested Squares (GRO-PA-40037-03)
Diagonal Border Grid 2 (GRO-GG-40355-14)
Starter Kit Embossing Tool 1 & 2 (GRO-AC-40026-XX)
Pergamano Embossing Tools (4.5mm and 1.5mm)
Perga Liners A15 7 A16 (PER-CO-70063-XX)
Blending Pen & Nibs (PER-AC-70300-XX)
Pergamano 2-needle Perforating Tool (PER-TO-70037-XX)
Northern Lights Designer Paper (GRO-CA-30526-88)
Method
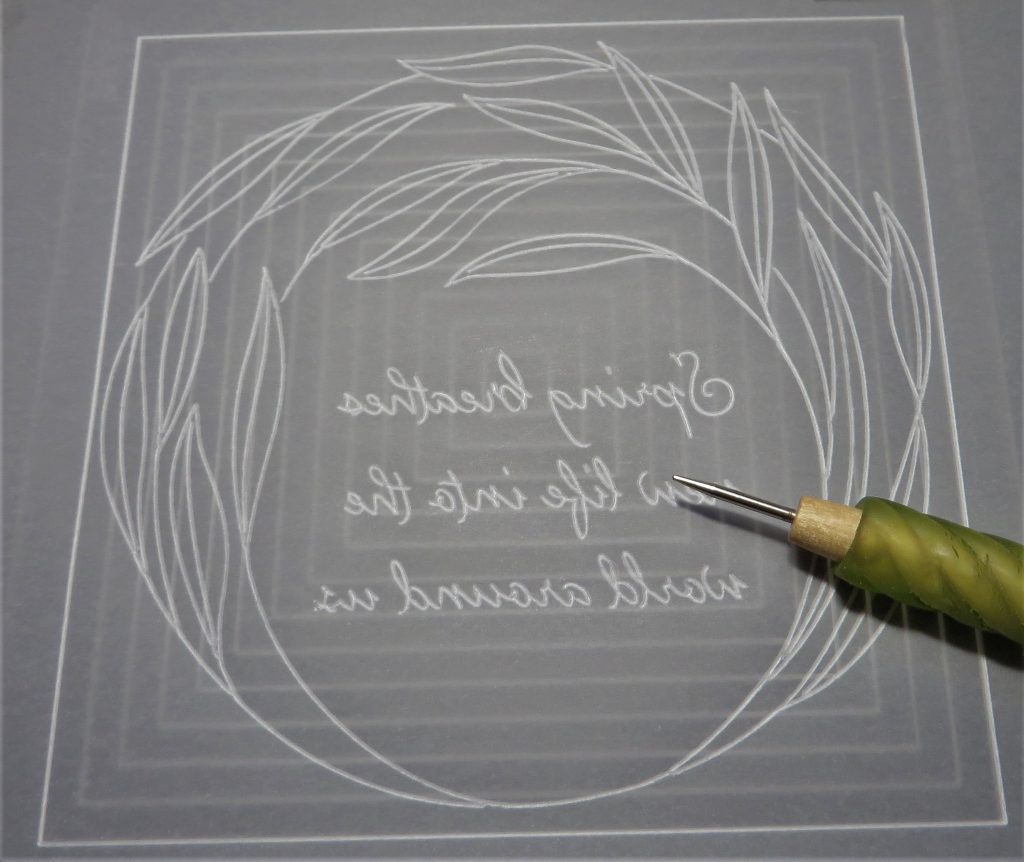
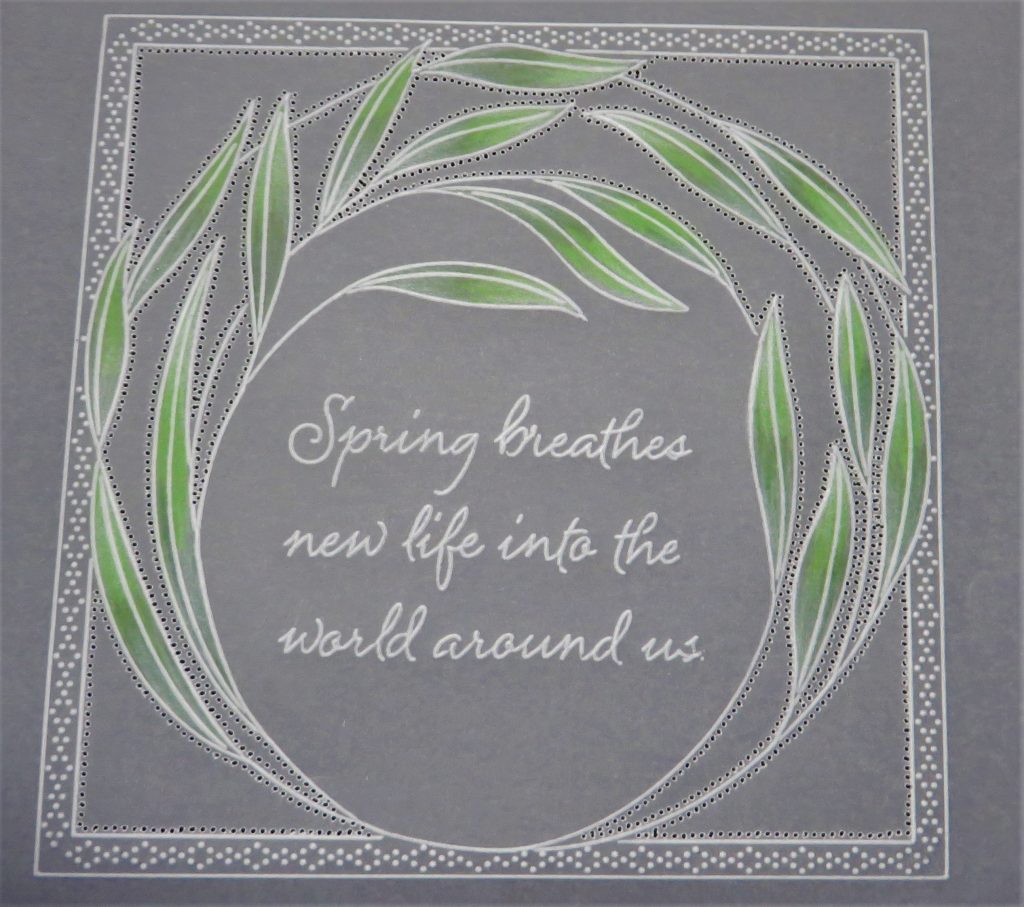
Step 1. On an A5 piece of plain parchment, emboss the whole of the willowy wreath plate, swap this out and place the nested square plate into the starter kit plate mate without lifting off the parchment – you will find that it is perfectly centralized. Emboss the outer line of the squares, then being very careful not to go into the willowy wreath design, add another line to make a margin.

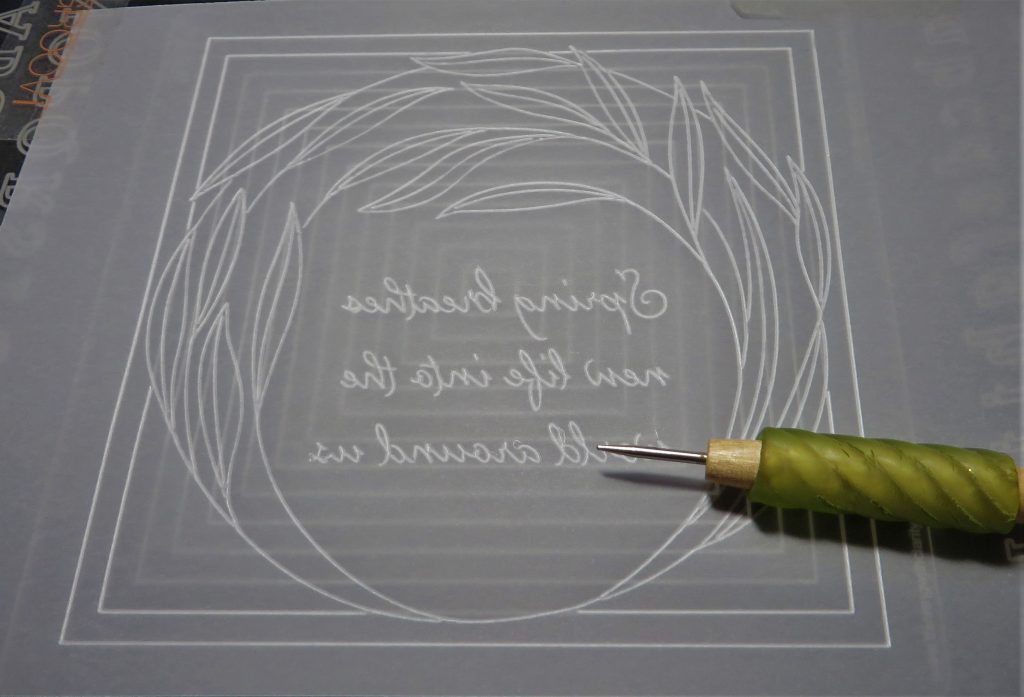
Step 2. Working on the back of the work, and using the 4.5 embossing tool, lightly emboss the leaves at the base and tips. This is just to add contrast when they are coloured.
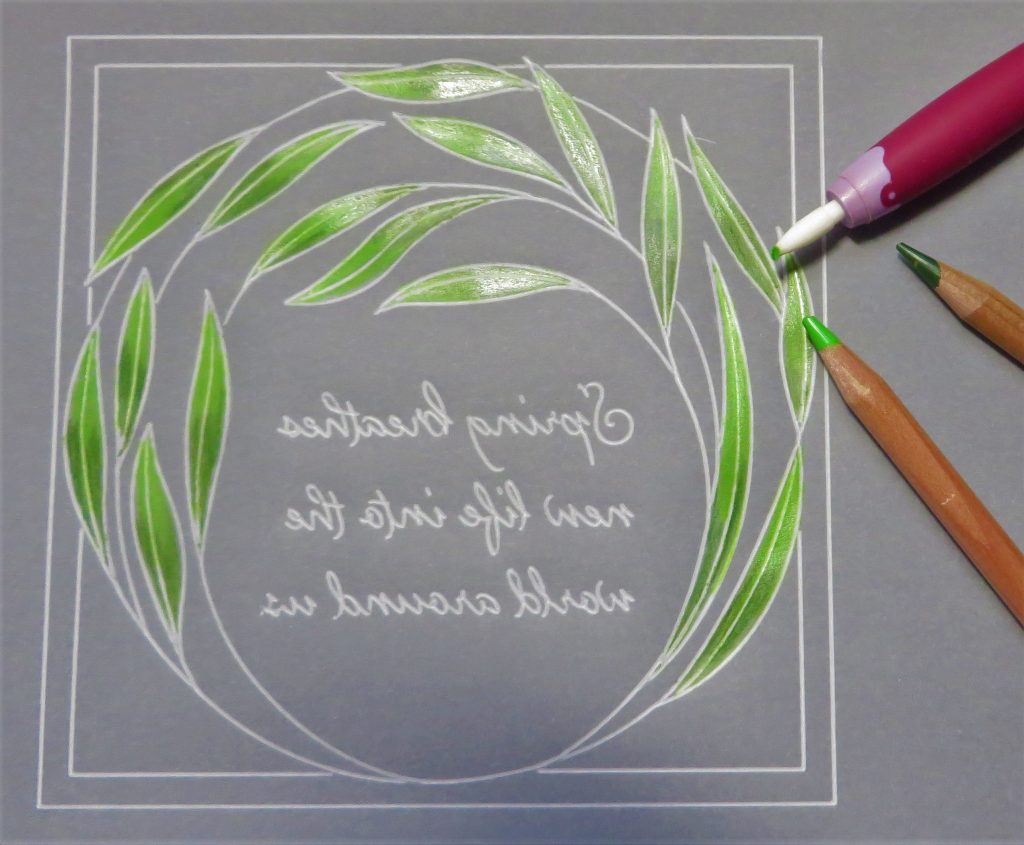
Step 3. Colour the leaves with the green pencils, using the darker shade at the base of the leaves and the lighter at the tips. Perga Liner A pencils are watercolours, but just use them dry and lightly. Add layers of colour until you get the depth you want, using a dry blending nib in between the layers.
Step 4. Using the diagonal border grid and working on the back, line up the ‘diamond’ pattern in the margin from corner to corner and emboss the dots with the 1.5mm embossing tool. Do one side at a time, being careful to avoid wreath design.
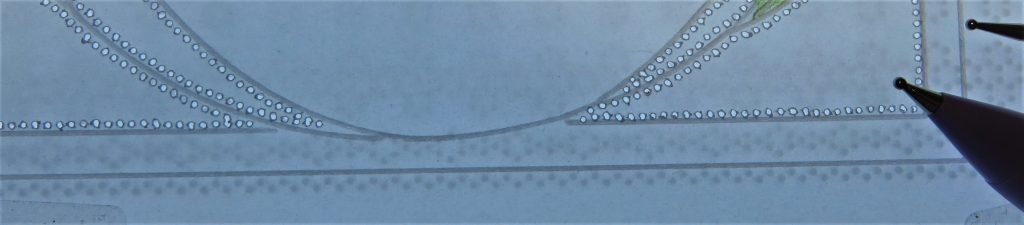
Step 5. Lay the work onto a foam pricking mat and working from the front, use the two-needle perforating tool to perforate around all the blank shapes between the leaves – miss the ones that come down into the centre of the wreath. Using a FINE two-needle tool is best for small, confined areas. Also go around the outside of the work. Don’t forget to turn the work so that your hand doesn’t have to twist and contort to do the job. Take your time and get the holes deep and round and even. This enables good picot cutting.
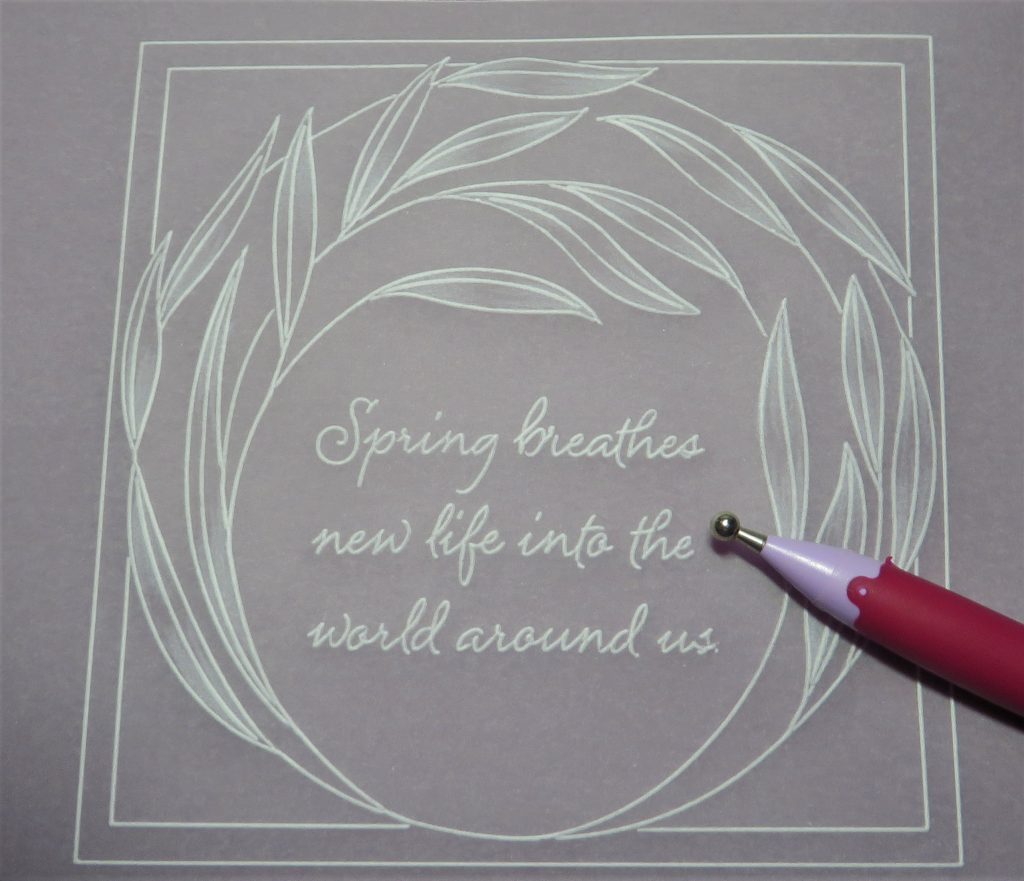
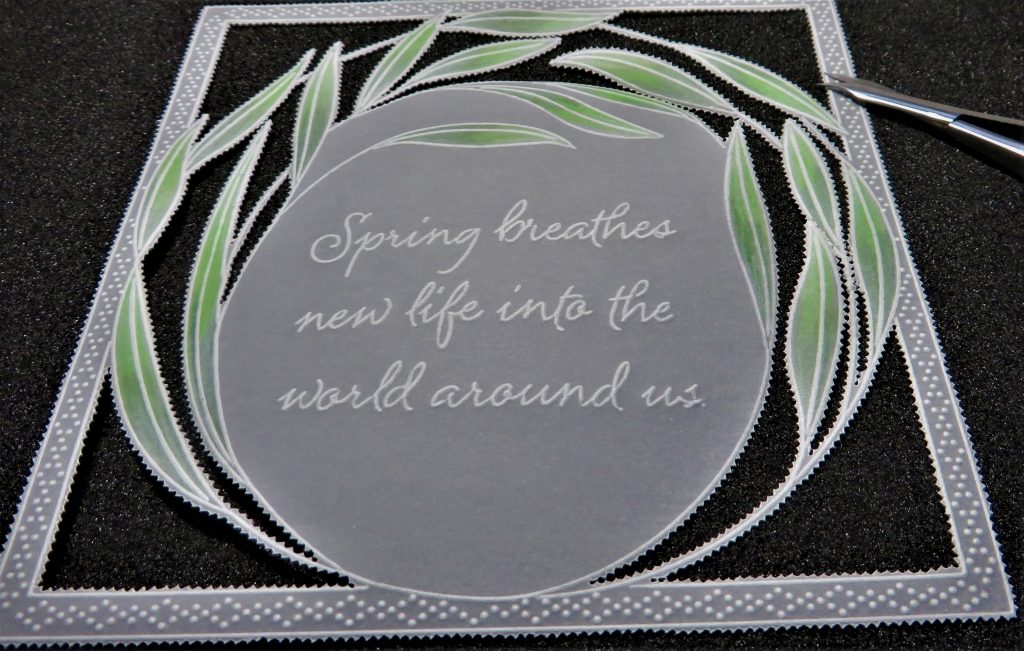
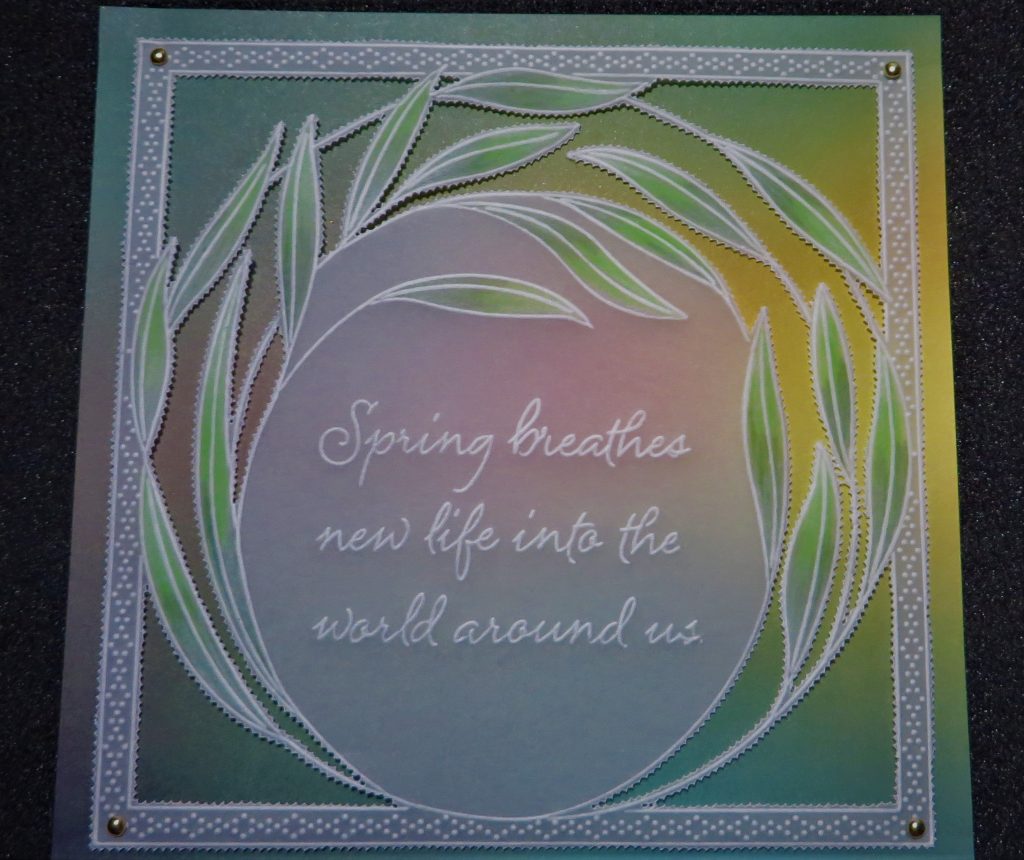
This is what it looks like without the embossed pattern in the frame

and this is what it looks like with the embossed pattern in the frame
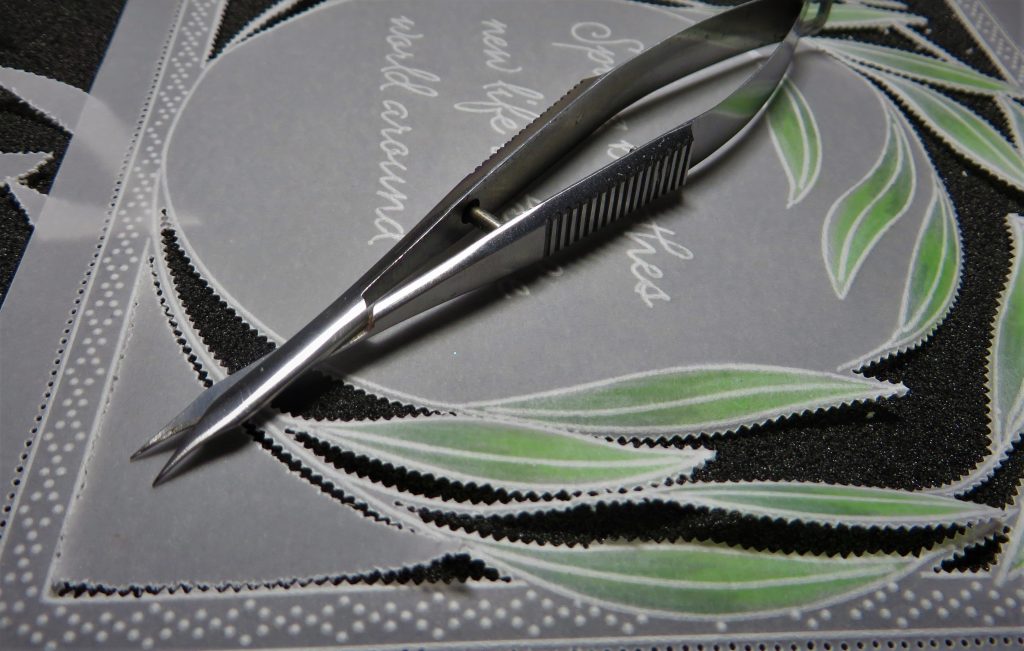
Step 6. Time to start cutting – choose your scissors of choice – Exclusive, Ringlock or Perga Cutters.
Hold your scissors/cutters over the waste (the points will be towards the part you want to keep). Only put the very tips into the holes, squeeze slowly and when you see the little ‘v’ appear – snip. It depends how you hold the scissors as to whether you will give a little twist of the hand at this point. As long as you get a nice point. Keep moving the work as this is important for getting nice even picots around a shape. *Tip – keep the work that is under your hand covered with a piece of paper or Groovi Guard to prevent bending the leaves that are already cut.
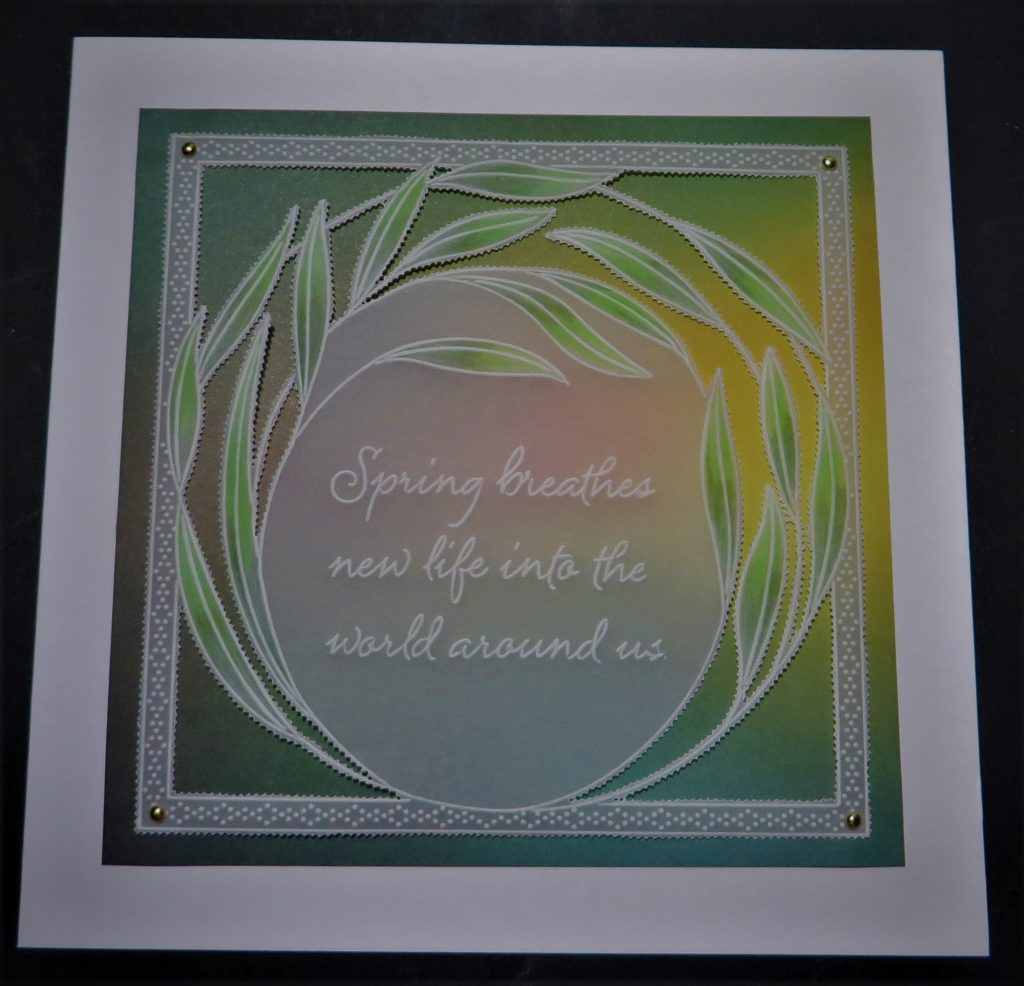
Step 7. Picot cut the entire piece out and mount it onto a piece of Northern Lights designer paper and attach with brads, and then add it to a card blank.
Such a beautiful project! I’m sure you’re all with me in thanking Glynis for her sharing of tricks & tips. We just spoke the other day about how wonderful it is that so many of you are recreating these projects and either learning new techniques or polishing up on things you already knew!
Don’t forget, we have put everything in one place over on the Clarity website – click HERE
Crafting with purpose is always a good thing. Crafting with purpose and with Clarity! A winning combination 🙂
Enjoy the rest of your Sunday! Travel gently…
Lotsa love, Grace & Glynis xo
Clarity – The Home of Art, Craft and Well-being.

Thank you Grace another amazing and very welcome tutorial from Glynis to attempt
Beautiful piece and beautifully explained love picot edge. Going to have to have ago.
Thank you Glynis and Grace xxx
Really enjoying these tutorials, trying them out and then putting my own spin on them
Thanks Glynis and Grace.
Thank you Grace. Thank you Glynis.
Looking forward to learning how to do this with Paul Church soon. Thank you Glynis for explaining it to us.
Hello i think i bought this plate 2 years ago but never tried the picot cutting on this plate. Looks a little difficult because there are so many tiny leaves. But i will try it this afternoon, because here in Germany there is no Mothers Day…. we will have it always on the 2nd sunday in may ….. thanks for showing the art work…. gisela
Hello Grace,
That is beautiful. Thank you and well done Glynis. I never think to use the A pencils on parchment. I really must have a play.
Love
Roz.xxx
Thank you Grace and Glynis, a beautiful project and one I want to have a go at. I have been making groovi butterflies most of the afternoon which I have so enjoyed doing the snipping.xxx
Thank you, Glynnis and Grace. Beautifully explained.
Hi Grace, So glad you and Mark have been able to connect with your Mum on this Mothering Sunday.
Thank you Glynis for this fabulous tutorial, the finished work is unbelievable, all that picot cutting, amazing !!
Love from Patricia xx
Thank you Grace & Glynis for another great project to try. I have just seen this plate in one of my folders whilst looking for something else so will go & get it out & have a go.
Lovely project, thank you G and G xx
Beautiful, thank you 💖
Hi Grace this is a gorgeous project. I love it. I hope everyone had a good day yesterday. Take care. Hugs xxx
Brilliant tutorial – thank you both so much xx
Love to watch the professionals I learn all the time.Keep them coming.I am on my own now as my daughter past away before Christmas and she used to help me so it’s wonderful to watch you all.I watch Paul and Barbara every week.Thank you all.
Thank you Glynis. Ha ha love the photo Grace 🙂