Clarity’s Blog Tutorial: How To Layer Up Your Design – Christmas Treasures 1
Hello hello! Grace here.
I hope this finds you well and enjoying your Sunday.
We’re joined this weekend by the fabulously talented Tina Cox. She has prepared a step-by-step project for you, to share her tricks and techniques. Lucky us!
I’ll pass you over to the pro!

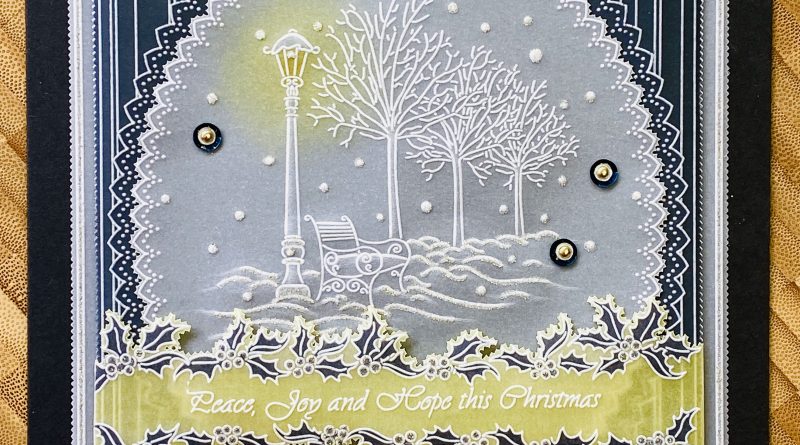
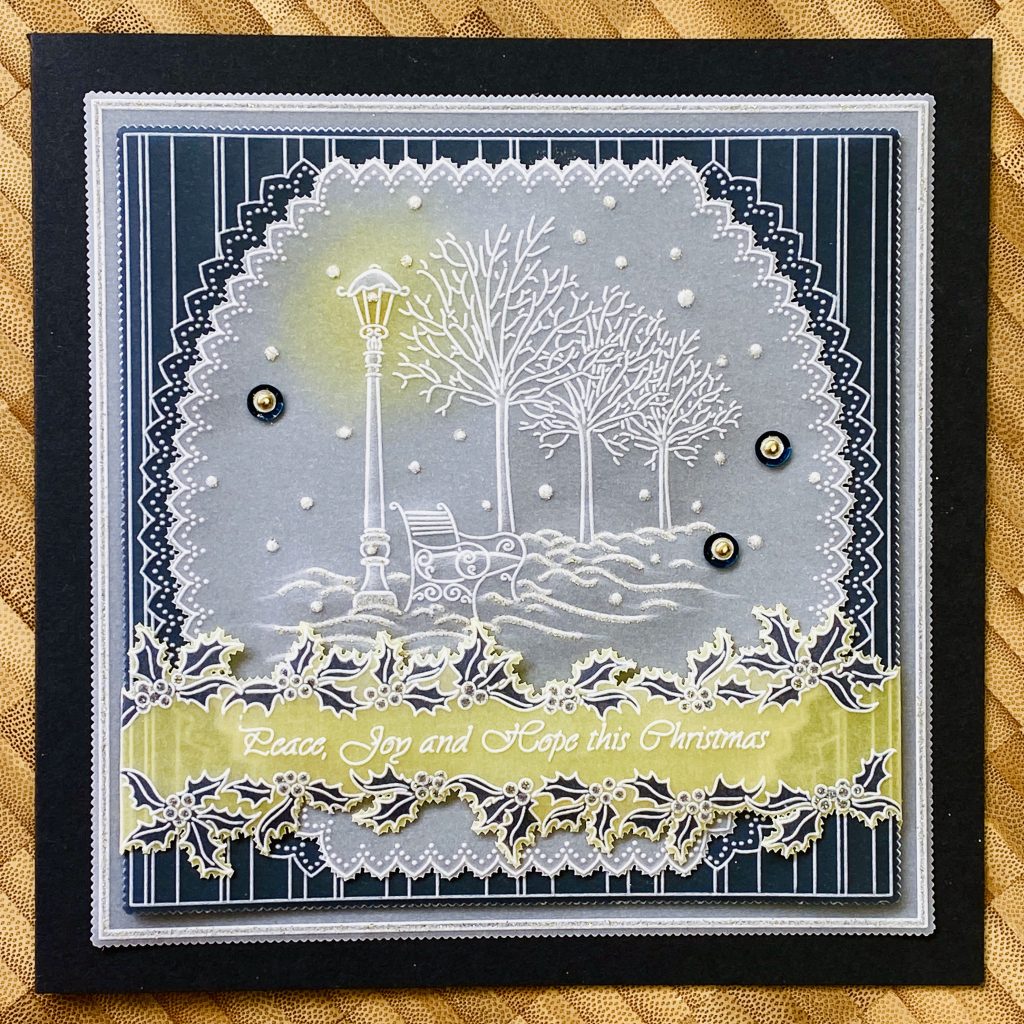
Peace, Joy and Hope
Ingredients
Deluxe Groovi Starter Kit + Butterfly Wreath A5 Sq Plate (GRO-SK-41709-XX)
Squares Picot Cut Die Set & Groovi Plate (ACC-DI-30698-66)
Linda’s Christmas Treasures Set 1 A5 Sq Groovi Set (GRO-CH-41873-03)
Clarity Lightwave LED Light Panel (ACC-LP-30352-A4)
Mixed Pack x20 Groovi Christmas Parchment Paper A4 (GRO-AC-40382-A4) Groovi A4 Clear Parchment Paper (20 sheets) (GRO-AC-40024-XX)
Perga Liner – Combi Box (PER-CO-70063-XX)
Pergamano Colouring Essentials Kit (PER-AC-70431-XX)
Perga Colours Exclusive (PER-CO-70060-XX)
Pergamano 2-Needle Bold Perforating Tool (PER-TO-70279-XX)
Ringlock Scissors (PER-TO-70041-XX)
A4 Translucent White Super Foam (GRO-AC-40603-A4)
A4 Picot Foam (GRO-AC-40625-XX)
Groovi Sticker Tabs x16 (GRO-AC-40437-XX)
Groovi Guard (GRO-AC-40345-XX)
Perga-Glitter Ultra-Fine Glitter (PER-AC-70252-XX)
Pergamano Sticky Ink (PER-AC-70134-XX)
Pergamano Brads & Storage Box Bundle (PER-AC-70433-XX)
Roll-A-Tape Super Strong Permanent Glue Tape Runner (ACC-MS-31065-XX) Card Blanks 7”x7” Black x20 (ACC-CA-30623-77)
Method
NOTE:
All the embossing on this project is done on the back.
The colouring on this project is also done on the back,except for the gem which is done on both the front and back.
All the perforating and cutting on this project are done from the front.
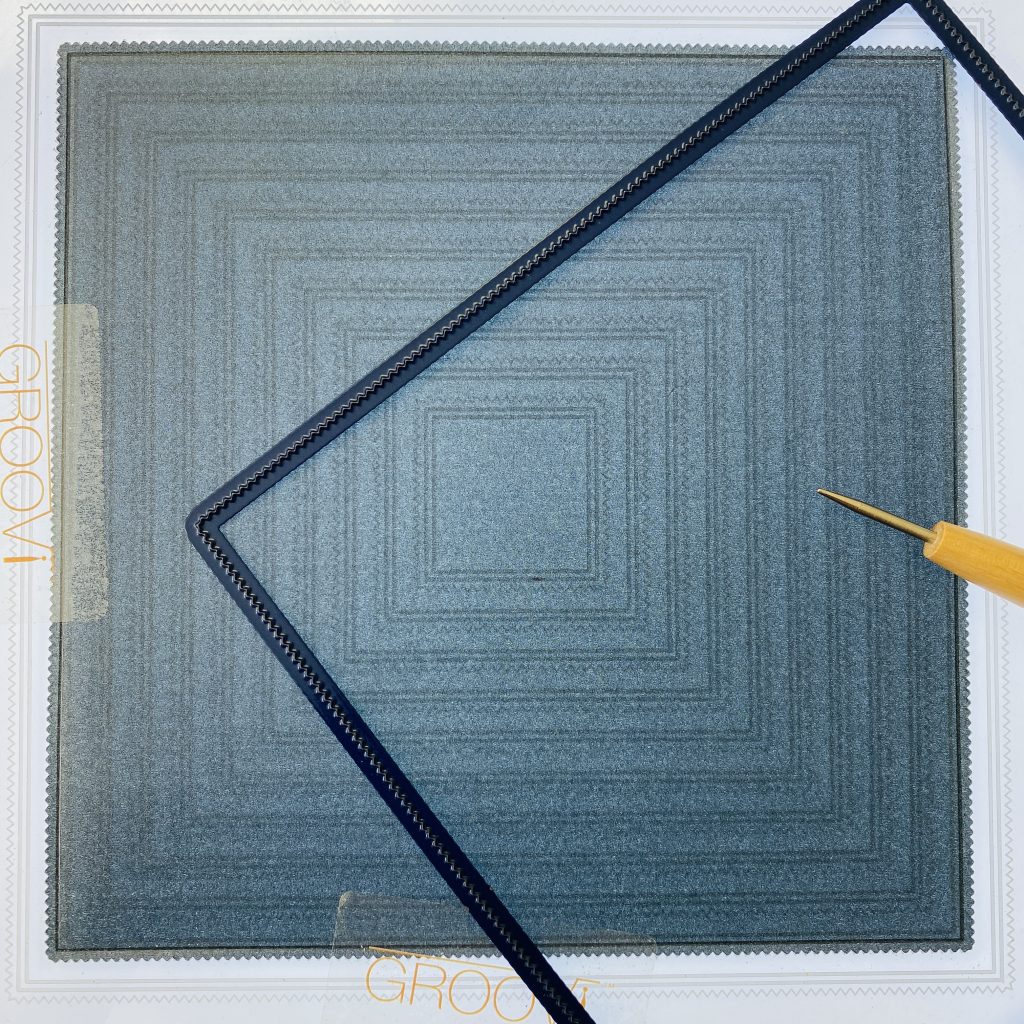
Step 1: Die cut the 2nd largest nested picot square on black parchment paper using the Nested Squares Picot dies. Before cutting, make sure you have placed the die with the cutting side down on the softer matt side of the parchment.
Stick the parchment with the glossy brighter side facing up (this is the back of the work) on the Nested Picot Squares Groovi plate. Emboss the corresponding larger square outline using the Groovi number 1 tool (or Pergamano 1mm embossing ball tool).
Step 2: Over the Deep in the Forest plate (in the Christmas Treasures Set 1 collection) emboss the larger lace frame using the Groovi number 1 tool (or Pergamano 1mm embossing ball tool) for the zigzags and the Groovi number 2 tool (or Pergamano 1.5mm embossing ball tool) for the dots.
Step 3: Over the Nested Picot Squares Groovi plate, using the Groovi number 1 tool (or Pergamano 1mm embossing ball tool), emboss the random vertical lines between the square and lace frame.
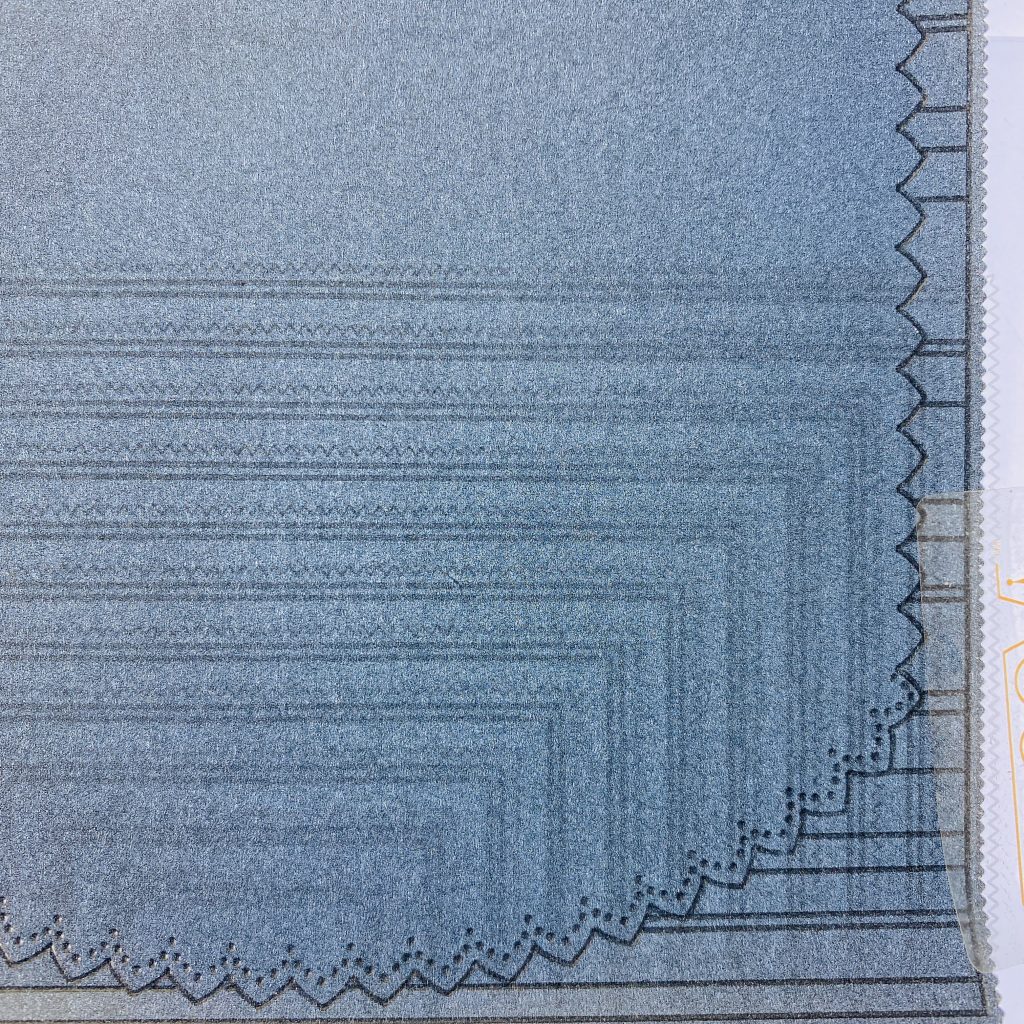
Step 4: On clear parchment, over the Deep in the Forest plate (in the Christmas Treasures Set 1 collection) emboss the smaller lace frame using the Groovi number 1 tool (or Pergamano 1mm embossing ball tool) for the zigzags and the Groovi number 2 tool (or Pergamano 1.5mm embossing ball tool) for the dots.
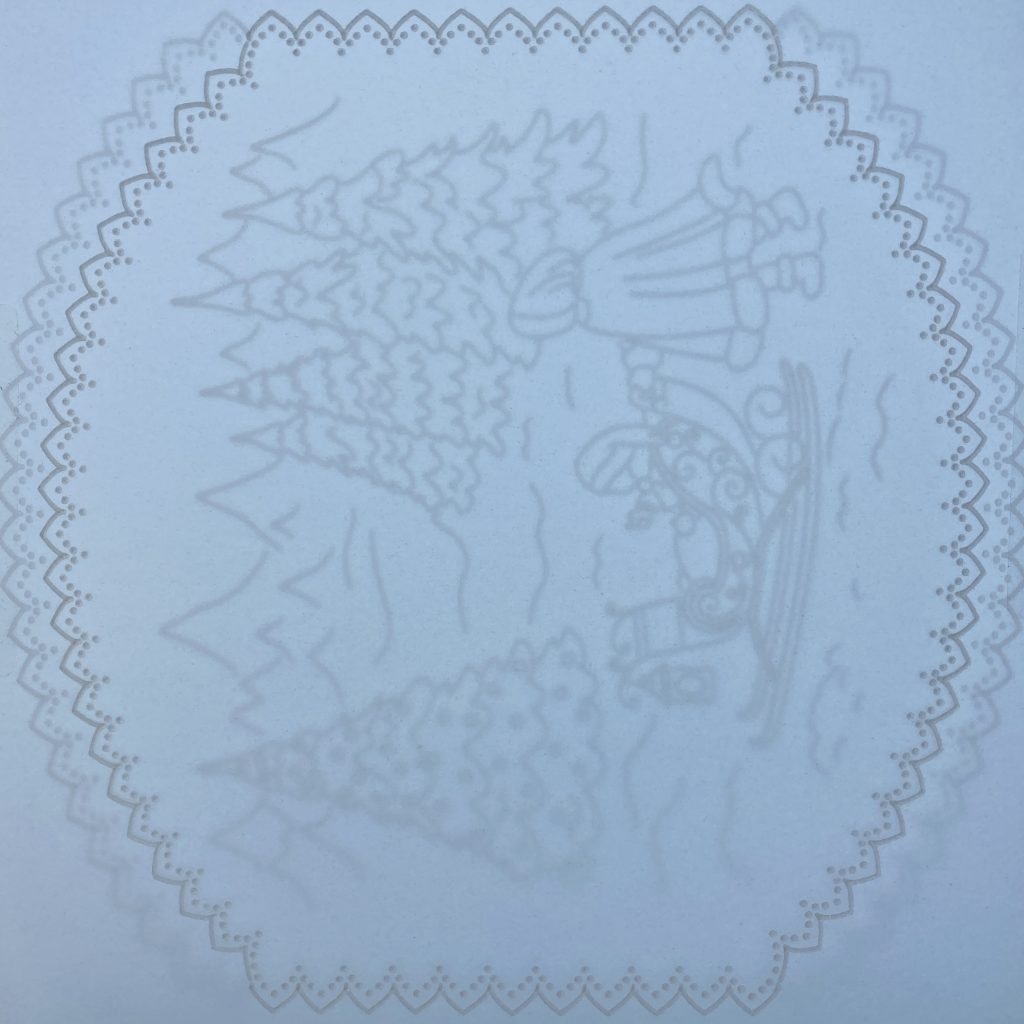
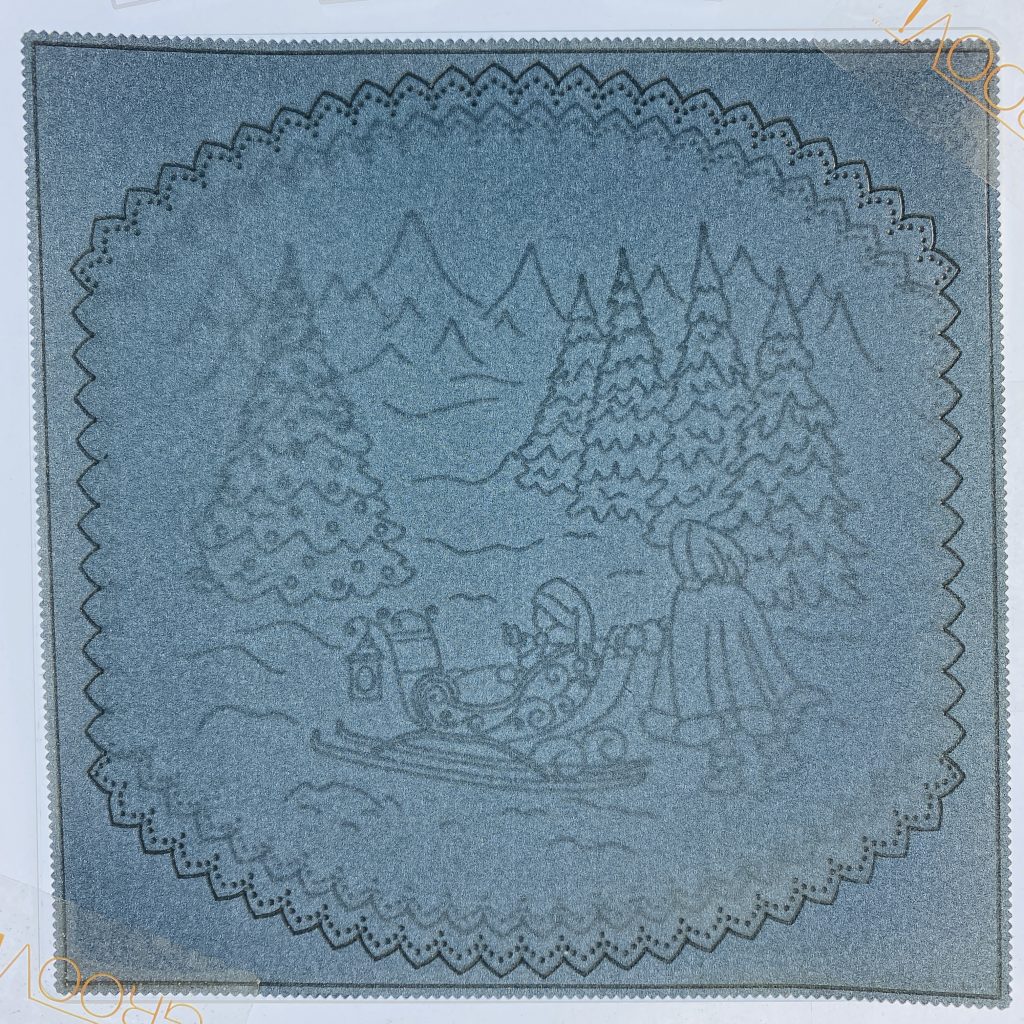
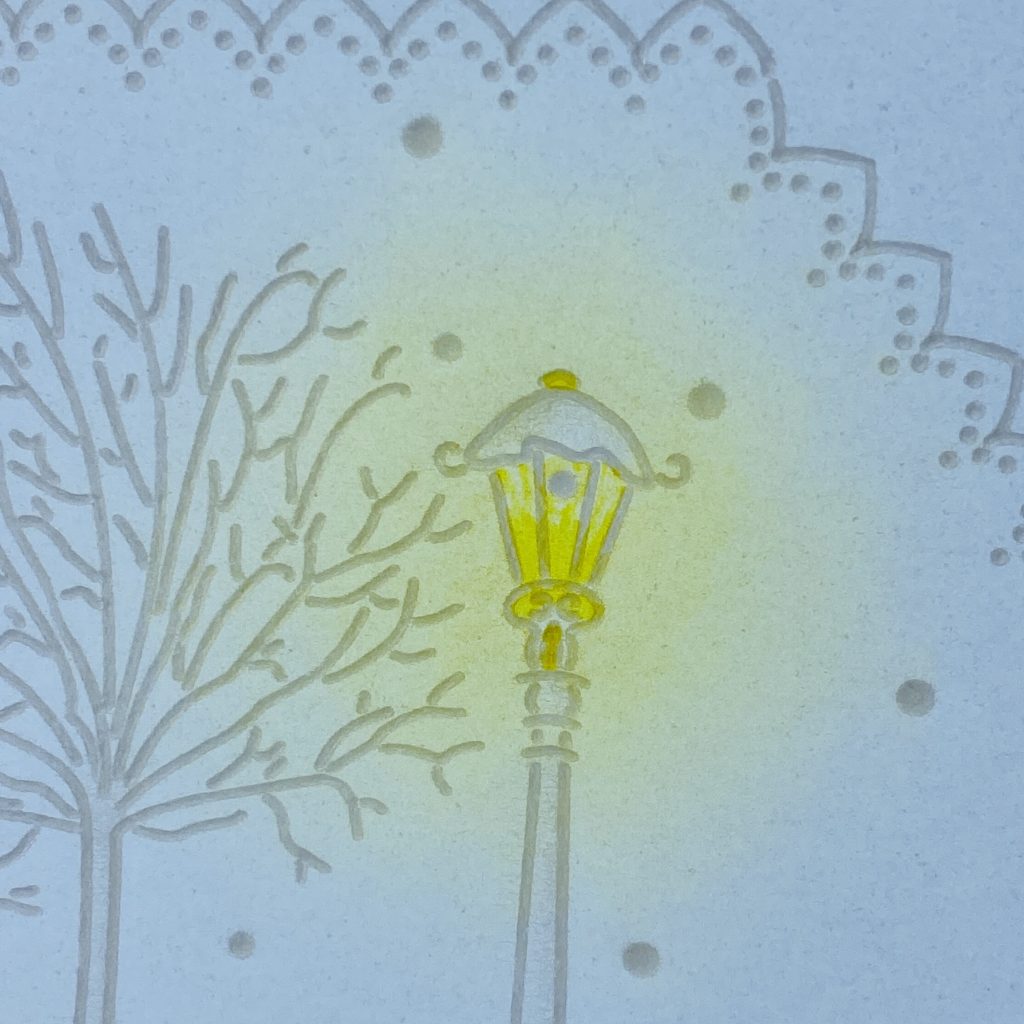
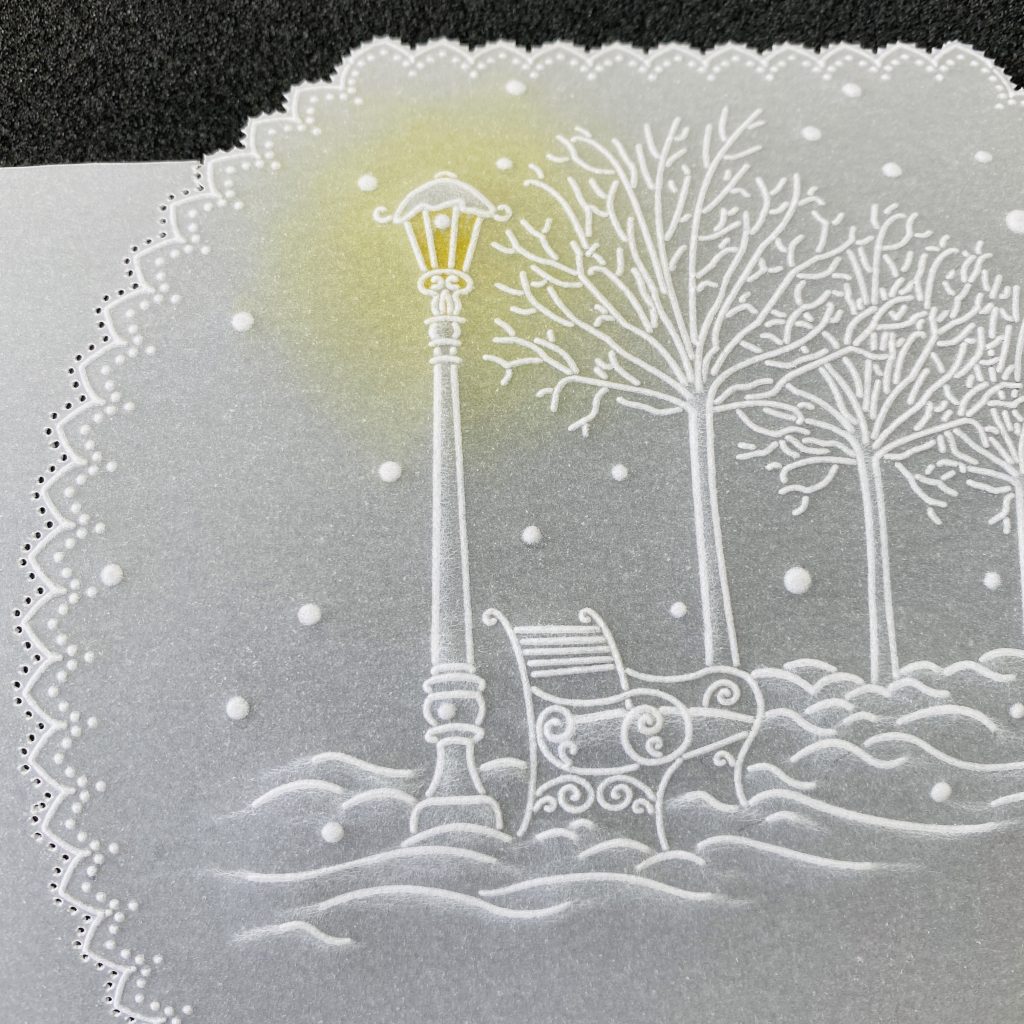
Step 5: Towards the top of the lace frame, over the Glistening Winter plate (in the Christmas Treasures Set 1 collection) emboss the circles using the Groovi number 2 tool (or Pergamano 1.5mm embossing ball tool) and the rest of the line art using the Groovi number 1 tool (or Pergamano 1mm embossing ball tool).
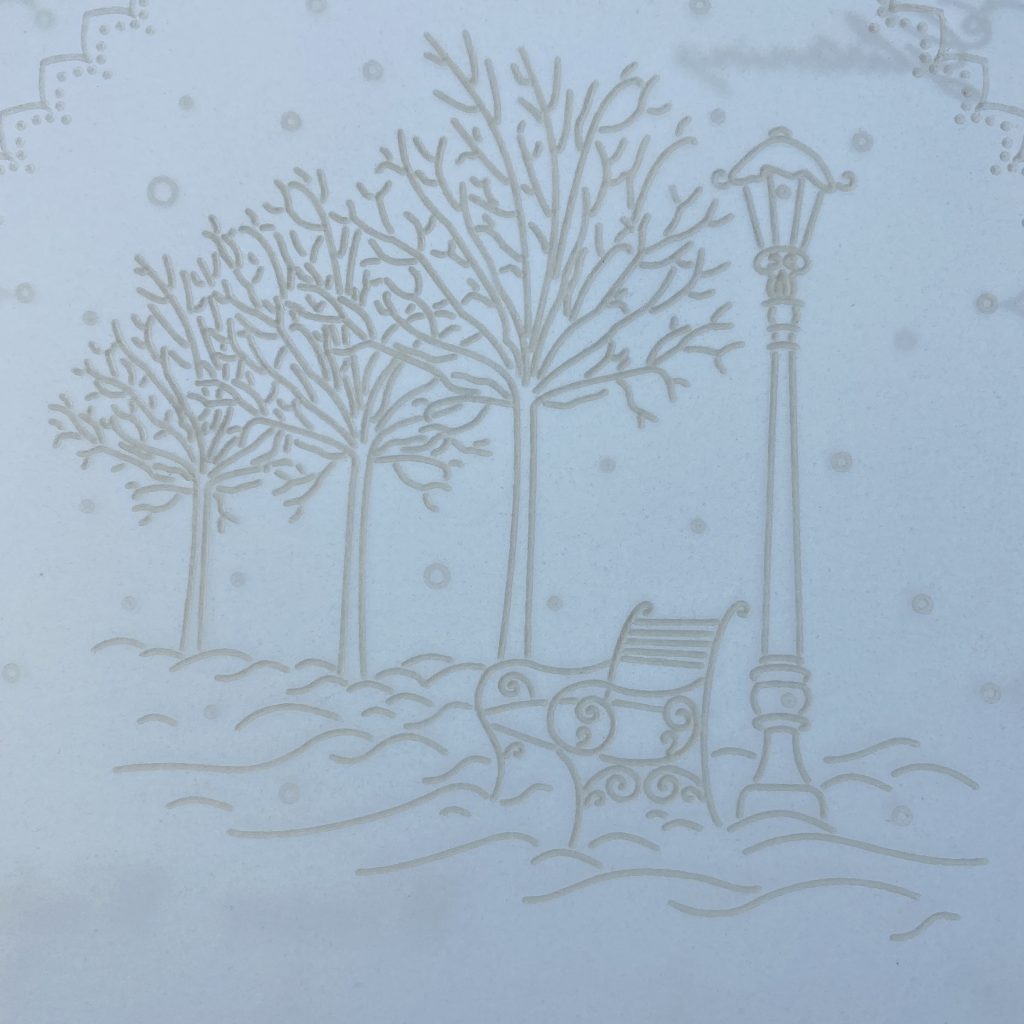
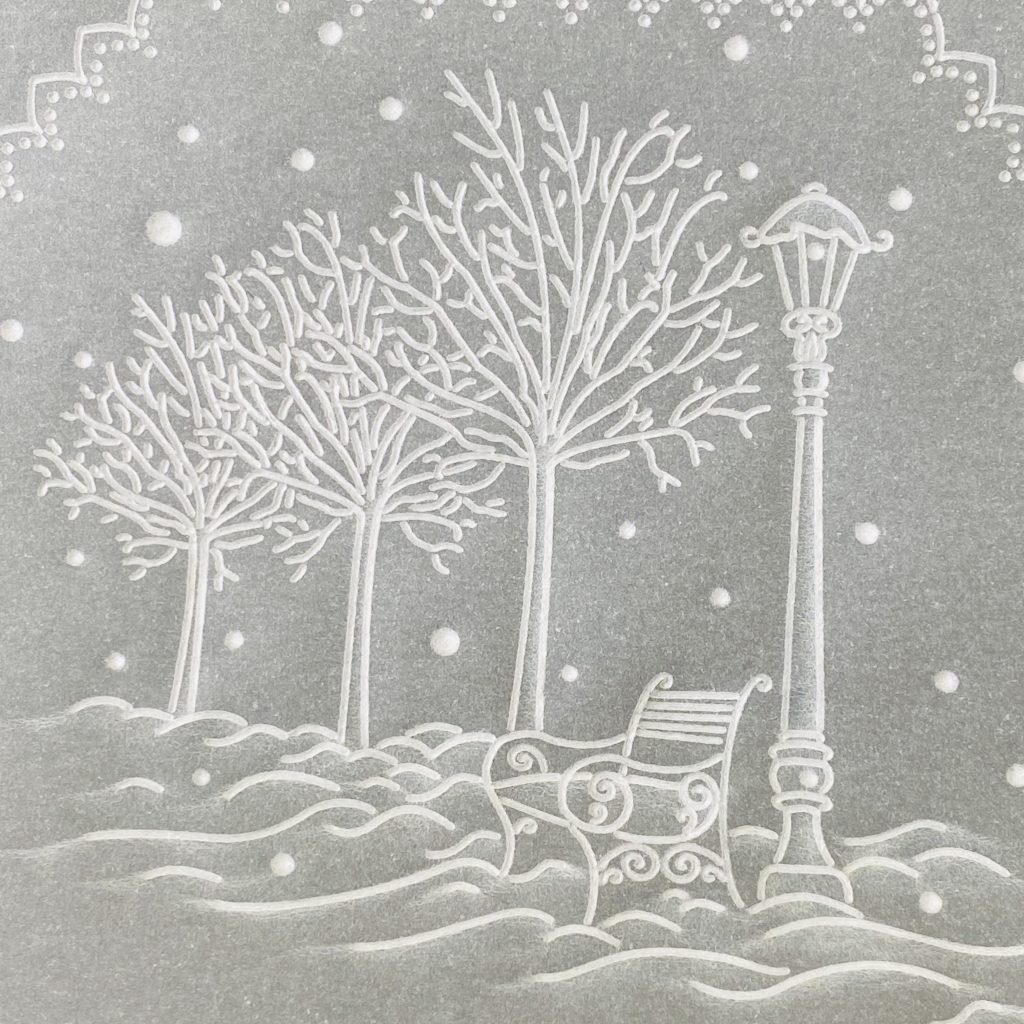
Step 6: Using the Groovi number 3 and number 4 tools (or Pergamano 1.5mm and 3mm embossing ball tools), emboss gently inside circles starting with the largest ball tool and remembering to let the parchment rest between layers. I have embossed 4 layers on these circles.
Add soft embossed shading on the snow hills, tree trunk, bench and lamp post using the Groovi number 4 tool (or Pergamano 3mm embossing ball tool).
Step 7: Still working on the back, colour the lamp using Perga Colours Exclusive pens.
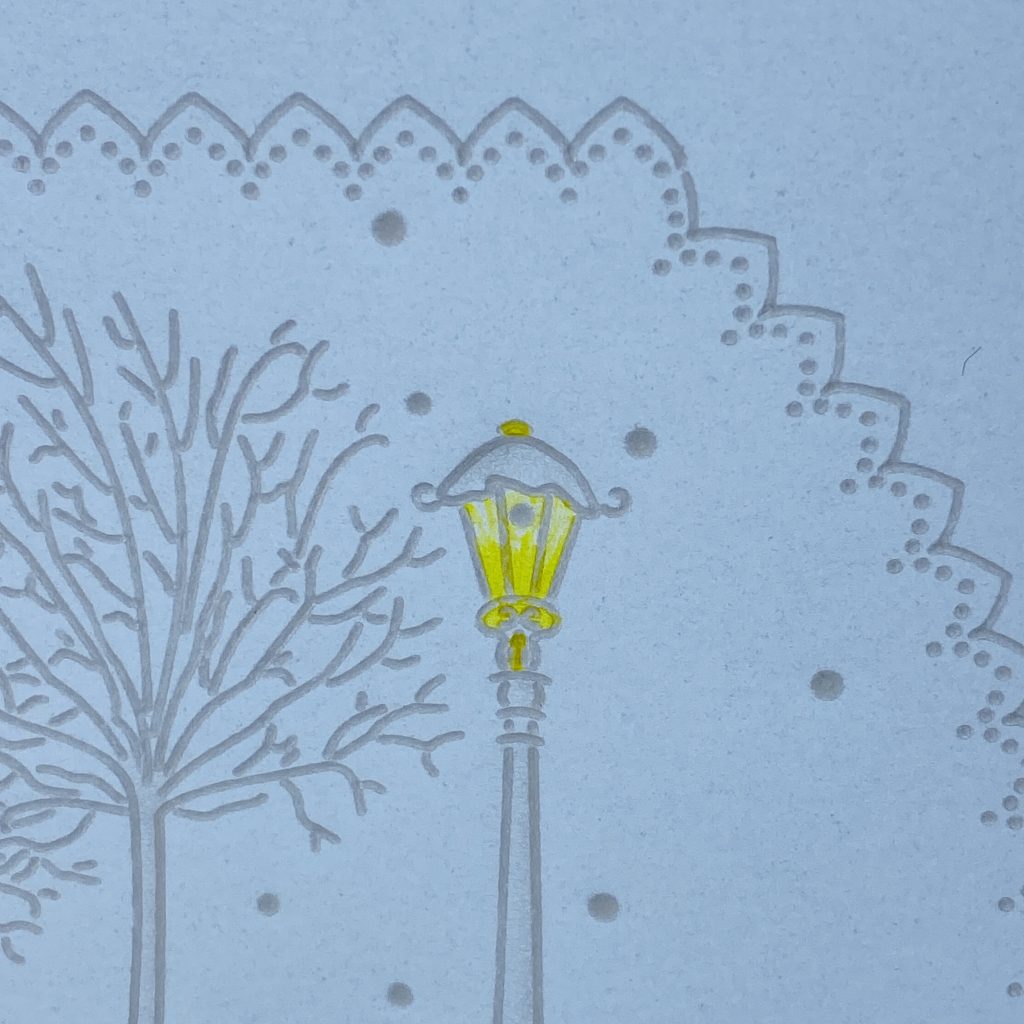
Step 8: Colour around the lamp using the Perga Liner B pencils and blend the colour using a little Dorso oil on a sponge and a blending nib.
If you have too much oil on your nib, the colour will come off, so blot off the excess on a piece of kitchen towel. If you have too little oil, the blending will not be smooth, so touch just the very tip of the nib on the Dorso oil for the tiniest amount of oil.
Step 9: On the front, perforate outside the lace frame using the Pergamano bold 2-needle perforating tool. Picot cut between all the perforations, making sure the scissors are over the waste when you cut.
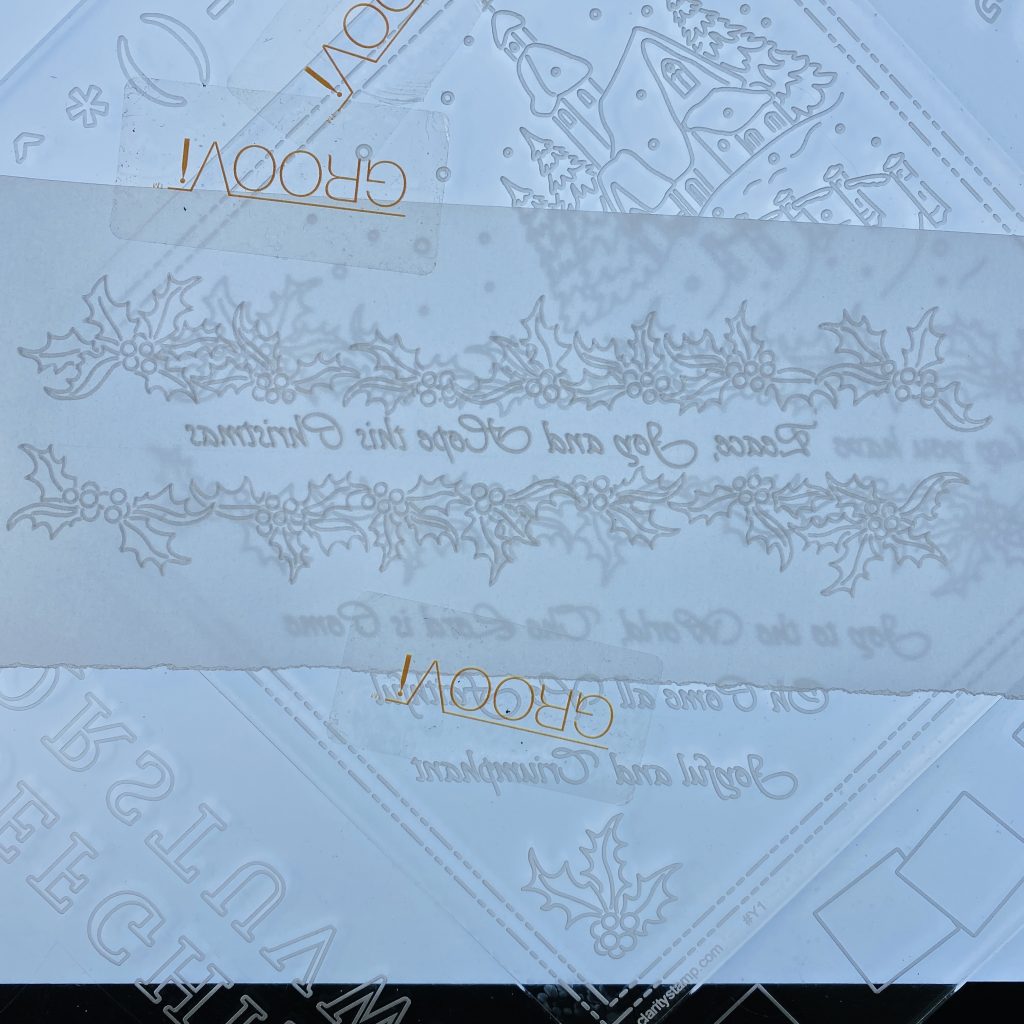
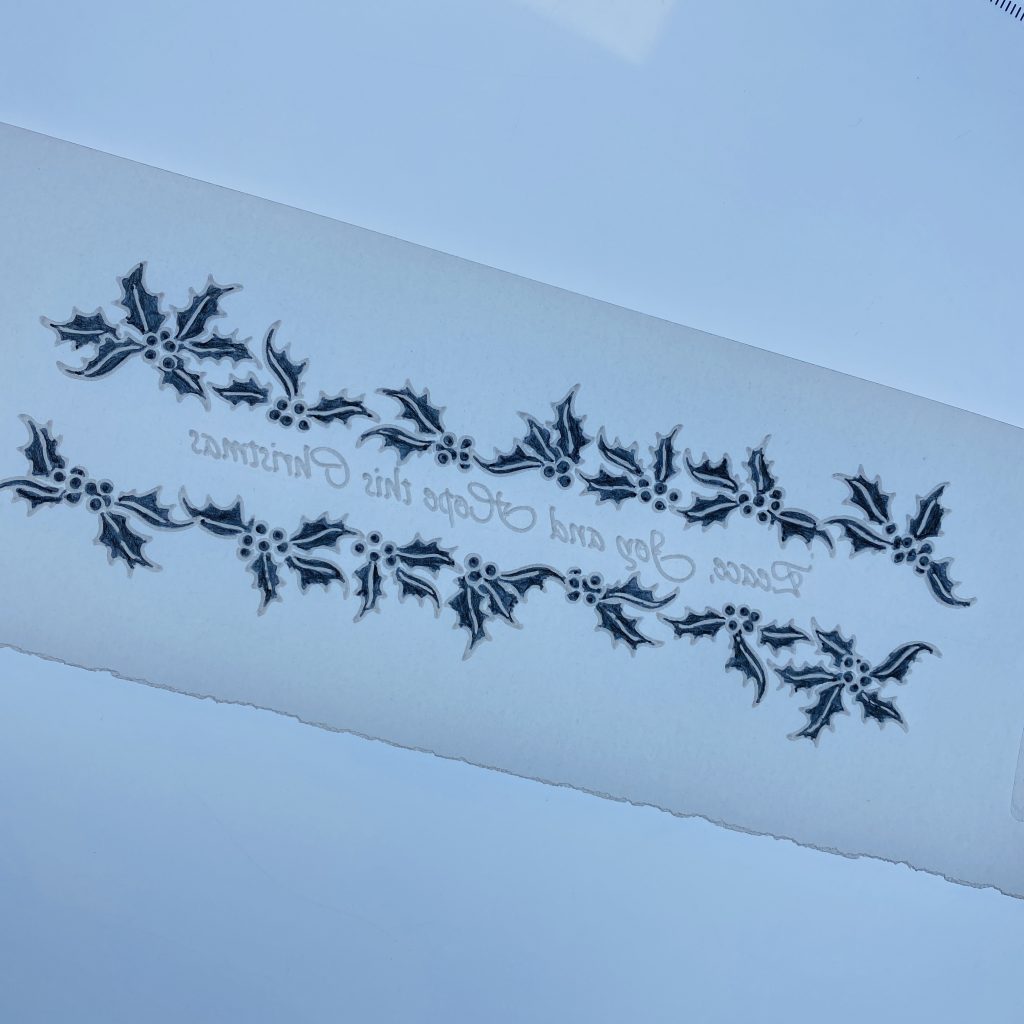
Step 10: On a separate piece of clear parchment, over the Peace, Joy and Hope plate (in the Christmas Treasures Set 1 collection) emboss the holly and berries border (not the words yet) using the Groovi number 1 tool (or Pergamano 1mm embossing ball tool).
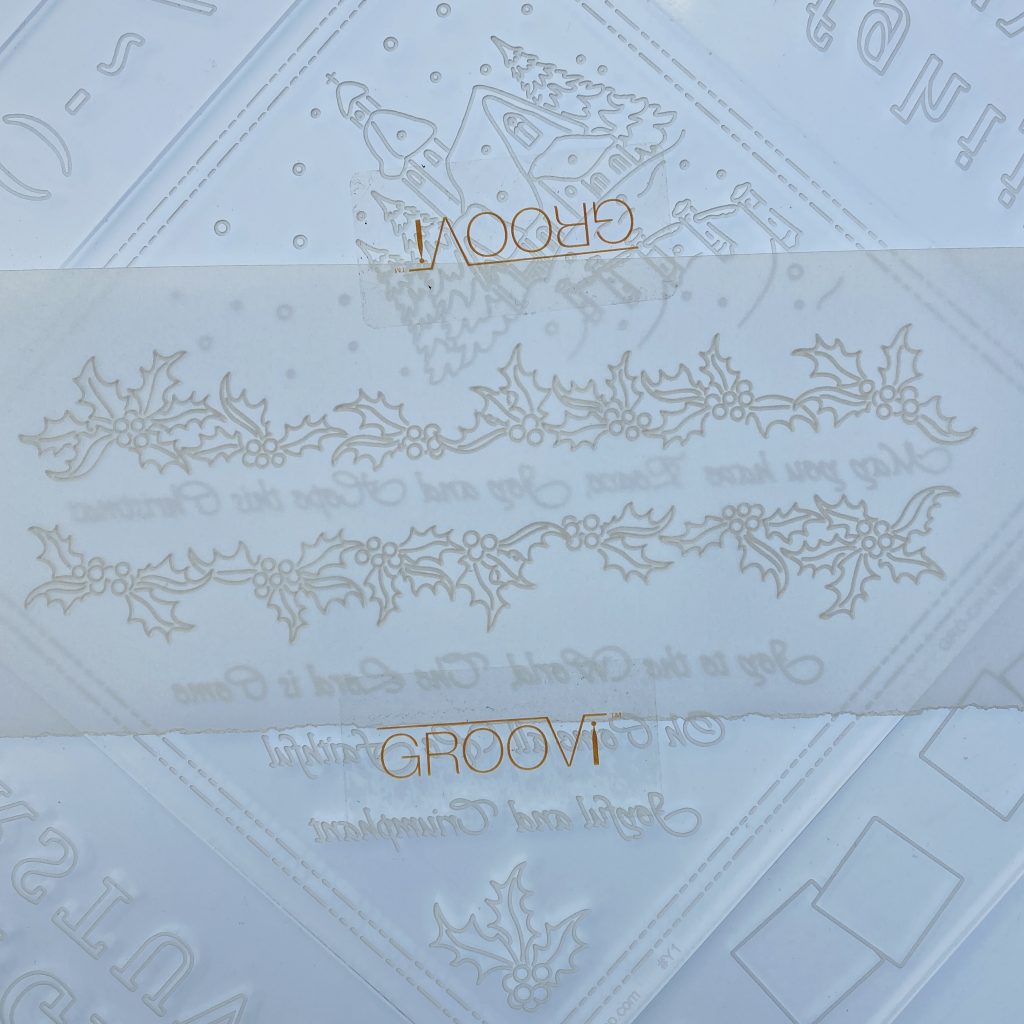
Step 11: Remove the parchment and align it on the plate so that the greeting “Peace, Joy and Hope this Christmas” are in the centre of the border before embossing it with the Groovi number 1 tool (or Pergamano 1mm embossing ball tool).
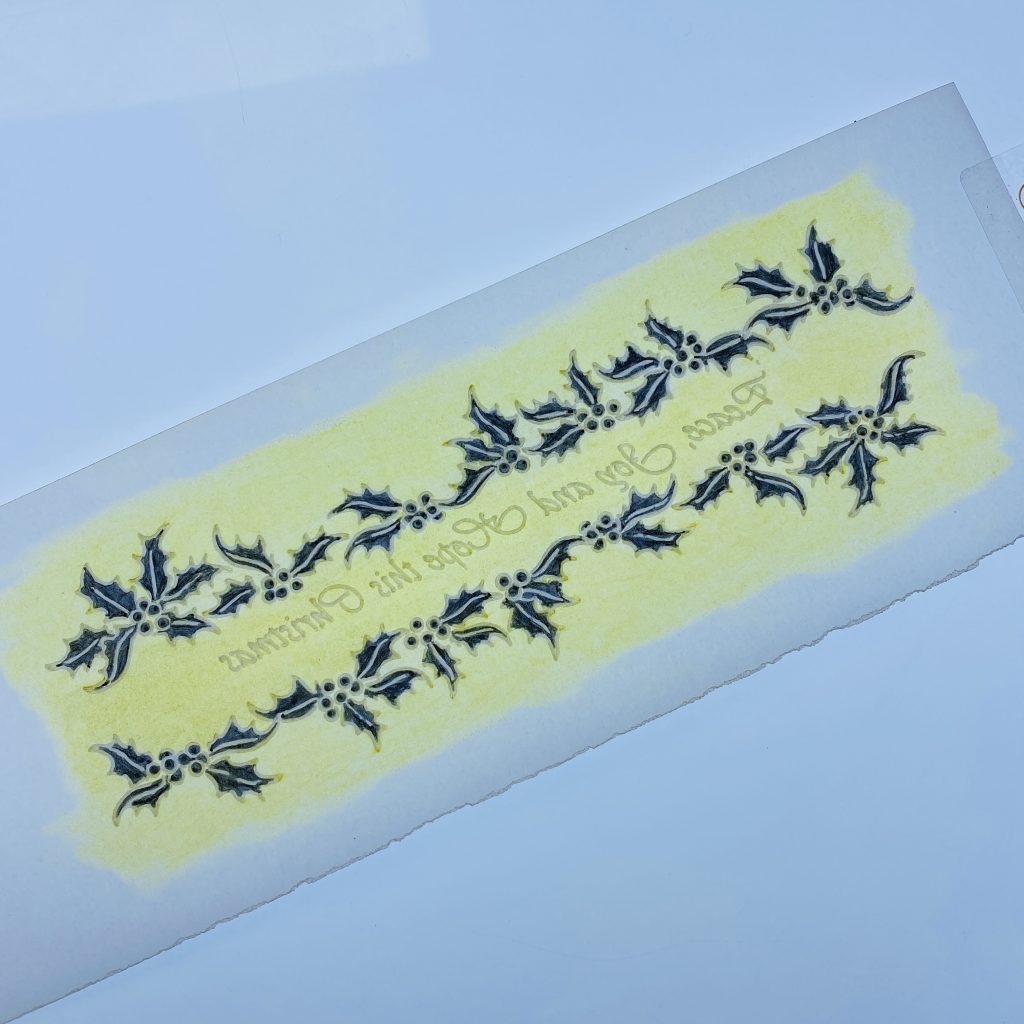
Step 12: Still working on the back, colour the holly and berries using Perga Colours Exclusive pens.
Step 13: Colour inside and outside the border using the Perga Liner B pencil and blend the colour using a little Dorso oil on a sponge and a blending nib.
If you have too much oil on your nib, the colour will come off, so blot off the excess on a piece of kitchen towel. If you have too little oil, the blending will not be smooth, so touch just the very tip of the nib on the Dorso oil for the tiniest amount of oil.
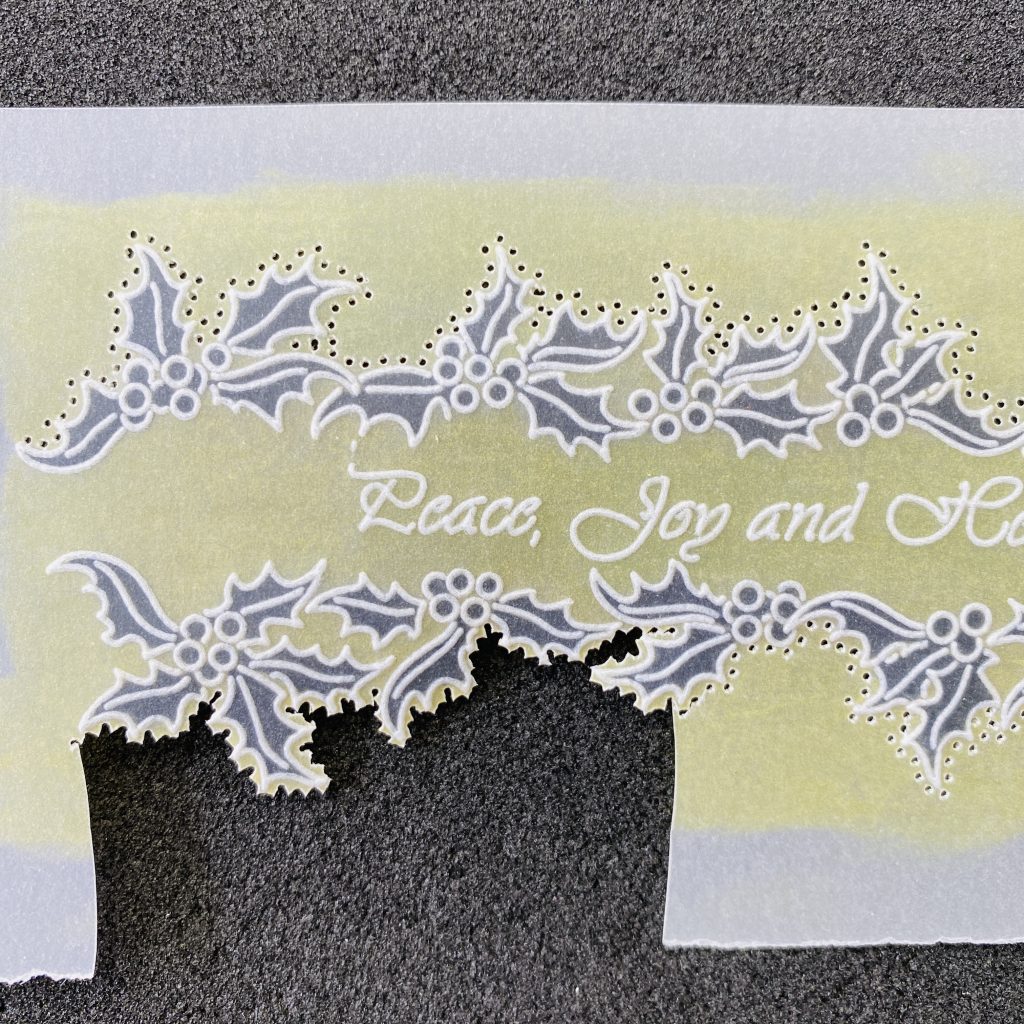
Step 14: On the front, perforate outside holly leaves using Pergamano bold 2-needle perforating tool. Do not perforate horizontally between the 2 borders as this piece needs to be longer so it can be wrapped around the parchment layers and stuck on the back.
Picot cut between all the perforations making sure the scissors are over the waste when you cut.
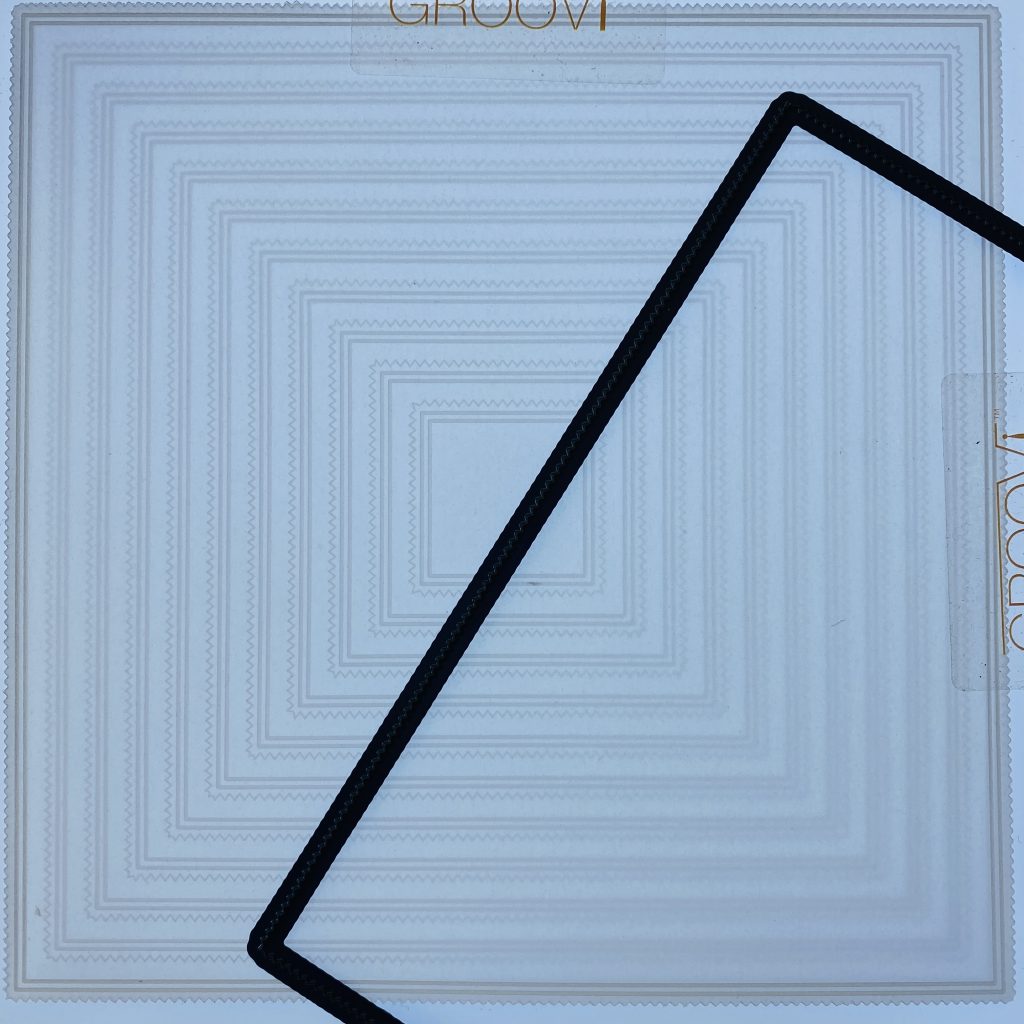
Step 15: Die cut the largest nested picot square on clear parchment paper and using the Nested Squares Picot dies.
Stick the parchment on the Nested Picot Squares Groovi plate and emboss the corresponding double square outlines using the Groovi number 1 tool (or Pergamano 1mm embossing ball tool).
On the front, add Perga glitter between the double square outlines.
Stick this piece on the 7”x7” black card using tape pen. Make sure you only put the glue down towards the middle of the piece so it is covered by the other layers so the glue doesn’t show.
To Finish:
On the front, add Perga glitter on the snow, snow hills, parts of the lamp post and berries. Die cut the 2nd largest nested picot square on white card and using the Nested Squares Picot dies.
Mount the 2 parchment pieces with the lace frames on the picot die cut white card using Pergamano brads through black sequins. If you do not have sequins, you can use the brads in the corners of the clear piece through the 3 layers.
Wrap the holly and berries border around the above layer and stick it on the back using tape pen. Stick this on folded 7”x7” black card using foam pads. And you’re all done!
WOW! That is stunning, Tina. Thank you for sharing your tips and tricks with us. It’s wild how something so seemingly out of reach is actually quite achievable when explained in such a simple way. One day at a time, one step at a time. That’s how we get things done these days!
Everything that talented Tina has used to create this project can be found HERE on the Clarity website.
Right, what’s next?
Paul is on a well deserved holiday, and Mum is busy busy between Clarity & her Dad, so this week is a little more scaled back than normal. But there’s still some wonderful shows to look forward to. Please join us for the following…
Friday 16th at 7pm:
Craftalong with Barbara & Linda (on Clarity Facebook & YouTube Live)
Saturday 17th at 1pm & 5pm:
Get Groovi with Tina (on Create and Craft)
The SHAC Shack is still on hiatus at the moment. We know, it was supposed to return early September, but Mum and I have a funeral for an old friend of ours on Monday, and that of course takes precedents. The SHAC will be back as soon as it makes sense. The bus driver isn’t taking a break (quite the opposite)… she’s just having to prioritise other more pressing things, like my lovely Granddad. I’m sure you understand. Don’t forget, there are almost 280 SHAC videos in the Youtube bank. And over 60 Groovi Tuesday episodes! I highly recommend reaching for any of them if you need the inspiration or company.
In the meantime… travel gently, friends. We’re doing our best to do the same.
Lotsa love, Grace & Tina xoxo
Clarity – The Home of Art, Craft, and Well-Being.
Of course you have to prioritise. Saying goodbye to a dear friend is most important. And your grandad should be top priority. I,ll be waiting patiently at the bus stop for the next bus to arrive. Take care.
Thank you Tina love this design. Off up to the craft room to see if I can get it to look half as good as your.
Lovely card Tina, thank you for a great step by step. Take care all. xx
Hi Grace, thank for the update on all things Clarity. Will be thinking of you & your mom tomorrow when you pay respects to her friend.
Thank you, Tina for another great step by step project using Linda’s Christmas collection. Just finishing off the one by Glynis from a few weeks ago then I will have a go at recreating this week’s card.
In what has been a strange few days since Thursday when we all heard of the Queen’s death which was always to be expected but so sudden in the end I have been trying to complete my many WIP’s whilst watching the television & what is a big moment in our history.
Take care everyone xx
Beautiful project, broken down nicely. The update is appreciated and the SHAC is a bonus not an expected.
Hi Grace & Tina – Wow and STUNNING are the right words for this tutorial – will be having a go at this.
Thank you both very much
Love Seta Xx