
Clarity’s Blog Tutorial: How To Use Linda’s Easy Layout Plate
Hello hello! Grace here.
I hope this finds you well. Happy Sunday!
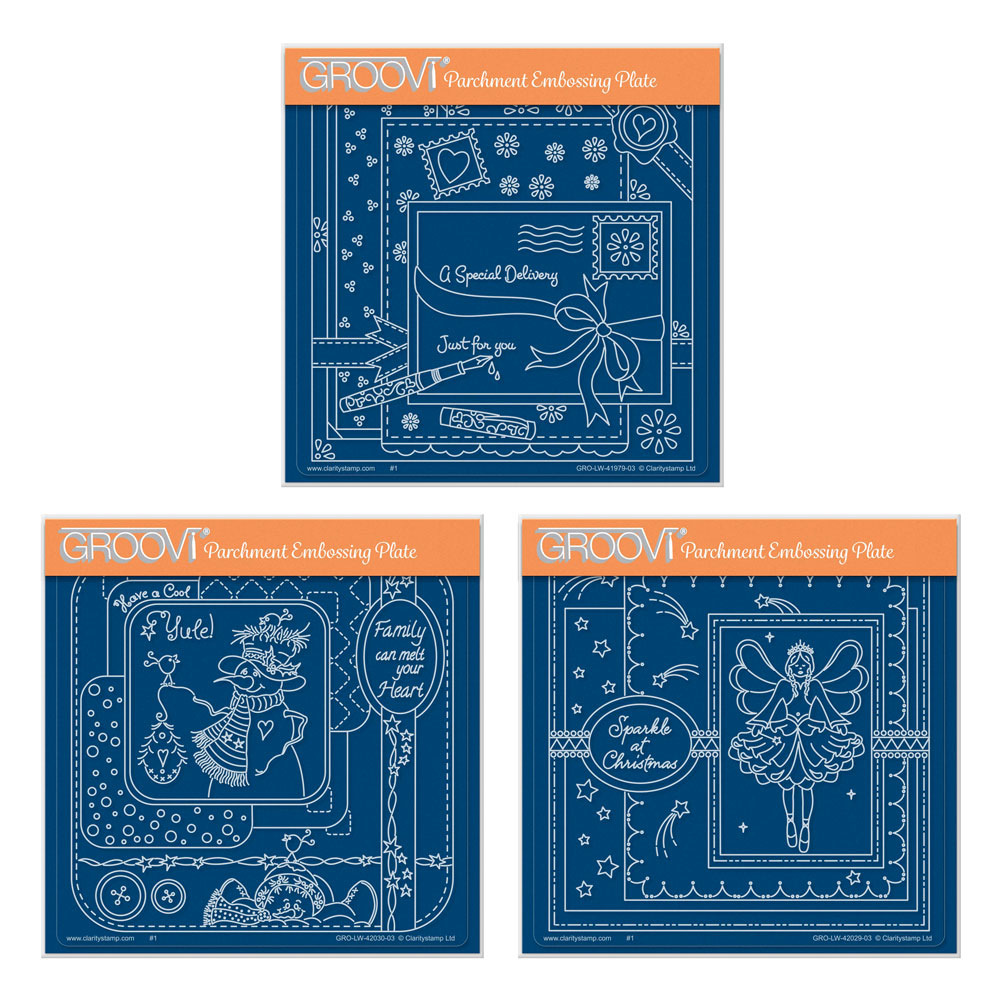
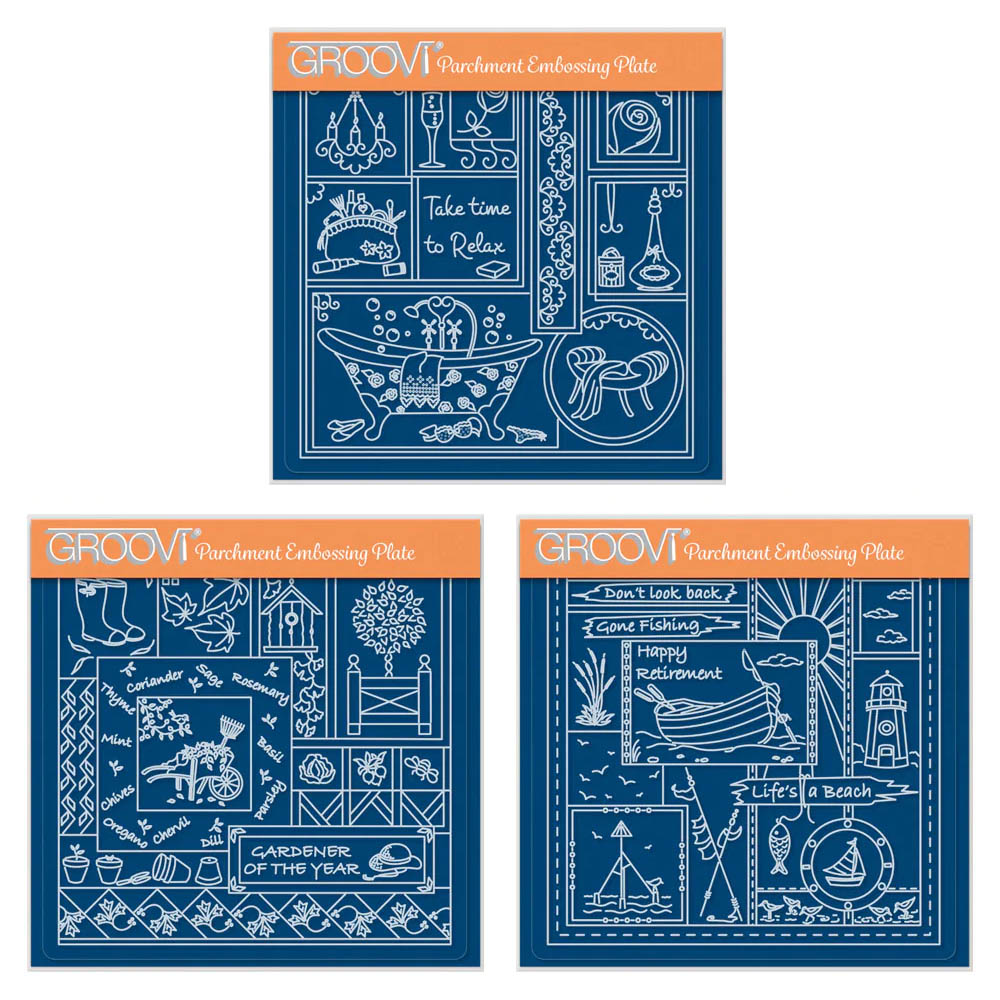
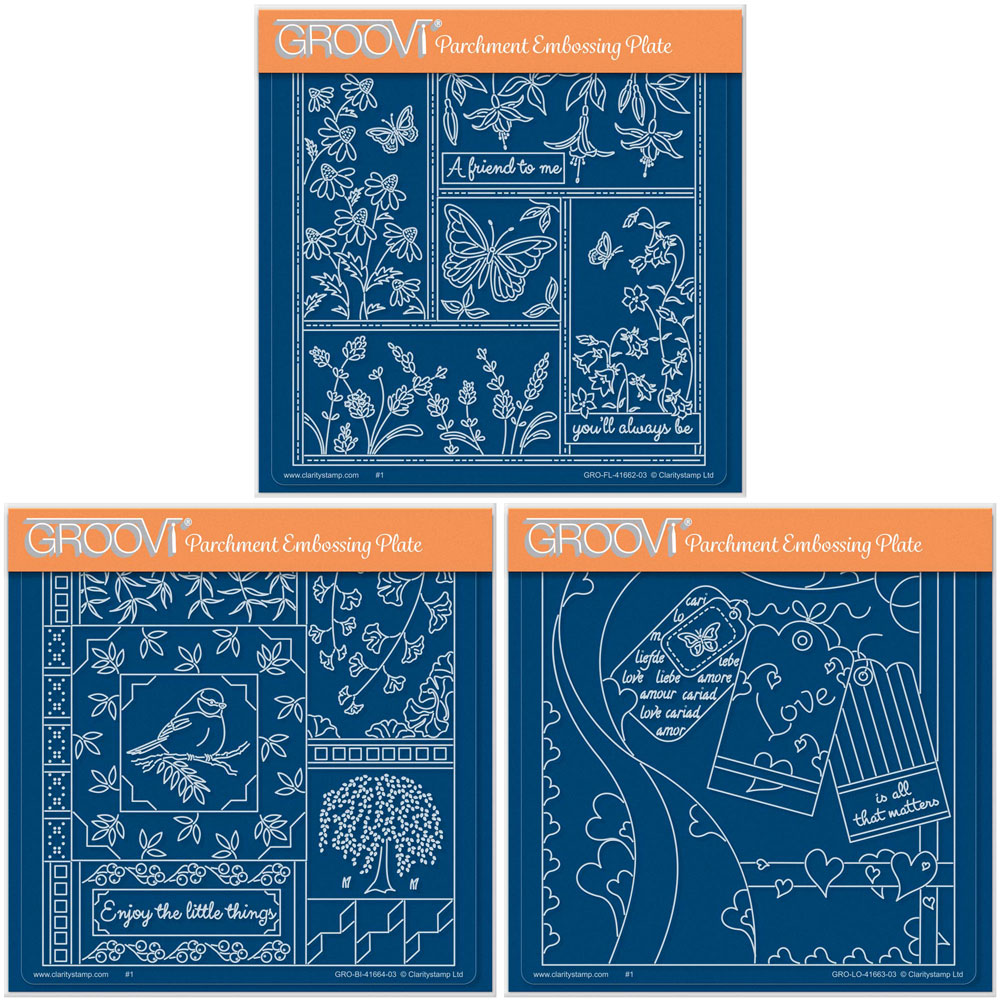
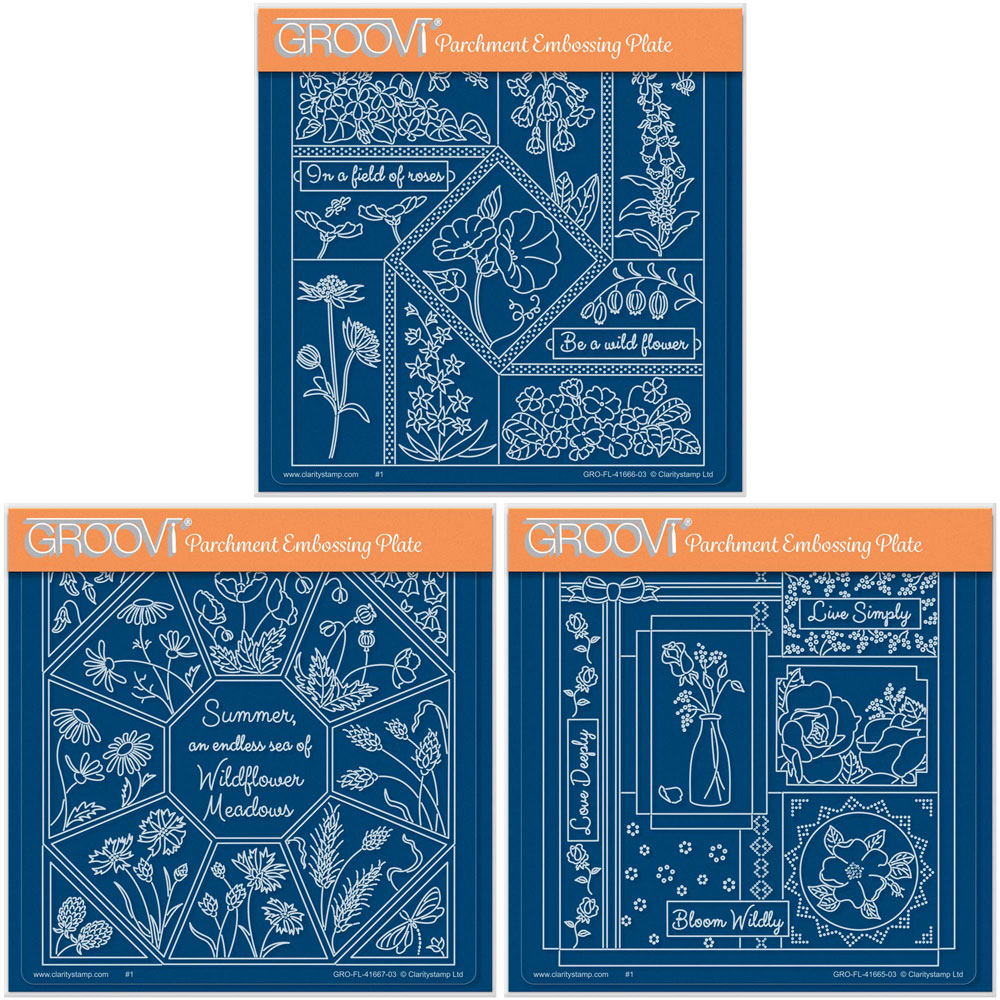
Following on from the launch of the New Easy Layout plates from Linda Williams on Wednesday/Thursday, Glynis has decided to revisit one of the previous designs, to show you what you can do with them. This can be achieved by using any of the 12 Easy Layout plates from Linda Williams. Check these out! They’re spectacular.
Right, I’ll hand you over to our brilliant teacher!

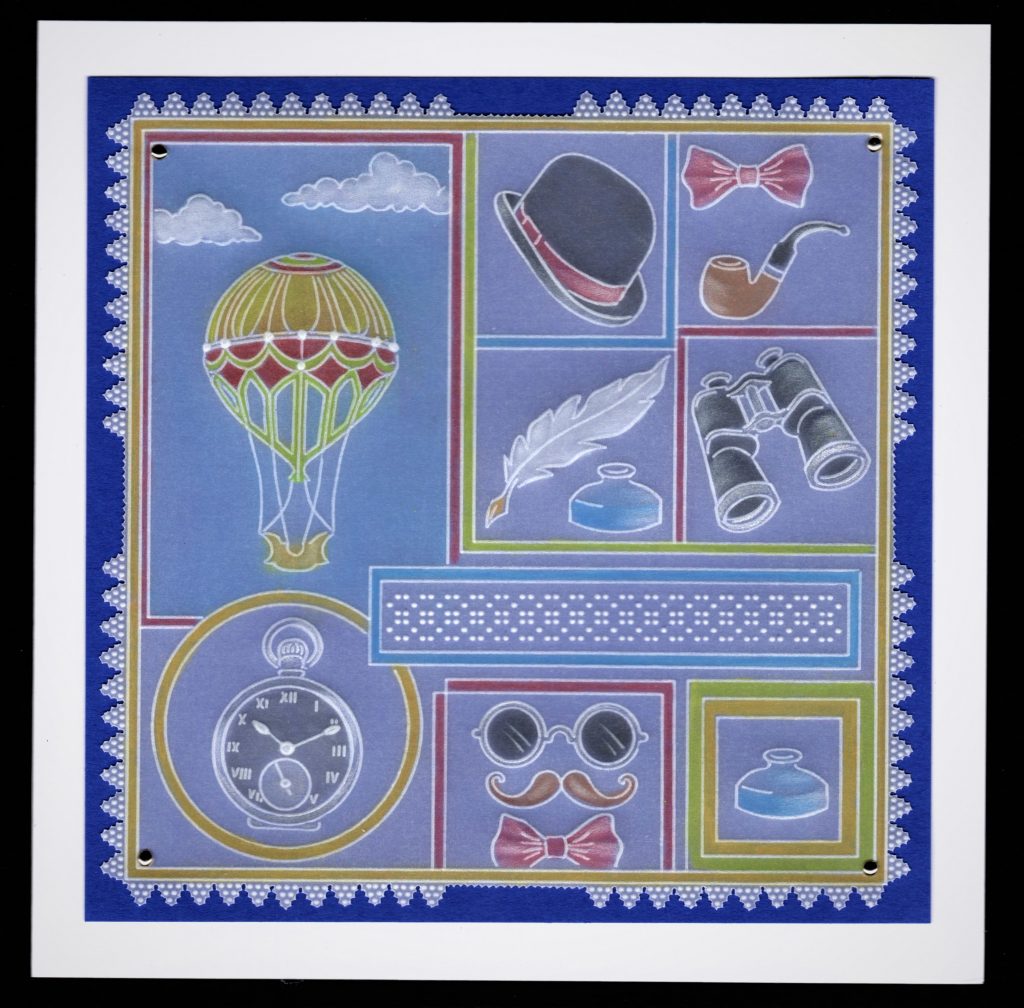
Men’s Travel – Linda’s Easy Layout Plate.
I thought I would use another one of Linda Williams’s Easy Layout plates to show you that you can make an entirely different card, for someone who likes travel and Steampunk. These Easy Layout plates are so versatile and will lend themselves to many themes and styles, this is just another!
Ingredients
Art Nouveau Rose Groovi Spacer Plate (GRO-FL-40841-06)
(there are other spacers to choose from on the website and it will not be featuring in this design)
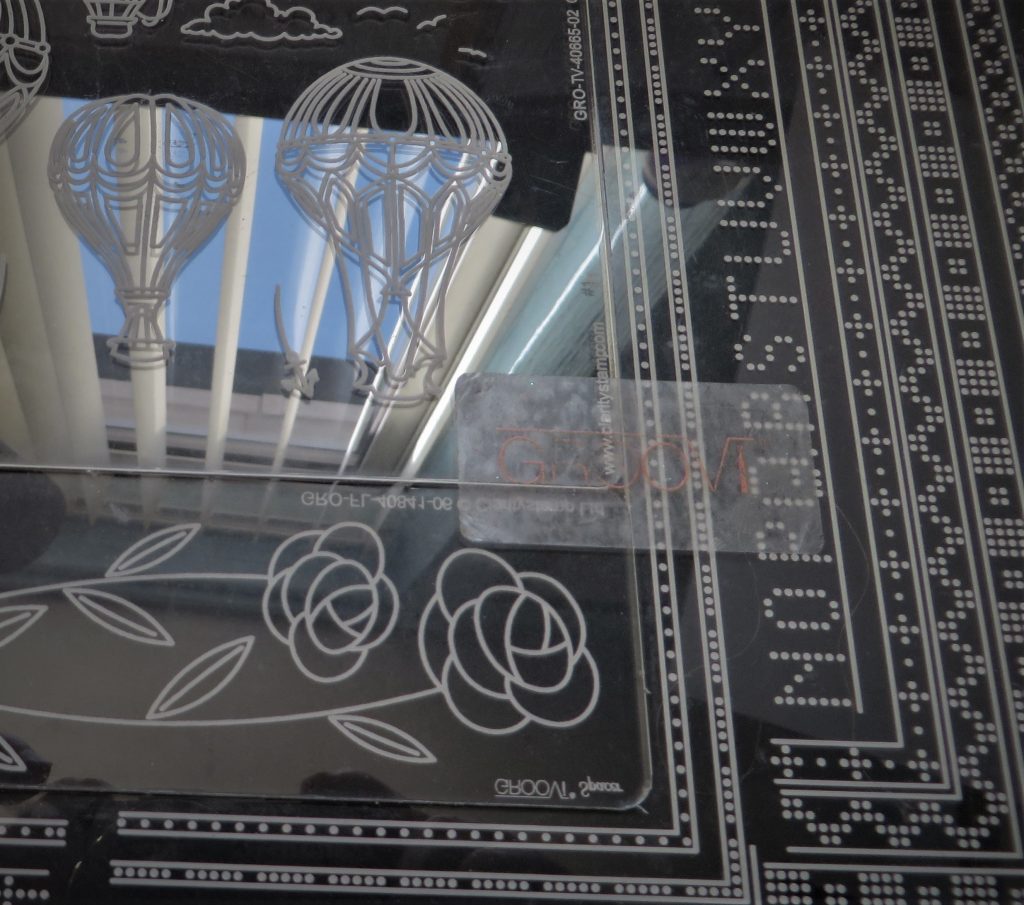
Ballooning A6 Groovi Plate (GRO-TV-40665-02)
Gentleman’s Collection A6 Groovi Plate (GRO-PE-40664-02)
Linda Williams’s ‘Time to Relax’ Easy Layout A5sq Groovi Plate (GRO-LW-41981-03)
Groovi Plate Mate for A5sq Grids (GRO-CO-41706-08)
Diagonal Pattern 1 Groovi Border Piercing Grid (GRO-GG-40354-14)
Plain parchment (GRO-AC-40024-XX)
Pergaliner Pencils B (PER-CO-70063-XX)
Dorso Oil (PER-CO-70066-XX)
Blending nibs (PER-AC-70299-XX)
Picot V Medium Perforating Tool (PER-TO-70282-XX)
2-Needle Perforating Tool (PER-TO-70037-XX)
Method
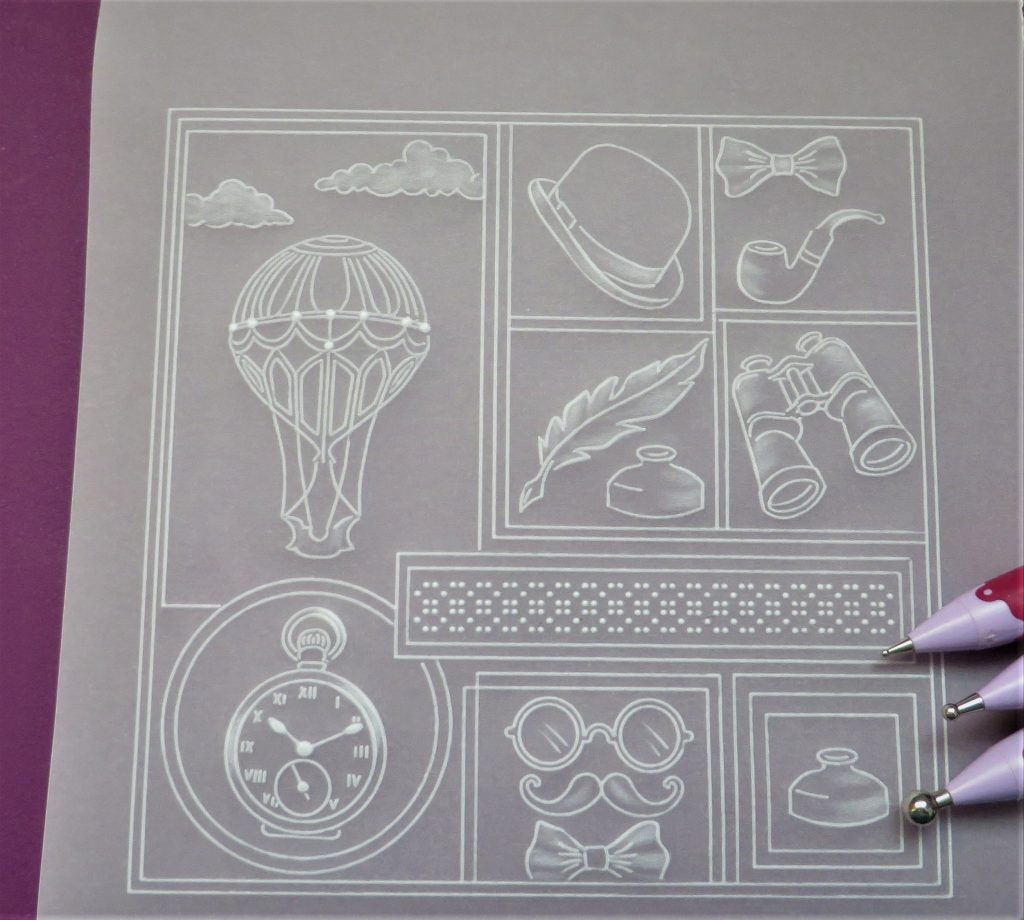
Step 1. Trace out all of the lines of the Easy Layout plate, remembering to leave all the spaces blank.
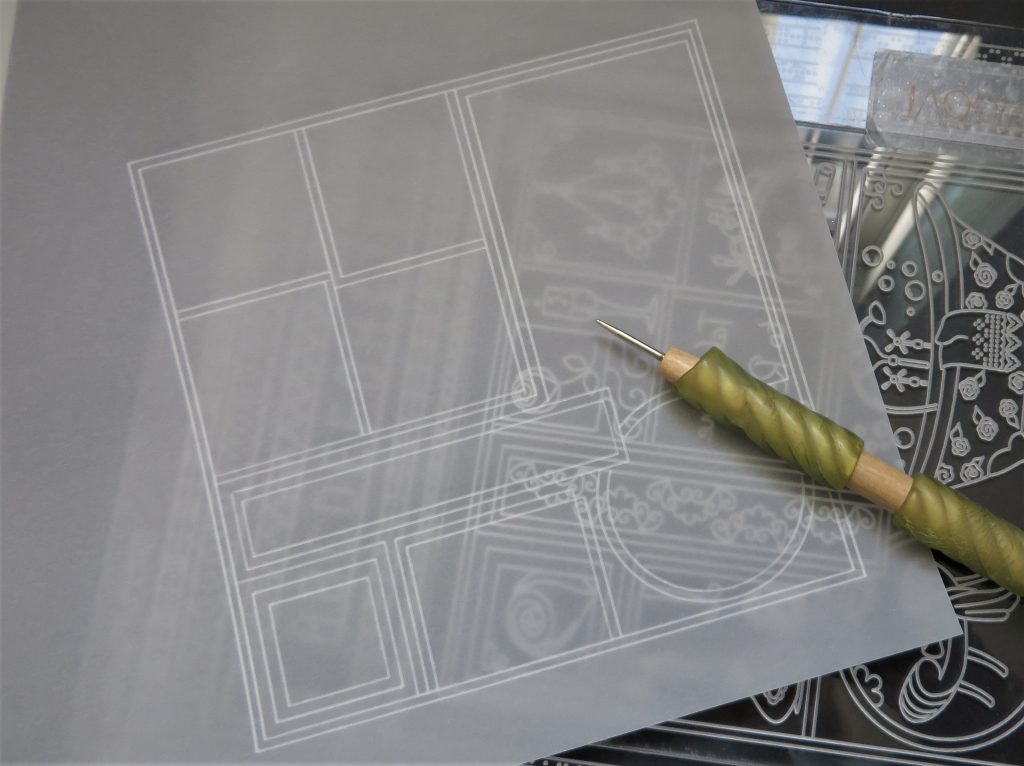
Step 2. Swap out the A5 Square Plate for the space and the Ballooning A6 Plate. The spacer needs to be placed in with the smooth side upwards to prevent accidental embossing. Place a Groovi tab over the joins to prevent the plates from moving about.
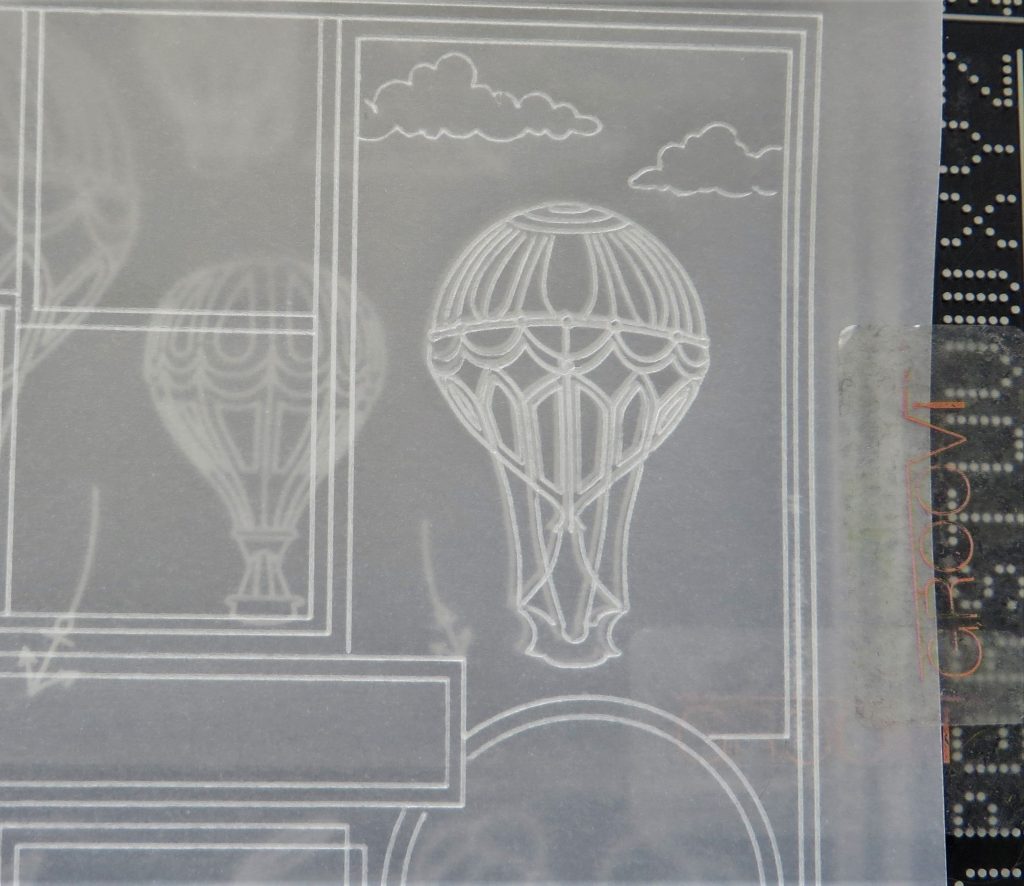
Step 3. Use the 2nd largest balloon and trace it into centre of the biggest frame. Put it towards the bottom of the frame so that you will have room for a couple of clouds above it.
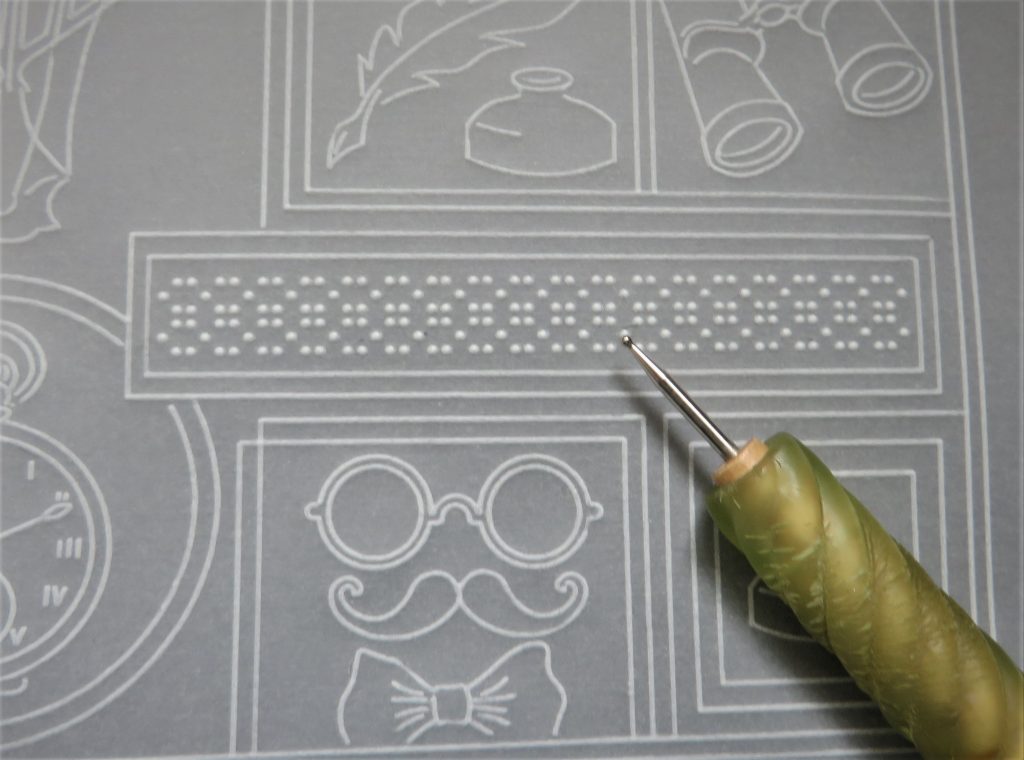
Step 4. Now, this is where you get to play and go around the plate. Choose which icons you would like to put into all the empty spaces in the Easy Layout grid, and trace those elements into your chosen areas.

Step 5. We are left with one empty panel – perfect for writing in a name, date, or sentiment. I decided to use the plate that came with my Plate Mate for grids and fill it with a grid pattern. I found that the 3rd pattern in from the edge of the plate fits in nicely.
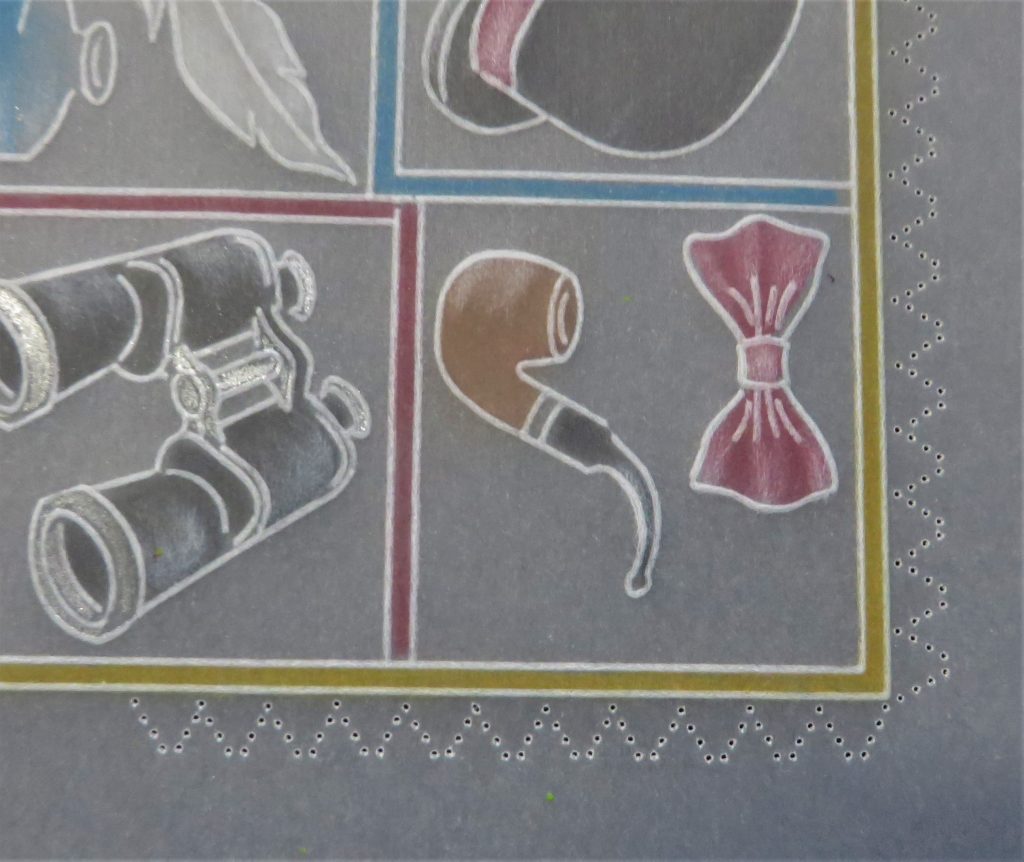
Step 6. It’s time for a little bit of embossing. I have just done enough to add a few highlights and shape to the items in the boxes. For once, you are allowed to be a little bit patchy and smoky on the clouds! You can add white pencil (from the back of the parchment) to the clouds should you wish.
Step 7. We need some colour now. Starting with B4, use the side of the pencil to add some blue to the sky around the balloon. Blend it with some Dorso oil on a nib. When the sky is done, go ahead and colour in all of the icons within the boxes, as well as the margins. Use some metallic pencil on the right side on the binoculars and the watch.
TOP TIP: Remember that if you go over any edges, it can easily be rubbed out with the pink eraser pencil.
Step 8. Working on the right side and on a shallow picot foam mat, shallow perforate with the Picot V tool. Go from the corner, up to each side of the border – make 11 perforations each way.
Step 9. Working from the back of the parchment now, and using the Diagonal Pattern Border Grid and the number 2 tool from the starter kit, add dots into each picot shape.
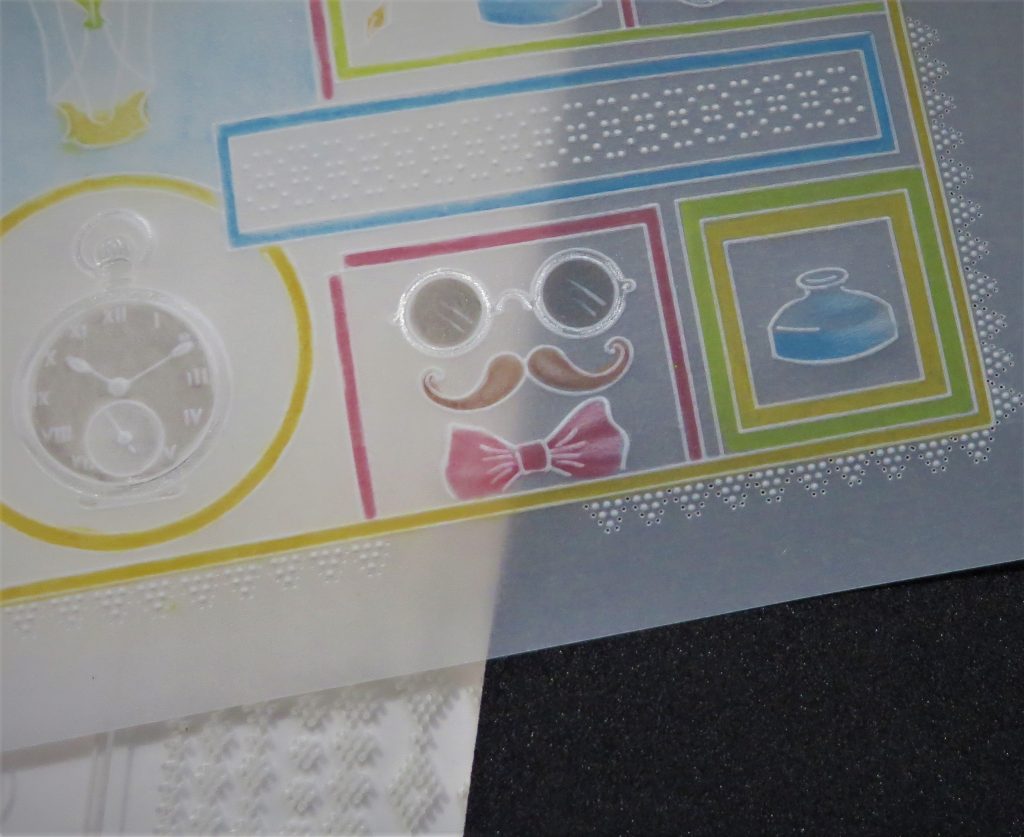
Step 10. Deeply perforate the Picot V’s and perforate in the gaps with the 2-needle tool.
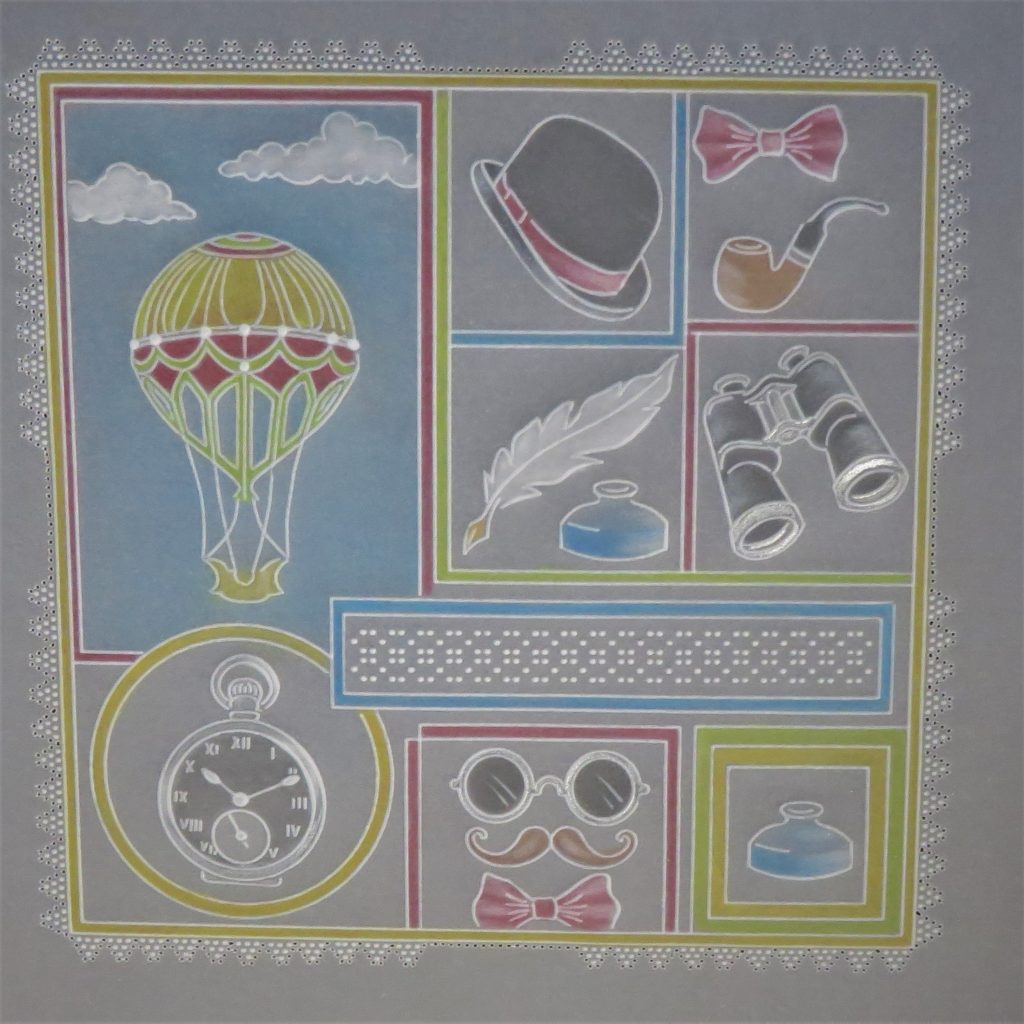
Step 11. Snip out the work. Mat and layer it onto your chosen background and card blank.
Oooooh!! What a perfect card for the men in our lives. I do love these layout plates. The options are endless! The countless varied directions you could go in, depending on what you decide to fill the spaces with.
Thank you, Glynis, for yet another top-notch step-by-step blog tutorial. You are wonderful. Everything Glynis has used can be found HERE on the Clarity website.
Another fun-filled and busy week ahead at Clarity. Here’s the rundown!
Monday, July 11th:
SHAC Shack with Barb – Live at 10am on Facebook & YouTube
Tuesday, July 12th:
Groovi Tuesday with Paul – Live at 10am on Facebook & YouTube
Thursday, July 14th:
SHAC Shack with Barb – Live at 10am on Facebook & YouTube
Thursday, July 14th:
The Pergamano Show with Tina Cox – 11am & 3pm on Create and Craft
We hope you’ll join us! Lots to look forward to.
Travel gently, friends.
Lotsa love, Grace & Glynis xoxo
Clarity – The Home of Art, Craft, and Well-Being.
Another great card and tutorial; many thanks.
Love, Love, Love this projects and these plates! i cannot wait for my new ones to arrive. they are so versatile and realy enablle you to do a little bit at the time. Looking forward to copying the ideas here.
Another great project from Glynis. It will enable us to explore the plates we already have to take them in a different direction to the original design. Look forward to seeing what everyone comes up with.
Thanks Grace & Glynis for another great Groovi Sunday blog xx
Love this project and i have most of the plates so will give it a go. Im using one of the layout plates for my friends retirement at the moment . Looking forward to my new sets arriving along with my sale items too so will be busy in the summer sat in the garden.
Thank you Grace and Glynis.x
Love the card, love the easy lay out plates. Just need to make more time to have a go. Thanks to Clarity for all the fabulous crafting goodies you make for us and thanks to all the experts who show us how to use them.
Love it Glynis, a great card for men. Your work is always inspirational. Thank you.
Good luck with the audiobook Grace.
Have the older set, waiting for the new. The above art is just the inspiration I needed for a male card. Thank you.
Enjoy the sunshine ☀️ but please make sure you stay hydrated. 💦💦💦
🍒
Thank you so much for this and I actually have several of the elements to give it a go. It will have to be a variation on a theme though as I don’t have them all.
Great project, love your work, can we persuade our clever clarity team to make some easy layout plates with some different themes, e.g males, different holidays to xmas, may be some based on different countries, cultures or food, clothes, modes of transport, hobbies, fossils, animals and pets oh the list is endless, but I bet you have something up your sleeve already, cos you are always the bus driver up front