Clarity’s Blog Tutorial: Tina’s Snowflake Grids
Hello hello! Grace here.
Happy Sunday! Wow, what an amazing TV weekend it has been on Create and Craft – Weekender – SOLD OUT, Mega Bundle – SOLD OUT – While Stock Lasts – SOLD OUT, Feel Güd Letterbox Gnomes Groovi Collection – SOLD OUT, Feel Güd Gnomes Crackers & Postcards – SOLD OUT, original Feel Güd Gnomes Stamps and Groovi – SOLD OUT. Thank you for tuning and supporting Mum and Paul, it has been very much appreciated and we are so glad you enjoyed them. There will be one more show with Paul at 1pm – tune in and see what he comes up with!

Sunday 26th, 1pm
Sky 683 | Freesat 813 | Freeview 85 | Virgin 748 | Apple TV | Fire TV | Roku
But for now, we have a glorious step-by-step project for you. We’re joined this weekend by the super talented Glynis Whitehead. She’s put together a gorgeous tutorial for us. Let’s jump right in!

Let it snowflakes
The Snowflakes Duet grids are a beautiful way of using up all of those parchment scraps. They come individually or as a pair. I have referenced them in pairs, as they really do flourish together. I have also listed the Lightwave Light Panel, as it is such a boon when working with the darker coloured parchments and the piercing grids. In this step-by-step project, I have made a Christmas card to show you some tips and techniques.
Ingredients
Calligraphy Alphabet Plate Mate for A5 Plates (GRO-MA-40517-08)
Jayne’s Postcard Framer (GRO-CH-40695-04)
Diagonal Pattern 1 Groovi Border Piercing Grid (GRO-GG-40354-14)
Diagonal Basic Bold A5 Sq Groovi Piercing Grid (GRO-GG-40201-12)
Small Snowflakes Duet A5 Sq Groovi Plate and Grid Set (GRO-GG-40762-XX)
Large Snowflakes Duet A5 Sq Groovi Plate and Grid Set (GRO-WI-40763-XX)
Mixed Pack x 20 Groovi Christmas Parchment Paper (GRO-AC-40382-A)
Clarity Lightwave LED Light Panel & Free A4 Translucent Piercing Mat (ACC-LP-30352-A4)
Single Ended White Eraser Pencil (ACC-PE-30670-XX)
Scraps of Clear Parchment (GRO-AC-40024-XX)
Method
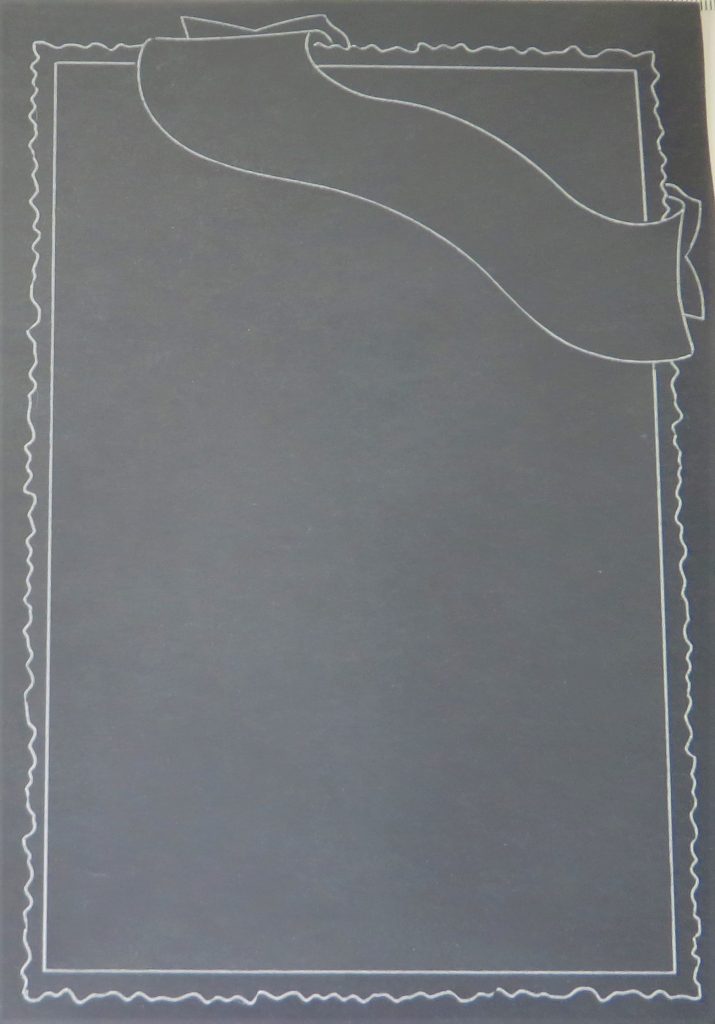
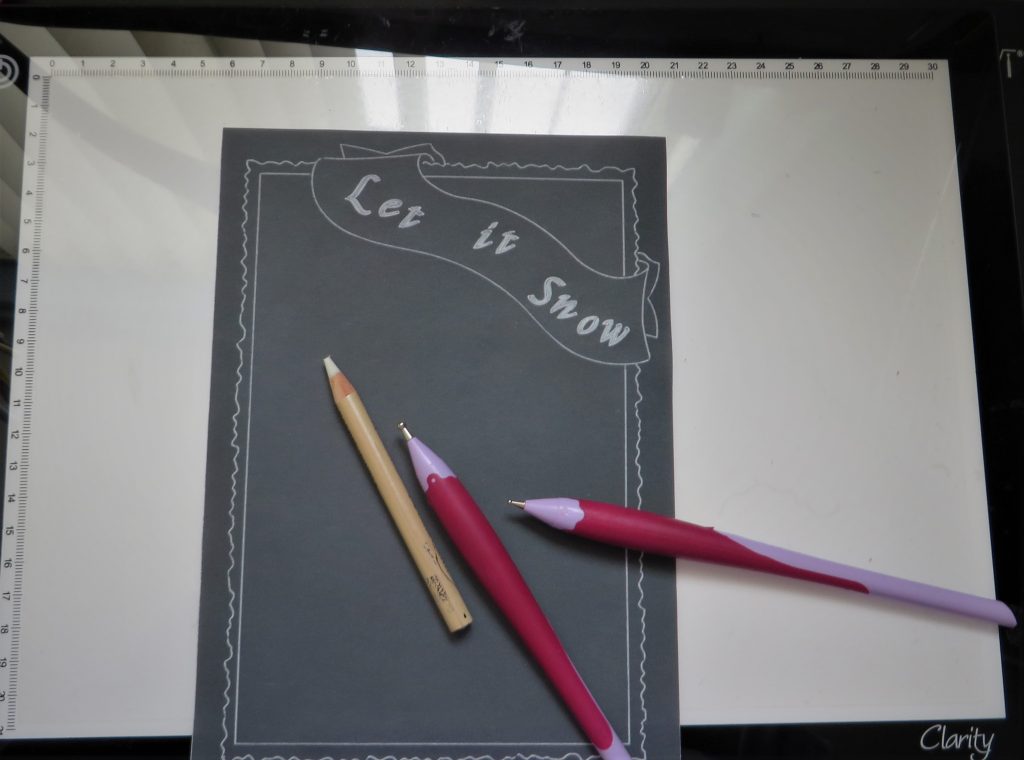
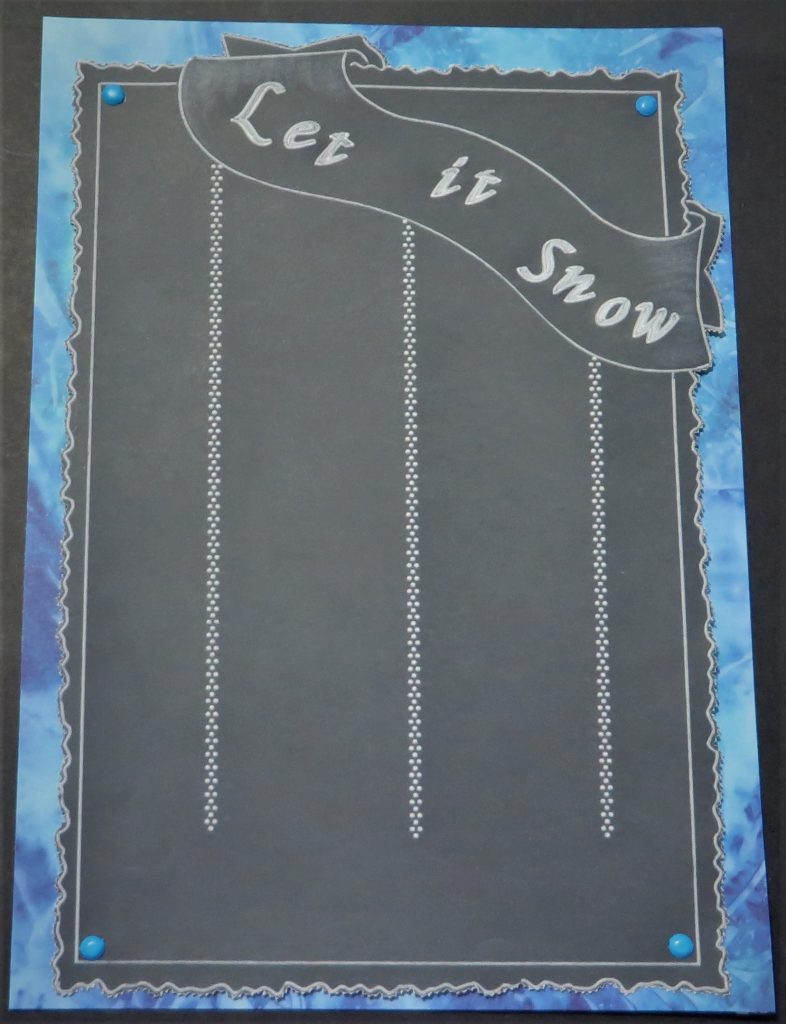
Step 1. Line up the black parchment (darker, shiny side up) onto your plate with the banner in the top, left-hand corner.
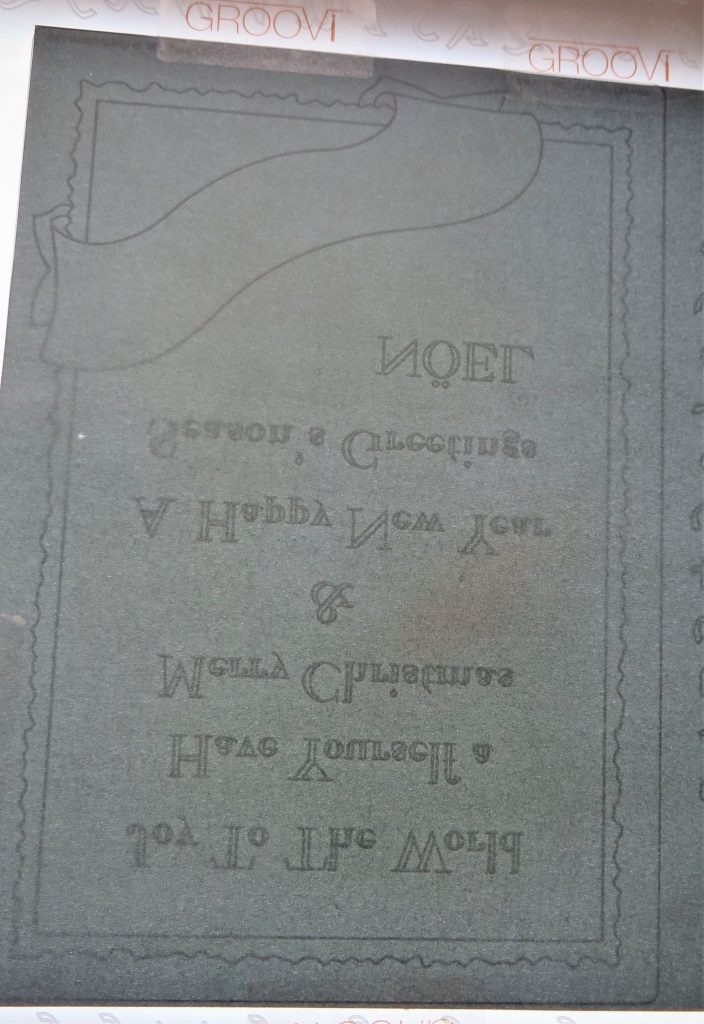
Step 2. With the number 1 tool from the Starter Kit, emboss the scroll, deckle edge and the straight line of the border.
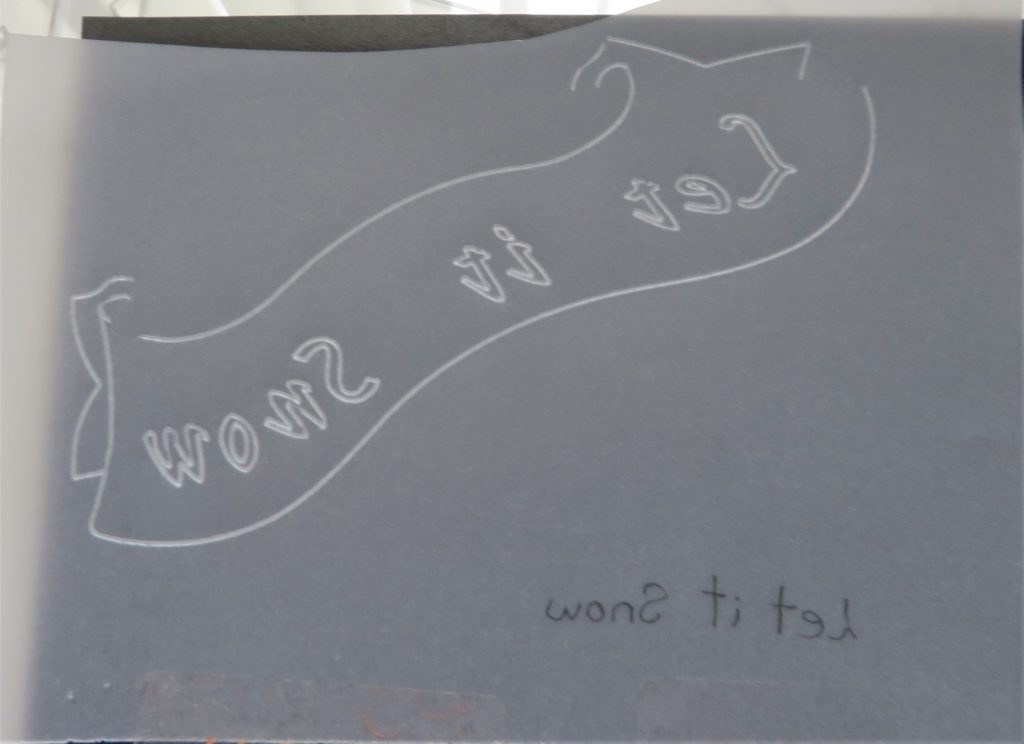
Step 3. Use the Calligraphy Alphabet on the plate mate to write ‘Let it Snow’ within the banner. It is a good idea to make a template first. I wrote it out in black pen (from the front) so that when I turned the parchment over, it would help me make sure I got the letters in the correct order. Follow the curve of the banner and place ‘Let’ first and then write ‘snow’ at the end. This gives you a chance of getting ‘it’ into the centre.
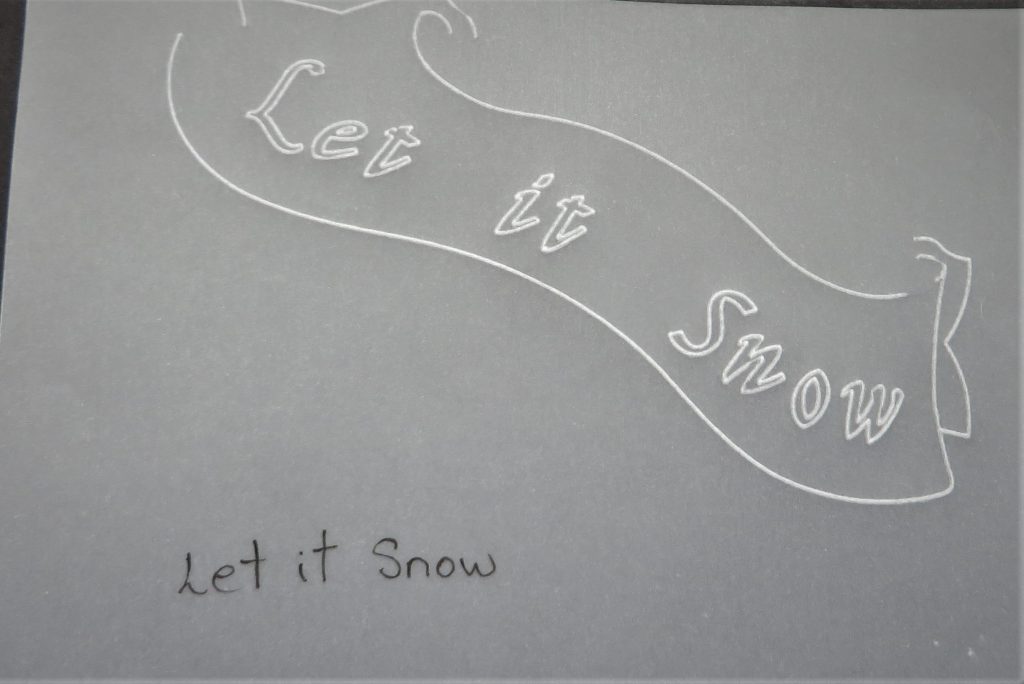
Step 4. Stick the template over your embossed banner and secure them with a couple of Groovi Tabs to make a hinge. This gives you placement for all of your letters and you can keep folding the template back each time you place a letter.
Step 5. Use the white eraser pencil to remove the black ink of the parchment in the letters. You really need this white ink eraser for this job. The parchment is flooded with colour on the back but this can be erased and will help you to get whiter letters when embossing them. Work on the back and use the number 4 tool (or 3mm Pergamano embossing tool) to whiten the letters. You can always leave them as they are and glitter them, or even use a white pencil if you would rather.
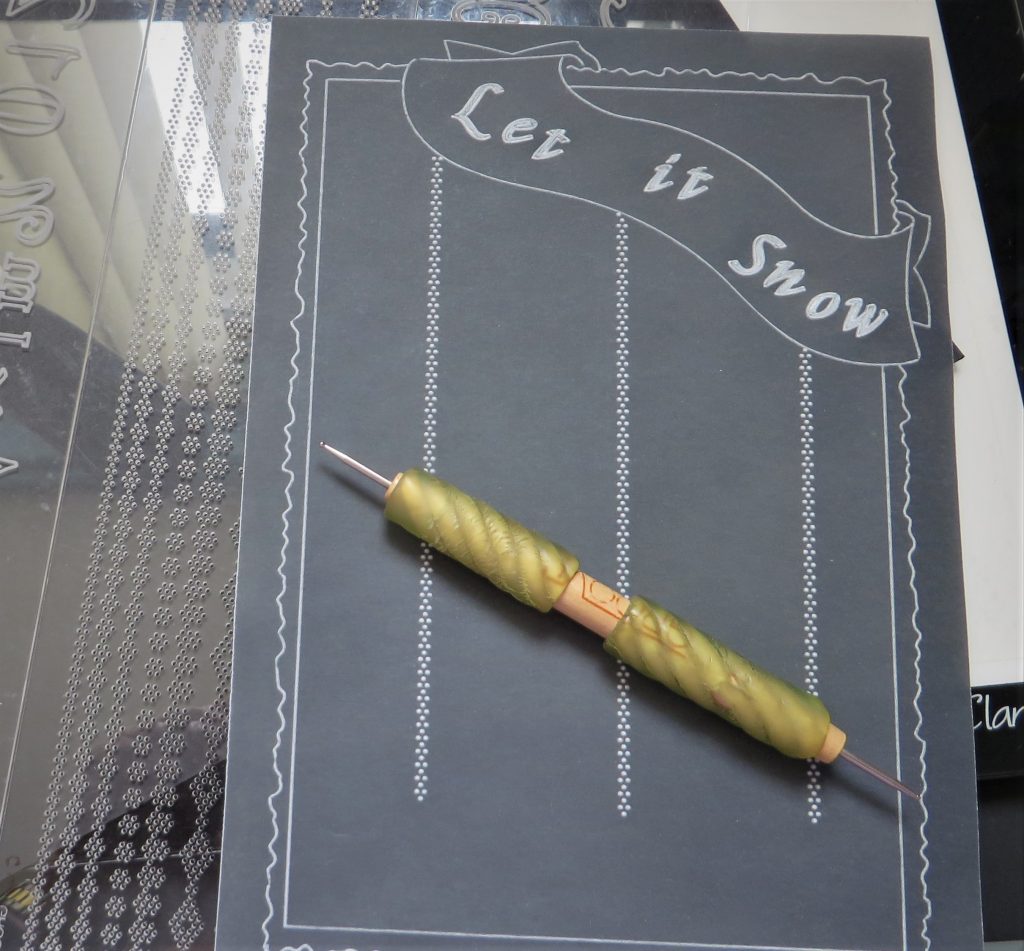
Step 6. Using the border grid and working from the back, emboss three strings coming from the banner. Do the two side ones first, then the centre string. Use the edges of the plate and other grid patterns to help you keep straight. Stop about an inch from the bottom.
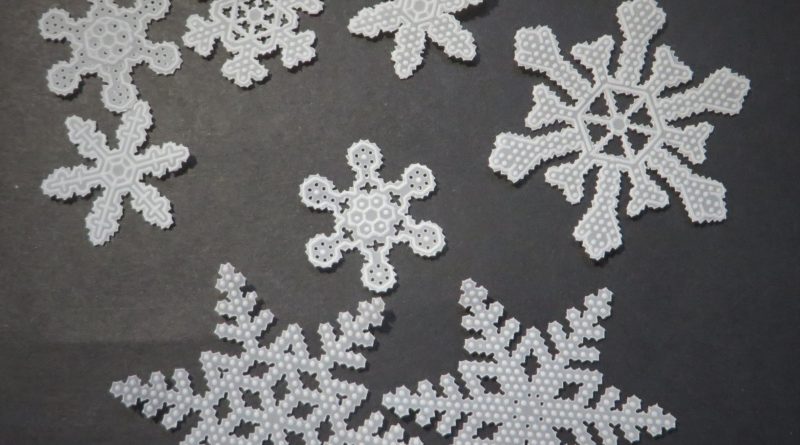
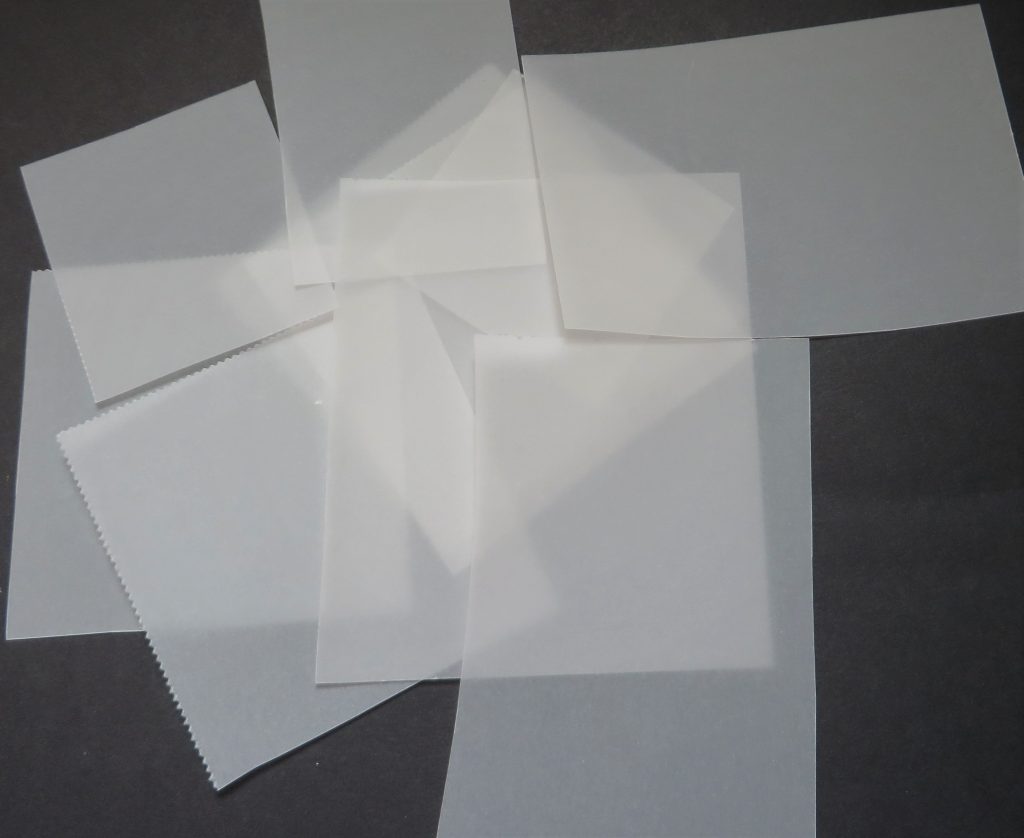
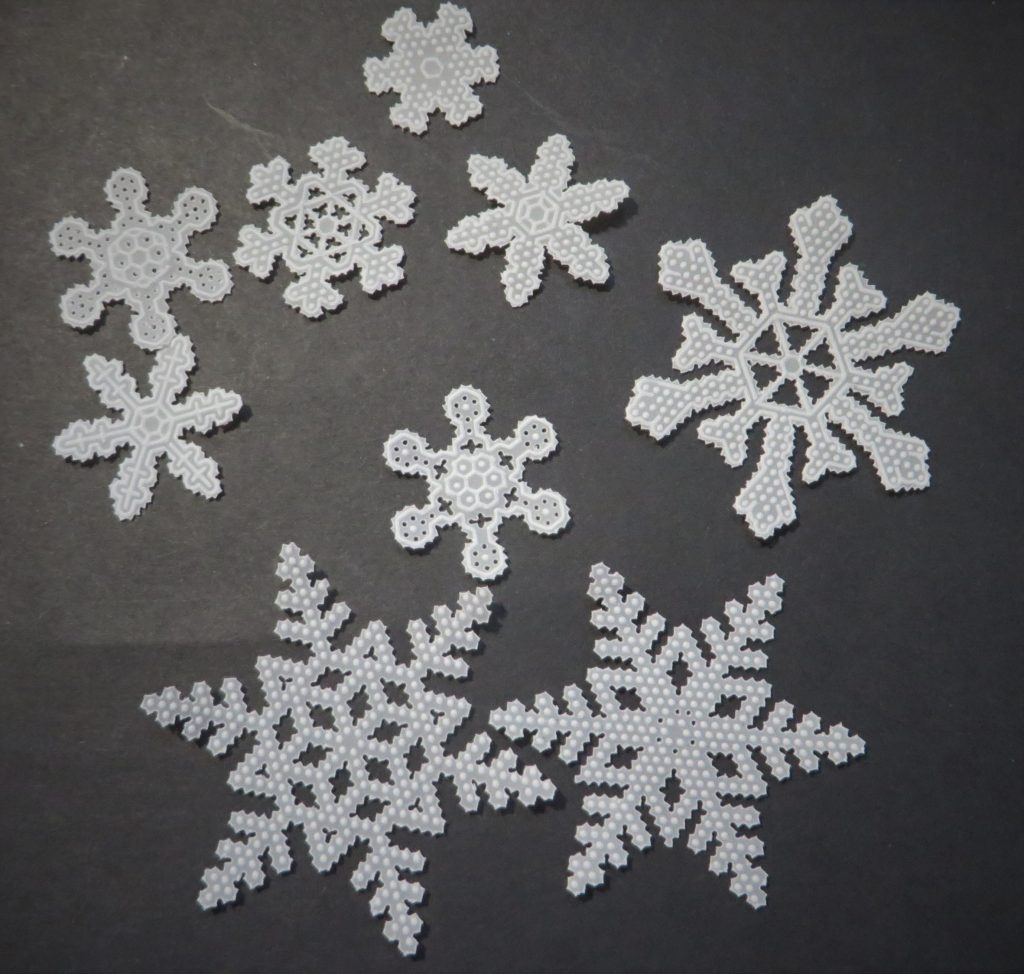
Step 7. Now for the snowflakes. You need nine small scraps of clear parchment for this. We will make 3 large snowflakes and 6 of varying sizes.
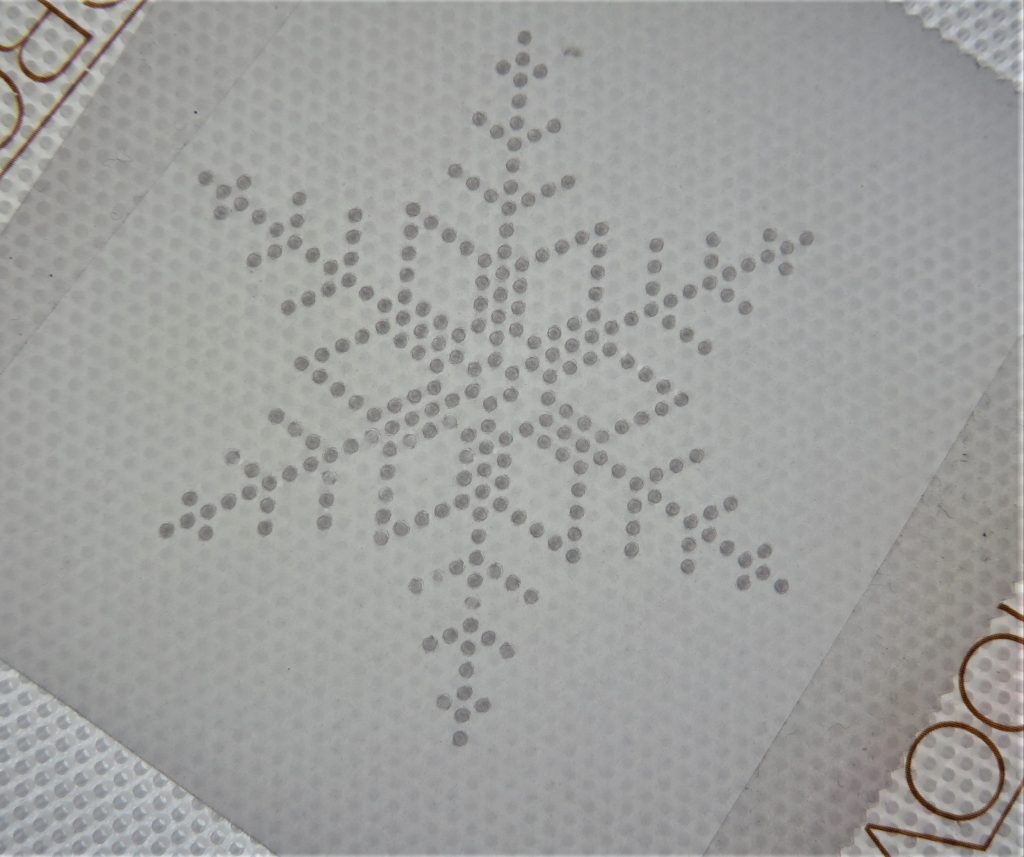
Step 8. Emboss the dots of the largest snowflake at the top of the ‘small snowflakes’ plates.
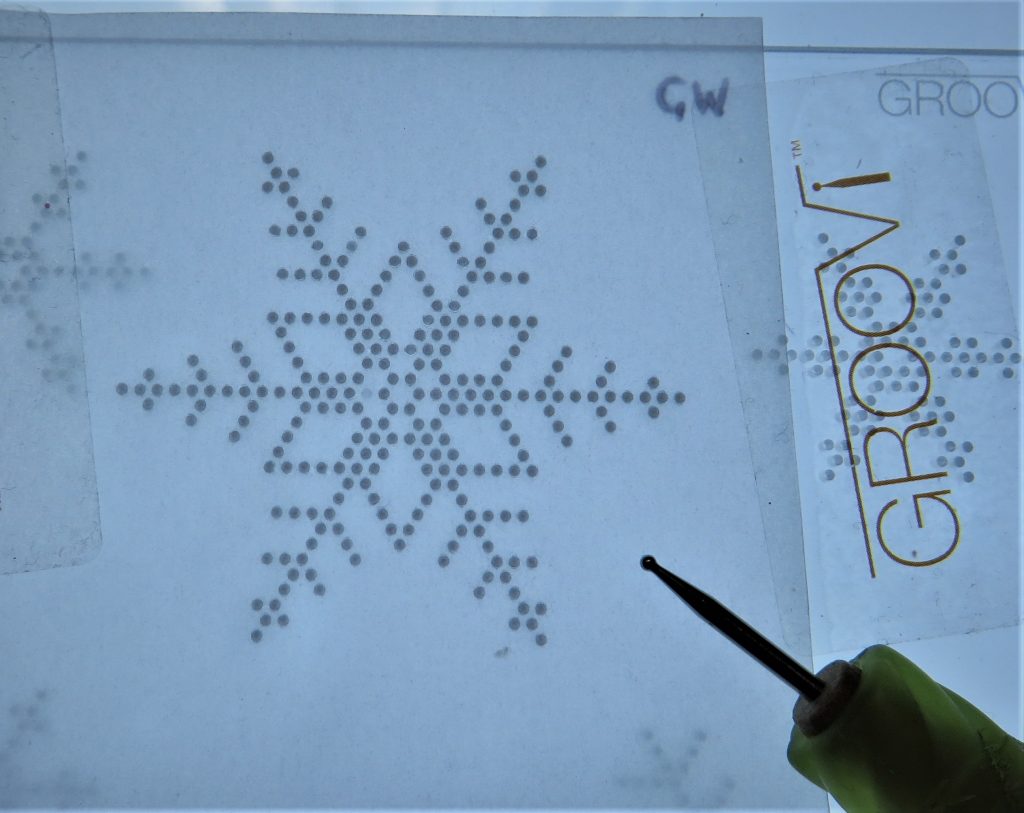
Step 9. Turn the work over and line it up on the diagonal basic piercing grid so that you can perforate all around the edges. As you line up the work, keep rotating the snowflake until you have it in the correct position.
TOP TIP: On this snowflake, the diamonds in the centre will have nine dots in the middle of them. Always emboss on the back and pierce from the front.
Step 10. Use the bold single-needle tool and perforate all around the edges and inside the diamond shapes.

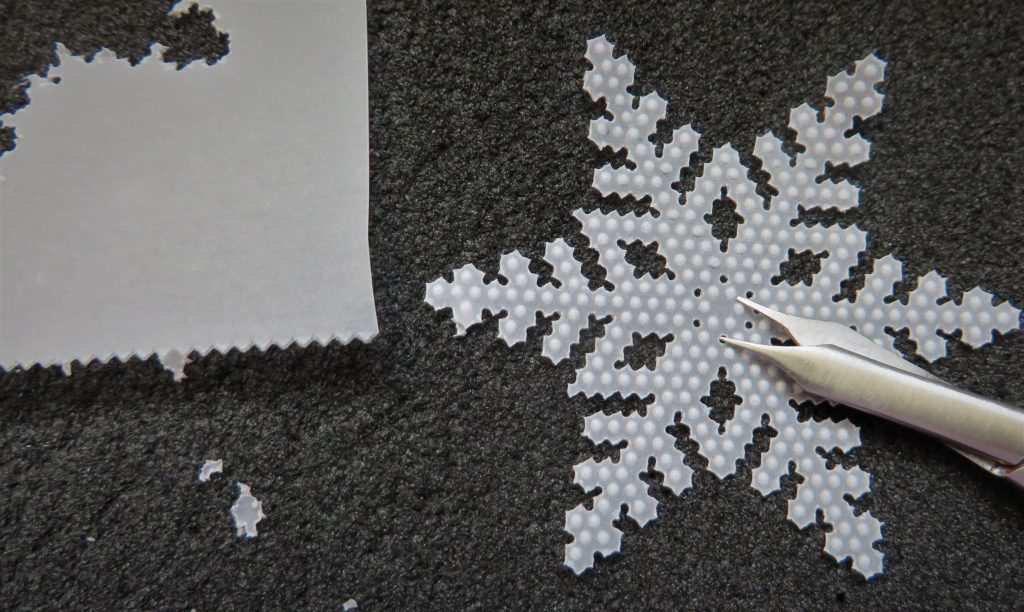
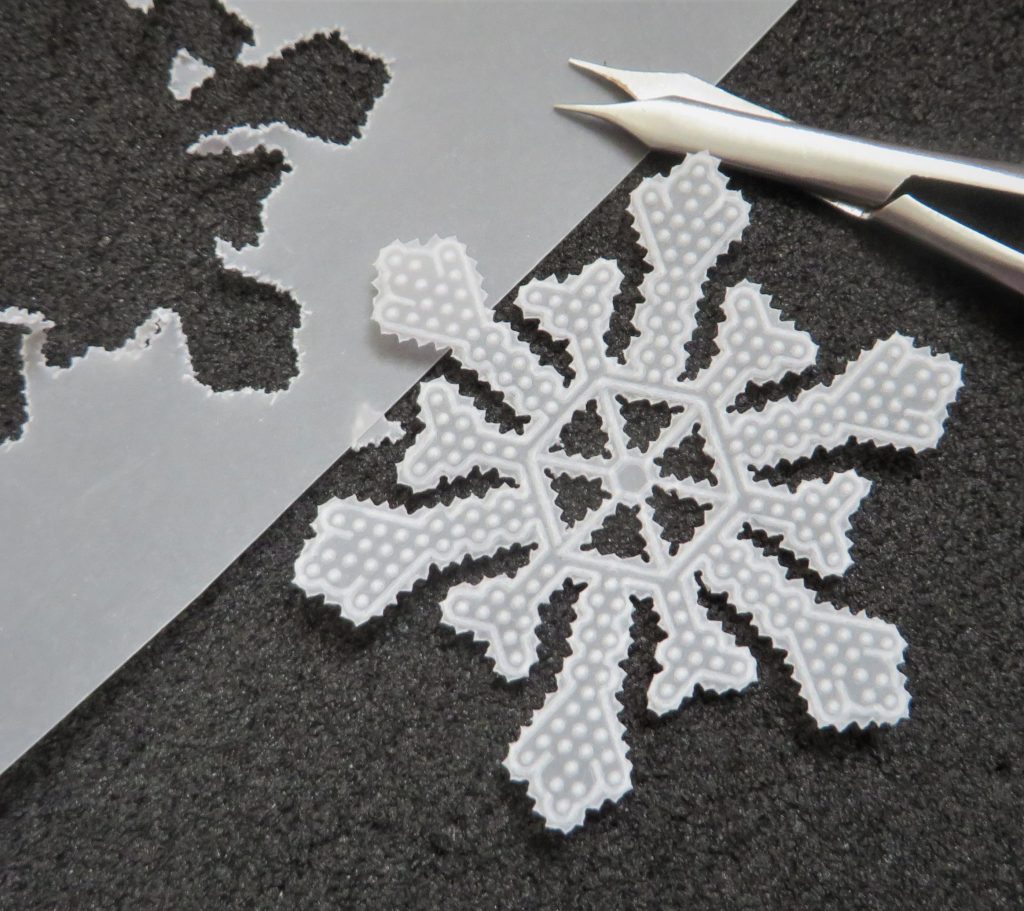
Step 11. Snip around the edges and inside the diamond shapes. Turn the work as you go and be careful when removing the snowflake from the waste so that you do not tear it.
Step 12. For the next snowflake, emboss the outline of the large snowflake at the bottom left-hand corner of the ‘small snowflake’ plate. Then emboss the dots into it from the piercing plate. Use a fine two-needle tool to perforate around the edges and snip the snowflake out. You can use scissors or a craft knife if you do not wish to picot cut it out.
Step 13. Using these two methods, make another large snowflake and 6 more of varying sizes.
Step 14. Go around the outside of the frame with a two-needle tool and then picot cut it out. This can then be attached to a piece of Indian Summer Designer Paper (measuring 5.45 x 8 inches) with brads at each corner.
Step 15. Attach this to an A5 rectangle card blank with double-sided tape. Arrange the snowflakes onto the card. Use a dot of Perga glue in the centres and put some gems in the centres of all the snowflakes to hide the glue. And you’re all set!
How beautiful! I love this effect, and already my mind is thinking of how you could do this with flowers or butterflies too! Thank you Glynis for your tips and techniques. You never cease to make the seemingly unachievable, achievable for all!
If you are looking for some more inspiration using the Snowflake Duet Plates, then check out Paul on The Pergamano Show on Rewind via the Create and Craft website – 11am HERE and 3pm HERE
Everything that Glynis has used can be found HERE on the Clarity website.
If you’d like to have a go at this project yourself, we’d love to see your finished artwork. You can email me at Grace@claritystamp.com
Right, I must dash. There’s more Clarity TV to enjoy! Tune in at 1pm
Travel gently, and have a lovely week!
Lotsa love, Grace & Glynis xoxo
Clarity – The Home of Art, Craft and Well-Being.
Just had a thought that when we get the new little gnomes we could also have them coming down the strings too. Snowflakes look great Glynis x
it was not surprising that the weekender etc sold out. Quality, value, versatility were being beautifully demonstrated by Barb & Paul. What a trooper he is; saw the last show and boy did he work what he had left on the counter 😂. He’s a great ambassador and demonstrator. Love the idea Linda Bache has come up with for the Gnomes. I don’t think anyone will struggle to use these in many varied ways. …..Any how on to the beautiful tutorial Glynis has given us. What a great way to use up any scraps including coloured parchment. Thank you for the inspiration.
So pretty, Glynis! I was startled to see what appeared to be a piece of my parchment and then realised we have the same initials. 🤣🤣
Just knew the gnomes would blow the doors off, Grace. Wonder what Paul will come up with. How to use a Groovi tab? Making the most of your Groovi guard? How many different colours of parchment there are?
Enjoy the rest of your weekend. X
Another lovely project from Glynis & as others have said the basic design could be used for so many designs. The Gnomes would love to swing on those strings !!
We all said that the Gnomes would fly & fly they did – great shows & the excitement of the new products certainly showed. Well done Barbara & Paul plus of course the design team.
Looking at the TV schedule it would appear that Paul is showcasing the snowflake plates again at 1pm so he won’t have to tap dance or sing !!
Have a good week x
No 3pm show?!? Sad. Was looking forward to another dose of Paul’s creativity.
There was never any doubt the Gnomes would sell out was there? Have written all my ideas down so I can get cracking as soon as they arrive.
The snowflakes are stunning and I love this idea from Glynis.
A great weekend indeed,
Should be 5pm nor 3pm. Time still showing on TVs.
I love the snowflakes-I shall certainly be trying this when I get over this stomach bug.
I love the snowflakes-I shall certainly be trying this when I get over this stomach bug.
Fabulous tutorial- thank you xx
thank you Glynis,
What a great design. So suitable for many different things. Including gnomes.