
Clarity’s Blog Tutorial: How To Use Linda’s Flowers & Lace Plate
Hello hello!
I hope this finds you safe and happy this Sunday morning!
We are joined by the wonderful Jane Telford, a valued member of the Clarity Design Team. She’s put together a gorgeous step-by-step project for you, using Linda’s Flowers and Lace plates. Result!
Hi Jane! I’ll hand you right over…

Linda’s Flowers and Lace Plates
Hi! Jane here.
I love this new set of plates and could have chosen any of them to design a blog post around, but I chose the Hydrangea plate. It would have been easy to just emboss the beautiful plate as it is, but that’s not my style. I love to change things up a bit! Let’s get started.
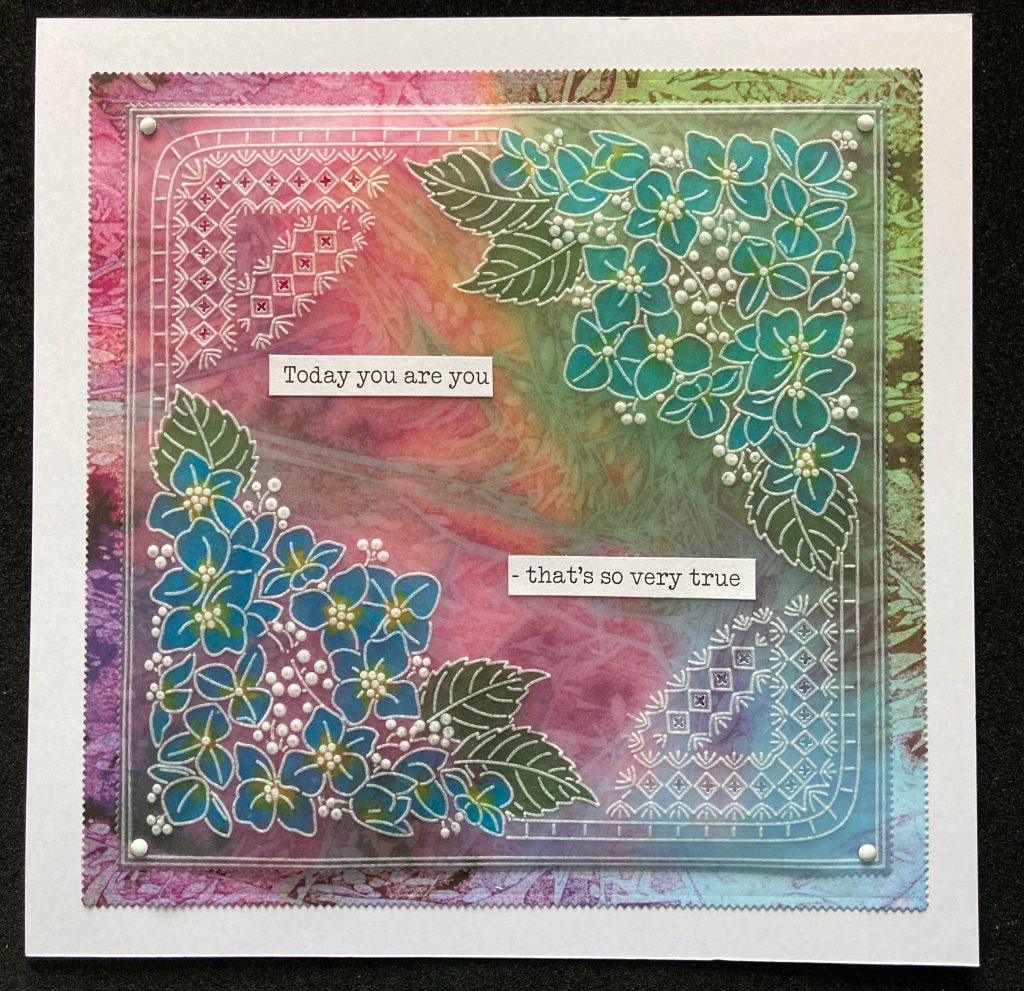
This is where we are headed…
Ingredients
Toscana Designer Paper (ACC-CA-30891-88)
Toscana Designer Parchment (ACC-CA-30933-88)
Linda’s Hydrangea & Lace A5 Square Groovi Plate (GRO-FL-41648-03)
Nested Squares Picot Cut Die Set & Groovi Plate (ACC-DI-30698-66)
Groovi Plate mate for A5sq grids (GRO-CO-41706-08)
Pencil eraser (ACC-PE-30670-XX)
Perga Colours Exclusive (21432) (PER-CO-70060-XX)
1mm Ball Tool – Extra Small (10071) (PER-TO-70011-XX)
1.5mm Ball Tool – Small (10011) (PER-TO-70004-XX)
3mm Ball Tool – Large (10021) (PER-TO-70005-XX)
4-Needle (10251) Perforating Tool (PER-TO-70036-XX)
Light wave (ACC-LP-30352-A4)
A4 Translucent White Super Foam (GRO-AC-40603-A4)
4 white brads (PER-AC-70269-XX)
Ringlock scissors (PER-TO-70041-XX)
Barbara’s Words Sticker Collection (ACC-SC-30849-A5)
7×7 card blank (ACC-CA-30619-77)
Method
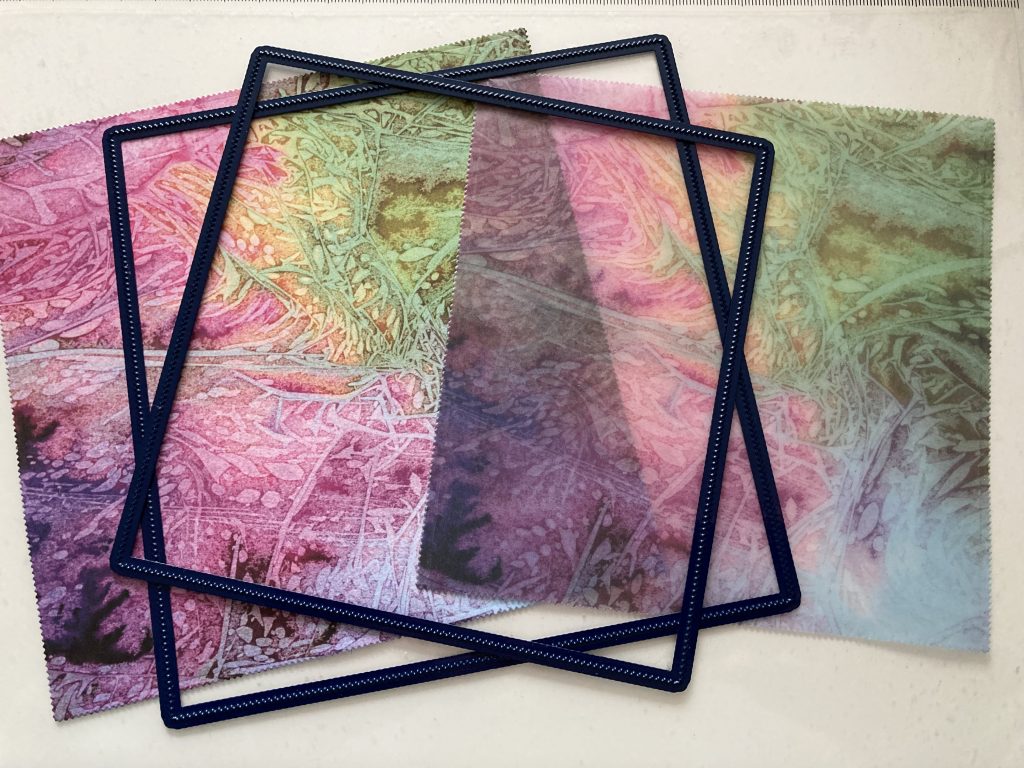
Step 1. Cut a piece of designer parchment using the 2nd largest square die. Cut a piece of matching designer paper using the largest square die. Put the paper to one side.
Step 2. Attach the parchment to the matching picot square plate (face down) and emboss the double lines around the edge.
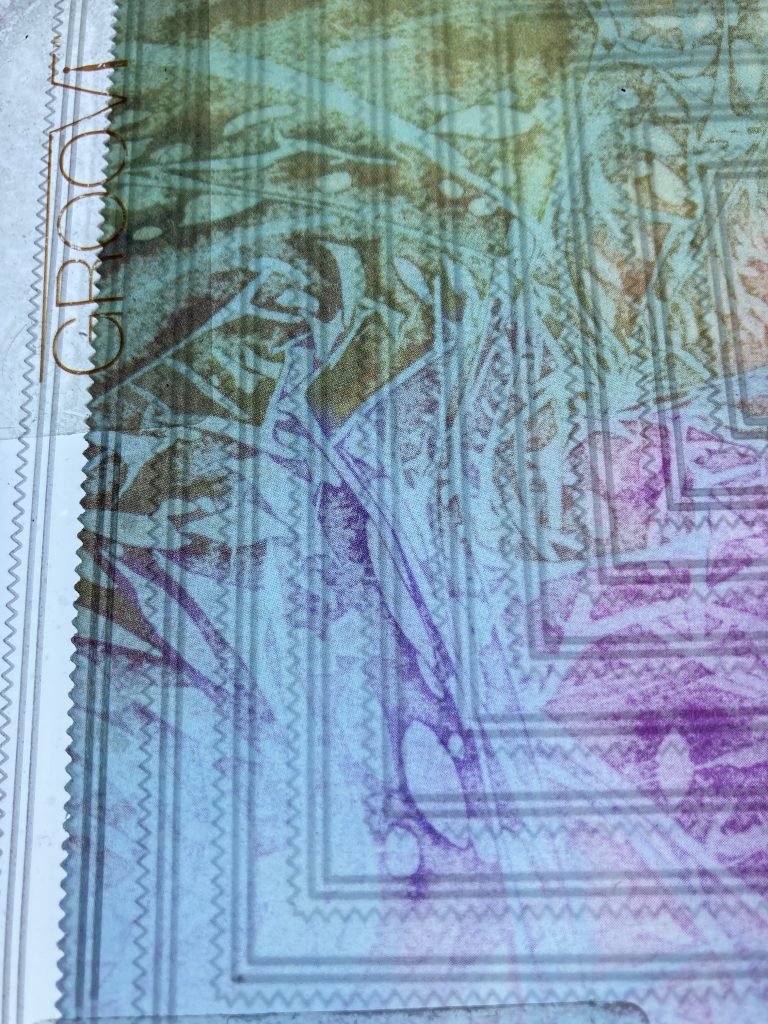
Step 3. Put the Hydrangea plate into the plate mate and position the parchment so the design fits evenly in the square.
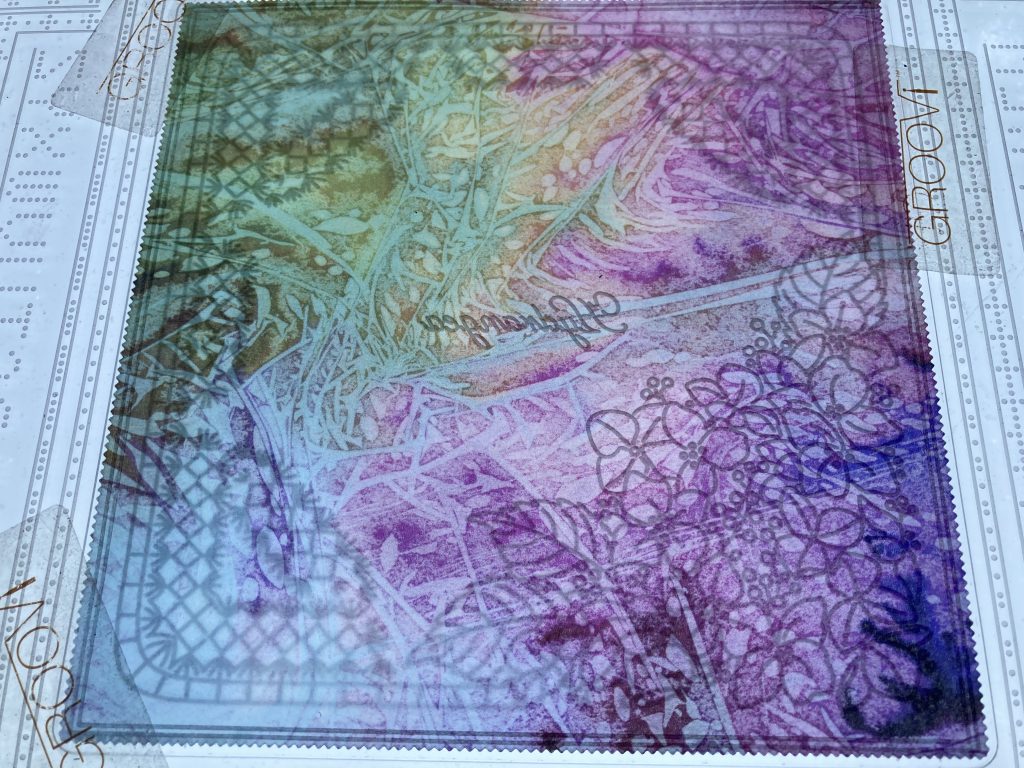
Step 4. Emboss the flowers and the 2 corners. Be careful not to go too far with the corners on the opposite side to the flowers.
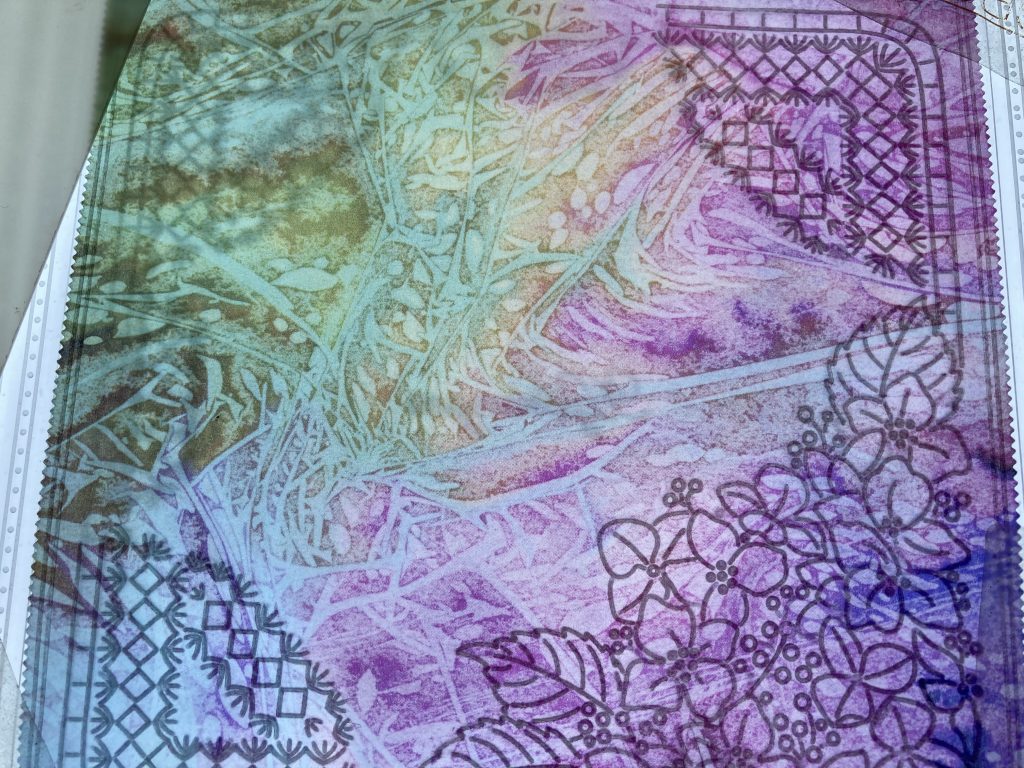
Step 5. Reposition the parchment using the corners you have embossed and then emboss the flowers in the opposite corner to the first bunch of flowers. Fill in the gaps between the corners and the flowers.
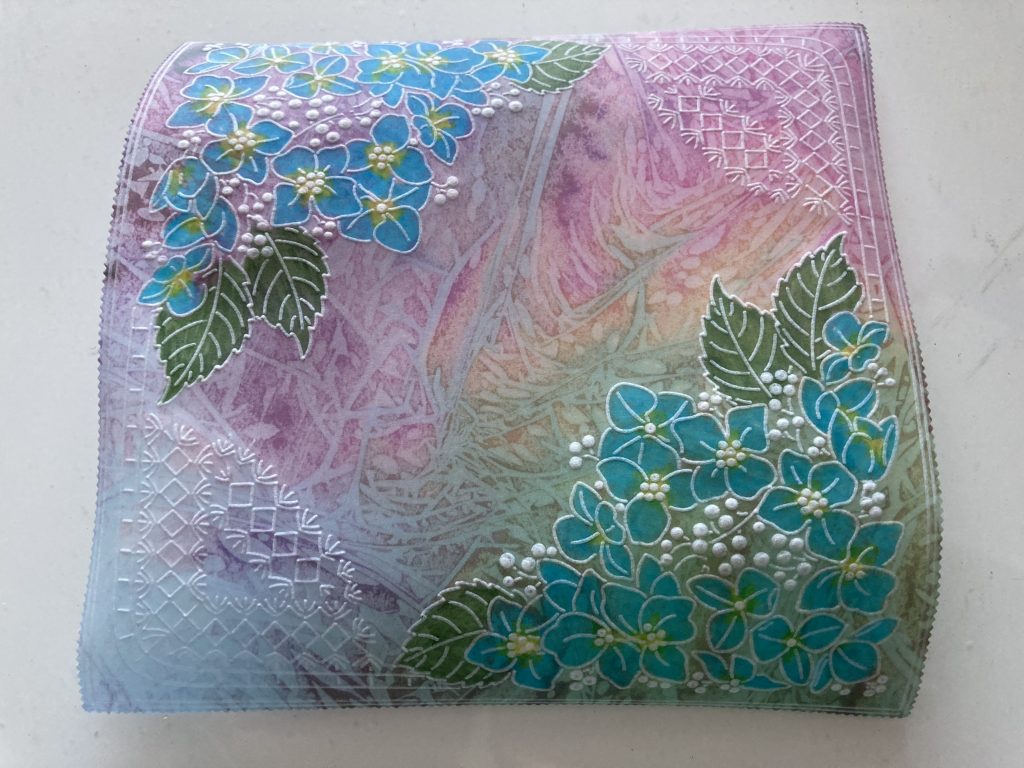
Step 6. Your finished line art should look like this.
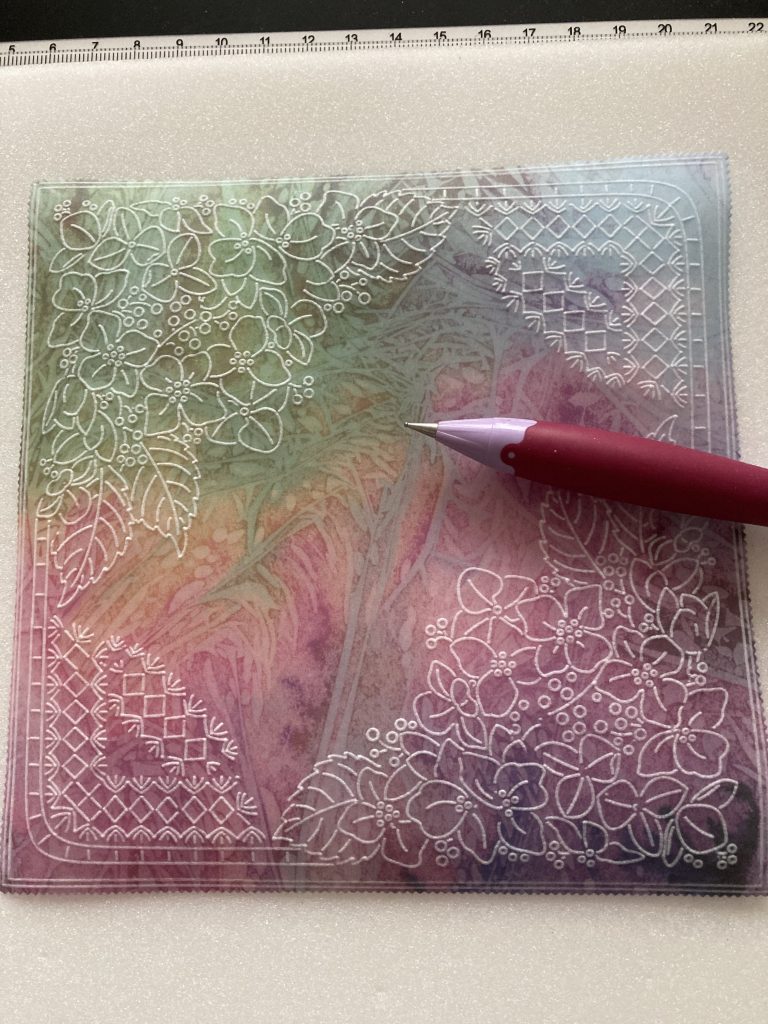
Step 7. Using the white super foam on top of the light panel and a piece of cellophane under the parchment, add white work to the dots within the flowers.

Step 8. Working from the back of the parchment, remove the colour from the flowers and leaves using the white pencil eraser.
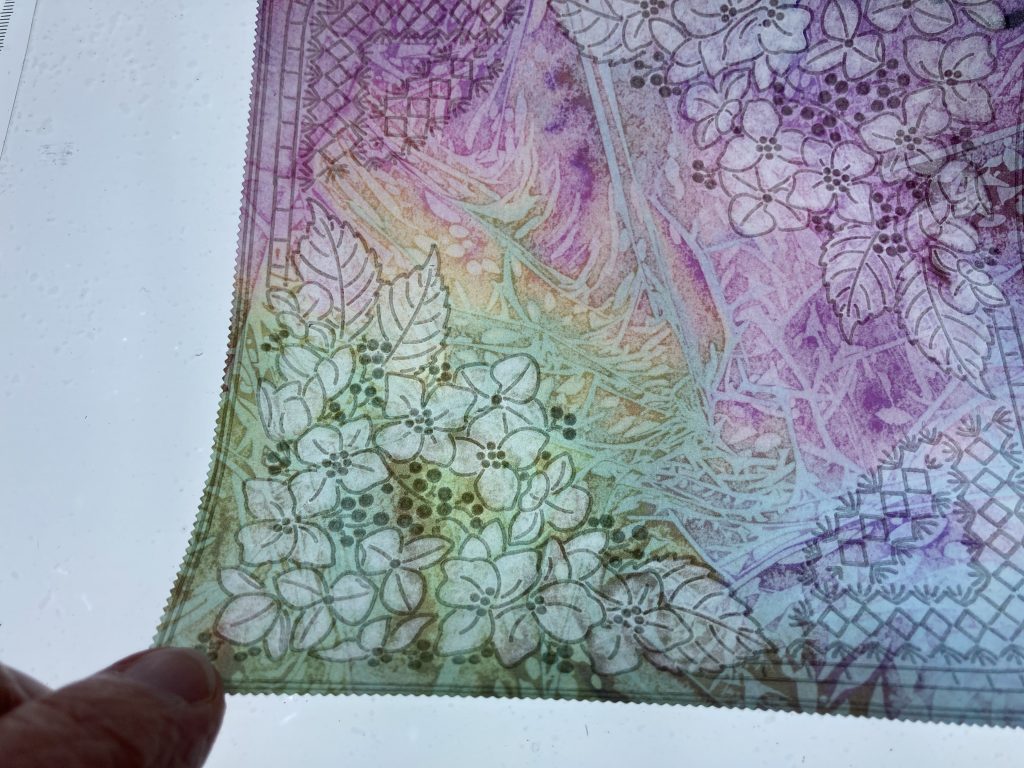
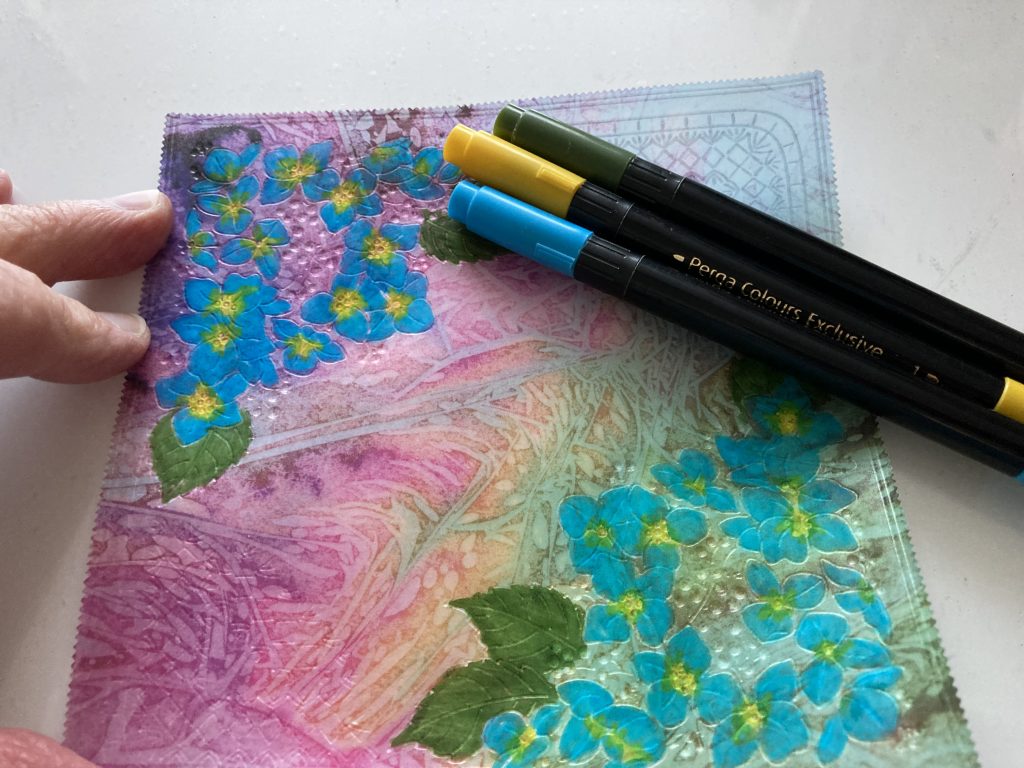
Step 9. Colour the flowers and leaves with Perga Colour Exclusives. I used the following: 1, 17, and 28.
Step 10. This is what it should look like now.
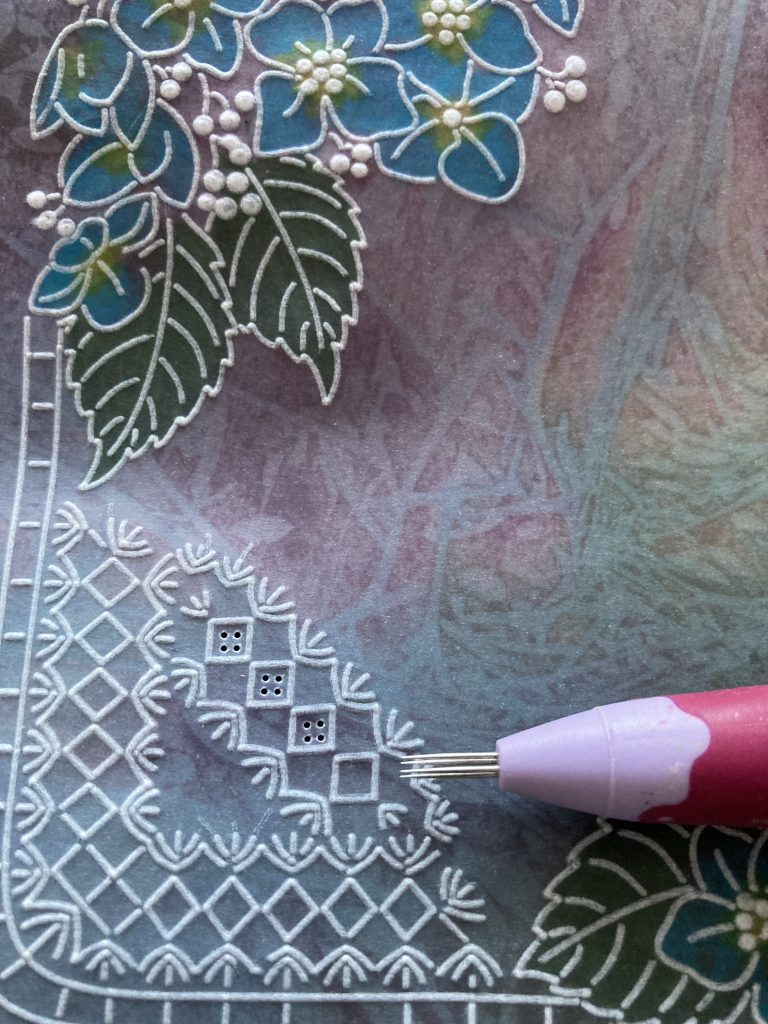
Step 11. Turn the parchment over so that you are working on the front. Using the 4 needle tool perforate in the corner pattern as shown.
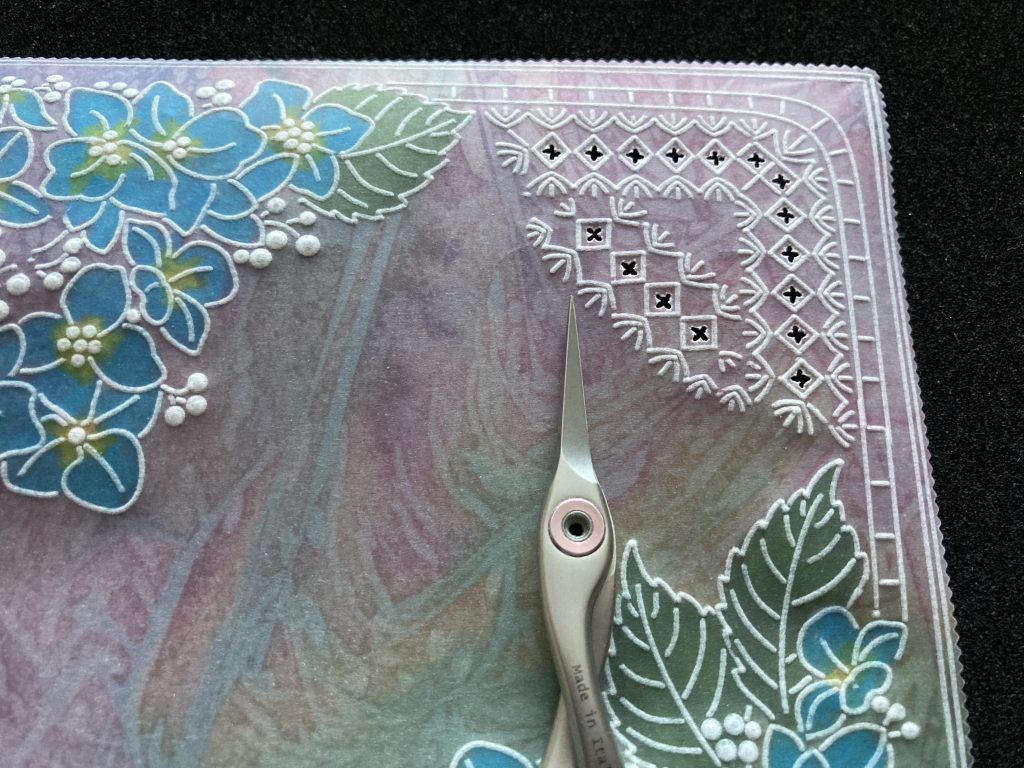
Step 12. Snip away the waste to create the crosses.
Step 13. Take your piece of designer paper that you cut earlier and attach the parchment to it using brads. Attach to an 8×8 card blank and add the sentiment stickers. The project is now complete.

Hope you like it.
THAT IS LOVELY! Thank you, Jane, for sharing your skills with us.
As usual, everything that Jane has used can be found in one place over on the Clarity website HERE
Looking at the week ahead………………
Monday 11th: SHAC Shack with Barb – Live at 10am on Facebook & YouTube
Tuesday 12th: Groovi Tuesday with Paul – Live at 10am on Facebook & YouTube
Thursday 14th: The Pergamano Show with Barb on Create and Craft – 11am & 3pm
Thursday 14th: Crafting with Clarity with Paul on Create and Craft Extra – 1pm
Travel gently, friends…
Lotsa love, Grace & Jane xoxo
Clarity – The Home of Art, Craft and Well-Being.
Lovely project Glynis its a must, to try. x
I love these plates xx
Hi Grace & Jane
Thank you Jane for a lovely project which is so achievable by everyone. The small crosses in the 2 corners are a great starting point for picot cutting. I will finish off a couple of Easter cards & then have a look at this one, in fact this would make a nice Easter card as well.
Hope your flight was good last night Grace, have a lovely break & we will see what Steve & Paul come up with next weekend xx
Hi Jane,
Love the card you did today. Definitely going to try and create this one.