Clarity’s Blog Tutorial: How To Make A 3D Cake Slice
Hello hello! Grace here.
I hope this finds you well, safe and happy! It’s aaaaaalmost Christmas. I hope you’re as excited as I am.
My talented pal Glynis Whitehead is here again this week, to share another FABULOUS 3D step-by-step project with us. I absolutely love these beautiful 3D Groovi plates. And what you can create with them is INCREDIBLE! The options are endless. I’ll hand you over to the pro!
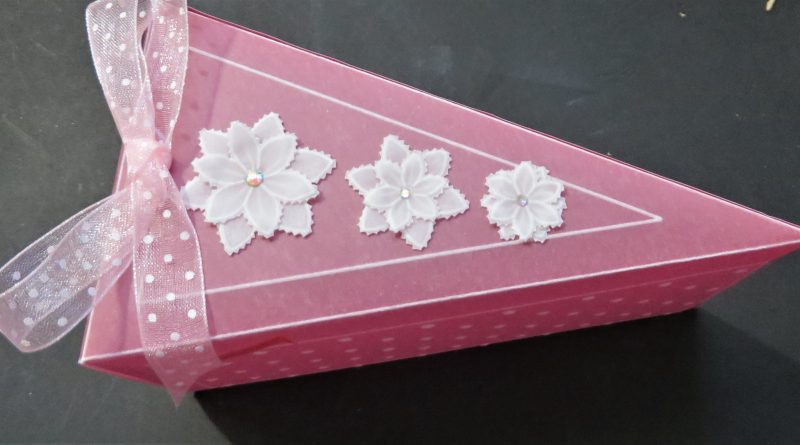
Wedding Cake Slice
The title of the plate is ‘Wedding Cake Slice’, but this lovely box can be used for all sorts of occasions. Christenings, birthdays, anniversaries. Change the colour of the parchment and it can be suitable for everyone too.
Ingredients
Alphabet & Numbers Plate Mate for A4 Square Plates (GRO-WO-40875-21)
(Extenders are available for use with A4 plates)
Groovi Extenders for A4 Square Plate Mate (GRO-PA-41781-XX)
Wedding Cake Groovi Tem-Plate (GRO-TE-40375-16)
Pink A4 Two-Tone Parchment (GRO-AC-41406-A4)
Off cut of plain parchment (GRO-AC-40024-XX)
Pergamano Perforating Tool Fine (PER-TO-70037-XX)
Pergamano Embossing Ball Tool 1.5mm (PER-TO-70004-XX)
Pergamano Embossing Ball Tool 3mm (PER-TO-70005-XX)
Pergamano Embossing Mat Excellent (PER-AC-70075-XX)
Number 1 and 2 tool from the Starter Kit
Pergamano 2 Needle Fine (PER-TO-70037-XX)
Pergamano Exclusive Pointed Scissors (PER-TO-70040-XX)
Pergamano Ringlock Scissors (PER-TO-70041-XX)
Perga Cutters Curved (PER-TO-70042-XX)
Scissors or craft knife and ruler
Perga Glue (PER-AC-70133-XX)
Pergamano Perga Crystals for the centre of the flowers (PER-AC-70410-XX)
How To
Step 1. Line up the parchment on the plate. When using coloured parchment make sure you have the glossy, darker side of the paper facing upwards if you want crisp white lines. Do not do the designs in the centre yet.
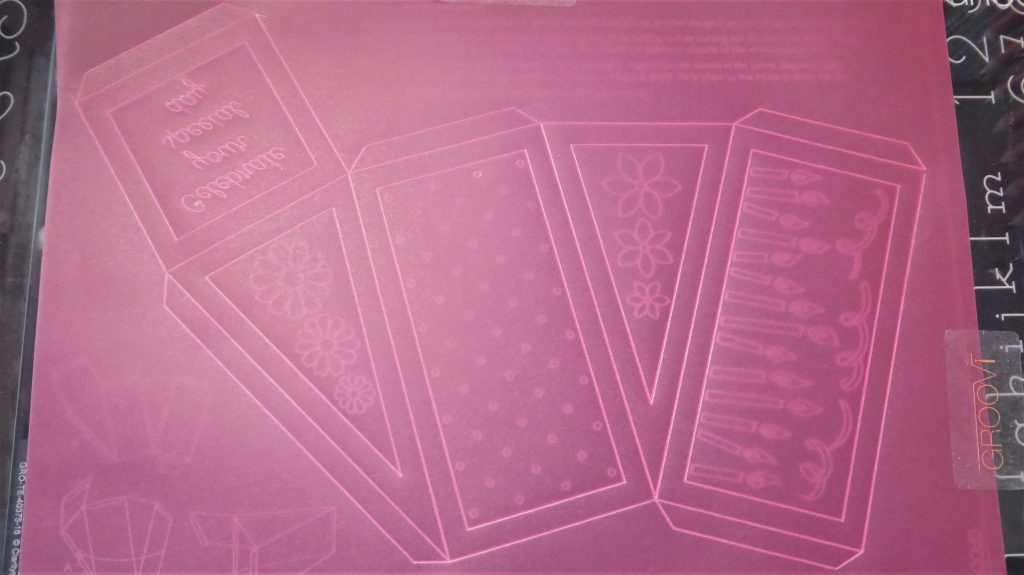
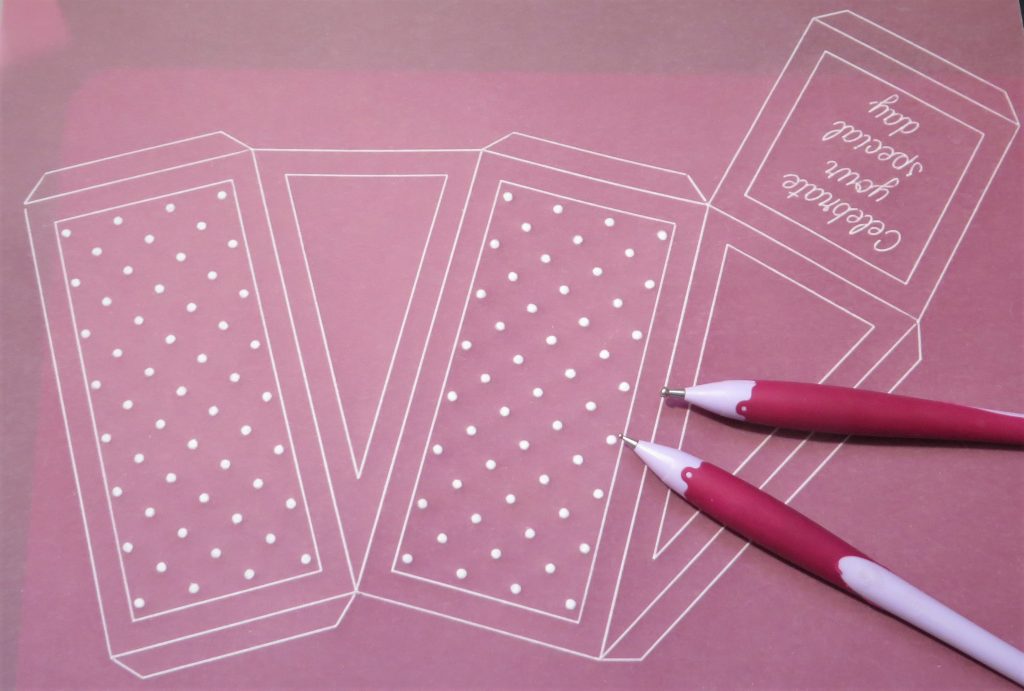
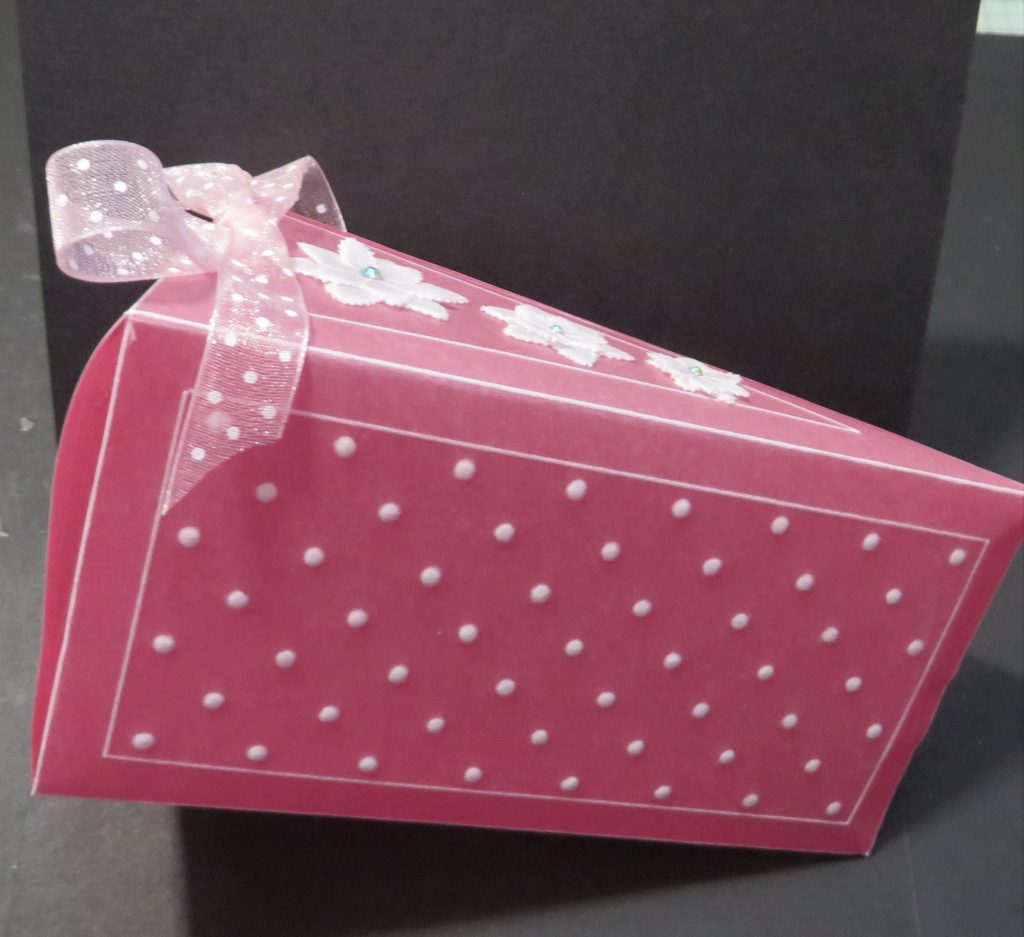
Step 2. Once you have decided on the designs you want to put in each section, move the parchment around so that you can add what you like. I have decided on the dots and to make 3D flowers for the top. Use the number 2 tool for embossing these designs.
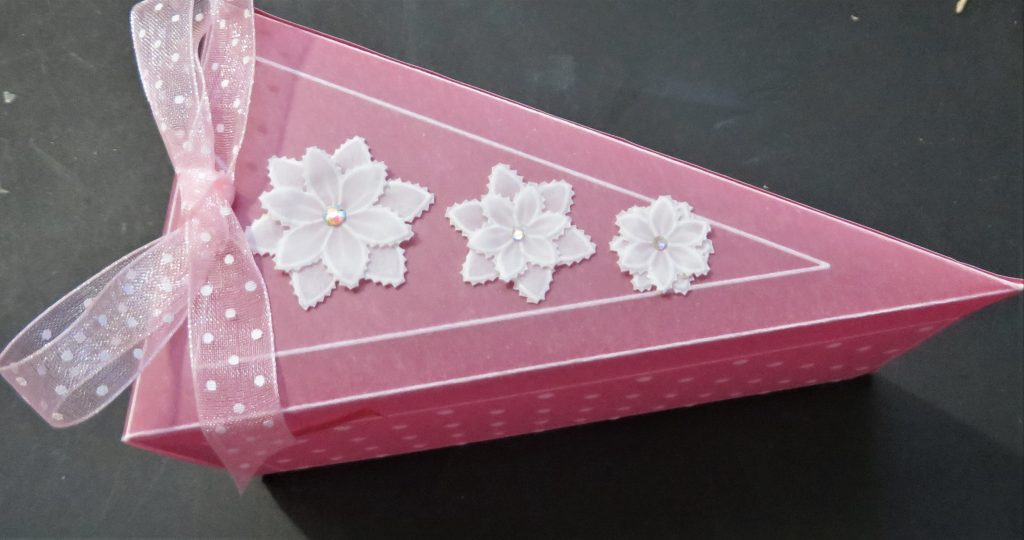
Step 3. I have used the sentiment on the box flap, but have left the top and bottom of the box clear. I want to add 3D flowers later and perhaps put initials of the recipient on the bottom, if there is more than one recipient.

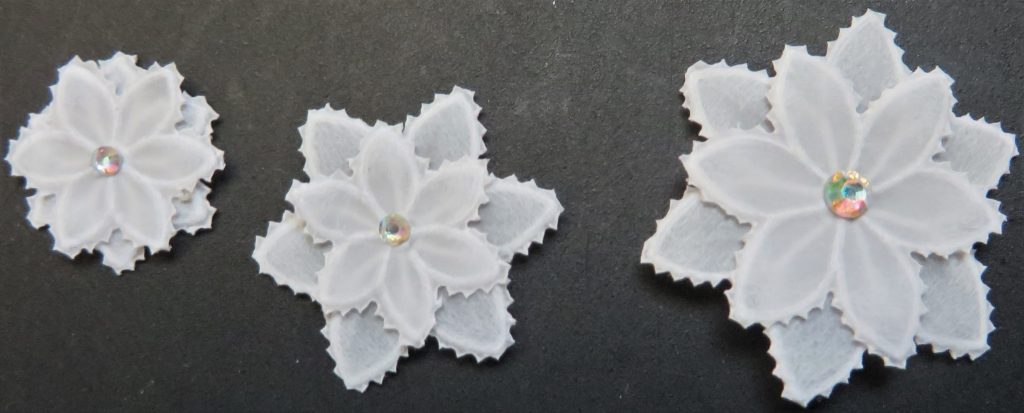
Step 4. Use some plain parchment to make 3D flowers. Emboss several of each flower. Any spare ones can be saved for other projects.
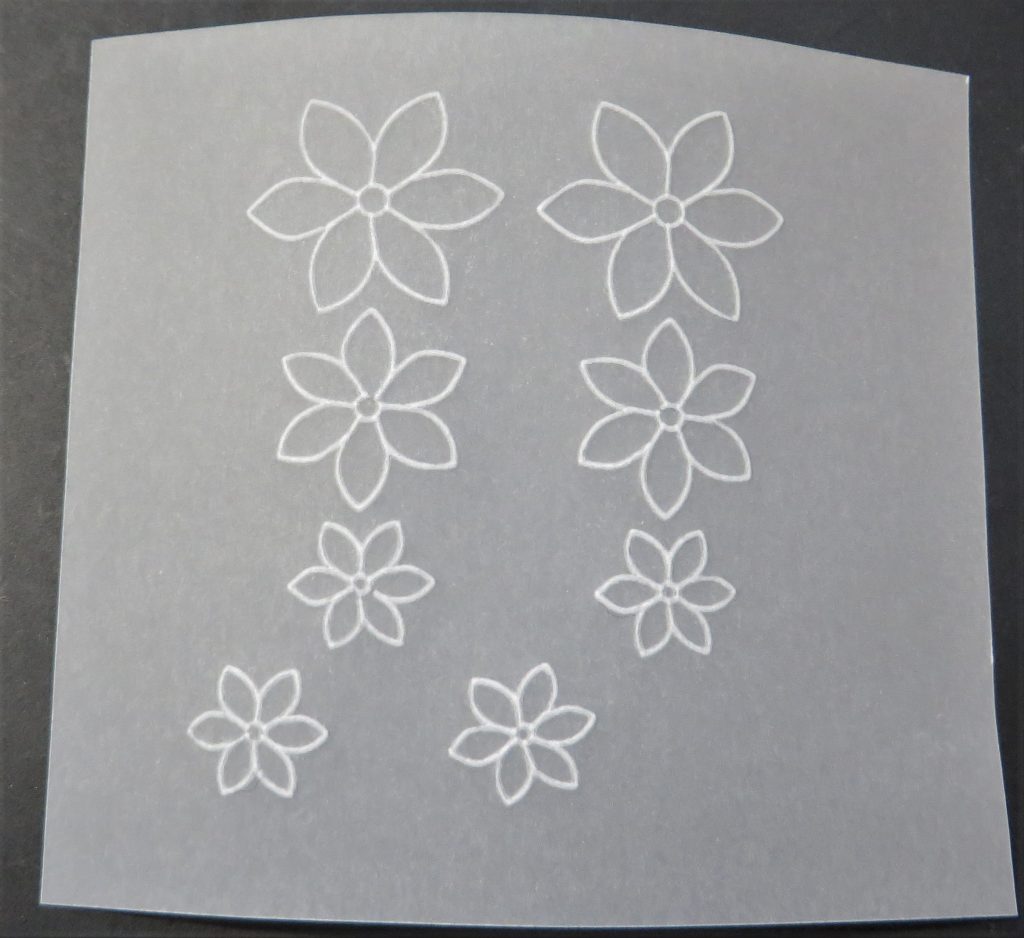
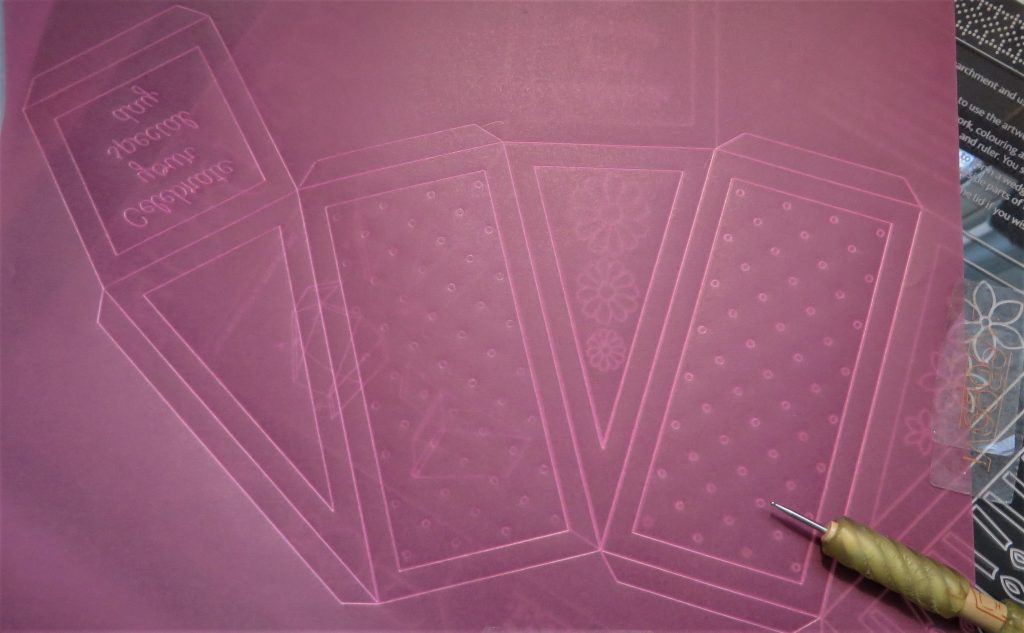
Step 5. All the embossing and any colouring you want to do, need to be done at this stage. If you are embossing the dots, do them first with a 3mm ball embossing tool. By the time you have got to the end of those, enough time will have lapsed to enable you to go in and emboss again with a 1.5mm ball tool.
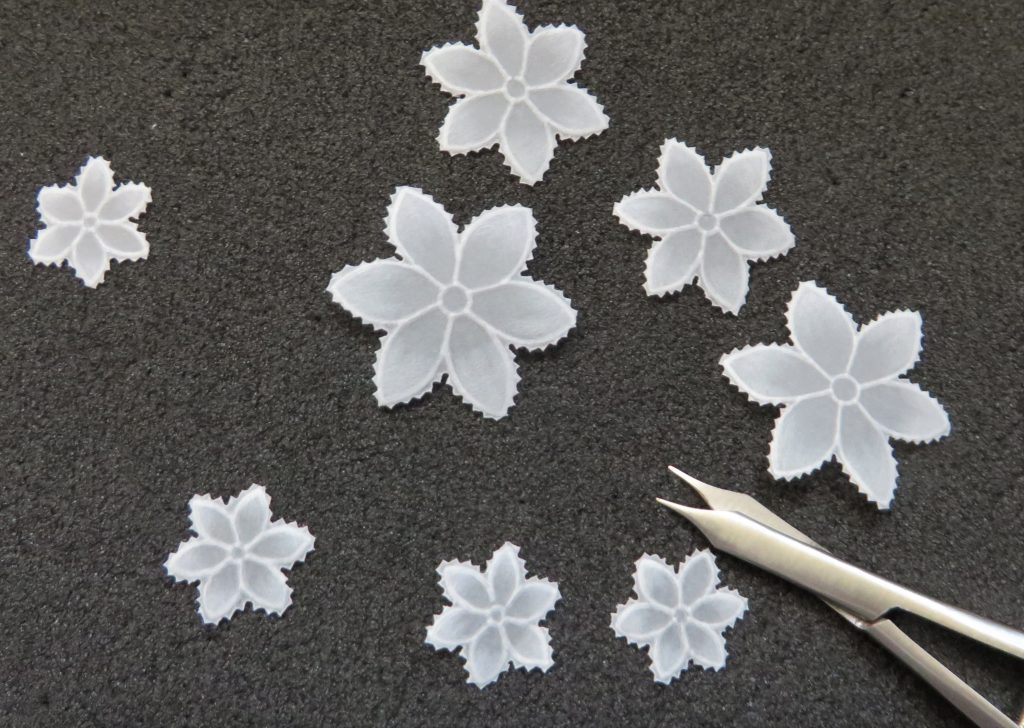
Step 6. Shadow emboss the tips of the flowers before going around them with a fine two-needle tool. If you prefer you can cut them out with scissors.
Step 7. Use some Perga Glue, and apply small dots to the centres of the flowers using a pickle/cocktail stick. Layer them up, putting a smaller one into the centre of them. The small flower have two layers of the same size.
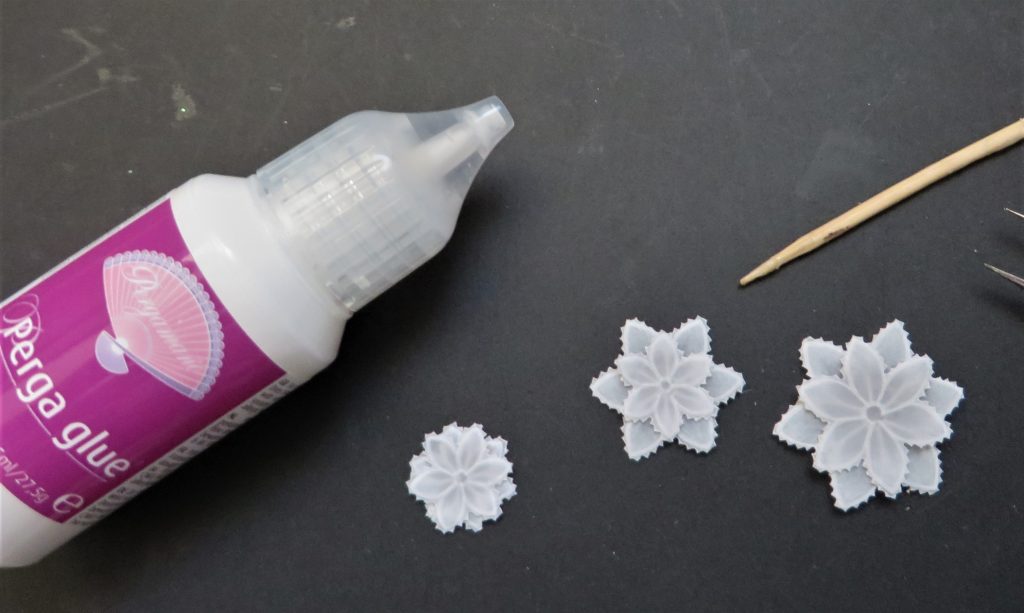
Step 8. Add some gems to the centres of the flowers.
Step 9. Cut out around the box outline with a pair of scissors or a craft knife and a ruler. Then bend the folds against the ruler. Apply some extra strong tape to the long flap down the edge and the flap at the bottom of the box. This needs applying to the right side of the piece.
Before sticking down the joins, glue the flowers onto the top of the box. And voila!
THANK YOU, GLYNIS! Wow. Didn’t Glynis make that seem like a piece of cake?! 😉 Ha. But seriously, what a lovely gift or decoration this would make! The options are endless really.
It’s making me hungry just looking at it!
Everything that Glynis has used is in one place over on the Clarity website HERE.
Don’t forget to check out the previous tutorials from Glynis on our other 3D designs.
Lotsa love, Grace & Glynis xo
Clarity – The Home of Art, Craft and Well-Being.
A beautiful piece of cake Glynis!
Thank you so much for this tutorial!
Have a great Sunday!
Lots of love, Trijntje Huppel
This tutorial is great Glynis. I was just about to attempt making a couple as Xmas gifts. I bought some cake shaped soaps and thought it would be a good idea to pack them in. Love your finished one. It has inspired me. 😘
Great tutorial which is so easy to follow. These could always contain chocolates as a gift.
Hi Grace, Hi Glynis, Wow !! this is positively stunningly beautiful. Thank you for this tutorial.
Lots of love from Patricia xx
Brilliant tutorial as always Glynis. Thank you for sharing it xx