Clarity’s Blog Tutorial: How To Make A Layered Background
Hello hello! Grace here.
I hope this finds you safe, well & happy!
Have you been enjoying our Gray Friday sales? It’s one of our best sales of the year! Up to 50% off. The sale is happening on both our Clarity Website AND on our Amazon USA Storefront! Go and check out some serious bargains before they’re over (Monday). We appreciate your ongoing love and support for Clarity! Without you, there is no Clarity! Really really.
Our sales end at midnight (UK time) on Monday night.

We’re joined this weekend by the lovely Glynis Whitehead. She is going to show us how to make a layered background. I’ll hand you over to the uber talented teacher herself…

How to Make a Layered Background
Ingredients
Tina’s Floral Layering Rectangles (GRO-PA-41077-03)
1&2 Embossing Tool from Starter Kit (GRO-AC-40026-XX)
3&4 Embossing Tool from Starter Kit (GRO-AC-40027-XX)
6mm Embossing Ball Tool (PER-TO-70016-XX)
3mm Embossing Ball Tool (PER-TO-70005-XX)
1.5mm Embossing Ball Tool (PER-TO-70004-XX)
Plain Parchment (GRO-AC-40024-XX)
Pergaliners (PER-CO-70063-XX) (I chose B4 & B15)
Dorso Oil (PER-CO-70066-XX)
Pergamano Blending Nibs (PER-AC-70299-XX)
(Our Blending Pen is currently out of stock, but the nibs are available and can be used solo for the timbering)
Method
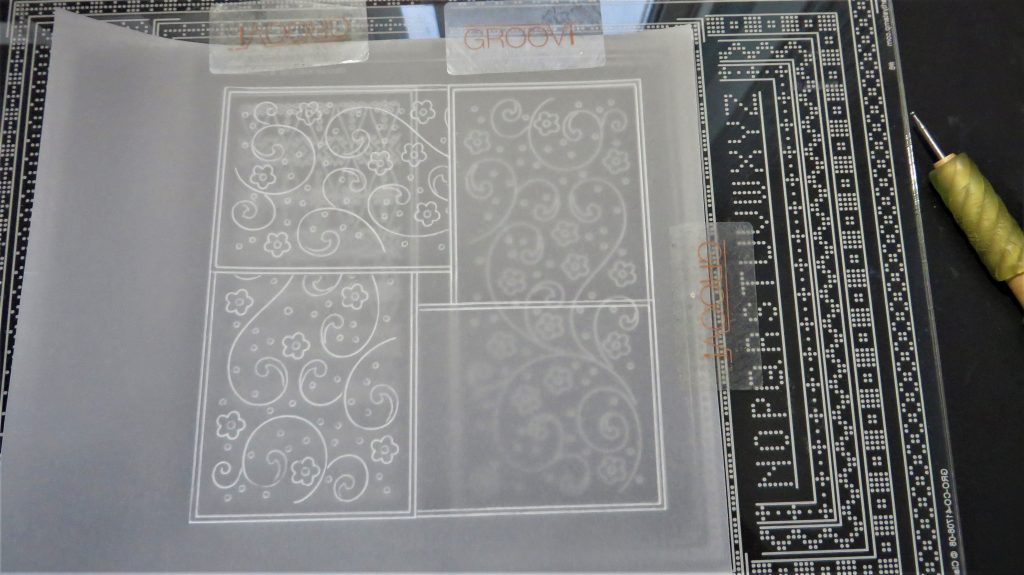
Step 1. Using the number 1 tool (from the starter kit) to make a template, emboss just the outline of one of the rectangles onto a piece of parchment. This will help you with repositioning and seeing how long you need to make the first lines.
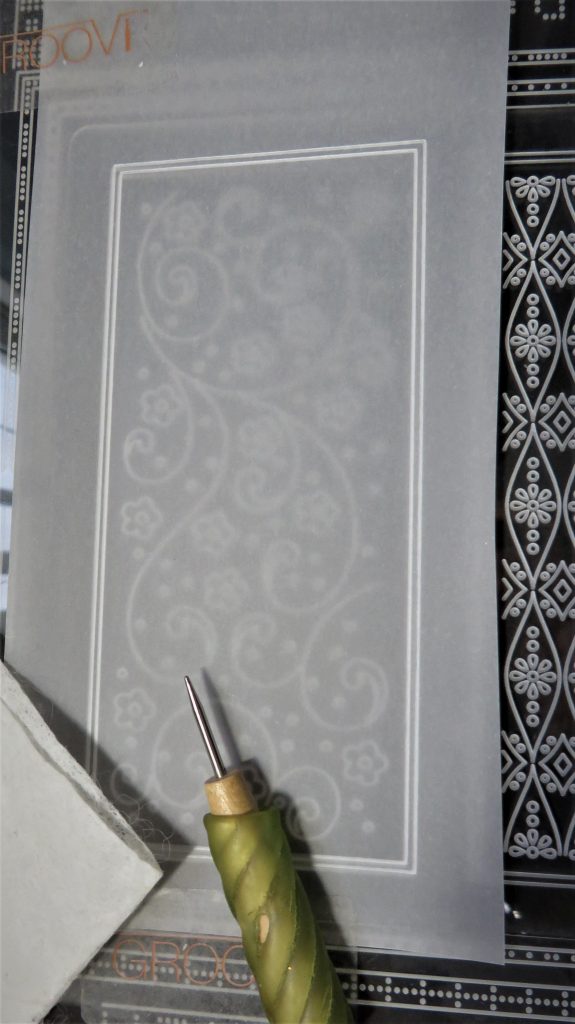
Step 2. Use a couple of Groovi Tabs to attach the template to your parchment – just at the top, to make a hinge. This will help you to keep from impinging on the next rectangle in the sequence.

Step 3. When you have got your first partial rectangle in place, keep turning the work a quarter turn each time and realigning the template as in Pic 1.
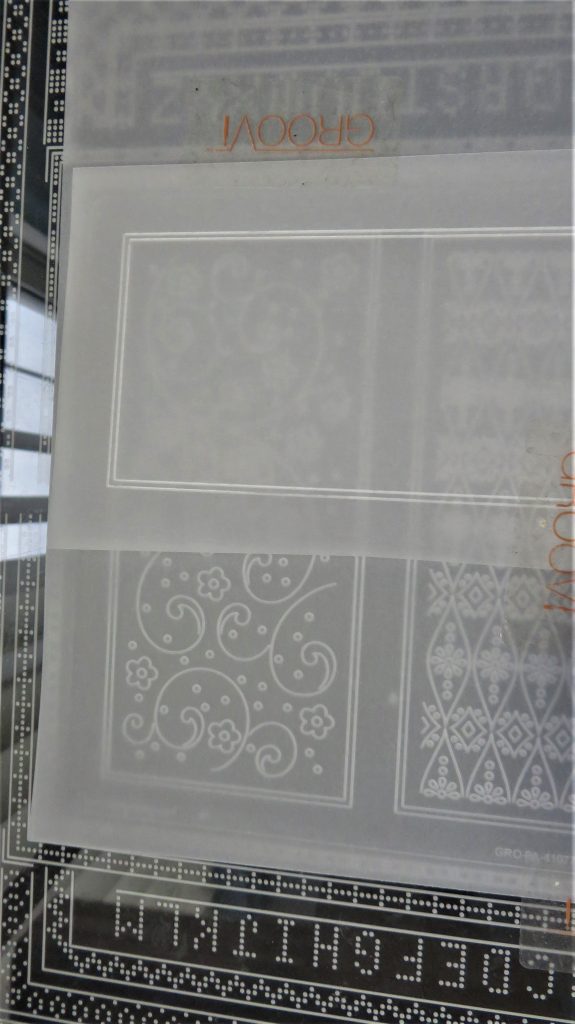
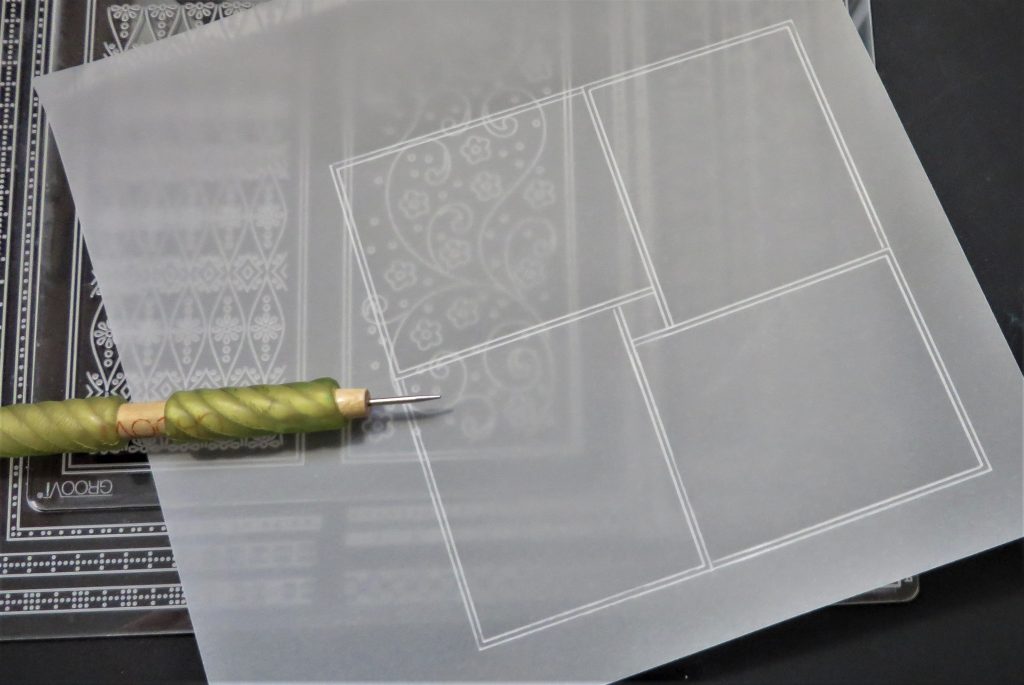
Step 4. Once you have done step 3 a total of 4 times, we can now complete the boxes by realigning the work on the plate – you can feel the embossed lines dropping into the grooves. Fix the work in place with the Groovi tabs and complete the rectangles, taking care not to go over the lines.
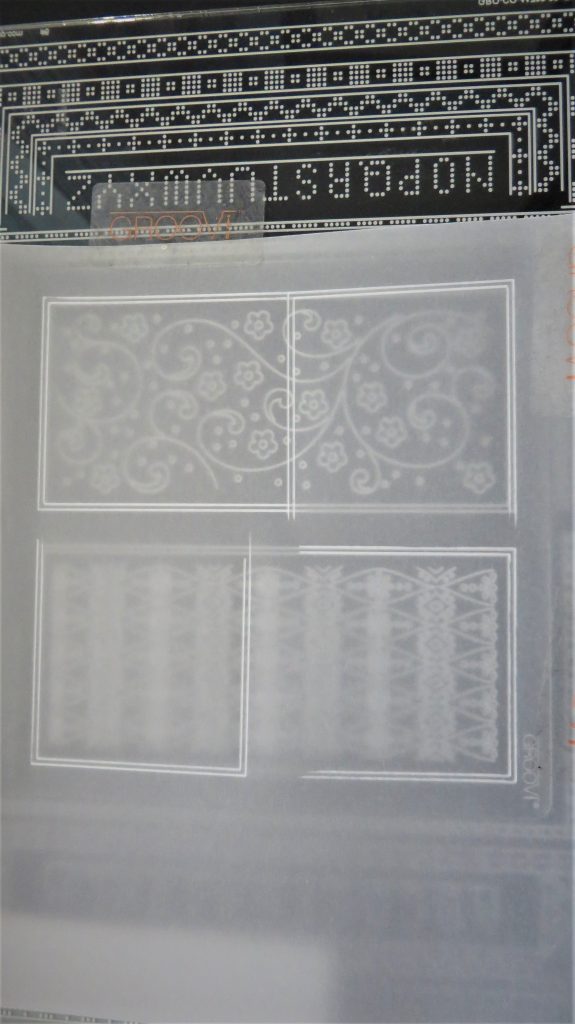
Step 5. Now it is time to choose which pattern you would like to put into the boxes you have made.
Step 6. I chose the swirly pattern. Line the work up with the rectangle and be careful to keep within each rectangle. Emboss the pattern of your choice. Turn the work each time you emboss into each space.
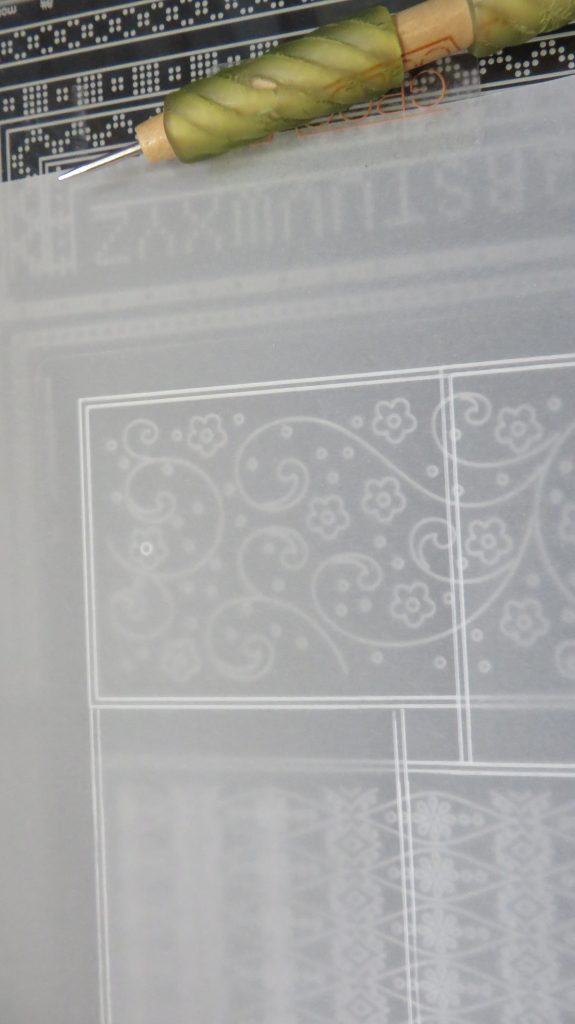
Step 7. When you emboss the patterns, use the number 2 tool from the starter kit to emboss all the icons you want to do white work within. Then use the number 1 tool to emboss all the rest.
Step 8. Take your time with the embossing and use the largest ball tool that will fit into the space you want to make white. Don’t try to make it white straight away, do it in layers.
Step 9. Do several layers of embossing until you get the whiteness you desire.
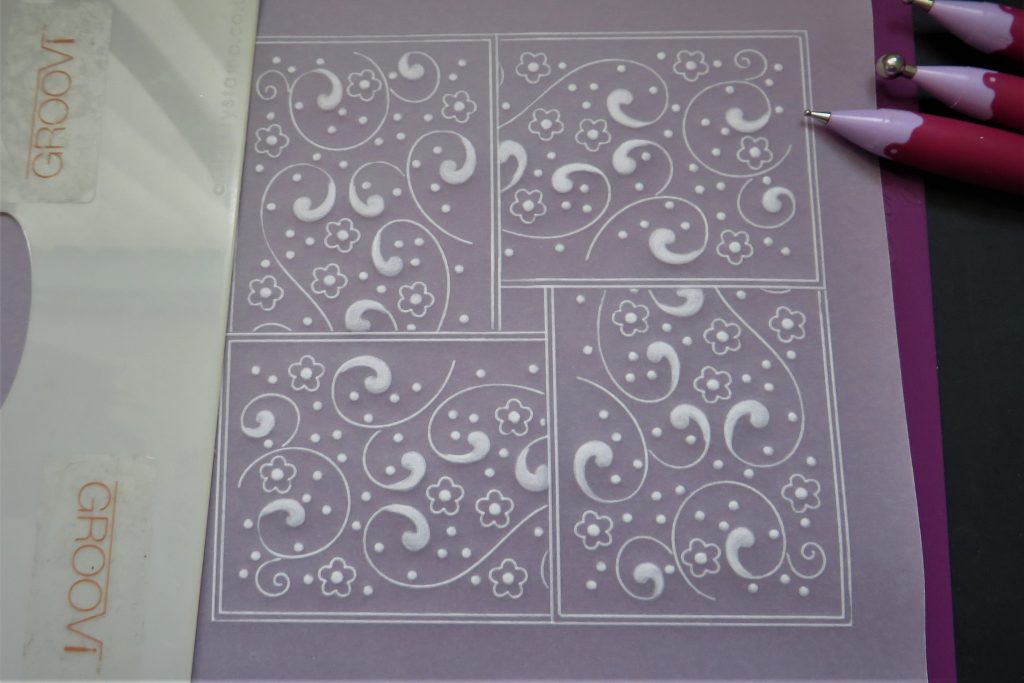
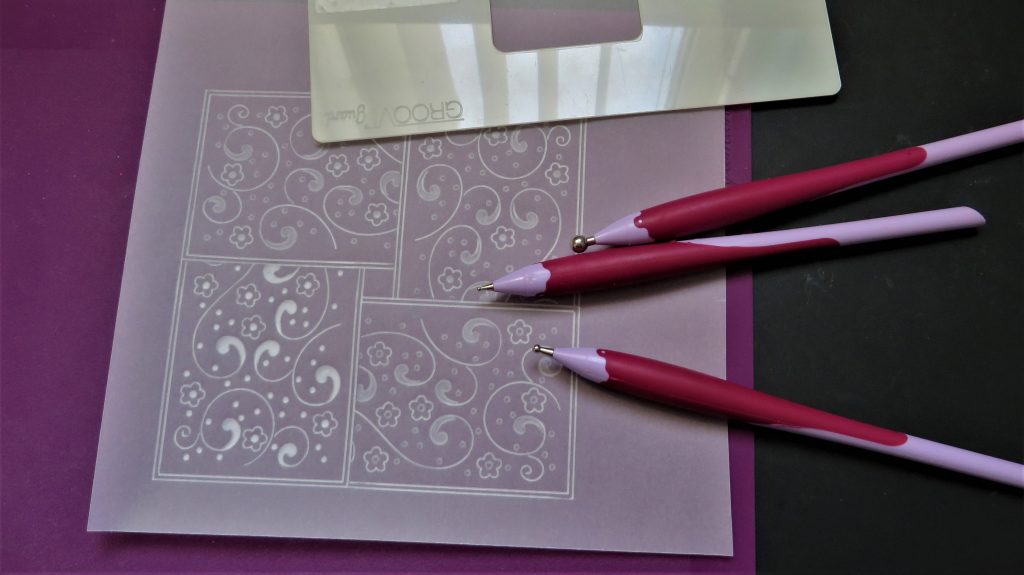
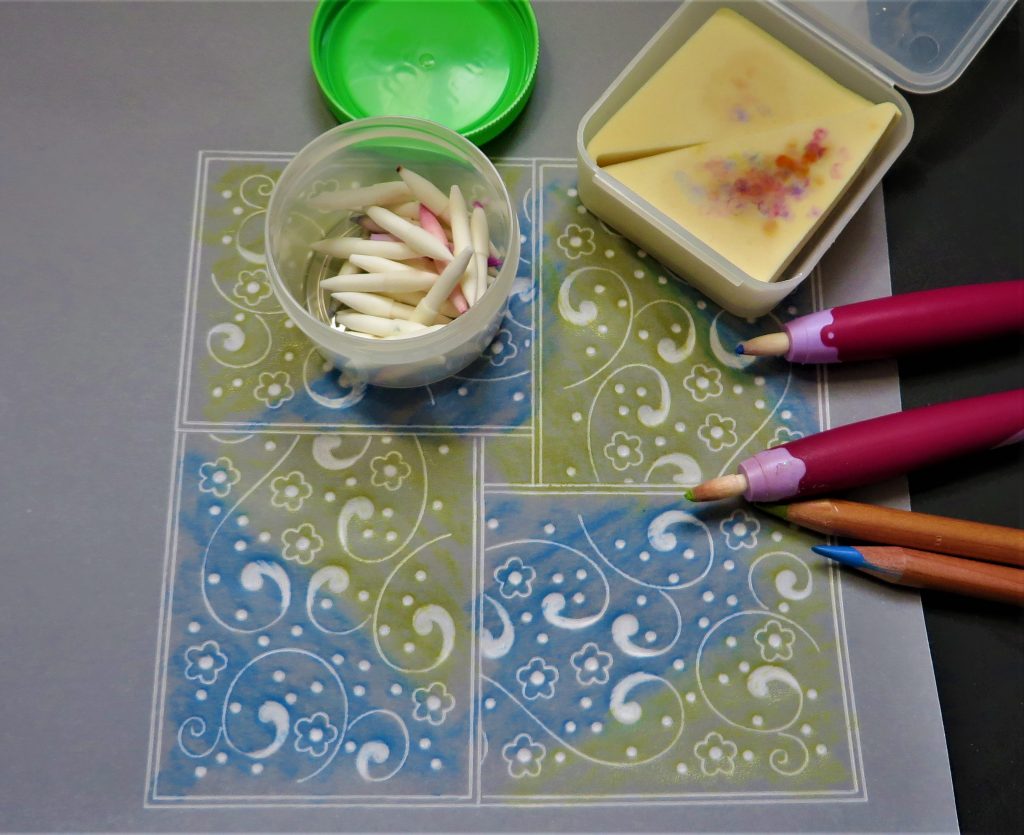
Step 10. Now it is time to add some colour. Choose two colours that will blend together well, the pencils need to be blendable. Watercolour pencils will not work with Dorso Oil.
TOP TIPS: Be careful about your colour choice, because some colours will not blend nicely together, For Example – red blended with green will go a muddy colour. Try on a scrap piece of parchment or on your mix mat. I chose blue and green. Apply the colour from the side of pencil to avoid solid lines of colour or they will not blend so well.
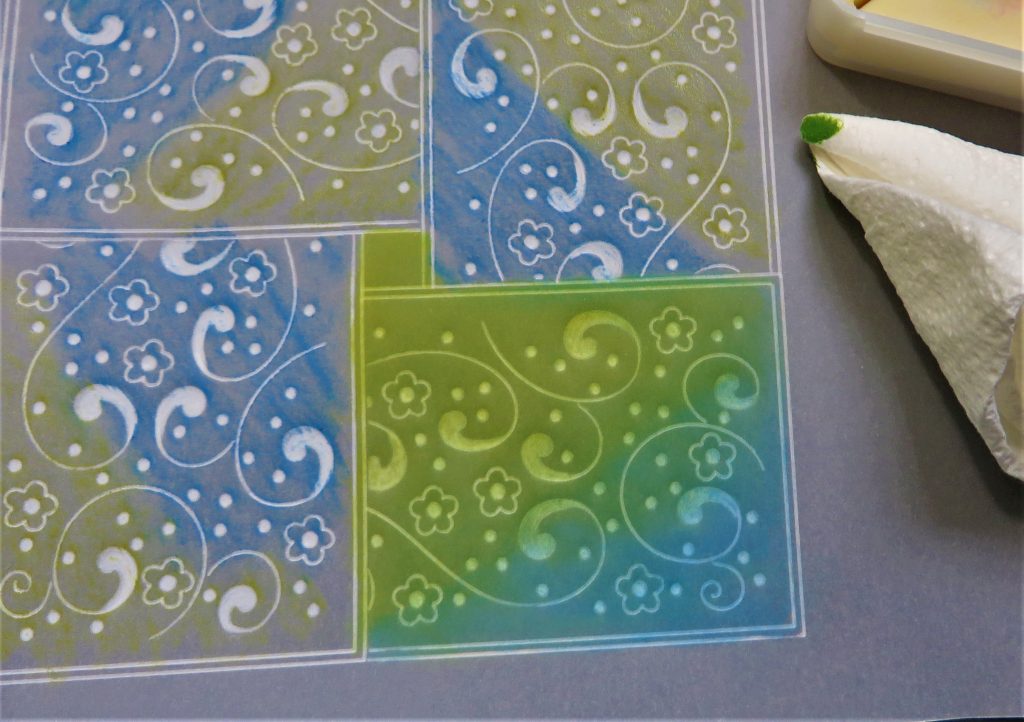
Step 11. Blend the colours using the Dorso oil and Pergaliner nibs – I keep all of mine and have one for each colour. Blend each patch of colour, then roll a piece of tissue paper into a point and diffuse the edges where the colours meet.
Step 12. Now, using the points of the pencils, add more colour to the outside margin to provide a frame around the piece. Use a soft brush to remove any flakes of pencil.
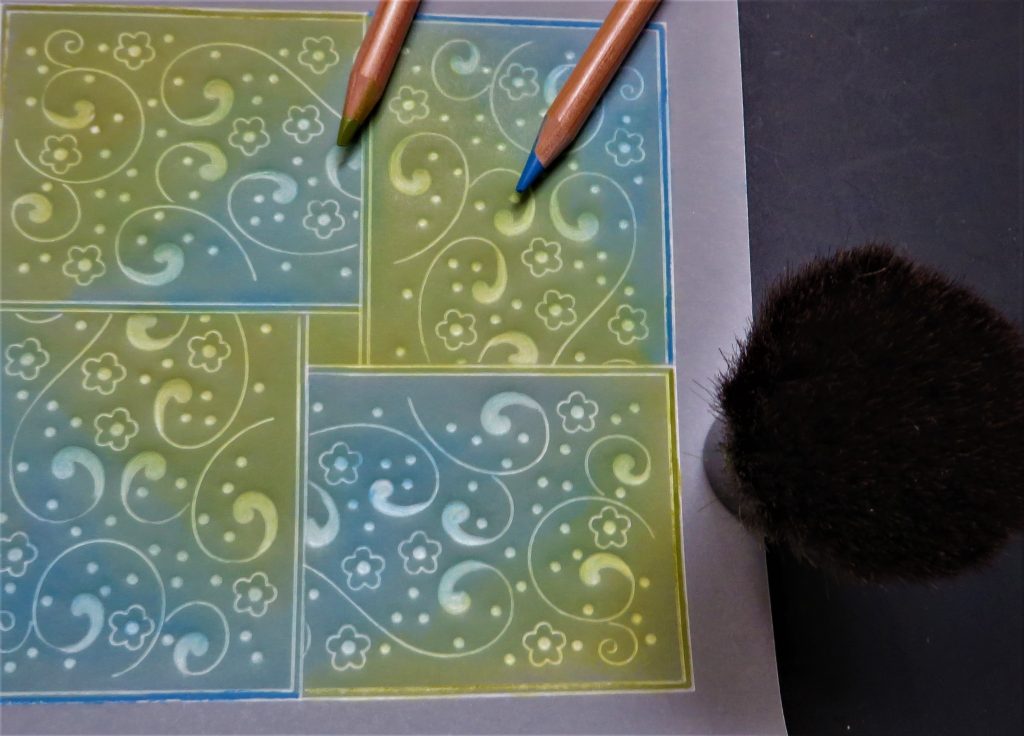
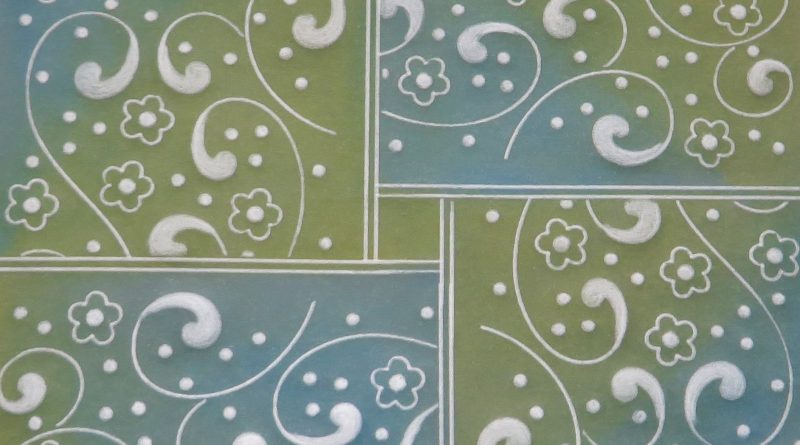
Step 13. There you have it! A lovely background for you to add a flower, butterfly or bow in the centre and decide on a pretty edge to add.
*TOP TIP: Keep any templates you make and file them along with the plate so that you have it for future use.
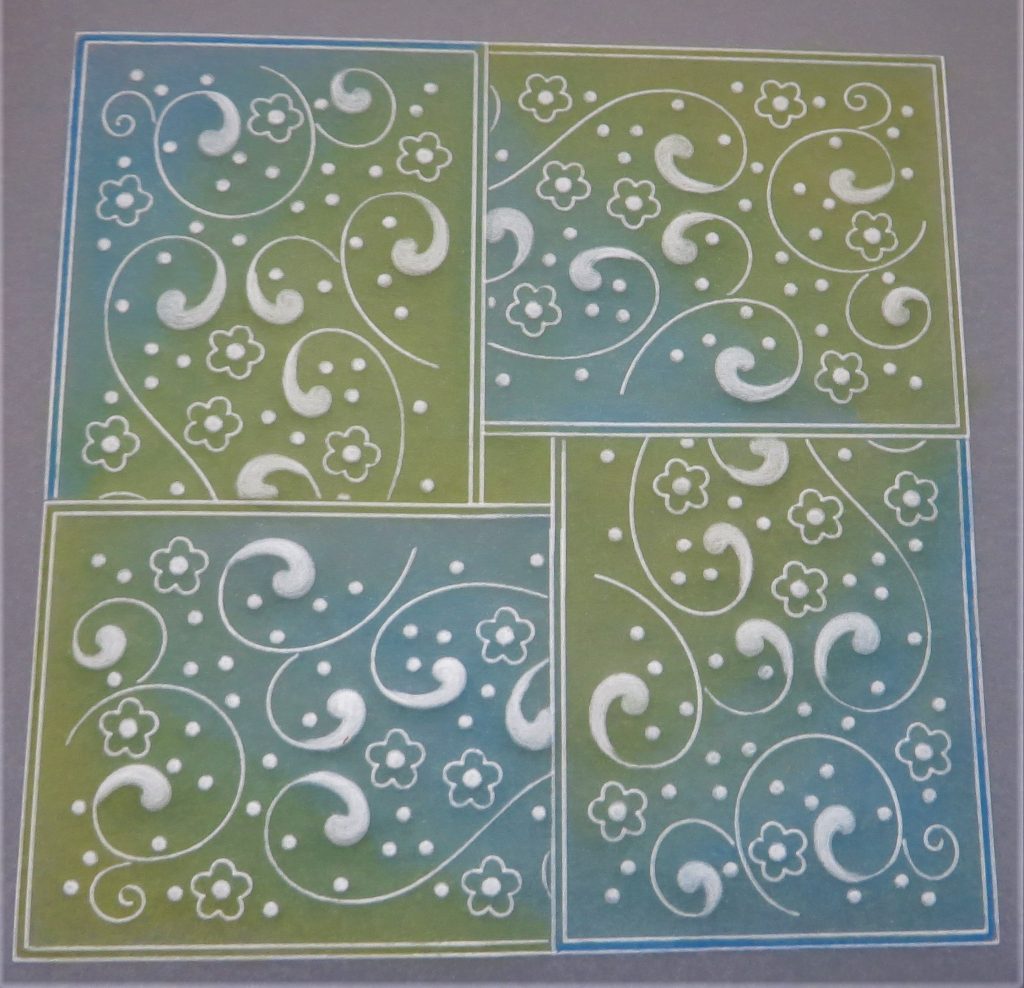
Whoa! That is stunning. What a brilliant effect. You basically created your own rainbow parchment. How clever!
Another option is to use Linda Williams Easy Layout Plates
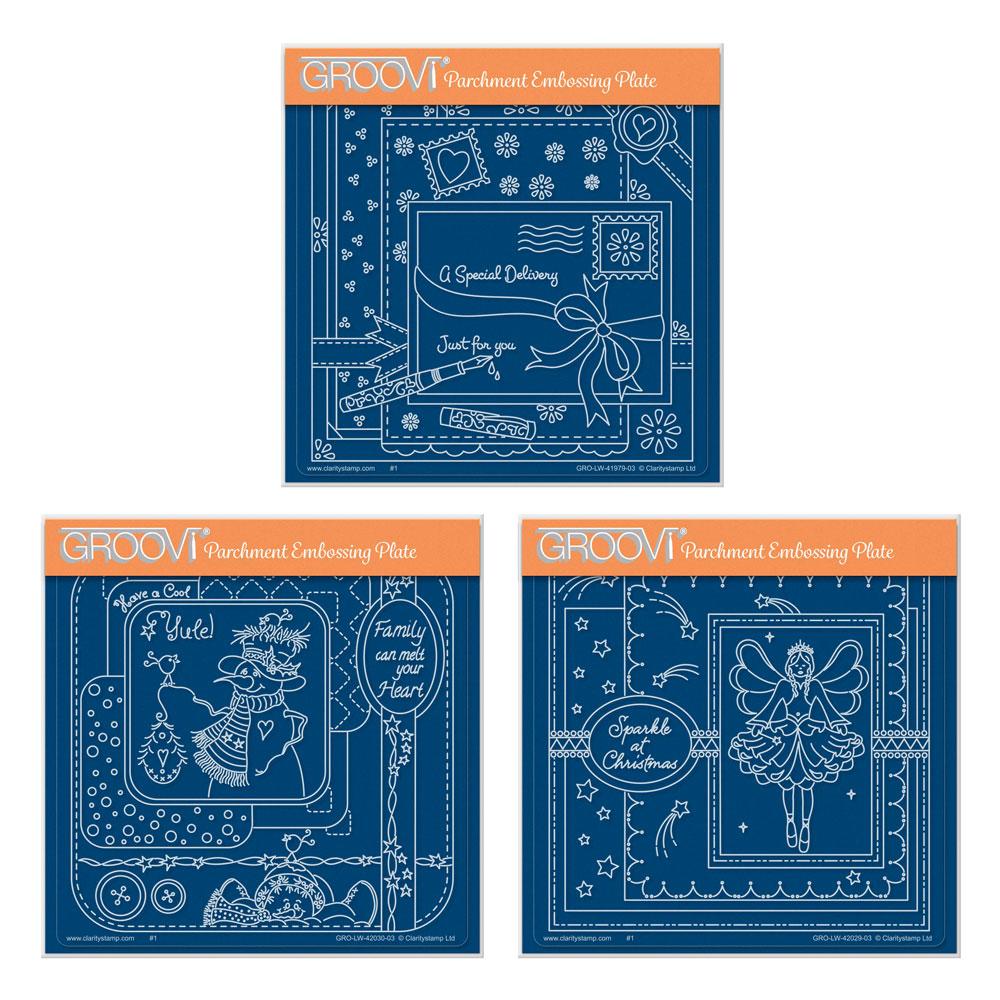
Available HERE
As usual, everything that Glynis has used is in one place over on the Clarity website HERE and everything is in the Gray Friday Sale!!!!
Lotsa love, Grace & Glynis xo
Clarity – The Home of Art, Craft and Well-Being.
Great demo, planning to have a go at something like this, but alas I need more hours in the day at the moment, Still, it is something to look forward to. xx
hi Grace, Late this week, had to take mom for a CT scan this morning & we have stocked her up with food in case the snow comes as it has been forecast. Now back home in the warm ready to have another gander at the website & see what goodies I have forgotten that I needed !!
Thanks Glynis for another great project for everyone to have a go at.
Have a good week x
Another lovely project from Glynis, thankyou.
The Bloggy Blitz and Gray Friday have been a joy to browse through though not so good for the bank balance. Never mind – it is Christmas!!!!!
Stay safe
Another lovely project from Glynis, thankyou.
The Bloggy Blitz and Gray Friday have been a joy to browse through though not so good for the bank balance. Never mind – it is Christmas!!!!!
Stay safe
Hi Grace, Hi Glynis, Stunning, a fabulous tutorial and the colours are so pretty, culminating in another stunning work of art.
Lots of love from Patricia xx