Clarity’s Blog Tutorial: How To Create A Rocker Card
Hello hello!
I hope this finds you well… and feeling crafty.
We are joined this weekend by the brilliant Jane Telford. We at Clarity (and personally) do love us a bit of Jane! 🙂

When Josie’s Circular Lace plates landed on my table I had the idea to make a rocker card. the beauty of this type of card is that it is dimensional but goes flat to post it.
I was pleased with how it turned out and I know Josie liked it as she did one as a demo for the TV.
A few people have asked me for details of how to make it so I thought I would do a blog tutorial for it.
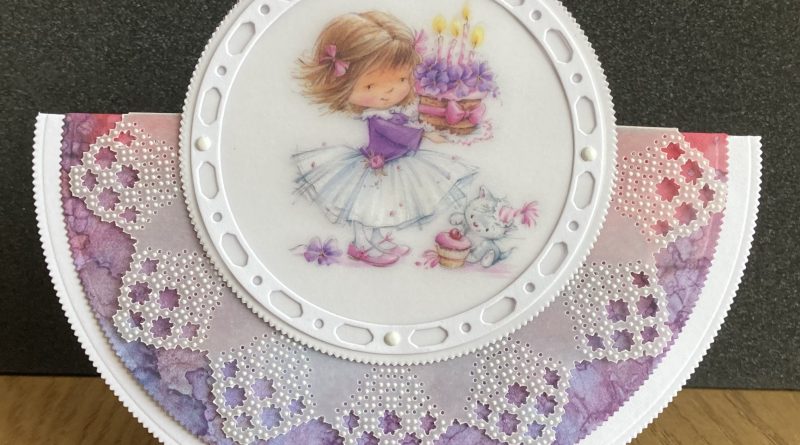
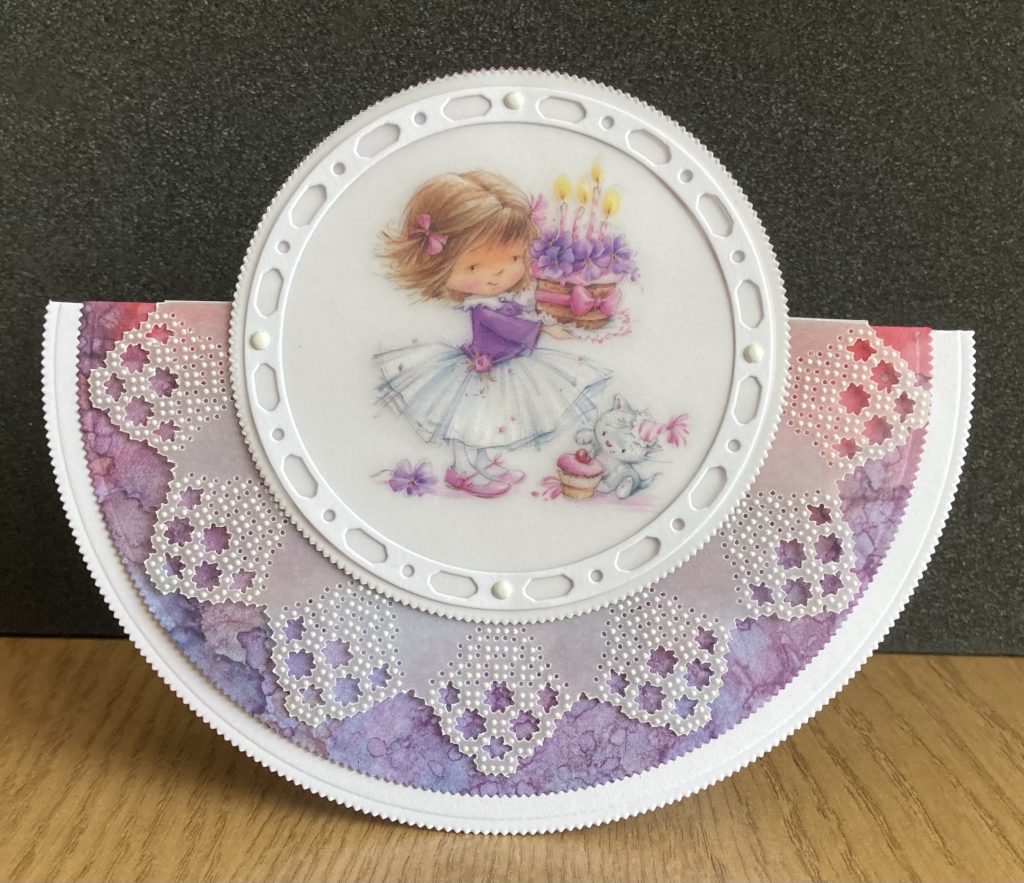
This is where we are headed…
Ingredients
Groovi Plate Mate For A5 Sq Grids (GRO-CO-41706-08)
Josie Davidson’s Faith Circular Lace Duet A5 Square Groovi Grid (GRO-GG-42054-12)
A4 Parchment Poppets – Flower Collection – Artwork By Marina Fedotova (PER-PA-70392-A4)
1-Needle Bold (10229) Perforating Tool (PER-TO-70028-XX)
2-Needle Bold (10288) Perforating Tool (PER-TO-70279-XX)
Shader 1.2mm (10005) Embossing Tool (PER-TO-70003-XX)
Pergamano Ruler (PER-AC-70278-XX)
Nested Circle Doodle Frame-Its Frames Die Set (ACC-DI-31154-66)
Nested Circle Picot Dies (ACC-DI-30680-66)
4 White Brads (PER-AC-70269-XX)
Rainbow River Paper (ACC-CA-30539-88)
A5 Plain Parchment (GRO-AC-40020-XX)
White Stencil Card 7×7 (ACC-CA-30095-77)
Method
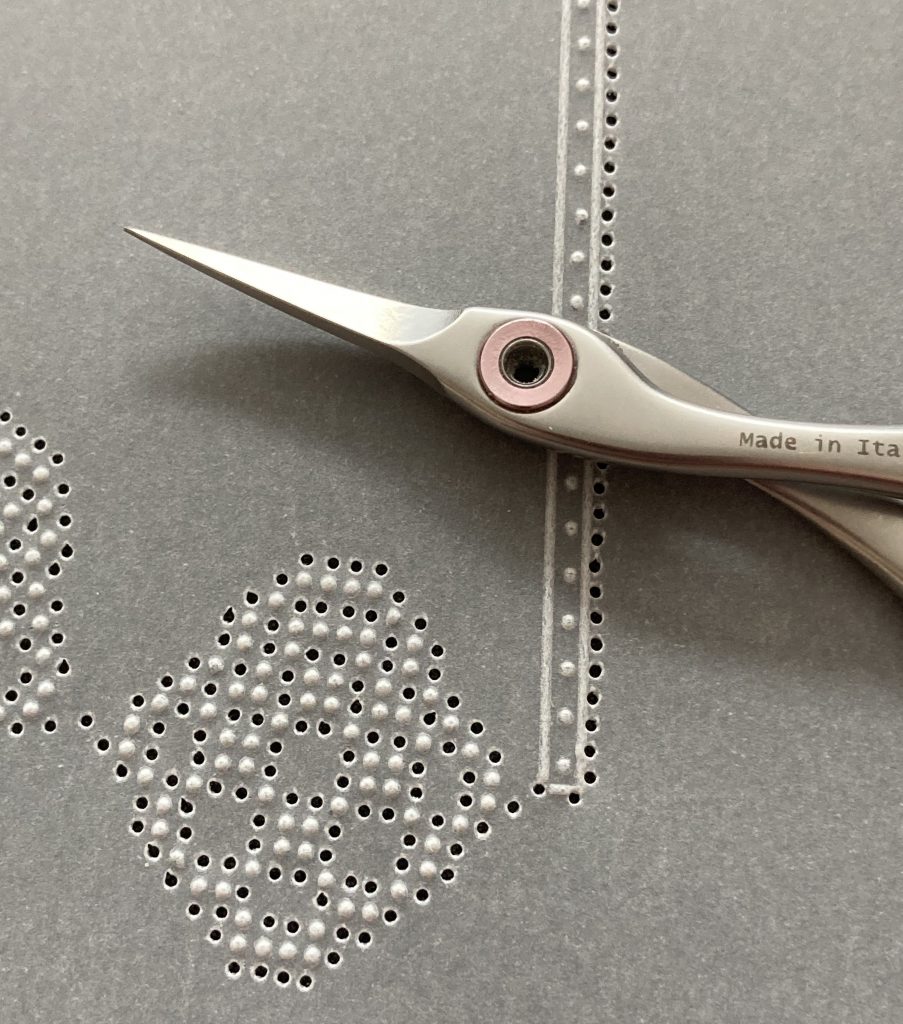
Step 1. Take a piece of parchment and wipe on both sides with a tumble dryer sheet and then attach to the plate mate over the perforated part of the design.
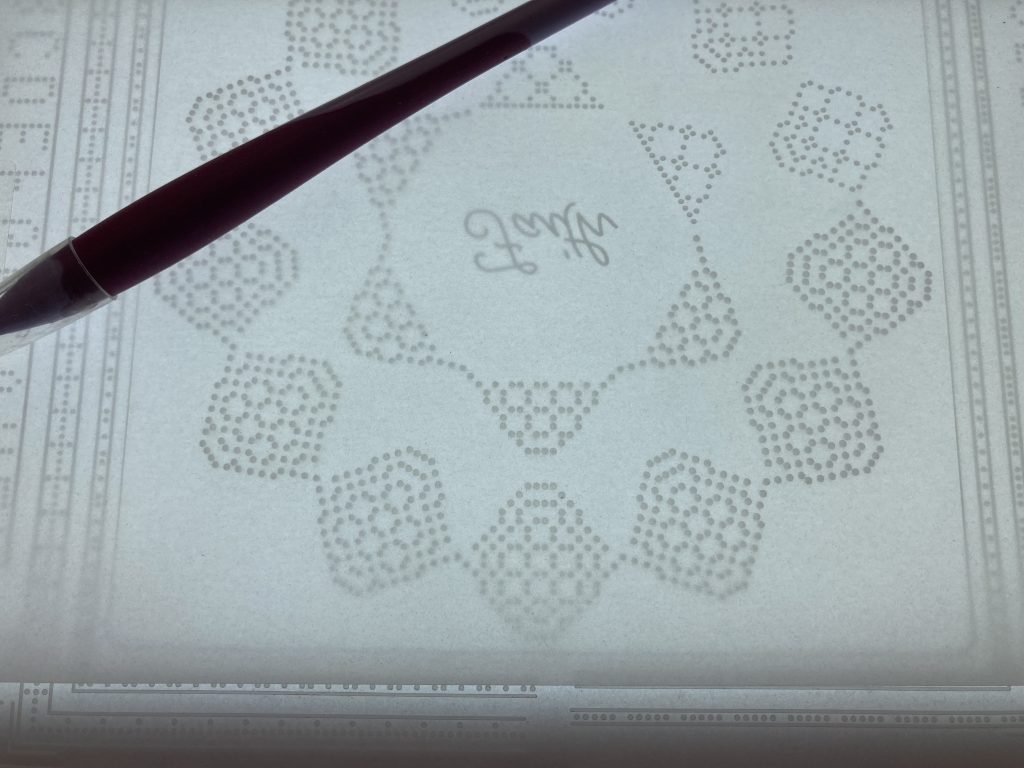
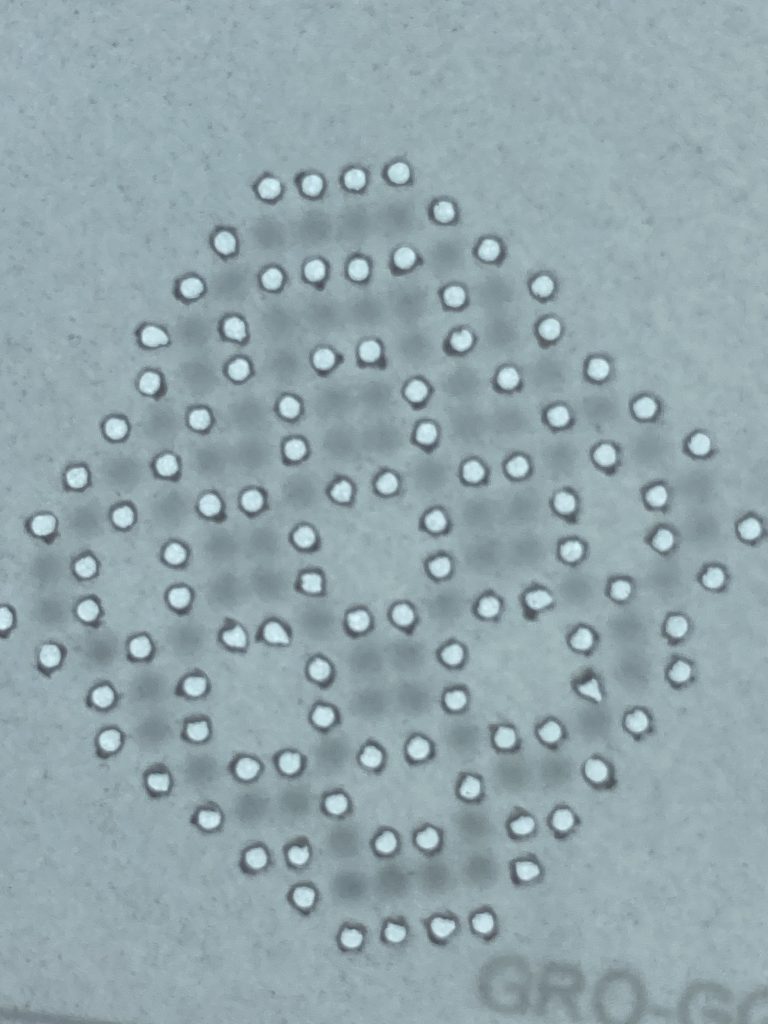
Step 2. Perforate the holes for seven of the large points to give you the half circle.
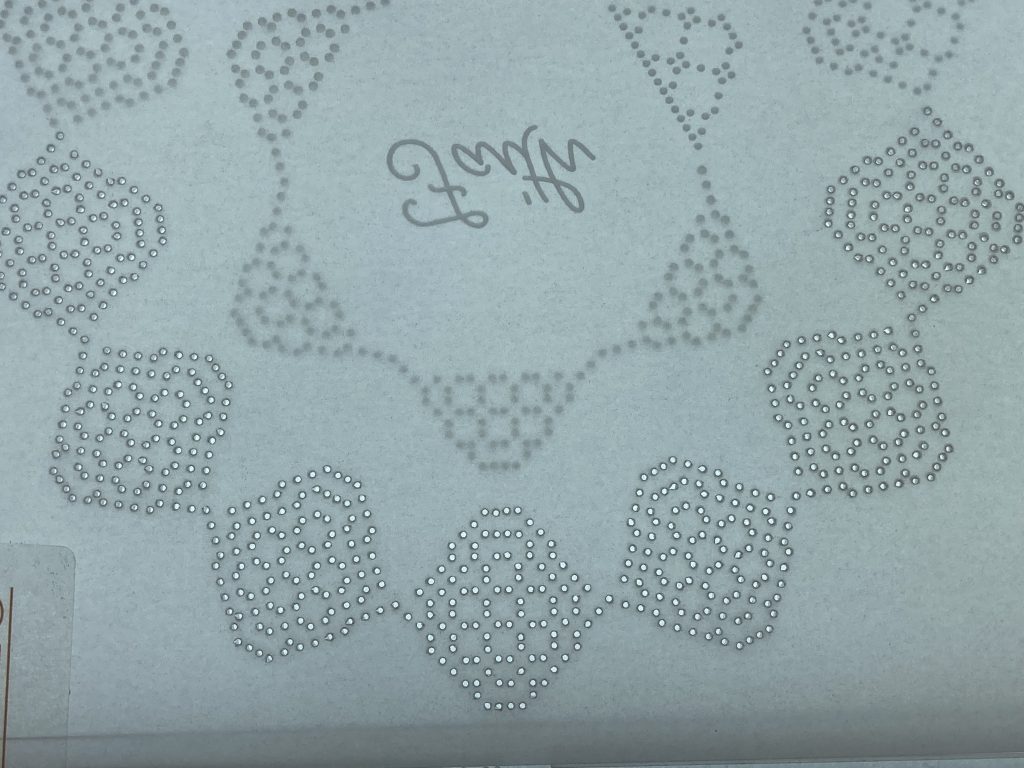
Step 3. Turn the parchment over and then line up the dots to emboss in each section.
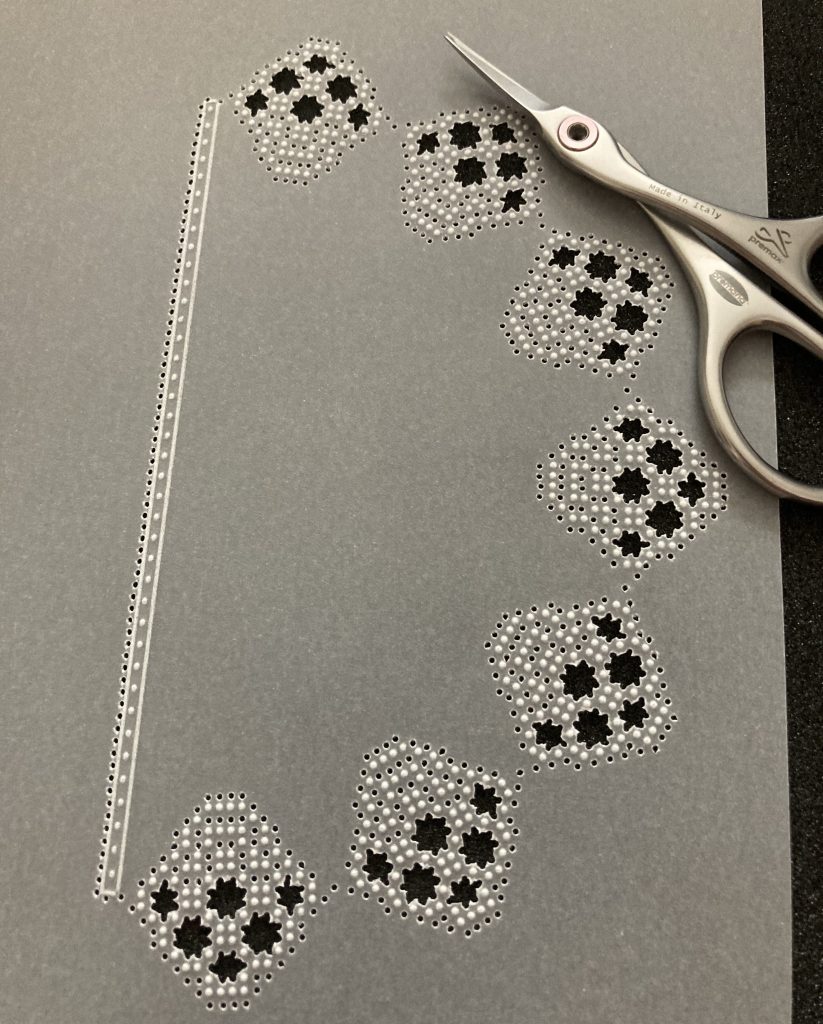
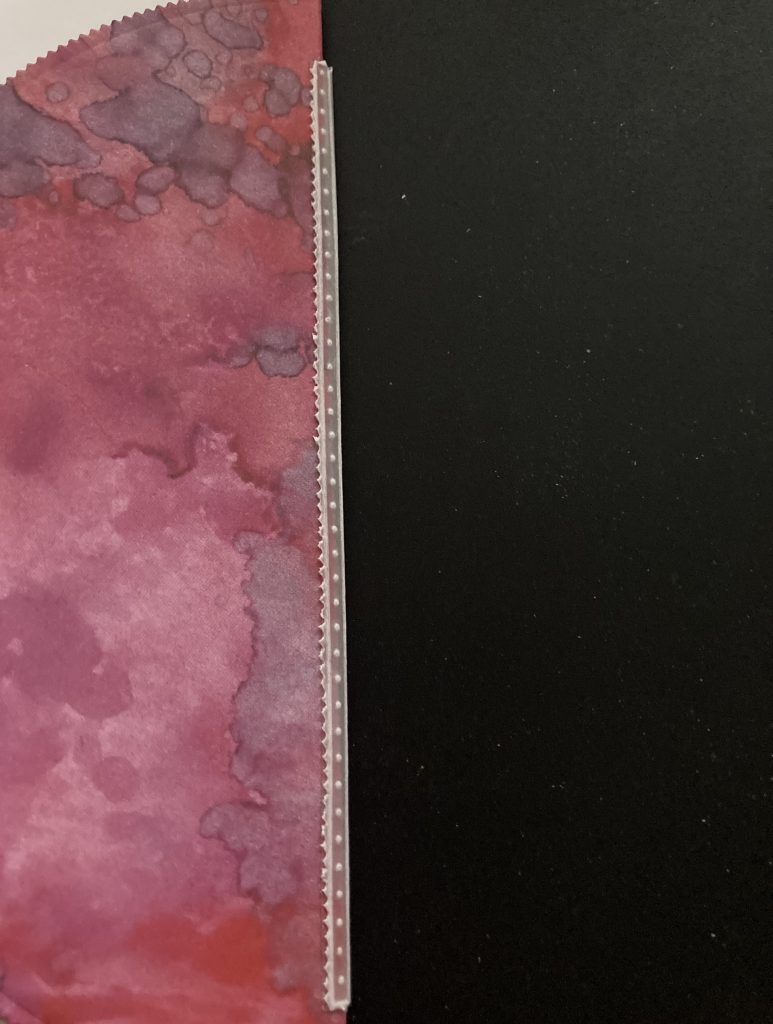
Step 4. On the plate mate for grids, use one of the narrow patterned lines to join up the semi circle.
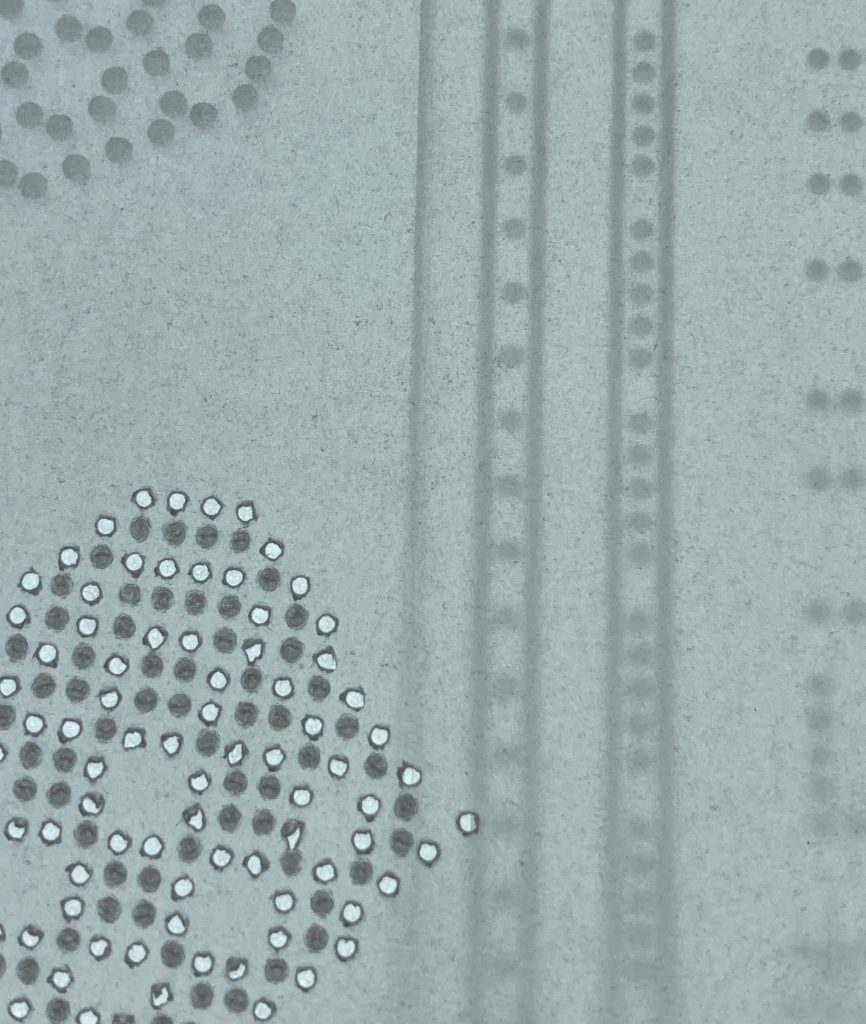
Step 5. Use the 2 needle bold tool to perforate along the line.
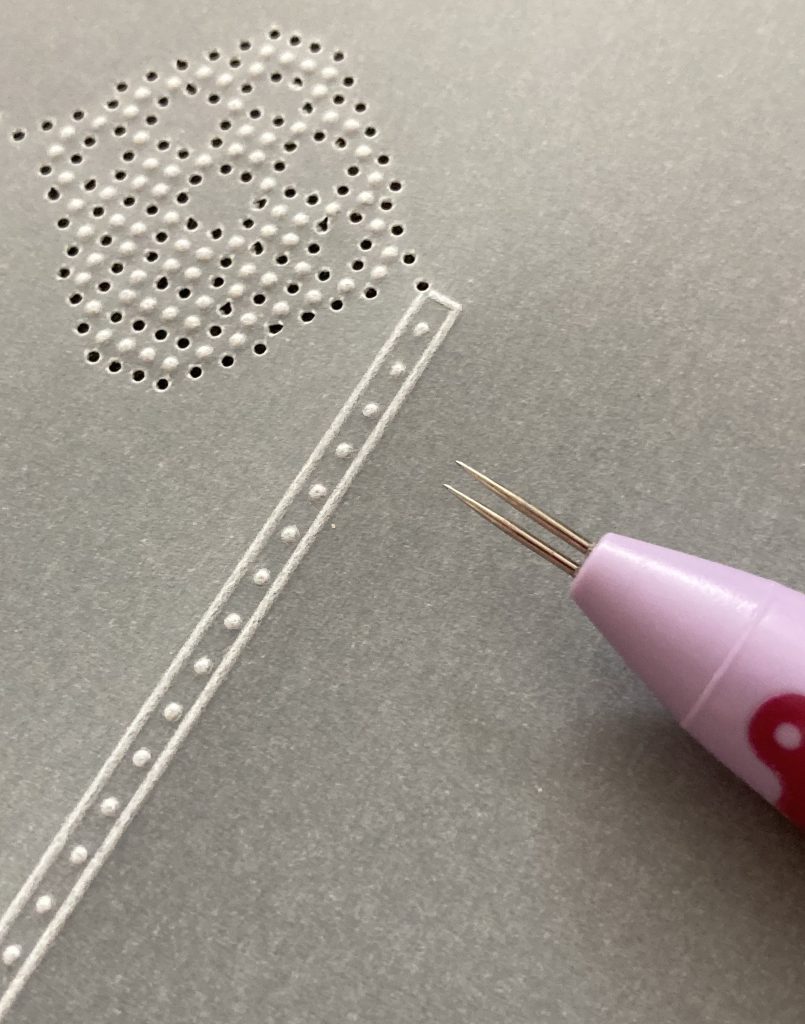
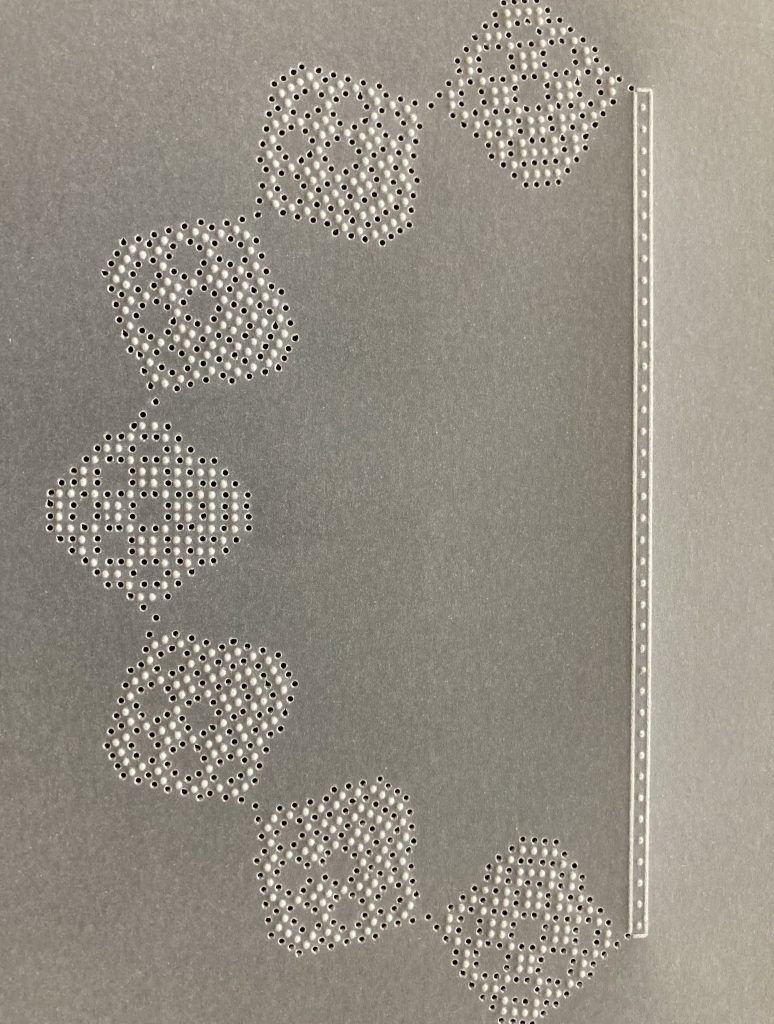
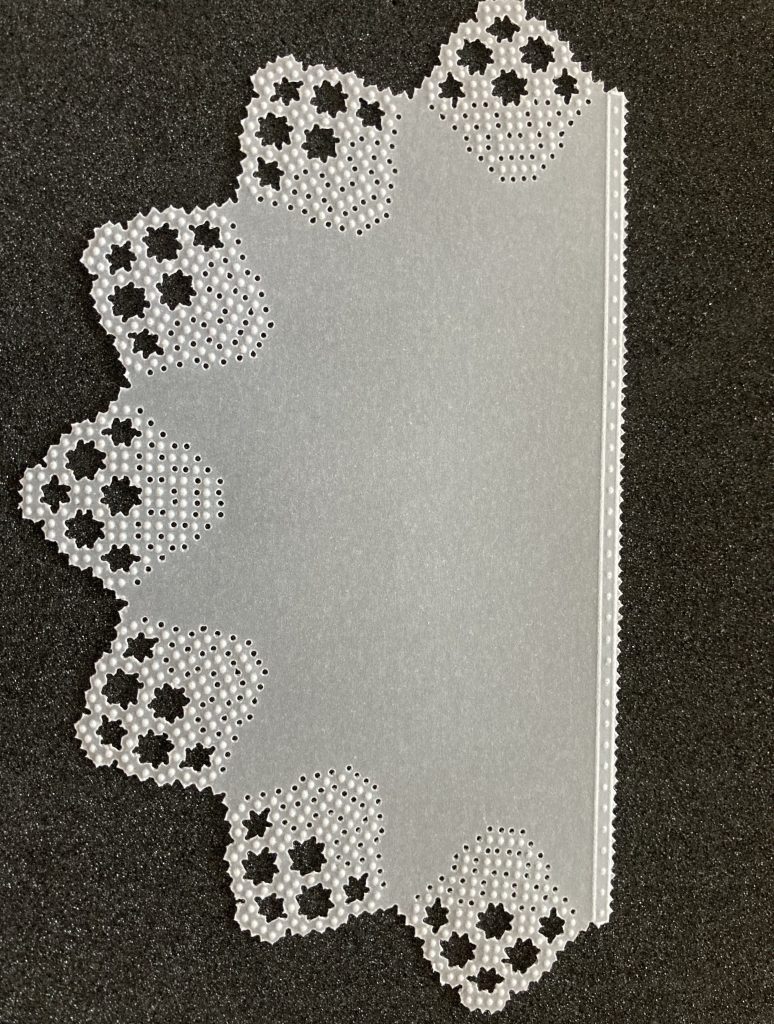
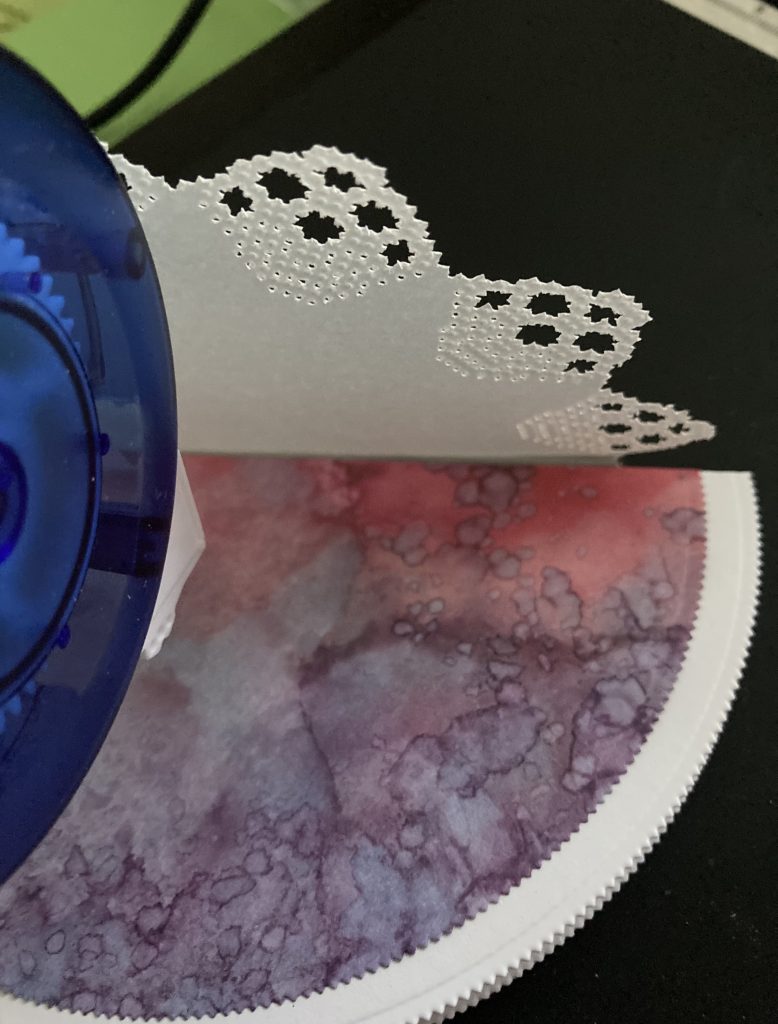
Step 6. Picot cut the designs within the points as shown on the cutting guide that comes with the plate and then picot cut around the outside.
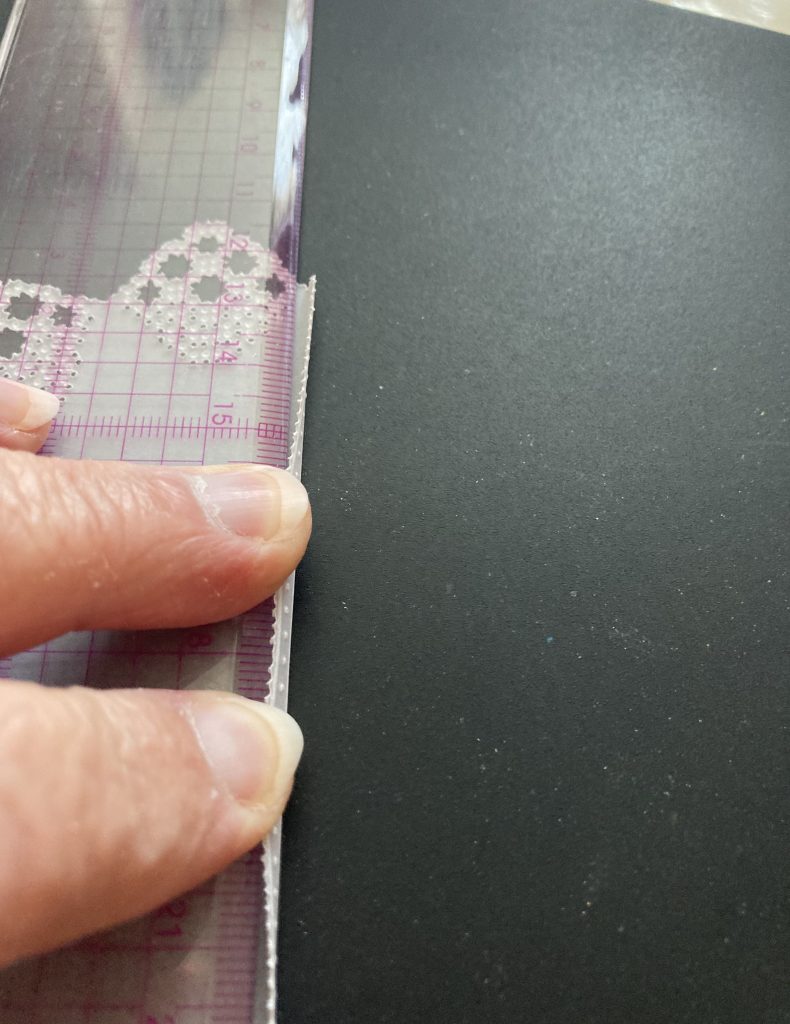
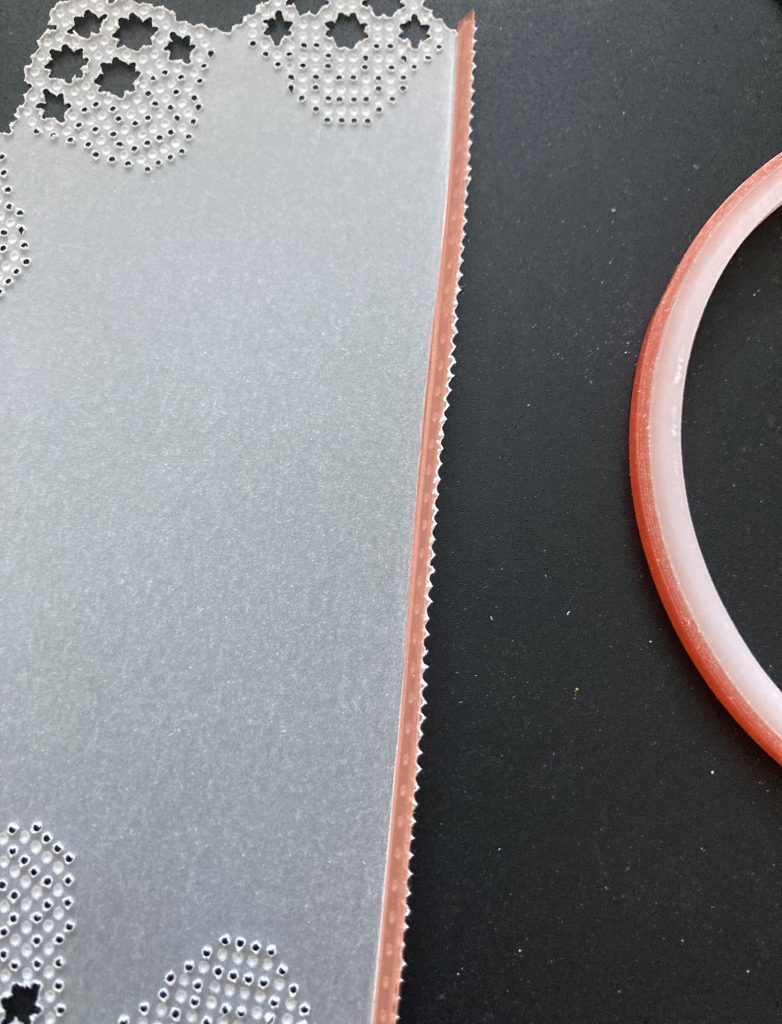
Step 7. Using a ruler, gently fold back the narrow line section and add red line tape to it along the full length.
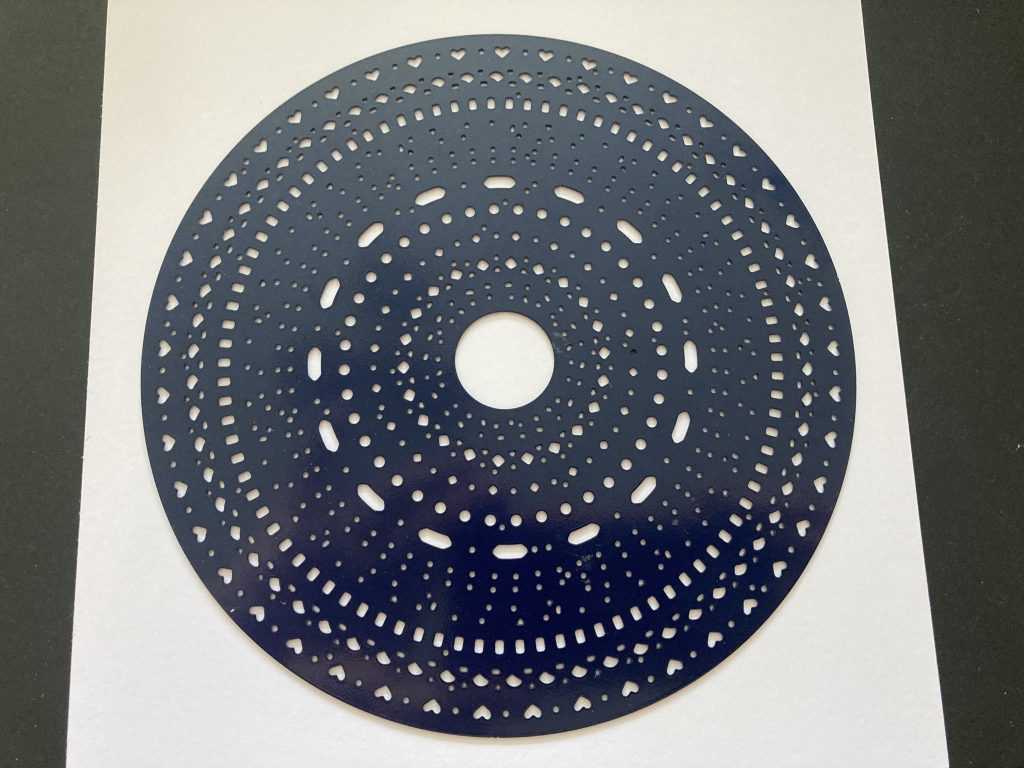
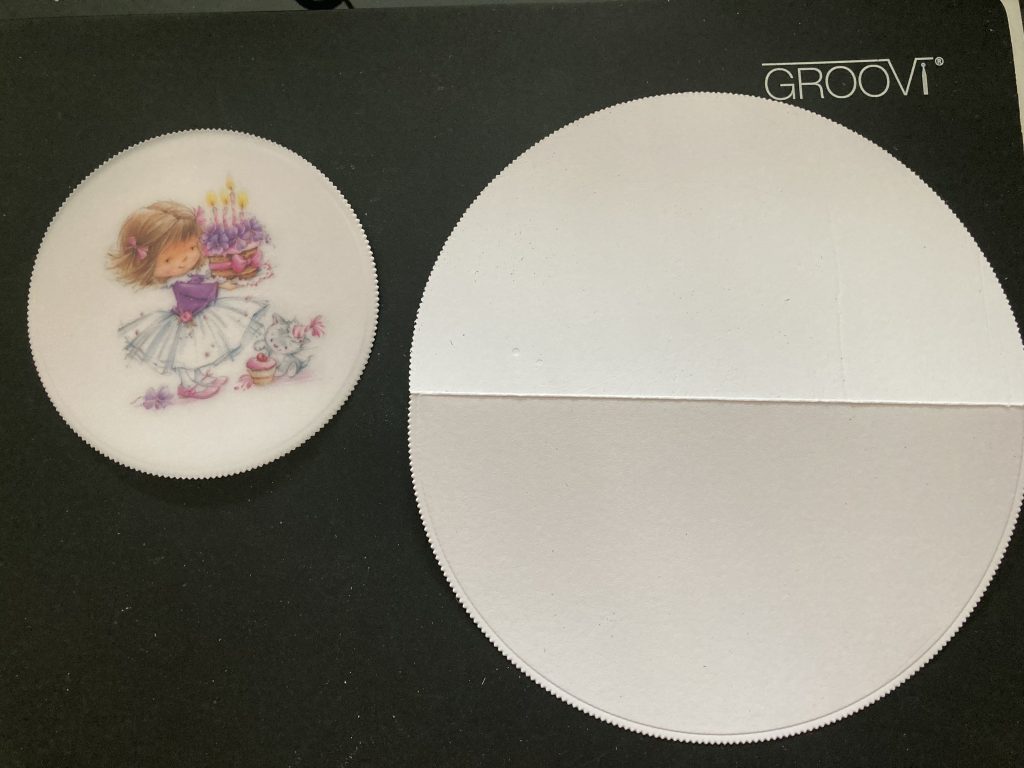
Step 8. Use a piece of stencil card and cut out the circle frames. Put to one side for later.
Step 9. Use the 6th largest circle picot die to cut the smallest poppet out. At the same time cut a piece of card the same size.

Step 10. Fold a piece of stencil card in half and use the largest die (positioned as close to the open edge as possible).
Put these to one side for later.
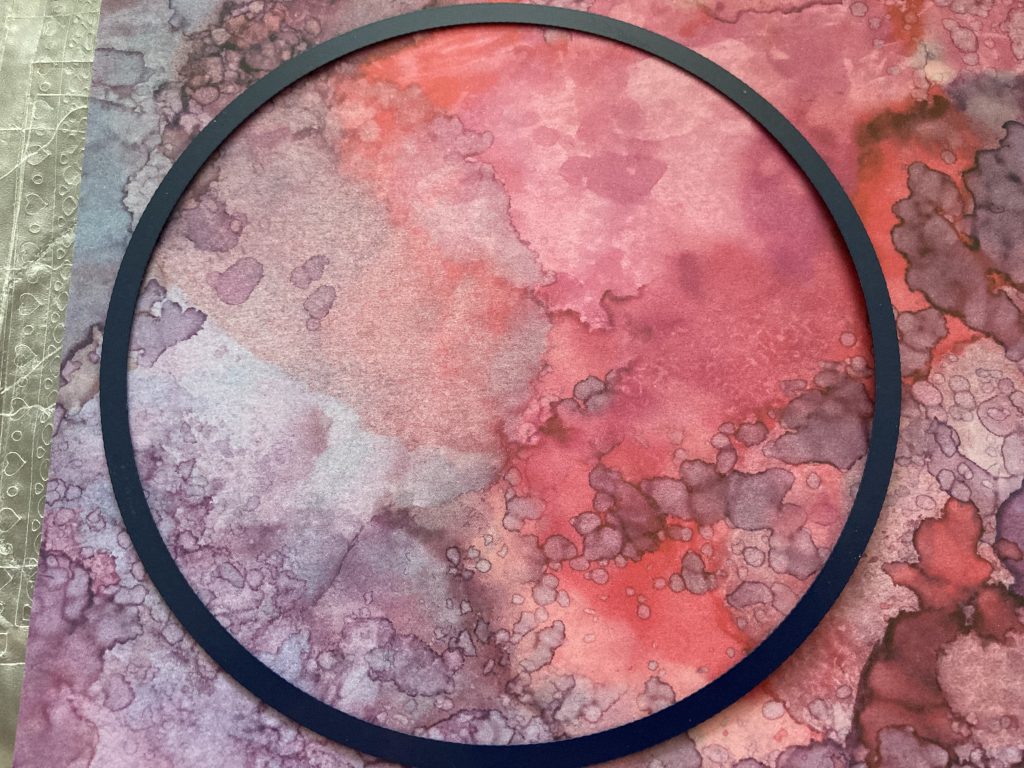
Step 11. Cut out a circle from the designer paper using the 2nd largest picot die.
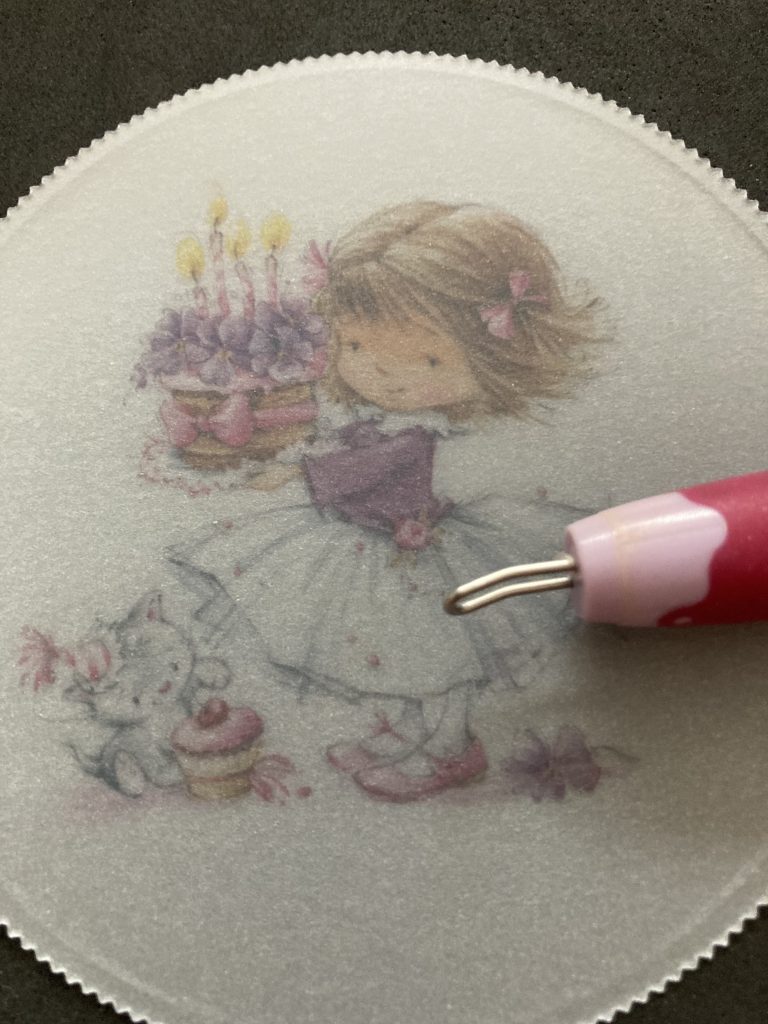
Step 12. Use the shader embossing tool or ball tools to add some white work to the reverse side of the poppet.
Now it’s time to assemble the card.
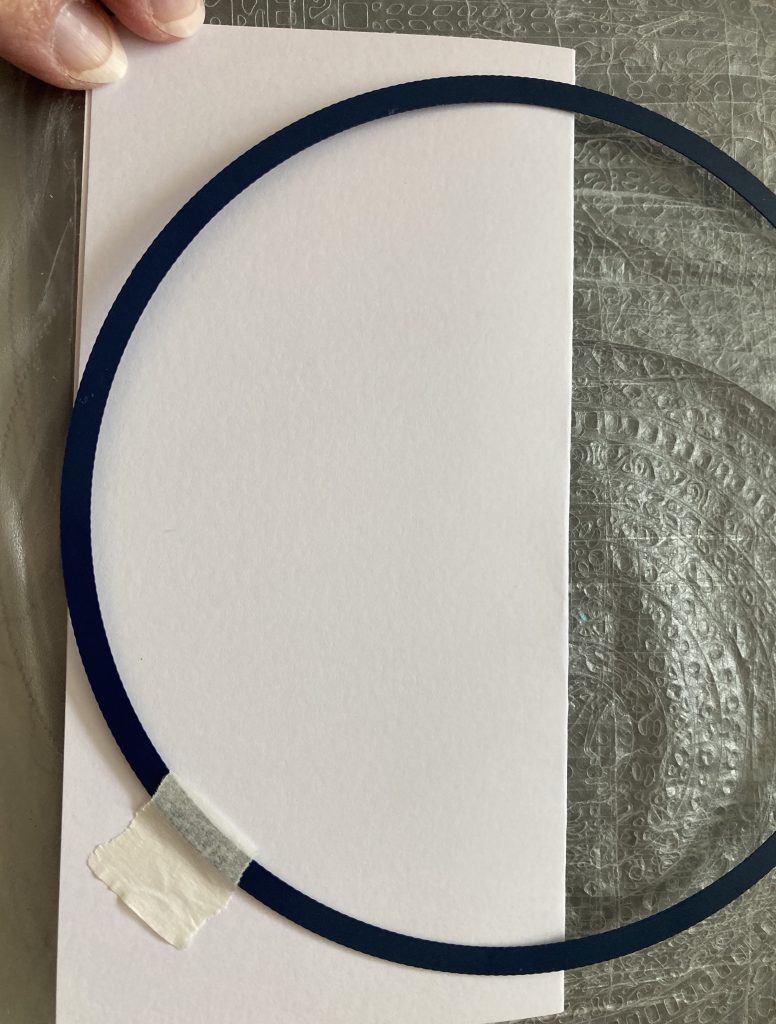
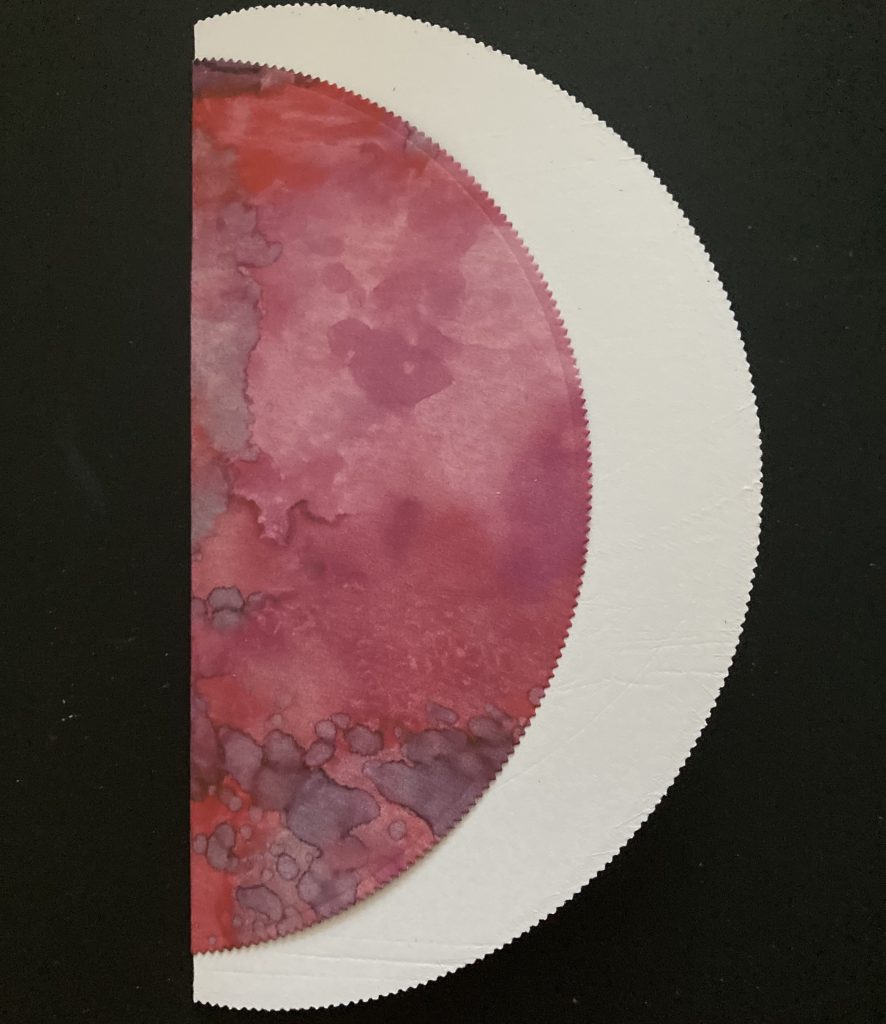
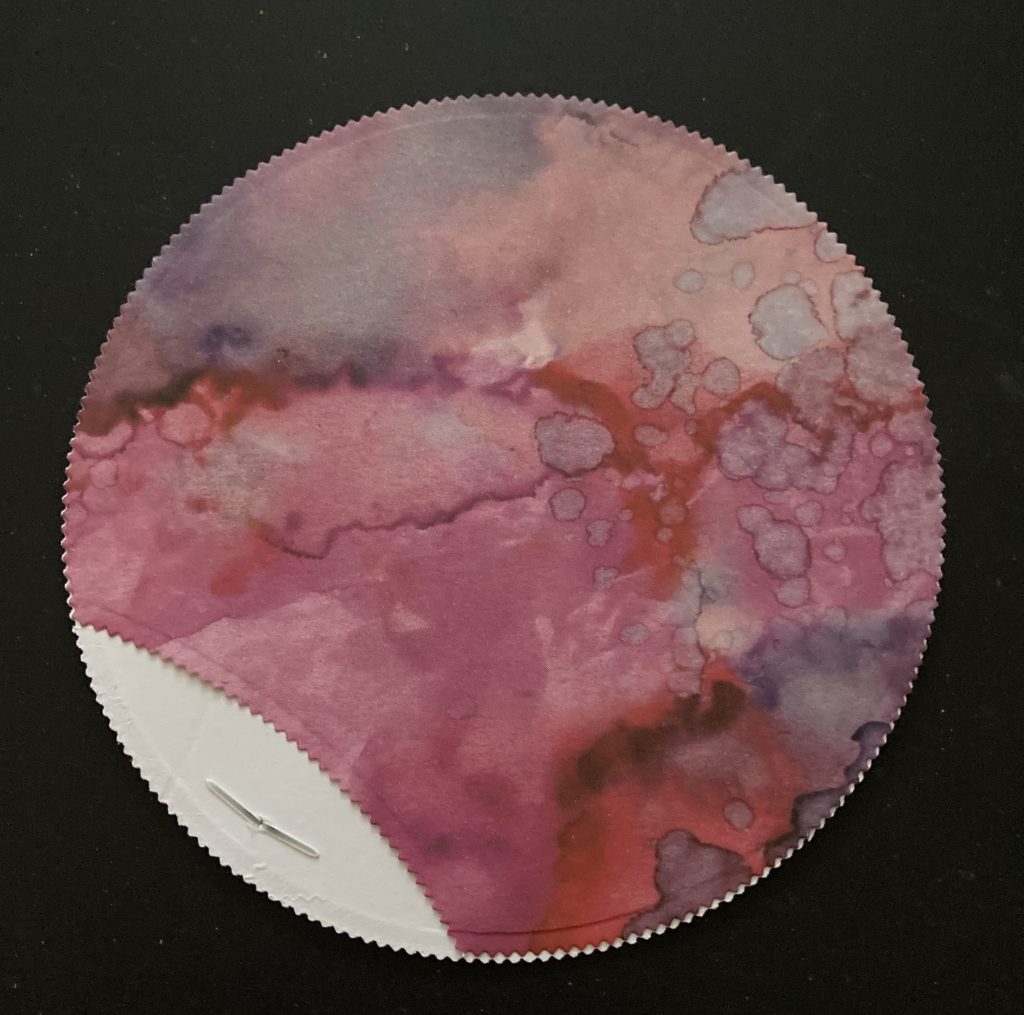
Step 13. Position the coloured paper circle on the card base so it’s even on the front. Fold it over and burnish the edge.
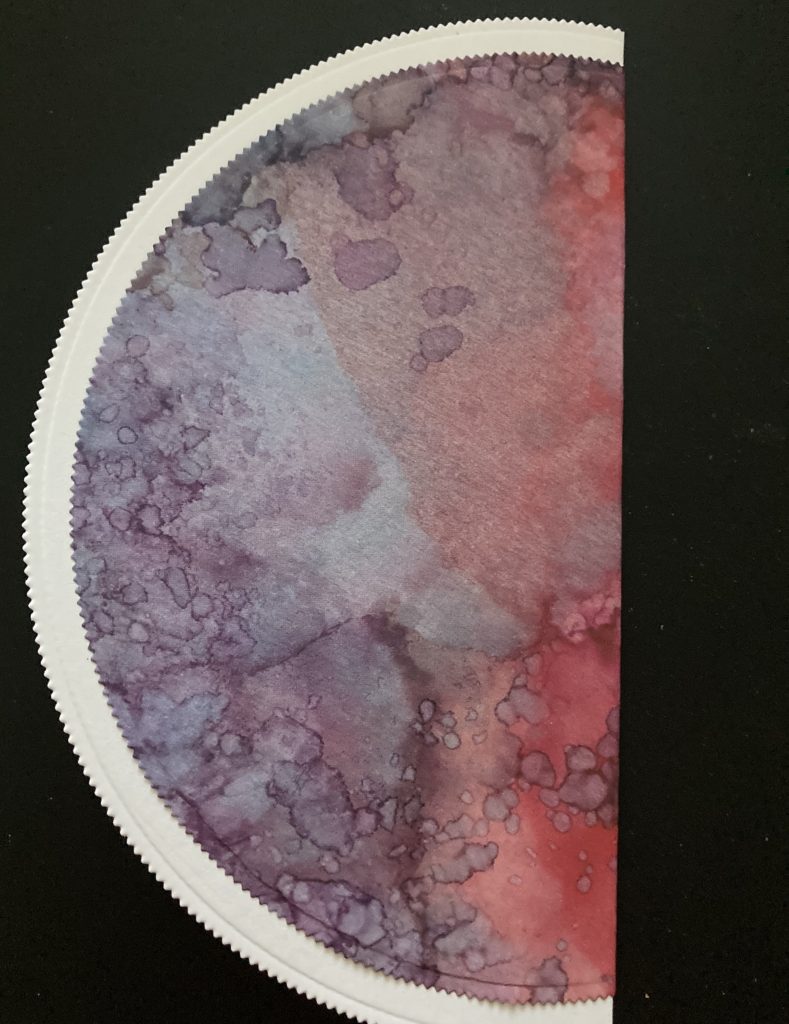
This is how it will look on the back.
Step 14. Layer up the small white card circle, the poppet and the die cut frame. Attach together using white brads.

Step 15. From the leftover designer paper, cut a circle using the same die as for the poppet. It doesn’t matter that it isn’t a full circle as this will be hidden once assembled. Stick it to the back of the poppet to hide the brads and make sure the missing section is at the bottom.
Step 16. Position the semi circle of lace on the front and use the red line tape to stick the narrow line to the reverse.
Step 17. Add some tape runner under the front part of the lace to hold it in place.
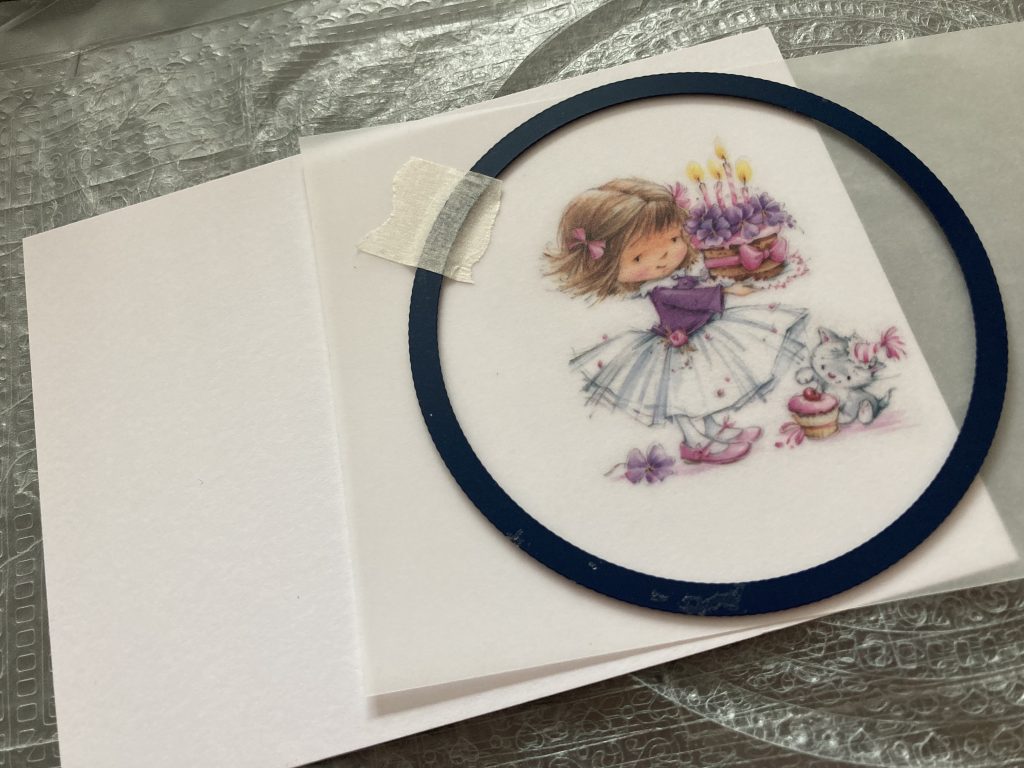
Step 18. Use double sided tape to stick the circle topper in place, positioning it as shown in the photo.
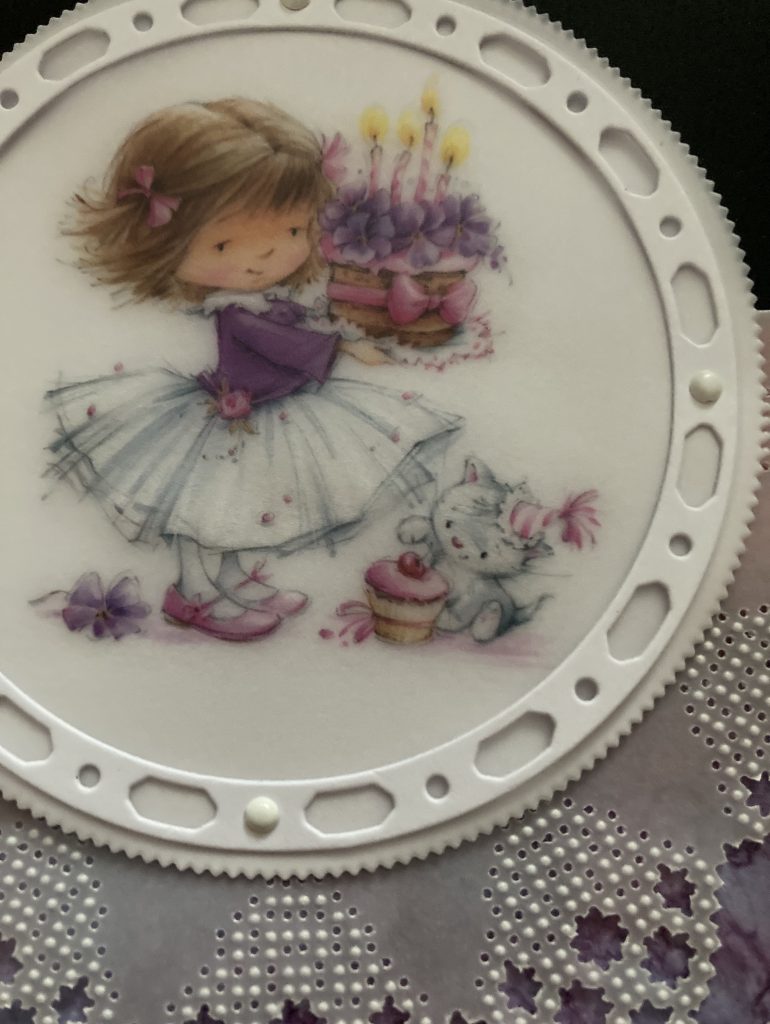
And you are finished! Ta Da!
WOW! That is beyond beautiful. Thank you, Jane! For me, when I first see this card it seems beyond my ability, but when Jane (so kindly) breaks it down into steps, it’s actually very achievable!
I’d love to see your versions of this card. Please email them to me (grace@claritystamp)
As usual, we have put everything that Jayne has used over on the Clarity website HERE
Have you seen the new release from Pergamano?
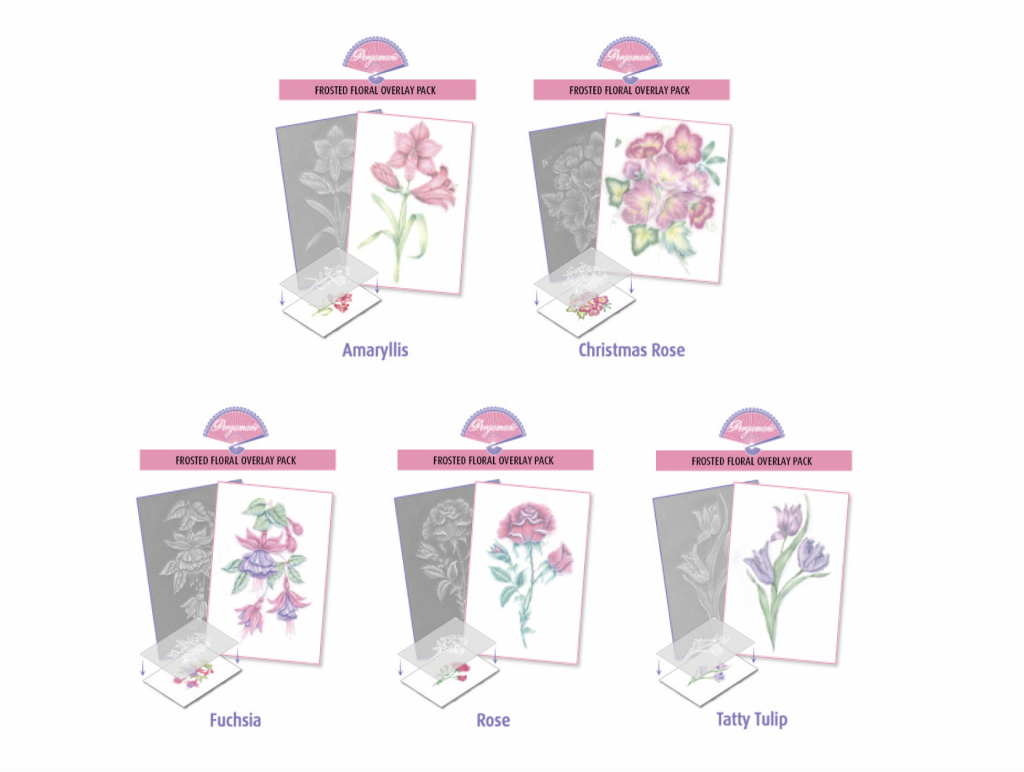
Mum has done a great blog explaining all about them HERE
Lotsa love, Grace & Jane xo
Clarity – The Home of Art, Craft and Well-Being.
Excellent tutorial. Thanks, Jane. Hxx
Thanks Jane for this step by step, I was just trying to think of what to do for my mom’s birthday card. I am off to collect my stash & have a go.
Thanks Grace for todays blog, have a good week & I will catch up with you next weekend x
Brilliant tutorial Jane. Thank you so much. Since seeing your lovely card on The Craft Store have been hoping you would tell us how its done. Will be having a go at this later. Thank you Grace for another great blog x
This is beautiful and thank you Jane for this tutorial!
Stay save and a sunny Sunday!
Trijntje Huppel
Great choice of cards on yesterday’s blog.
Love Jane’s tutorials, so useful, and I go back to them from time to time.
As soon as. Saw the frosted samples from the retreat on Mum’s blog I placed an order, could not resist !!!
Since retirement the days seem to run into each other and the weeks gallop by. No favourite day, each one brings a new take on life.
Hope things are settling down for you.
Hugs
Hi Grace, Hi Jane, Wow !! This is truly gorgeous, thank you so much for the tutorial.
Lots of love from Patricia xx
Thank you Jane. Just completed my first rocker card. Not perfect, but very pleased with it. X
Thanks Jane, Josie’s plates are on their way and I’ll be having a go!
Thanks Grace , have a good week !
Hi Grace – Hi Jane – what a beautiful card & thank you for your tutorial on how to achieve this – loved it when shown on the Craft Store – will be giving this a go Xx
Hi Jane
What a lovely card every one of yours are amazing xx