
Clarity’s Blog Tutorial: How To Paint With Perga Colours
Hello hello! Grace here.
Thank you for joining us on a Sunday! How are you doing?
As you likely already know, we’ve taken a short break from Summer School to give everyone a chance to catch up and practice what they’ve been learning. The last handful of blogs by Glynis have been closely related to the Summer School classes.
This one is a little different. We have the lovely Glynis back in the Bloggy bubble to share with us some tips and techniques around colouring, specifically using the Perga Colours.
I’ll waste no more time and hand you over the pro!
Painting – starting off with a butterfly.
Ingredients
Tina’s Dragonfly Fun A5 square plate (GRO-AN-40857-03)
1.5mm Pergamano Embossing tool (PER-TO-70004-XX)
6mm Pergamano Embossing tool (PER-TO-70016-XX)
Pergamano Two-needle (FINE) perforating tool (PER-TO-70037-XX)
Micron Pen Set (ACC-PE-30778-XX) (I used the 0.5)
Pergamano Colour Exclusives *PCE’s (PER-CO-70060-XX)
Pergamano Round Brush 2mm (PER-BR-70044-XX)
Mix mat (PER-AC-70304-XX)
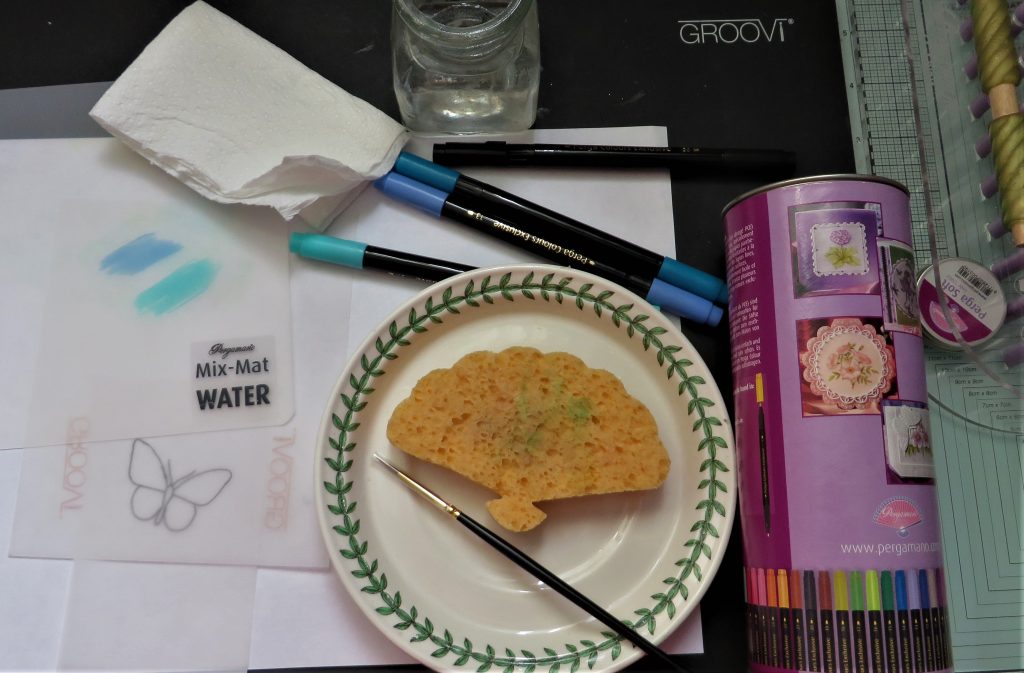
A sponge, a saucer, a pot of water and paper towel.
A word about equipment.
A damp sponge – choose a good quality cellular one which holds the water evenly, rather than a plastic foam sponge. Whilst too much water is not good for the parchment paper, you do need some moisture. You need the sponge to hold water evenly, and water tends to sink to the bottom of cheaper sponges and become too dry.
A saucer or small plate to hold the sponge so that water stays put and has not got a chance of spoiling your parchment.
A pot of water – you will need to clean your brush. Also to add to the pigment of the pen to loosen it up.
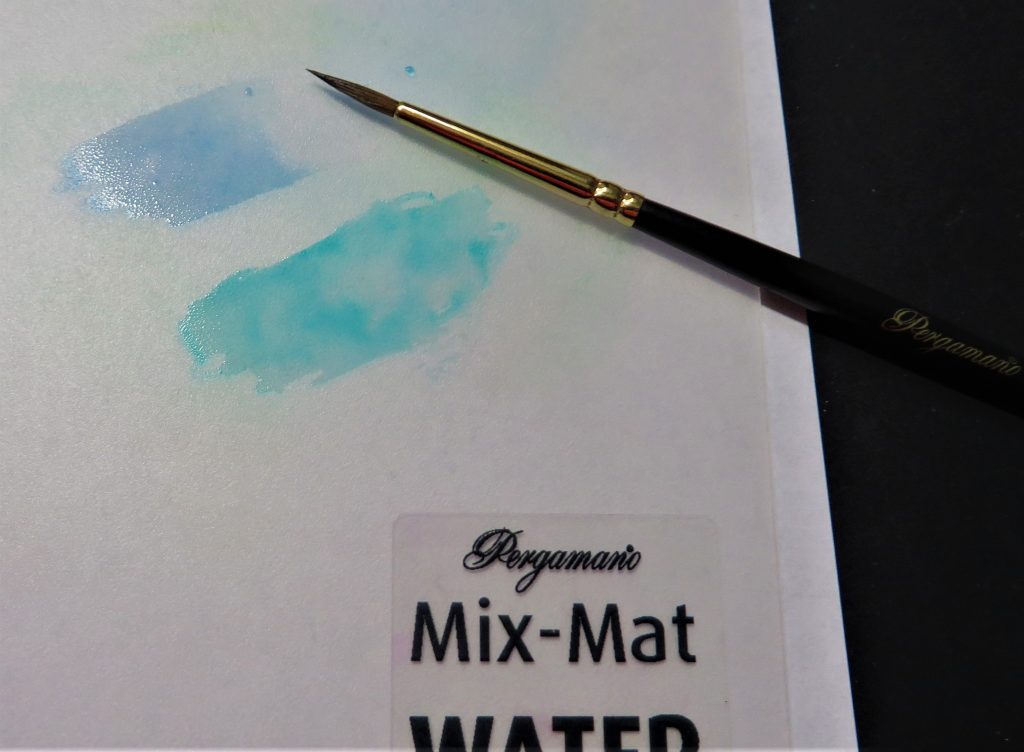
Your Brush – the Pergamano one is excellent for this job. It is made with Kolinsky Sable and keeps a lovely point. A decent brush is all important to the success of your work.
A paper towel to help you keep the ferrule of the brush dry and prevent water dripping onto your parchment.
Mix mat for dispensing the pigment from your pens.
PCE pens – which are water-based and easy to mix.
Method
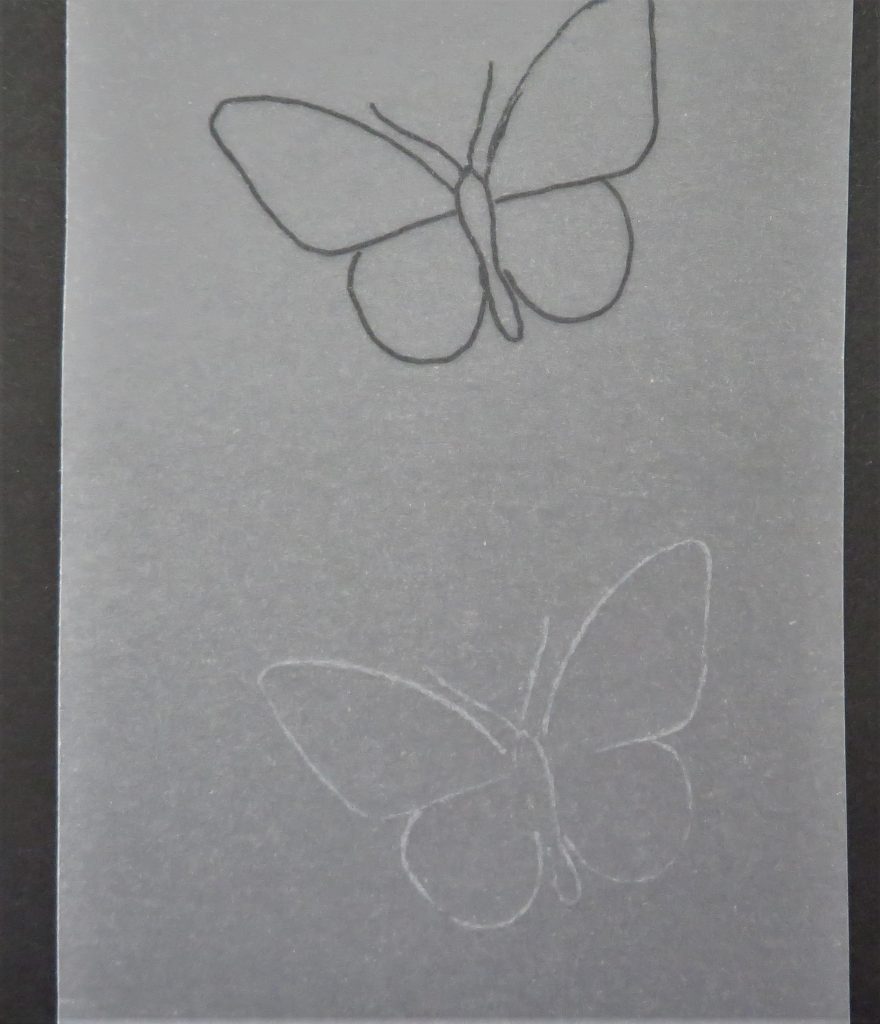
Step 1. There are two ways of getting your image. This first one is to emboss the image onto the parchment very, very lightly with the number 2 embossing tool or the 1.5mm ball tool. You just need to barely see the butterfly.
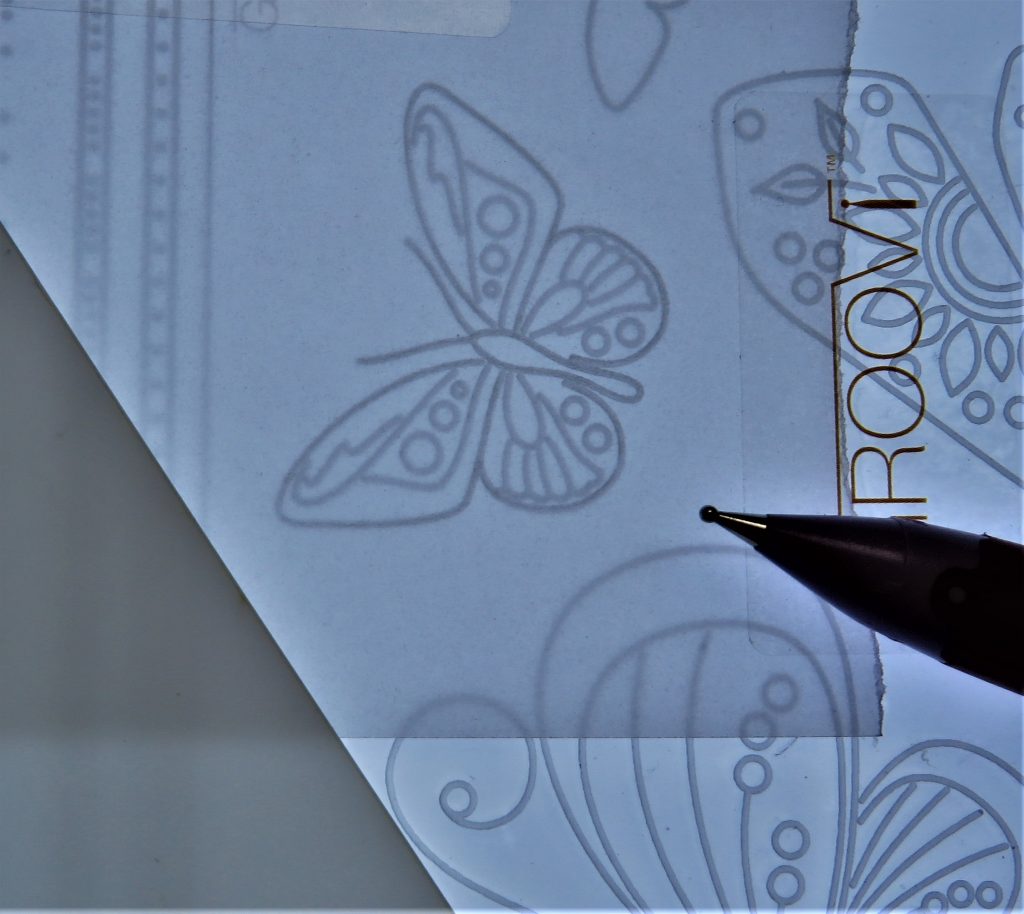
Step 2. The other way to get your image is to trace it from the plate with a micron pen, then place your parchment over the traced image and use the outline underneath to guide your painting.

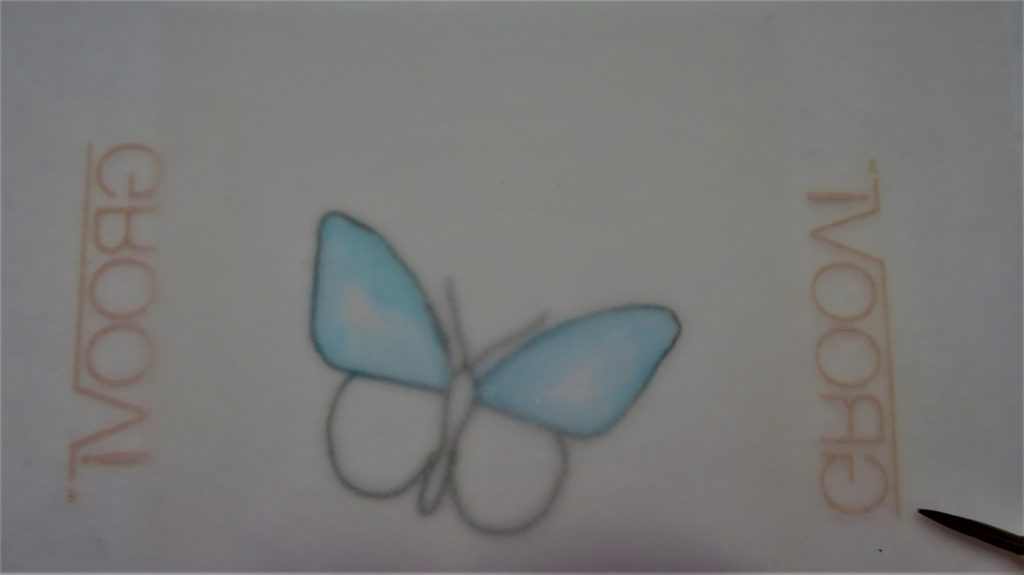
This is what they look like when they’re ready for painting…
Step 3. Choose 3 colours of PCE – a light, medium and dark of your chosen shades, plus the black. My colours are – 13, 14 & 27 – then 20 (black for more shading). Gather up all the equipment talked about above.
Step 4. Scribble the lightest shades on the mix mat and add a little water to loosen up the pigment. Dampen the brush on the sponge, and pick up some colour, rolling the brush as you do, so that the brush comes to a point.
Step 5. Use the lightest colour first and paint one wing at a time. Put the point of the filled brush to the outside line, lay the brush down so it is flat against the paper and go in tiny round and round movements, laying down a wash. Turn the work as you go and reload the brush as needed. It is okay if the centre of the wing is left white – this will create highlights later on in the process.
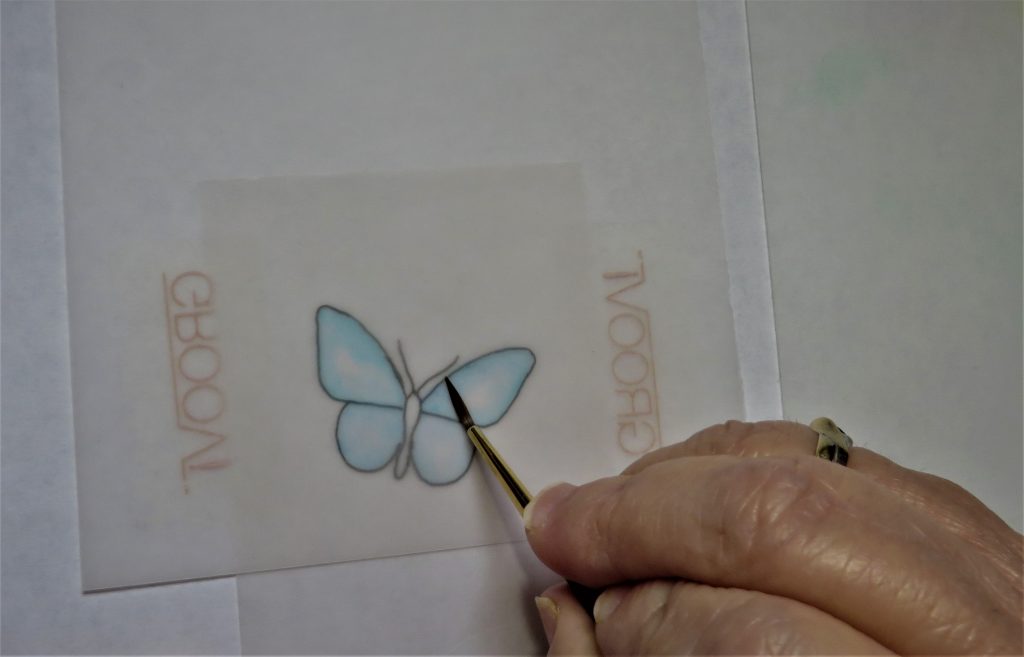
Step 6. Put some more colour down, again, rolling the brush to a fine point. You need to be holding the brush vertically and onto the mix mat, but do not dilute it this time. Dampen the brush on the sponge and pick up just use the very, very point of the brush. Paint in fine lines from the edges inwards, turning the work as you go. By not diluting the pigment, it will be a darker shade of the base colour. You will be taking the fine lines just 3/4 the way across each wing.
Step 7. Use the medium colour now, and just take the fine lines over 2/3 of each wing. You need to allow each layer of paint to dry in between applications. Remember that you are only using the very point of the brush. Do not worry if the edges of the butterfly look a bit jagged – you will be surprised how lovely it is once cut out.
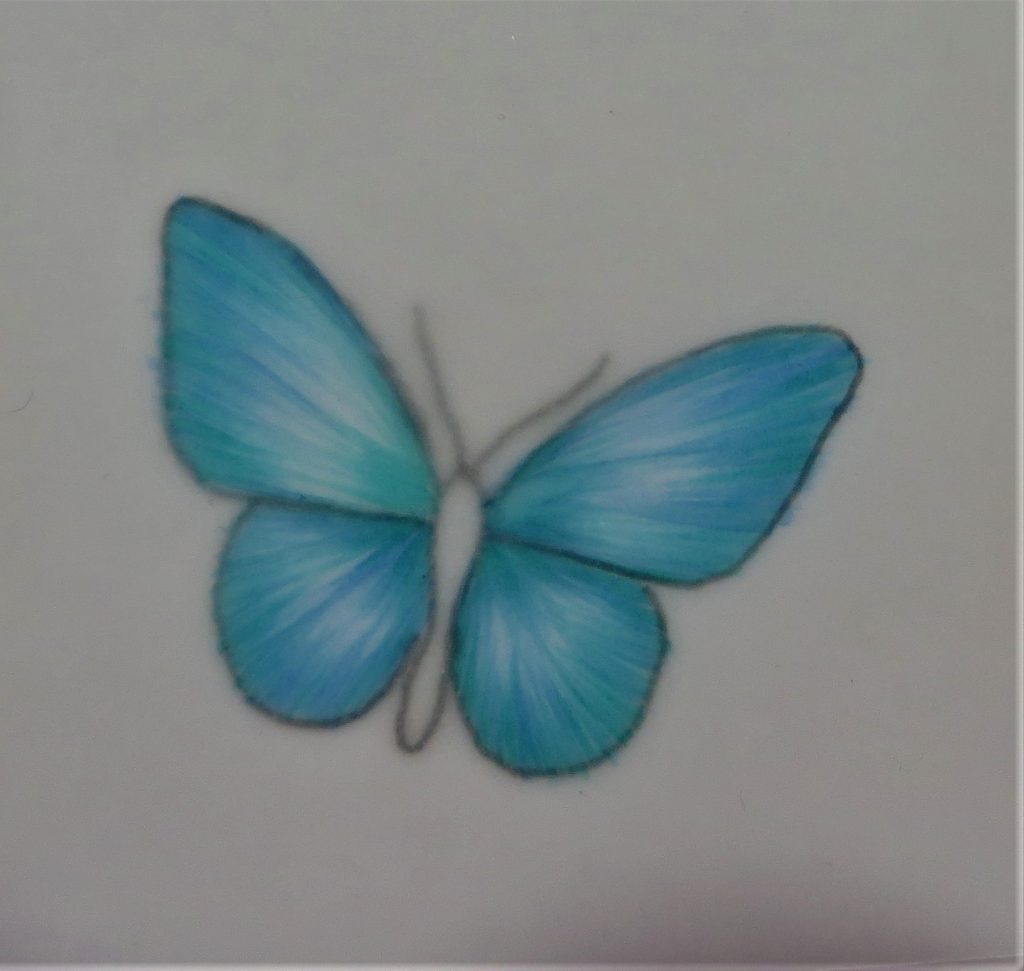
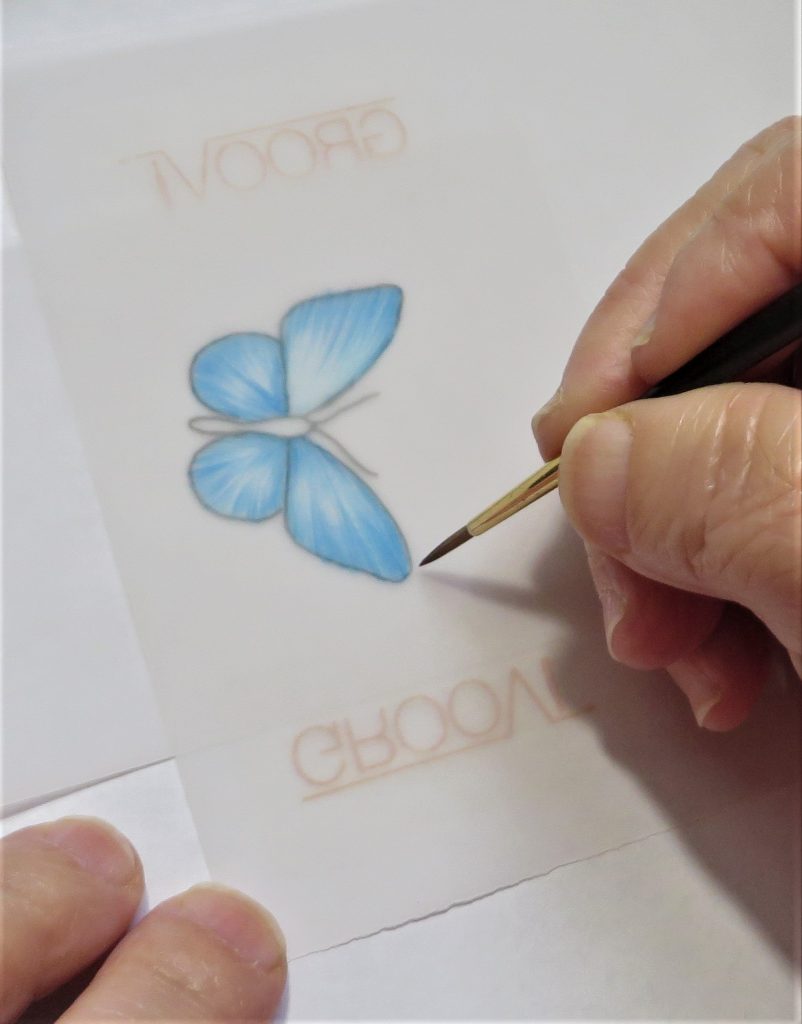
Step 8. Now for the darkest colour, and the same process but just taking the fine lines to 1/3 across the wings – it doesn’t hurt to take two or three right across though. Again, no need to dilute the pigment and just dampen the brush to a fine point with the sponge.
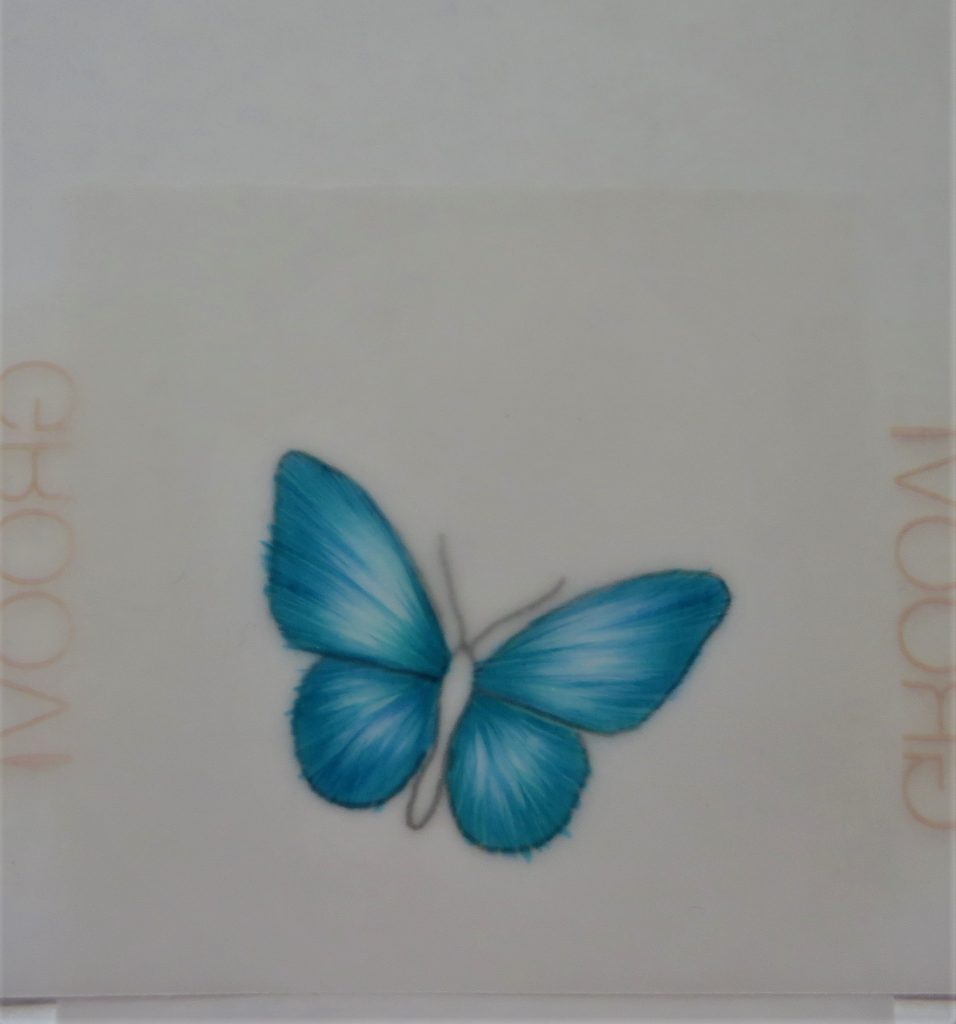
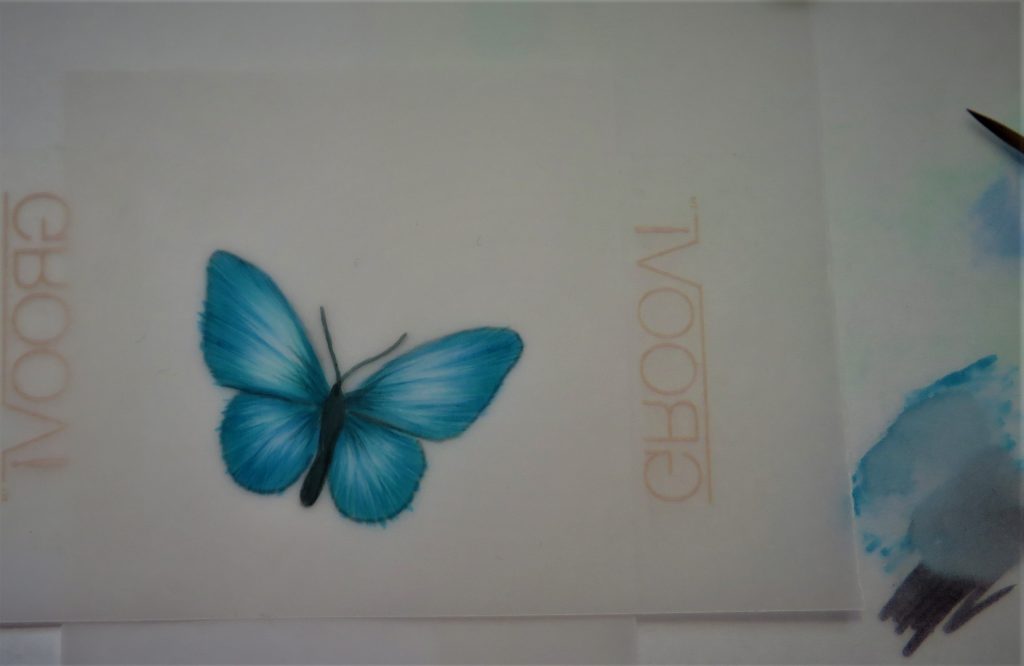
Step 9. Put some black onto the mix mat and blend it with the darkest colour – this makes it less stark than pure black. Paint the butterfly body and antennae.
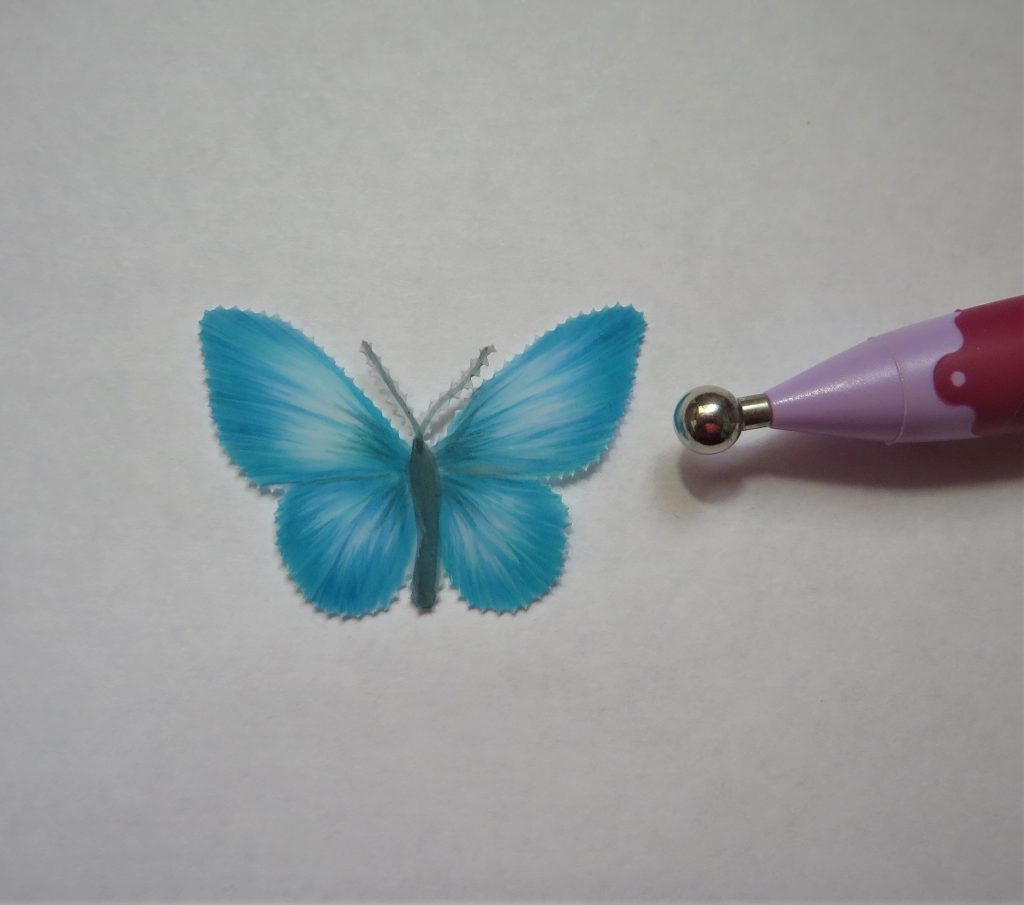
Step 10. Go around the outside of the butterfly with the two-needle fine tool and snip it out. Do not worry if you don’t manage the antennae, you can add new ones using a bit of beading wire or stamens from flower making materials.
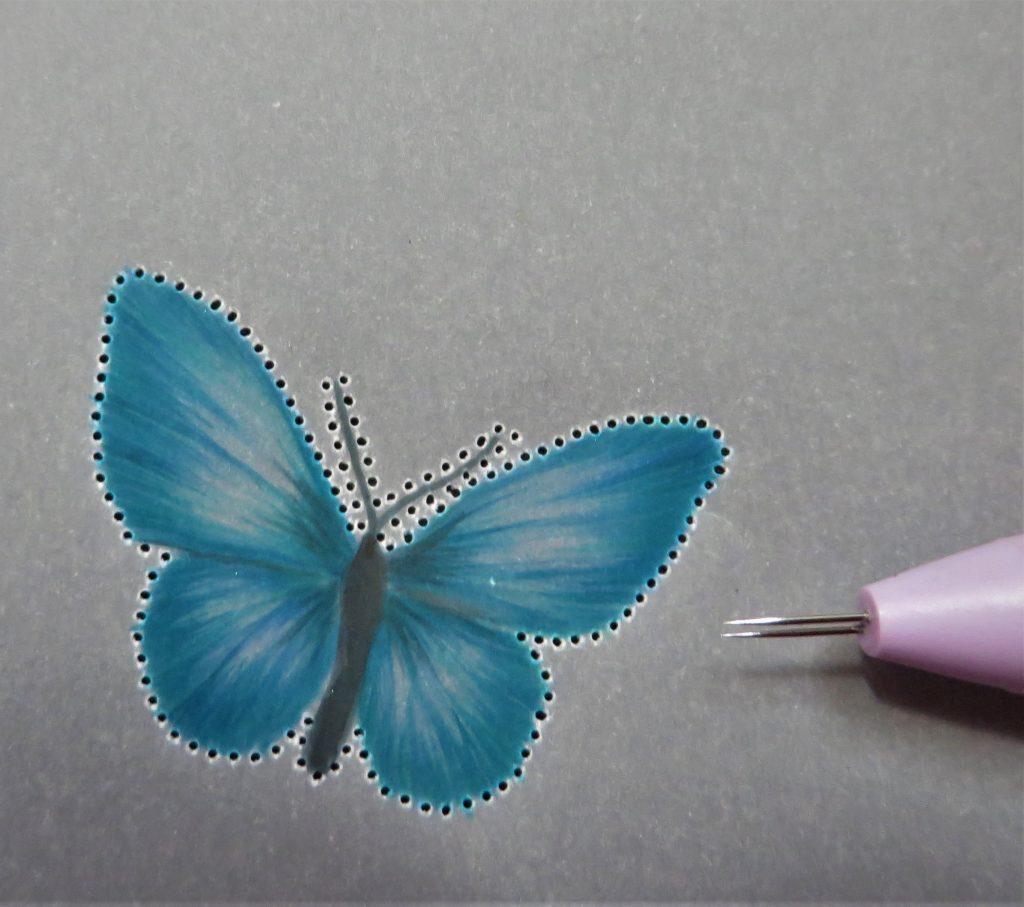
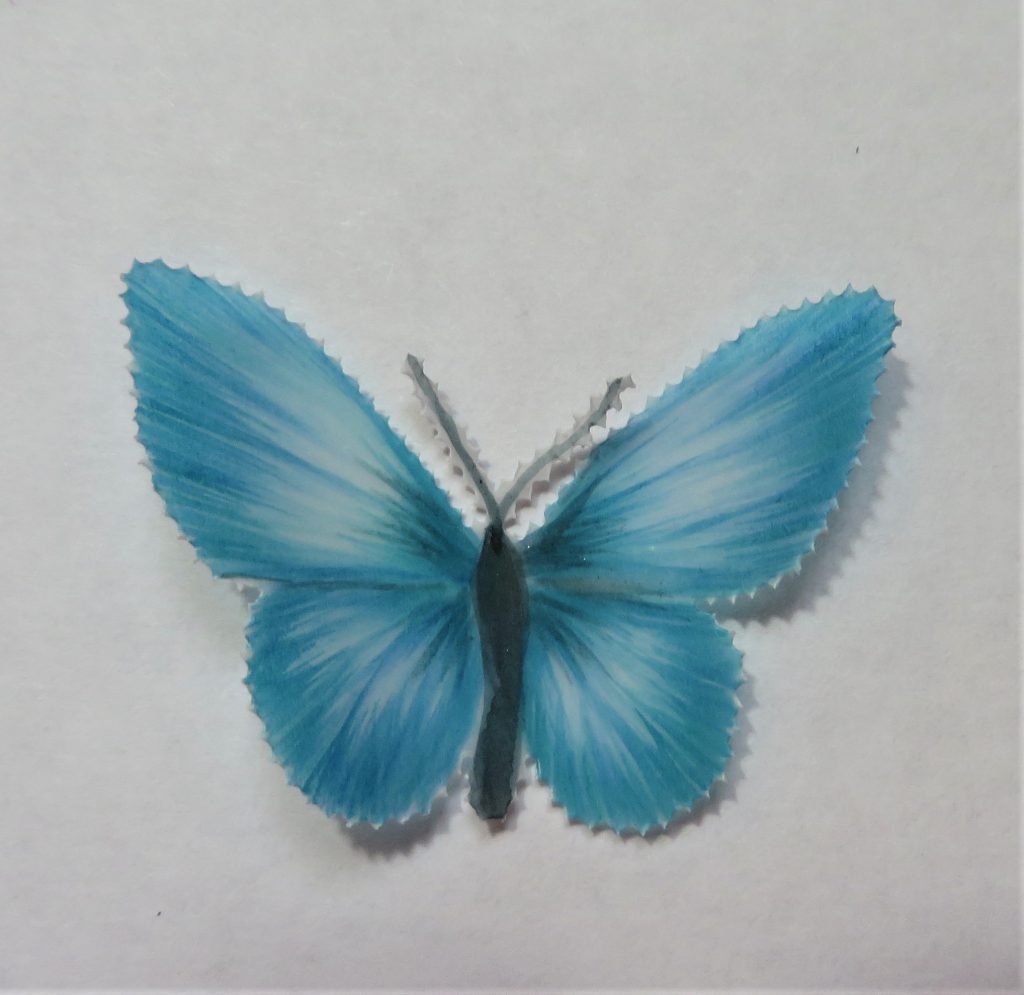
Step 11. It now just needs a gentle embossing with a 6mm ball tool. Just go very lightly over the wings to give it a bit of shape. And voila!!
What stunning colouring and shading! Thank you, Glynis, for your expertise and gentle guidance. We appreciate you 🙂
As usual, we have put everything used by Glynis in one place over on the Clarity website HERE.
This week, on Groovi Tuesday, Paul was showing us how to colour with the Perga Liner Pencils. You can see what Paul got up to via our YouTube page HERE.
Now, if you are into your parchment art you may have heard the fab news about the launch of our brand new Rainbow Parchment & Paper on Friday during A Moment of Clarity event on Facebook…
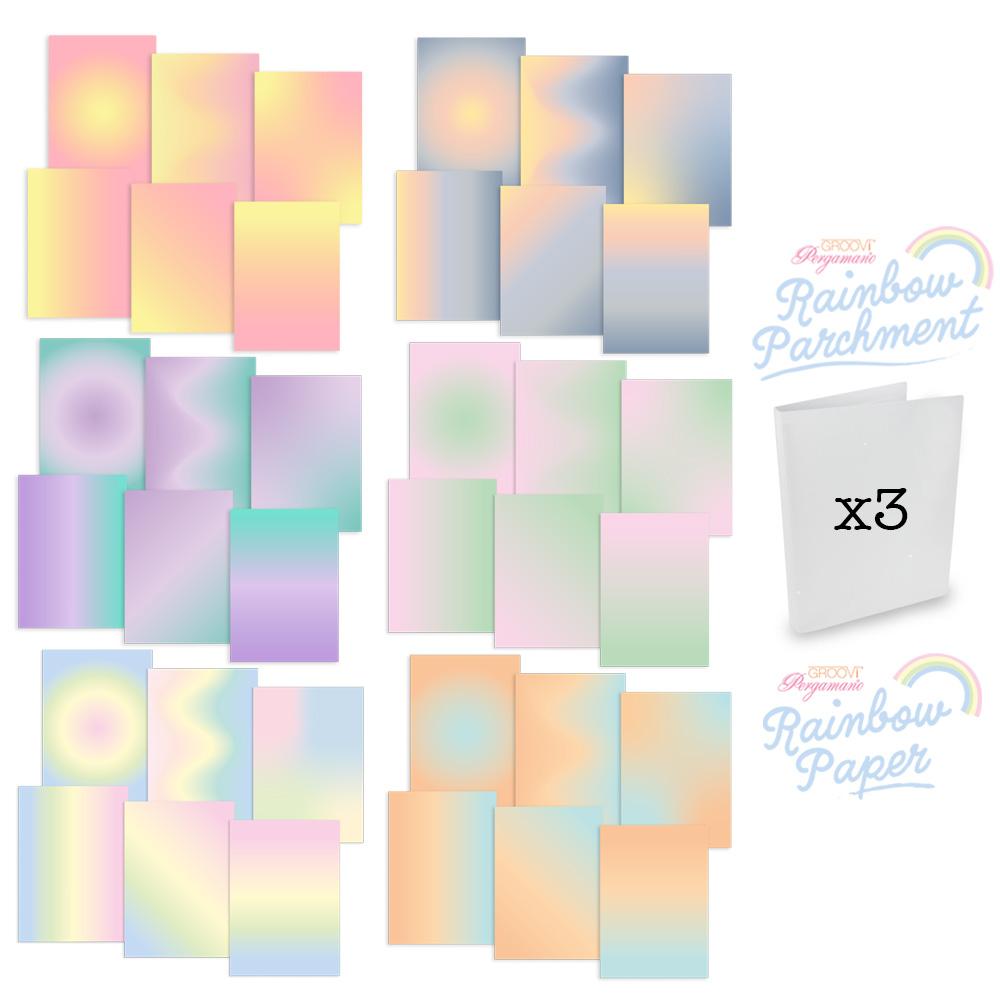
They are available HERE at a super duper special price for a limited time! And to celebrate the launch, we have some fantastic savings on all of our coloured and designer parchment HERE – A perfect opportunity to stock up on your parching essentials!
Lotsa love, Grace & Glynis xo
Clarity – The Home of Art, Craft and Well-Being.
Wow – how beautiful is that. Thank you so much Glynis for this fabulous tutorial.
That looks really nice Glenys. Step by step, very well explained with clesr pictures and instructions.
Thank you Glynis
Thanks Glynis and Grace. Much easier with the Pergamano pens than the old Pinta paints or tints inks we used in the long ago past.
Stay safe. Cherry T
Lovely blog Glynis
Have voted for all the clarity nominations and ordered the new rainbow 🌈 parchment, can’t wait to see it x
Thank you Glynis and Grace. Another great tutorial. Will be having a go at it.
Thank you Glynis.
Thanks Glynis I love painting like this!x
This is a great tutorial. Thank you Glynis.
Thank you Grace and Glynis, a great tutorial, looks so delicate when finished. X
Hi Grace, Hi Glynis, Another fabulous tutorial and the finished butterfly is so delicate and exquisite, really beautiful. Thank you.
Lots of love from Patricia xx
Thank you Grace and Glynis, Such a lovely butterfly, really good instruction, my challenge for tomorrow afternoon, and many weeks to come ..
Hi Grace and Thank you Glynis. That Butterfly is gorgeous, your colouring is always so Beautiful, and such a wonderful tutorial. Will certainly look at that several times. Xxxxx
Hi Grace. Wow, thanks Glynis for showing us how to do this. I will have to have a go at this as the result is so delicate. Nearly finished decorating at our daughters house so will soon be able to spend more time crafting. Have a good week Grace & I will catch up with you next Saturday.
Thank you Glynis for this step by step beautiful tutorial.
Will be giving this a go !!
Have a good week Grace & Glynis
Take care
Love Seta Xx