Clarity’s Blog Tutorial: How to 2 NEEDLE TOOL
Hello hello! Grace here
We are lucky to have the absolutely wonderful Glynis Whitehead in our bloggy bubble this weekend. She is going to help us get ready for Summer School!
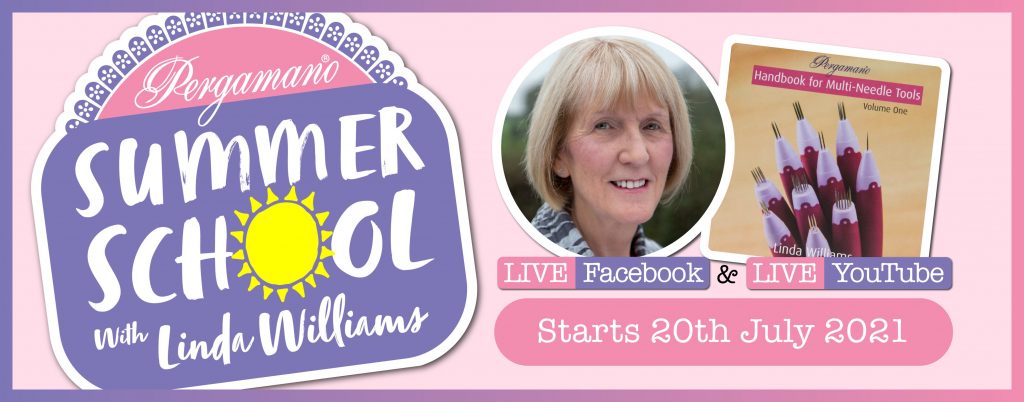
Each week, Linda will be holding our hand, guiding us through her Handbook for Multi-Needle Tools via Facebook & YouTube. After we have been to school with Linda on Tuesday, Glynis will show us how we can create a project using that particular multi-needle tool. So in a warm up exercise, Glynis has created a beautiful project using the 2 Needle Tool.
I will hand you over to the lovely Glynis……….
Summer School Blog: 2-Needle Tool
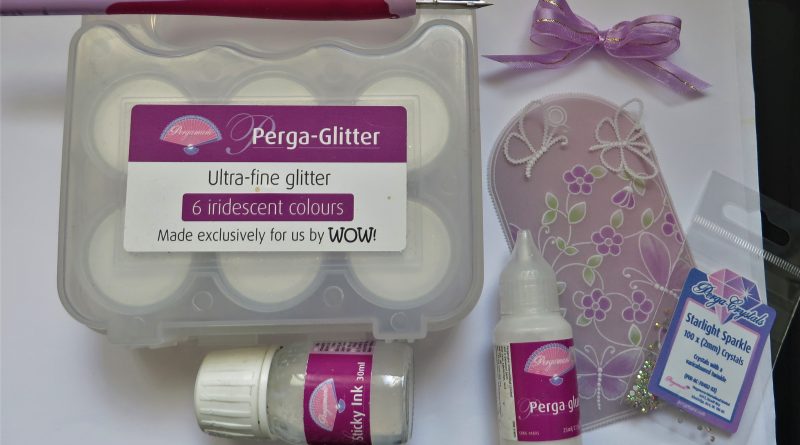
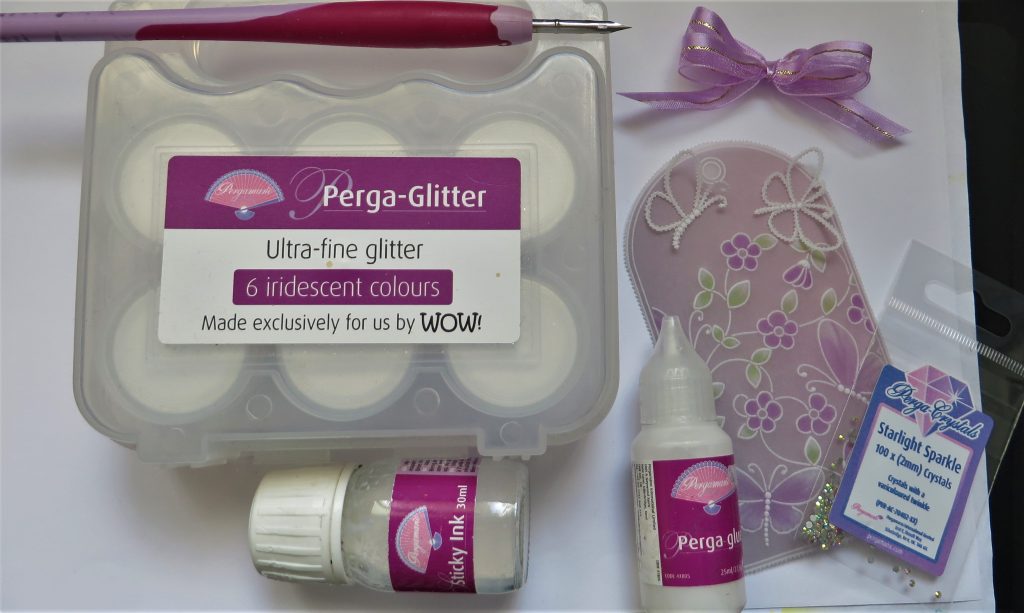
Ingredients
Pergamano Handbook for Multi-Needle Tools Vol 1 by Linda Williams (PER-BO-70291-XX)
2-Needle Perforating tool (PER-TO-70037-XX)
Nested Arch Tags Die Set and Groovi Plate (CLA-PA-20100-XX)
Linda’s Butterflies A5 square Groovi Plate (GRO-AN-40817-03)
Number 1 & 2 tool from Starter Kit (GRO-AC-40026-XX)
1.5mm Embossing Ball tool (PER-TO-70004-XX)
6mm Embossing Ball tool (PER-TO-70016-XX)
Pergamano Sticky Ink (PER-AC-70134-XX)
Pergamano Mapping Pen (PER-AC-70039-XX)
Perga-glitters (PER-AC-70252-XX)
(The above 3 items are available as a bundle here)
Perga Crystals (Starlight Sparkle) (PER-AC-70402-XX)
Perga-glue (PER-AC-70133-XX)
Length of ribbon (ACC-MS-31107-XX)
Backing paper or card.
How To:-
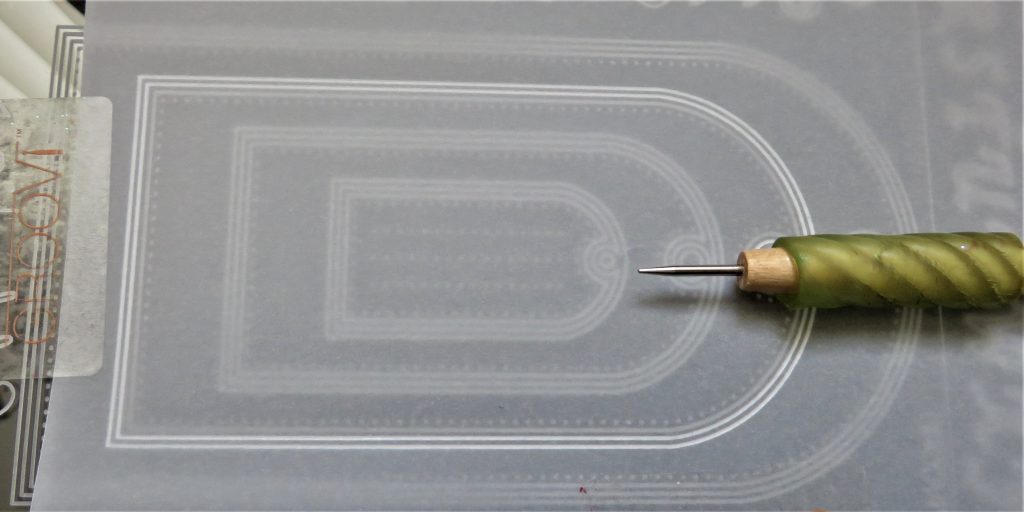
Step 1. Line up some plain paper onto the Nested Tags plate and emboss the 2nd tag in from the outside, using your number 1 tool (from the starter kit).
Step 2. Now place the tag over the butterfly plate so that you have the whole butterfly flying away from the bottom right corner and a half butterfly on the left side. There is a partial butterfly to the right (as you look at it from the back) which we will embellish later.
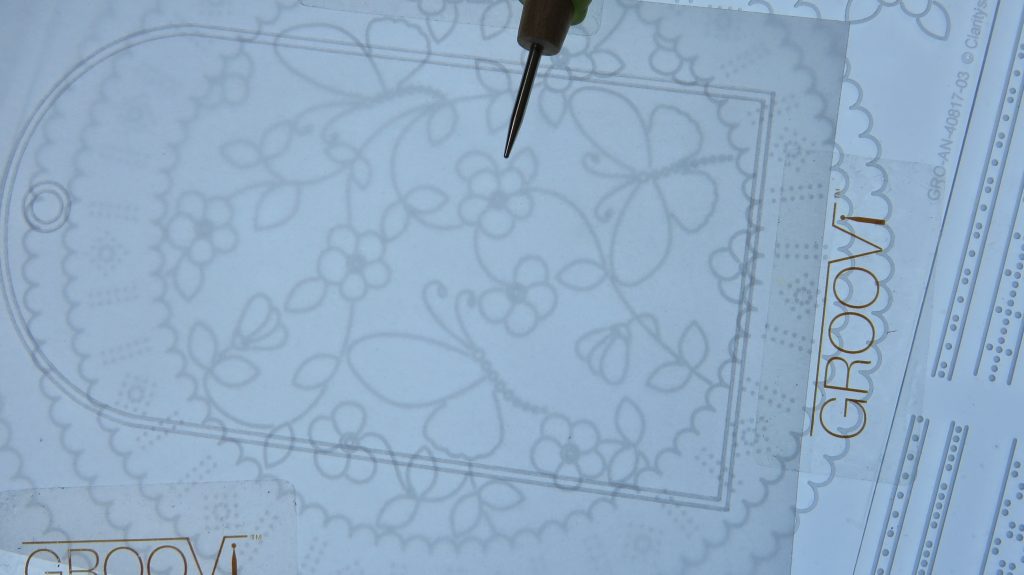
Step 3. Trace the elements within the scope of the tag margins, excluding any of the circle. On some spare parchment, emboss the full butterflies again.

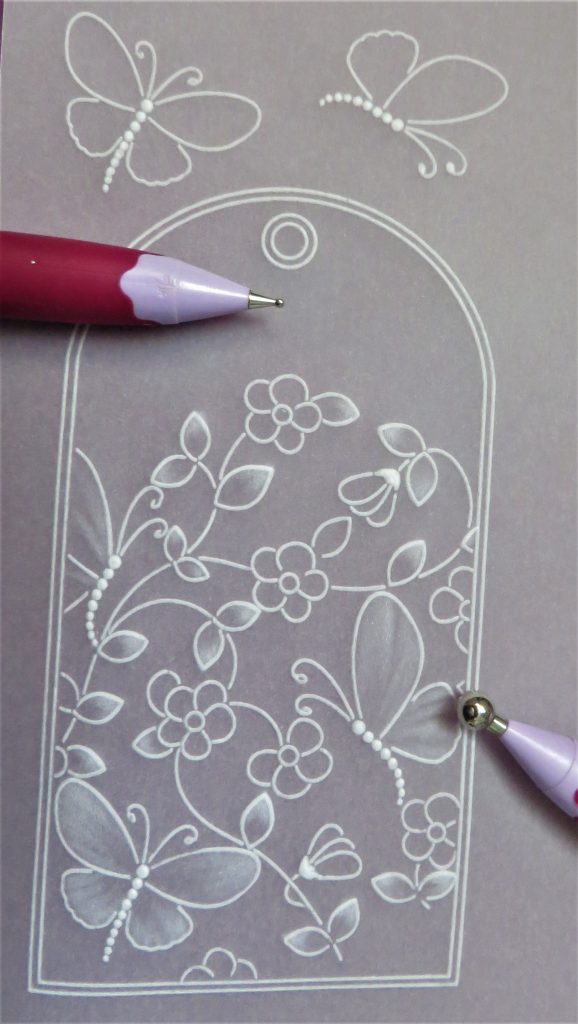
Step 4. Use a 1.5mm tool to emboss the bodies of the butterflies and the bases of the buds.
TOP TIP: When embossing circles, it is natural to just go in a round and round motion, but you will find that you get much better results if you go up, down, across and then around. Otherwise you end up with a dot in the middle that will not go away.
Do some light embossing with the 6mm ball tool – the butterfly wings and the points of the leaves… just enough to add some highlights under the colours.
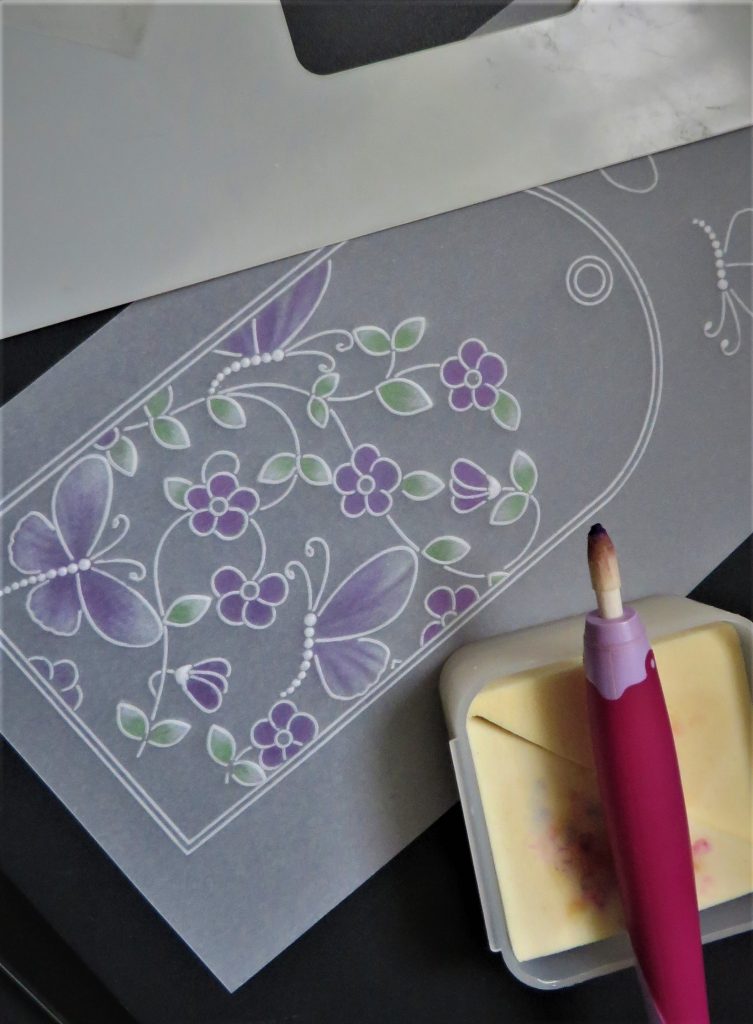
Step 5. Colour the flowers, butterflies and leaves and blend with some Dorso Oil and Blending Nibs.
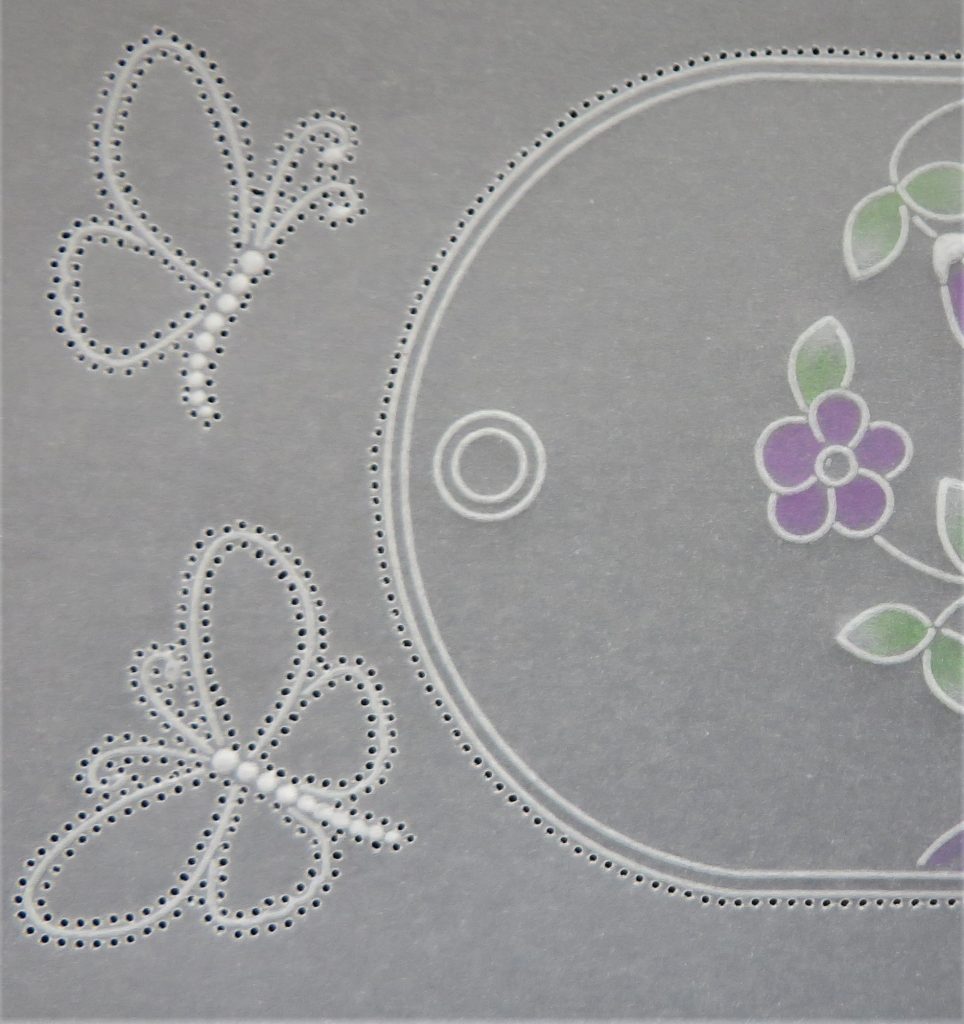
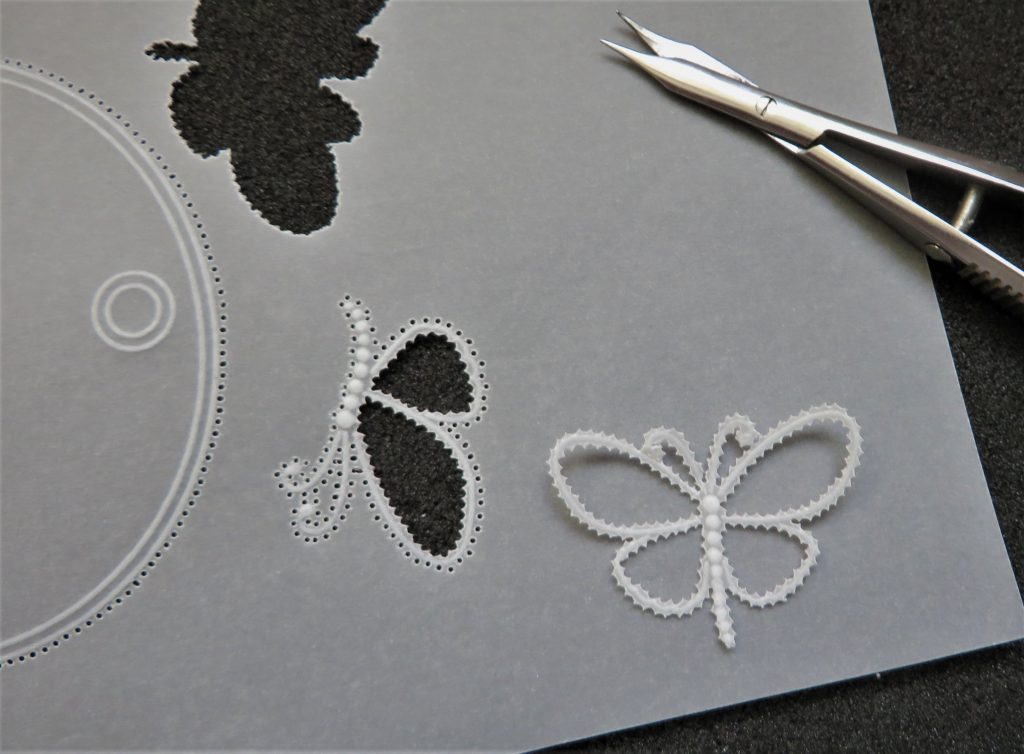
Step 6. Take your time with this. Use the fine 2-needle tool to go around the inside of the spare butterfly wings. Also go around the outside of the tag.

Step 7. Very carefully go around the outside of the butterflies now, still using the fine 2-needle tool and try to keep away from the embossed line a little.
Step 8. Time to snip them out. Just snip the inside of the wings first, and carefully around the outside. This is where the importance of being able to snip with the work down on the mat is important.
Step 9. Embellish your tag with glitter, using sticky ink.
*Be careful not to glitter the bodies of the butterflies on the tag or your 3D ones will not adhere.
Step 10. Using little dots of Perga glue, apply with a cocktail or pickle stick on the back of the tag (where your gems and ribbon will hide it) and attach it to your choice of background paper that has been cut out with the corresponding die.
*If you do not have the die set, emboss the shape out onto some paper and cut around it.
Add gems to the centre of the flowers and a bow to the top of the tag. Voila!
What a particularly stunning piece of artwork! That is so so pretty. Thank you Glynis.
We have put everything that Glynis has used in one place over on the Clarity website HERE
and everything you will need for the Pergamano Summer School HERE including a handy “tick list” that you can download, print and tick!
Before I leave you, don’t forget the the Clarity Craft Club Half Price Members Sale ends at midnight Monday – click HERE to investigate!
Lotsa love, Grace & Glynis xo
Clarity – The Home of Art, Craft and Well-Being.
Beautiful Glynis
Hi Grace, glad you have arrived safe & sound in England, enjoy your 2 week stay with the family. A lot of catching up to do. Your Mom’s blog this morning made me smile – not the reunion you were expecting but memorable for the best reasons !!
Thanks for doing todays blog & showcasing the tag by Glynis. I think I have all the necessary bits so will give it a go. Just realised it uses the fine not the bold but that should be ok – I have just been referred to the hospital for cataracts – the joys of getting older !!
Looking forward to Summer School on Tuesday with Linda – again have all the gear just need to have that push to get started.
Lovely Glynis, will have a go at this. Thank you Grace for taking time out to do todays blog. Pleased you and Mark arrived safe and sound. Have a wonderful stay. xx
Beautiful Glynis. One of my favourite plates with the butterflies, xx
Thank you Grace and Glynis, fabulous 💖
Hi Grace, So glad you arrived here safe and sound and are now in the bosom of your family, enjoy.
Hi Glynis, One word for your work – Stunning !! Thank you for the tutorial.
Lots of love from Patricia xx
Lovely project Glynis, will definetely give it a go. Love the 3D .butterflies..Haven’t got the tag groovi plate, but will use my tag punch.instead.
Hi Grace and Glynis, glad you arrived safe and sound Glynis and were found in the toilet! Beautiful project, I’ve just ordered these plates in the sale and the book that goes with them. I’ve been doing a few tags and enjoy them. X
Glad you arrived safe and sound Grace, not Glynis ! X
Hi Grace – glad to hear you both arrived safely – what happy happy days in the Gray household – enjoy your long awaited time together😆
Glynis – thank you so much for taking the time to put together and show this beautiful project
Take care – Love Seta Xx
Thank you Grace for taking time out to do this blog, now go and relax with the family and enjoy your stay.
Thank you Glynis for a beautiful tag tutorial, I will enjoy doing this one.
I watched Linda Williams first day of Summer School this morning, thoroughly enjoyed it and she mentioned that you would be doing some tutorials to go with it. I feel like all my christmases have come at once, how lucky we all are to have all of you and Clarity in our lives.
Love & Hugs.
Karin xxx
Beautiful Glynis. Will be having a go at this one. Thank you for doing all this for us. Xx