Clarity’s Blog Tutorial: How to Create a Simple Background Using the Starter Kit
Hello hello!
Grace here. Happy Sunday! I hope this finds you well…
Since so many of you have recently invested in the various Starter Kits that we sell, the lovely Hazel Edwards is going to share with us another of her brilliant starter kit tutorials! You can find her other fab tutorial from a few weeks back here.
How lucky are we? Hazel is back in the (virtual) building!
I’ll hand you back to the lovely lady herself!
Here is a step by step tutorial that focuses on the basics of colouring, blending and sentiment positioning techniques. We’ll be using the Deluxe Groovi Starter Kit again, which is brilliant for beginners and the rest!
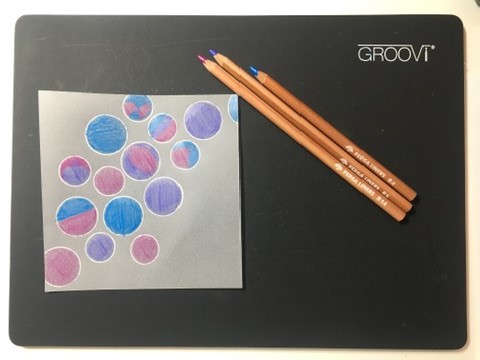
Sidenote, the Pergaliner ‘B’ pencils are perfect for starting out, as are the Faber Castell Polychromos, dependant upon your budget. I use both and interchange them quite happily.
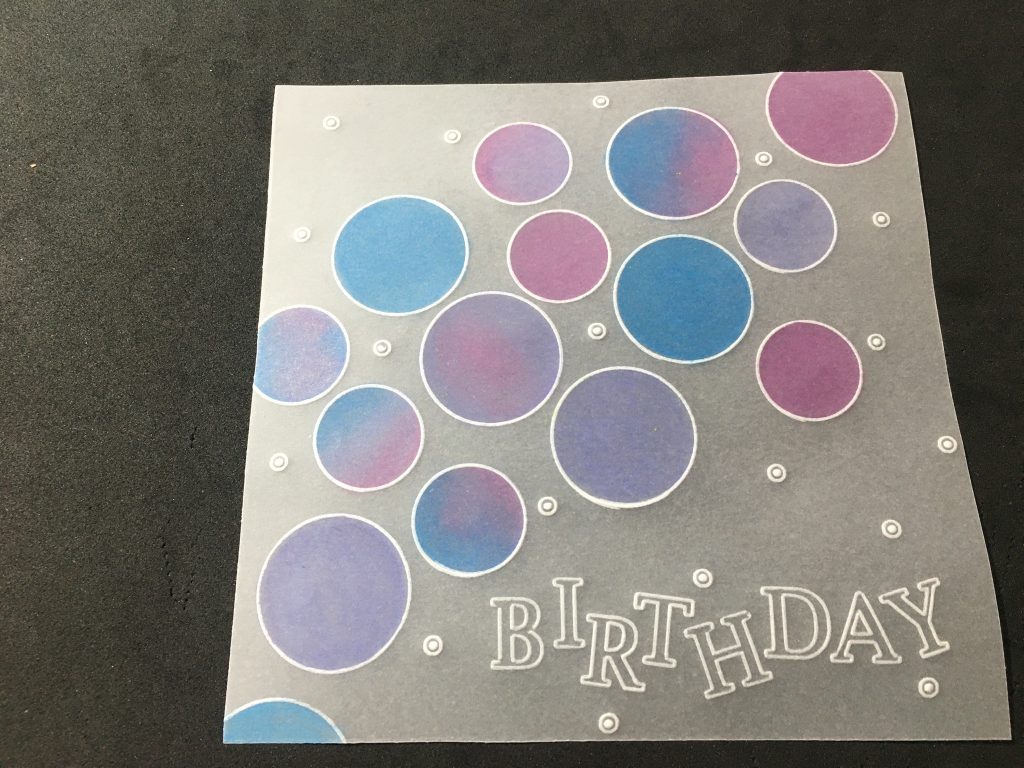
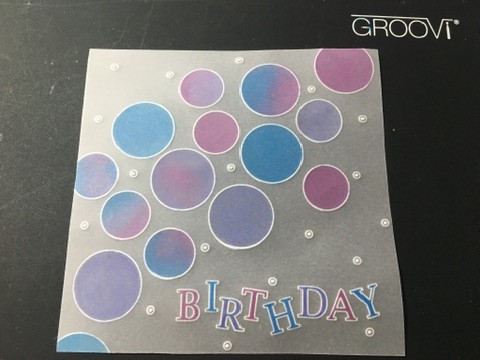
This design is simple in construction and is perfect for both male and female cards.
So let’s get started.

Ingredients
Groovi Deluxe Starter Kit (GRO-SK-41709-XX)
Shenandoah Designer Paper – 14.4cm x 14.4cm and 12.5cm x 12.5cm (ACC-CA-30541-88)
Mirri Card – 13.2cm x 13.2cm
Parchment – 12.5cm x 12.5cm & the offcut left from the A5 sheet (GRO-AC-40020-XX)
6” x 6” Card Blank (ACC-CA-30618-66)
Pergaliners (B pencils) (PER-CO-70063-XX)
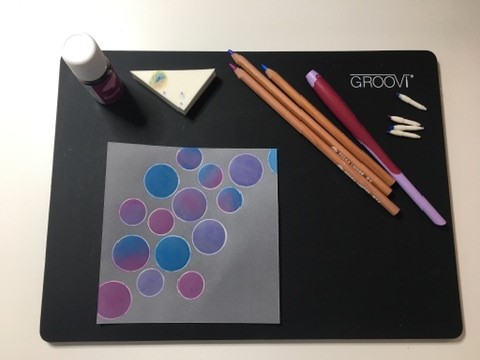
Dorso Oil (PER-CO-70066-XX)
Silver Brads (PER-AC-70275-XX)
Double-Sided Tape / Tape Runner
Pokey Tool (to pierce card for brads)
Step 1.
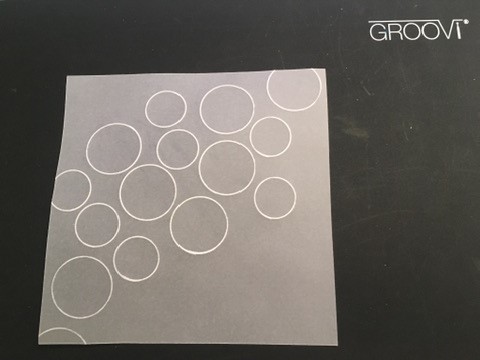
Take your clear parchment and rub the tumble dryer sheet over it.
Step 2.
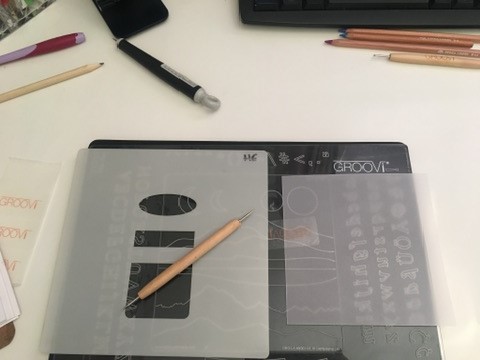
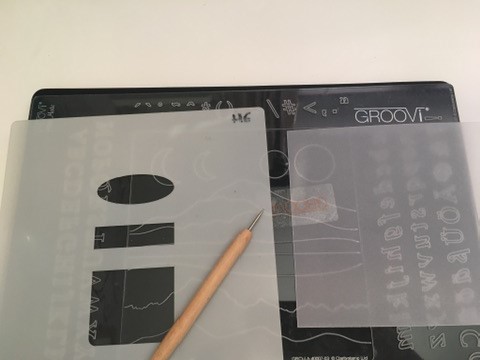
Place the Mountains & Hills into the Plate Mate.
Step 3.
Position the parchment so the first circle is embossed in the left-hand corner (this is the back of the parchment)
Step 4.
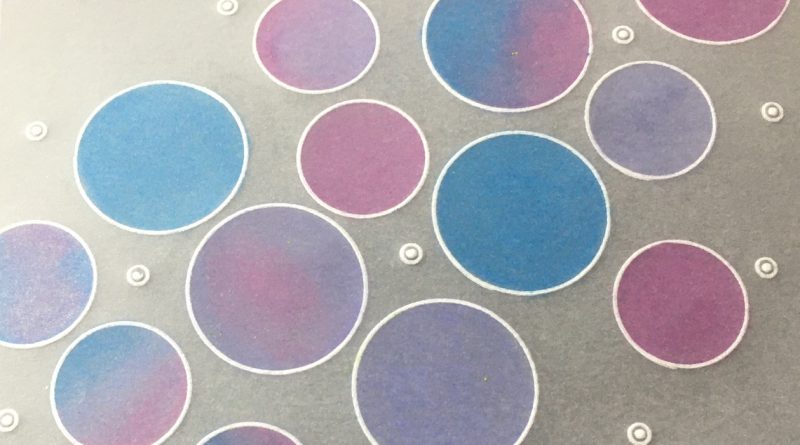
Moving the parchment as you go (you don’t need to secure with Groovi Tabs unless you want to), emboss the large and small circles leaving an open area in the bottom left for the sentiment.
Step 5.
Working on the back of the parchment, colour in each circle, with variations of a single colour, two or three colours.
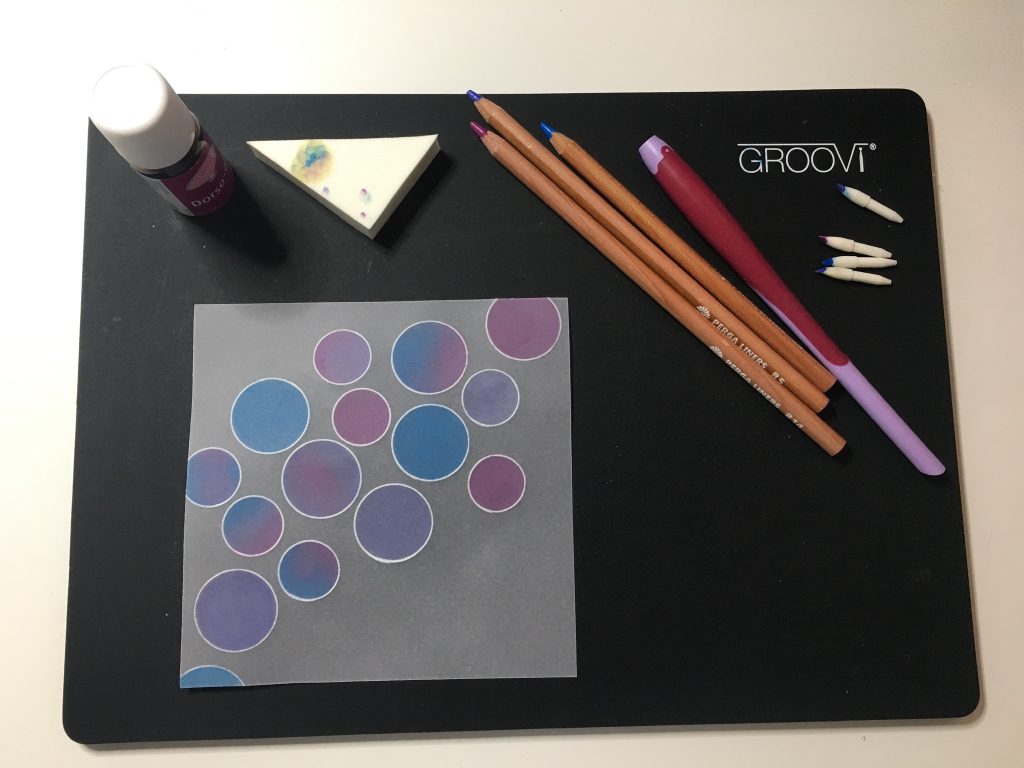
Step 6.
Blend using dorso oil, blending nibs (one for each colour) and a sponge taking care to not use too much oil.
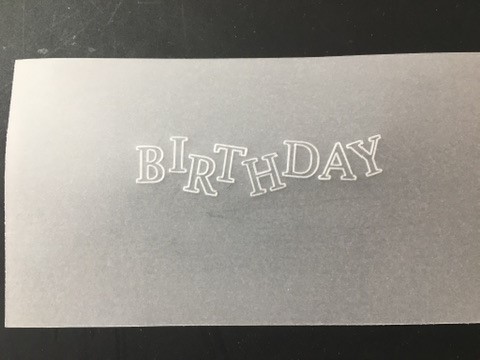
Step 7.
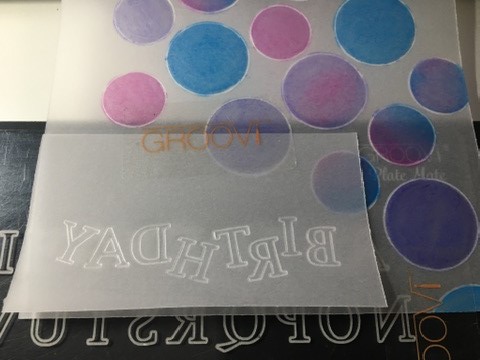
On the offcut parchment, emboss a sentiment of your choice at an angle (use this to check it fits your work first!). This is your template.
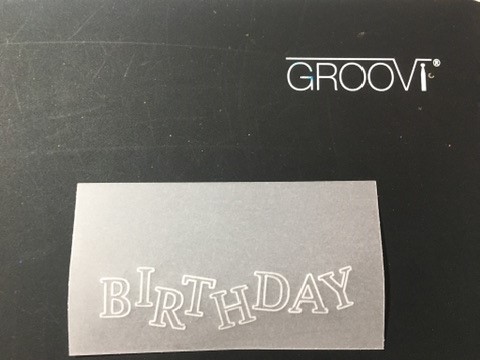
Step 8.
Trim the bottom off this piece.
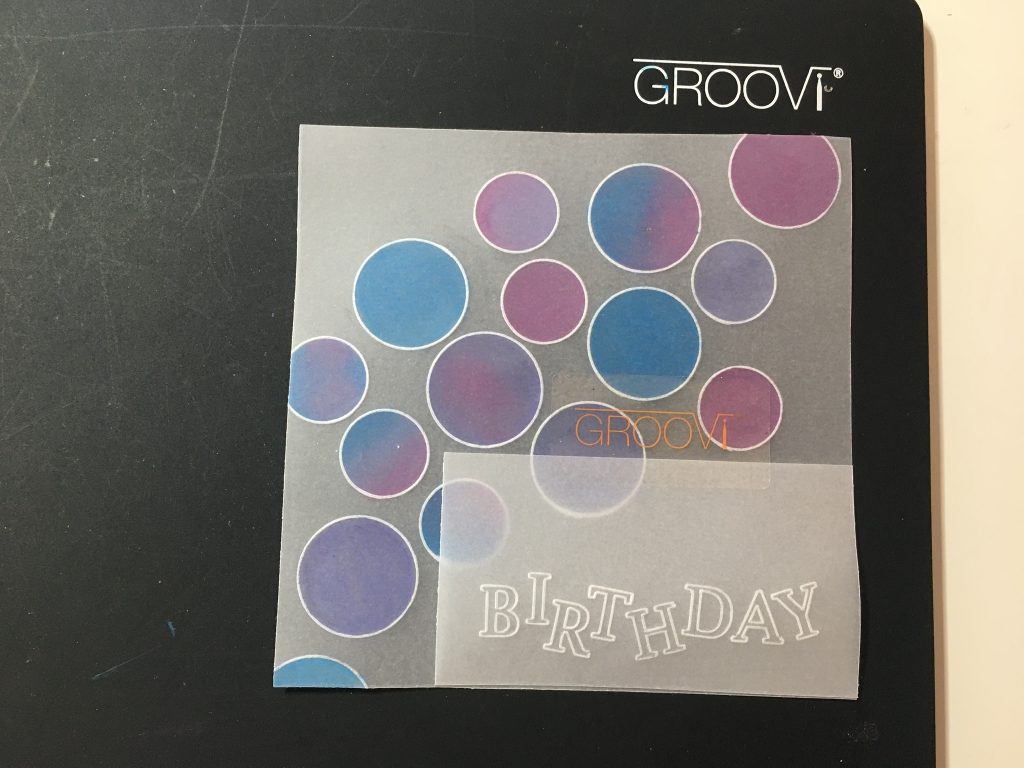
Step 9.
Place this on the back of your work and secure the top with a Groovi Tab.
Step 10.
Using the alphabet on the Plate Mate, line up each letter, lift up the template and emboss.
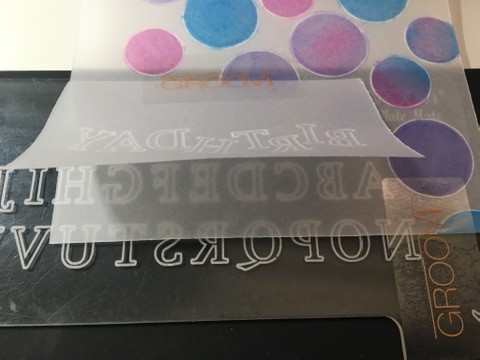

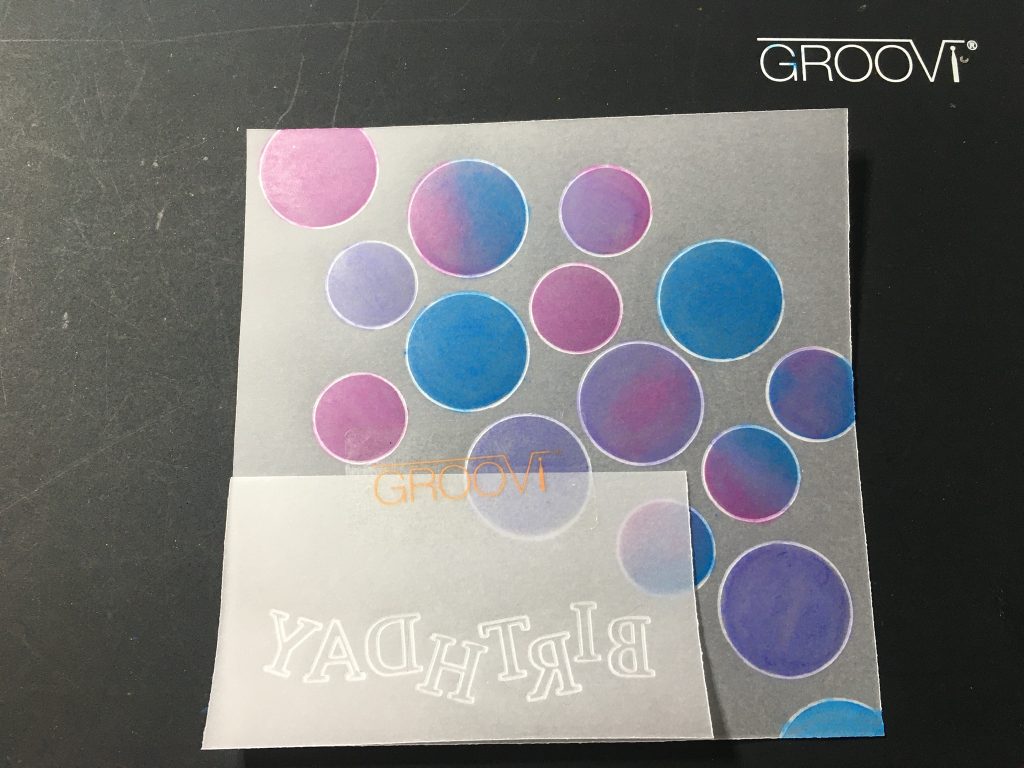
Step 11.
Repeat for each letter until your sentiment is completed.
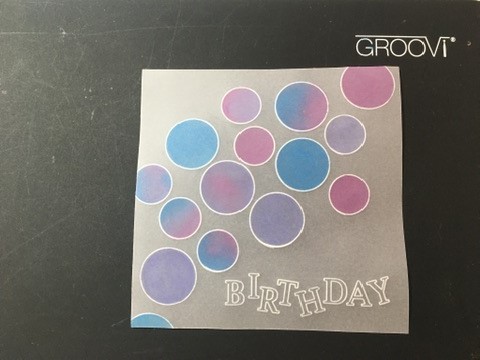
Step 12.
Add random circles and dots from the Plate Mate for a bit of added interest!
Step 13.
Carefully colour each letter of the sentiment using a well sharpened pencil.
Step 14.
Place the parchment on top of the designer paper and pierce through both layers in each corner.
Step 15.
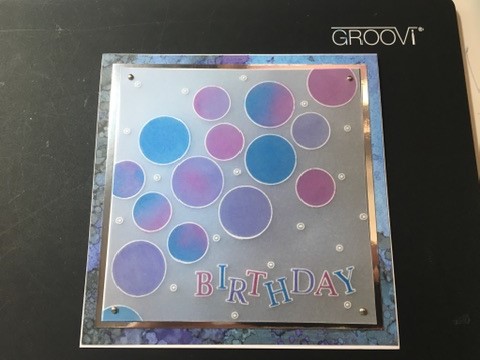
Using brads, secure the parchment to the designer paper.

Step 16.
Using double-sided tape or a tape runner, fix your work to the mirri card and the designer paper.
Step 17.
Finally, attach this to the card blank. And you’re all set!
Wow! That is wonderful! Thank you, Hazel. I might have to have a go at this one myself. Anyone else? I love the colours!
If you are looking for everything that Hazel has used – click HERE
Don’t forget, our half price members sale finishes at midnight (UK time) on Monday! The starter kits (along with many other items mentioned in this tutorial) are included in that sale! Happy days 🙂
I’ll be on the website chat system Monday from 1pm – midnight (UK time) if you need any help at all.
For now though, I’m off to enjoy the last bits of the weekend. Travel gently…
Lotsa love, Grace xo
Clarity – The Home of Art, Craft and Well-being.
Thank you Grace and Hazel, quite a simple, yet great quick card technique. I’ve been wanting to make a parchment card for my Nephew and this might just be perfect for him. Looking forward to Paul’s next session Tuesday.
Many thanks, Grace and Hazel. What a great project!
Glad you are online tomorrow, Grace. I’ve been trying to buy theuva card and Whimsy poppets prints in the sale this week and can’t find the buttons to put them in my basket. I know – you can’t get the customers! I found the other buttons…
What a lovely clear and simple project for male or female and any occasion, thank you Hazel. Woke up late this morning so having a lazy, relaxing time today. Looking forward to the shows this afternoon.
Hi Grace and Hazel – brilliant project, love it xxx
Love this card as you say suitable for any age group. Xx
Hi this is a gorgeous project. I am a happy bunny knowing that I will be able to use my Polychromos for my colouring. I may well give this one a try. Have a good week. Take care. Hugs xxx
Love this card. The layout, the simplicity, the colours and all so achievable.
Thanks for the inspiration
Thank you Grace and Hazel.
Such a pretty project. I can think of lots of ways to use this new babies perfect, my notebook covers too as well as birthday cards like you have shown.
Happy Sunday to you both xx
What a simple yet effective idea. Thank you Hazel and Grace xx
Beautiful! I didn’t know about doing the letters this way, thank you!
Loving this. So effective. Thank you
Lovely birthday card and never seen making a word on your card in this way. Love it!!!
Stay save and healthy!
Lots of love, Trijntje Huppel
Thank you Hazel and Grace. Brilliant project for us newbies. Much appreciated.
Hi Grace, Thank you Hazel for this beautiful tutorial and your finished piece is gorgeous !!
Lots of love from Patricia xx
Hi Grace and thank you Hazel for this great project. It is brilliant for any gender and age, so very versatile. I love this colour way, but it will be great to experiment with colours and backgrounds. Thanks again. Annette X
What a fab project xx
Hi Not suitable for alcohol markers. Disappointing. Parchment paper the problem, no doubt.