
Clarity’s Blog Tutorial: How To Get Started With The Starter Kit – Easy As ABC
Hello hello! Grace here.
Looking for a new hobby to kickstart your creative year? Then look no further! Why not give Parchment Craft a try! We have our brilliant Deluxe Groovi Starter Kit to get you going AND here’s an unboxing video that I made last year, so that you can see exactly what you’re getting and where to start with it. Sorted!
And once you’re in the zone, then why not try Hazel’s project? You’ll be well on your way! Plus we have a few more groovi projects coming your way 😉 For all skill levels.
Another bloggy tutorial has landed! The brilliant Hazel Edwards is joining us this time. And she has been kind enough to share a stunning step by step with us that uses our fab deluxe starter kit.

As many of you know, Hazel designs all of the beautiful Groovi SHAC projects… so she certainly knows what she’s doing! I will pass you over to the pro…
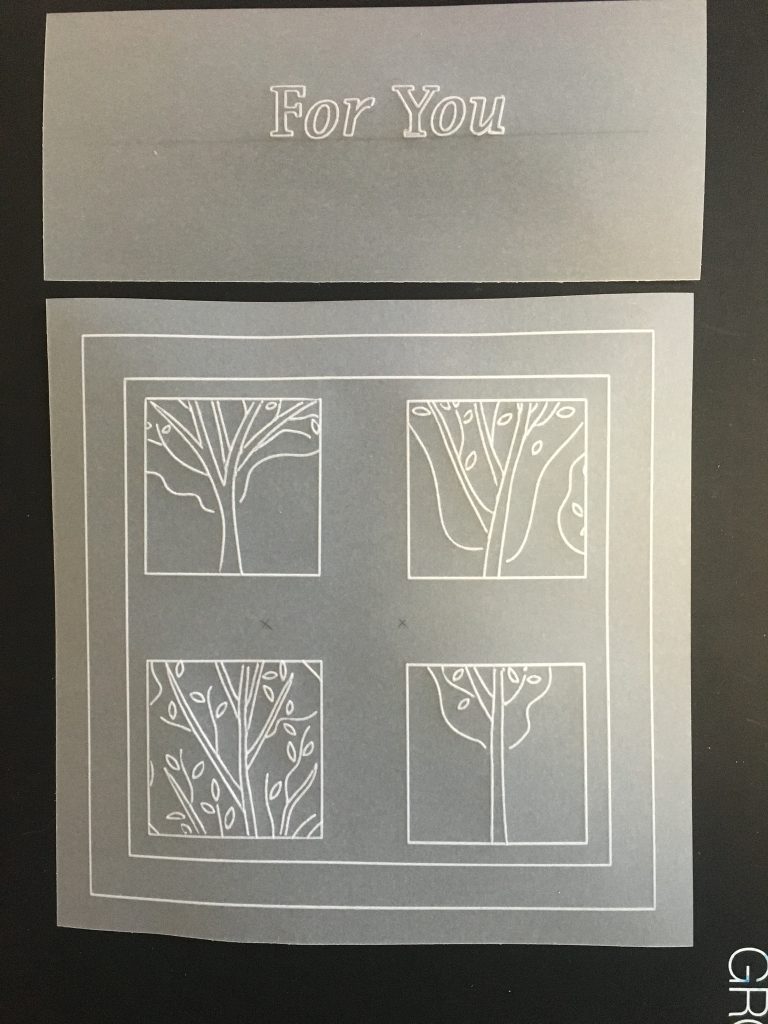
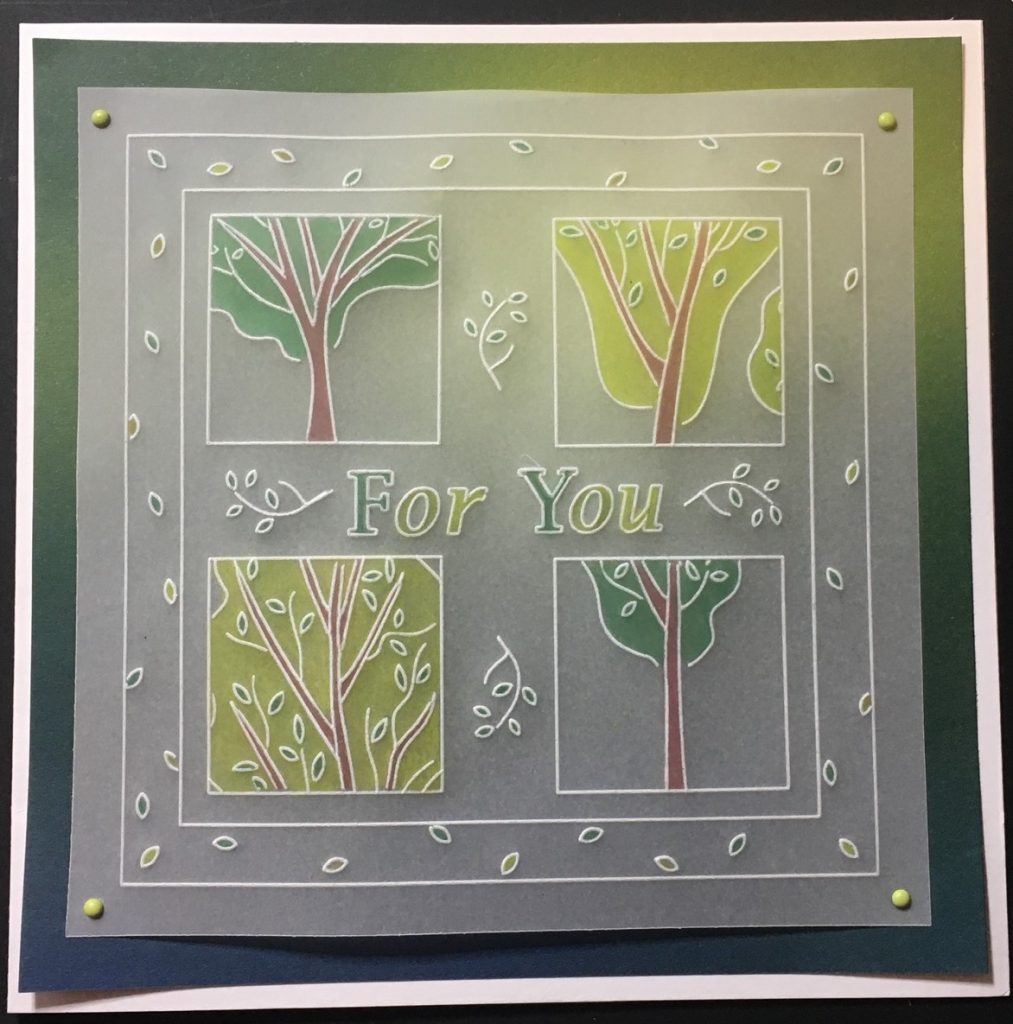
You can create a host of designs by simply mixing and matching the four plates in the kit together with the Groovi Plate Mate.
Here is one idea to get you started:
Ingredients
Groovi Deluxe Starter Kit (GRO-SK-41709-XX)
Groovi Guard (GRO-AC-40345-XX)
Groovi Tabs (GRO-AC-40437-XX)
Shenandoah Designer Paper – 16.5cm x 16.5cm (ACC-CA-30541-88)
7” x 7” Card Blank (ACC-CA-30619-77)
Pergaliners (B pencils) (PER-CO-70063-XX)
Dorso Oil (PER-CO-70066-XX)
Blending Pen & Nibs (PER-AC-70300-XX)
Pastel Brads (PER-AC-70270-XX)
Double-Sided Tape / Tape Runner
Eraser Pencil (ACC-PE-30611-XX)
Pokey Tool (to pierce holes for brads)
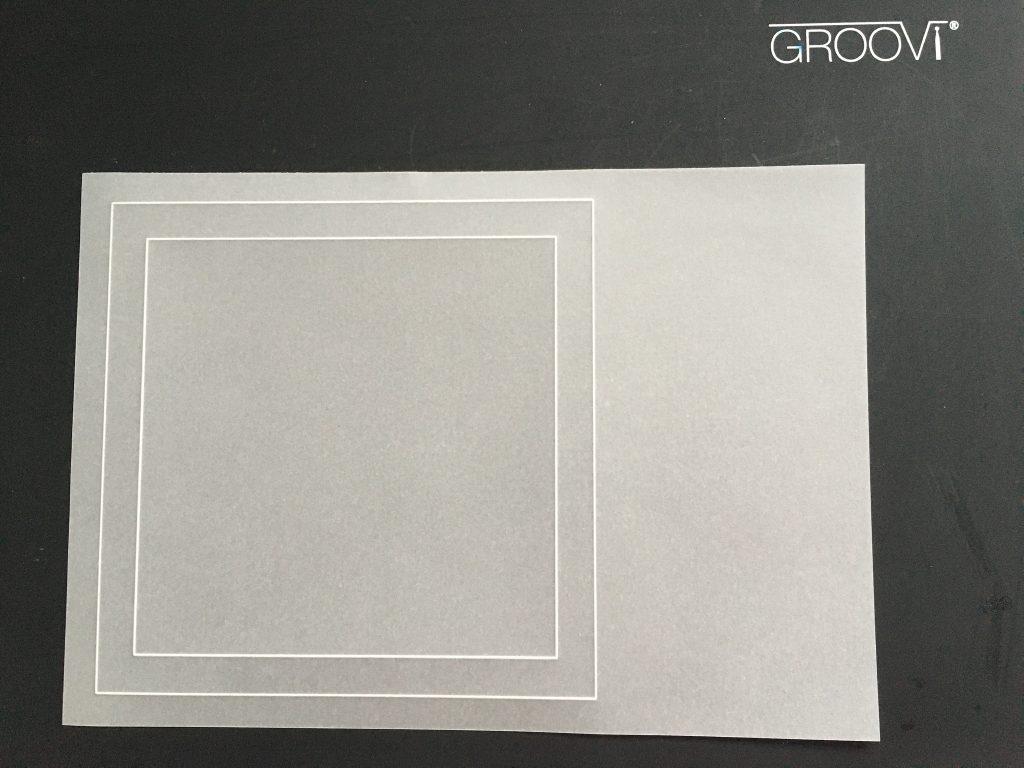
Step 1
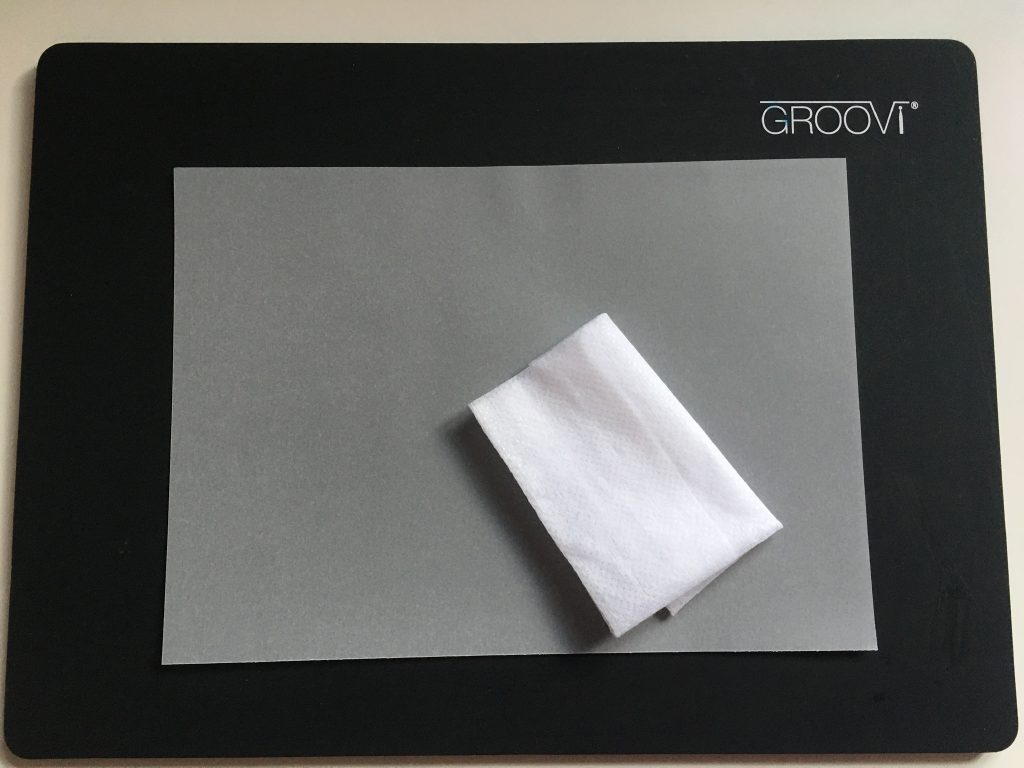
Take a piece of A5 clear parchment and rub the tumble dryer sheet over it.
Step 2
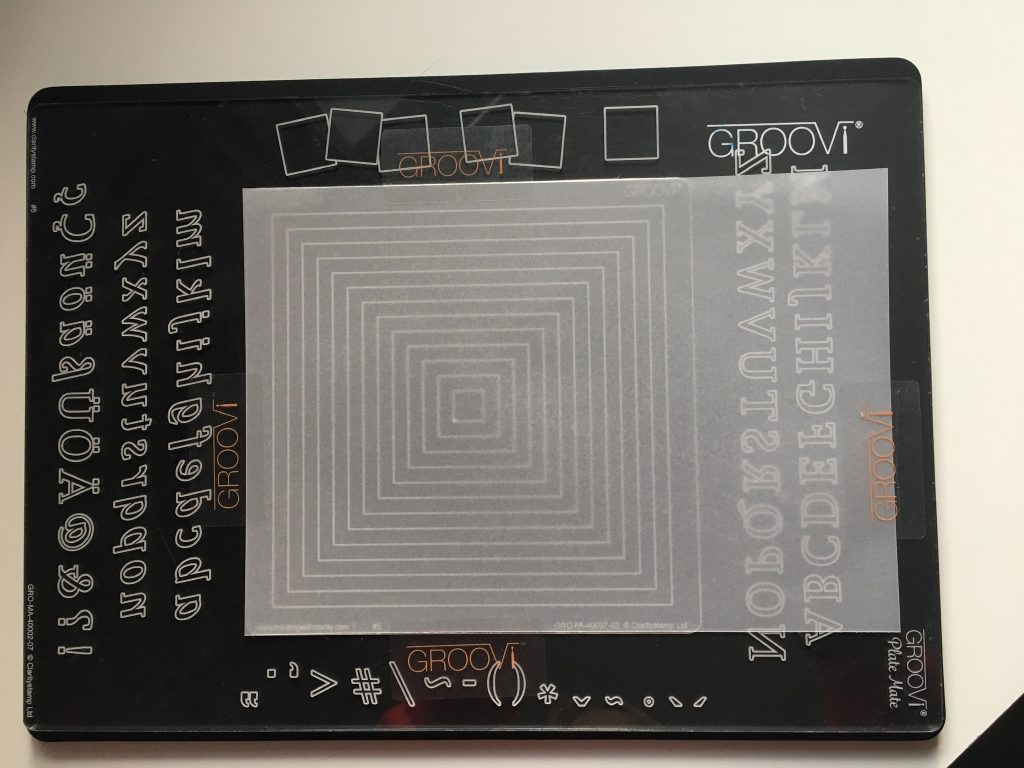
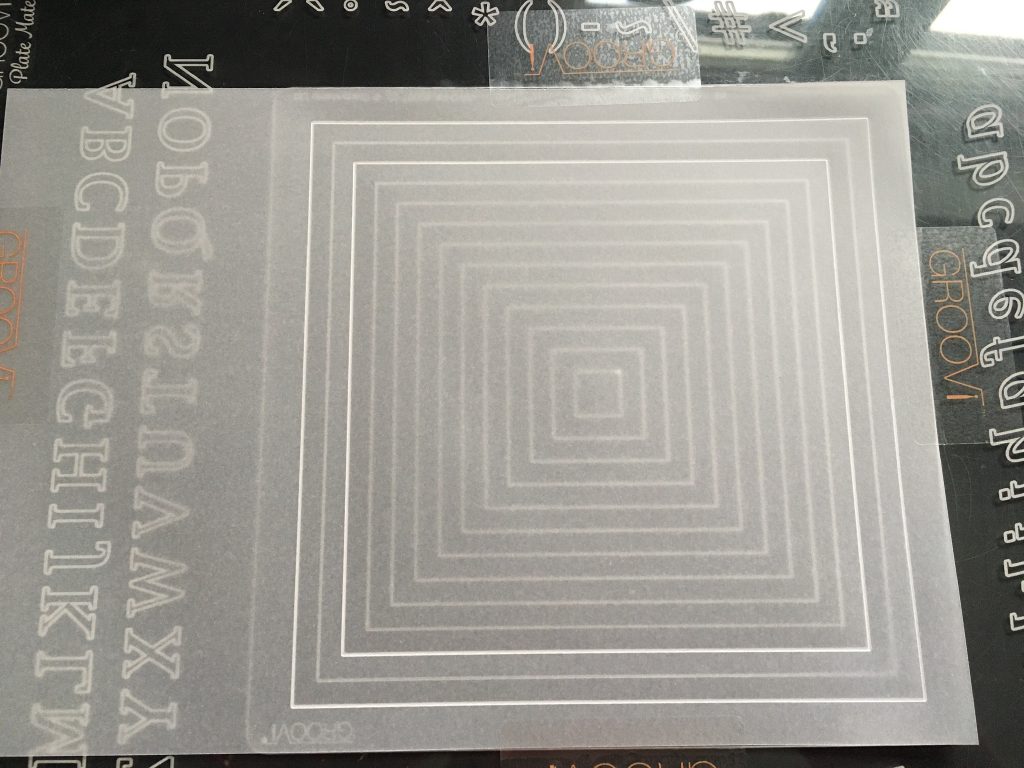
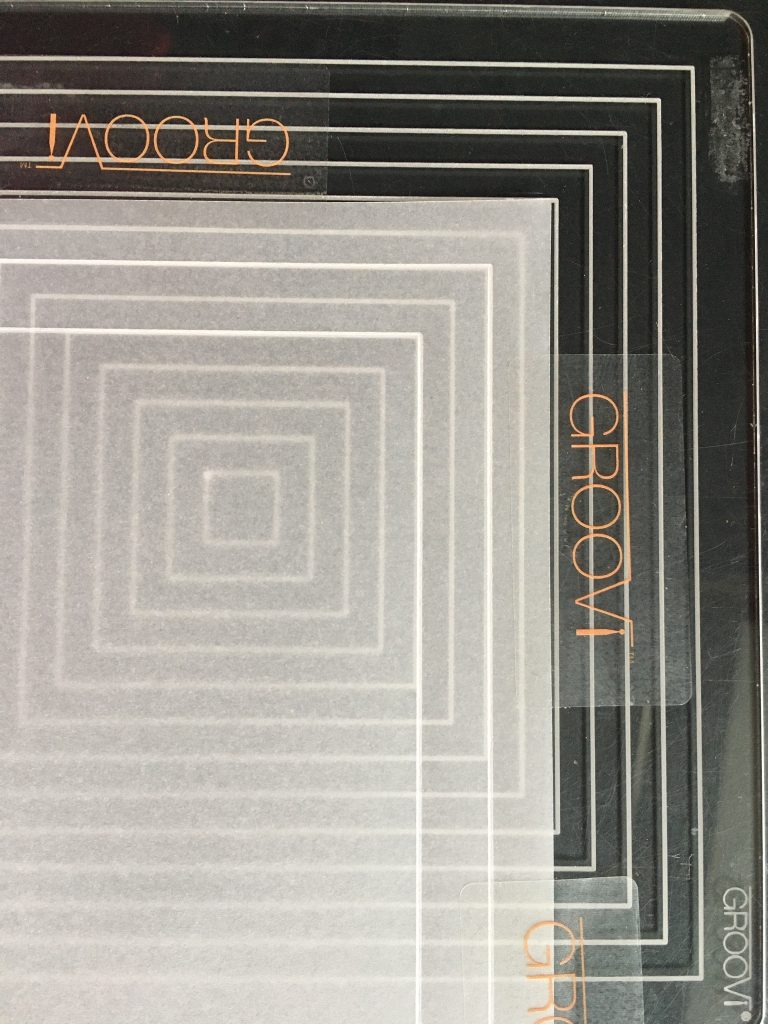
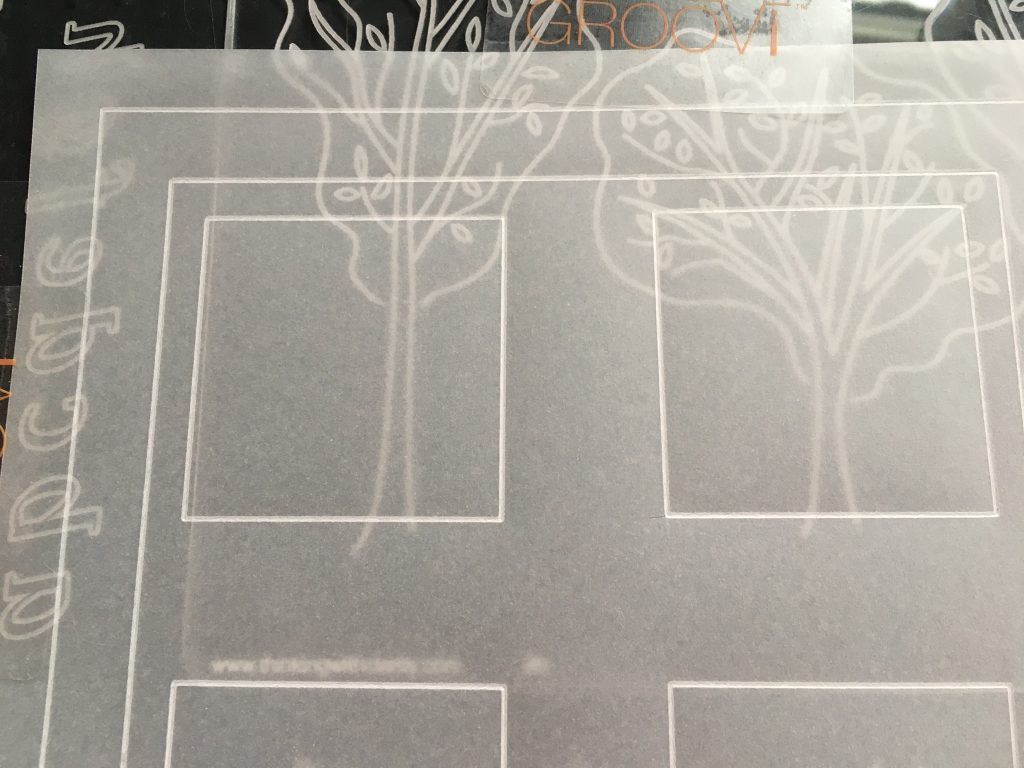
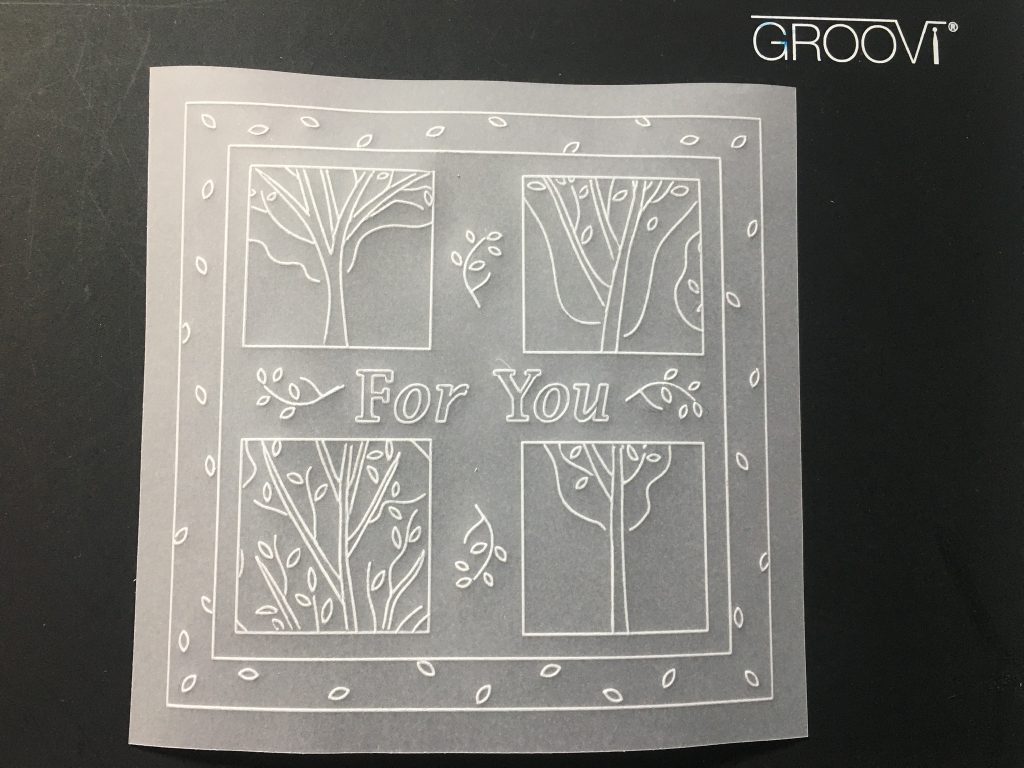
Place the Nested Squares plate into the Plate Mate, using Groovi Tabs to secure the parchment.
Step 3
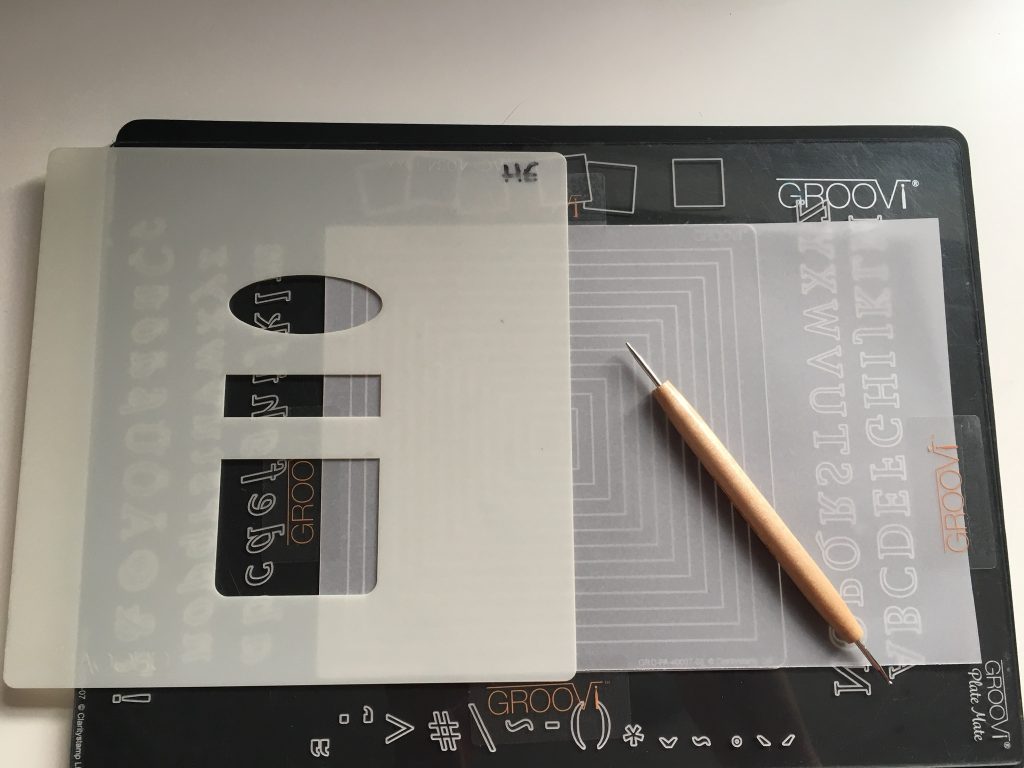
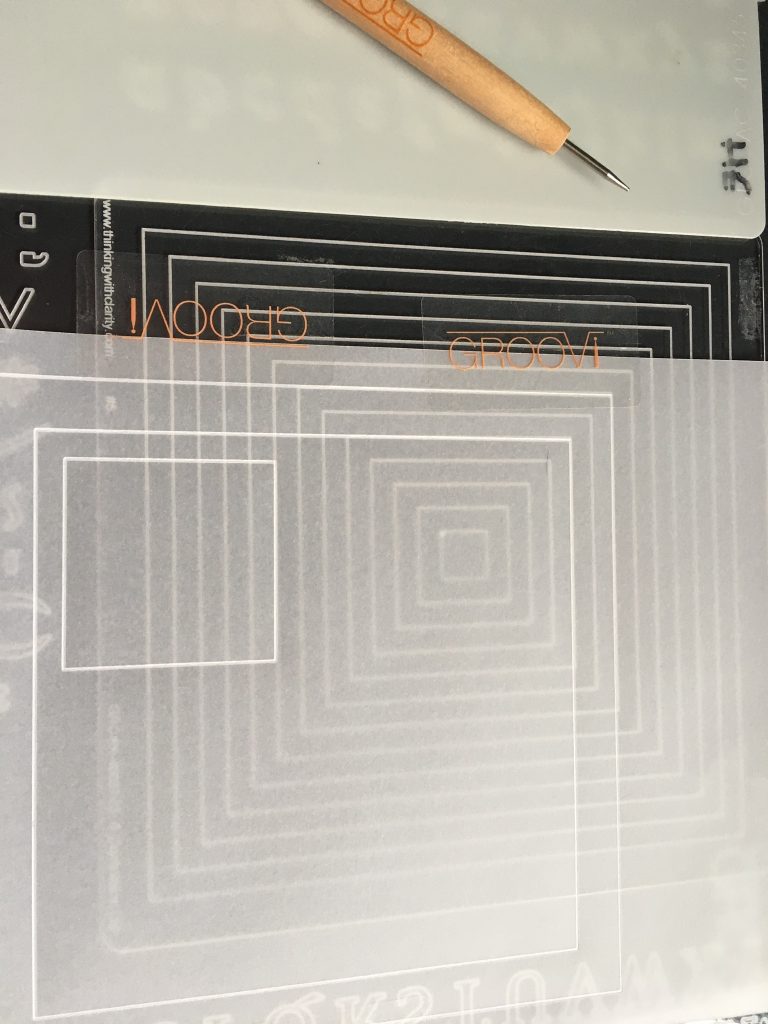
Take the no. 1 embossing tool (pointy end) and resting on the Groovi Guard, emboss the largest and 3rd largest squares. You are working on the back of the parchment.
Step 4
Position the parchment so it lays over the 5th largest square – your two embossed lines will now lay over the 7th & 9th largest squares.
Step 5
Emboss the 10th largest square into each corner rotating the parchment as you go.
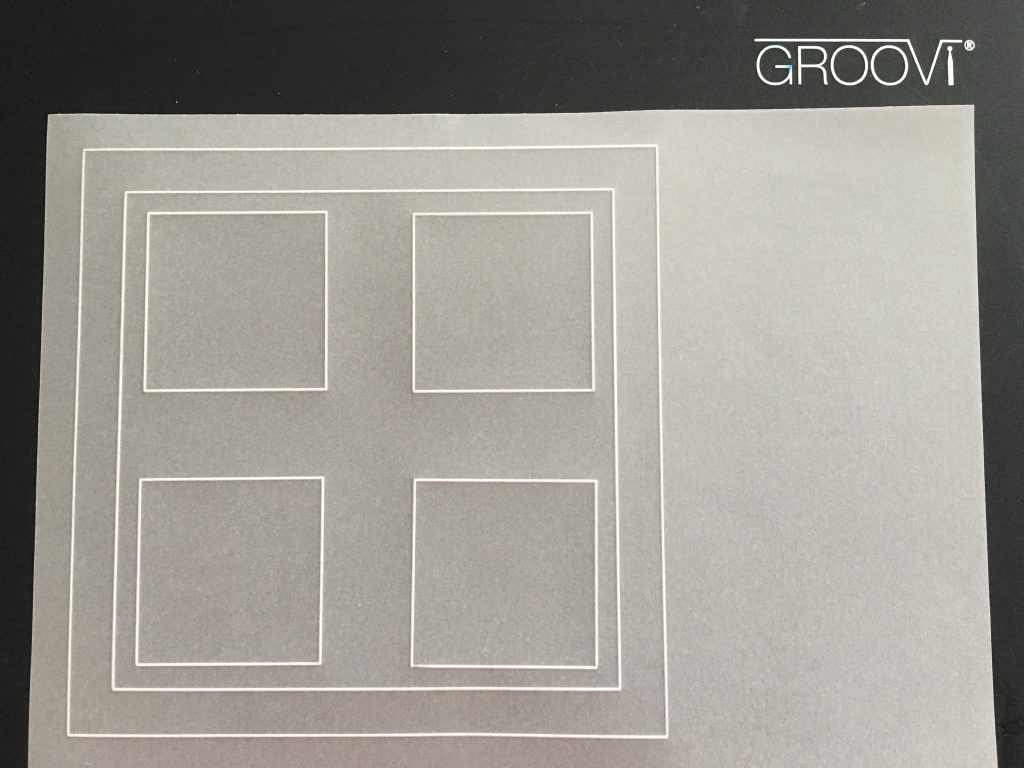
Step 6
Remove the Nested Squares and place the Trees plate into the Plate Mate.
Step 7
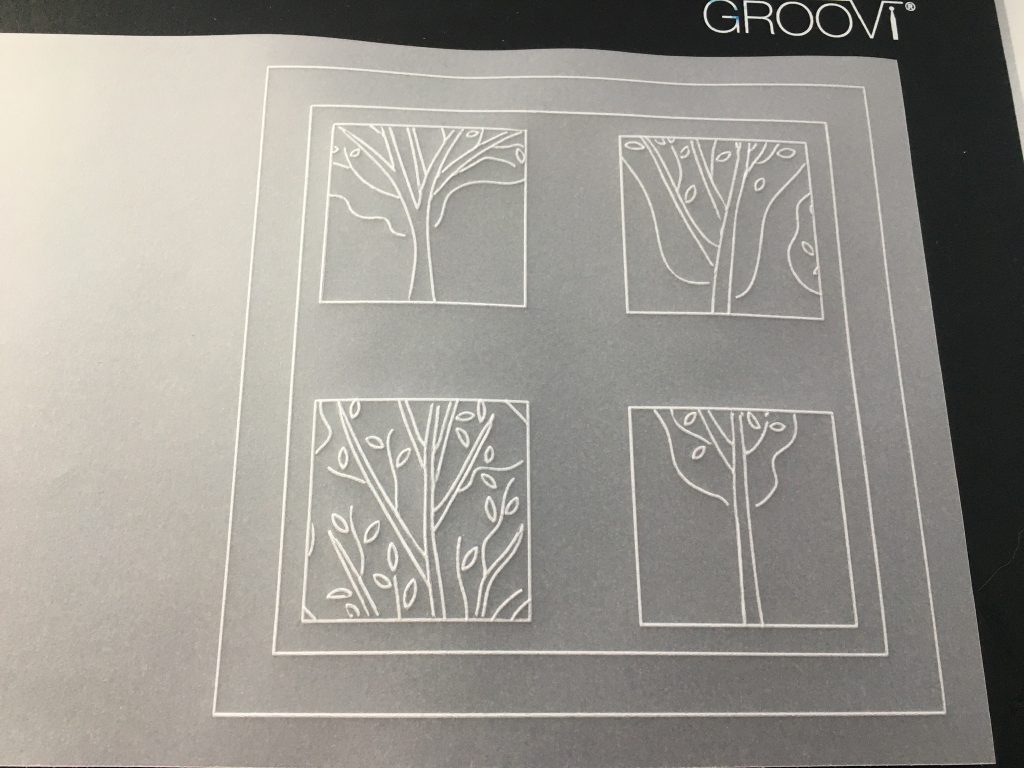
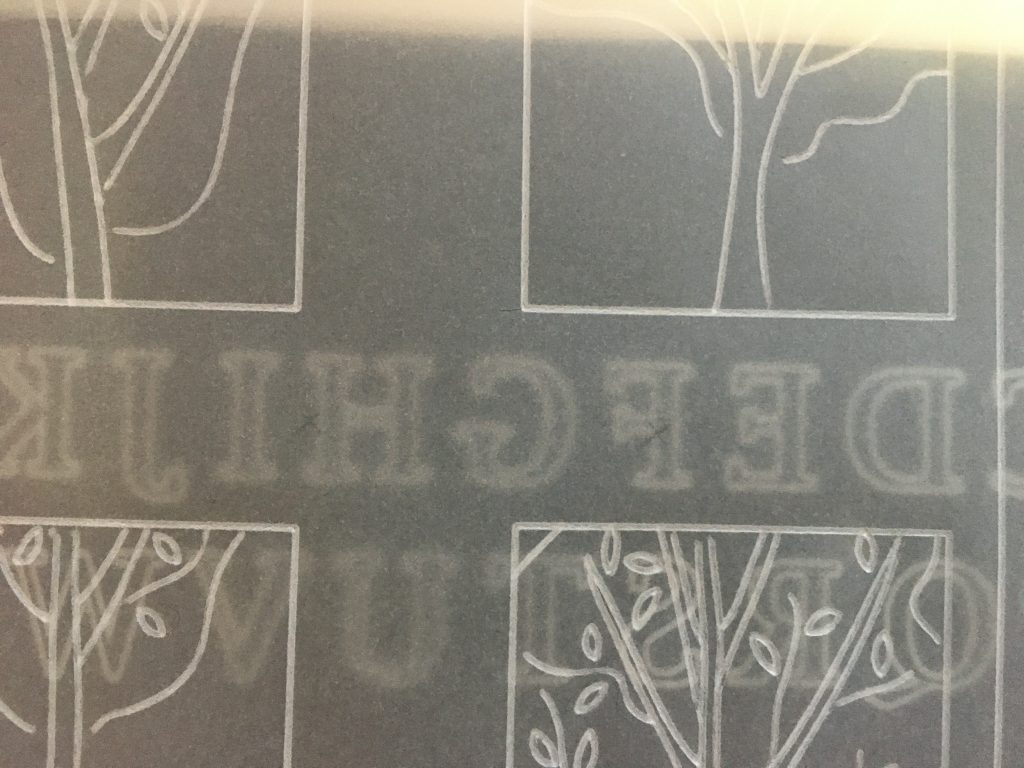
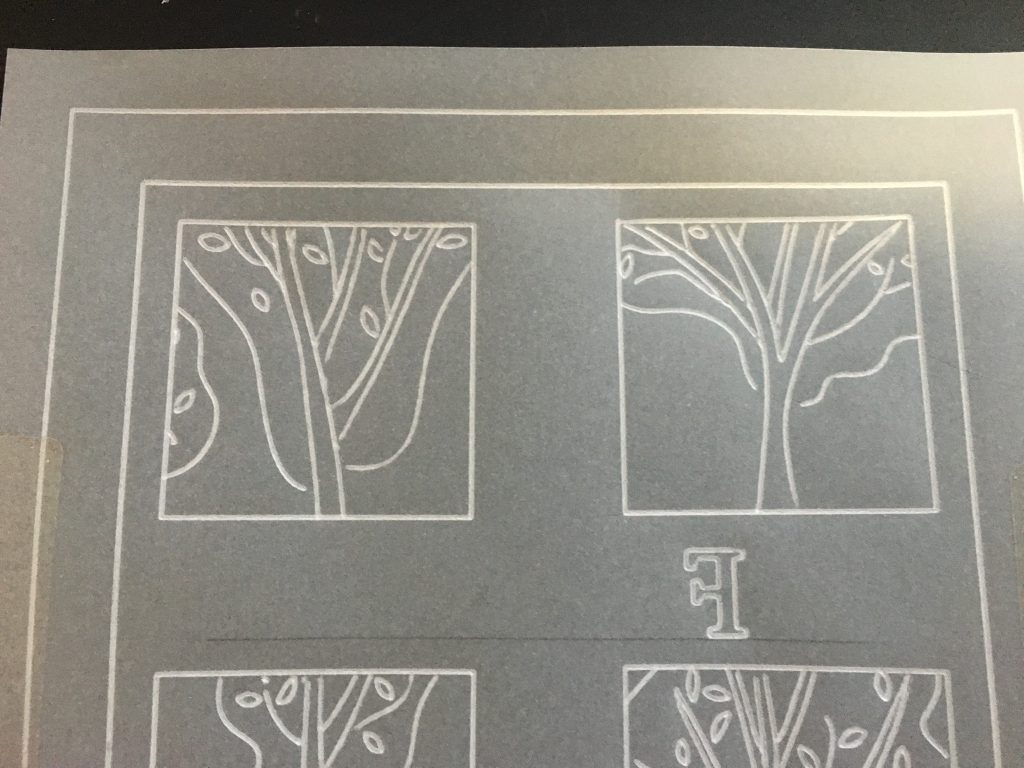
Choose sections from each of the trees and emboss them into all four squares.
Step 8
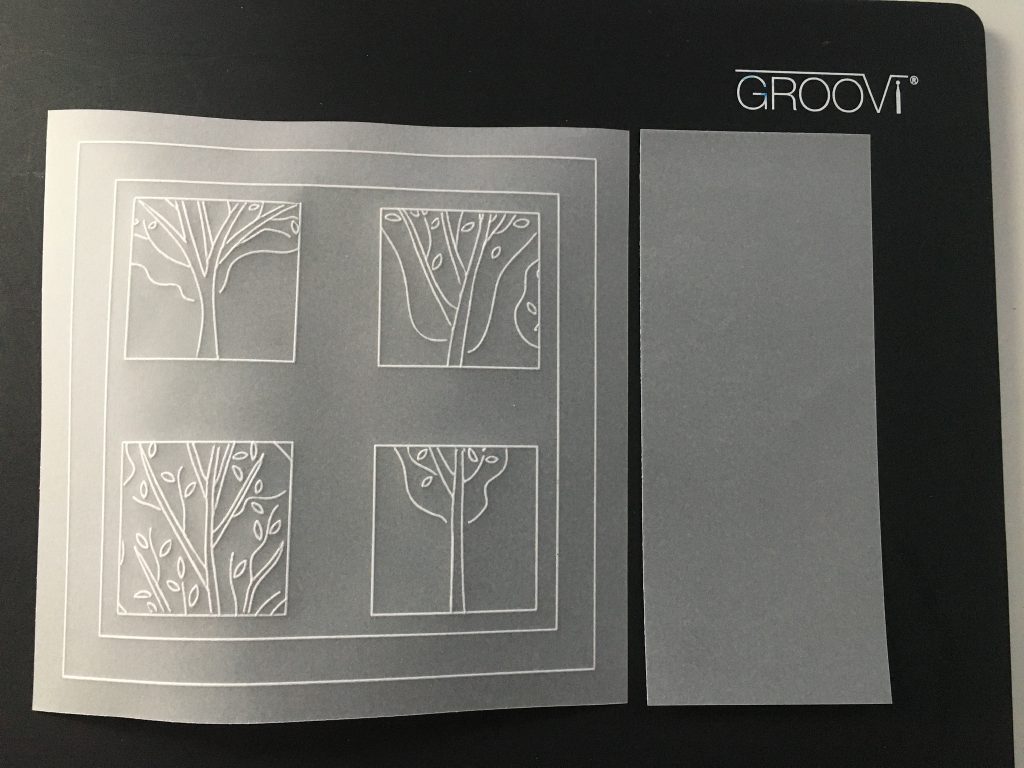
Trim the parchment to measure 14.8cm x 14.8cm.
Step 9
Using this spare parchment as a template, draw a line with a pencil or a white Pergamano pencil.
Step 10
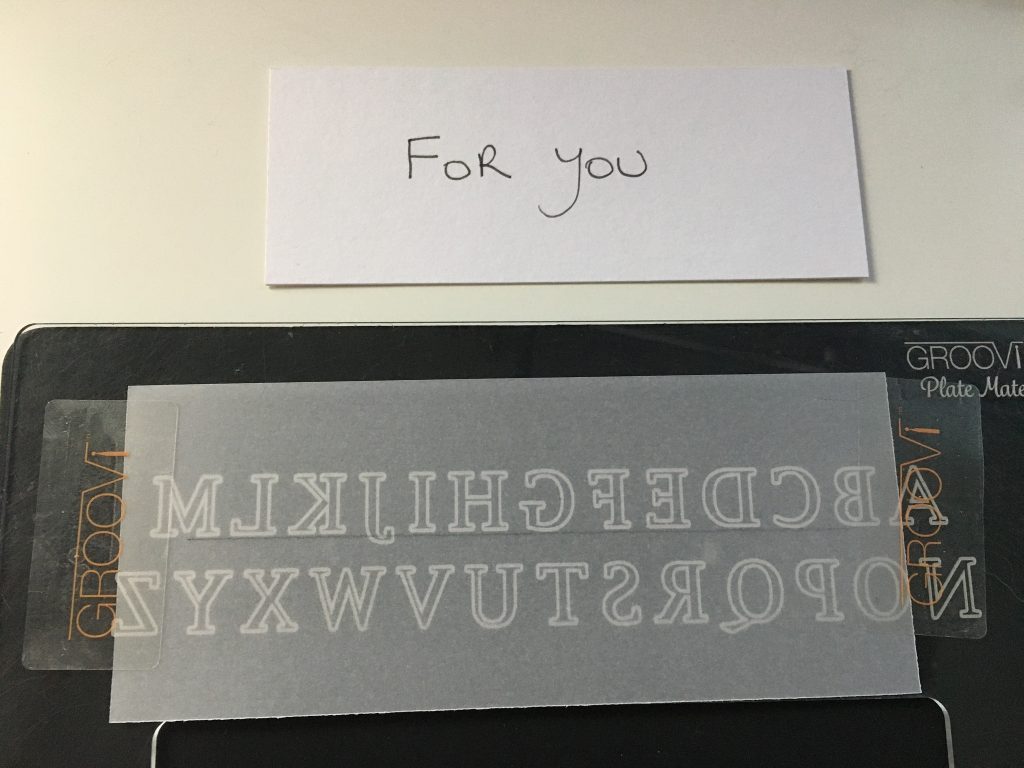
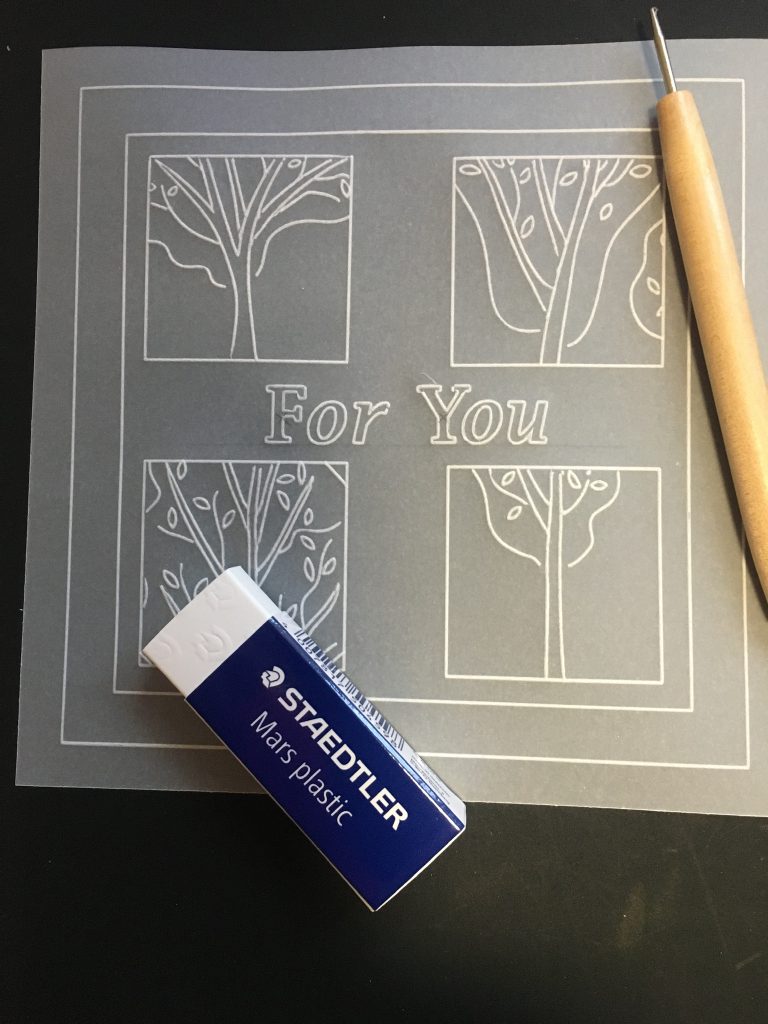
Emboss the sentiment using letters from the Plate Mate taking care to space them evenly.

Step 11
Lay this template under your work and carefully mark where you want the sentiment to start.
Step 12
Emboss the sentiment, erasing the pencil mark when done.
Step 13
Using a sprig from the centre tree, emboss this four times and then add a single leaf randomly (I used the top leaf in the tree on the right).
Step 14
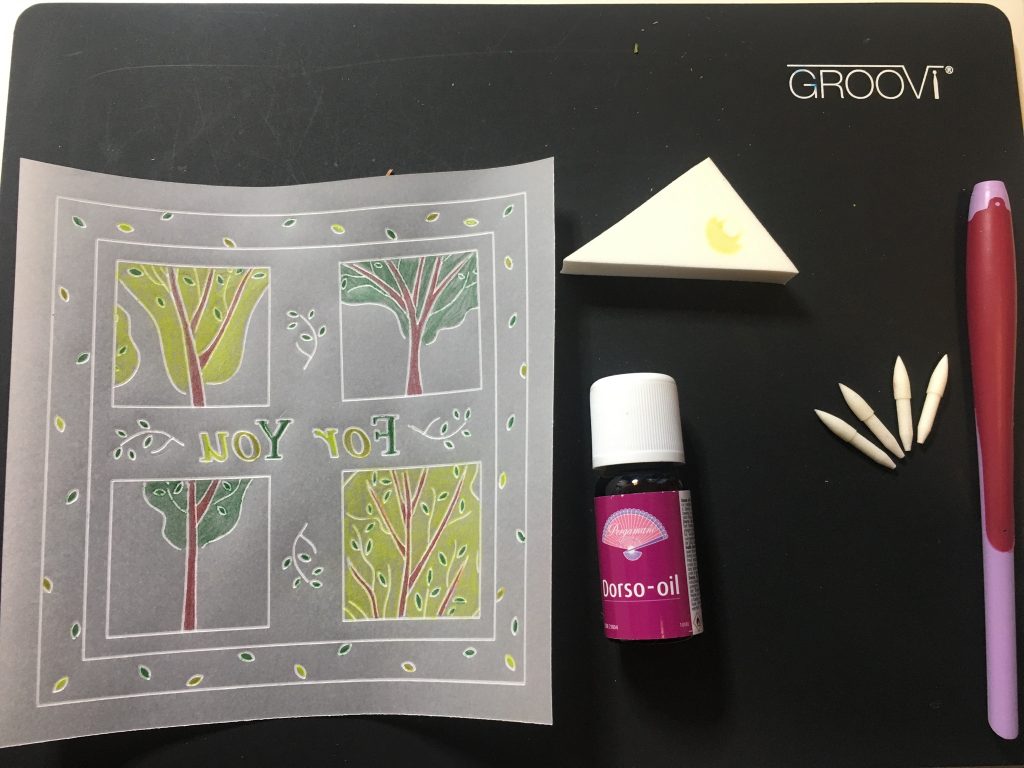
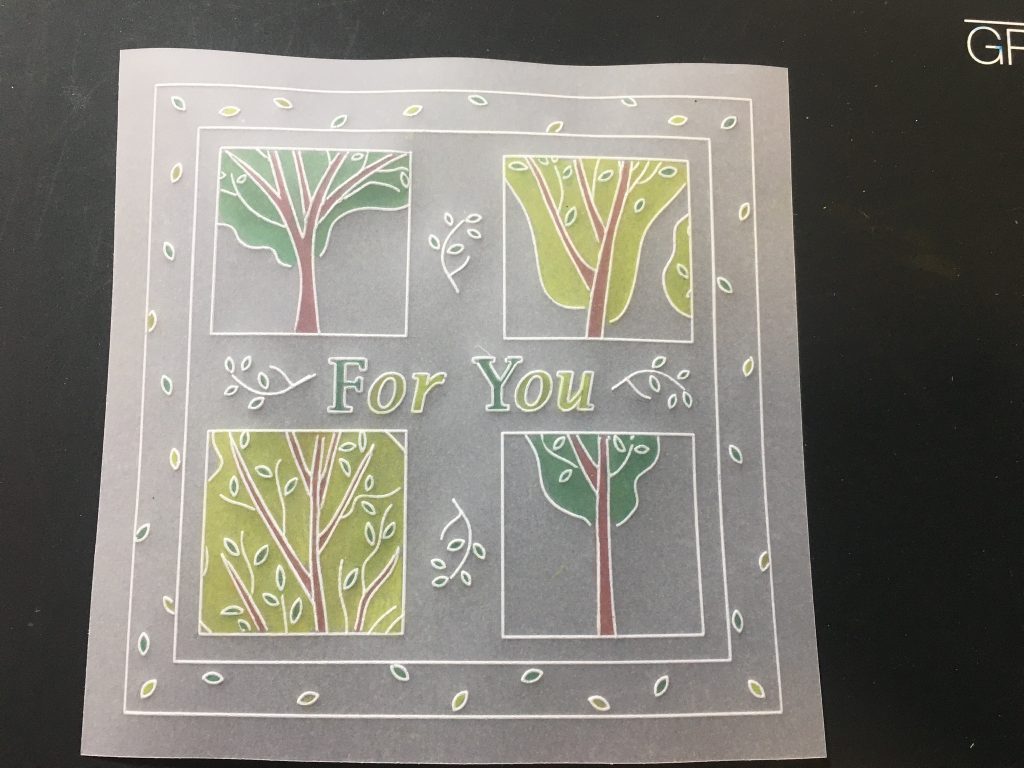
Use pergaliners to colour in your work on the back of the parchment.

Step 15
Blend using dorso oil, blending nibs (one for each colour) and a sponge.
Step 16
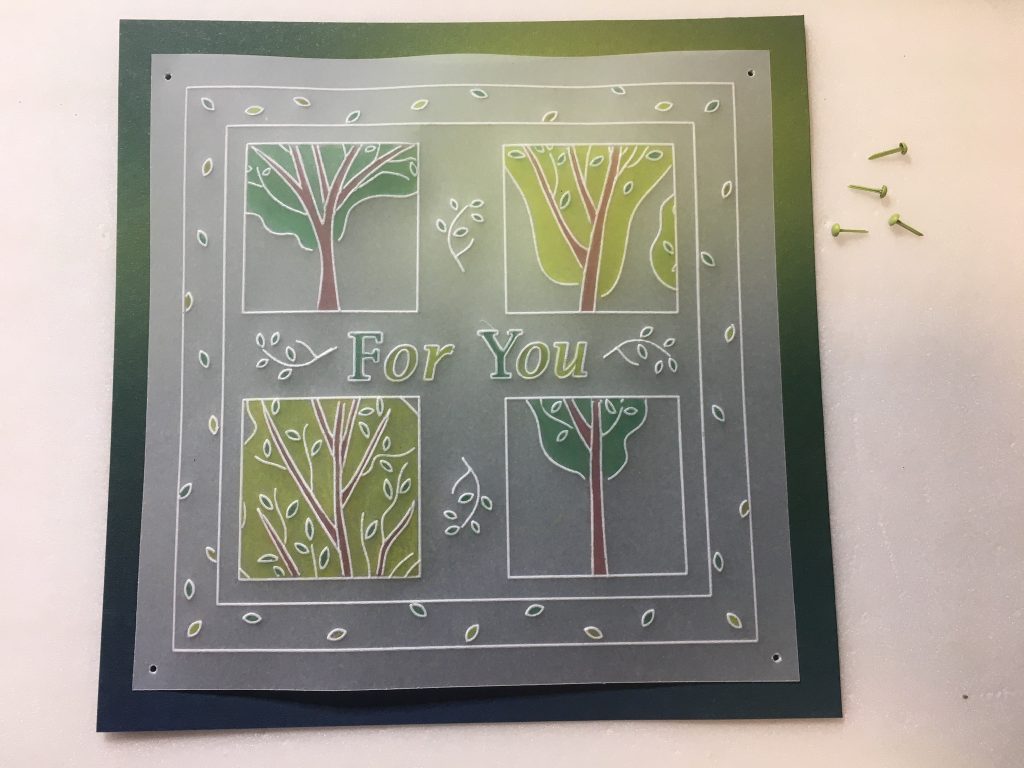
Place the parchment on top of the designer paper and pierce through both layers in each corner.
Step 17
Using brads, secure the parchment to the designer paper.
Using double-sided tape or a tape runner, fix your work to the card blank.
There you go! How beautiful is that?
Thank you Hazel for sharing your skills with us! What would we do without you?!
If you fancy trying this out yourself, we’ve added some sales to items to help you on your way! You can find them all on this tutorial link.
For now, take it easy! And Travel Gently.
Lotsa love, Grace xo
Clarity – The Home of Art, Craft and Well-being.
Hello Grace. Thank you for this wonderful tutorial from Hazel. It is so well detailed and brilliant for anyone starting out on their Groovi journey. It should really come with an addiction warning!
Have a good weekend. Hugs. Annette X
Thank you, Grace and Hazel. A wonderfully clear description of what to do. Brilliant!
Fabulous starter tutorial, thank you lovely ladies x
Hi Grace, I’ve started my groovi journey and am loving it. I’m up to shac download 3. Deffo going to do this one as I bought the starter kit, thank you Hazel . Stay safe xx
Love this very clear for a beginner but they might need a little more detail on how to use the dorso oil.
Hi Grace, Thank you so much Hazel for giving us this tutorial using the Groovi Starter Kit, your write-up is so detailed and will be so easy to follow to re-create this beautiful Groovi project. Thank you.
Lots of love from Patricia xx
Oh boy this is a gorgeous project and I do have the kit so I will giving this a try. Thank you so much. Take care. Hugs xxxx
I’ve done mine; it’s on the groovi FB page. Thank you Hazel x
Hi Grace. Never tried Groovi but going to give it a go and just ordered my starter kit today. Really excited now having watched Hazel’s tutorial and your unboxing video. X