Clarity Matters Blog Tutorial: How To Trace A Design With A Pen
Hello hello! Grace here.
I hope this finds you well and enjoying your Sunday.
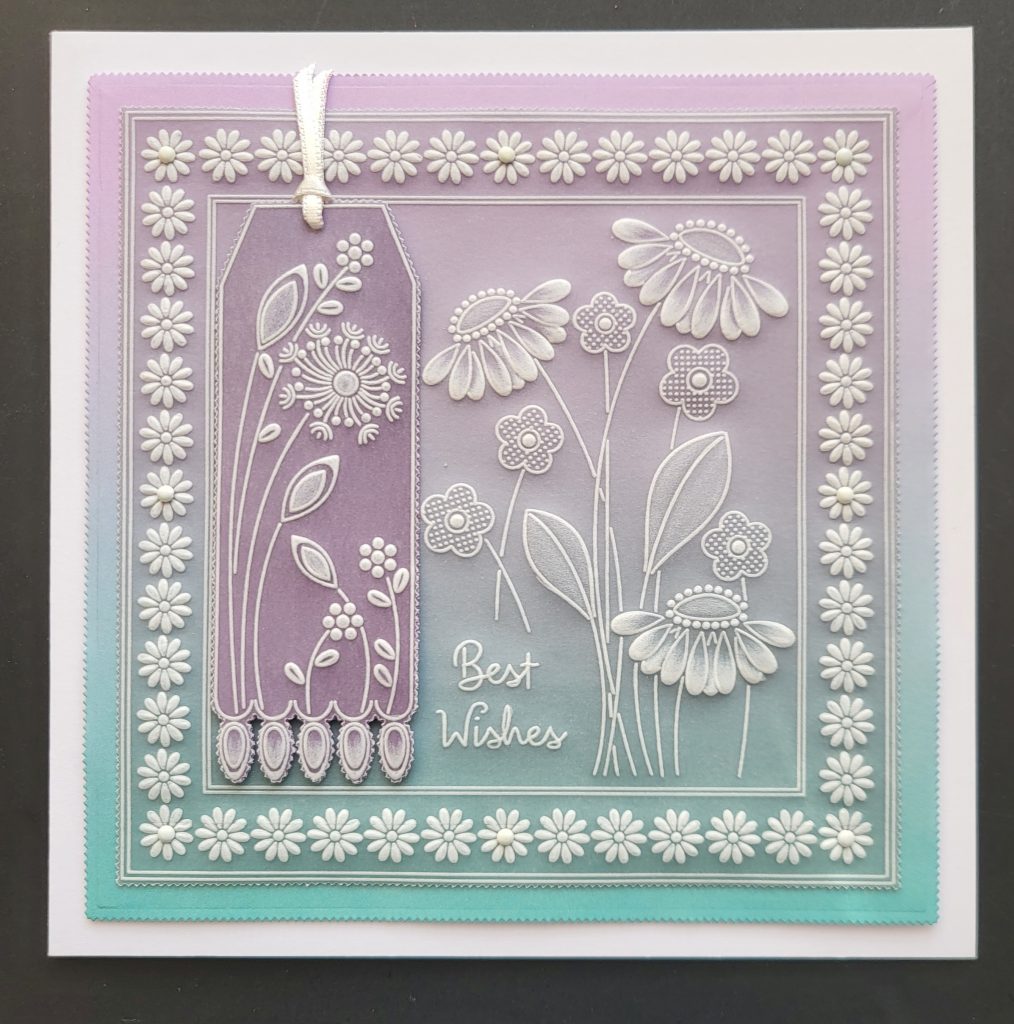
Following on from last week’s project by Maggie Byford, this week we are joined by the wonderfully talented Jane Telford who has prepared a fabulous step-by-step project for us. Jane has used Tina’s Daisy Frame & Dandelion Tag Plate (which Maggie used last week).
I’ll hand you right over to our lovely teacher…

Hello! Jane here. I do like Tina’s designs and especially the flower plates. They make pretty cards for a lot of different occasions.
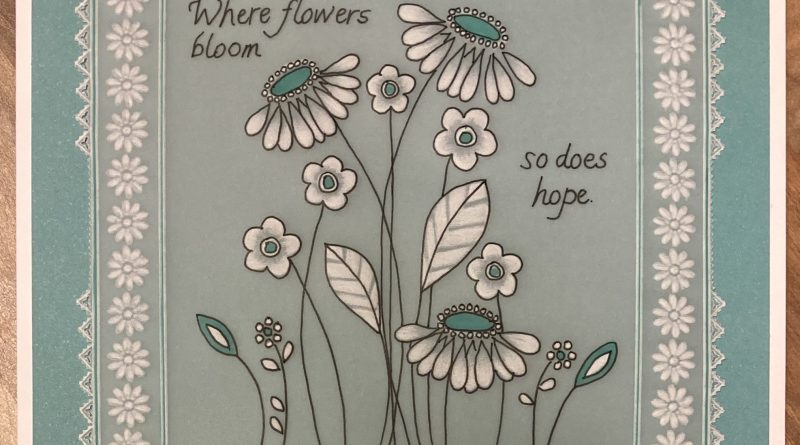
Maggie did a card using this same plate last week, which can be found HERE. For the card I am going to show you, I decided that instead of using the Groovi plate as a Groovi plate, I would flip it over and just trace the main image with a black micron pen. Tina’s designs are quite easy to trace, and because they are based on her doodles it doesn’t matter quite so much if you stray a little when tracing.
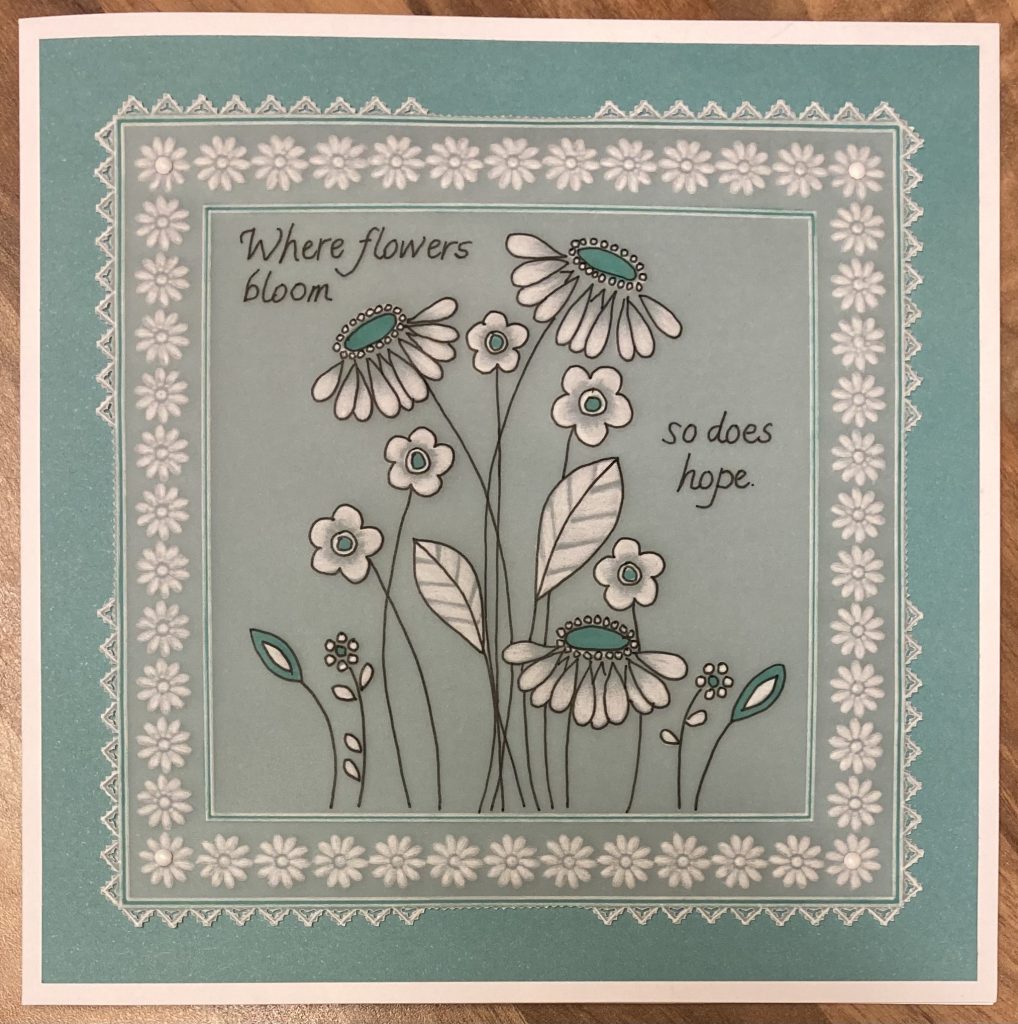
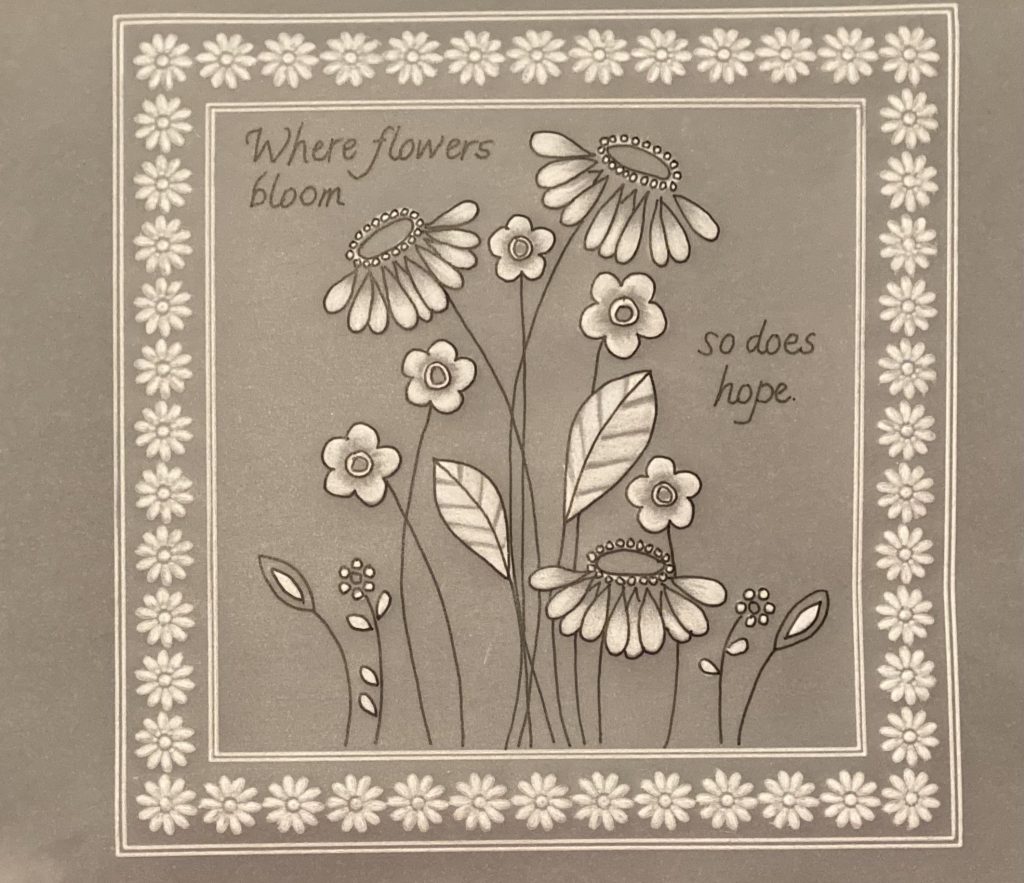
This is where we are headed…
Ingredients
Tina’s Daisy Frame & Dandelion Tag A5 Sq Groovi Plate GRO-FL-41180-03
Flower Rounds Spacer Groovi Go! Spacer Plate GRO-FL-41027-20
Nested Squares Picot Cut A4 Sq Groovi Plate GRO-PA-41035-15
Groovi Plate Mate for A5 Sq Grids GRO-CO-41706-08
Alphabet & Numbers A4 Sq Groovi Plate Mate GRO-WO-40875-21
Black Dual-Purpose Groovi Mat A4 GRO-AC-40194-A4
Lightwave ACC-LP-30352-A4
Micron Pen Set Of 7 ACC-PE-30778-XX
Groovi® Embossing Tool 0.8mm – 1.3mm GRO-AC-40026-XX
Groovi® Embossing Tool 2.0mm – 2.8mm GRO-AC-40027-XX
Semi-Square Perforating Tool PER-TO-70021-XX
1-Needle Perforating Tool PER-TO-70035-XX
2-Needle Perforating Tool PER-TO-70037-XX
White Eraser Pencil ACC-PE-30670-XX
Perga Colours Exclusive PER-CO-70060-XX
4 White Brads PER-AC-70269-XX
Ringlock Scissors PER-TO-70041-XX
Northern Lights Companion Paper 8″ X 8″ ACC-CA-31339-88
7×7 Card Blank ACC-CA-30619-77
Method
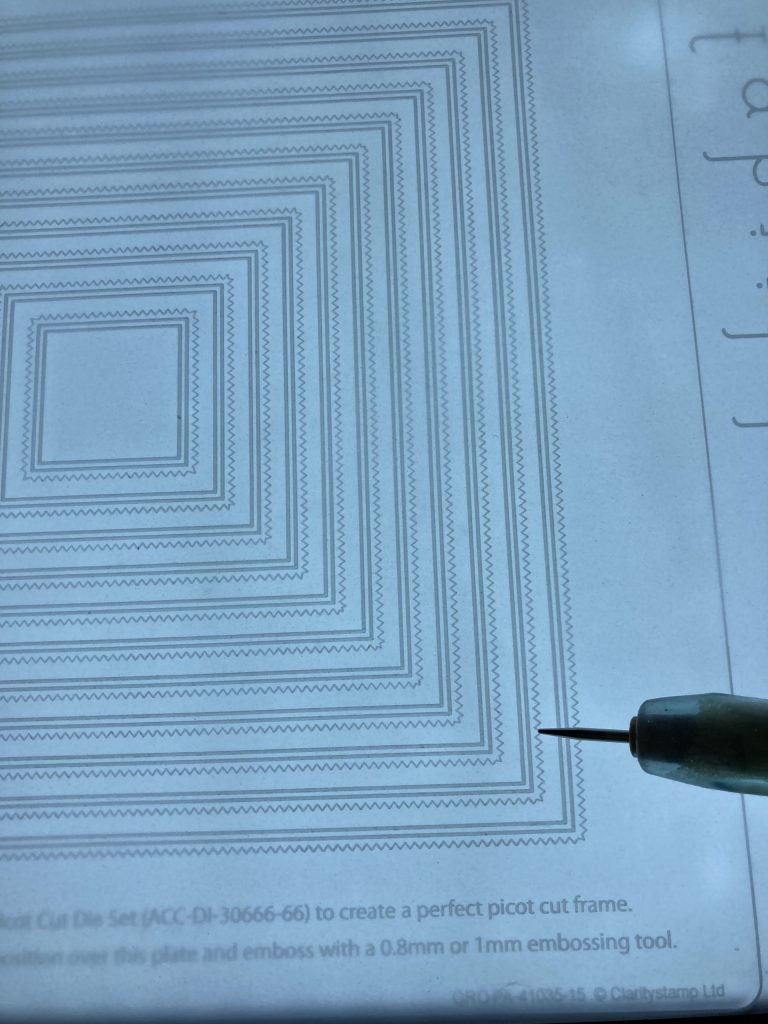
Step 1. Put the nested picot plate in the A4 plate mate and attach a piece of A4 plain parchment with Groovi tabs. Emboss the 2nd largest pair of lines from the plate using the Groovi No.1 tool
Step 2. Change to the plate mate and add the flower plate, so that it is evenly positioned within the square already embossed.
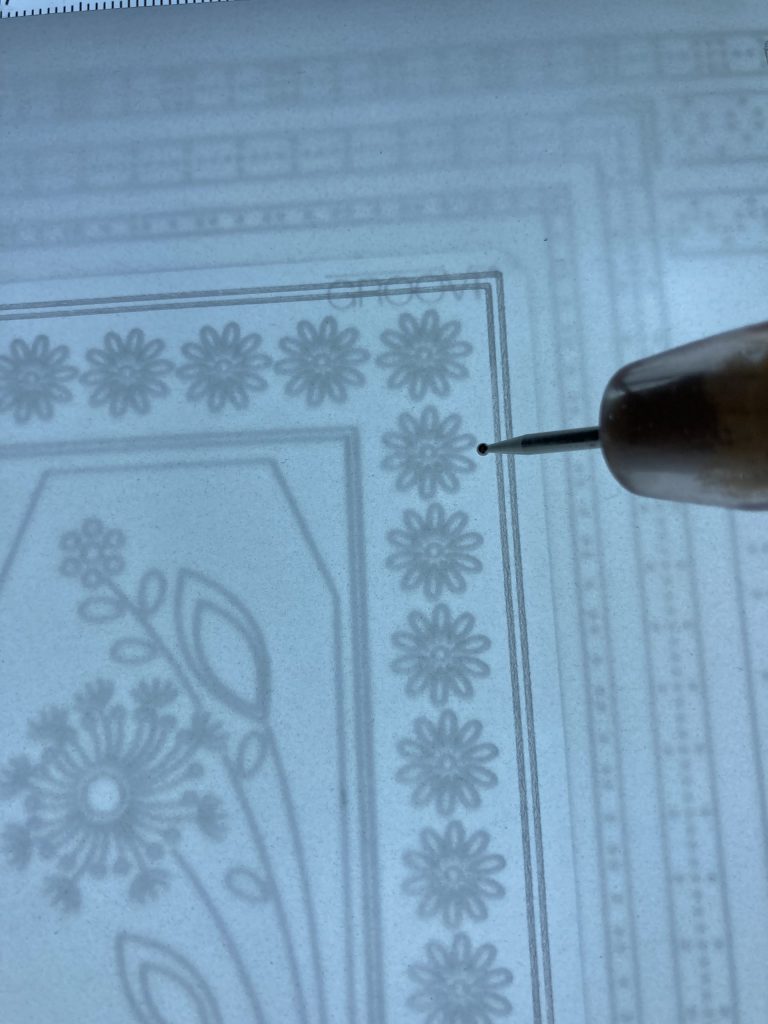
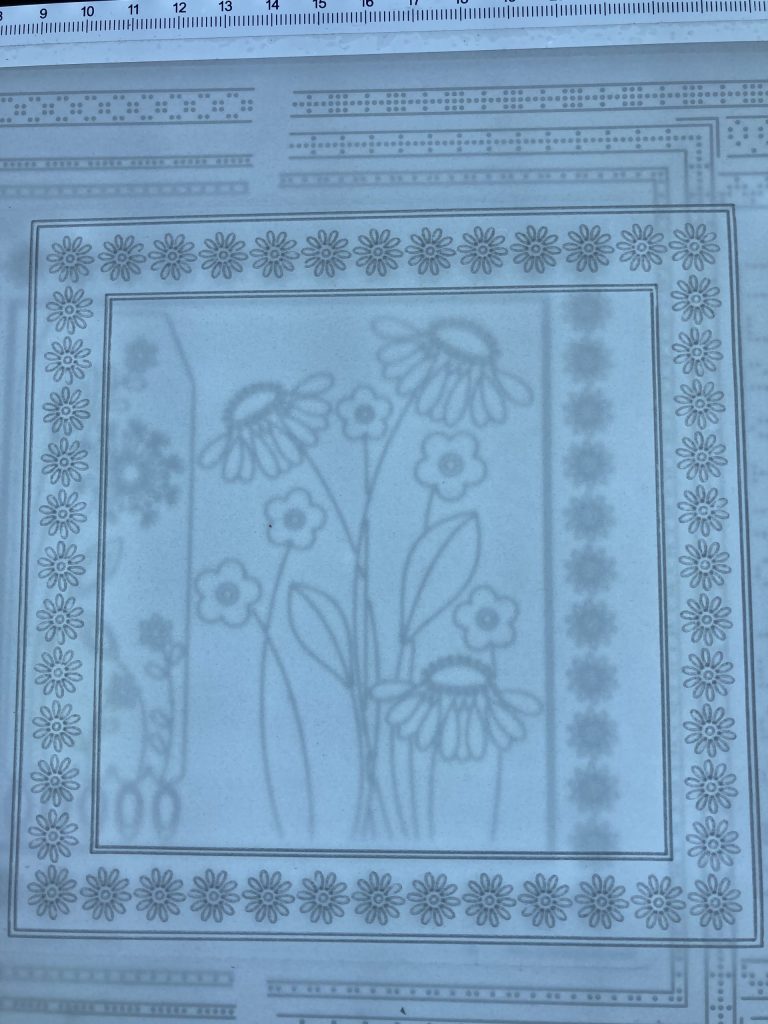
Step 3. Emboss all of the daisies using the no. 2 tool (as these will be done in whitework later).

Step 4. Emboss the double line on the inside of the daisies using the no. 1 tool.
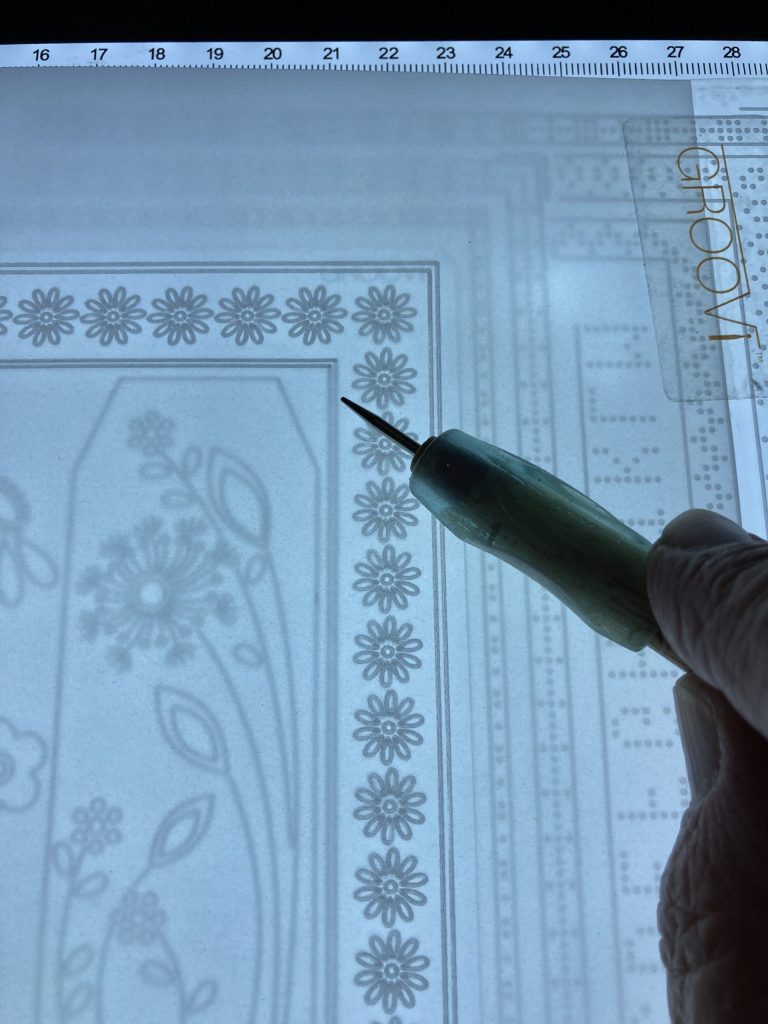
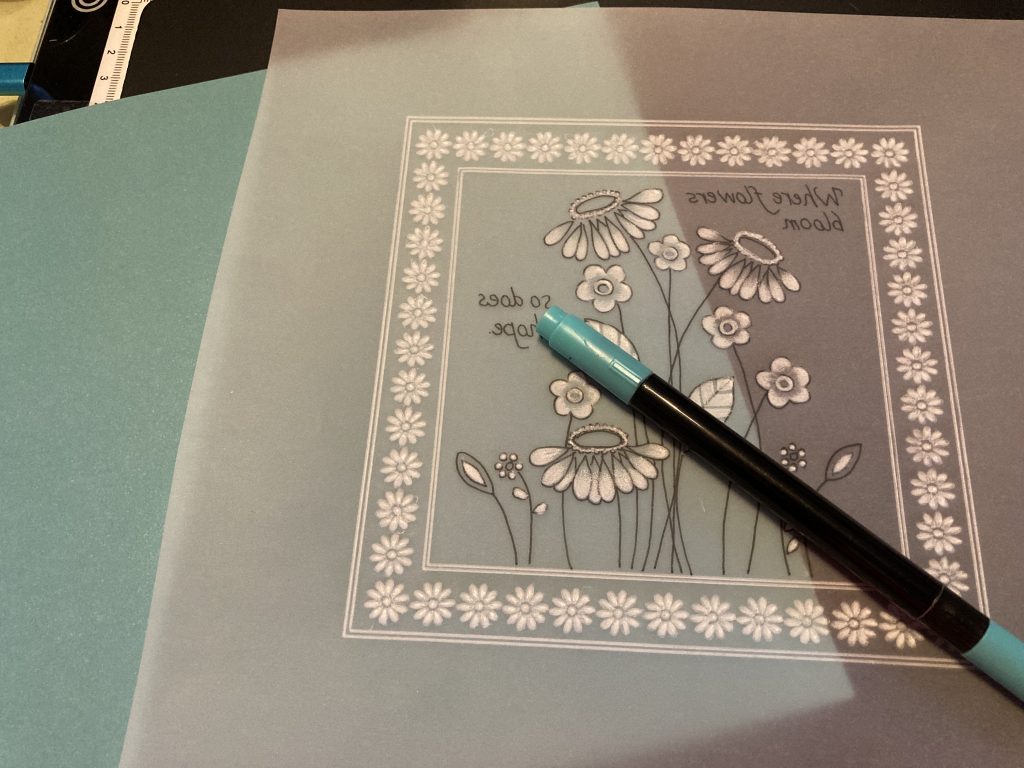
Step 5. Remove the parchment and flip the plate in the plate mate, so the smooth side is upwards. Turn your parchment over so that you are now working on the front of your parchment. Position the parchment so that the large flower motif is in the middle of the square. Attach the parchment securely with several Groovi tabs. You don’t want it to move as you trace it.
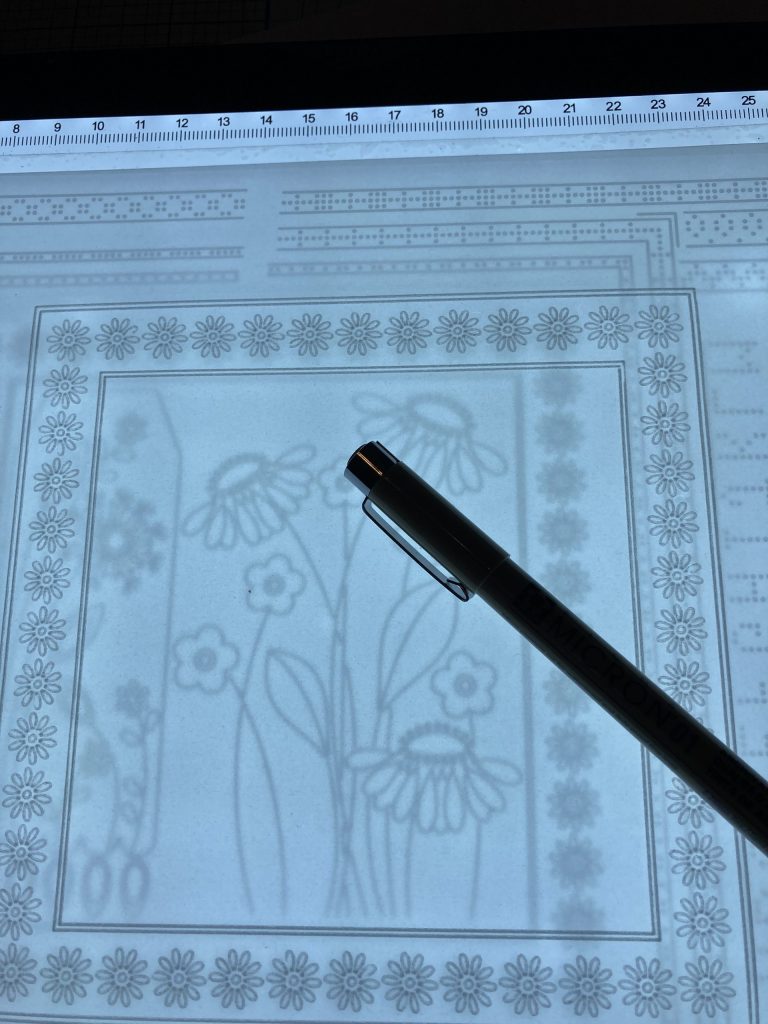
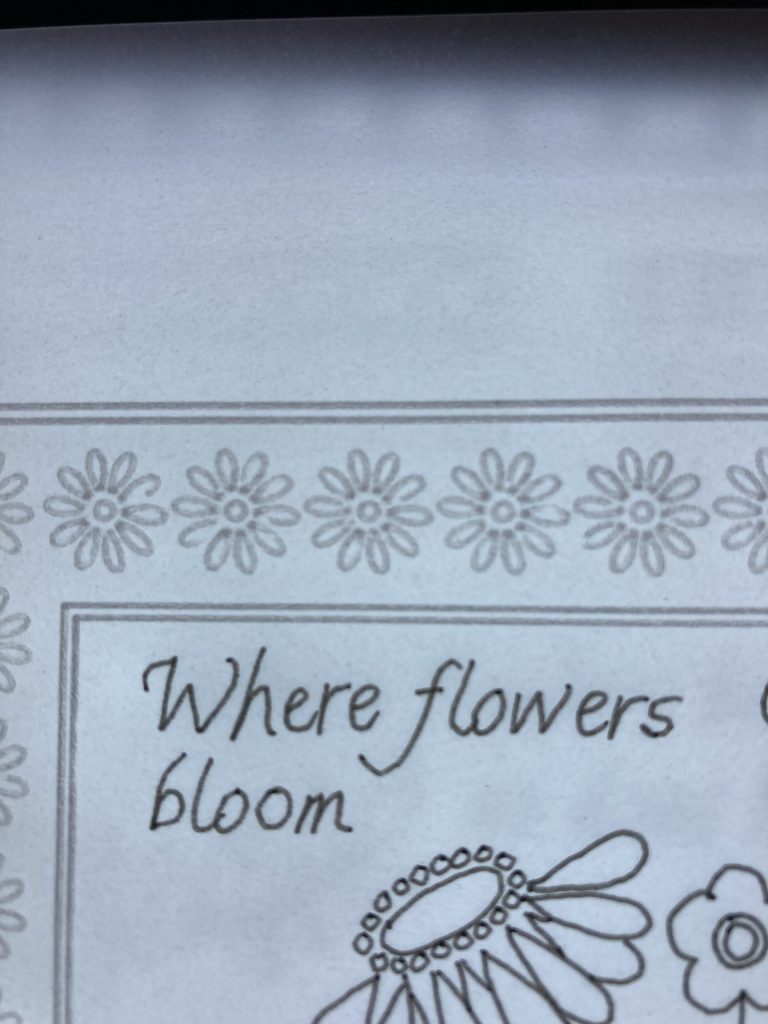
Step 6. Using a no 1 or 2 Micron pen, trace the design. Do this slowly and be careful not to rub your hand over the ink until it is dry.
It should look like this…
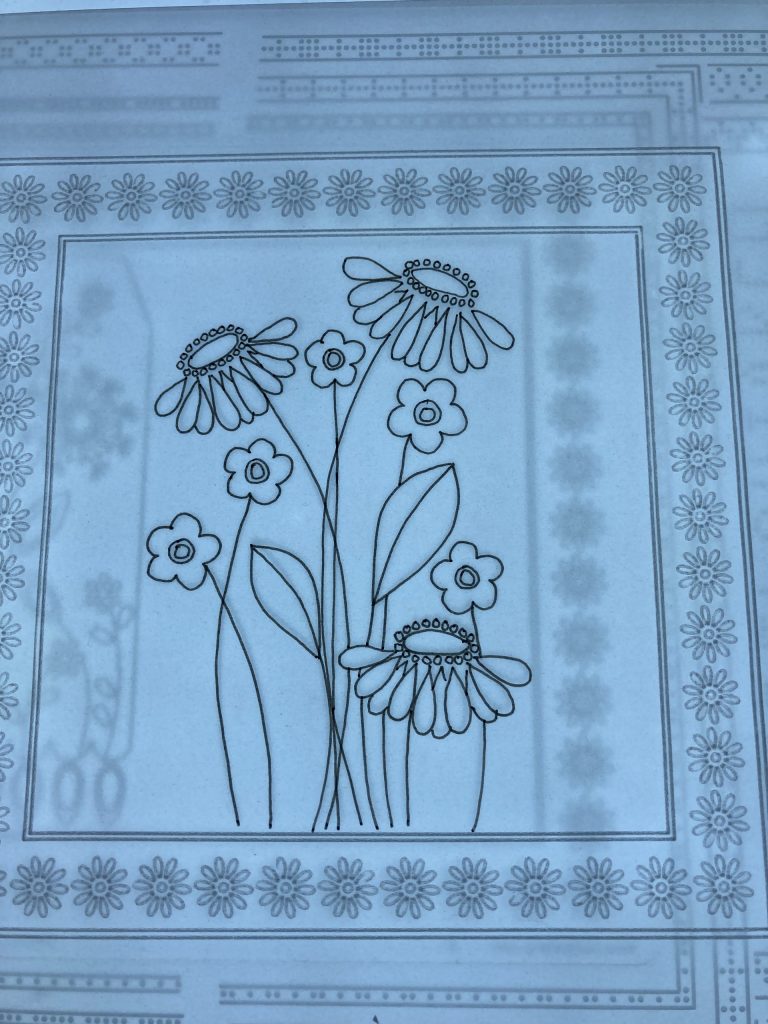
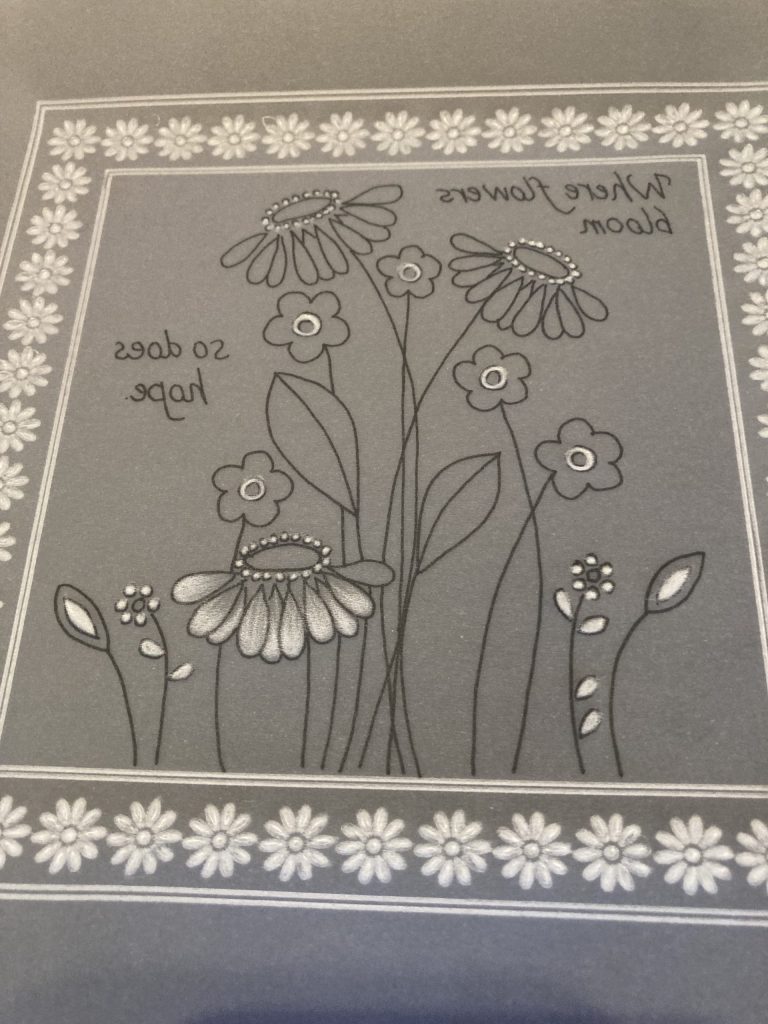
Step 7. Add more little flowers at the sides of the main design. I found these on the plate. Use the words from the spacer plate (to add the sentiment) by putting the spacer smooth side up and tracing the words in the same pen you did the flowers in.
TOP TIP: Let the ink dry fully before moving to the next part.
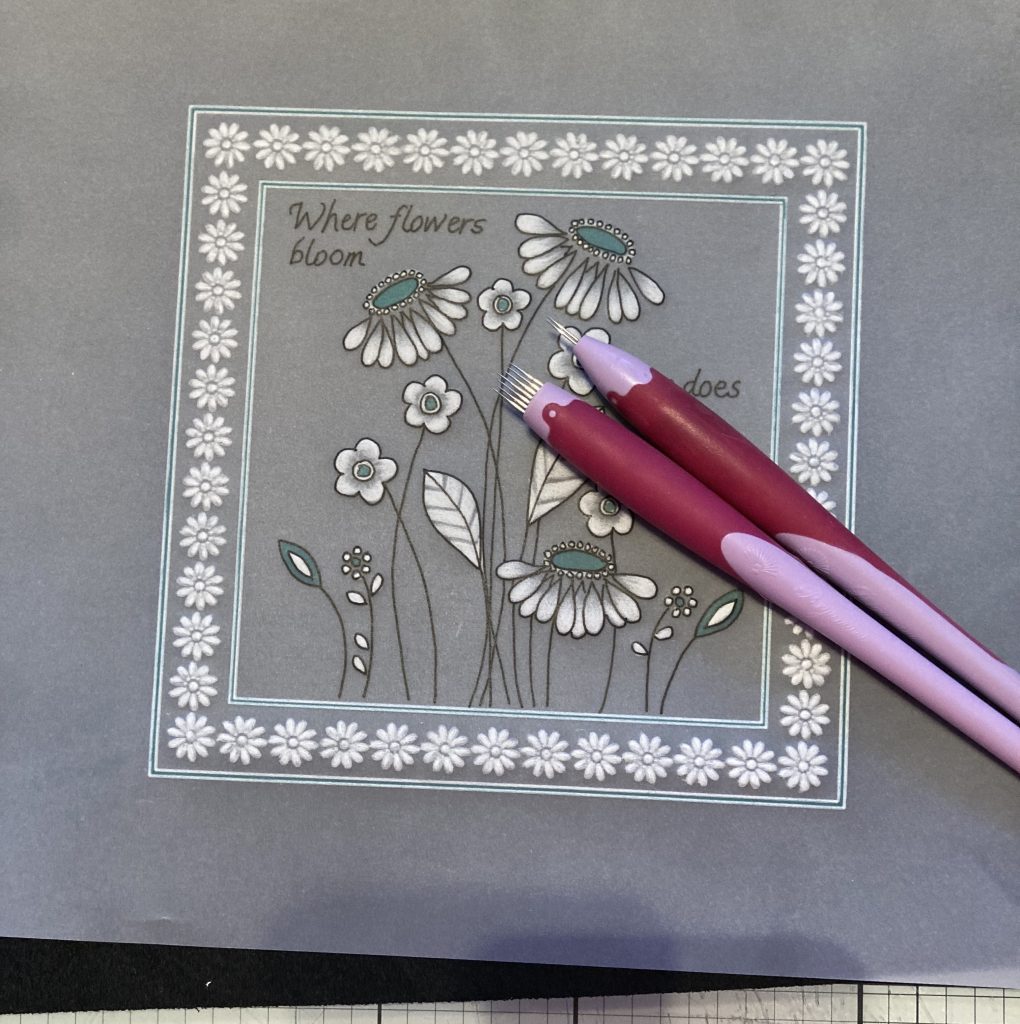
Step 8. Now working on the back of the parchment and the soft side of the black mat, add white work to the daisies. This might take 3 layers to get the level of whiteness you want.
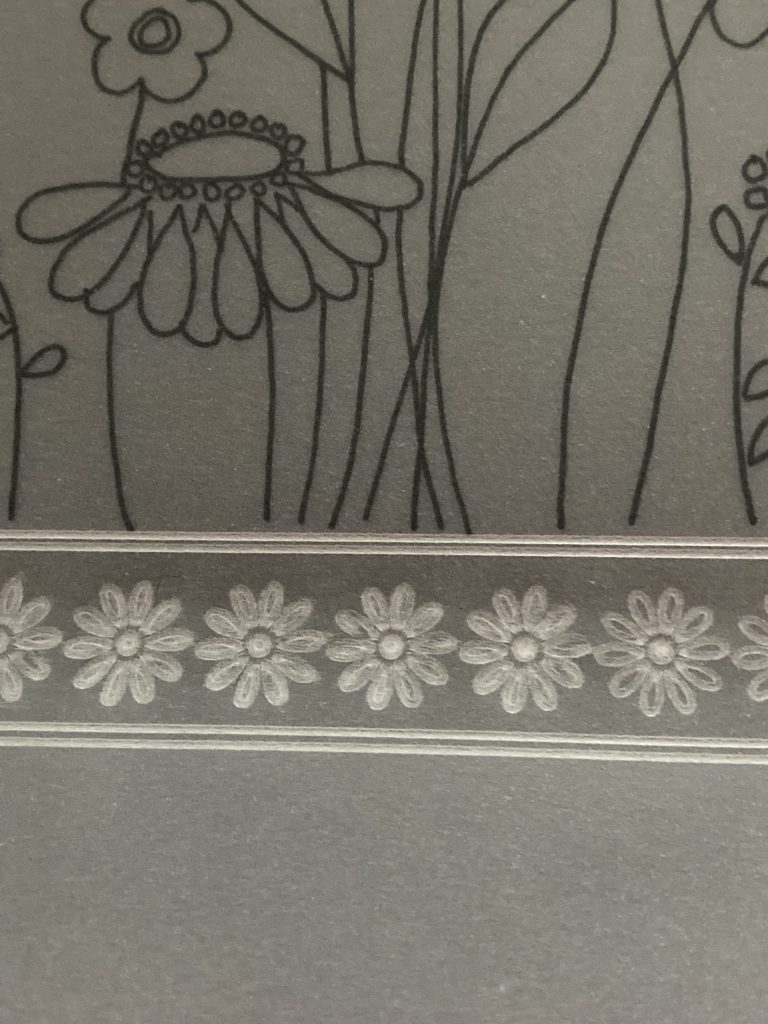
Step 9. Still working on the reverse and staying within the black lines, add white work to areas of the flowers and leaves.
Your design should now look something like this.
Step 10. Choose a colour for the backing paper and select a pen to match it. I went with teal paper and pen no. 27. Cut the paper to measure 17x17cm and put it to one side. Now on the back of the parchment add colour to the design.
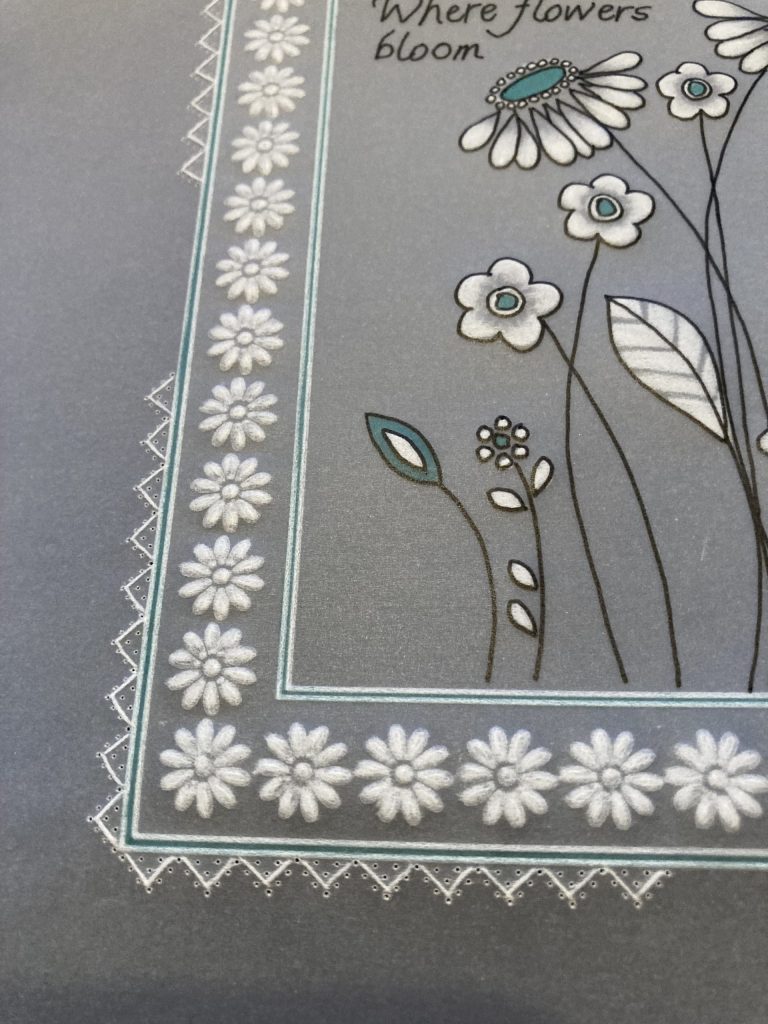
Step 11. Working on the front, use the semi-square tool to shallow perforate on the corners and join up the perforations with a 2-needle tool.
Step 12. Turn the parchment to the back and carefully emboss zigzag lines within the perforations, following the shape created by the tool. Turn it back to the front and reperforate fully with a single needle tool. It must be the fine tool, not the bold.
Step 13. Snip out the parchment from the tiny parts of the semi-square tool first, then snip around the design.
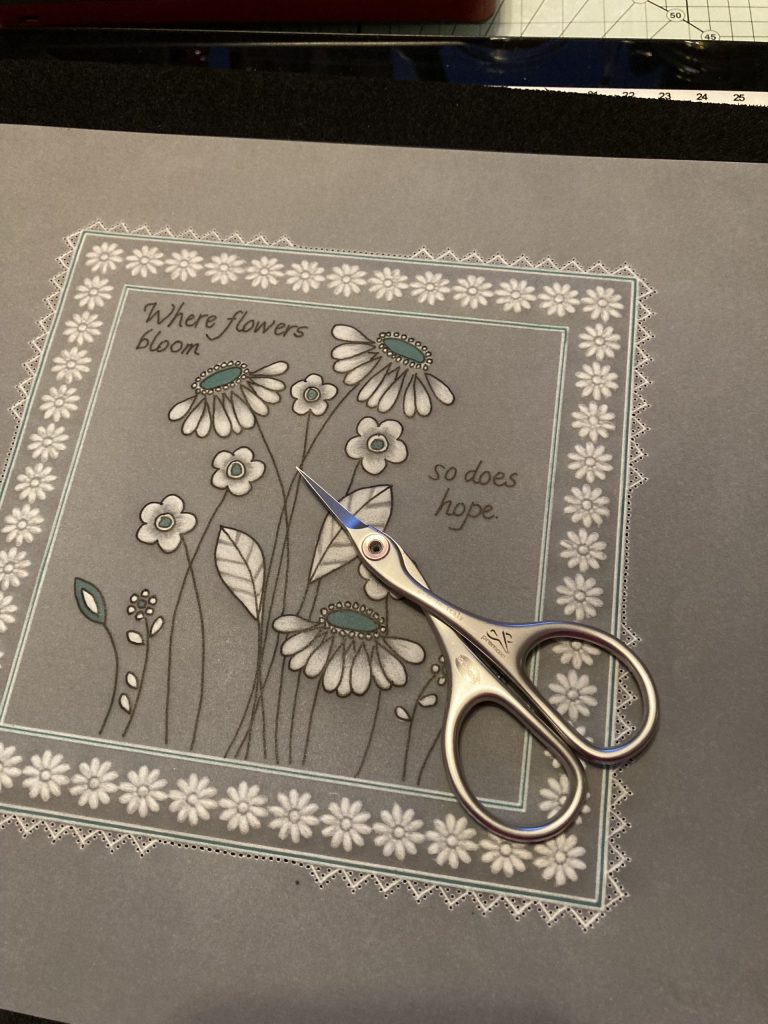
Step 14. Mount it on the paper you cut to size earlier and attach it with brads. Adhere to the front of your 7×7 card blank and you have completed your project!
It is amazing that you can get a different look from the same design, depending on the techniques used. Check this out…
Gorgeousness. Another amazing project from Jane Telford, thank you!
If you’d like to give this project a try yourself, don’t forget to share your artwork on Groovi Worldwide. And/or email it to me – Grace@claritystamp.com
Everything that Jane has used in this particular project can be found on the Clarity website HERE
Now, looking at the week ahead…
Tuesday 14th Feb:
Groovi Tuesday with Paul – 10am Live on Facebook and YouTube
Wednesday 15th Feb:
Crafting with Clarity One Day Special with Paul on Create & Craft – 6pm & 9pm
Thursday 16th Feb:
Crafting with Clarity One Day Special with Paul on Create & Craft – 10am & 2pm
Saturday 18th Feb:
Get Groovi with Tina Cox on Create & Craft – 1pm & 5pm
Travel gently, friends.
Lotsa love, Grace & Jane xoxo
Clarity – The Home of Art, Craft, and Well-Being.
Love the spin Jane has put on this plate, must have a go with some of my plates
Wow……what a totally different look. Fabulous tutorial Jane, thank you xxx
Fairly new to parchment work but I am going to give this a try. Haven’t got these plates so will use what I have and give it a go. Thanks Jane for the inspiration.❤
Thank you Jane. It’s a great idea to use with lots of the plates to get a different look. I think you could probably trace in gold posca pen to which would look nice. 😊
Wow Jane, I love the different look you get by tracing in black. Thanks for sharing this with us – getting more from our plates is always a bonus. Although that is the advantage of the Groovi system in that you can mix & match the designs to come up with something different. Will definitely give this a go.
Thanks Grace & Jane for this weeks Sunday blog x
Thank you Jane for a giving us a different spin on how to use our stash.
Thanks , Jane – love the look you get with the black outline. It works with all sorts of things. Barbara used this technique with elephants and it looked great as well!! She also doodled head dresses on them- if anyone is interested it was her blog 6 Dec 2018.
Fantastic and love that plate-love a daisy!
Thanks for the tutorial- I’d forgotten ti use them to trace- ooh now can make many more designs!
What a fabulous way to use the plates flexibly, it adds another dimension to Groovi. Thank you Jane.
Wow, gorgeous. Great idea, I’m going to try it. Thanks for sharing Jane. X
Fabulous Jane. Looks so fresh. Will add this one to mt to do list. X X
Rather than stamp on parchment I have used this technique a lot. Used to do it from printed patterns, gave it a try with Groovi and never looked back.
Really loving the Sunday step by steps by all the ladies. Thank you all. 🍒🍒🍒
Thank you for the inspiration. Cataract op tomorrow. Hope to be able to return to crafting soon. Definitely want to give this a go. It is beautiful
Lovely design. So good to see another use with the plate. Just turn it over and trace. Thank you Jane.
Lovely card, great demo Jane, thank you.
Love the idea for this will have to have ago.
I haven’t got this plate but could use something else from my stash. Thank you Jayne.
Thanks, this is one of my favourite plates , so new ways to use it appreciated.
Fab project, not tried tracing yet but look forward to it. Looks very delicate. Thank you xx
So beautiful !!!
Thanks for sharing. !!
xx
I love this plate only done something frome it twice now but would love to try this x
Another great idea for us. 😊 thanks