
Clarity’s Blog Tutorial: How To Use Elements from the A5sq Floral Swirls & Corners, Henna Corners with the Easy Layout Plates
Hello hello! Grace here.
I hope this finds you well and enjoying your Sunday!
We are joined this weekend by the super talented Jane Telford. She has put together a wonderfully crafty step-by-step project for us using the new Bijou plates! I’ll hand you right over to the lady herself.

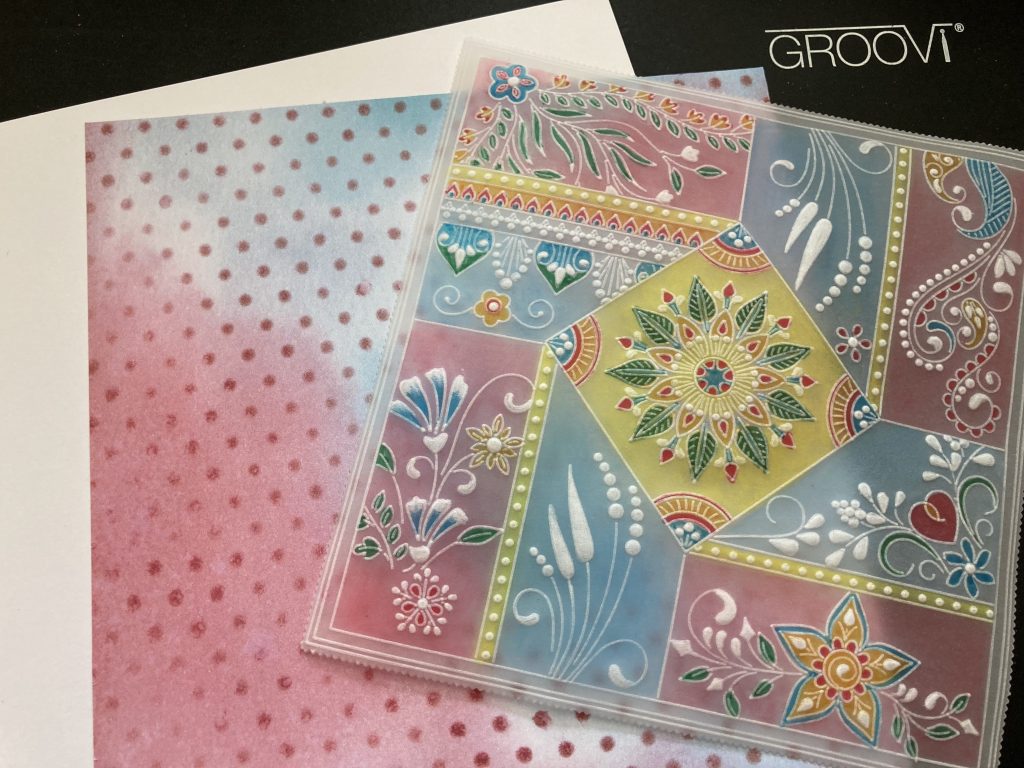
A Bijou Layout
When I go the new Bijou plates of Tina’s Floral and Henna designs I instantly thought I could use them on a sampler to show them off. And what better way than to combine them with Linda’s Layout plates.
Ingredients
Tina’s Bijou Floral Swirls and Corners (GRO-FL-41868-03) & (GRO-FL-41869-03)
Tina’s Bijou Henna Corners (GRO-FL-41870-03) & (GRO-FL-41871-03)
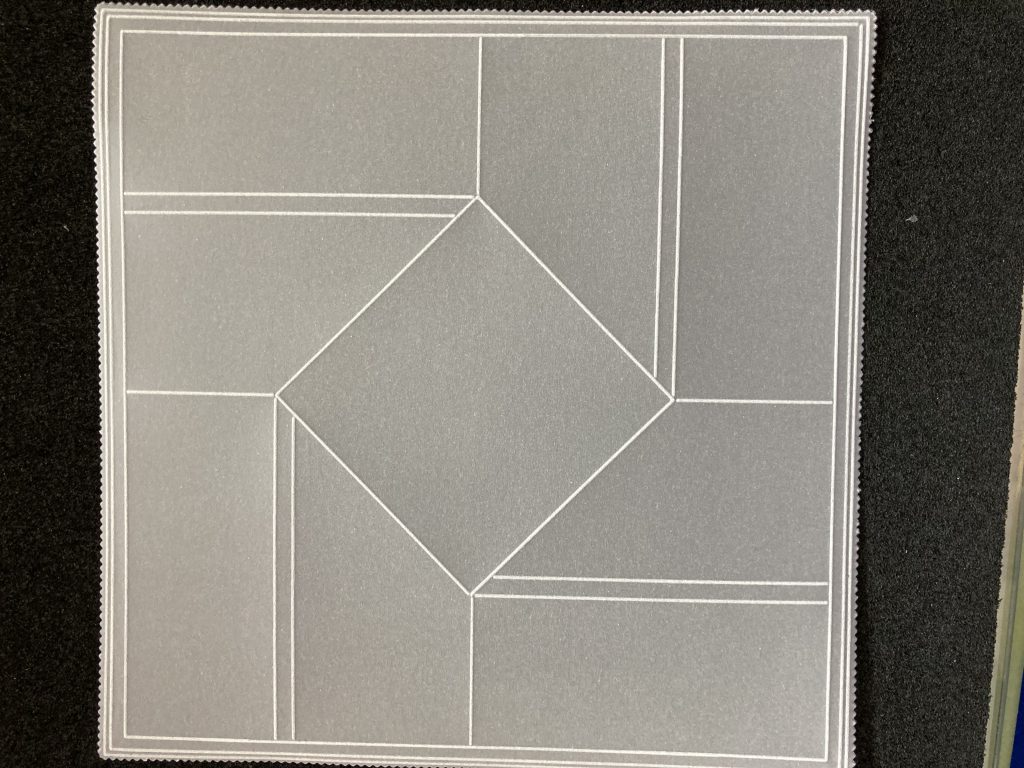
Linda Williams’ Be A Wildflower – Easy Layout A5 Square Groovi Plate (GRO-FL-41666-03)
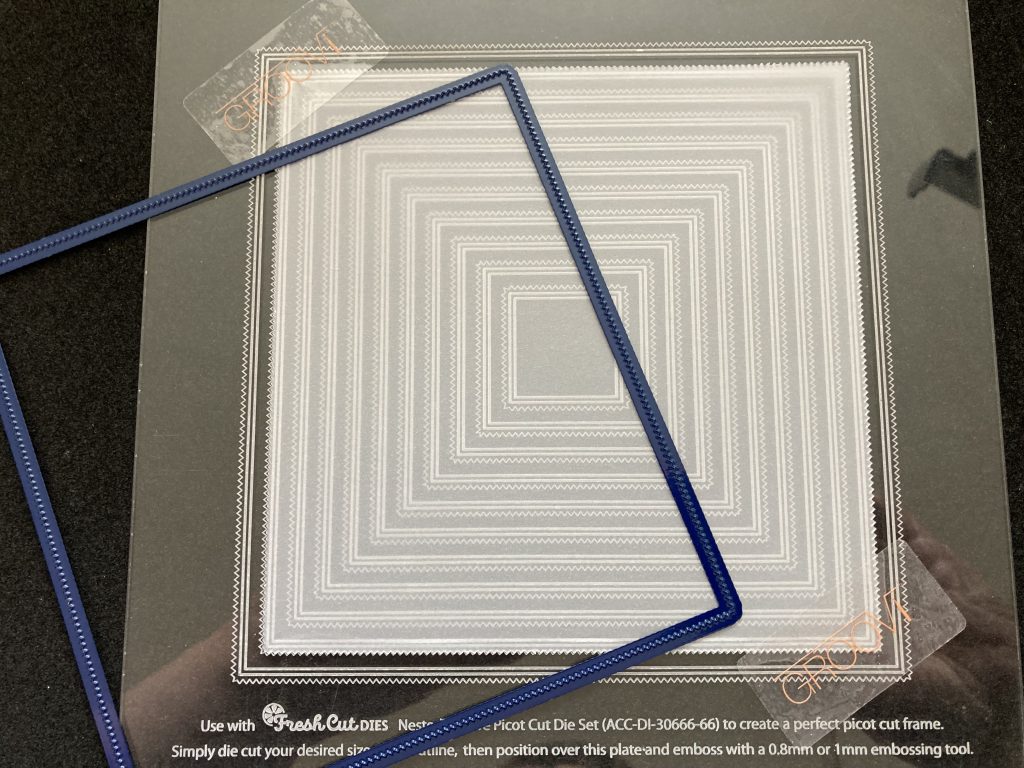
Nested Squares Picot Cut Die Set & Groovi Plate (ACC-DI-30698-66)
Groovi Plate Mate For A5sq Grids (GRO-CO-41706-08)
1mm Ball Tool – Extra Small (10071) (PER-TO-70011-XX)
Groovi Embossing Tool 2.0mm – 2.8mm (GRO-AC-40027-XX)
Light Wave (ACC-LP-30352-A4)
Perga Colours Exclusive (PER-CO-70060-XX)
Perga Liner pencils (PER-CO-70063-XX)
Dorso Oil (21804) (PER-CO-70066-XX)
Pergamano Blending Pen Nibs (Pack Of 10) (19203) (PER-AC-70299-XX)
4 pastel Mix Brads (PER-AC- 70270-XX)
Perga-Glitter Bundle (PER-AC-70305-XX)
New England Fall Designer paper (ACC-CA-30441-88)
7×7 card blank (ACC-EN-30650-77)
Method
Step 1. Cut a piece of plain parchment using the 2nd largest square die. Emboss double lines around the edge using the matching picot plate.
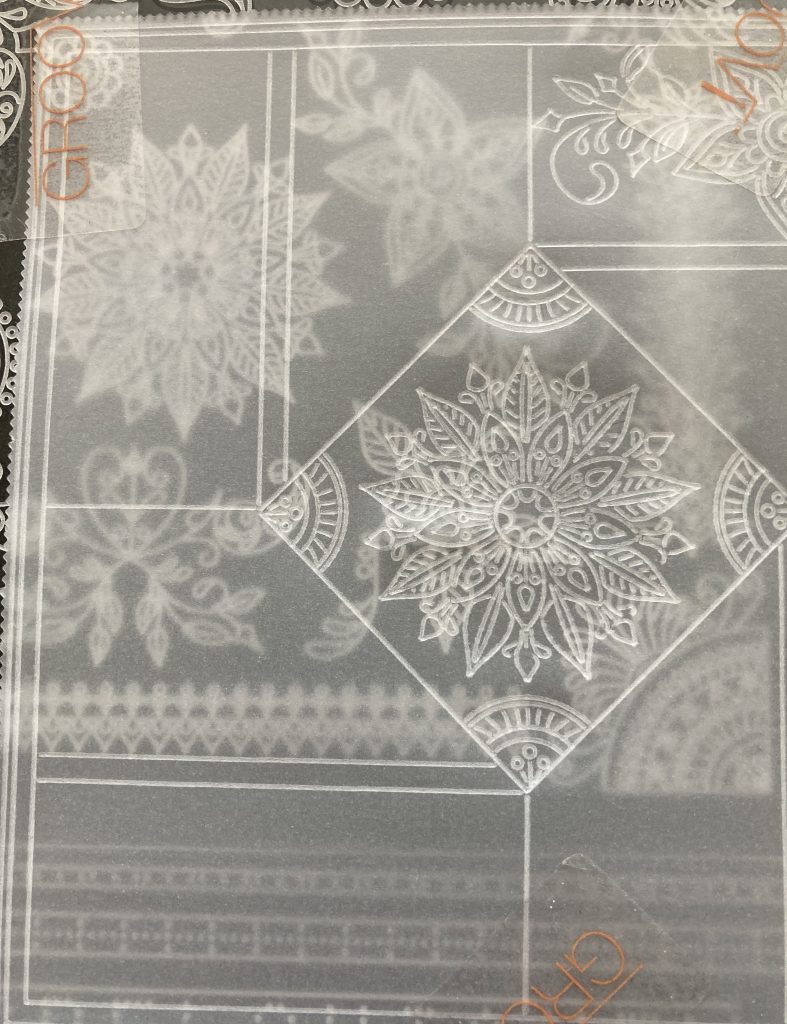
Step 2. Put the layout plate into the plate mate. Centre the parchment over it and emboss the layout only.
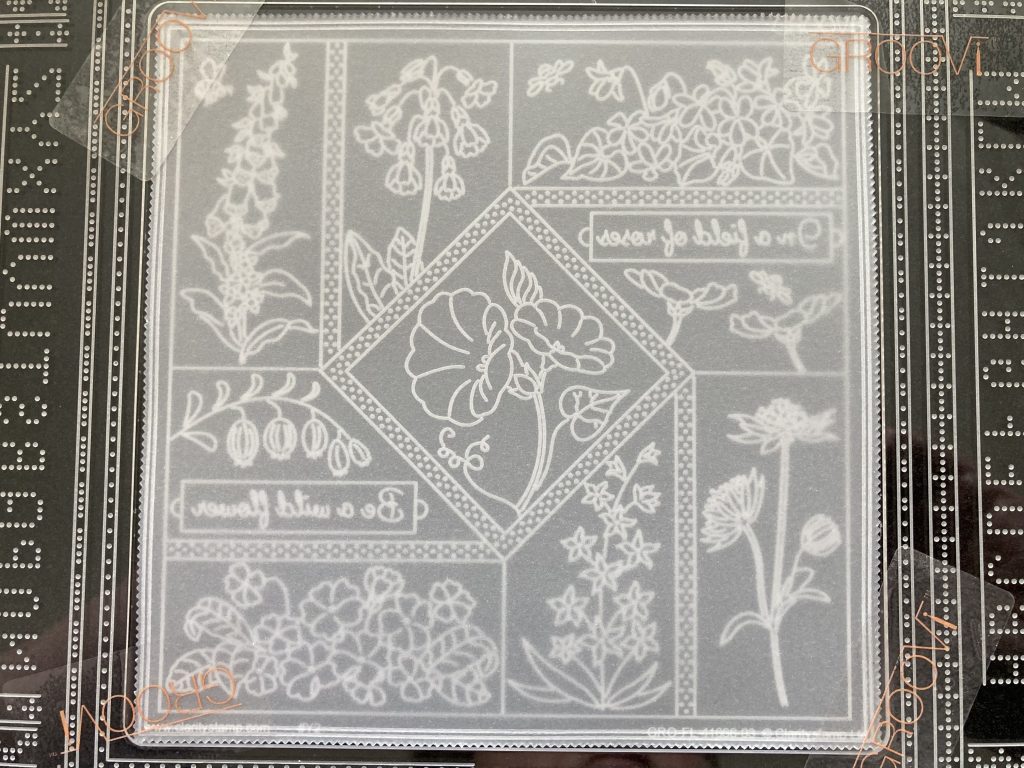
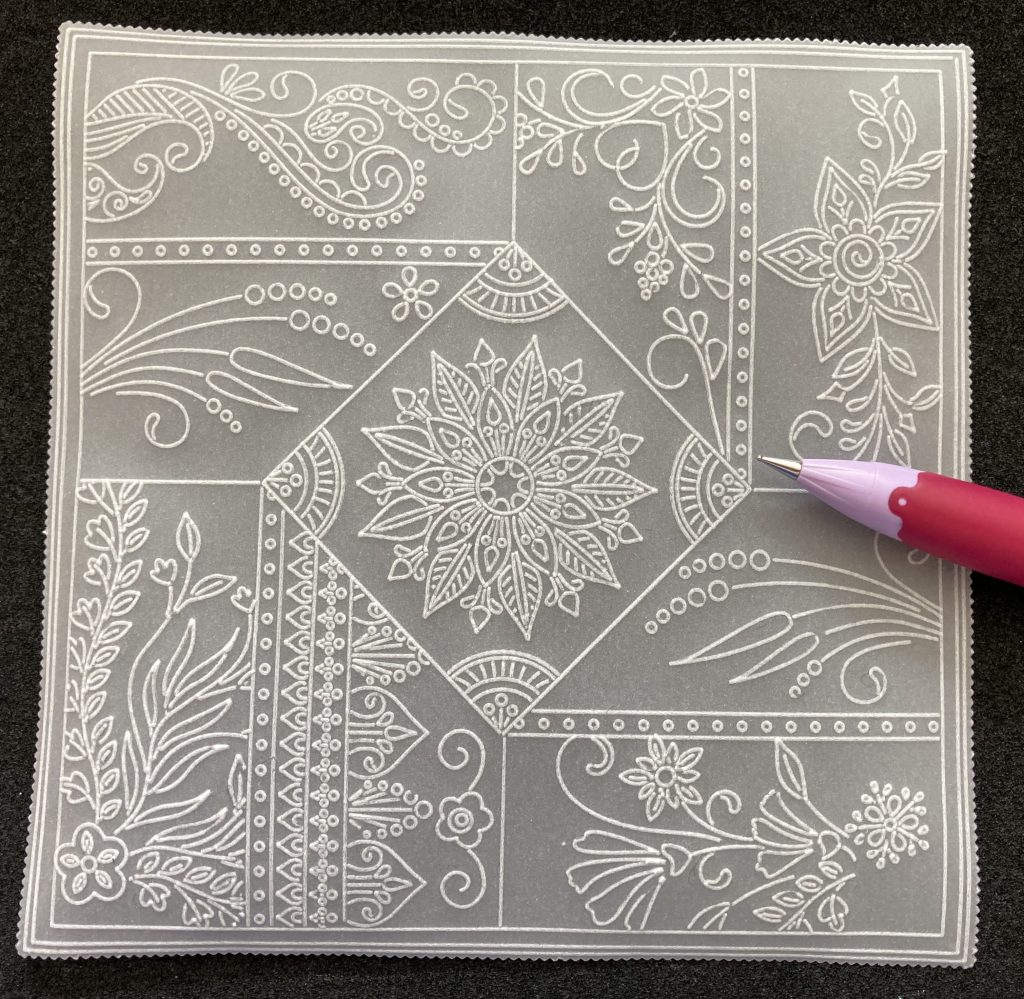
Step 3. Change to the Henna plate and start to add images to the Layout. Move the parchment so the designs fit into the spaces.
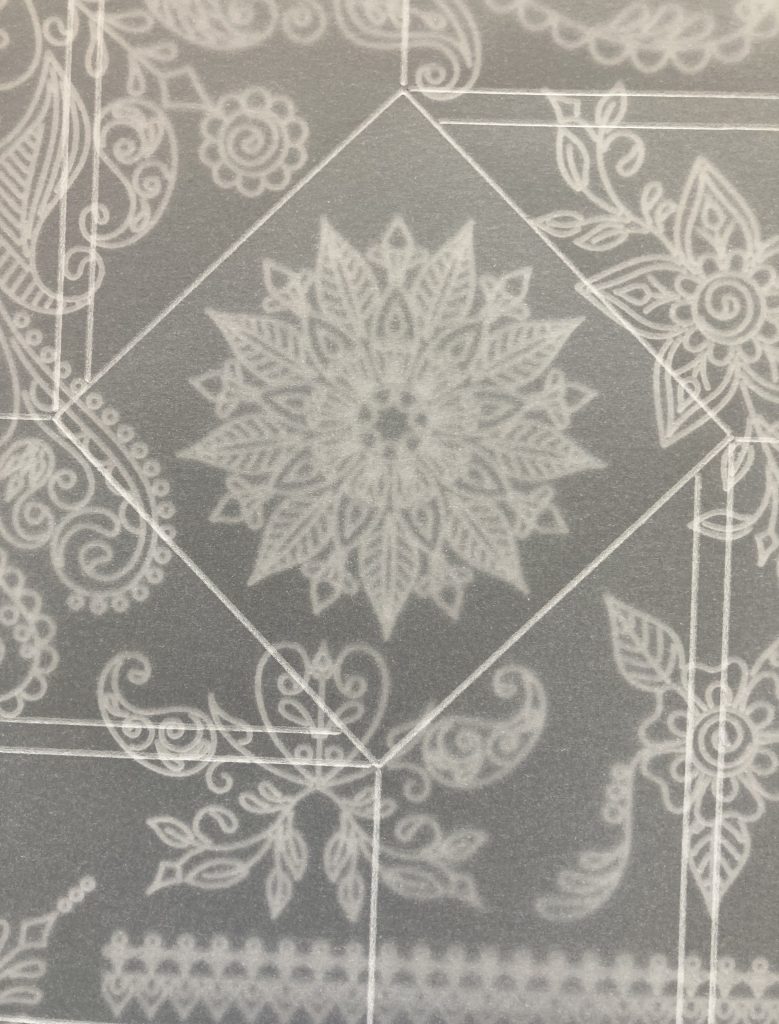
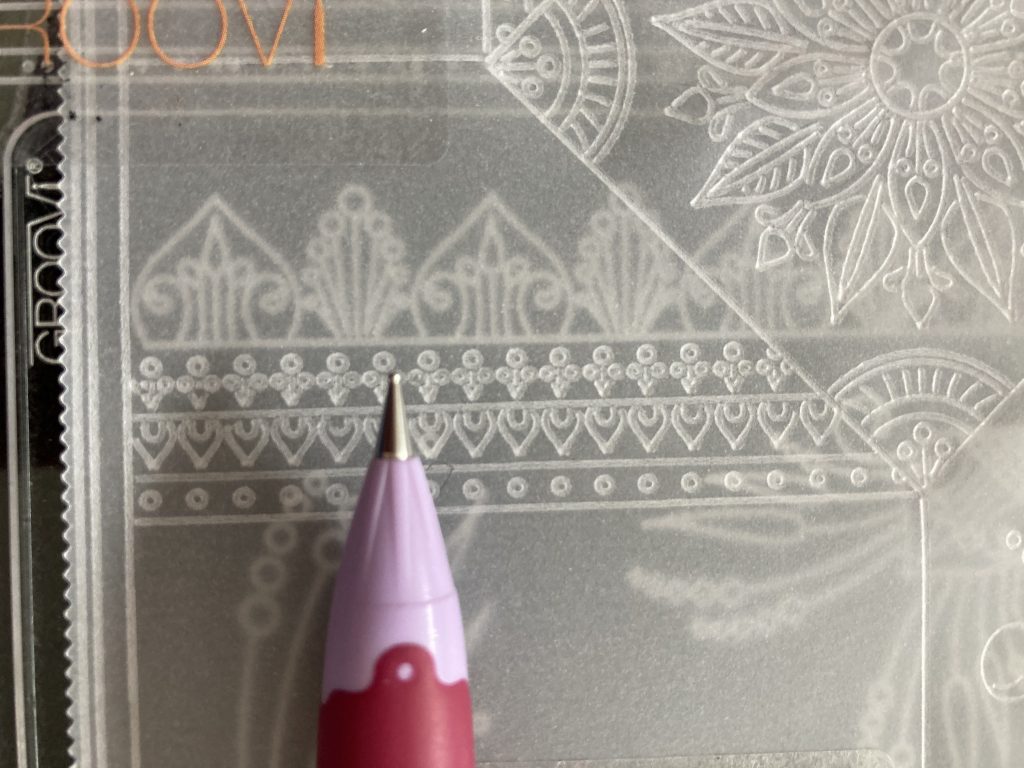
Step 4. Here is where I found the dot to fit in the narrow spaces.
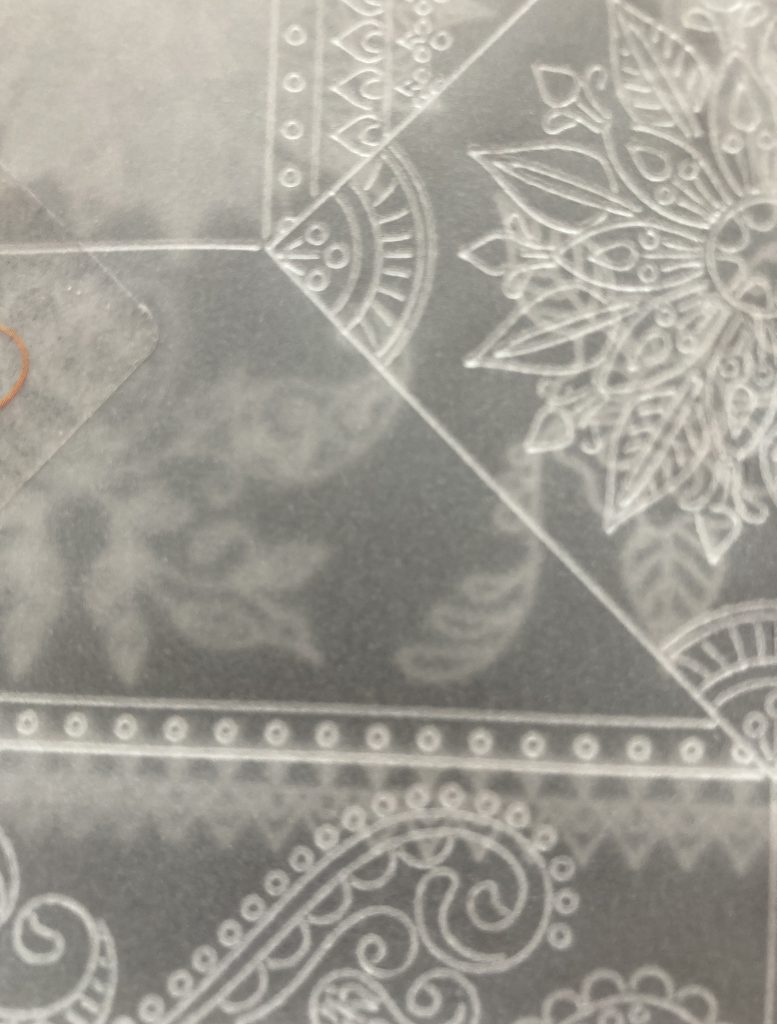
Step 5. Add more details from the henna borders and corners plate. Use some designs off the floral plate as well.
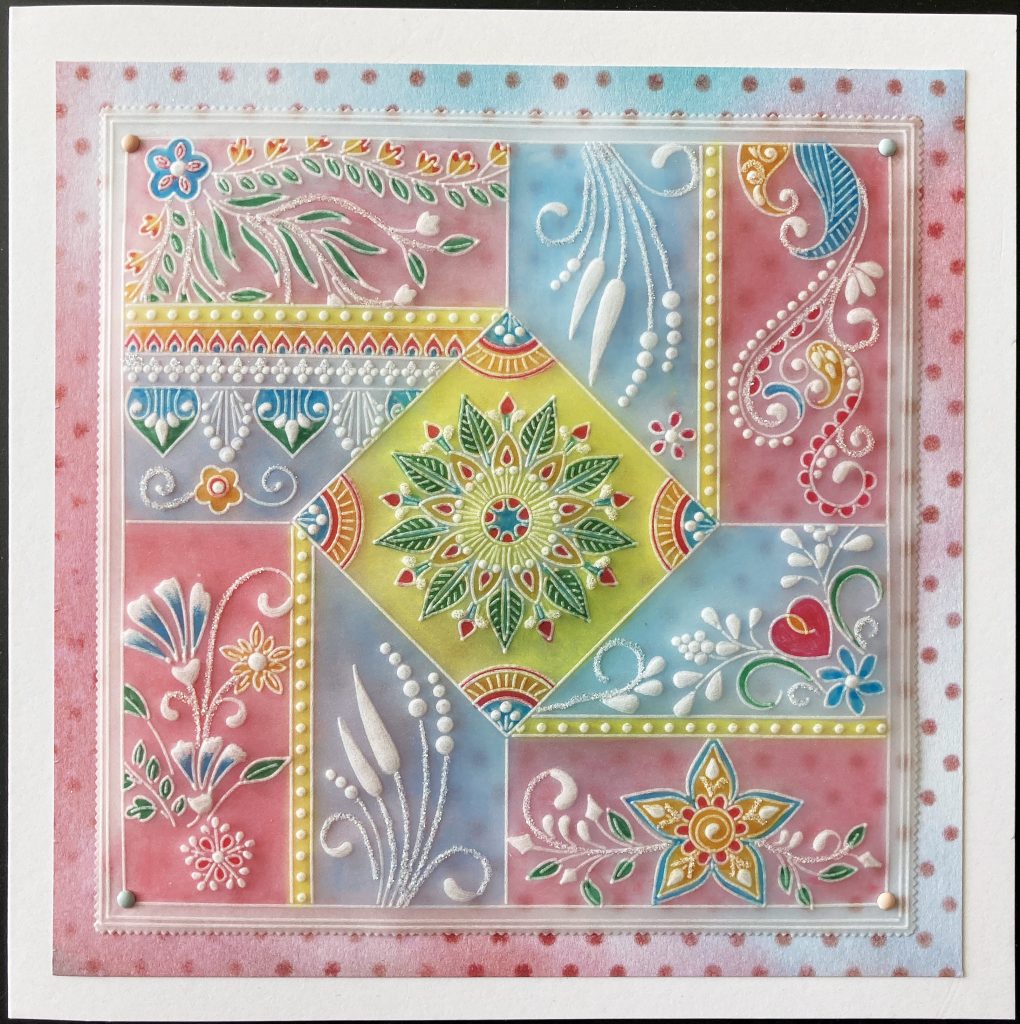
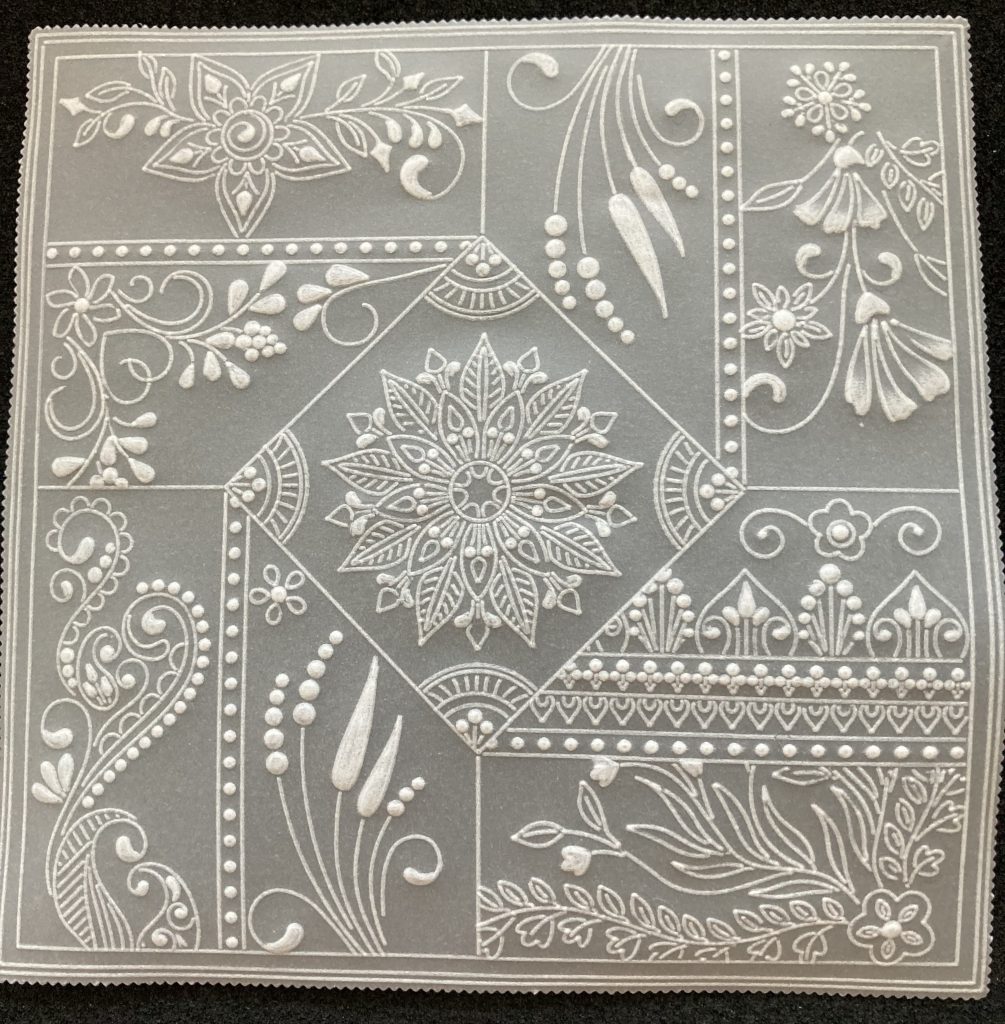
Step 6. Your finished line art should look like this. Or your own arty version!
Step 7. Using the number 3 & 4 Groovi tool, emboss some whitework into the images.
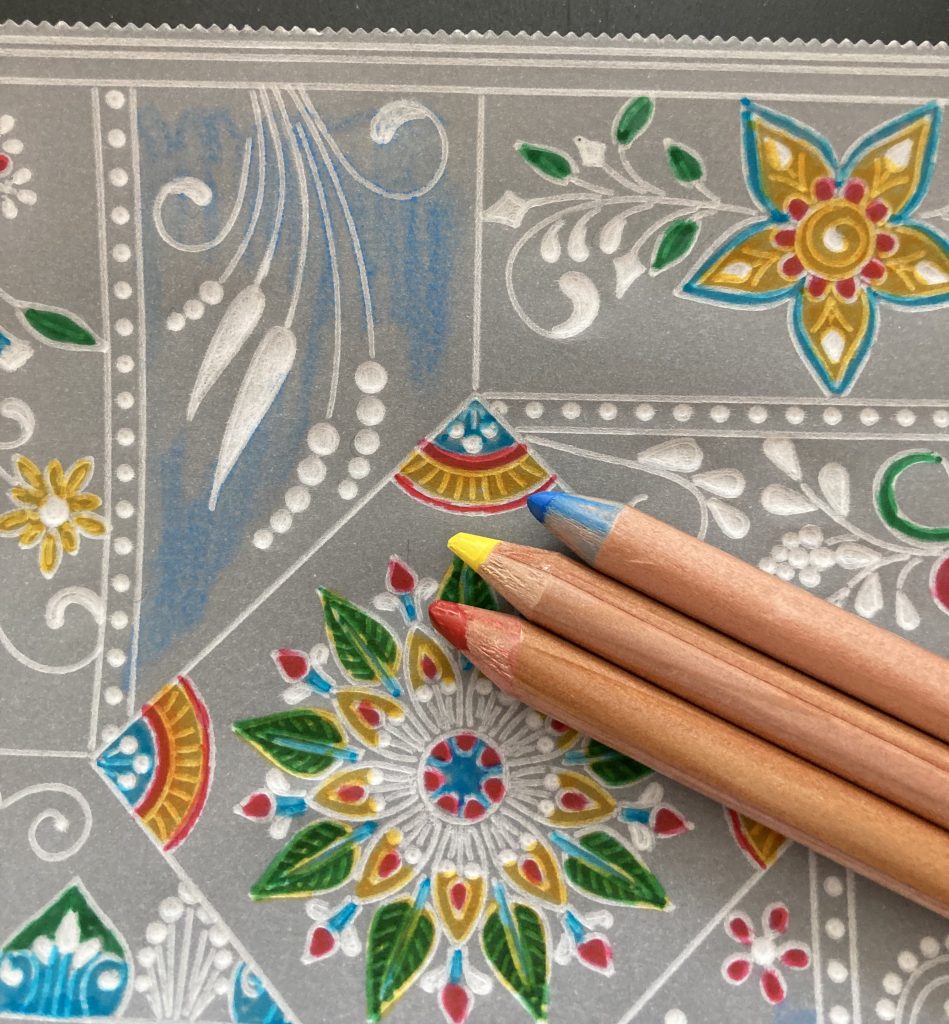
8. Using Perga Colours, add colour on the reverse to the designs.
Step 9. Using perga liners, dorso oil and blending nibs, add background colour to each section.
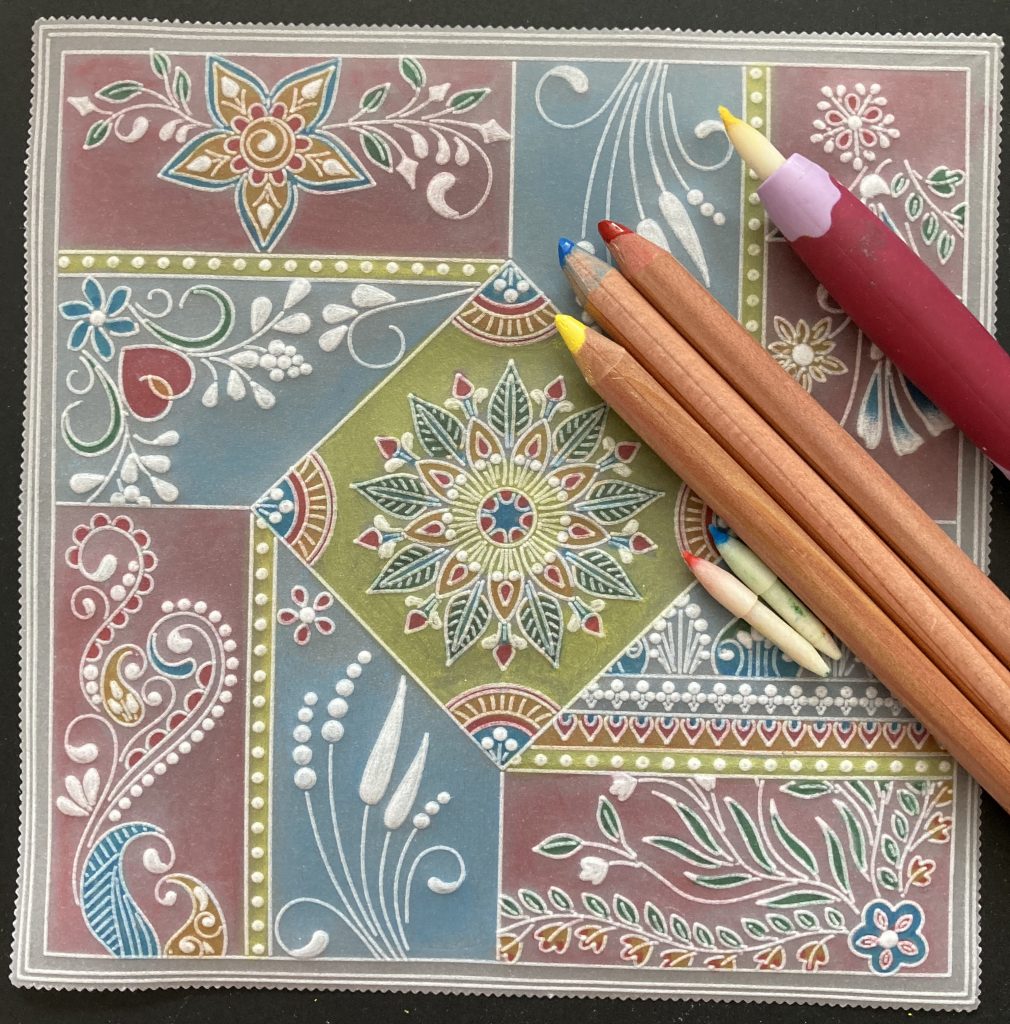
Step 10. Cut a piece of designer paper to 6½” x 6½” and attach the parchment to it using 2 pink and 2 blue brads. Attach to a 7×7 card blank.
Step 11. Use the mapping pen and sticky ink, add glitter to the design. Your project is now complete.
Hope you like it.
Hope we like it?!?! WE LOVE IT. We being me, Grace – This is one of my all time favourite cards! Thank you Jane for sharing your tips and tricks with us. This card is right up my street; so fun and bright and happy! But also a bit zen at the same time.
It’s beautiful, don’t you agree? I’d love to see your versions of Jane’s project. If you fancy emailing your artwork to me, my email is Grace@claritystamp.com
Everything that Jane has used in this step-by-step project can be found HERE, on the Clarity website.
I hope you have been enjoying the Clarity Birthday on Create and Craft this weekend. If you have missed it, then there are plenty more shows today and tomorrow. Here’s the Create and Craft schedule for the rest of the weekend:
Sunday
1pm: Weekender with Paul
3pm-5pm: Clarity Classics with Barbara
5pm: Weekender with Paul
6pm: One Day Special with Paul
9pm: One Day Special with Paul
Monday
10am: One Day Special with Paul
2pm: One Day Special with Paul
For now though, I’m off. I have a quick dash between Ohio -> New York -> England tomorrow. Looking forward to it though!
Travel gently, friends.
Lotsa love, Grace xoxo
Clarity – The Home of Art, Craft, and Well-Being.
A beautiful card Jane, thank you. Happy travelling Grace.
Startling colours and lovely work by Jane from one of my favourites….. Tina. For a change I have most of the plates, unfortunately not the layout one, but I can work on that. But I hadn’t seen that one before, so it goes on my wish list. It will definately be worked on in the next few days. My only problem will be who to send it to. Lol. Too beautiful to make then be thrown away. Thank you Jane for this lovely.project..
Colourful card. Love it. Thank you for showing us.
Beautiful card Jane, I am going to try and achieve something like it. May take a while xx
Lovely card Jane. Easy to follow instructions. Thank you! X
Lovely tutorial. Have a safe journey.
That is stunning!
Safe journey Grace. Xx
A great way to make use of all the different plates. Thanks Jane for sharing this one with us but for the moment I will have to pass on the actual design as these plates haven’t fell into my basket yet – too many new goodies to choose from at the moment !!
Safe travels tomorrow Grace, hadn’t realised it was this week but I bet you can’t wait to give everyone a big HUG.
Very pretty card, Jane! Have a safe journey,Grace.
Absolutely beautiful card Jane . Safe journey Grace. thank you both. x
Lovely card Jane. Safe travels Grace. xx