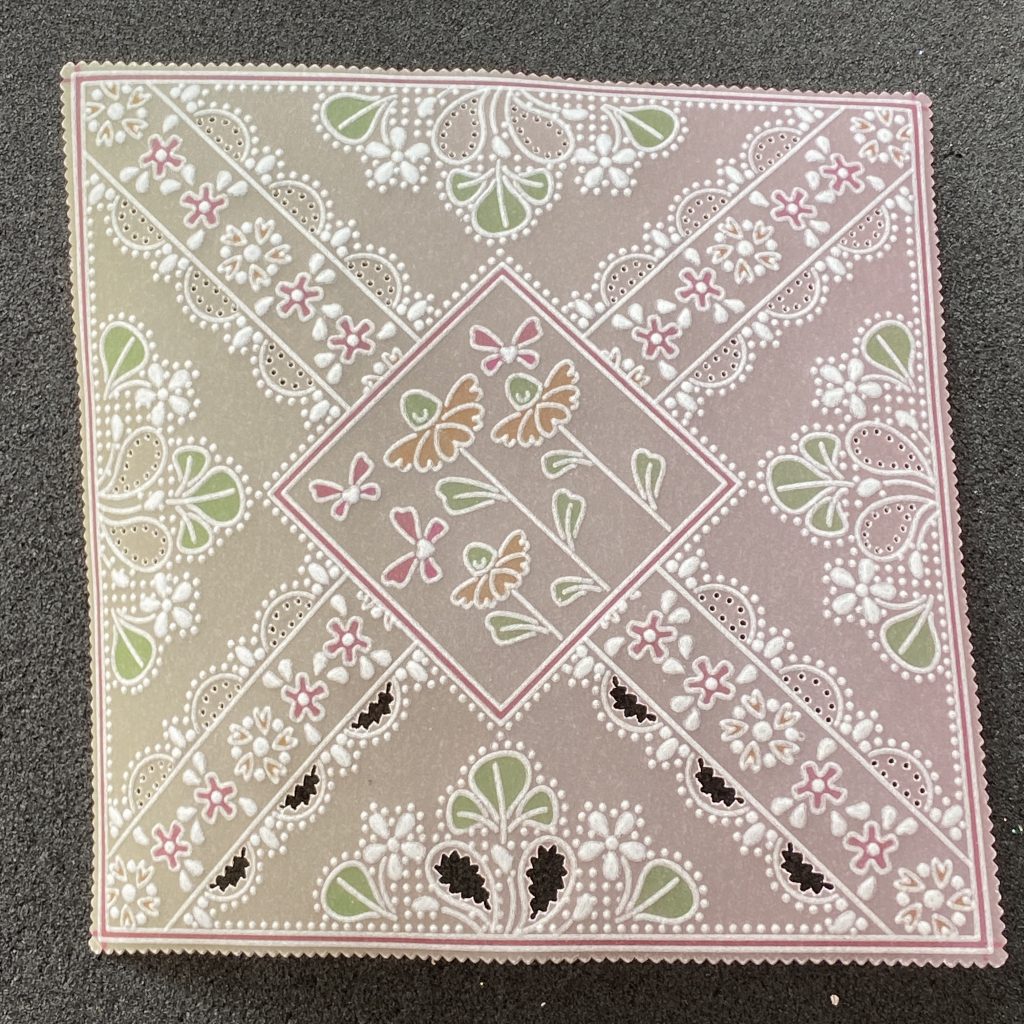
Clarity’s Blog Tutorial: How To Make A Flowerette Parchlet
Hello hello! Grace here.
I hope this finds you safe and well. Happy Sunday! I hope the sun is shining wherever in the world you are. Did our UK friends enjoy their 4 day Jubilee weekend?
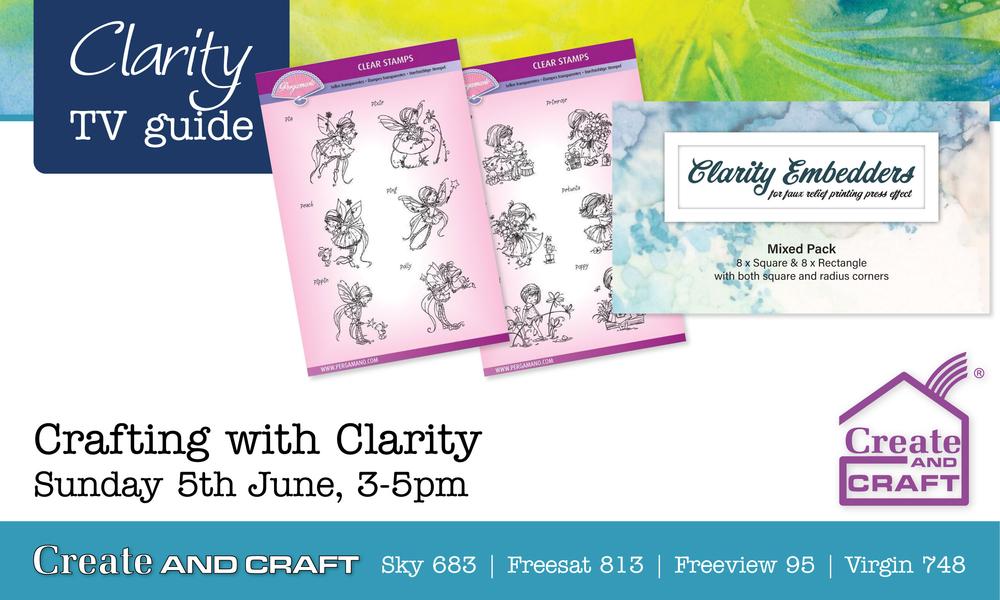
Great news! Mum is on the telly this afternoon, with the brilliant Poppet stamps and Clarity Embedders 🙂 I am obsessed with embedders. So simple, yet effective; right up my street. There’s a lovely gallery of artwork HERE for you to check out too.
I hope you’ll join her this afternoon, 3pm – 5pm.
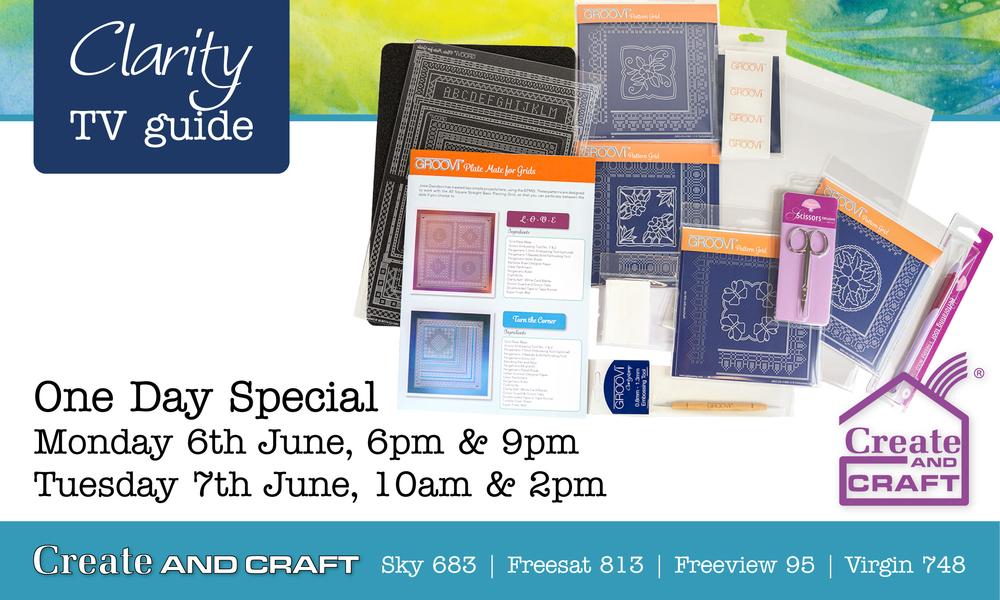
And more great news! Paul will be on telly on Monday 6th June, 6pm & 9pm.
And then again on Tuesday 7th June, 10am & 2pm.
Certainly, lots to look forward to! I hope you’re able to join us. I’ll be tuning in too, from Brooklyn and England!
I fly to the UK late this evening, for the Open Days next weekend! I so look forward to seeing so many of you there 🙂 If you’re not yet in on the plan, you can still purchase tickets HERE. What’s stopping you? Life’s too short and has been far too hard the last few years to not do the things that bring your heart joy. If you can, you should! We’d love to see you.

Right, that’s it from me. But for now, we’re joined this weekend by the wonderfully talented Tina Cox. She has prepared a brilliant step-by-step project for you. Let’s jump right into it…

Ingredients
Deluxe Groovi Plate Starter Kit + Butterfly Wreath A5 SQ Plate (GRO-SK-41709-XX)
Nested Squares Picot Cut Die Set & Groovi Plate (ACC-DI-30698-66)
Tina’s Flowerette Parchlet Quartet A6 SQ Groovi Plate Set (GRO-FL-41823-01)
Mini Straight & Diagonal Basic Bold A6 SQ Groovi Piercing Grids (GRO-GG-41099-23)
Clarity Lightwave LED Light Panel (ACC-LP-30352-A4)
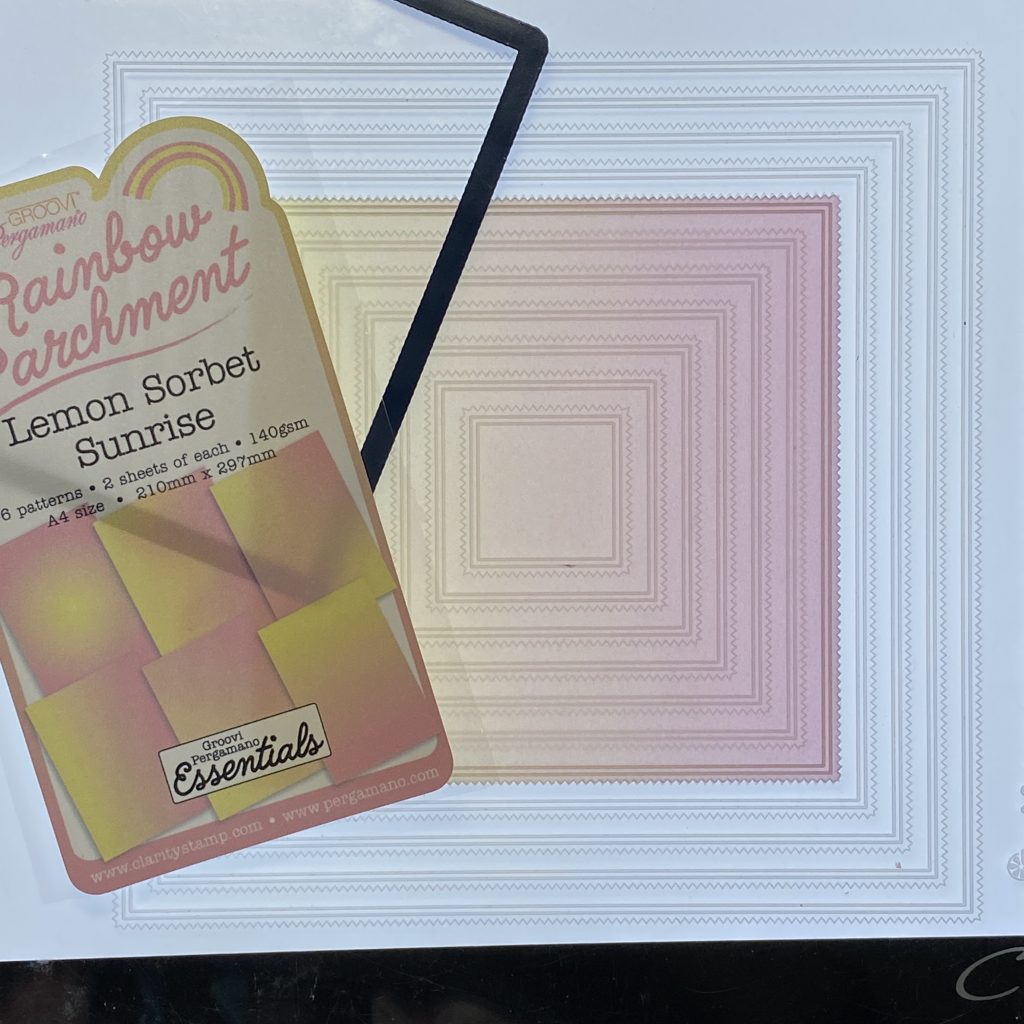
Rainbow Duo – Parchment & Paper – Lemon Sorbet Sunrise A4 (GRO-AC-42022-XX)
Waimea Falls Designer Paper Pack 8”x8″ (ACC-CA-30892-88)
Groovi A4 Clear Parchment Paper (20 sheets) (GRO-AC-40024-XX)
Perga Colours Exclusive (PER-CO-70060-XX)
Pergamano 2-Needle Bold Perforating Tool (PER-TO-70279-XX)
Ringlock Scissors (PER-TO-70041-XX)
A4 Translucent White Super Foam (GRO-AC-40603-A4)
A4 Picot Foam (GRO-AC-40625-XX)
Groovi Sticker Tabs x16 (GRO-AC-40437-XX)
Groovi Guard (GRO-AC-40345-XX)
Pergamano Ruler (PER-AC-70278-XX)
Perga Liner – B1 White Basic Pencil (PER-CO-70326-XX)
Pergamano Brads – Pastel Mix (PER-AC-70270-XX)
Pergamano Perga Glue (PER-AC-70133-XX)

TOP TIP:
All the embossing on this project is done on the back.
The colouring on this project is done on the back.
All the perforating and cutting on this project are done from the front.
Method
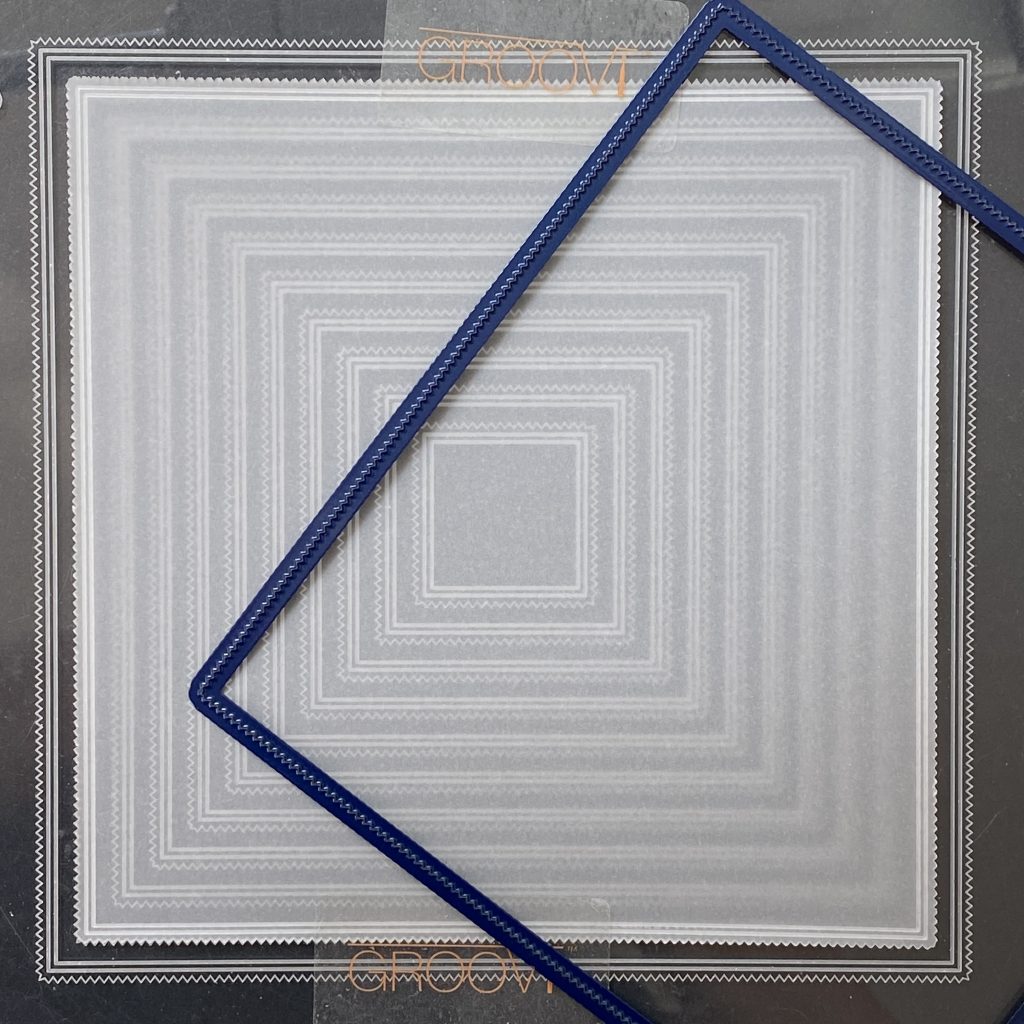
Step 1. Die-cut the 5th largest nested picot square on rainbow parchment using the Nested Squares Picot Dies. Before cutting, make sure you place the die on the softer matt side of the rainbow parchment.
Turn the parchment so the brighter glossy side is facing up (this is the back). Attach it to the Nested Picot Squares Groovi Plate with Groovi tabs and emboss the corresponding double square outlines using the Groovi No.1 tool (or Pergamano 1mm embossing ball tool).
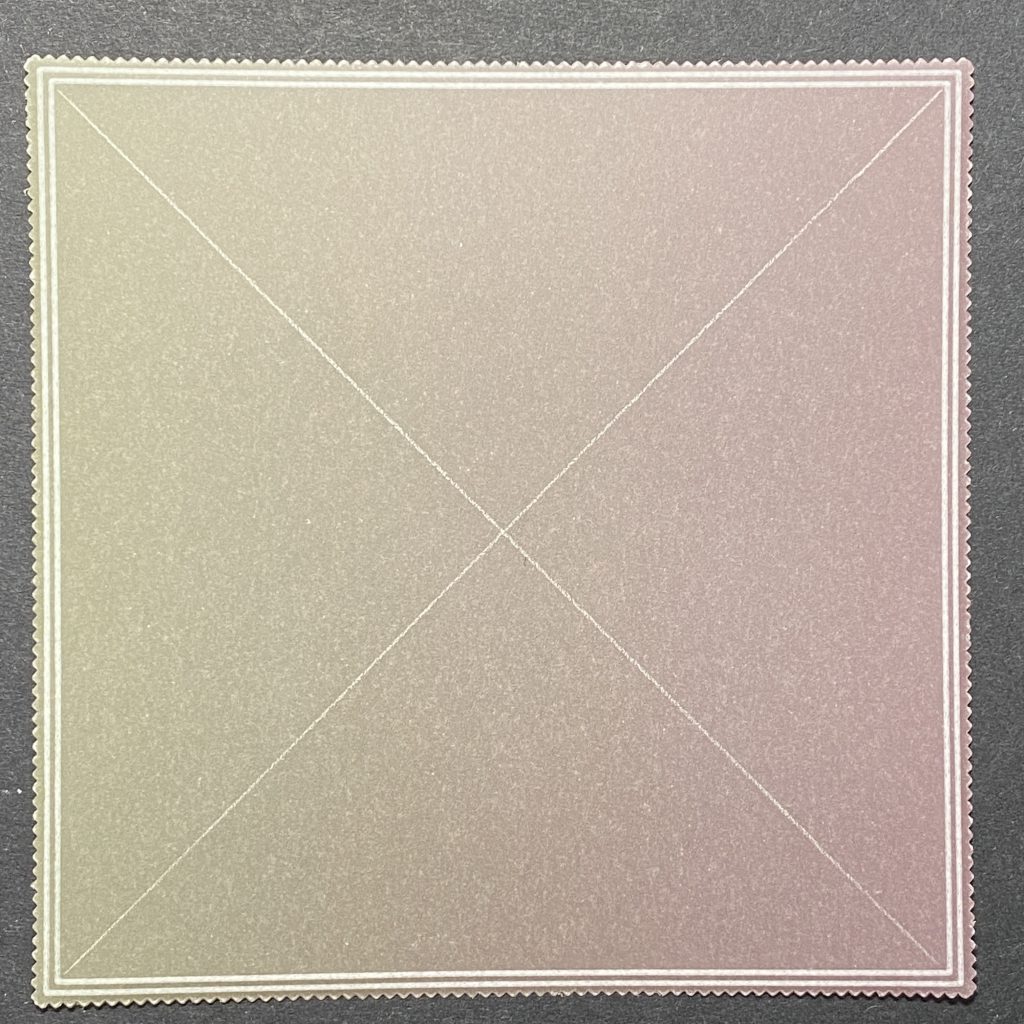
Step 2. Remove the parchment from the plate, turn it to the front (softer matt side) and draw diagonal lines using a ruler and white pencil. This will help with positioning various design elements on the parchment.
(N.B. Make sure you are drawing the pencil lines on the softer matt side so the lines can be erased later without rubbing off the colour of the parchment)
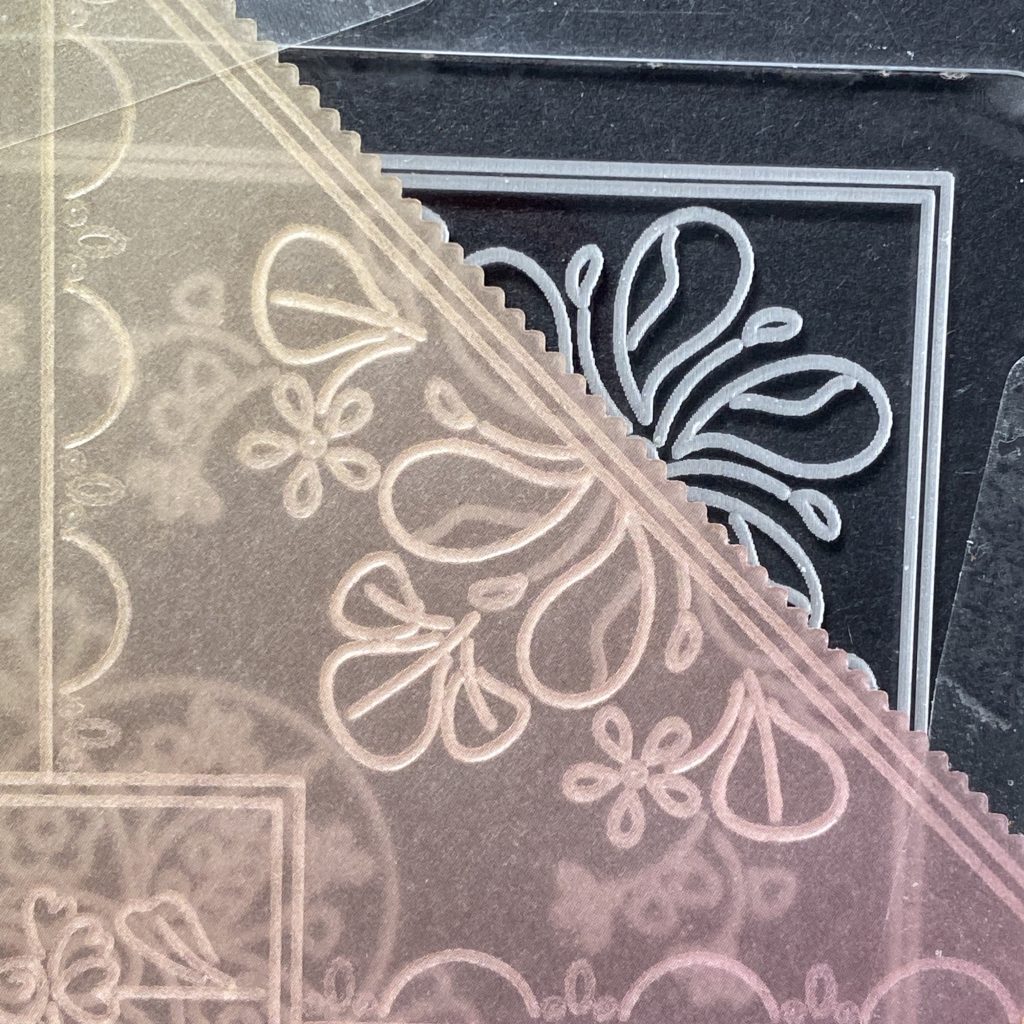
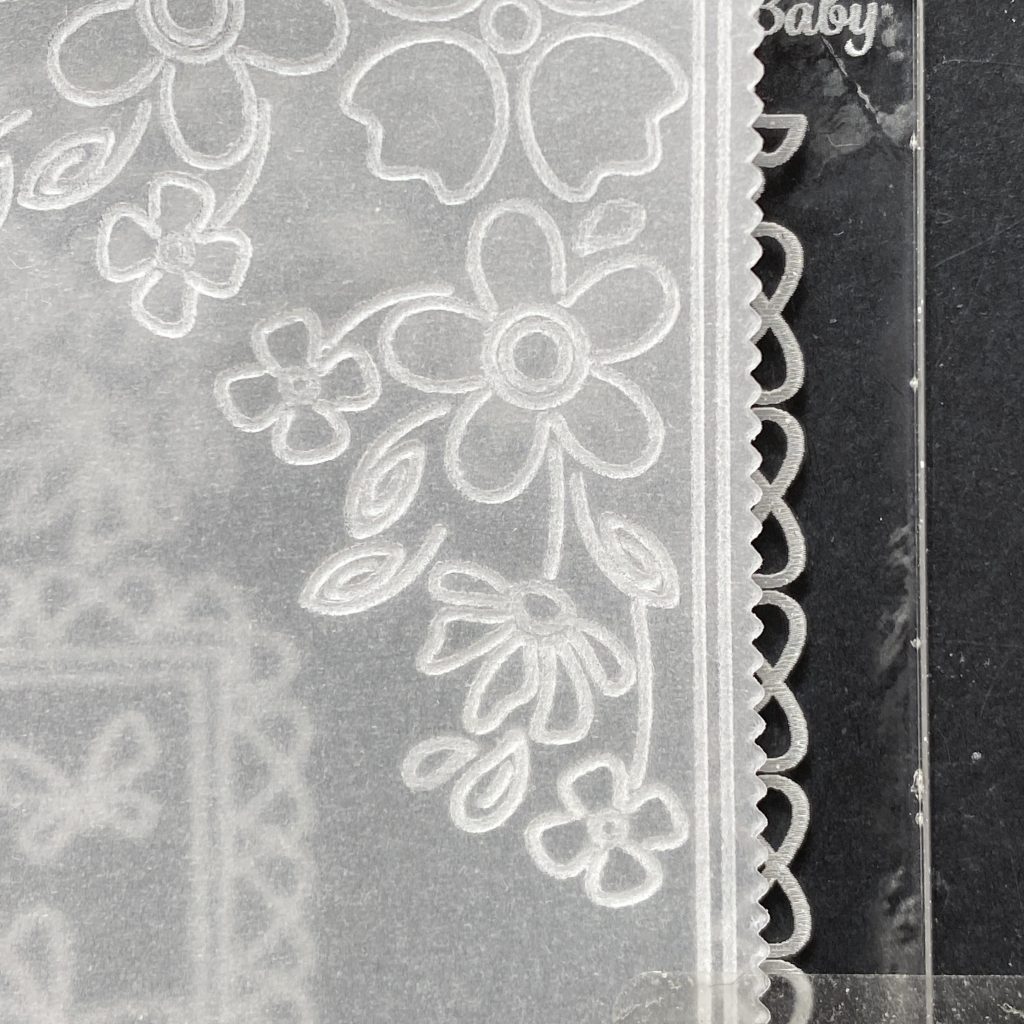
Step 3. Attach the parchment (with the brighter glossy side up) on the Flowerette Butterfly Parchlet Groovi Plate in the Tina’s Flowerette Parchlet Quartet set using Groovi tabs. Use the pencil lines as a guide to centralise the square design. Emboss the line art using the Groovi No.1 tool (or Pergamano 1mm embossing ball tool).
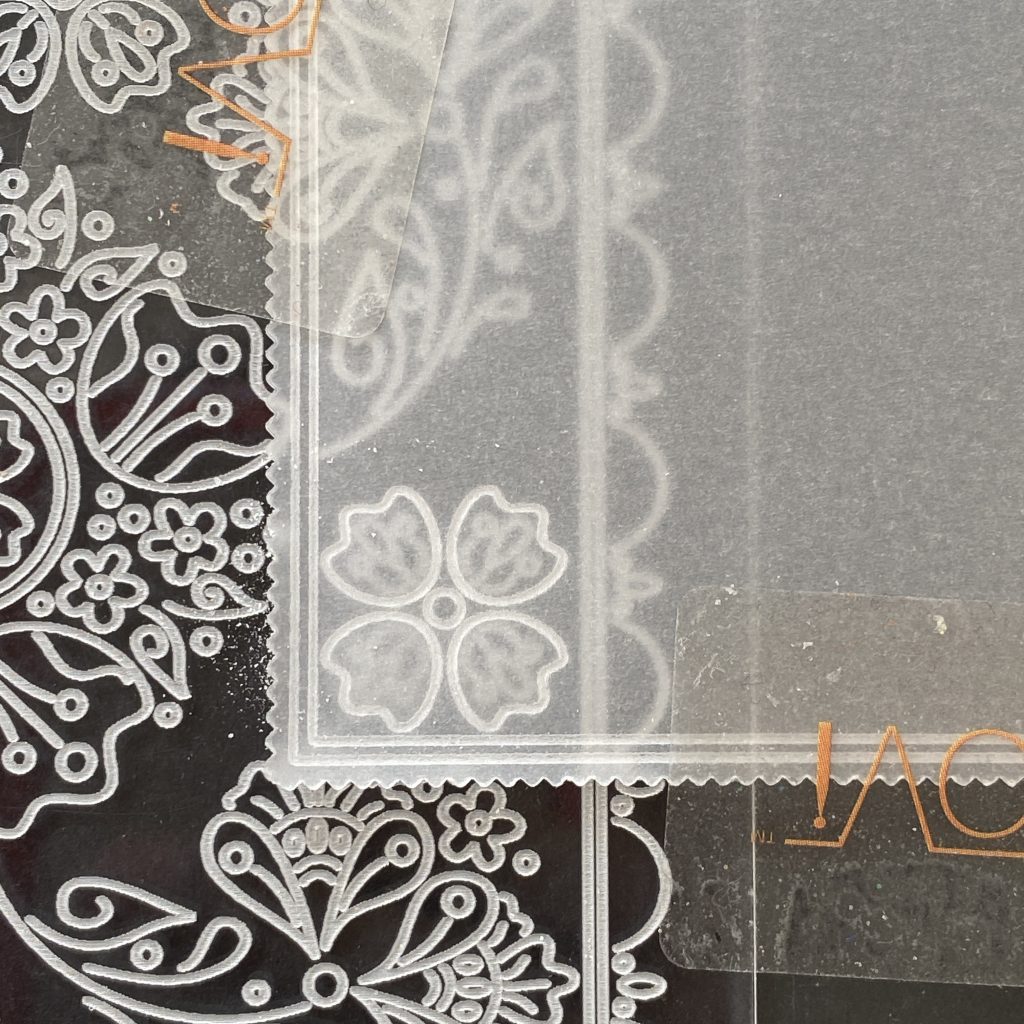
Step 4. Over the Nested Picot Squares Groovi Plate, emboss a panel between the small square design and the diagonal corner of the outer square using the Groovi No.1 tool (or Pergamano 1mm embossing ball tool). Repeat on the other 3 sides.

Step 5. Over the Flowerette Scallop Parchlet Groovi Plate (in the Tina’s Flowerette Parchlet Quartet set) emboss the scallops using the Groovi No.1 tool (or Pergamano 1mm embossing ball tool). Emboss the tiny circles and ovals with the Groovi No.2 tool (or Pergamano 1.5mm embossing ball tool).
Step 6. Repeat on the other side of the panel, as well as along the other sides of the 3 remaining panels.
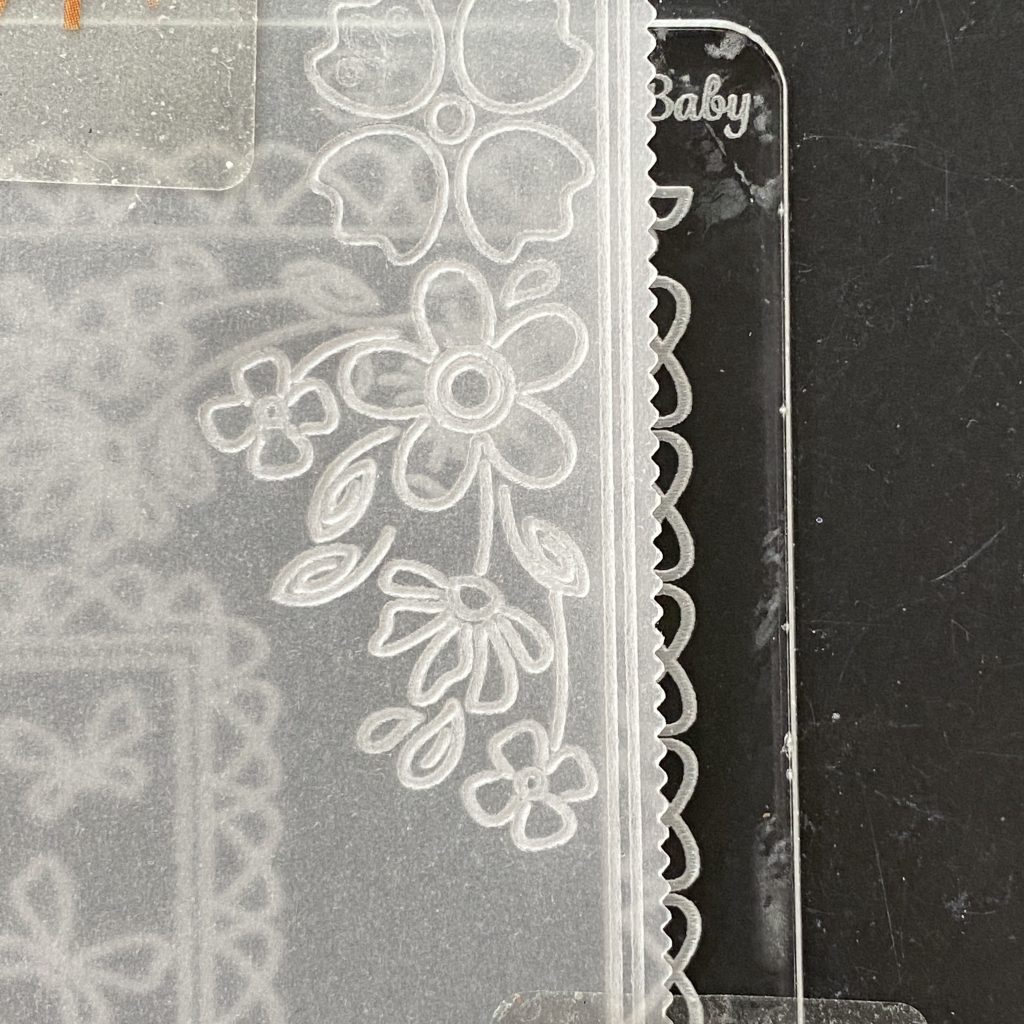
Step 7. Between the scallop border panels (along the straight line of the outside squares, over the Flowerette Petal Parchlet Groovi Plate in the Tina’s Flowerette Parchlet Quartet set) emboss the teardrop shapes and tiny circles with the Groovi No.2 tool (or Pergamano 1.5mm embossing ball tool). emboss the rest of the design using the Groovi No.1 tool (or Pergamano 1mm embossing ball tool). Repeat on the other 3 sides of the square.
Step 8. In the middle of each panel (over the Flowerette Heart Parchlet Groovi Plate in the Tina’s Flowerette Parchlet Quartet set) emboss the teardrop shapes and tiny circles with the Groovi No.2 tool (or Pergamano 1.5mm embossing ball tool). Emboss the rest of the design using the Groovi No.1 tool (or Pergamano 1mm embossing ball tool). Repeat on the other 3 sides of the square.
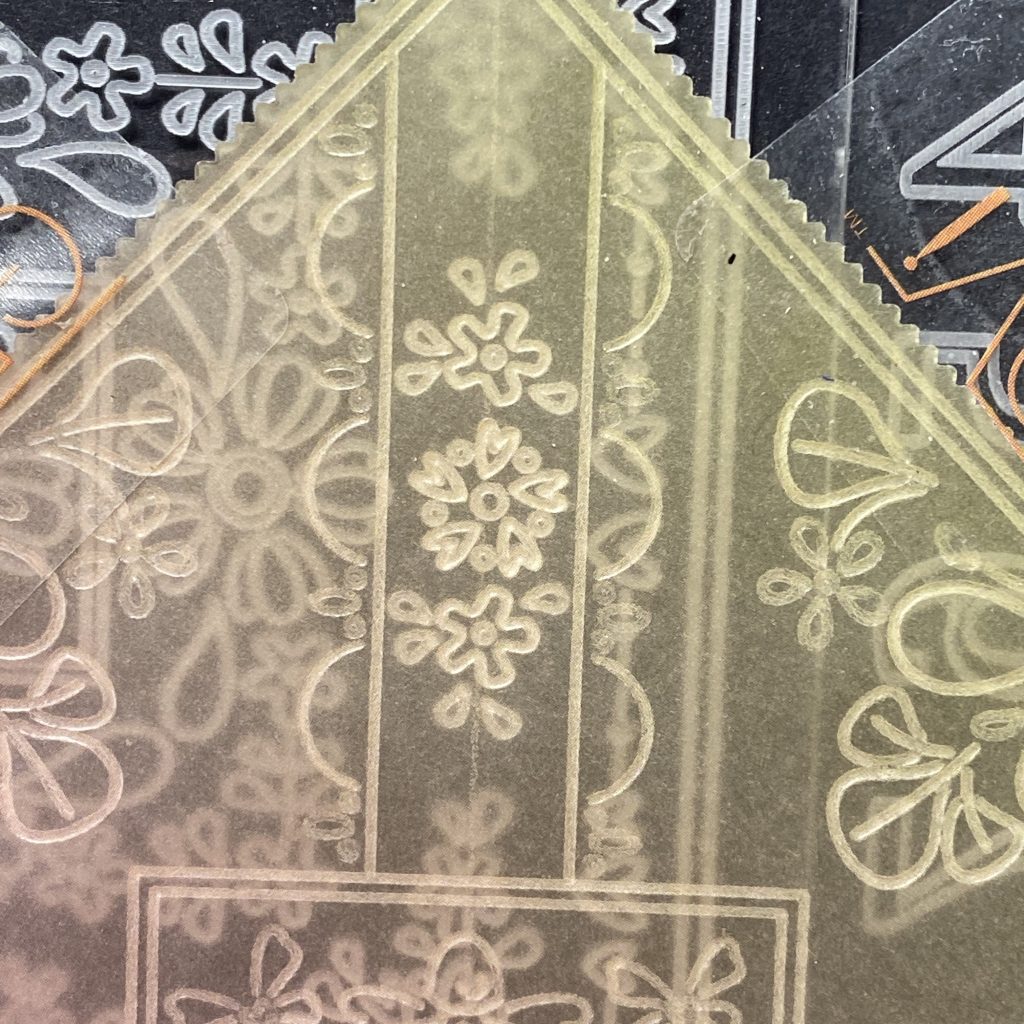
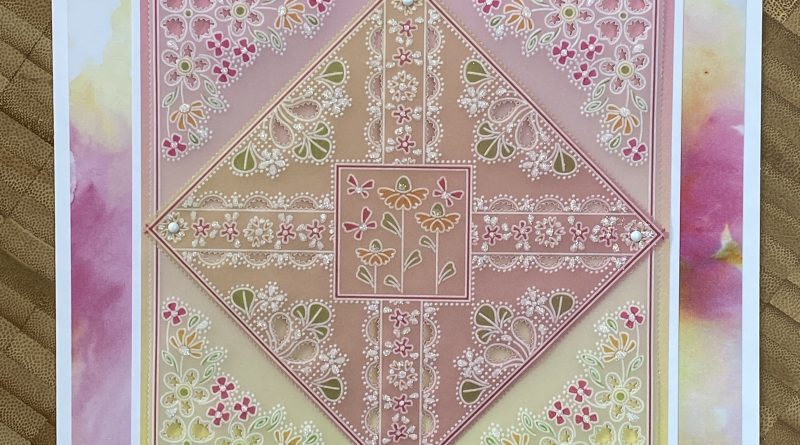
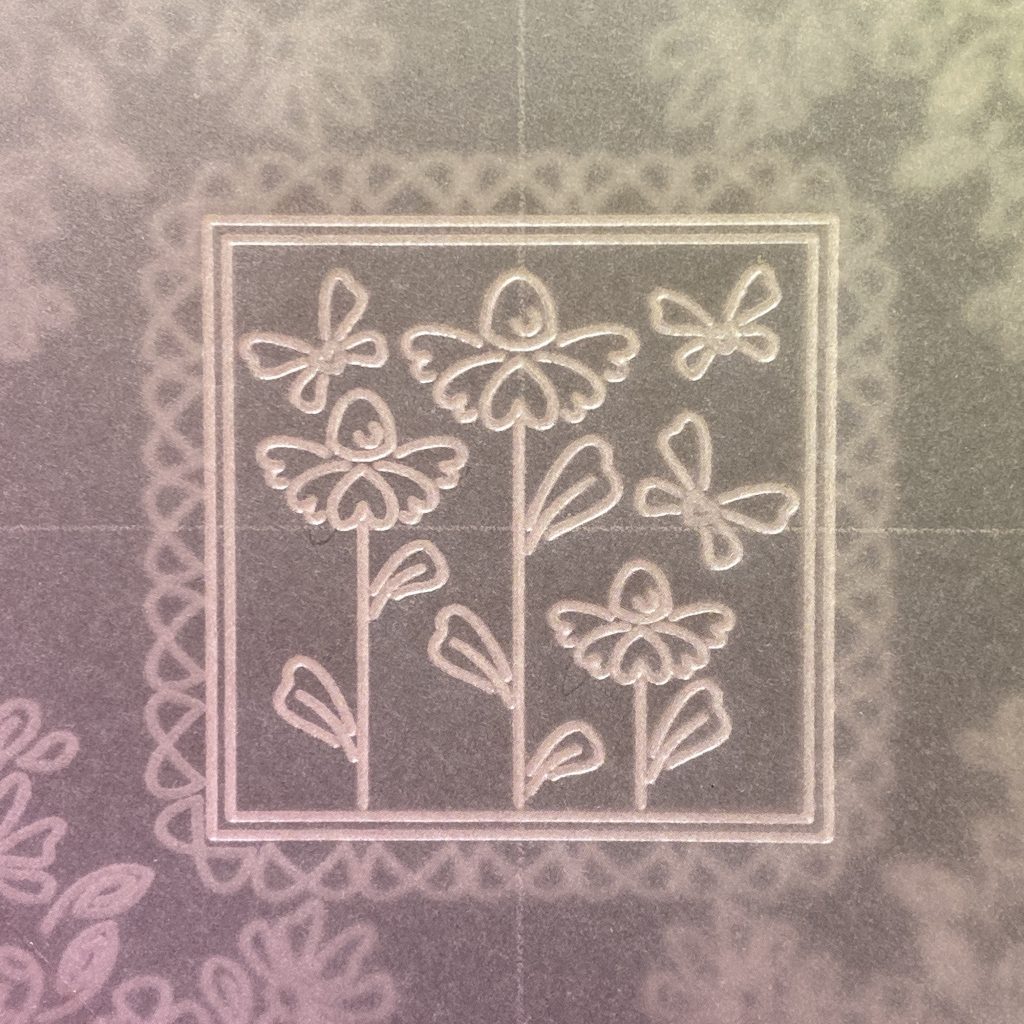
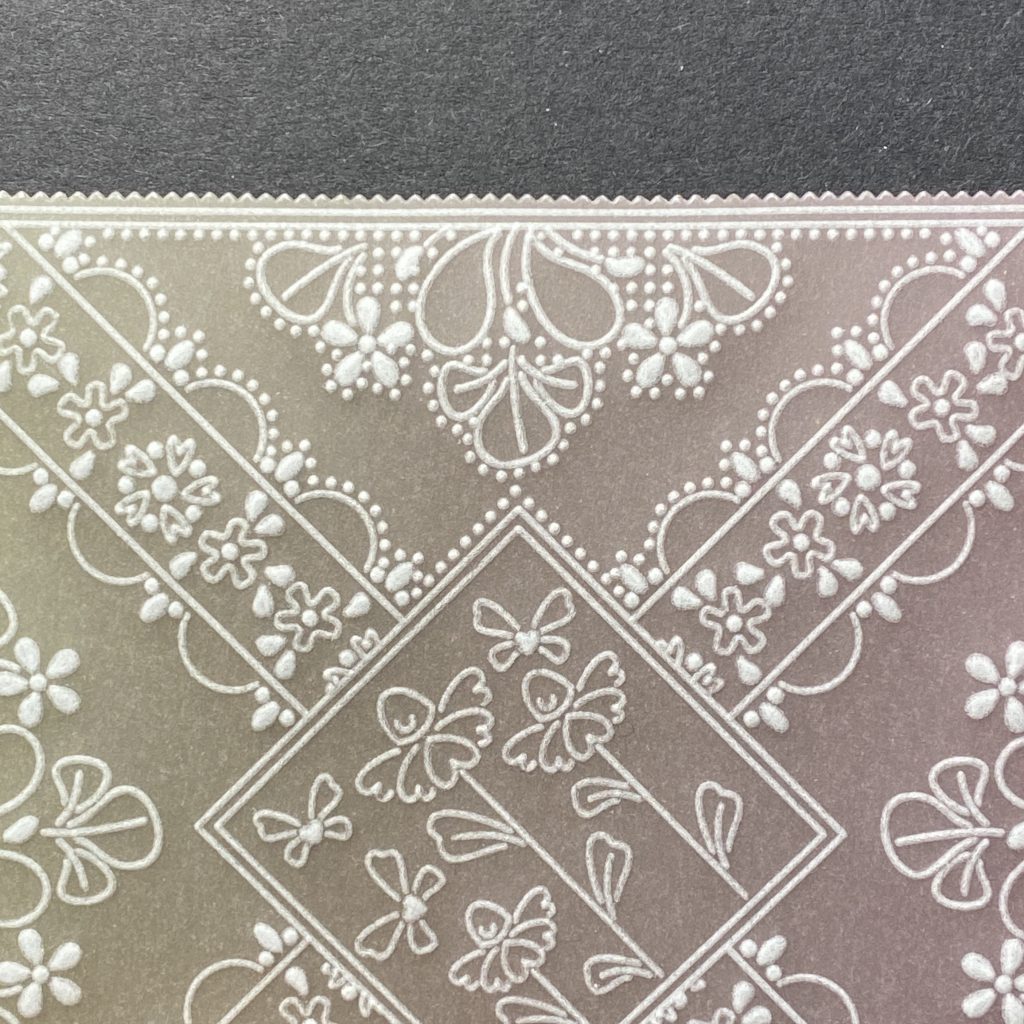
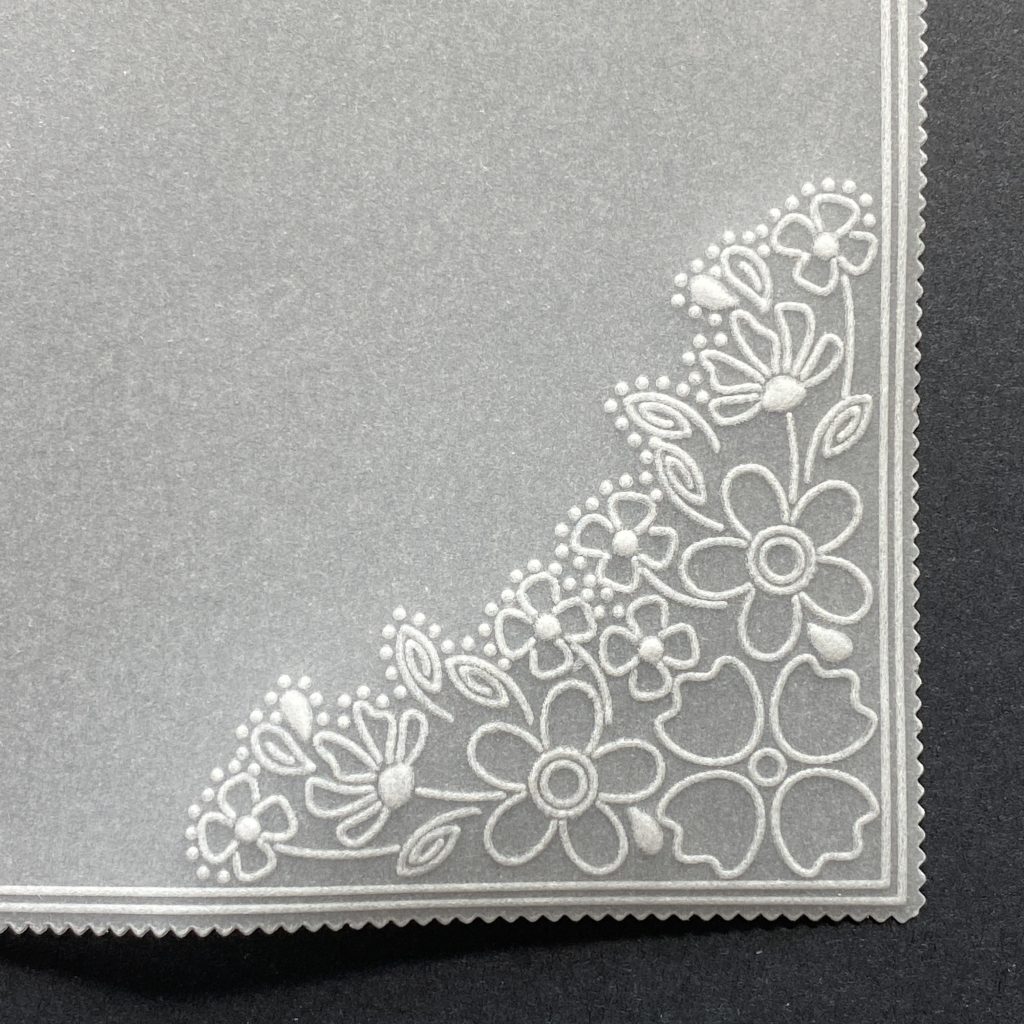
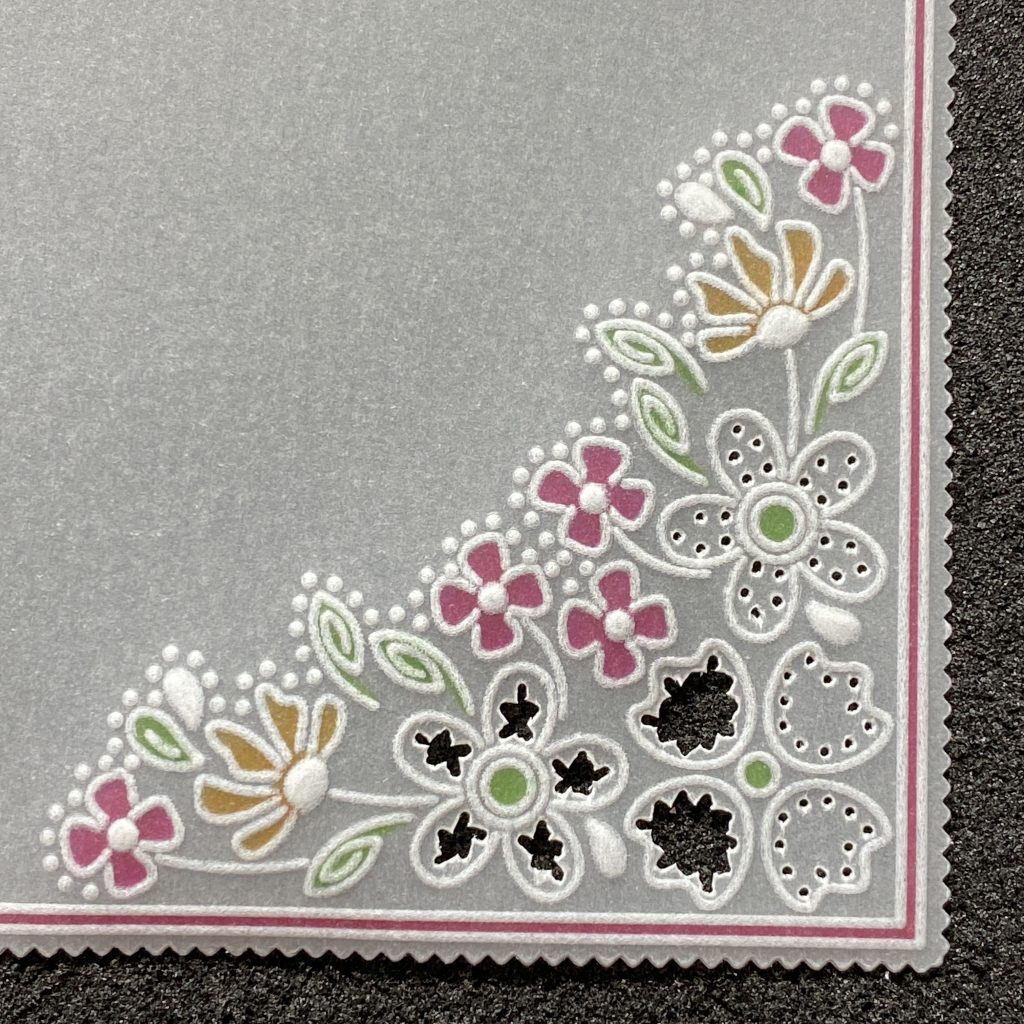
Erase all of the pencil lines on the front. This is what the line art looks like on the front…
Step 9. Using the Groovi No.3 tool and Groovi No.2 tool (or Pergamano 3mm and 1.5mm embossing ball tool) freehand emboss inside the circles, ovals and teardrop shapes for the whitework.
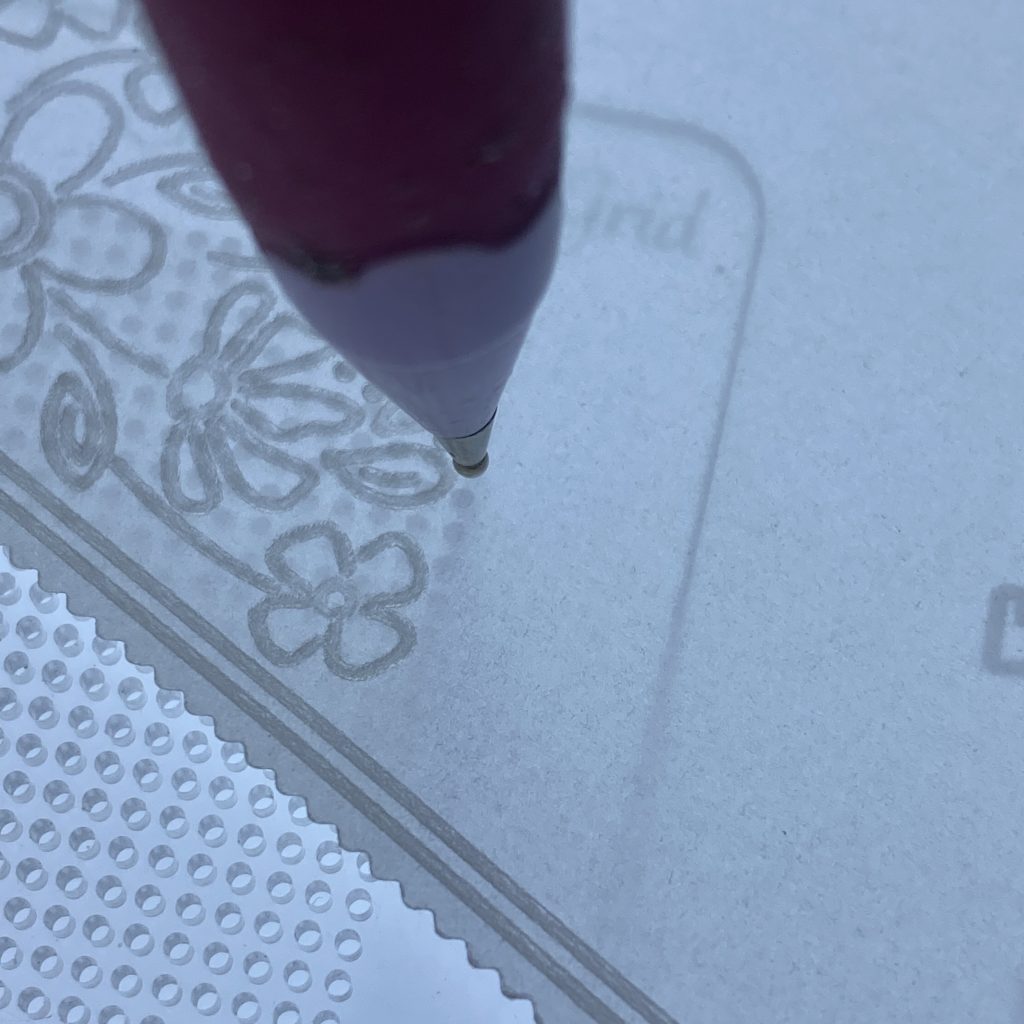
Step 10. Over the basic straight grid from the Mini Straight & Diagonal Basic Bold Piercing Grid set, emboss dots outside the small square corners between the scallop borders.
Step 11. Over the basic straight grid from the Mini Straight & Diagonal Basic Bold Piercing Grid set, emboss dots around the scallops borders and outside floral designs. To do this, using the Groovi No.2 tool (or Pergamano 1.5mm embossing ball tool), emboss a dot. Keep the ball tool on the dot and swivel the parchment slightly so that the next hole on the grid is close to the embossed line. Emboss a dot over that hole.
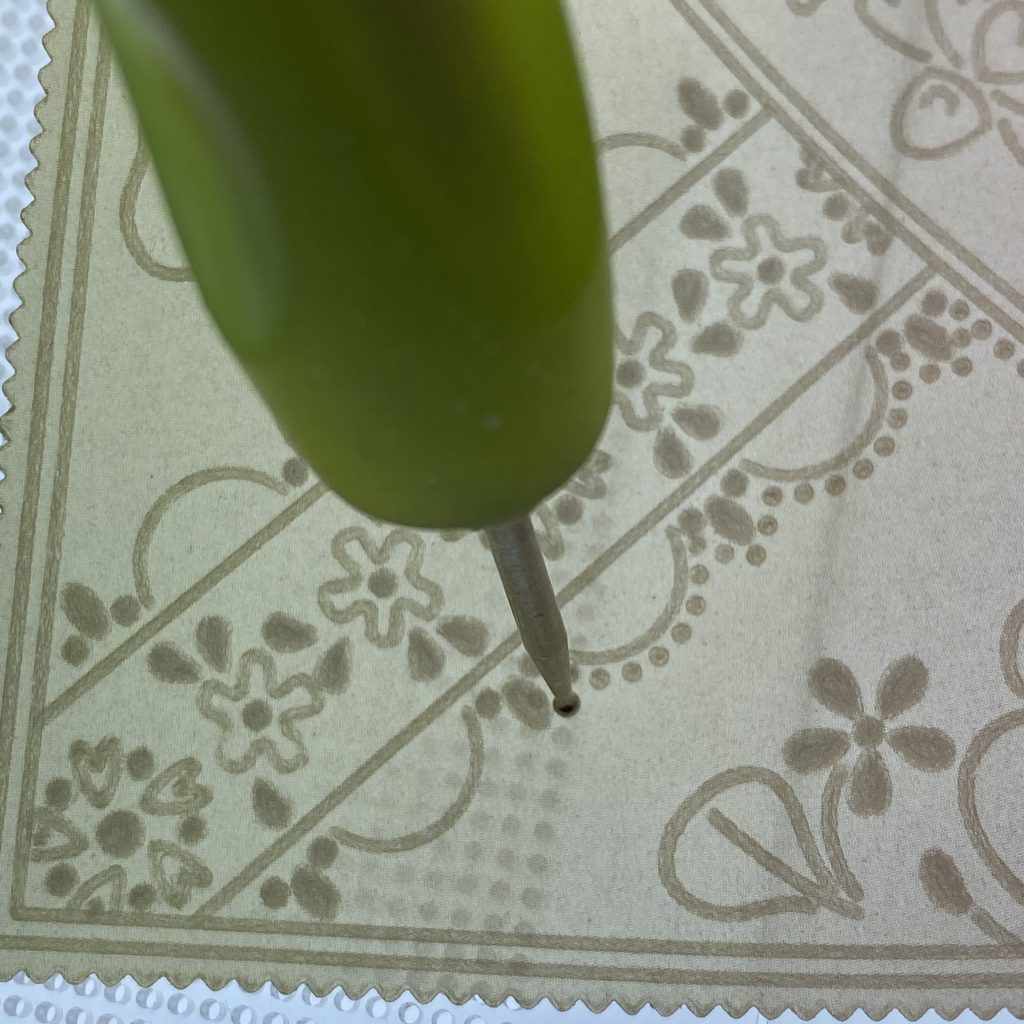
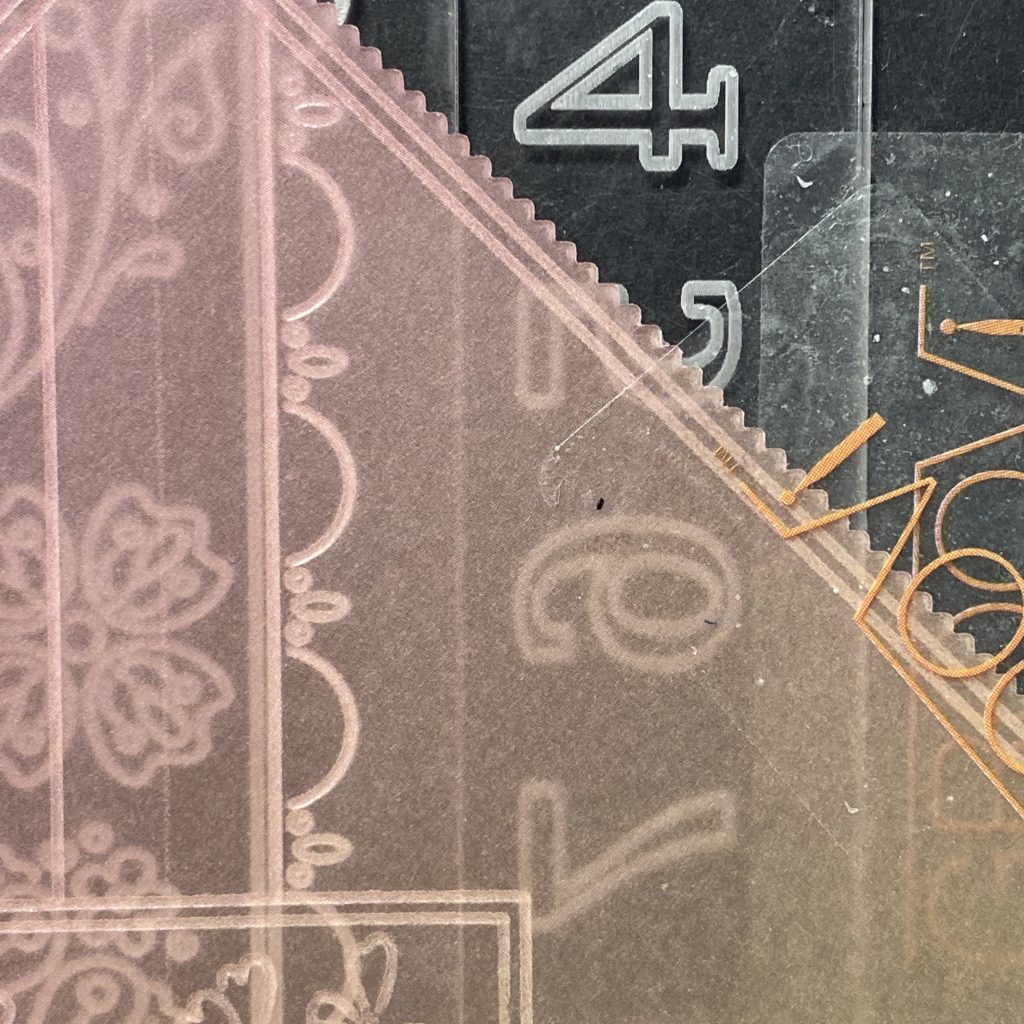
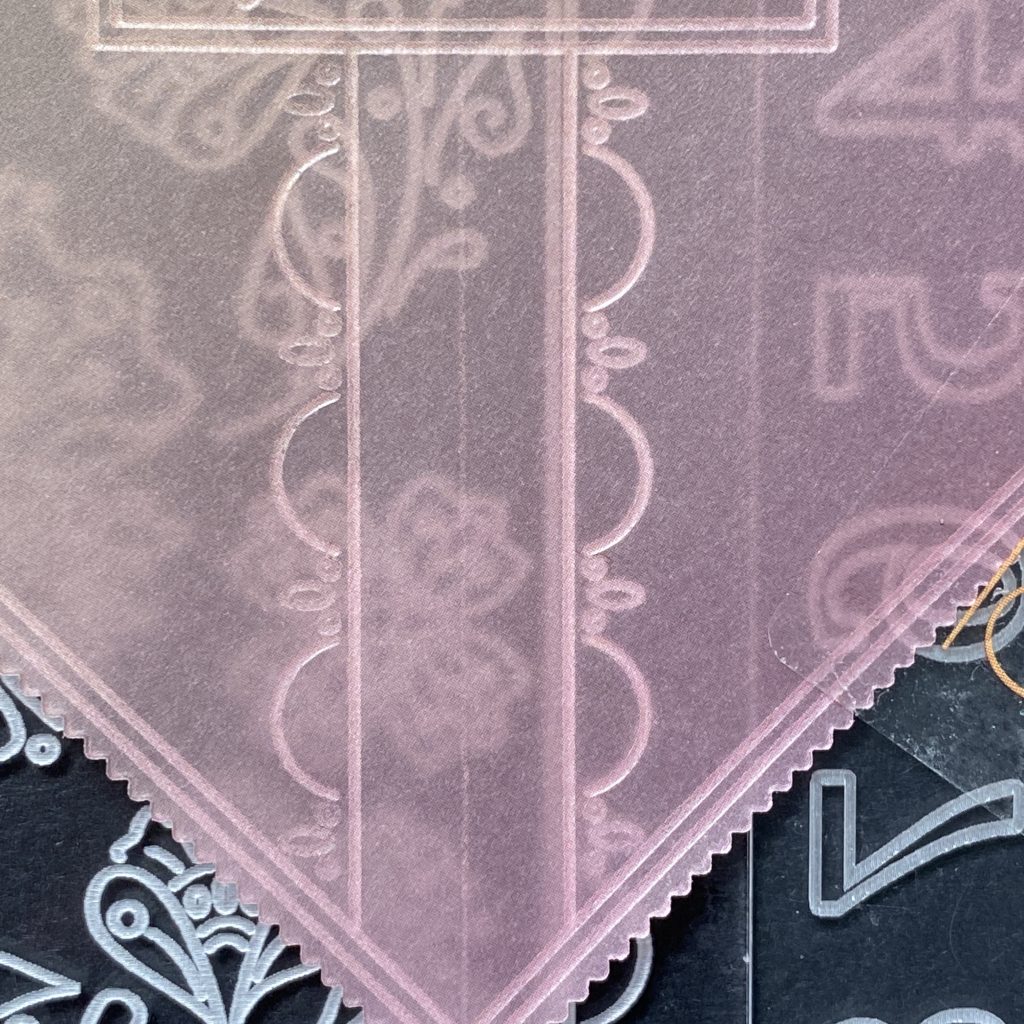
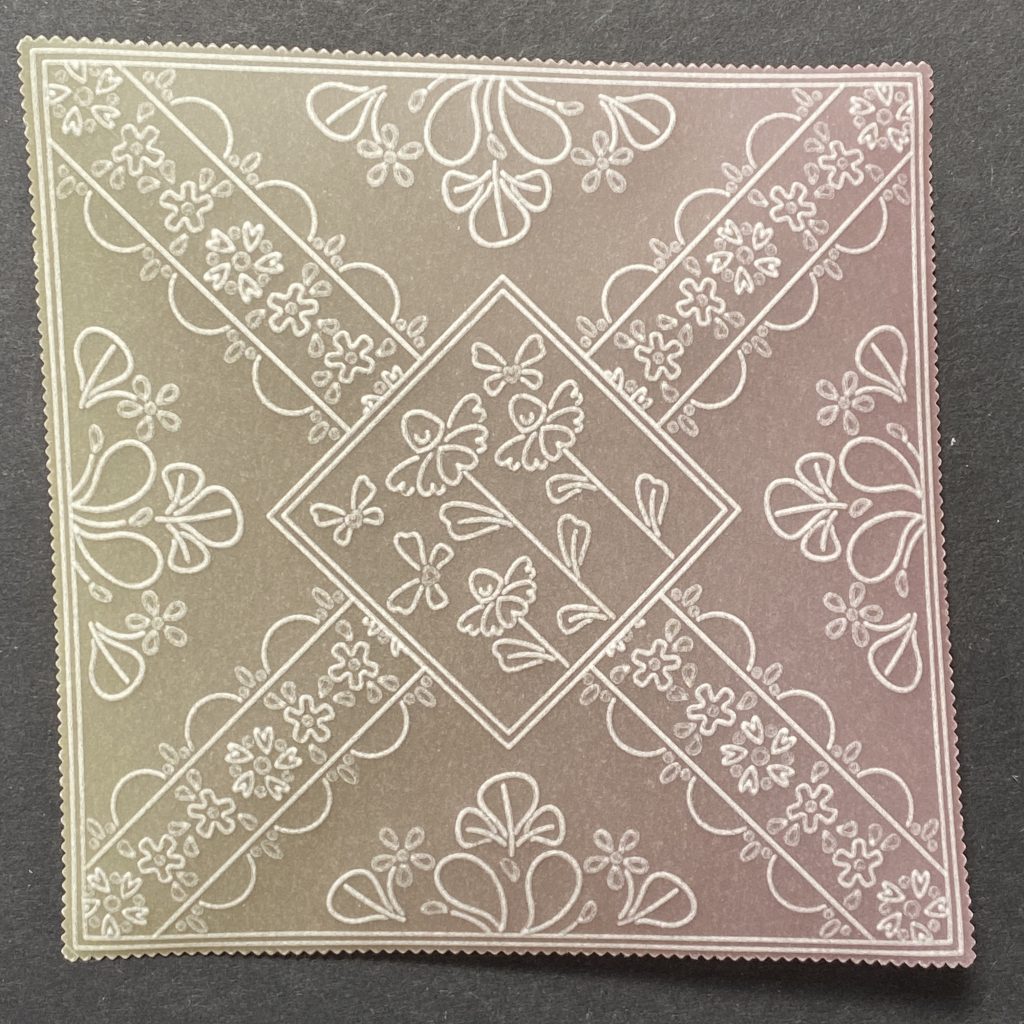
So it looks like this on the front…
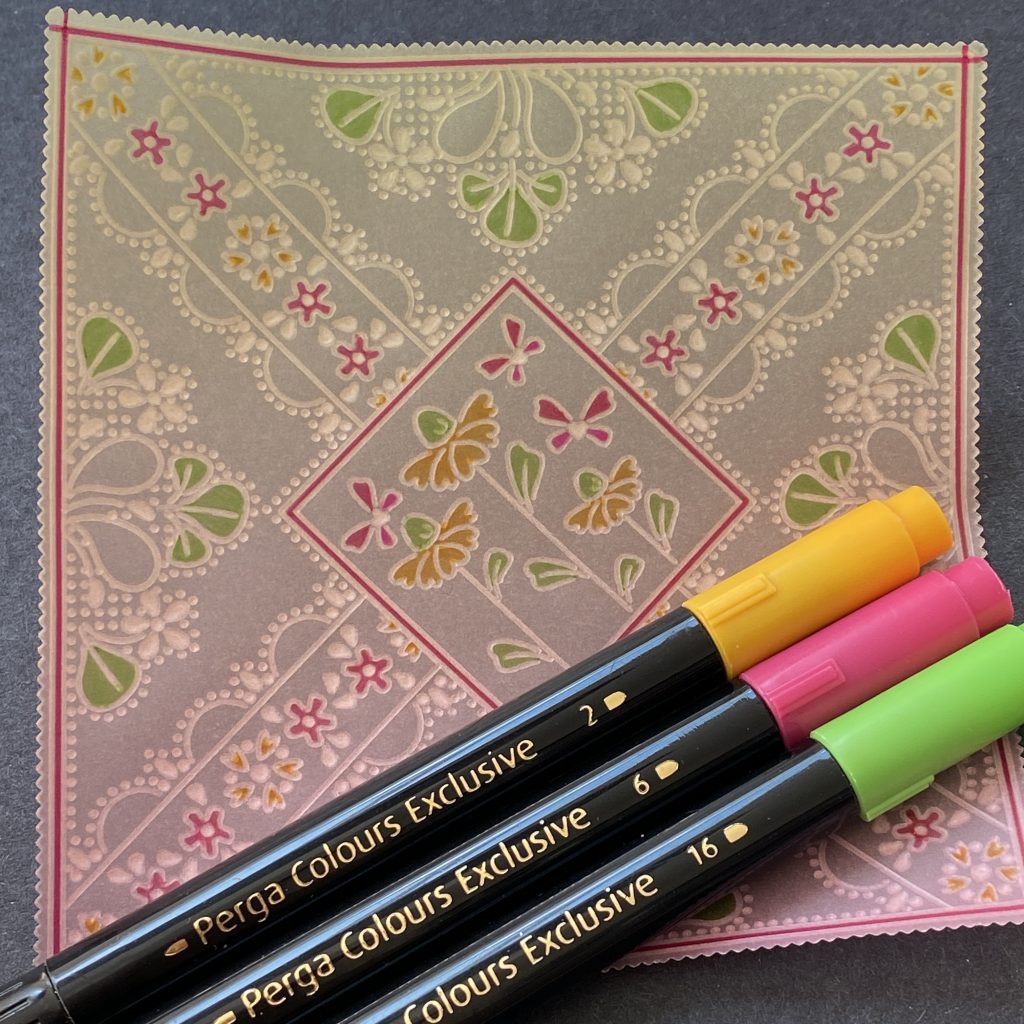
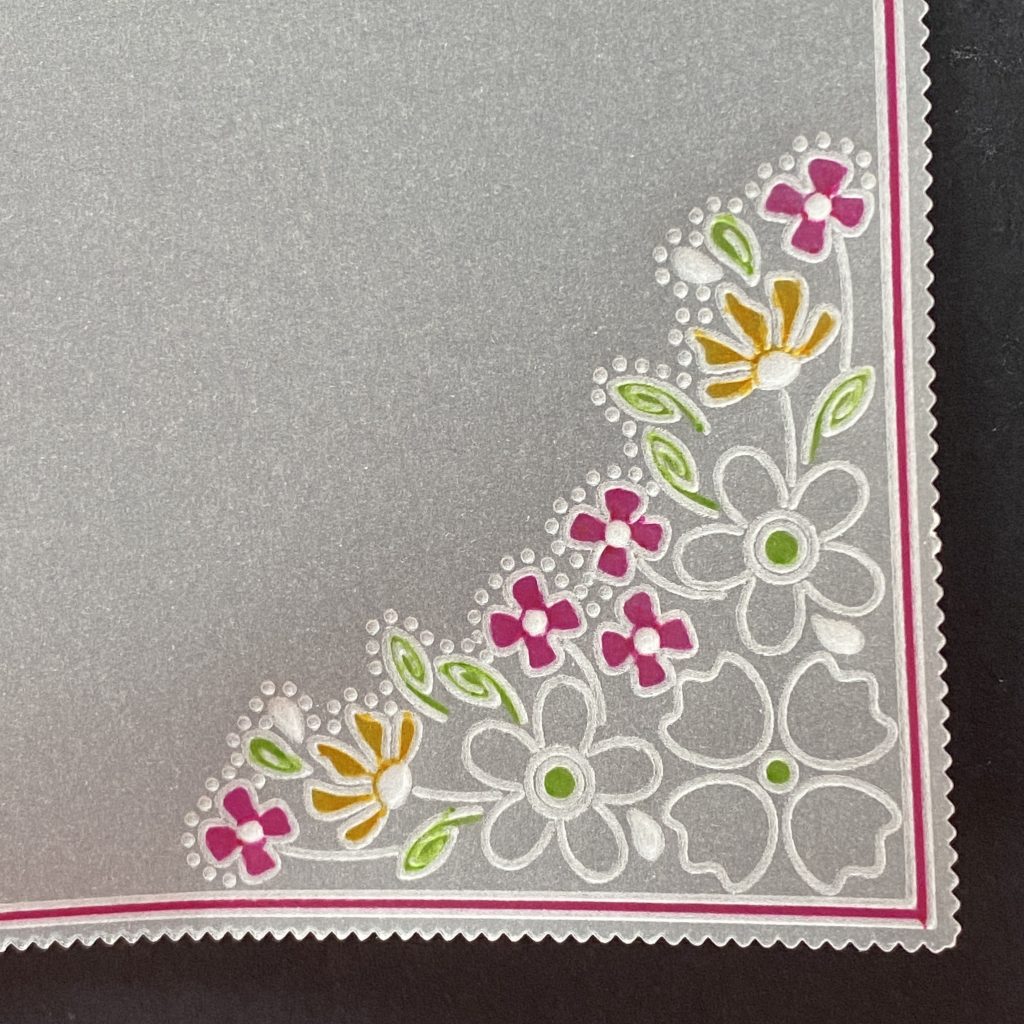
Step 12. Still working on the back, colour using Perga Colours Exclusive pens.
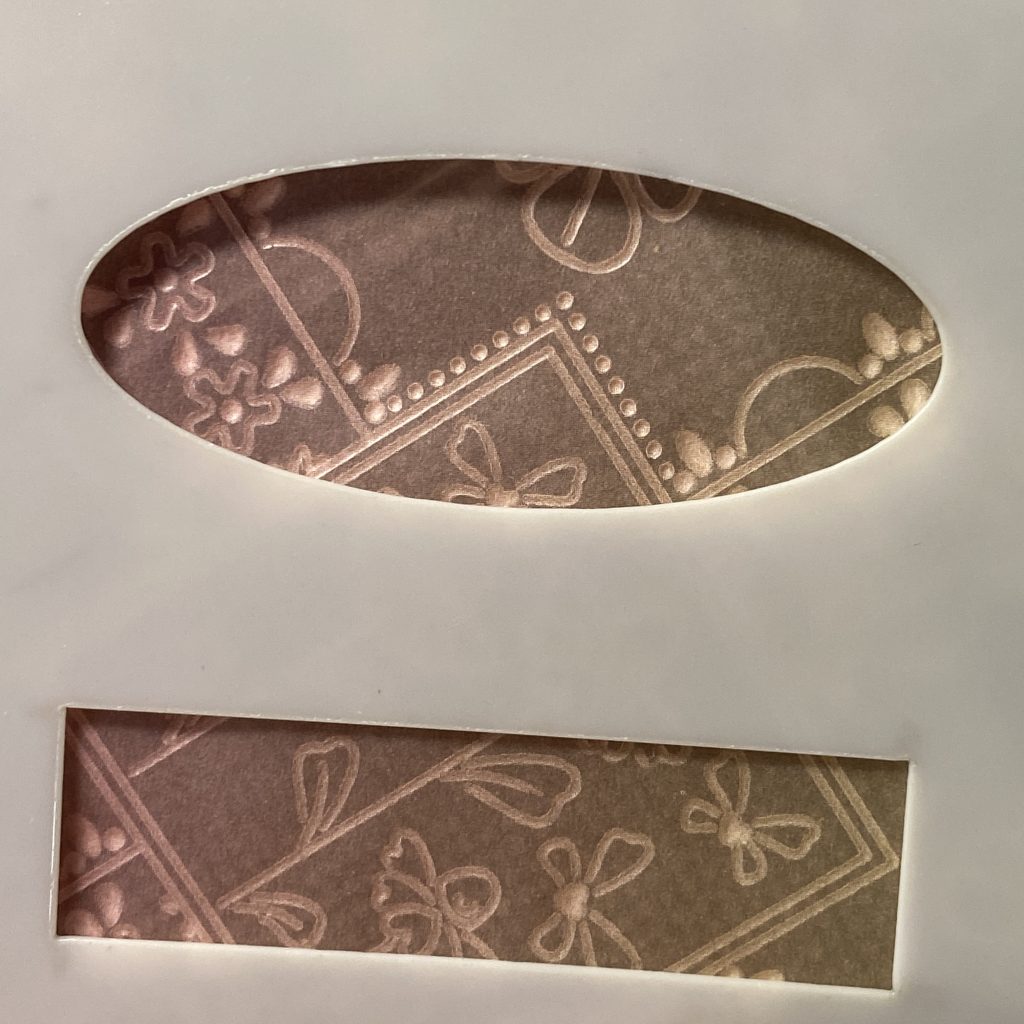
Step 13. From the front, perforate inside the scallops, the large flower petals and along the straight line of the outside squares using the Pergamano bold 2-needle perforating tool. Picot cut between all the perforations making sure the scissors are over the waste when you cut.
Step 14. Die-cut the 2nd largest nested picot square on clear parchment using the Nested Squares Picot Dies. Turn the parchment over to the back, attach it to the Nested Picot Squares Groovi Plate with Groovi tabs and emboss the corresponding double square outlines using the Groovi No.1 tool (or Pergamano 1mm embossing ball tool).
Step 15. In each corner, emboss the flower from Flowerette Scallop Parchlet Groovi Plate in the Tina’s Flowerette Parchlet Quartet set using the Groovi No.2 tool (or Pergamano 1.5mm embossing ball tool) for the circle and the Groovi No.1 tool (or Pergamano 1mm embossing ball tool). Repeat on the other 3 sides of the square for the flower petals.
Step 16. From the corner embossed flower (over the Flowerette Butterfly Parchlet Groovi Plate in the Tina’s Flowerette Parchlet Quartet set) emboss part of the floral design. Use the Groovi No.2 tool (or Pergamano 1.5mm embossing ball tool) to emboss the line art that you want to do whitework on and the Groovi No.1 tool (or Pergamano 1mm embossing ball tool) for the rest of the design.
Step 17. Repeat on the other side of the corner embossed flower.
Step 18. Over the basic straight grid, emboss dots around designs using the Groovi No.2 tool (or Pergamano 1.5mm embossing ball tool).
Step 19. Using the Groovi No.3 tool and Groovi No.2 tool (or Pergamano 3mm and 1.5mm embossing ball tool) freehand emboss inside the circles, ovals and teardrop shapes for the whitework.
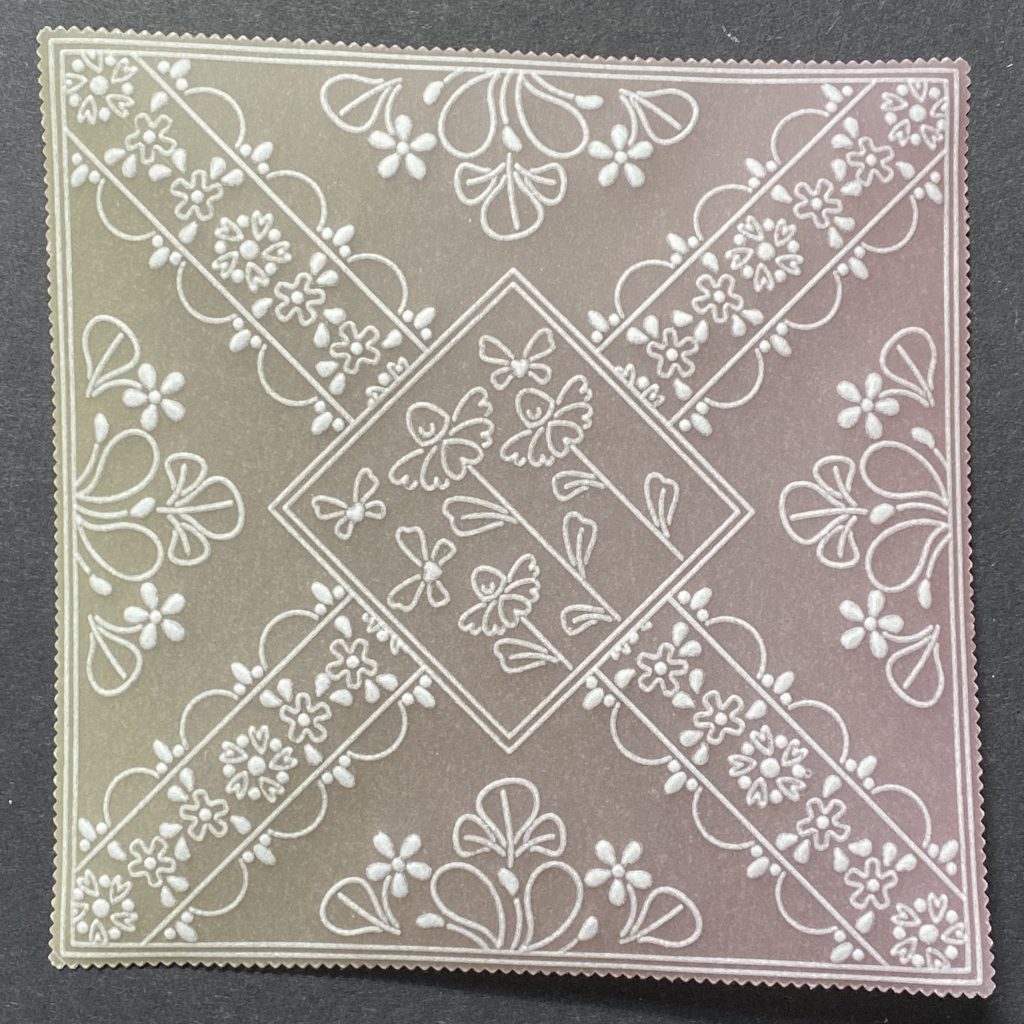
Step 20. Still working on the back, colour using Perga Colours Exclusive pens.
Step 21. From the front, perforate inside the flower petals using the Pergamano bold 2-needle perforating tool. Picot cut between all the perforations making sure the scissors are over the waste when you cut.
To Finish: Add Perga glitter on all the embossed whitework. Mount the parchment work on the corresponding Rainbow paper, white card and Designer paper using brads. Stick this on folded white card. And you’re done!
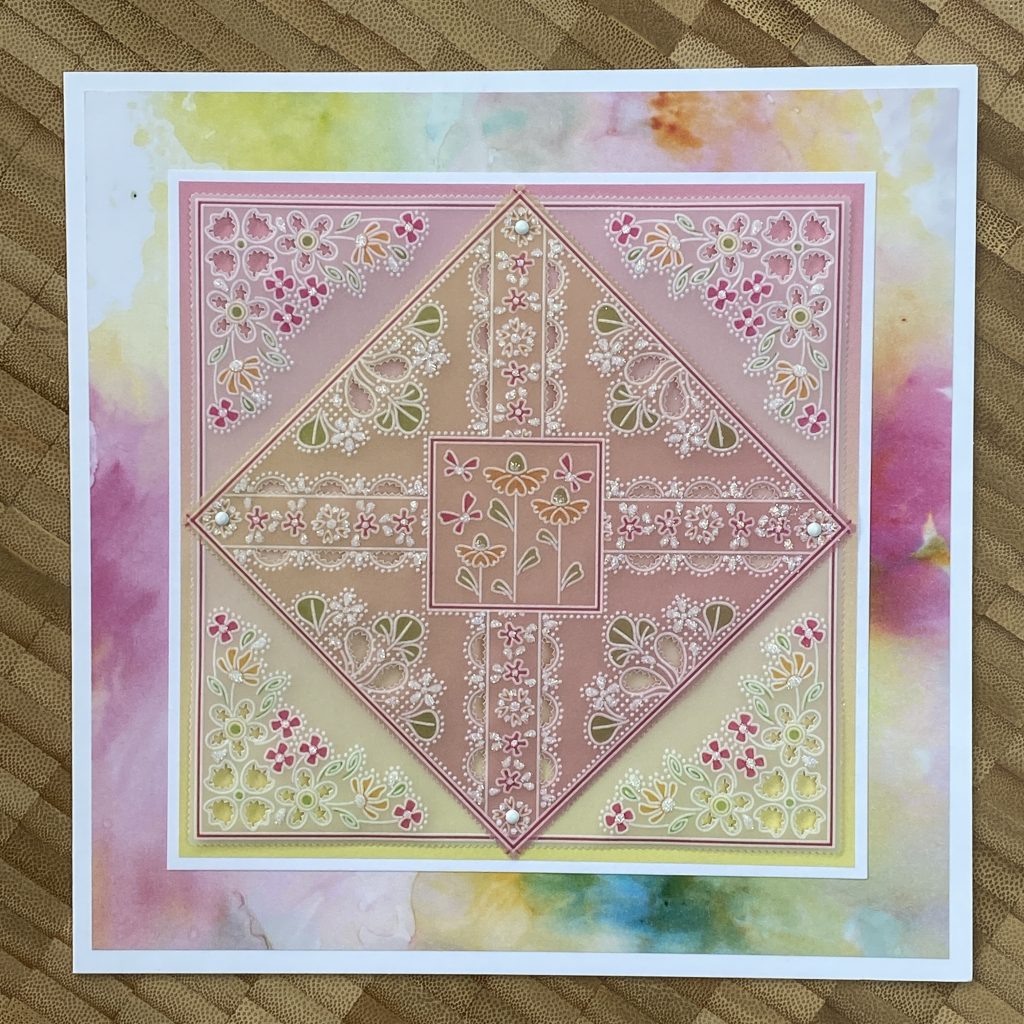
WOW! That is incredibly stunning. Thank you, Tina, for your tips and tricks!
Everything that Tina has used can be found over on the Clarity website: HERE.
If you’d like to give this step-by-step project a go yourself, please send me the results! We love to see your work. Grace@claritystamp.com
Right, one more little run down of the week ahead!
What’s happening at Clarity Towers this week:
Sunday, June 5th: Crafting with Clarity with Barbara from 3pm to 5pm on the new Create and Craft
Monday, June 6th: Crafting with Clarity One Day Special with Paul at 6pm & 9pm the new Create and Craft
Tuesday, June 7th: Crafting with Clarity One Day Special with Paul at 10am & 2pm the new Create and Craft
Friday, June 10th: Clarity Open Days at Ditton Community Centre, Aylesford nr Maidstone
Saturday, June 11th: Clarity Open Days at Ditton Community Centre, Aylesford nr Maidstone Tickets available HERE
See you sooooooon!
Travel gently, friends.
Lotsa love, Grace & Tina xoxo
Clarity – The Home of Art, Craft and Well-Being.
Thank you Tina. Will definitely be giving that one a go.
I have my ticket for Friday. All being well I’ll be there with my sister and niece. Really looking forward to seeing you both.
Wishing you gentle travelling this afternoon Grace. Bet your Mum’s excited.
A beautiful project Tina. I love how each project is broken down into the different stages so that you don’t have to try and work out how each effect has been achieved. Thank you. Thanks for the ‘heads up’ on the upcoming TV shows Grace. Already set my TV planner to record as unfortunately not able to watch the live demonstrations.
Fabulous card, so inspirational, thank you. x
Just realised I read this yesterday but had to go out & forgot to come back & comment. A lovely project from Tina using her new plates. These are already on my shopping list for the weekend so look forward to trying the project after that.
Grace you may well have already arrived in the UK so hopefully you will have a few restful days before the busy Open Days at the weekend xx