Clarity’s Blog Tutorial: How To Use Josie’s Gridwork Circle Plate
Hello hello! Grace here.
How are you? Well, I hope!
We’re joined today by the spectacularly talented Glynis Whitehead, for a step-by-step project using Josie’s Gridwork Circle plate and Linda’s Flower & Lace plate. Three incredibly talented women all in one project. It’s gotta be good! I will hand you over to Glynis…

Ingredients
Linda Williams’ Flower and Lace Plate – Primrose (GRO-FL-41649-03)
Josie’s Gridwork Circles – Love (GRO-GG-42053-12)
Perga Liner B Pencils (PER-CO-70063-XX)
Faber Castell Polychromos Pencils (ACC-PE-30797-XX)
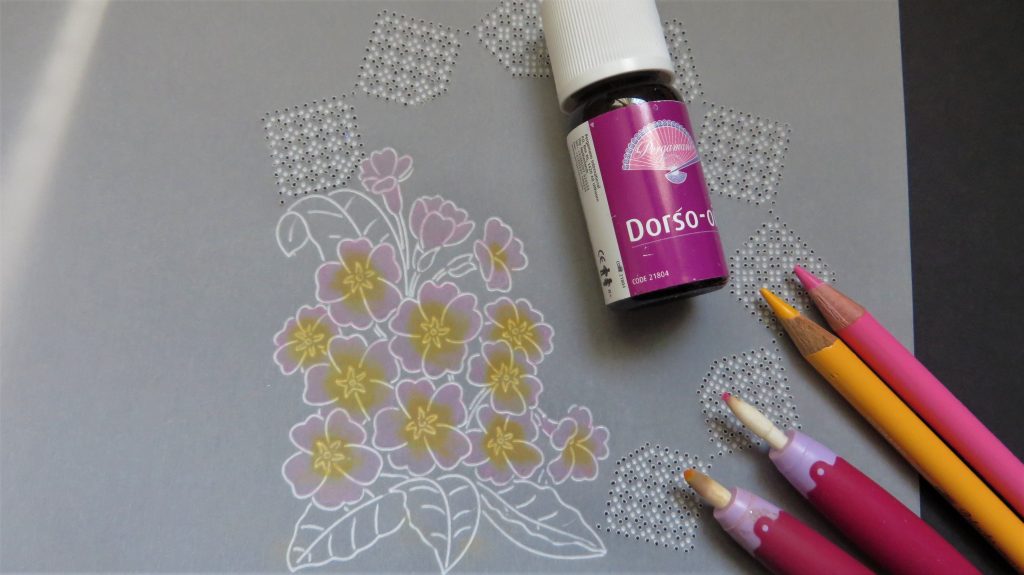
Dorso Oil (PER-CO-70066-XX)
Blending Nibs (PER-AC-70299-XX)
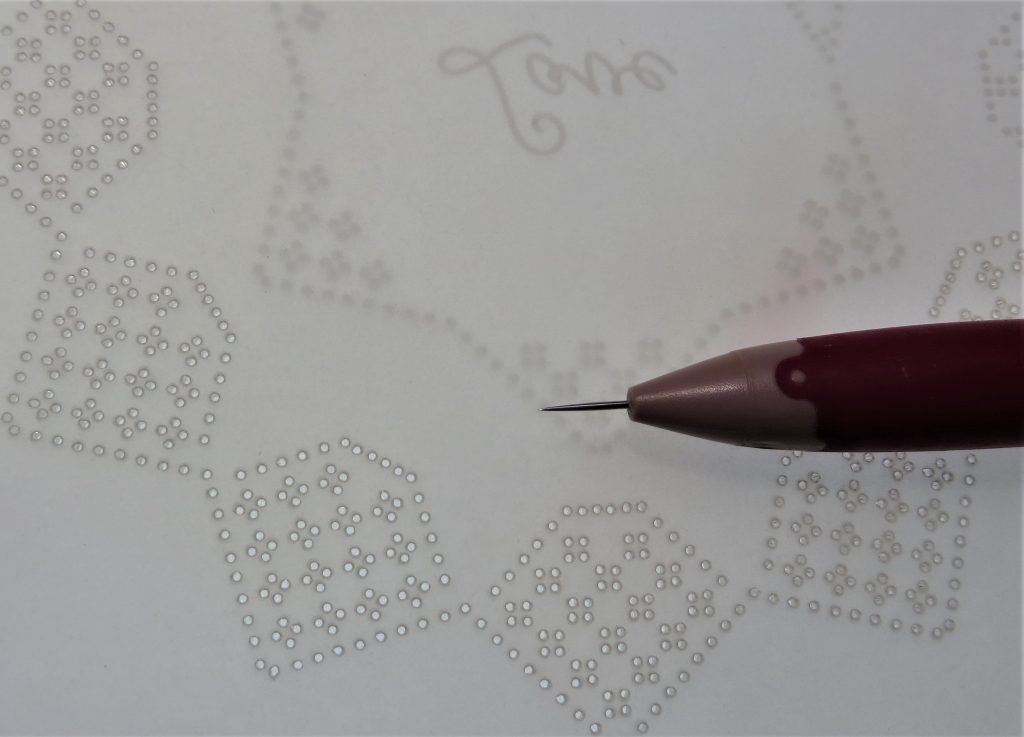
Bold single needle tool (PER-TO-70028-XX)
2 needle fine tool (PER-TO-70037-XX)
Five in a Circle Perforating Tool (PER-TO-70025-XX)
Indian Summer Designer Paper (ACC-CA-30524-88)
Tumble Dryer Sheet
Method
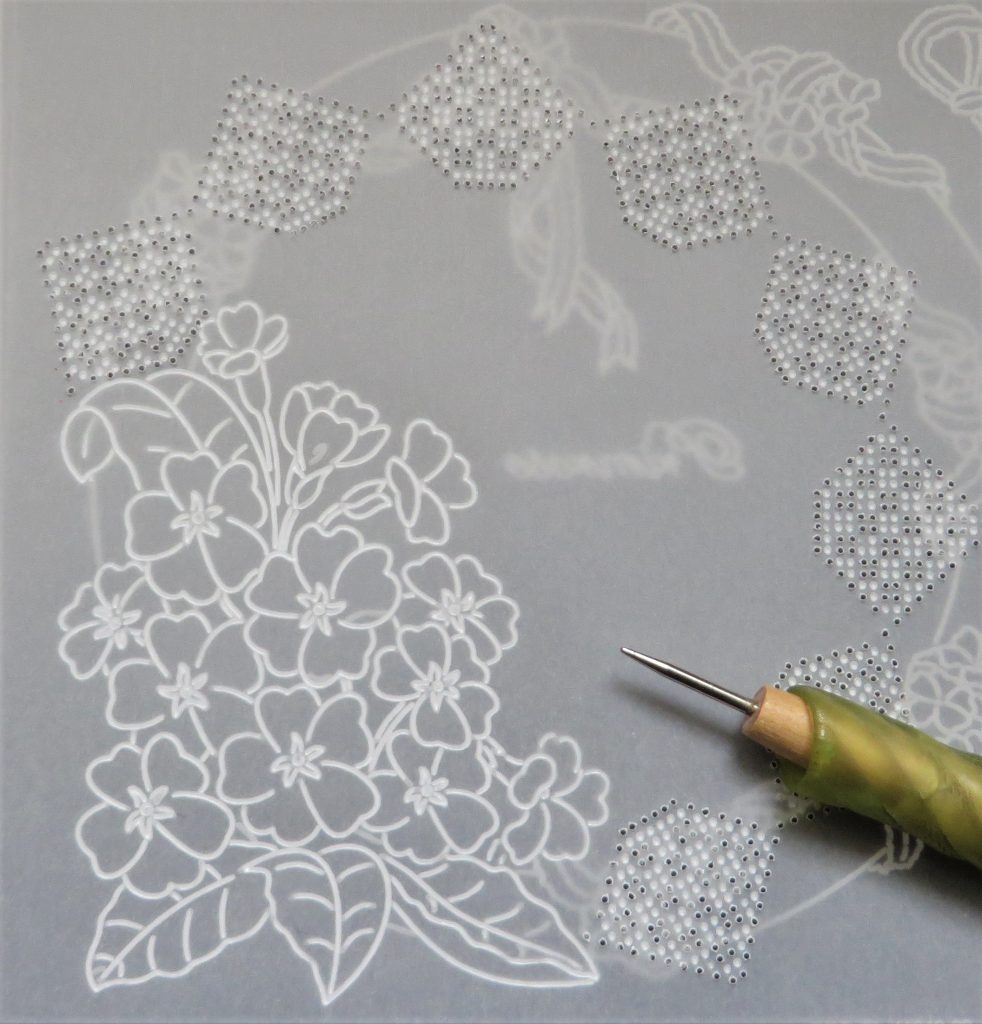
Step 1.Wipe both sides of your parchment before lining it up on the circle grid. Secure it with Groovi Tabs.
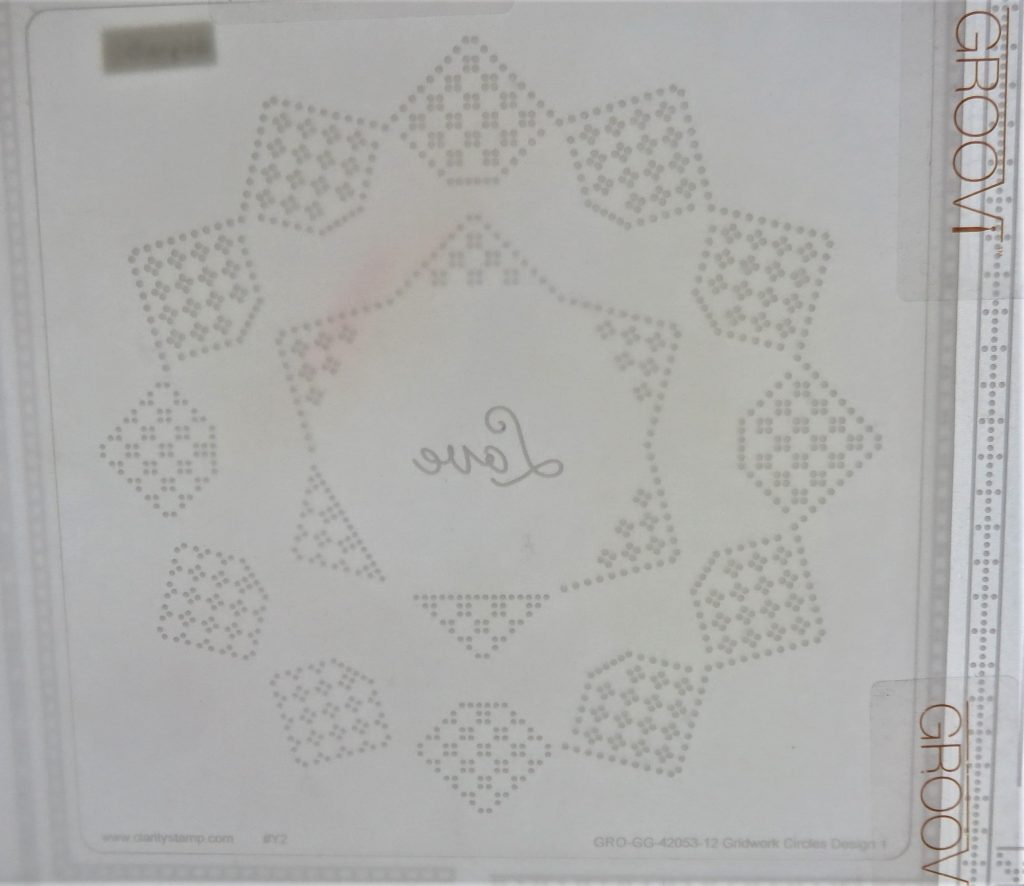
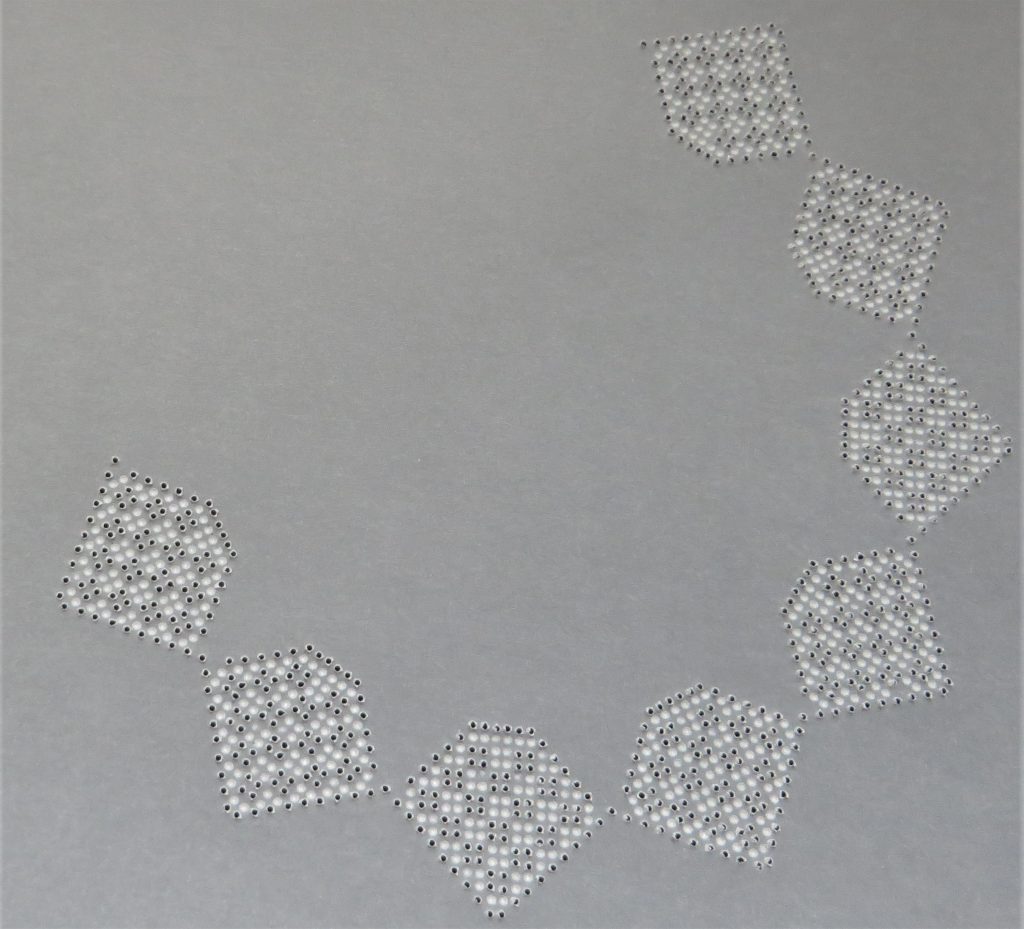
Step 2. Using the bold single-needle tool, perforate all 8 sections of the grid. Don’t finish off the full circle.
Step 3. Turn the work over and emboss within all the segments.
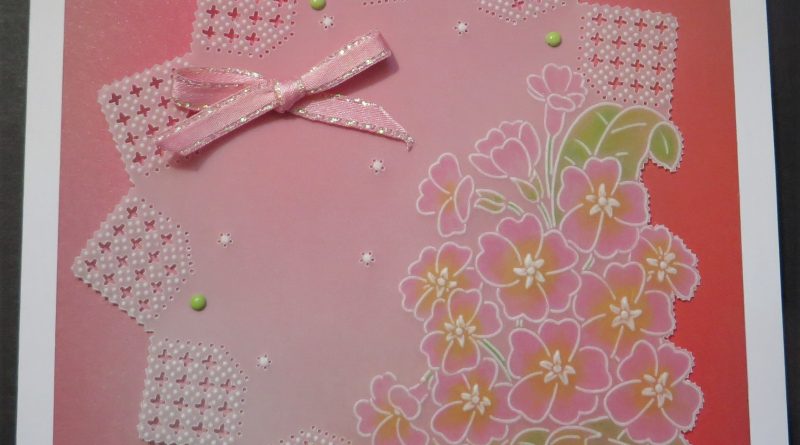
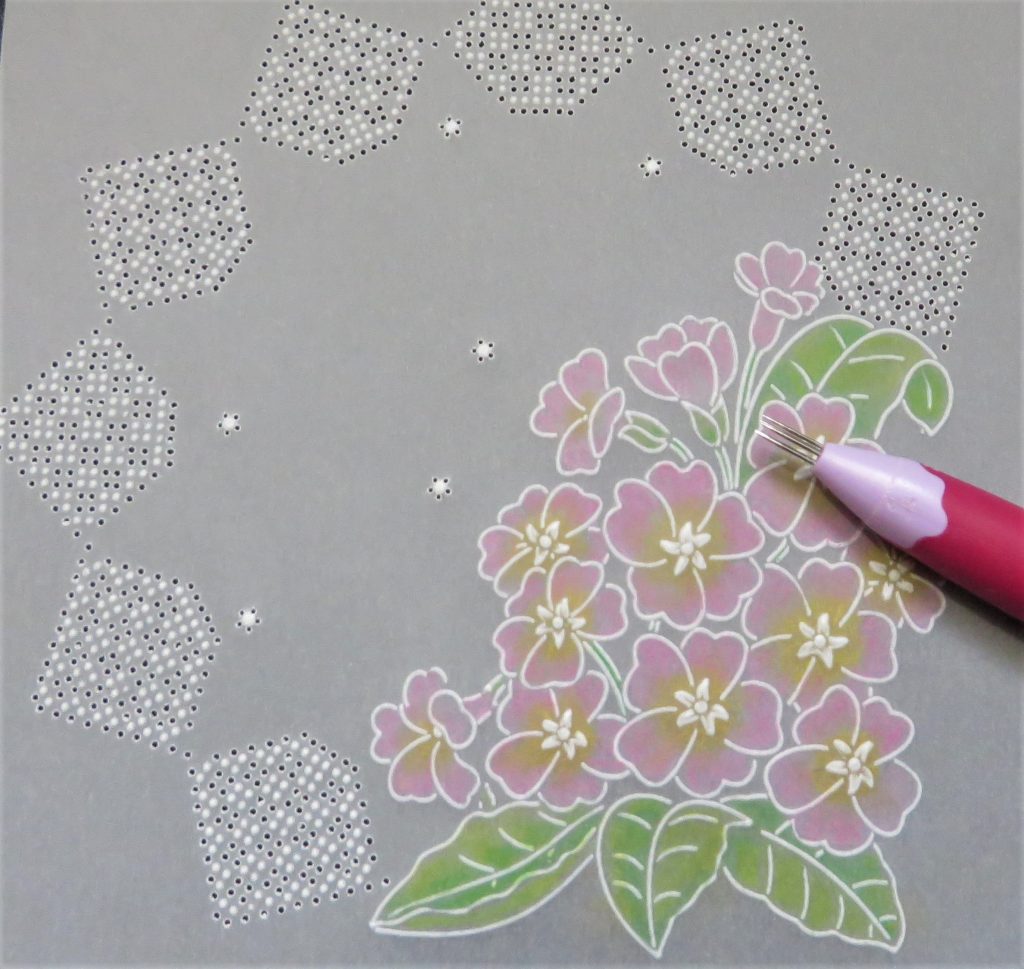
Step 4. Line up the parchment onto Linda’s Flower and Lace plate so that the primroses will fit into the gap in the lace circles. Be careful to leave out any lines that you don’t need.
Step 5. Add some colour. Use some pink pencil on the ends of the petals, and put some yellow into the centres. Blend the pink first, using a nib and some Dorso oil. Then blend the yellow. Use a clean nib to drag the yellow into the pink.
Step 6. Use a darker and lighter green to do the leaves and again, drag the colours into each other.
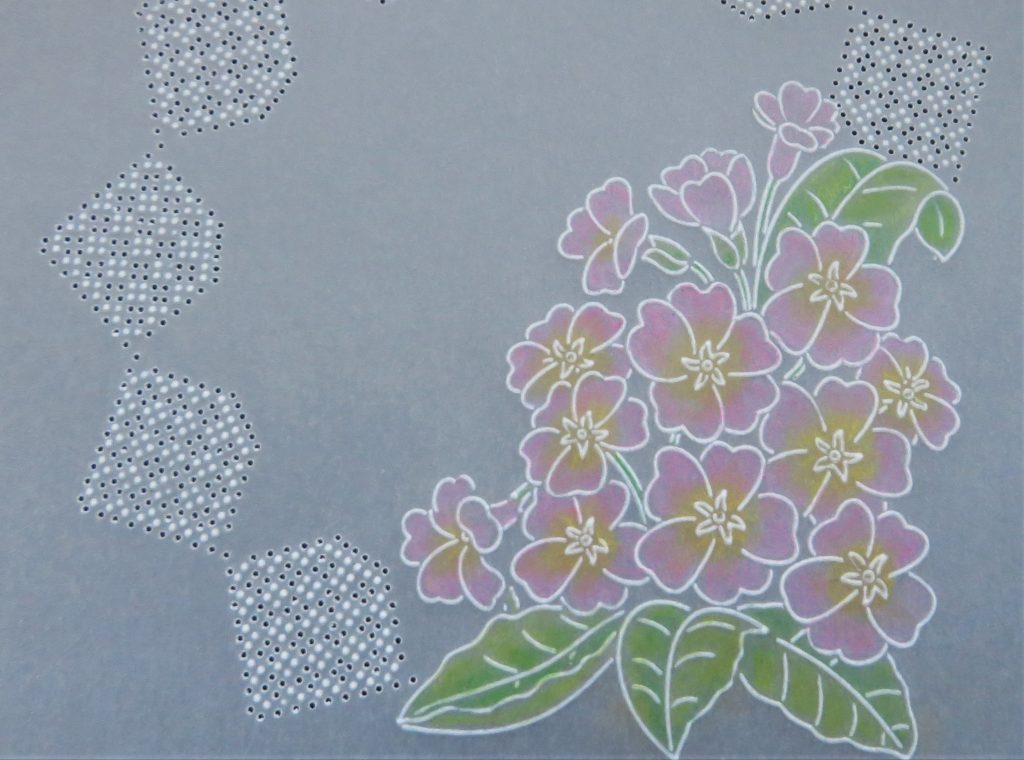
Step 7. Emboss the centres of the flowers.
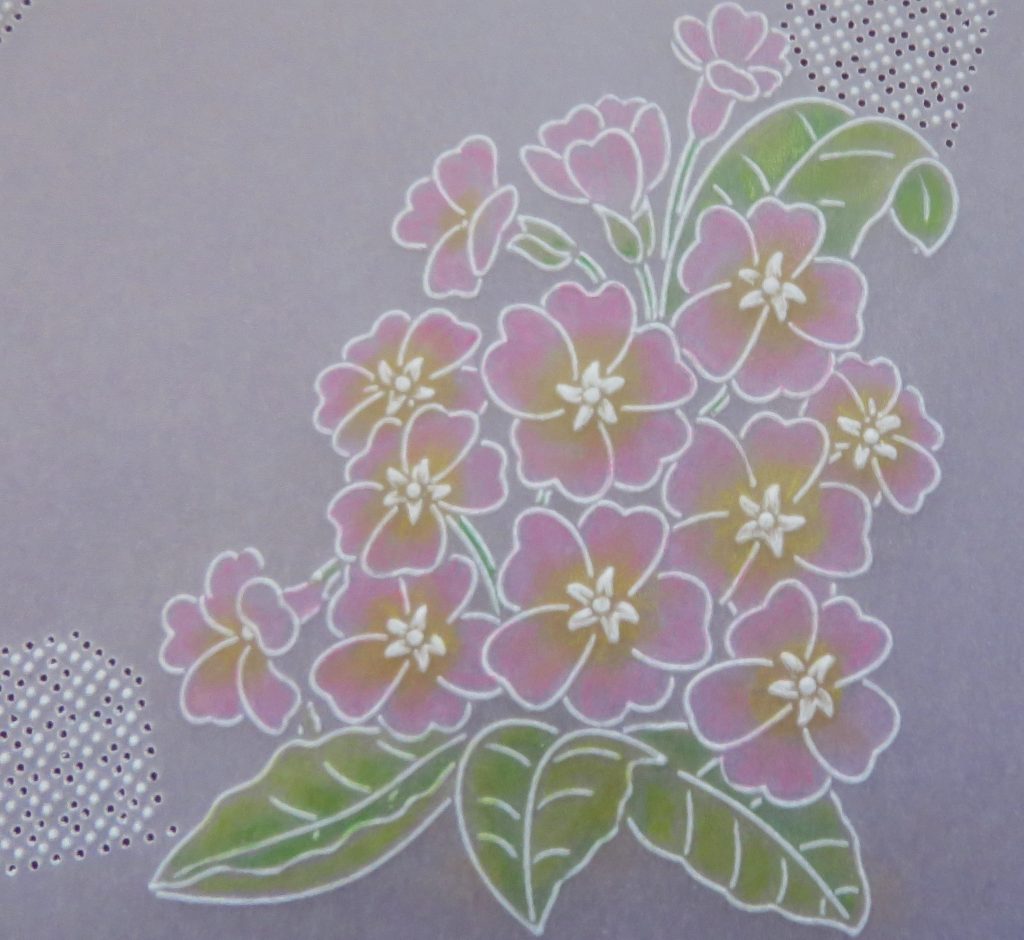
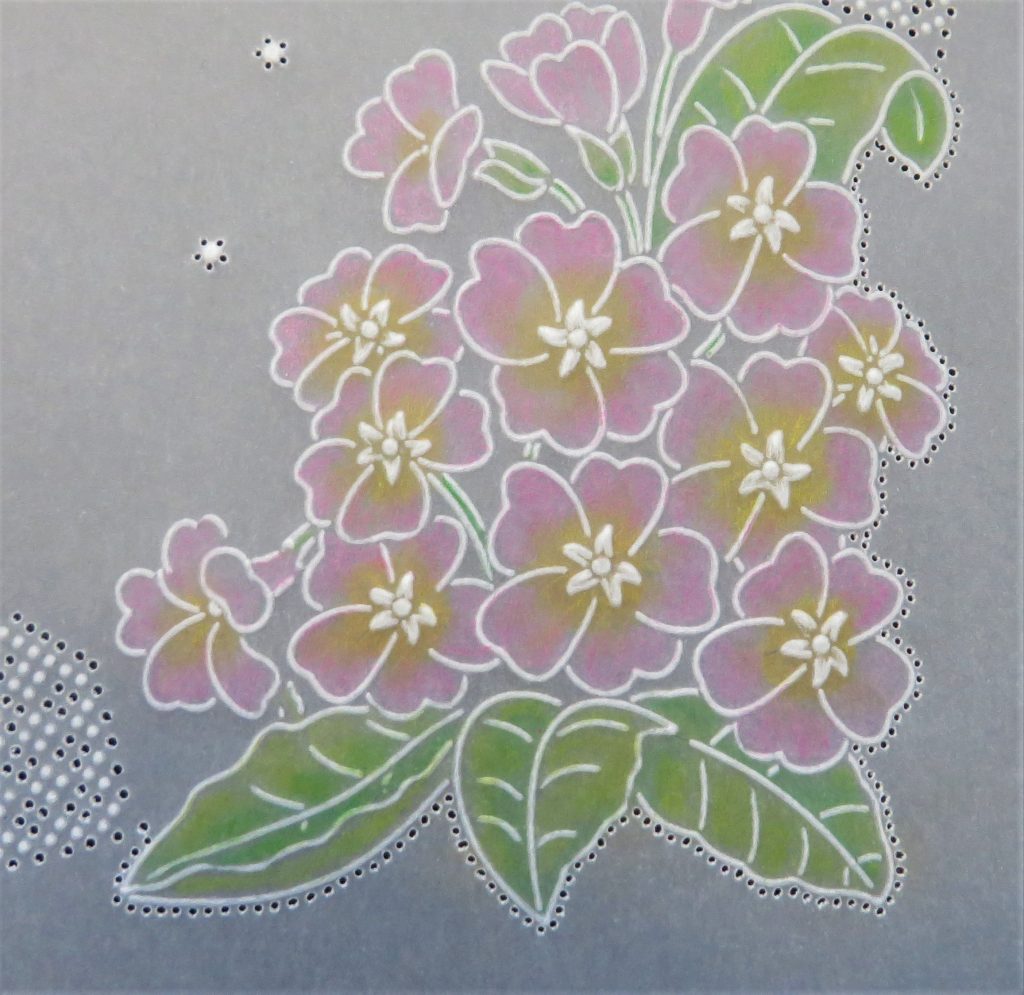
Step 8. Add some 5 in-a-circle perforations in the centre of the piece, firstly on a shallow mat before embossing a dot into the middle of the perforations. Then deeply perforate.
Step 9. Go around the outside of the flowers with the fine two-needle tool, so that it joins up with the perforations of the grid.
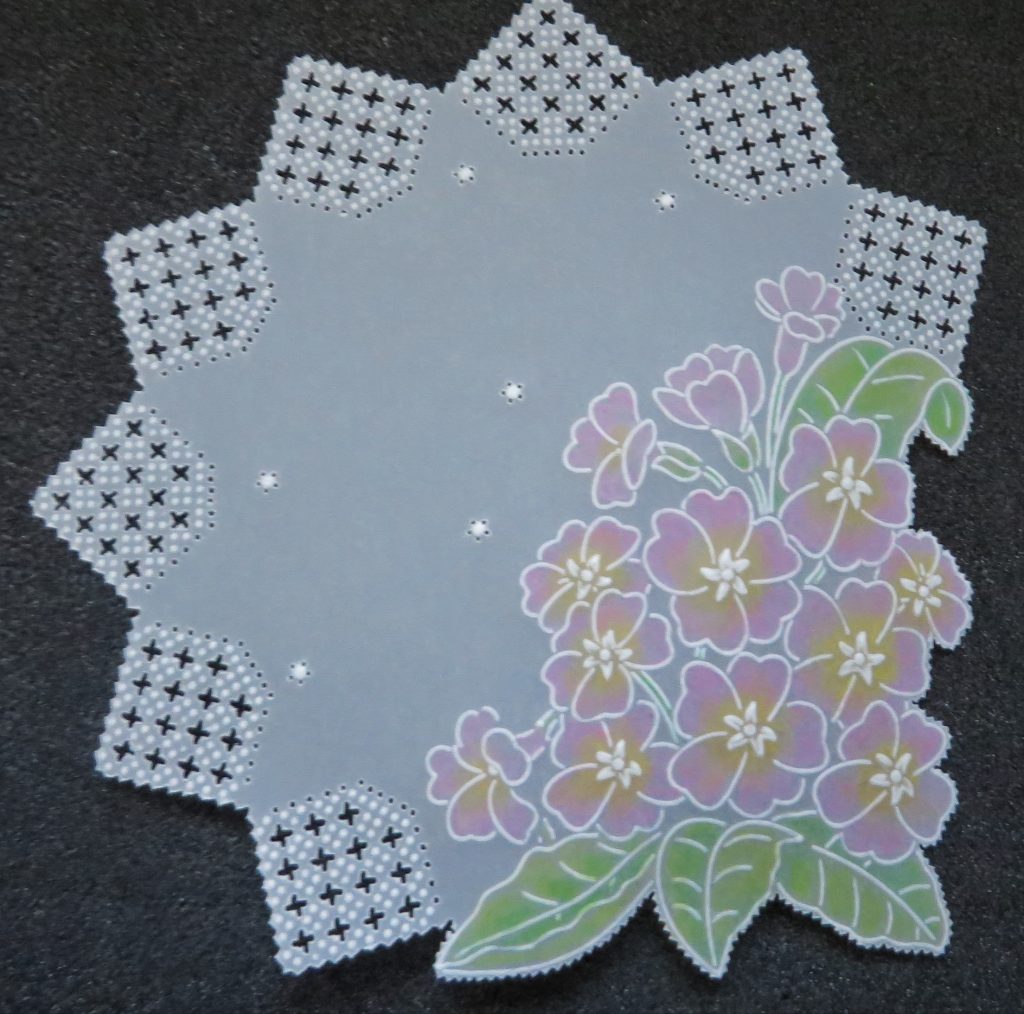
Step 10. Snip the lace of the circle grid *follow the instructions that come with your grid. Then snip around all the two-needle perforations.
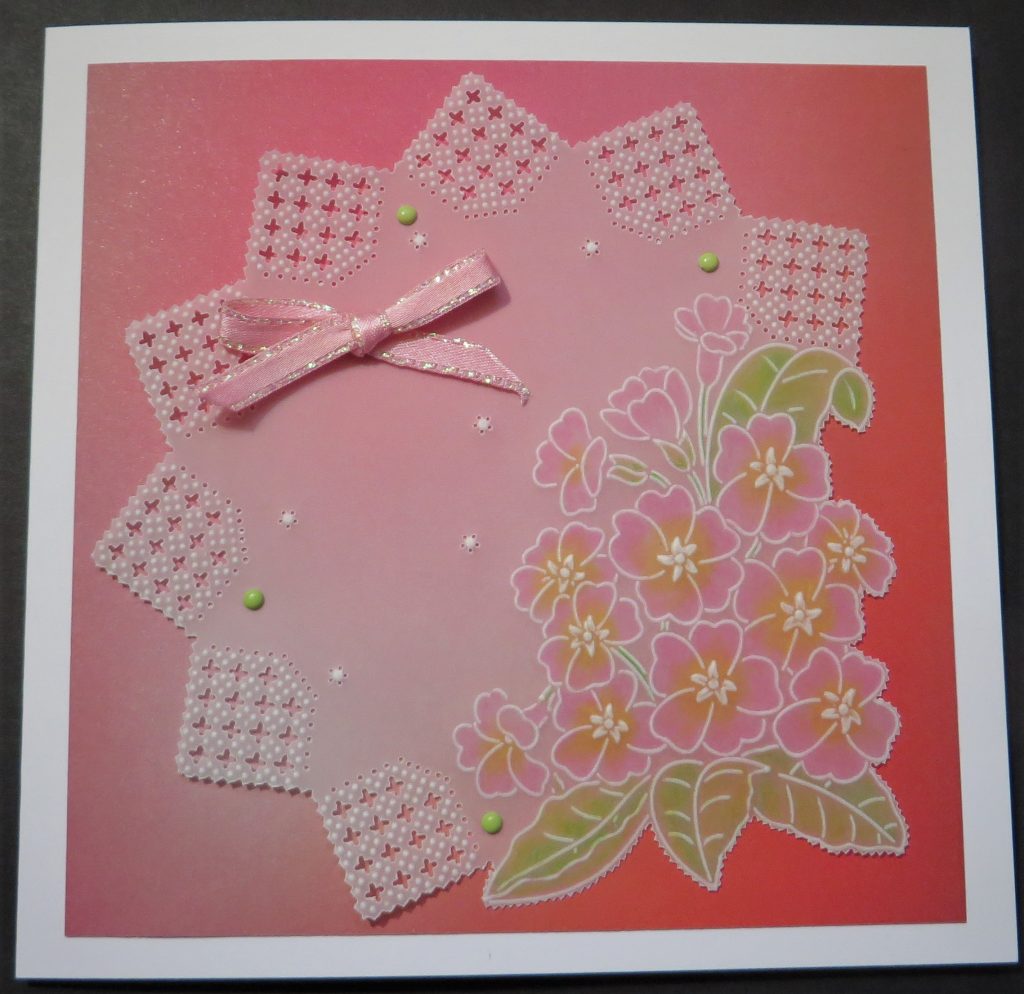
Step 11. Cut a piece of designer paper to 5.25 x 5.25 inches. Attach the work with some brads and mount this onto a 6 x 6 inch card blank. Add a pretty bow and you’re all set!
BEAUTIFUL! Thank you, Glynis, for your tutoring. This is so effective and surprisingly obtainable (with your guidance!).
Everything that Glynis has used is in one place over on the Clarity website HERE
Mum is on Create and Craft this afternoon, from 3pm – 5pm. You won’t want to miss this show. Here’s a little sneak peak gallery 🙂

See you there!
Travel gently, friends.
Lotsa love, Grace & Glynis xoxo
Clarity – The Home of Art, Craft and Well-Being.
Morning Grace and Glynis lovely project stunning.
Wow, love this, lovely, must give this a go. xxx
Lovely.
Just received the circle gridwork plate so will definitely be giving this a go.
Thank you.
Beautiful.
Lovely work.
Another great project Glynis, thanks for sharing it with us. I haven’t this border plate but I am sure Faith would work the same way. Will have a look & see x