Clarity’s Blog Tutorial: How To Use The Layout Plates
Hello hello! Grace here.
I hope this finds you safe, well and HAPPY!
I’m very happy today. As you’re reading this, I’ll have just landed in England. Sunday lunchtime. We land at 11am, and our arrivals COVID test is at noon. So by now we’ll be in the car with Mum and/or Dave, heading home! Christmas time. LOVELY.
This week we’re lucky to have the wonderful Jane Telford in the bloggy bubble. We’re certainly blessed with the best at Clarity! I’ll hand you right over…

How To Use The Layout Plates With Other Image Plates
I love combining plates to create different designs. Here is a way of using the layout plates but changing all the images you are given on the plate.
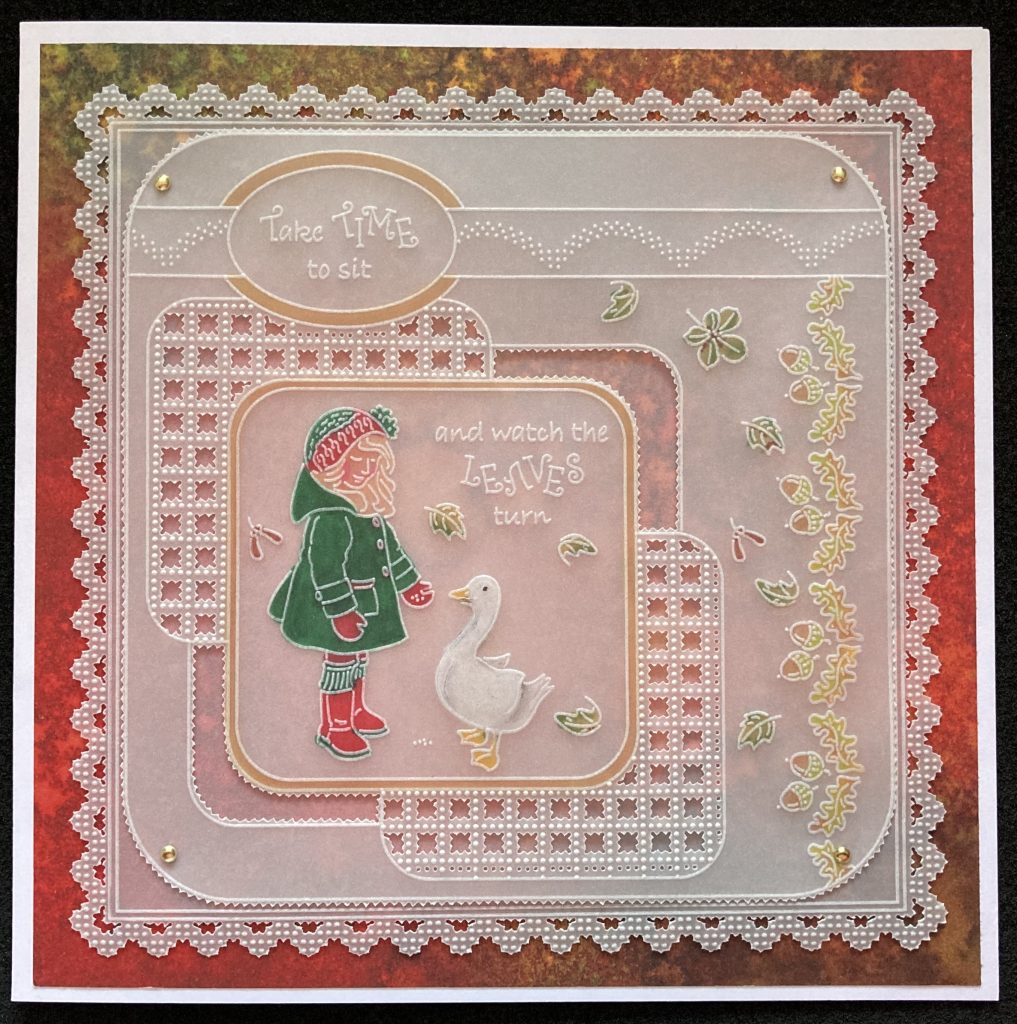
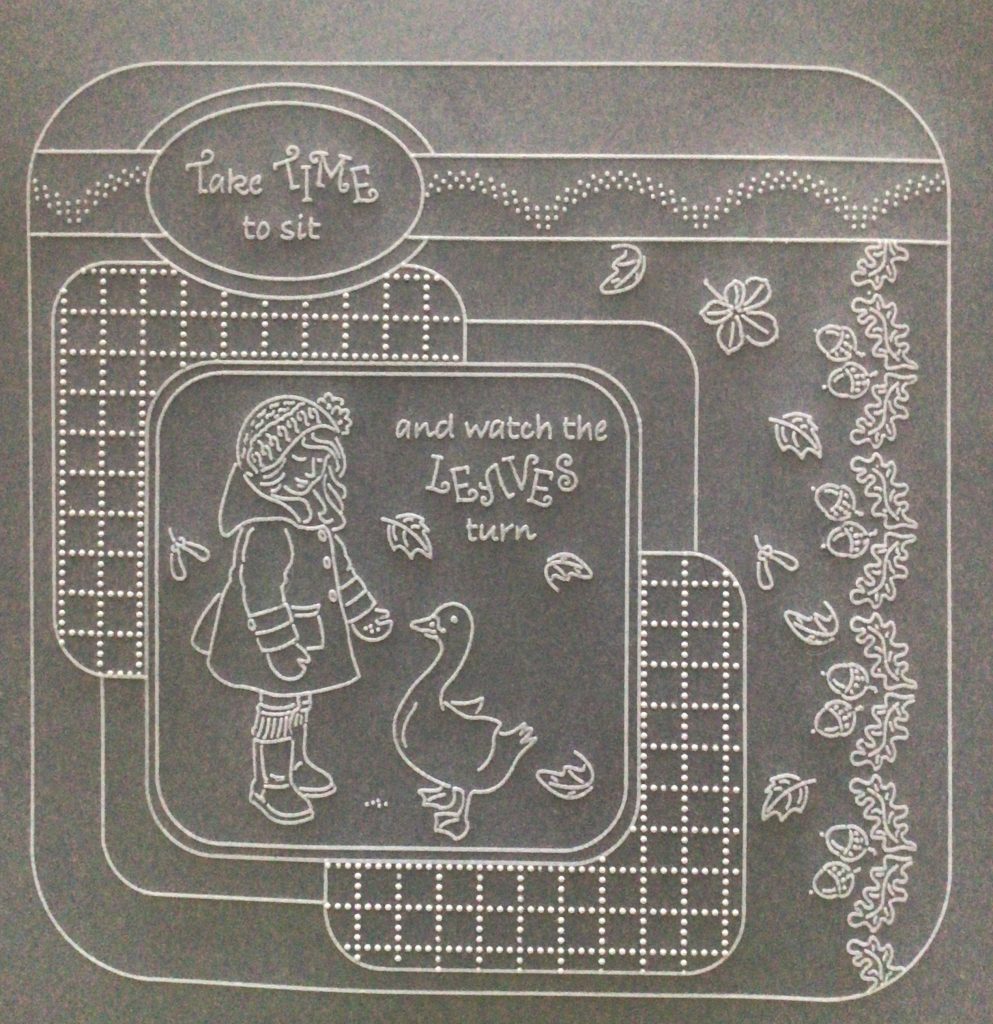
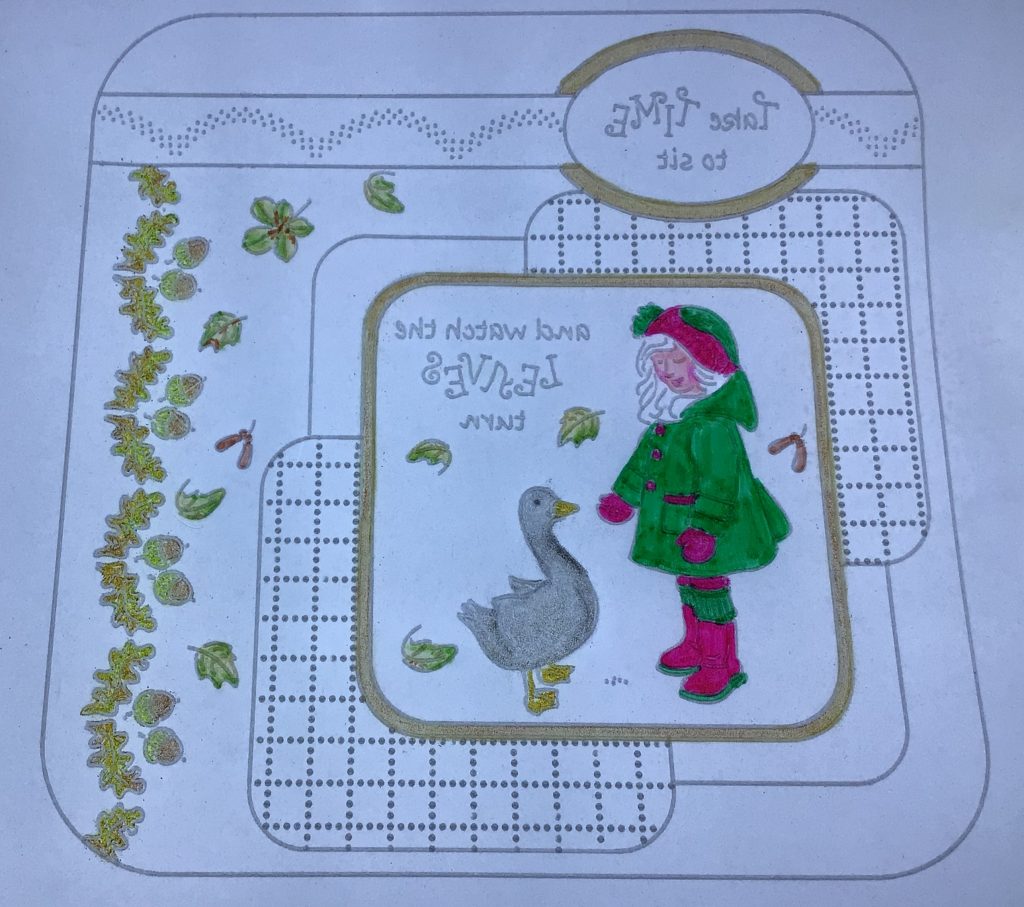
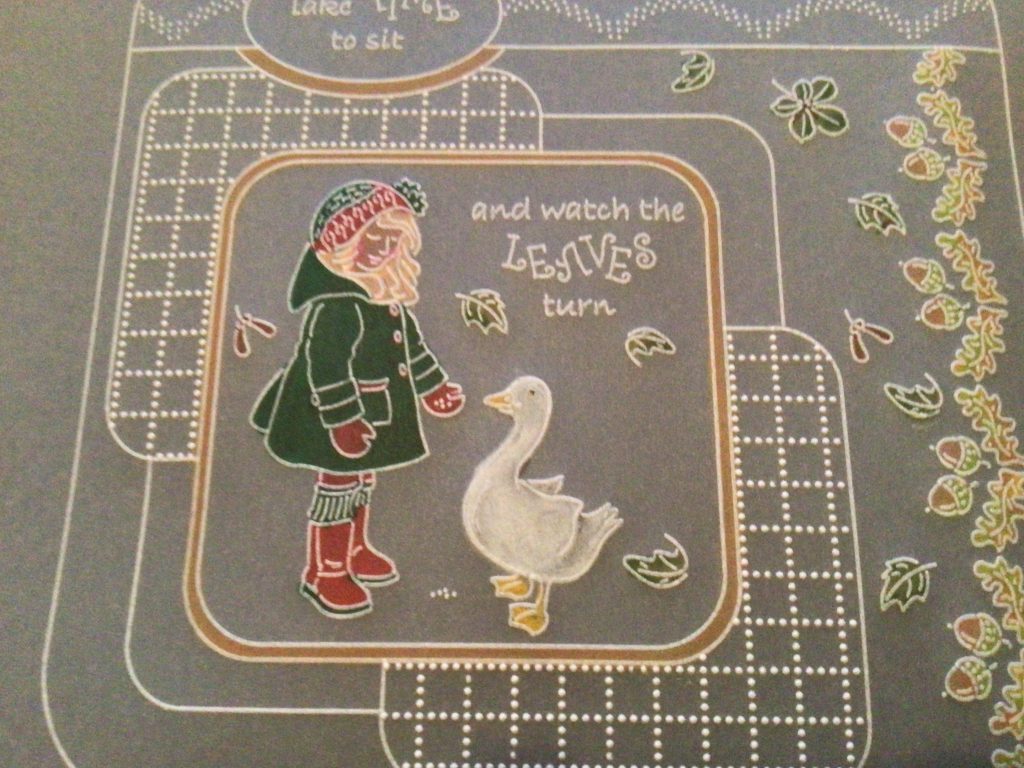
This is where we are headed!
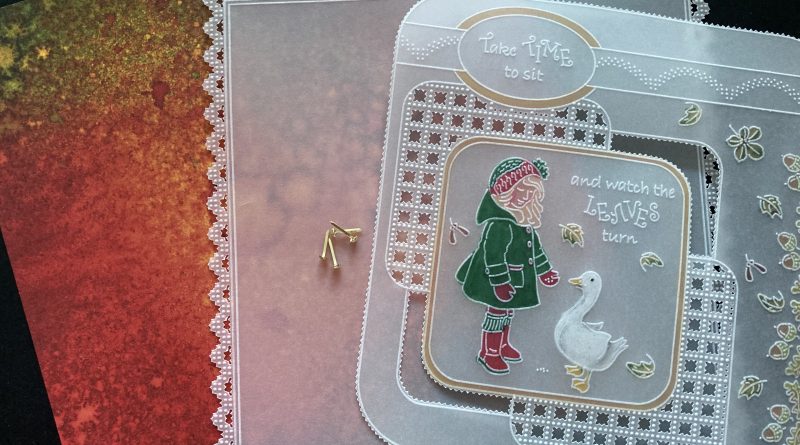
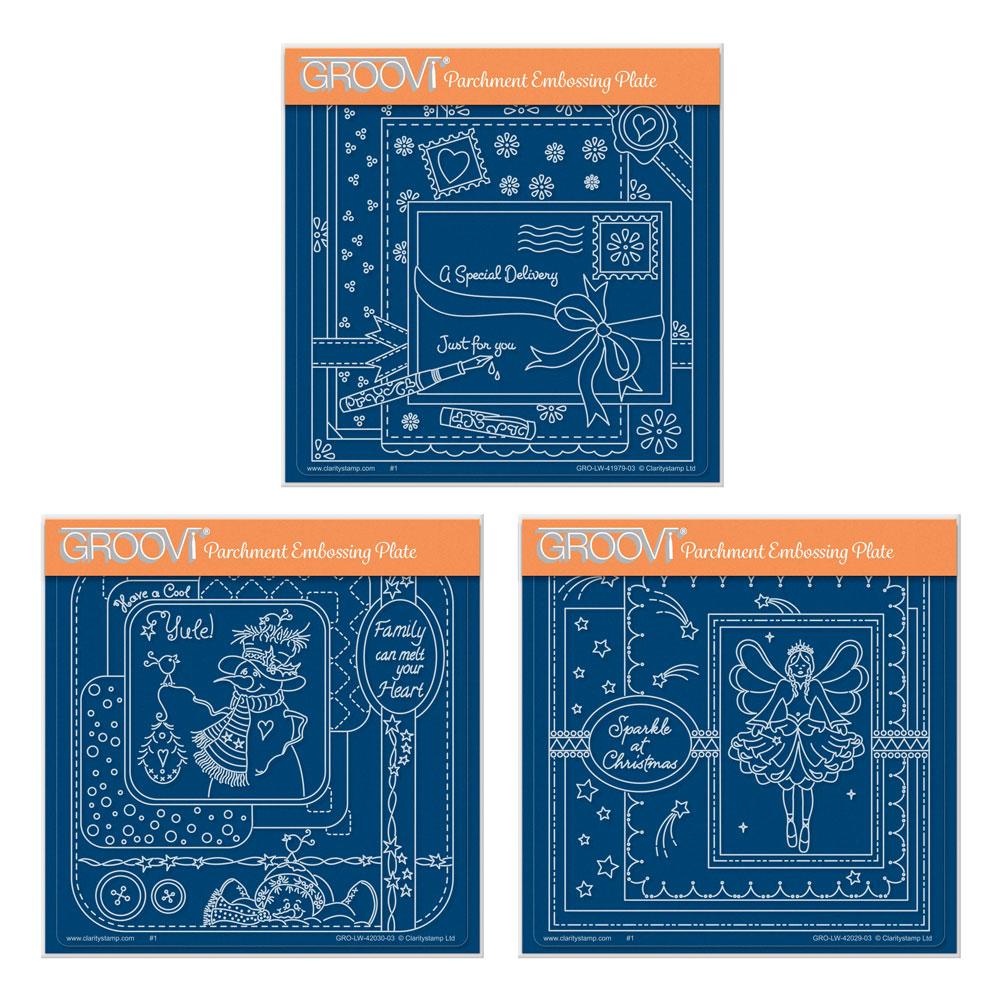
Using these 2 lovely plates…
There are 3 Layout Plates in the collection, designed by the lovely Linda Williams.
Ingredients
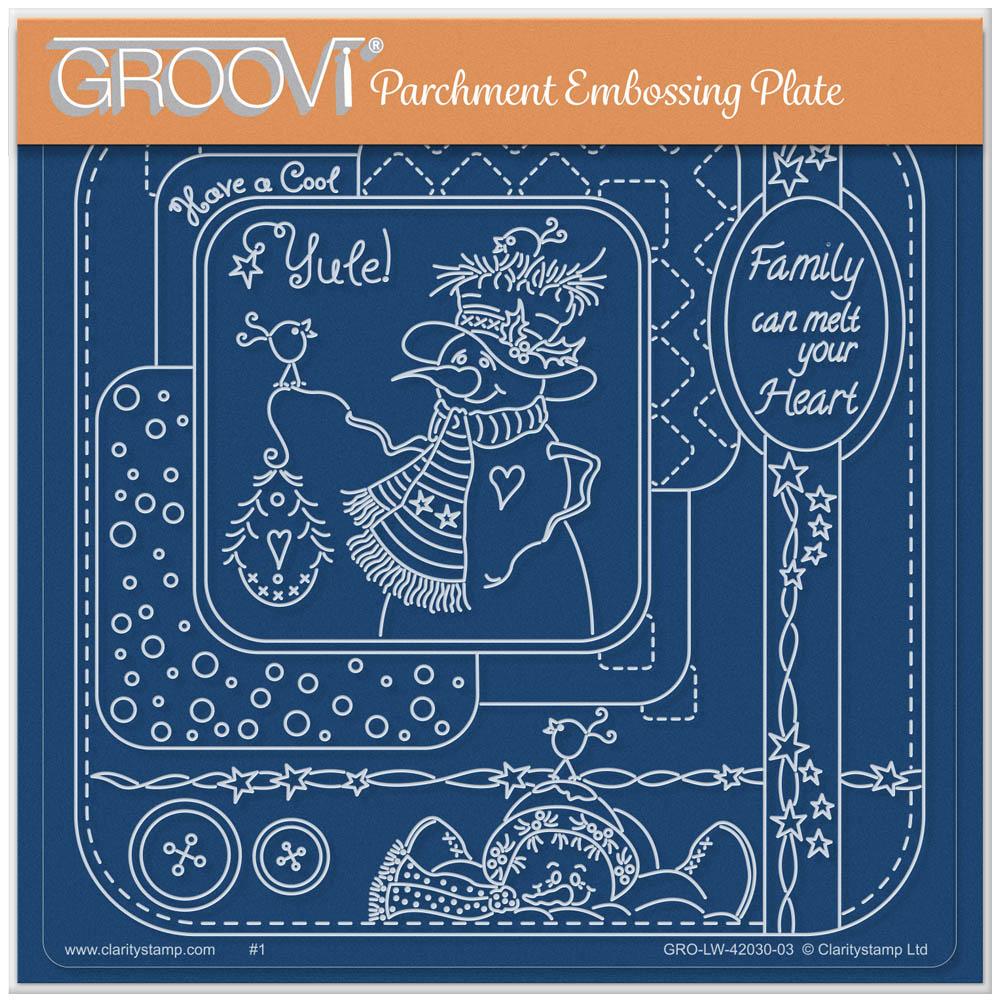
Linda Williams’ Cool Yule Easy Layout A5 Square Groovi Plate(GRO-LW-42030-03)
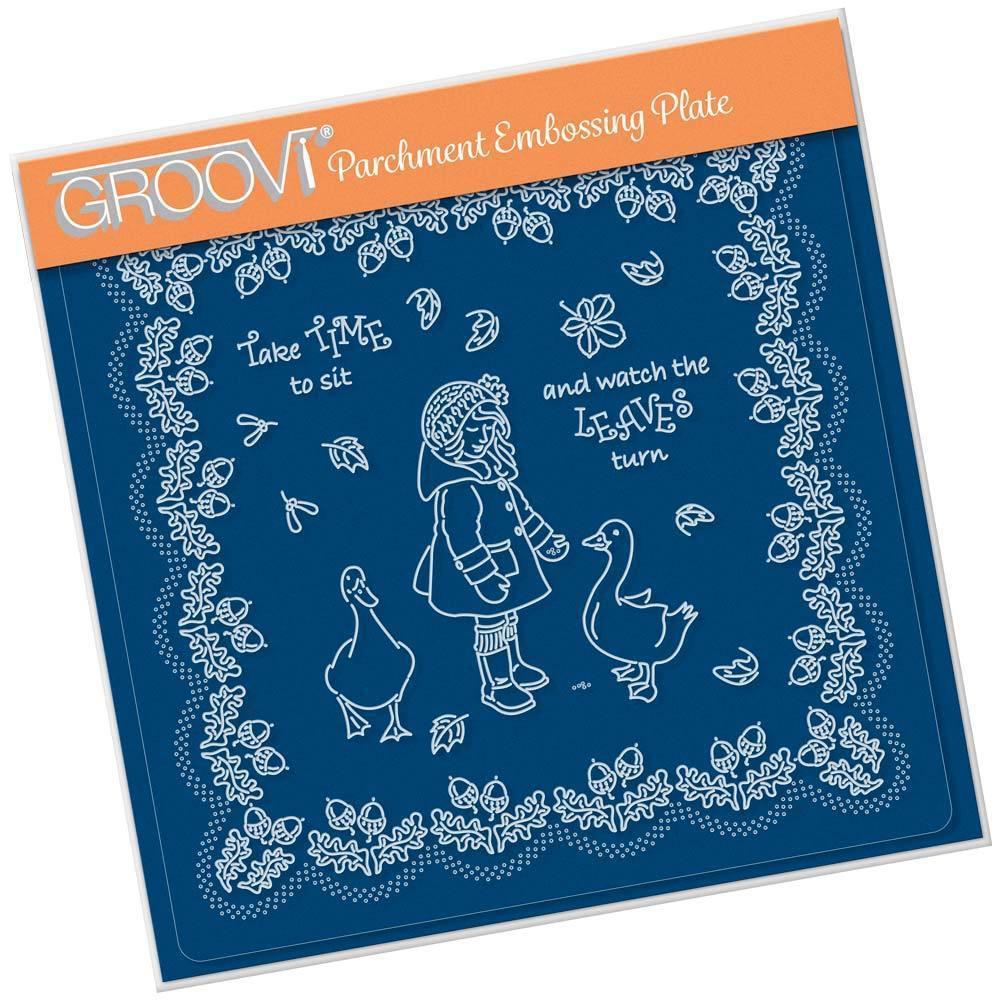
Linda’s Children – Autumn Girl With Geese A5 Square Groovi Plate (GRO-LW-41560-03)
Groovi Plate Mate for A5 SQ Grids (GRO-CO-41706-08)
A4 Basic Straight Grid Piercing Plate (GRO-GG-40528-17)
2 Pieces of Plain Parchment (GRO-AC-40024-XX)
1mm Embossing Tool (PER-TO-70011-XX)
4.5mm Embossing Tool (PER-TO-70015-XX)
Single Needle Tool (PER-TO-70028-XX)
2 Needle Bold Tool (PER-TO-70279-XX)
Blending Pen (Currently out of stock)
Nibs (PER-AC-70299-XX)
Dorso Oil (PER-CO-70066-XX)
Ringlock Scissors (PER-TO-70041-XX)
Polychromos (ACC-PE-30797-XX)
(White-Grey-Black-Cream-Green-Orange)
Perga Colours Exclusive (PER-CO-70060-XX)
4 Silver Brads (PER-AC-70275-XX)
Toffee Apple Designer Paper (ACC-CA-30850-88)
7×7 Card Blank (ACC-CA-30619-77)
Method
Step 1. Put the snowman layout plate in the plate mate and attach a piece of plain parchment over it.
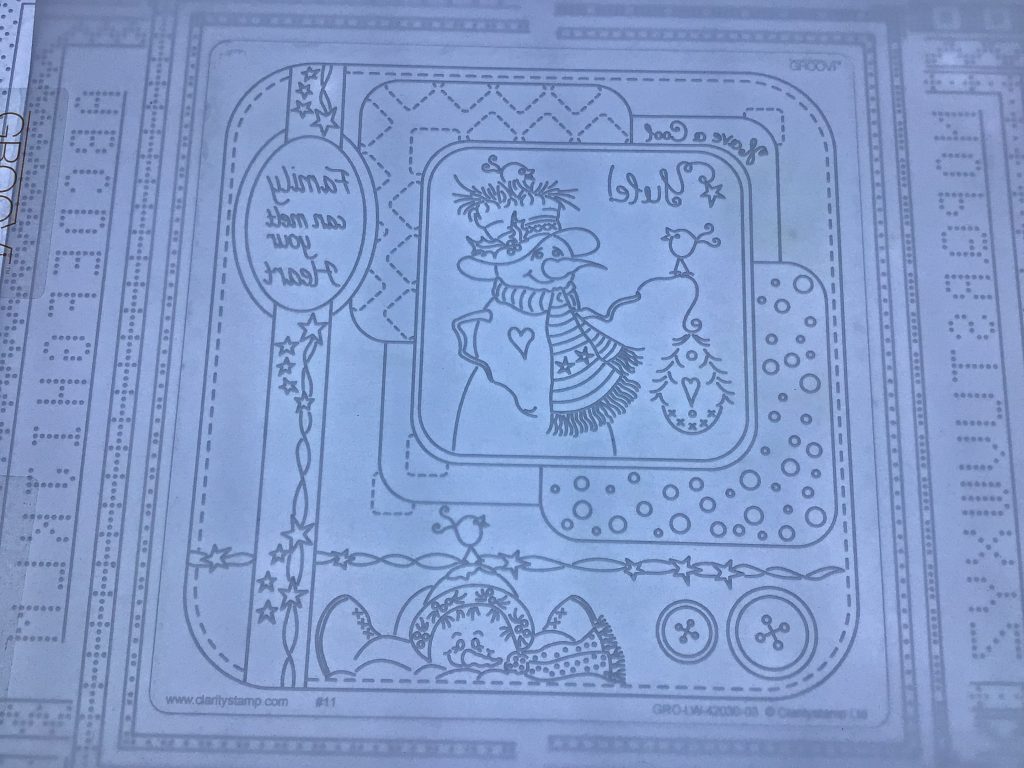
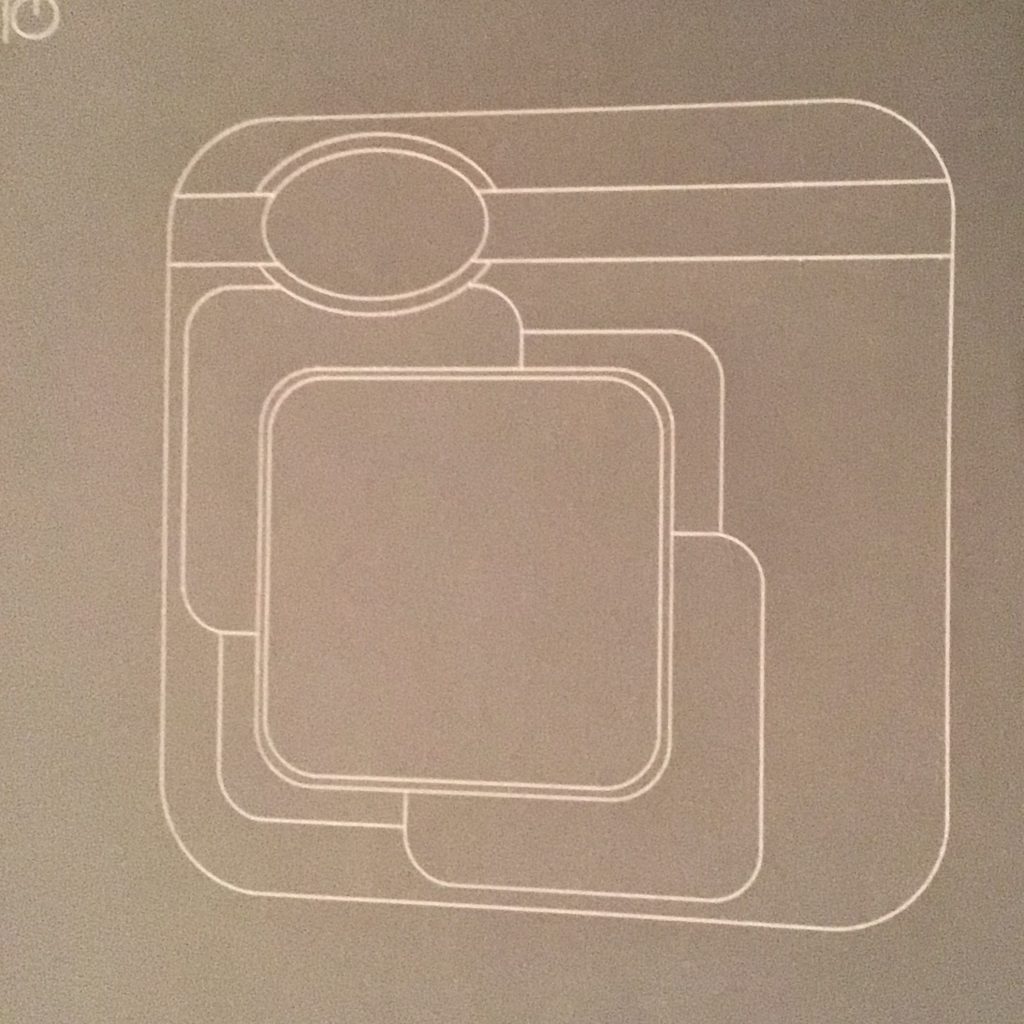
Step 2. Emboss the outline of the layout only. Put to one side.
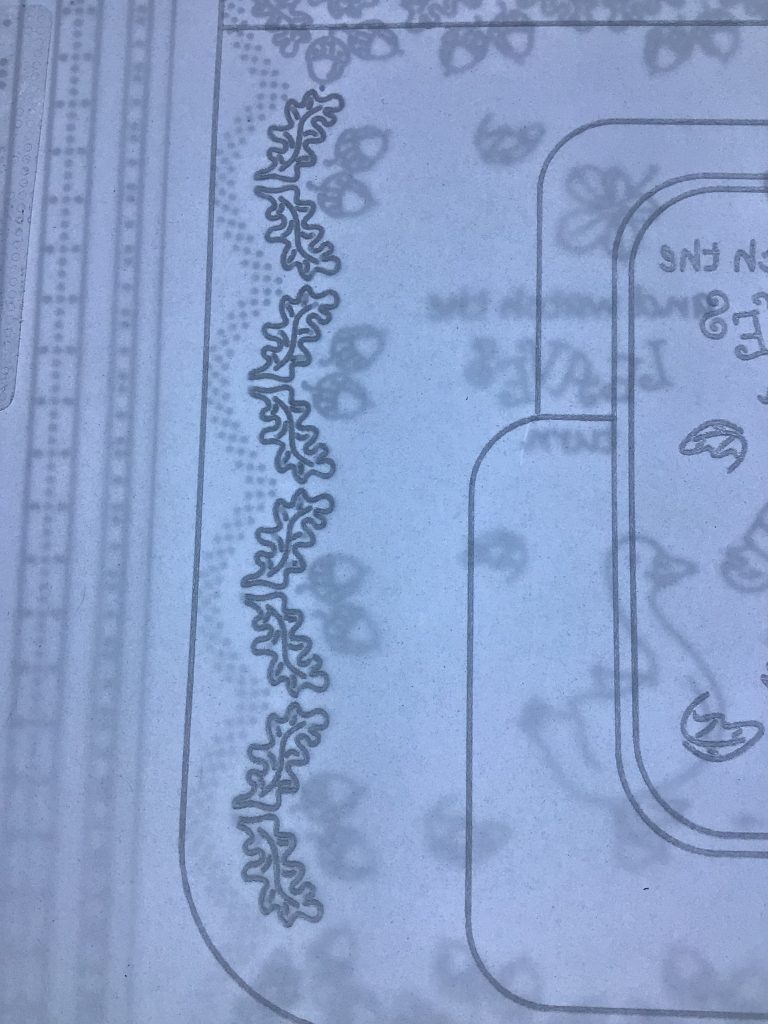
Step 3. Attach the second piece of parchment to the plate mate and create a border using the pattern shown here.
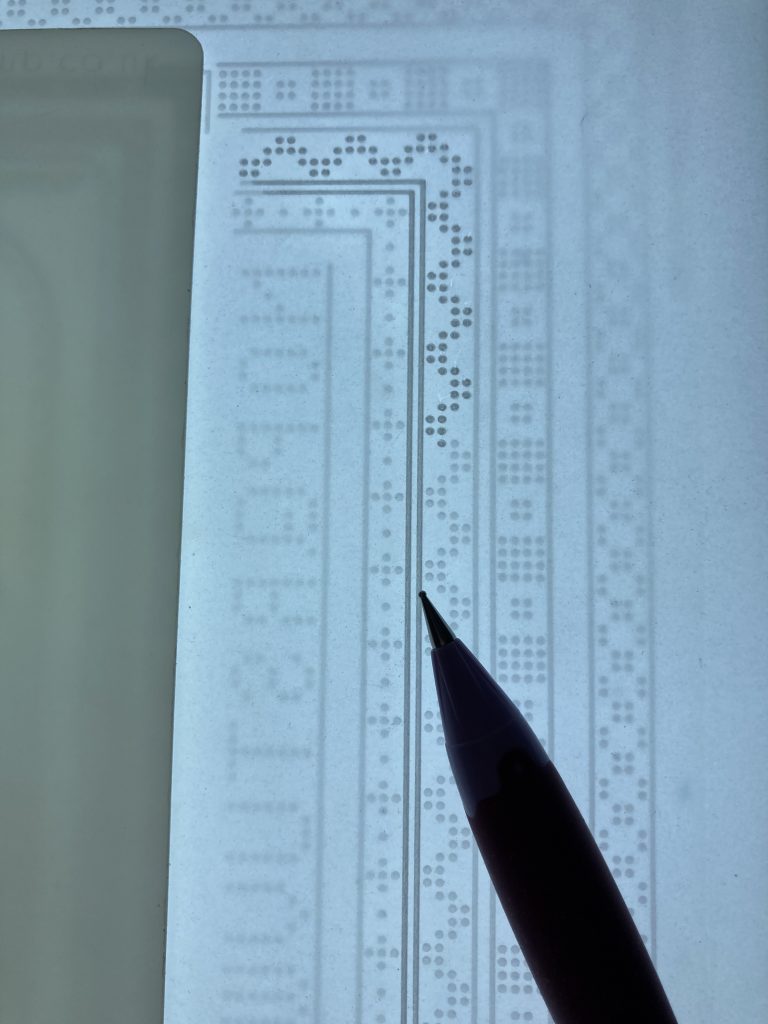
Step 4. Working from the front of the parchment, line the frame up on the straight basic grid and perforate holes in the design and around the outer edge.
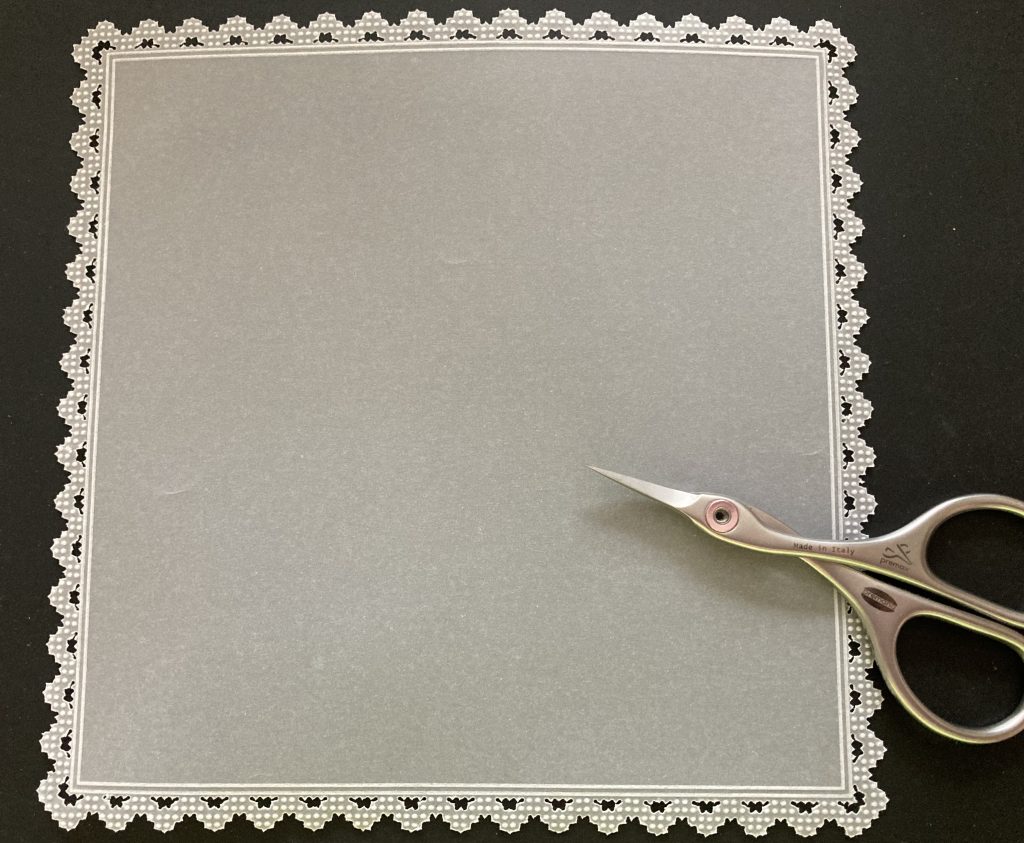
Step 5. Snip waste from within the border and around the outer edge. Put to one side.
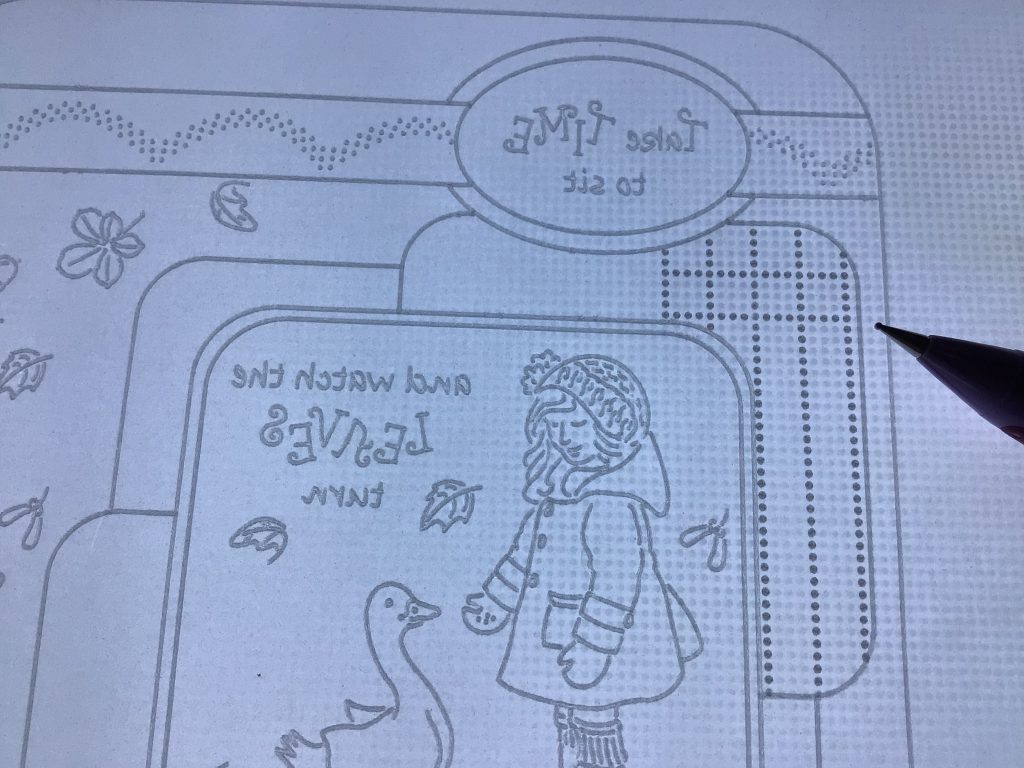
Step 6. Put the Autumn girl plate in the plate mate. Position the layout design over the plate so the girl and one goose fits in the middle square. Emboss the girl, goose and words as shown.
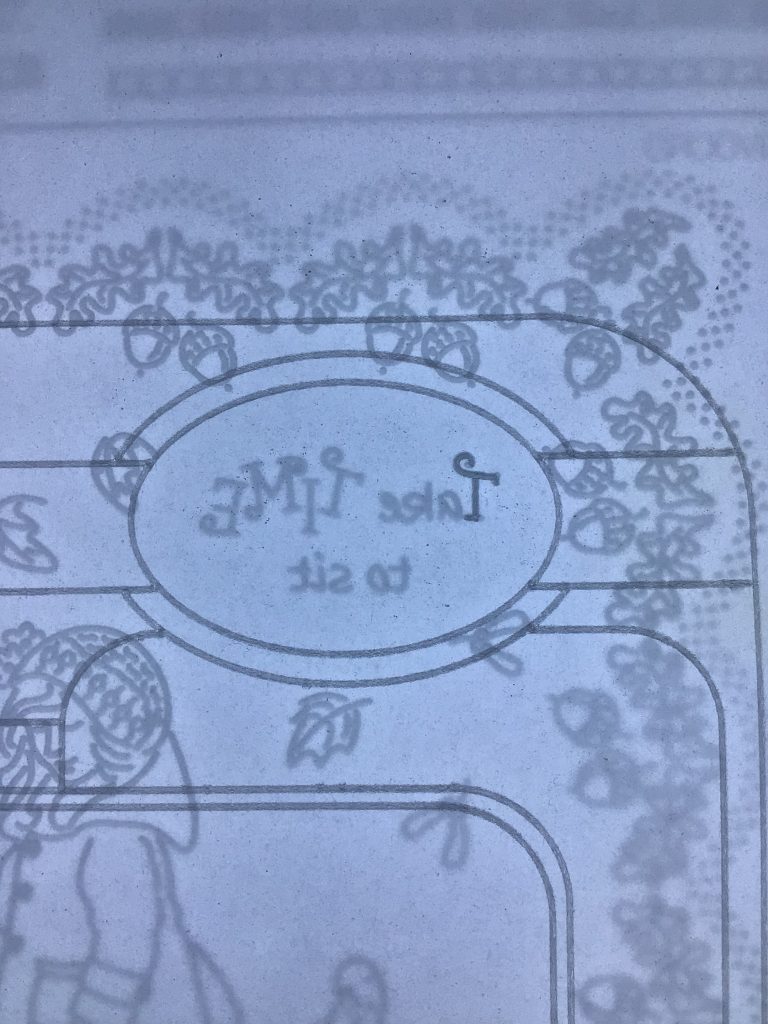
Step 7. Move the parchment so the rest of the word fits in the oval space, then emboss it.
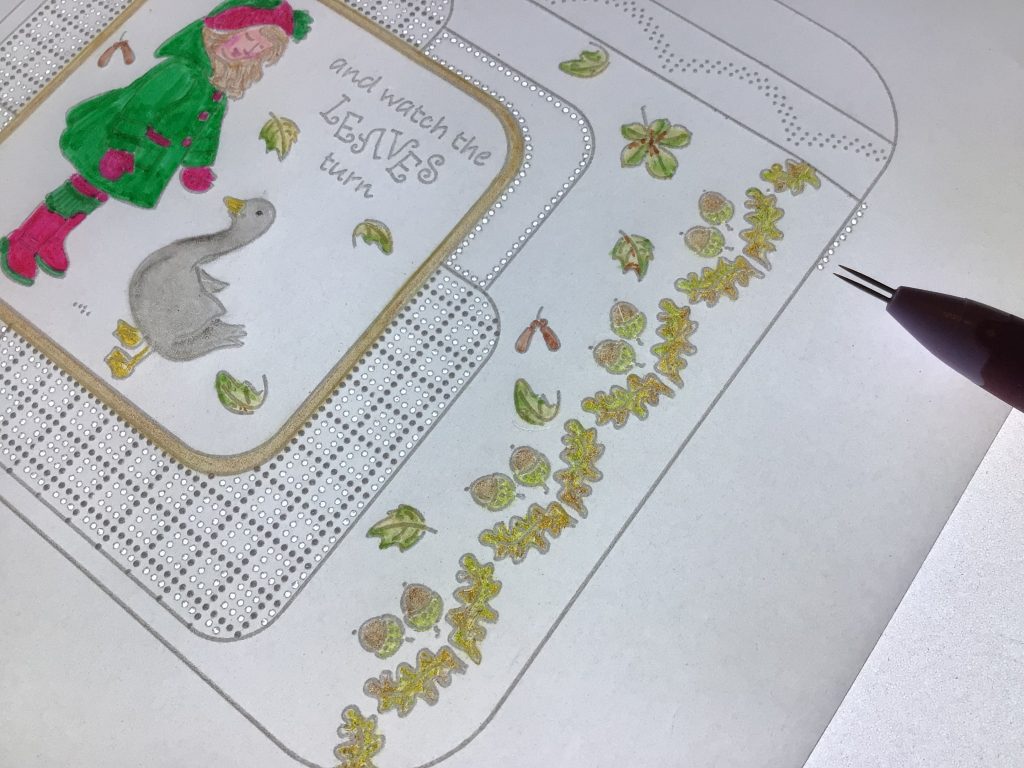
Step 8. Position the parchment so the leaves and acorn border fit evenly down the outer section. Emboss the pattern.
Now emboss some random leaves in this section and around the girl.
Step 9. Position the layout over the basic grid and emboss the simple pattern.
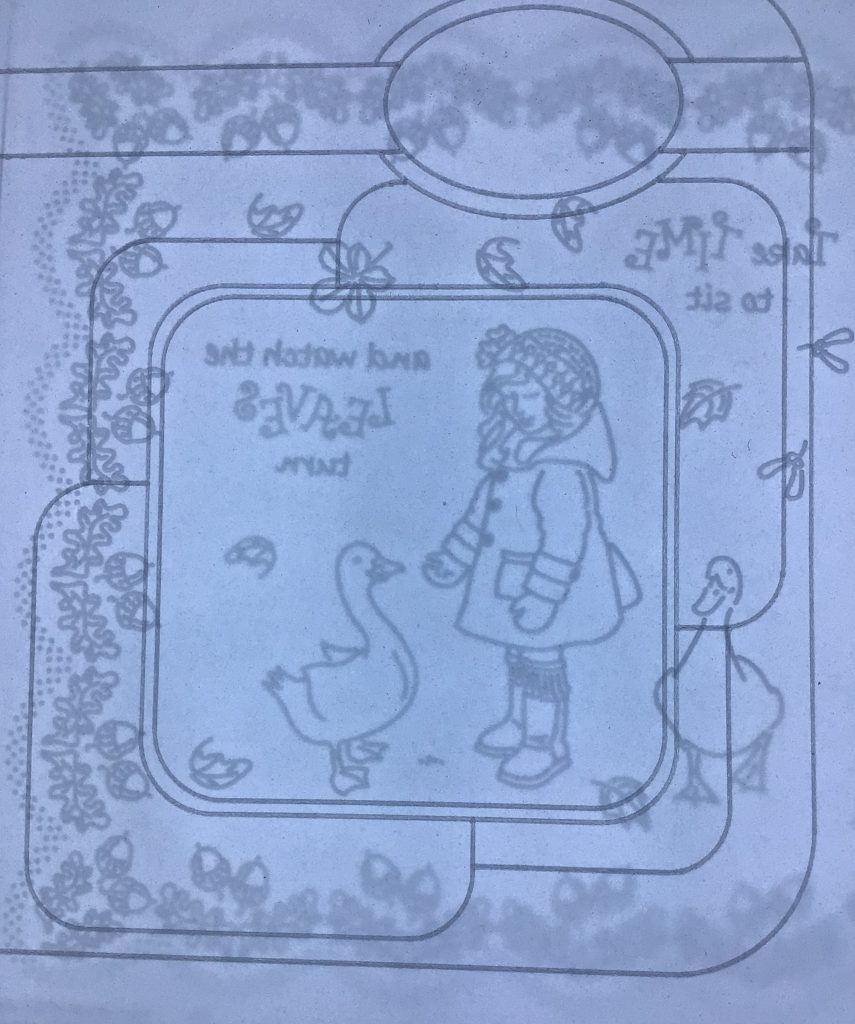
Step 10. This is what the embossed design should now look like.
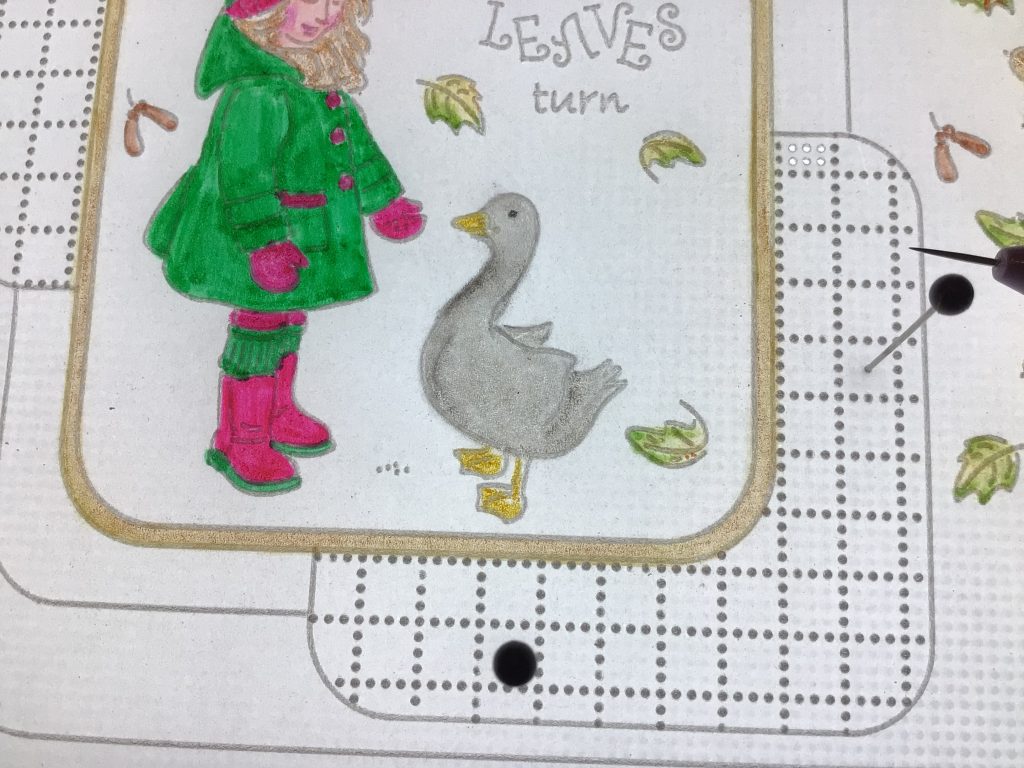
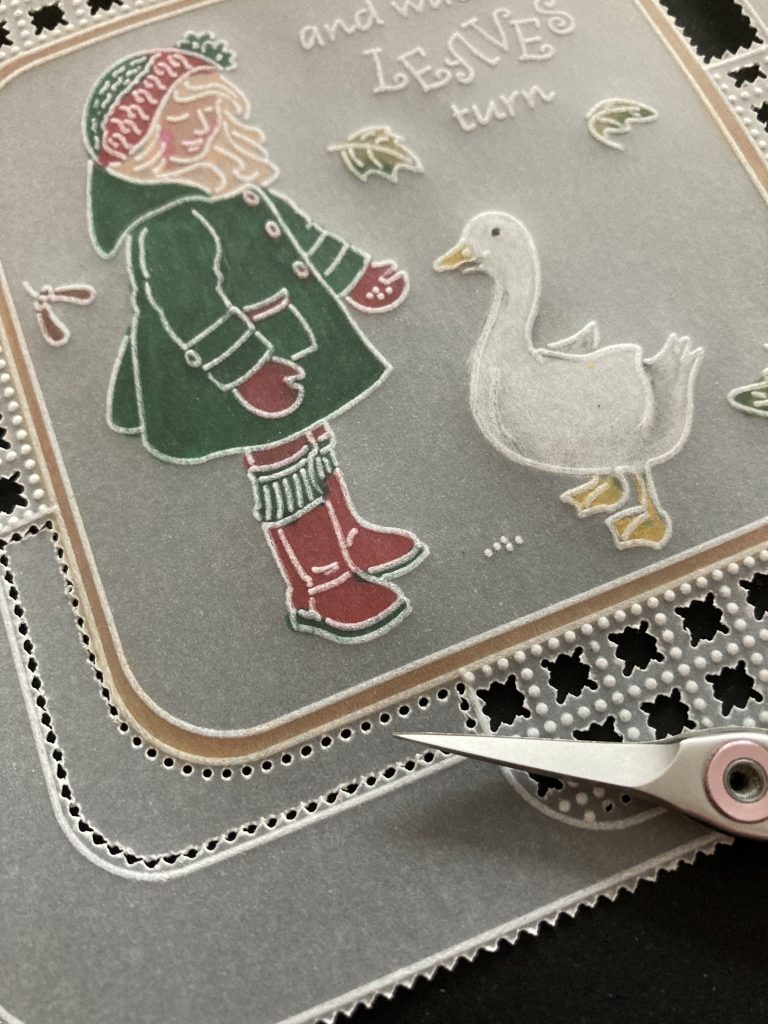
Step 11. Using the pencils shown, colour the goose. Use the 4.5mm embossing tool to gently emboss the goose on its wing area and down the centre of the neck. This just gives it shape.

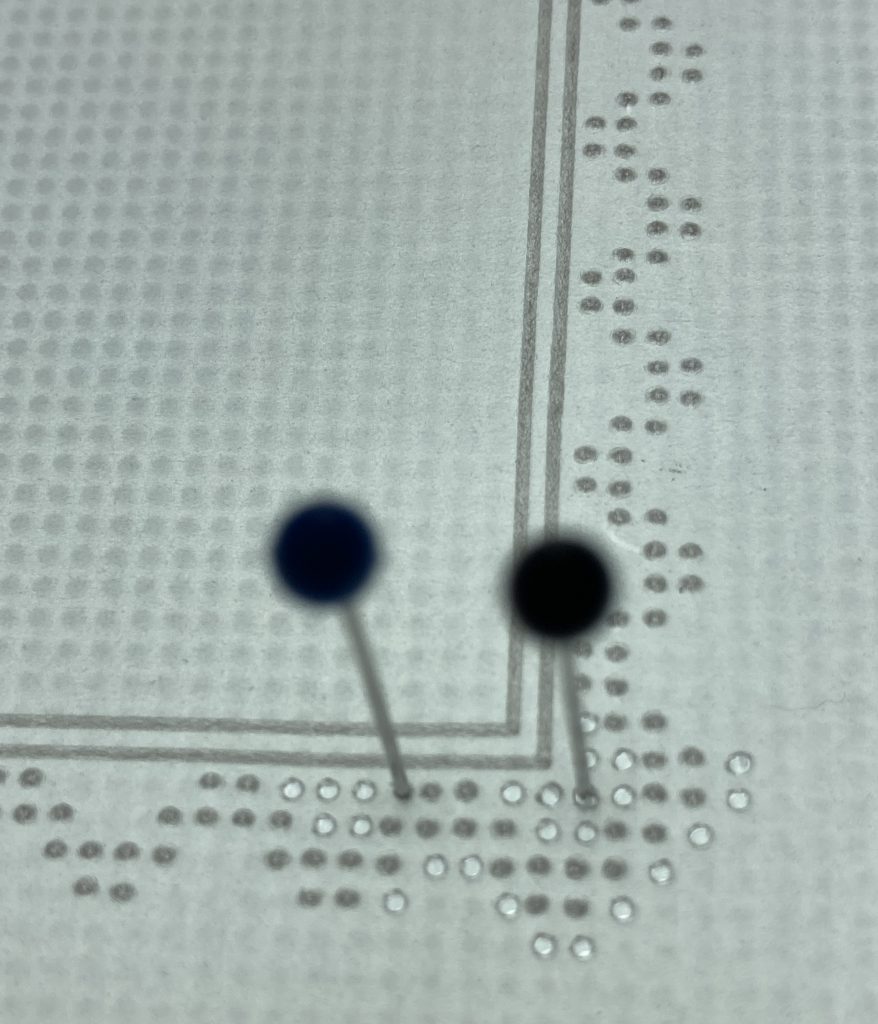
Step 12. Turn the parchment over and add the black eye.
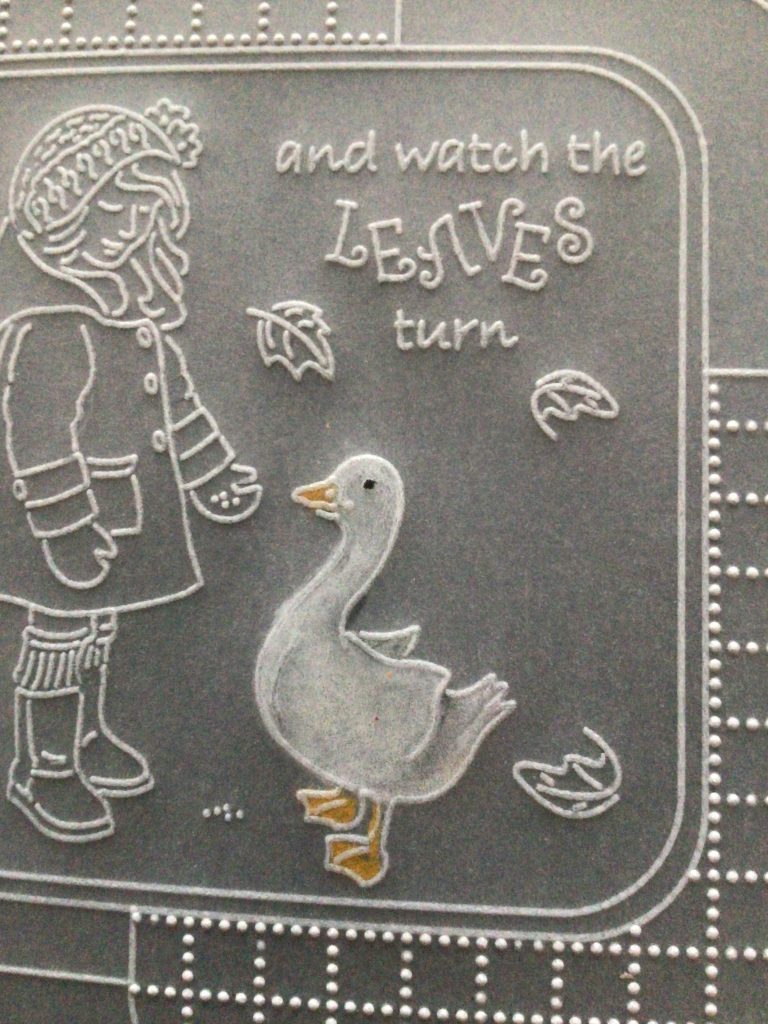
Step 13. Turn the parchment over again and on the reverse add colour to the leaves using pencils. Colour the girl using perga colours.
Step 14. Now working on the front, line up the embossed dots in the two sections and perforate the holes.
Step 15. Perforate the other small sections and around the outer edge using your 2 needle tool.
Step 16. Cut away waste from within the design and then around the outer edge.
Step 17. Cut a piece of designer paper to measure 17cm x17cm. Layer the two pieces of parchment and the paper and attach these with brads.
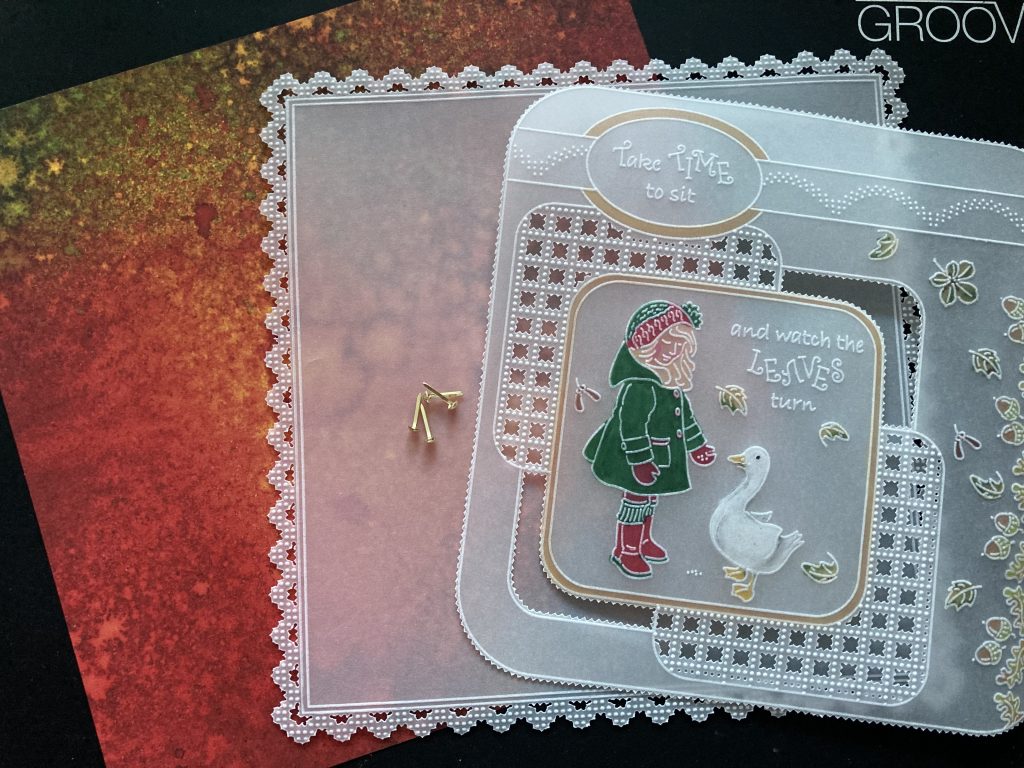
Step 18. Use double sided tape to attach it to the 7×7 card blank and your project is complete!

It would be great to see what you come up with using the layout plates.
PHWOAR! What a stunning card. Thank you, Jane, for sharing your tricks and tips with us. As usual, everything Jane has used in this step-by-step tutorial is in one place over on the Clarity website, HERE.
Right, I’m off! Christmas is in the air 🙂
Lotsa love, Grace & Jane xo
Clarity – The Home of Art, Craft and Well-Being.
Thank you SO much for these great tutorials; even if I can’t do them all, there are always good tips to be gained.
Have a MOST WONDERFUL Christmas with your family dear Grace, and wishing you all good, happy times in the new year. Frohe Weihnachten! With love, Jutta
I ordered both the plates & stamps in the layout collection recently & I am looking forward to playing with them in the New Year. Thanks Jane for a great step by step for a fantastic design but as you say once you have the frame the designs within the spaces is endless.
Grace, I hope all went well with tests on arrival & you are now wending your way home without too much of a hold up. Have a fabulous time with the family over Christmas & thank you for all your claritymatters blogs each weekend throughout 2021 & I look forward to many more next year. Caring & Sharing the Clarity Way xx
Happy to hear Grace you are with your Mum these days!
Happy time together!!!💞
Thank you Jane Telfort for this tutorial.
Cann’t make them because all my hobby stuff is still in boxes after moving house. But later on I will have a go.
Take care,stay save and lots of love to you all, Trijntje Huppel
Thank you Jane for a fabulous tutorial brilliant. Hope you are safely back at home now Grace with all the family – big hugs to you all xx
I added the layout plates to my sale order and they are on their way, hopefully Monday! So I will make this one my first one and keep it for next Christmas ! I’ve just started my first rocker card in the hope it will turn out ok for my sister’s 60th this week.
Hope you’ve arrived safe and sound Grace and Mark and are now at home enjoying family time ! Stay safe everyone. X
Beautiful. Hope you have a lovely Christmas with your Mum and Dave. So pleased you were able to come over.
Hi Grace, Hi Jane, Woweeeeee !! this parchment is stunning and what a fabulous tutorial, thank you.
I hope your flights went well, Grace, and you are now all safely in the bosom of your loving family, enjoy !!
Lots of love from Patricia xx
Thank you Jane for this wonderful tutorial – have been looking at these plates & thanks to you they will be on my next order !!
Glad to hear you & your brother managed to come over – enjoy your family Christmas
Keep safe & well
Love Seta Xx
Another beautiful tutorial. Thank you Jane
xxxx