Clarity’s Blog Tutorial: How To Use The 5 In A Circle Tool (Part 1)
Hello hello! Grace here.
I hope this finds you safe and well!
The lovely Glynis is back in our bloggy bubble this weekend, with a project that ties in nicely with the week just gone.
If you missed this weeks episode of The Pergamano Summer School with Linda Williams, then you can catch up HERE or below

5 in a Circle Tool (Part 1)
**The patterns and samplers used for this project are illustrated by Linda in her handbook. The 5 in a Circle tool is featured on pages 26-29. You need to photocopy the black and white sampler from page 29.**
Ingredients
Pergamano Handbook for Multi-Needle Tools Vol. 1 by Linda Williams (PER-BO-70291-XX)
Nested Arch Tags Groovi Plate A5 (GRO-PA-41465-04)
Barbara’s Beauty Fashion Groovi Plate A5 Square (GRO-FA-41790-03)
5 in a Circle Perforating tool (PER-TO-70025-XX)
1.5mm Embossing Ball tool (PER-TO-70004-XX)
3mm Embossing Ball tool (PER-TO-70005-XX)
4.5mm Embossing Ball tool (PER-TO 70015-XX)
6mm Embossing Ball tool (PER-TO-70016-XX)
Tools from the starter kit (1&2) and (3&4)
Perga Colours Exclusives (PER-CO-70060-XX)
Faber-Castell Polychromos Pencils (ACC-PE-30797-XX)
OR Perga-Liner Pencil (B) (PER-CO-70063-XX)
Blending nibs (PER-AC-XXXXX-XX)
A4 Translucent Perforating mat (GRO-AC-40307-A4)
A4 Translucent White Super Foam (GRO-AC-40603-A4)
Pergamano Sticky Ink (PER-AC-70134-XX)
Pergamano Mapping Pen (PER-TO-70039-XX)
Perga Glitters (PER-AC-70252-XX)
(The above 3 items are available in a bundle HERE)
Instructions
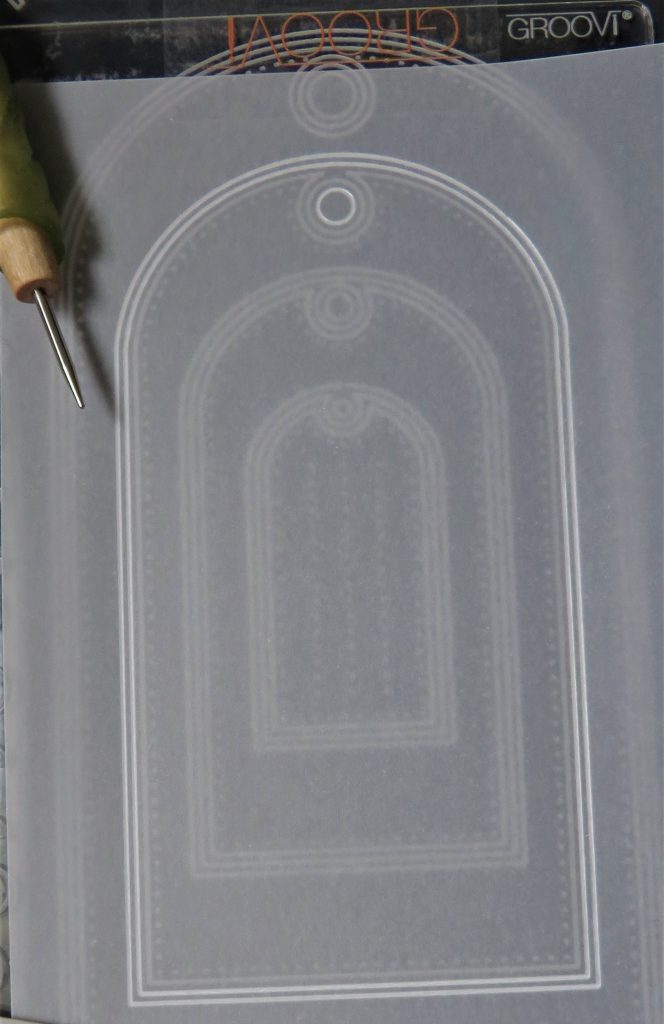
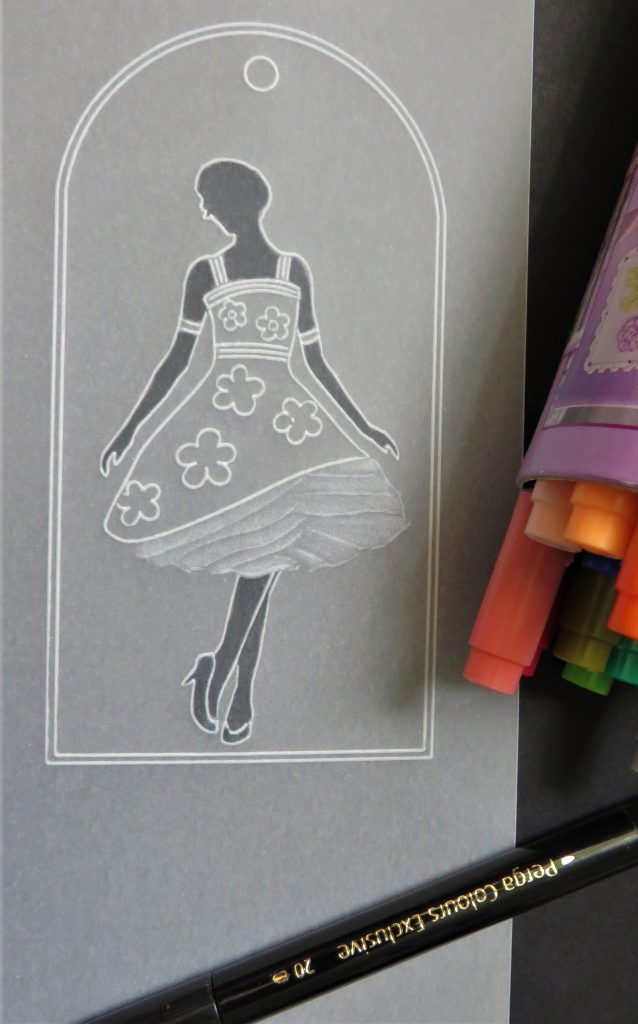
Step 1. Trace out the 2nd largest tag from the Nested Arch Tag plate.
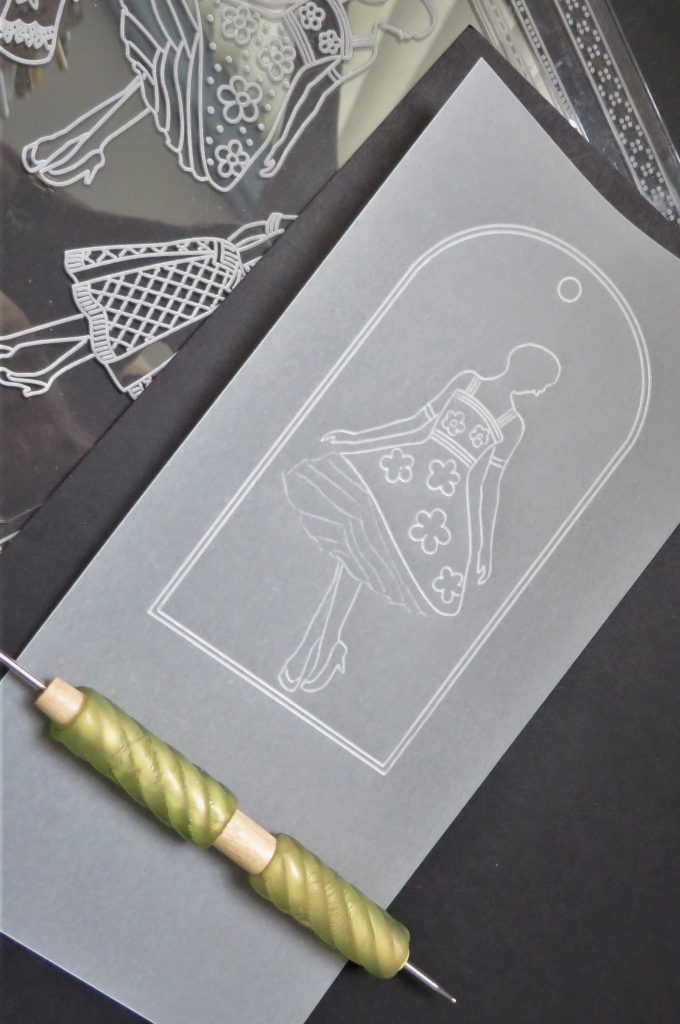
Step 2. Emboss the lady from the plate (I used the one in the centre). Leave out the centres of the largest flowers and don’t add the dots. Use the number 1 tool from the Starter Kit, except for the layers of the underskirt.
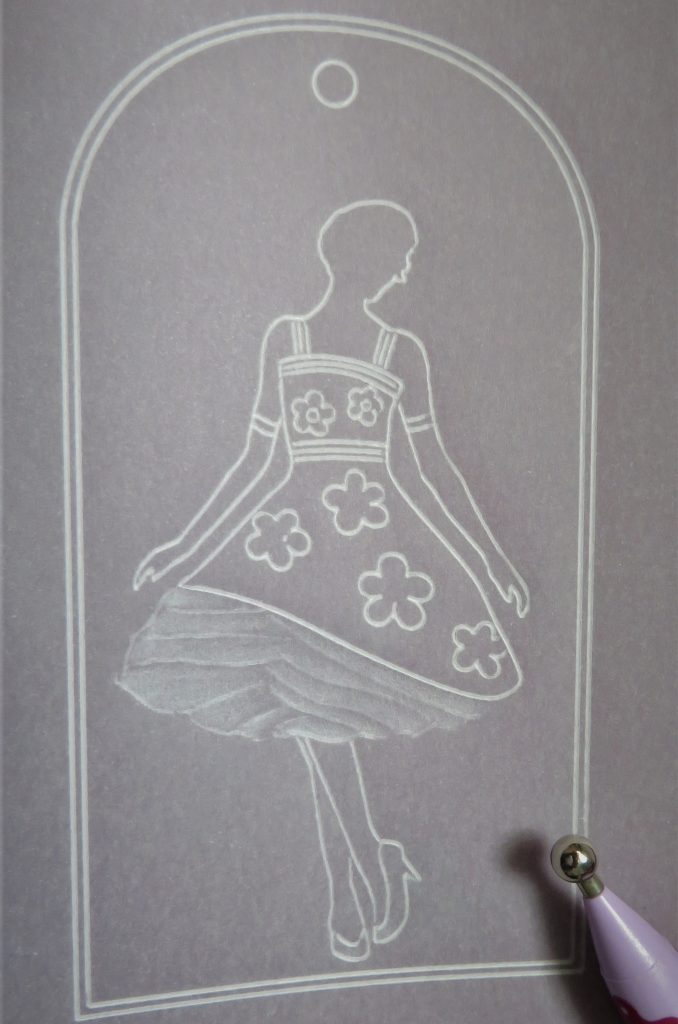
Step 3. Start with the white work on the underskirt first (doing all of the other work in between layers of embossing will allow the parchment to rest). Start with the 6mm embossing ball tool. Do 2 layers of this before moving down to the 4.5mm. Then, very softly use the 3mm ball tool (or the number 4 starter kit tool). Define the edges with the 1.5mm ball tool (or number 2 starter kit tool).
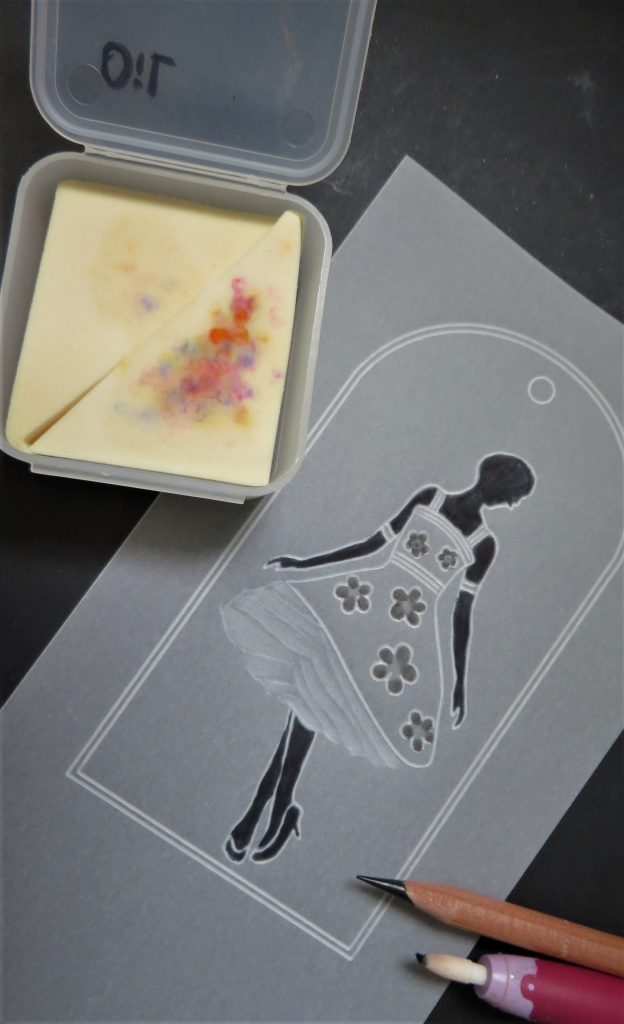
Step 4. Take the black Perga Colour Exclusive pen and colour in the flesh areas of the lady and her shoes. Allow this to dry thoroughly before attempting any more work on it.
Step 5. Do another layer of embossing on the underskirt with the 6mm ball tool. Add some black pencil to the petals of the flowers using the B2 pencil (black blending pencil) and blending nib, with just the tiniest bit of oil on. Be sure to avoid the centre of the flowers as we will be putting multi-needle tool work into the centres. The two small flowers in the bodice will have glitter or gems in the centre.
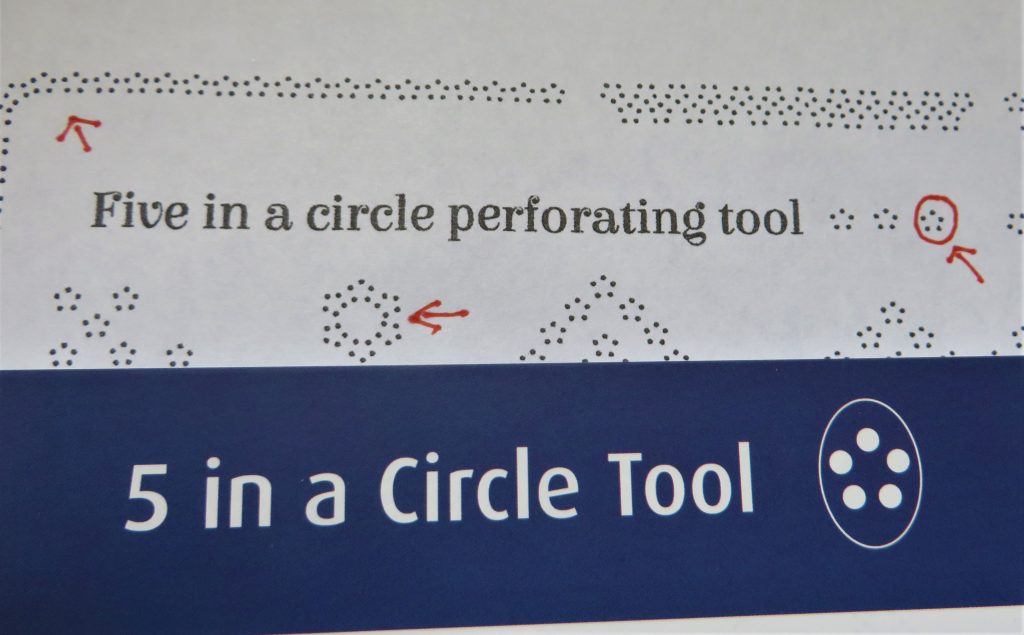
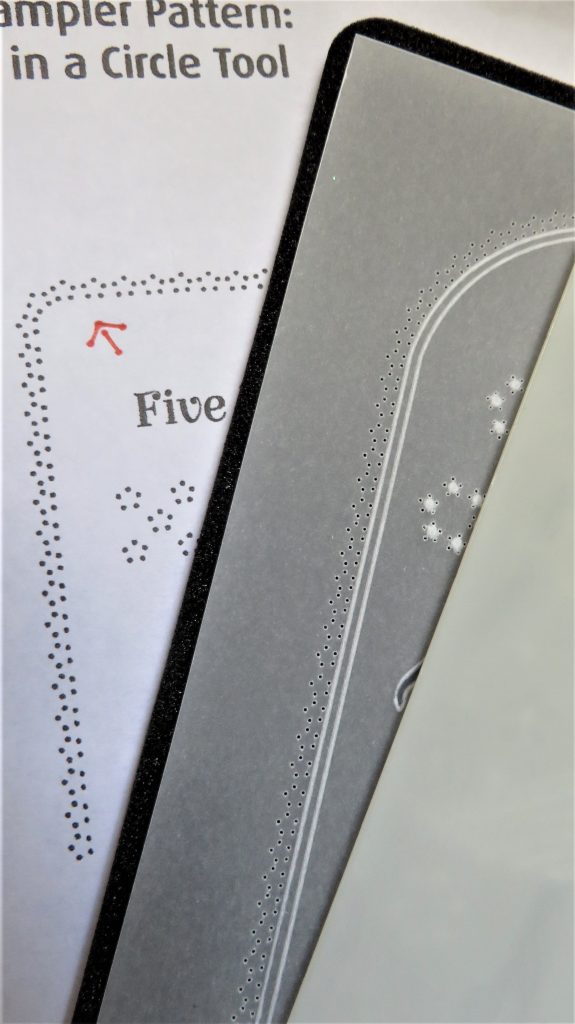
Step 6. The 5 in a circle tool is illustrated by Linda on pages 26-29 of her handbook. I have indicated the ones I shall be using for this tag by marking them in red pen. You will need to photocopy the sampler on page 29.
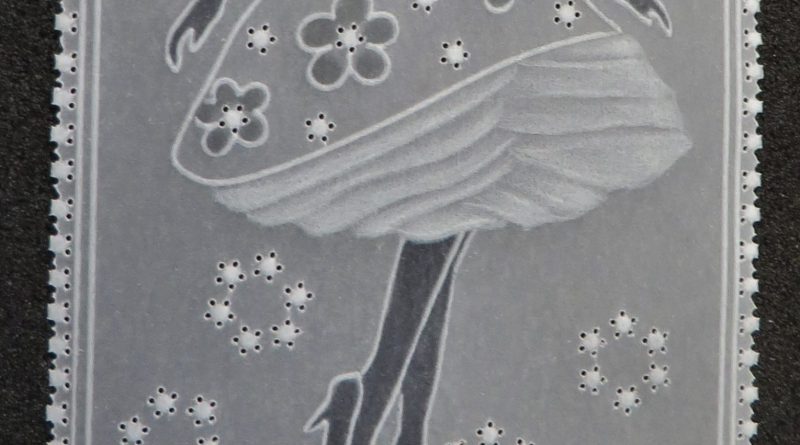
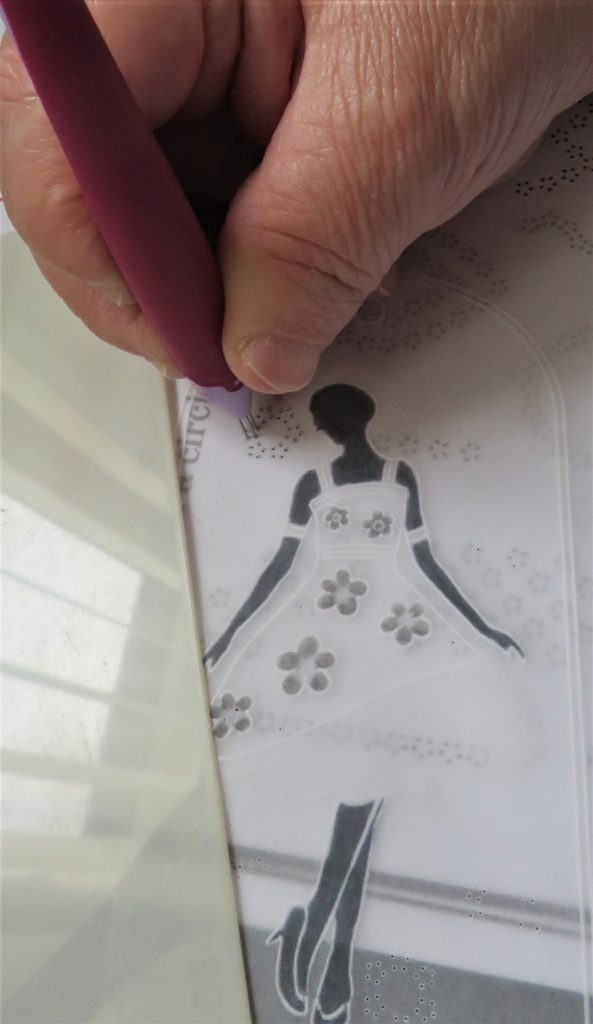
Step 7. Shallow perforate some 5-in a circle perforations in the centre of the larger flowers of the skirt. Then use the pattern to add the 5-in a circle perforation designs from the handbook. Put the tag over the paper pattern, keep the dot on the handle of the tool facing you. Line up the needles with the dots and perforate right through the parchment and the pattern. Again, you need to shallow perforate as you will be embossing within the holes later. Move the tag around so that you get several randomly placed perforation designs around the lady.
Step 8. Emboss the underskirt again using the 4.5mm ball tool. Emboss a dot into the centre of every 5-in a circle perforation using the 1.5mm ball tool. When you emboss a dot, remember not to just go round and round, as seems the natural thing to do. You need to go up, down, left, right and then round to finish off the dot. If you just go round and round, you will end up with a black dot in the centre and it doesn’t look so good.
Step 9. Put yet another layer of embossing on the underskirt, using the 4.5mm ball tool. Then go around the edge of the tag with the 5-in a circle tool, again following the pattern in Linda’s handbook. Perforate through the pattern if you need to, moving the parchment as you go.
Step 10. Move to the 3mm embossing tool (or the number 4 starter kit tool) and add another soft layer of embossing to the underskirt. Then use the 1.5mm ball tool to add a dot into every perforated 5-in a circle around the edge. Turn the work over to work on the front and place it on a deep perforating mat. Go into the 5-in a circle perforation again. If you have trouble relocating the needles, you can use a fine single needle tool for this.
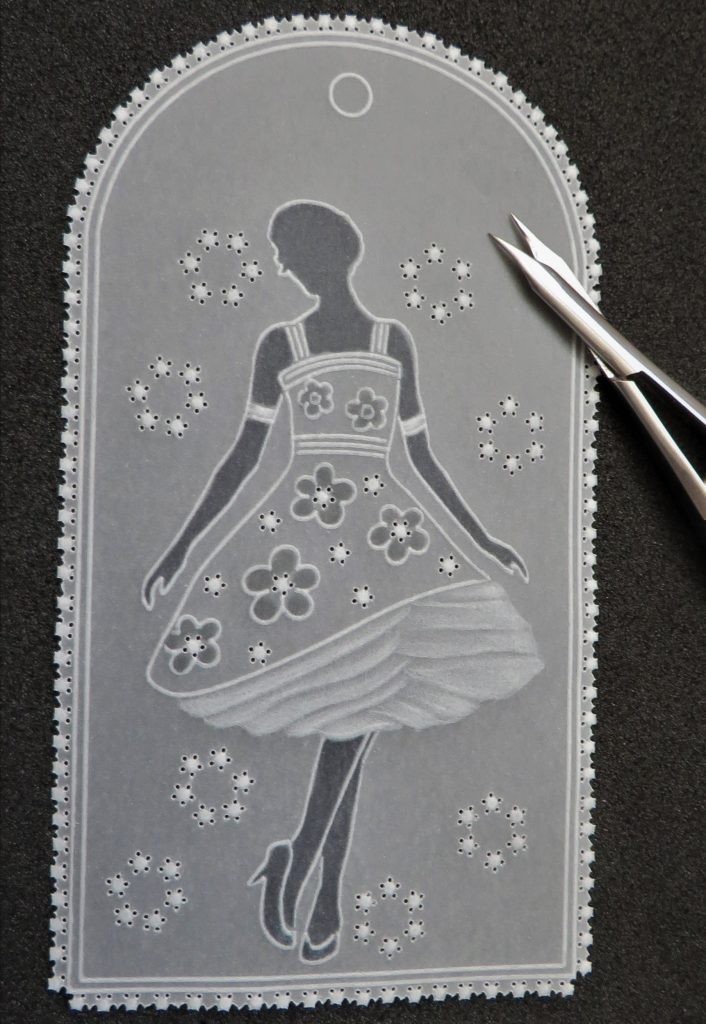
Step 11. Snip out the tag. Linda has kindly provided us with a cutting guide on page 27 of the handbook. If needed, do another layer of embossing on the underskirt. Mat and layer the piece onto suitable backing with brads at the bottom corners and a little bit of double-sided tape at the top, where it will be covered by a bow. Add glitter and gems according to your taste. And voila!
Absolutely stunning! Thank you Glynis 🙂
As usual, we have put everything in one place over on the Clarity website HERE
Have you seen the latest design from Linda? Ding! Dong!
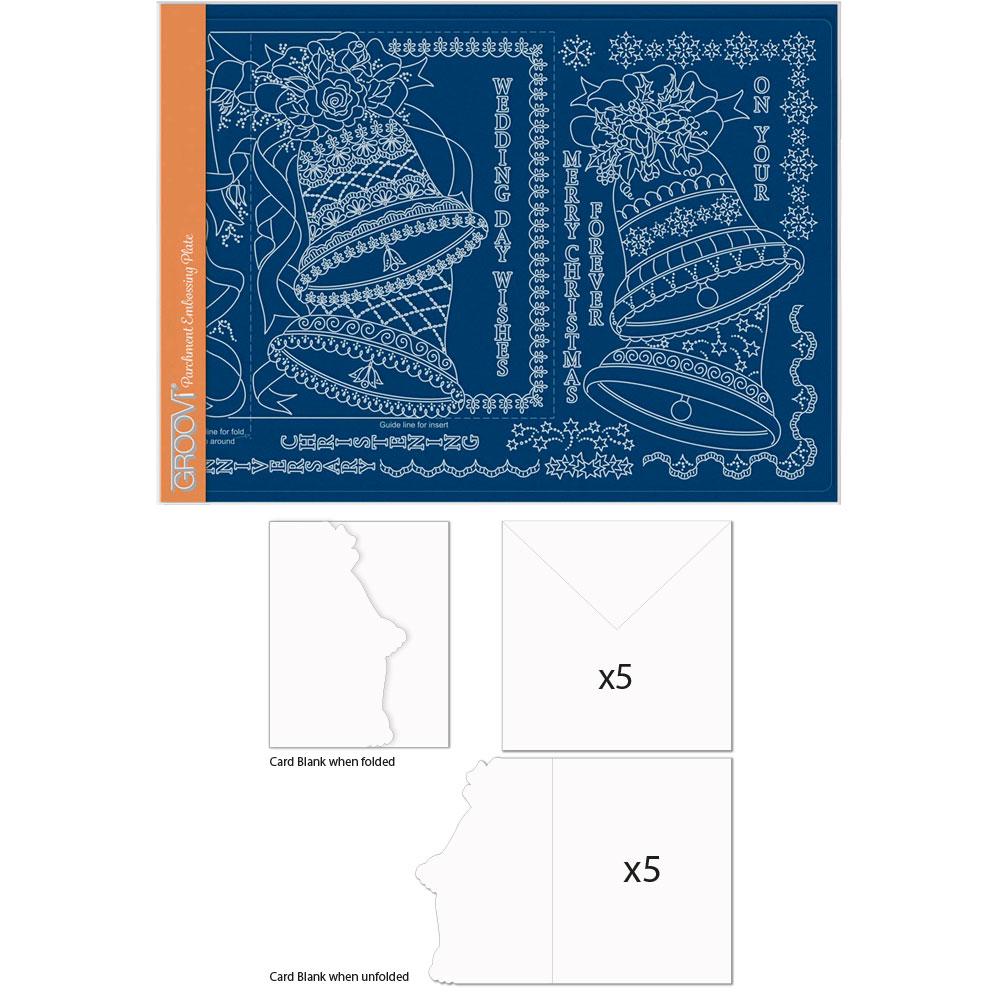
Available HERE
If you are looking for some inspiration, then check out Mum’s Blog HERE showcasing all the samples created by the amazing Design Team
Lotsa love, Grace & Glynis xo
Clarity – The Home of Art, Craft and Well-Being.
Hi Grace, not sure where everyone is today but no doubt making the most of the sunshine & getting out in the garden before the weather turns cooler. I have been busy making birthday cards for the rest of the year so that I can then start on my Christmas cards. Found quite a few toppers from last year whilst looking for some contrasting paper so that was a bonus, just need to complete them.
Another love tag card from Glynis using the 5 in a circle tool following the class in Summer School on Tuesday, which I need to look at as well. I don’t have the fashion plates but I am sure I can find something that will go in their place.
Have a good week
Oh wow Glynis this is stunning.
Hope you are well Grace and have recovered from the jet lag! I’m sure you’ll admit it was worth it though to come home and see all the family this time!
Lots of love and hugs.
Xxx
Hi Grace, Hi Glynis, Wow !! you have put in so much work on this tag, it is truly stunning.
Lots of love from Patricia xx
Hi Glynis, lovely card. I am definitely going to make this one.
Beautiful, definitely giving it ago, thankyou xx
Perfect, I like to practice the needle tools and a great excuse to get the ladies plate out again