Clarity’s Blog Tutorial: How to Combine Plates
Hello hello! Grace here.
I hope this finds you safe, happy and calm! Enjoying your day I hope?
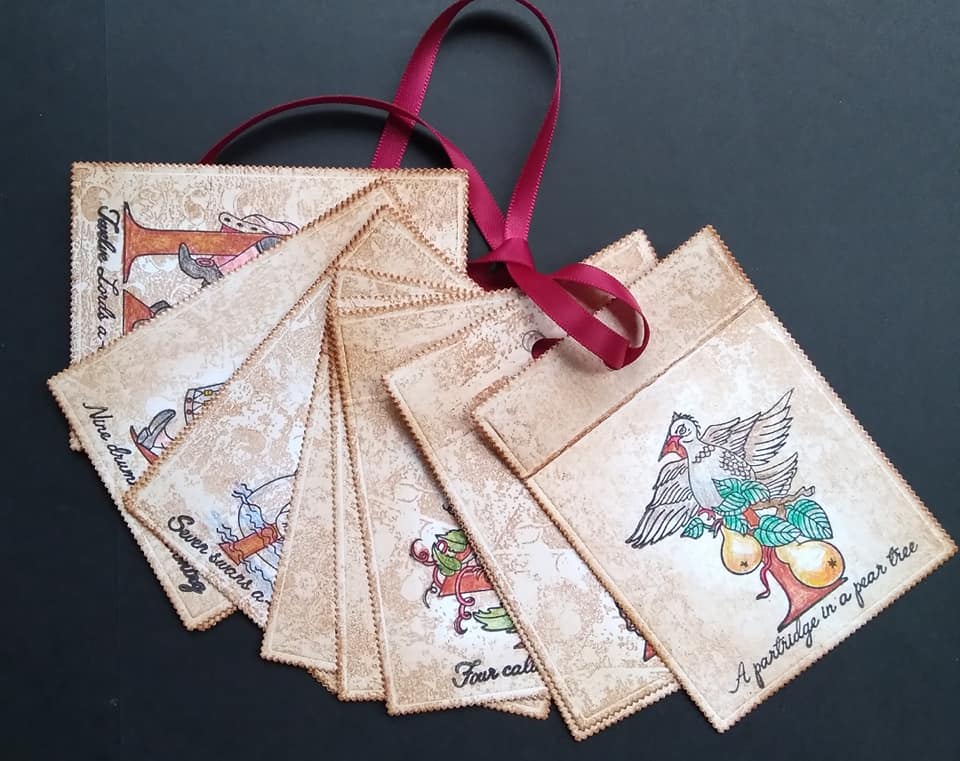
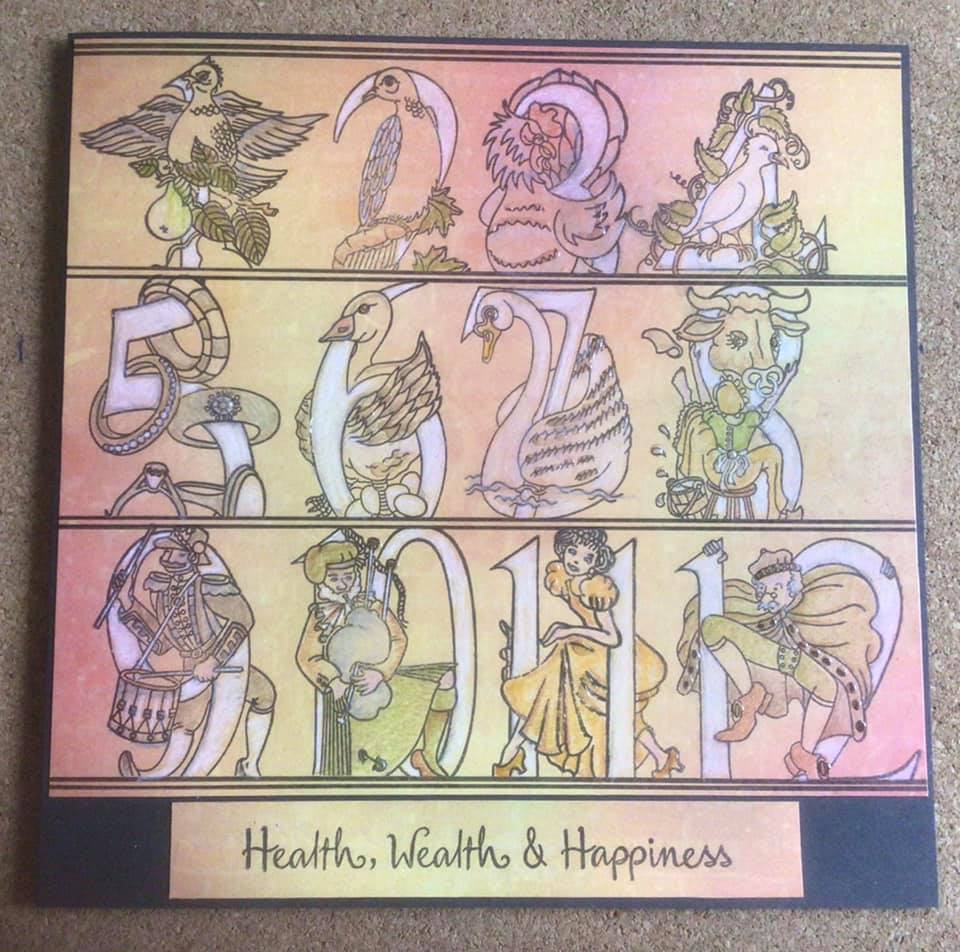
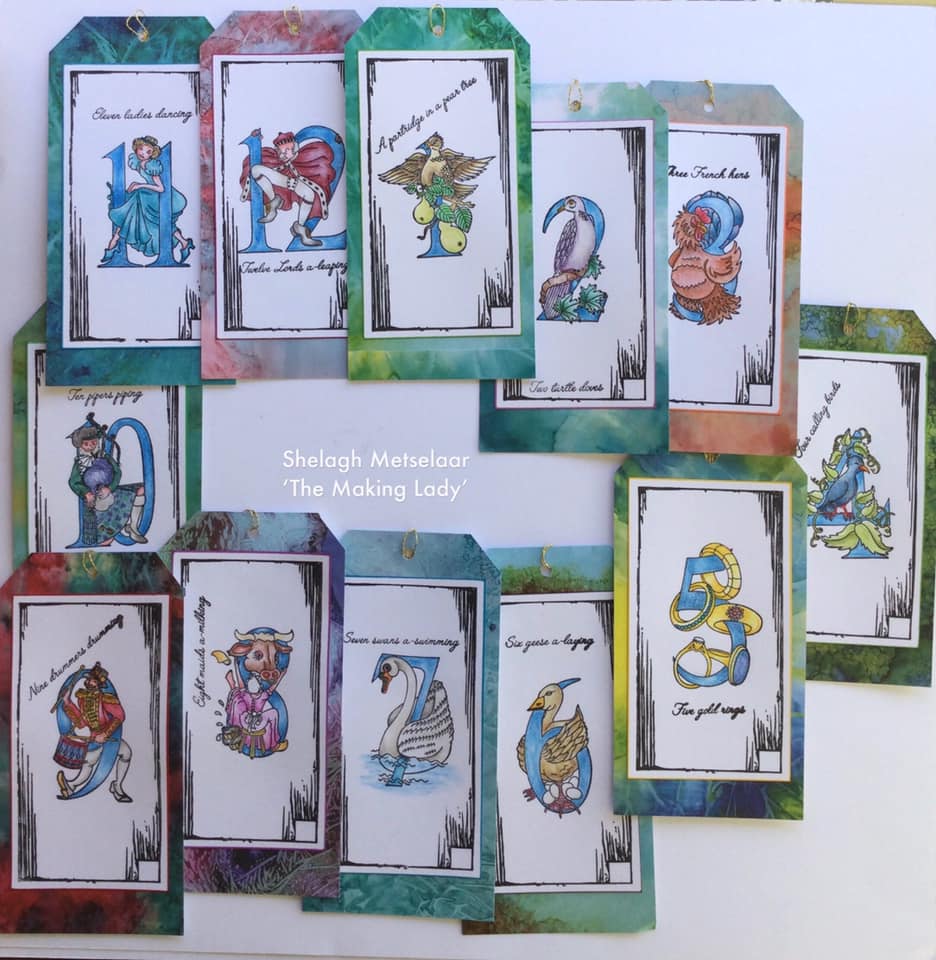
I so enjoyed the launch of our 12 Days of Christmas Designs last weekend, and the Nursery Rhyme Alphabet Sets. I was just 3 years old when Mum designed those and do recall them vividly from childhood. I get all nostalgic when I look at them and the beautiful artwork created.
How very special they are…
Julie Dunn 
Sarah Brennan
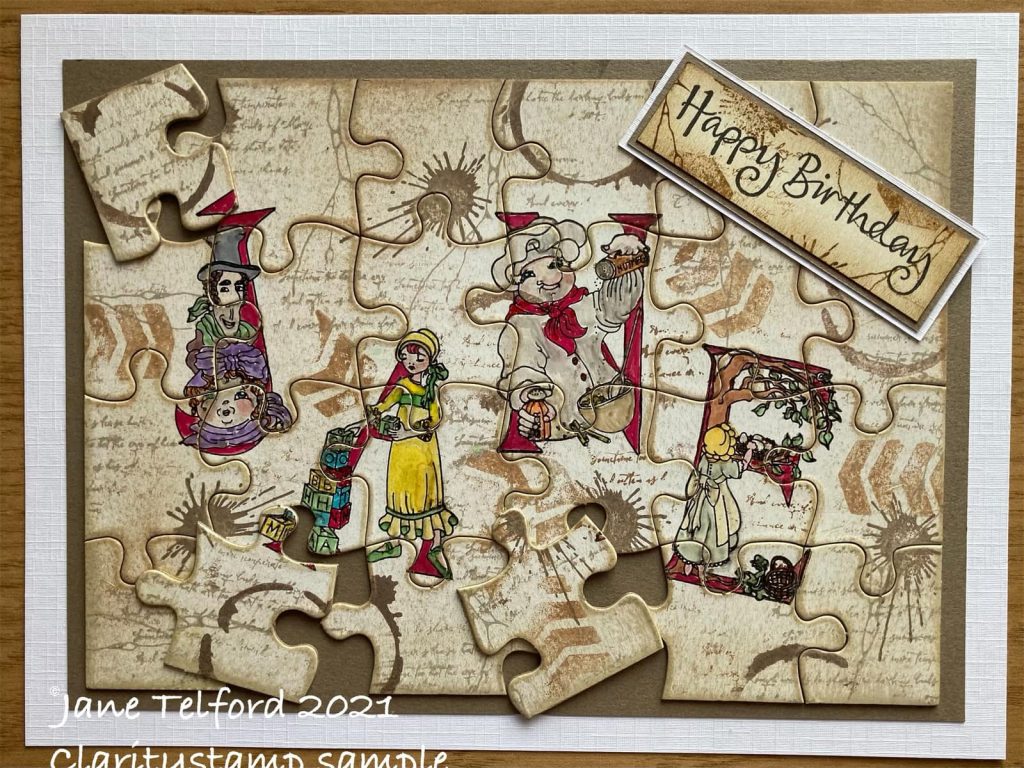
Jane Telford 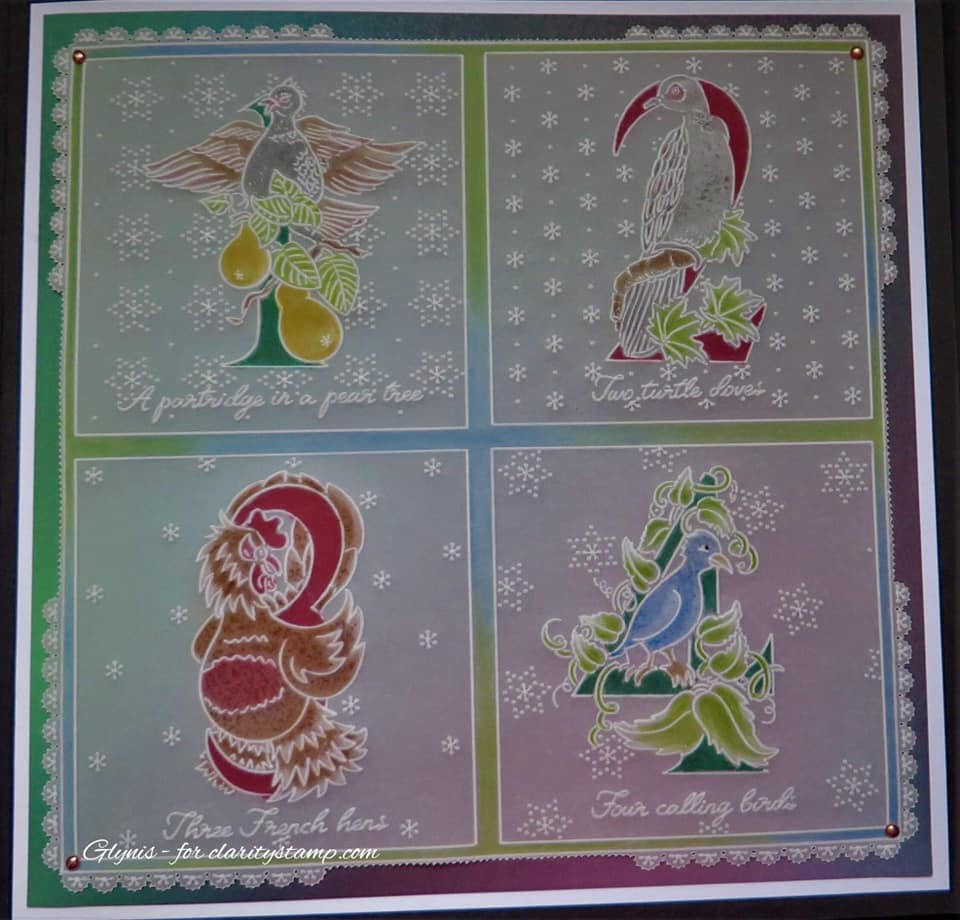
Glynis Whitehead
I LOVE THEM!! You can explore further here.
We’re lucky to have the brilliant Jane Telford in our bloggy bubble this weekend, showing us a step-by-step tutorial using one of these very designs!

How to Combine Different Plates
I really love getting lots of different plates out and using them to create designs. It isn’t always an easy thing to do especially when the designs on the plates give you the finished idea already… but that is a way to challenge yourself and think outside of the box!
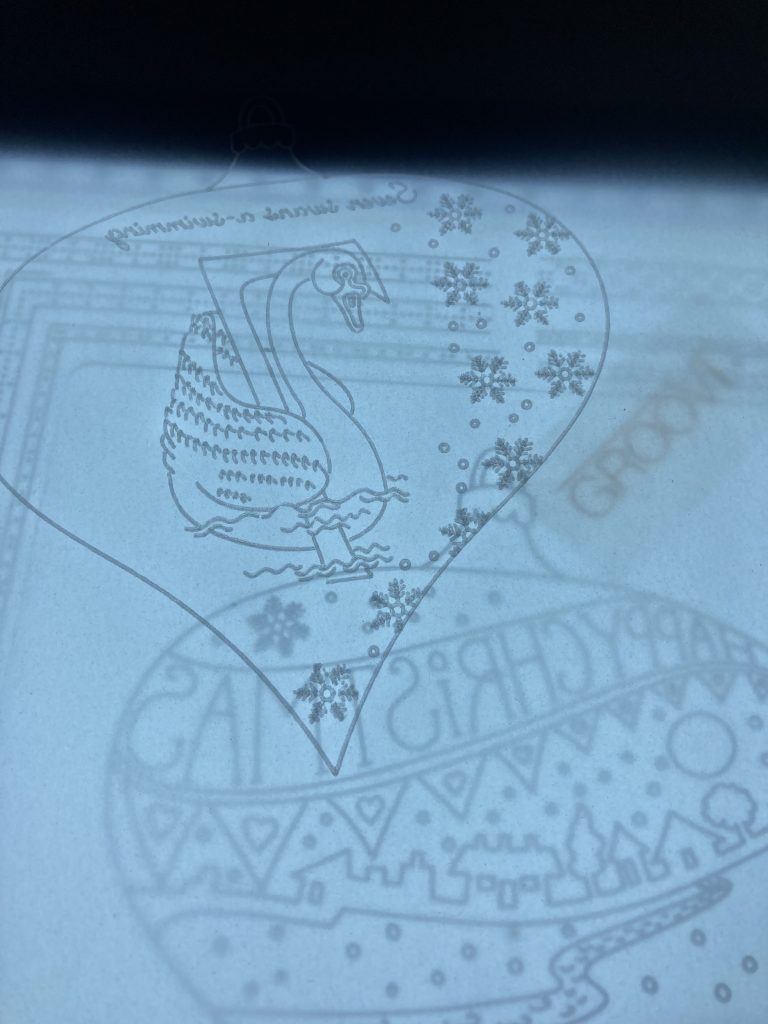
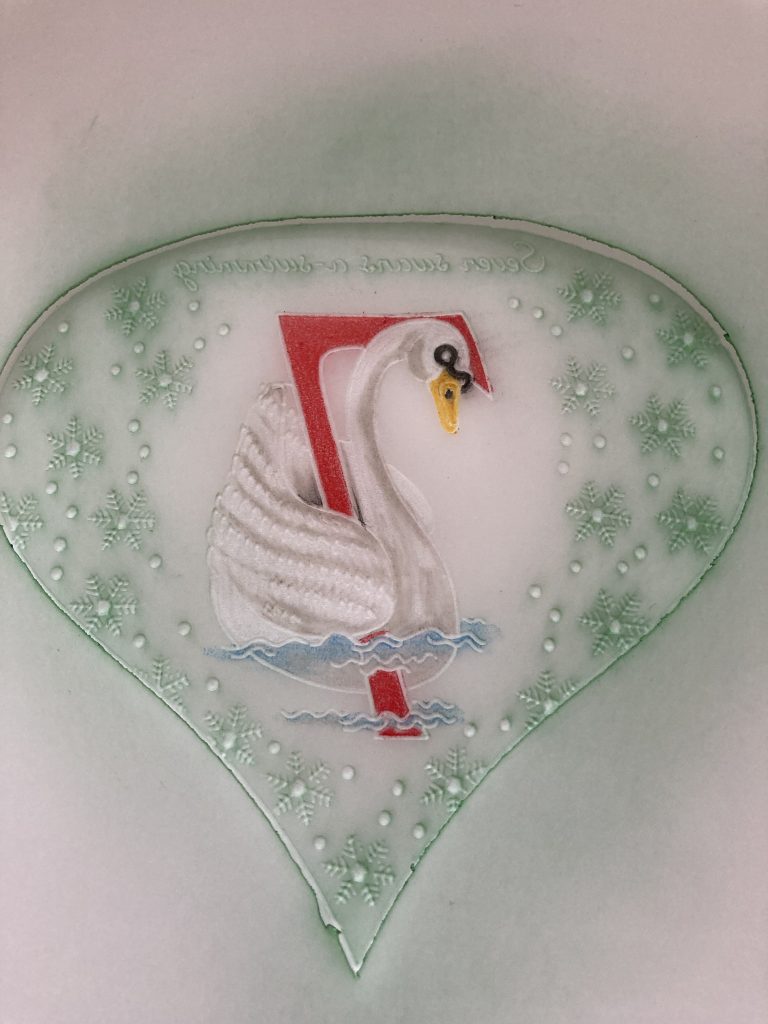
When I saw the new 12 Days of Christmas designs I instantly thought of baubles. So here goes!
Ingredients
Happy Christmas Bauble (GRO-CH-41387-03)
Plate mate for Grids (GRO-CO-41706-08)
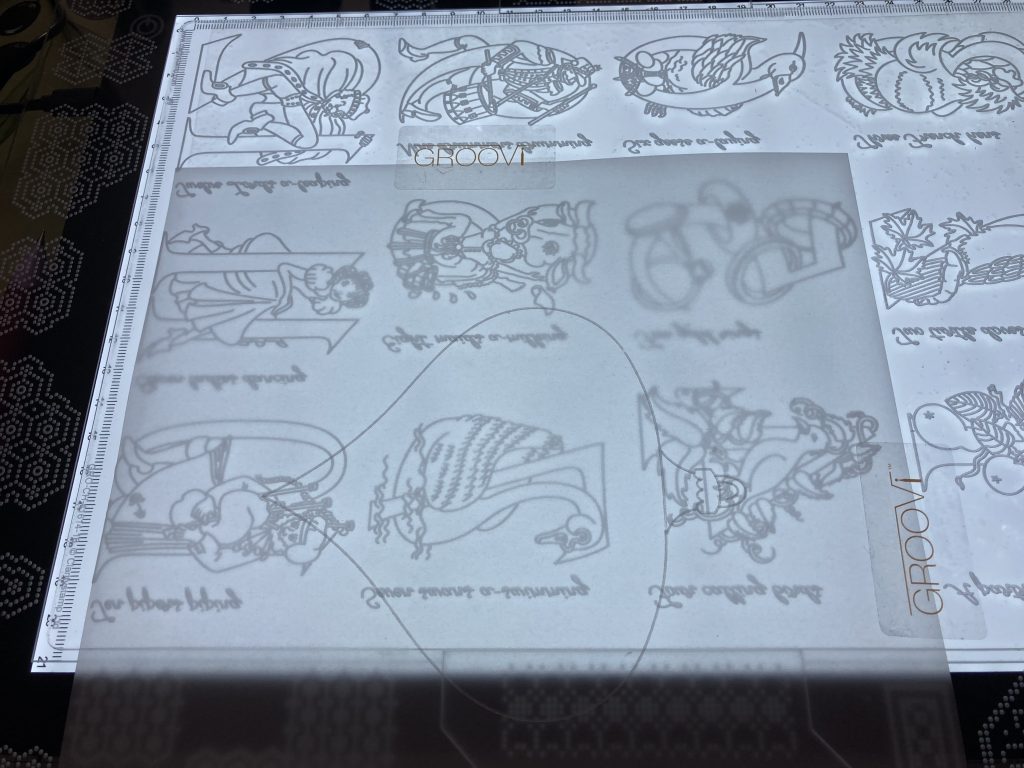
12 Days of Christmas A4 Plate (GRO-CH-41614-16)
Groovi Plate Mate For A4 Square Grids With Extensions (GRO-PA-41779-XX)
Plain Parchment (GRO-AC-40024-XX)
8×8 card blank (ACC-CA-30620-88)
4 gold brads (PER-AC-70274-XX)
0.5mm ball tool (PER-TO-70009-XX)
1mm ball tool (PER-TO-70012-XX)
1.5mm ball tool (PER-TO-70004-XX)
Shader embossing tool (PER-TO-70003-XX)
Groovi Embossing 1&2 Tool (GRO-AC-40026-XX)
Groovi Embossing 3&4 Tool (GRO-AC-40027-XX)
Picot V perforating tool Large (PER-TO-70283-XX)
Picot V perforating tool Medium (PER-TO-70282-XX)
Picot V perforating tool Small (PER-TO-70281-XX)
Pergaliners (PER-CO-70063-XX)
Warm Grey IV Polychromo pencil (ACC-PE-31019-XX)
Elegant Emerald Artistry Ink Pad (INK-AT-50248-XX)
Ink Brushes (ACC-BR-30006-XX)
Antarctica Designer paper (ACC-CA-31032-88)
Perga Glitter, mapping pen and sticky ink bundle (PER-AC-70305-XX)
Gold pen (PER-CO-70070-XX)
Method
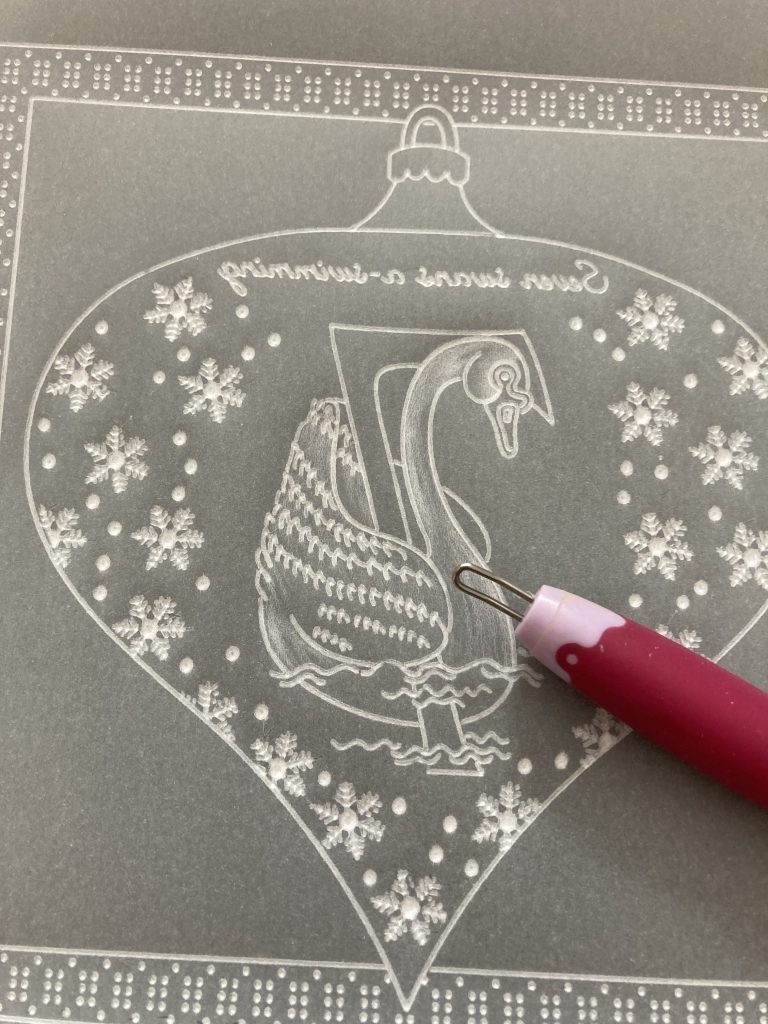
Step 1. Put the bauble plate in the plate mate and attach the parchment so it is lined up and the bauble is in the middle.

Step 2. Emboss the shape of the bauble only.
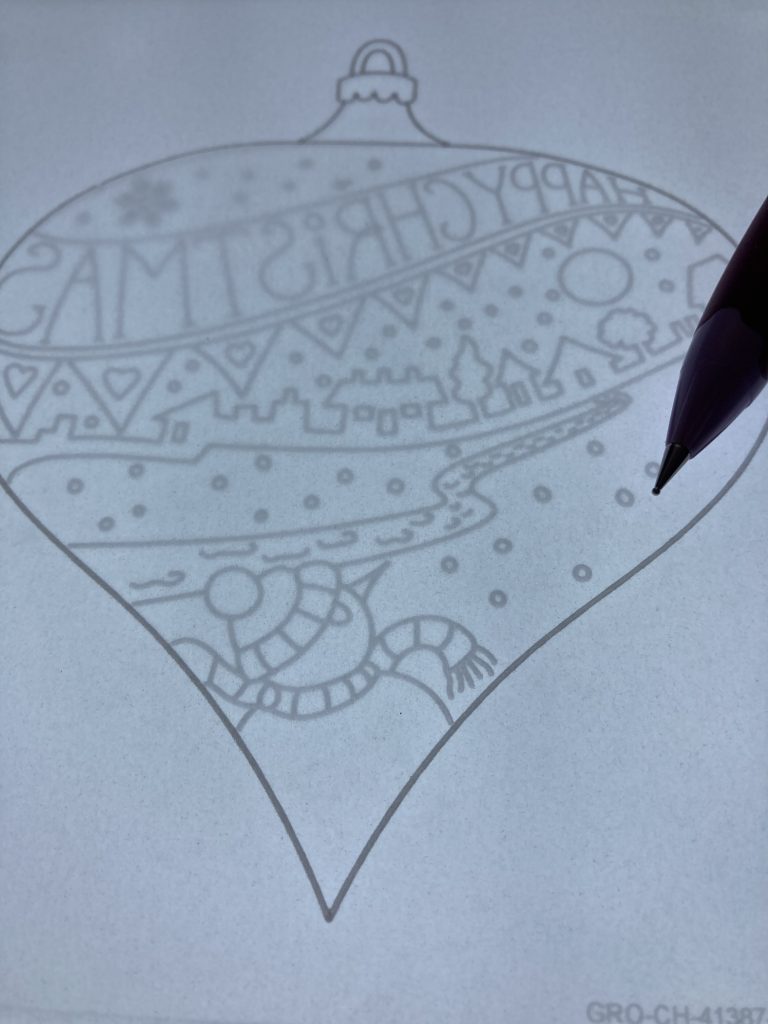
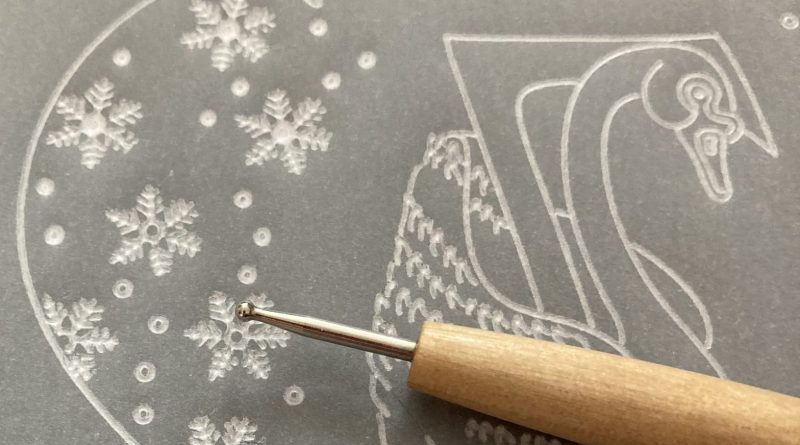
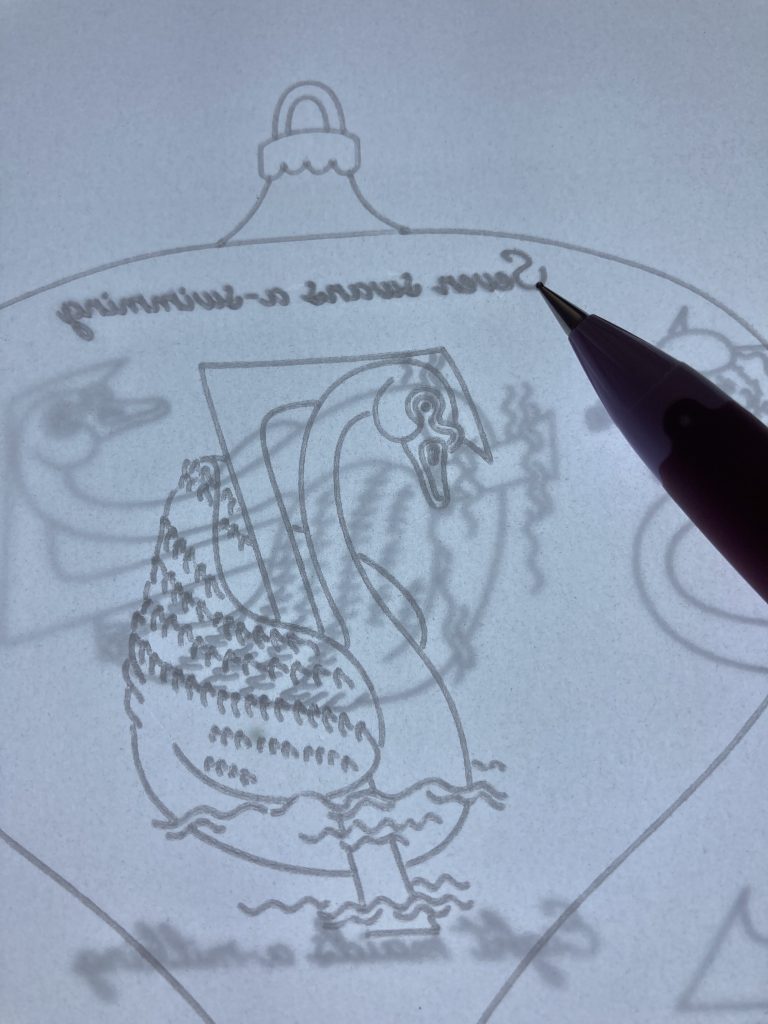
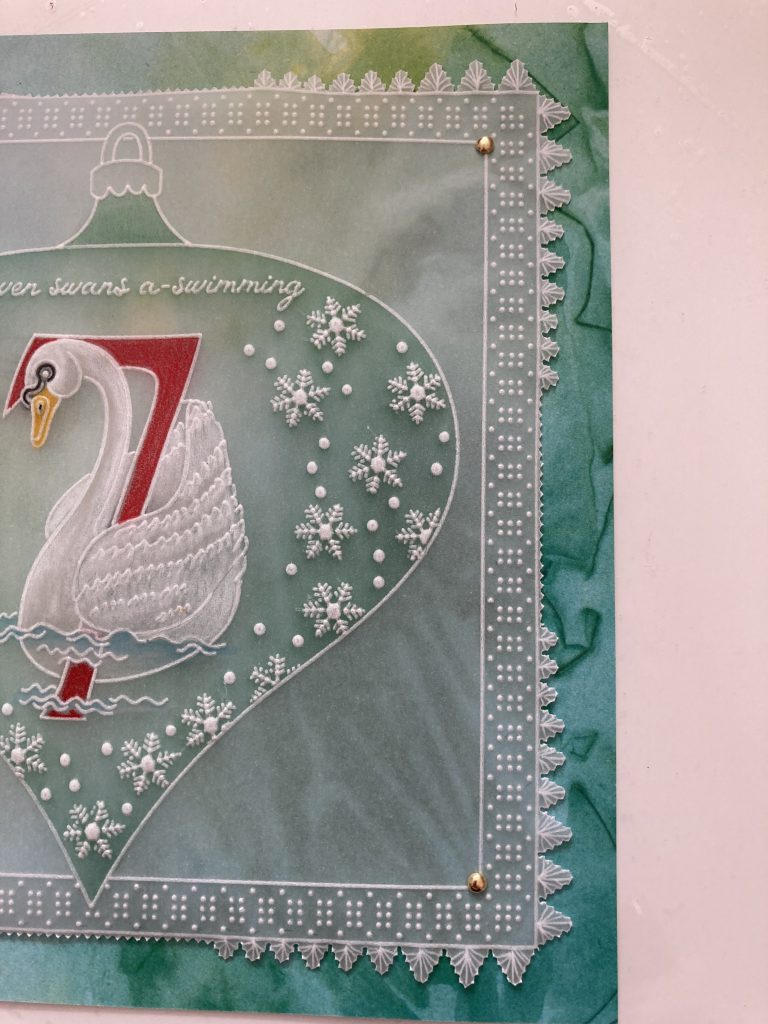
Step 3. Replace the plates and put the 12 days of Christmas plate in the large plate mate. Attach the parchment so that the bauble is over the Swan so the image is in the middle of the bauble shape and trace out.
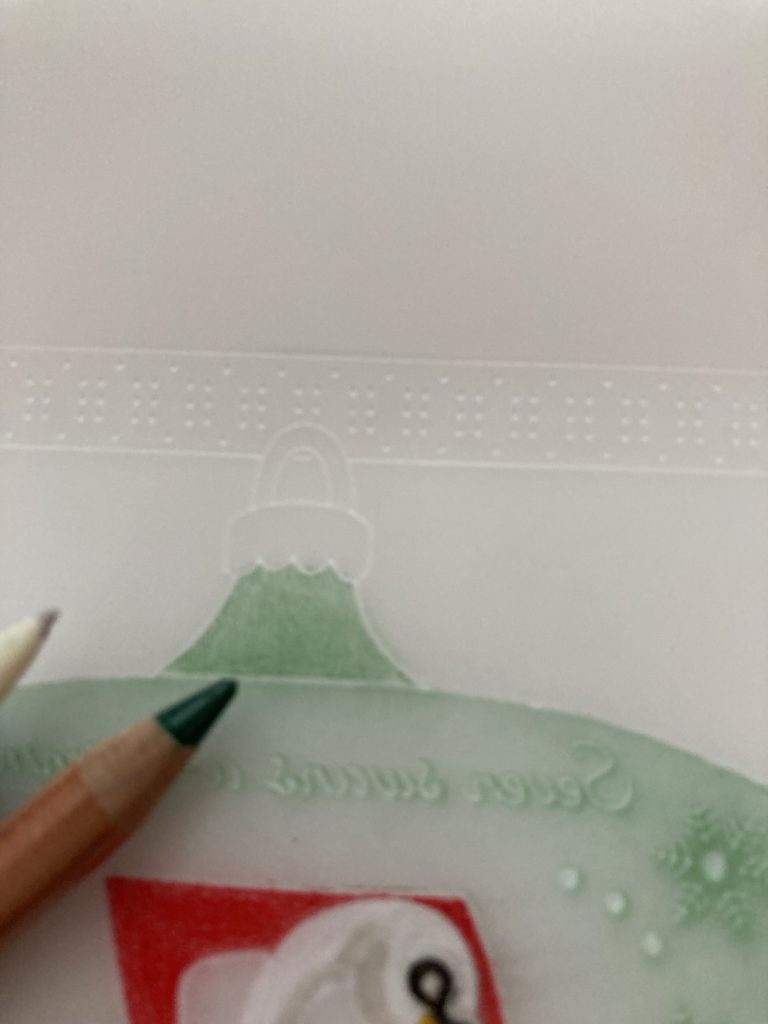
Step 4. Reposition the parchment and emboss the sentiment.
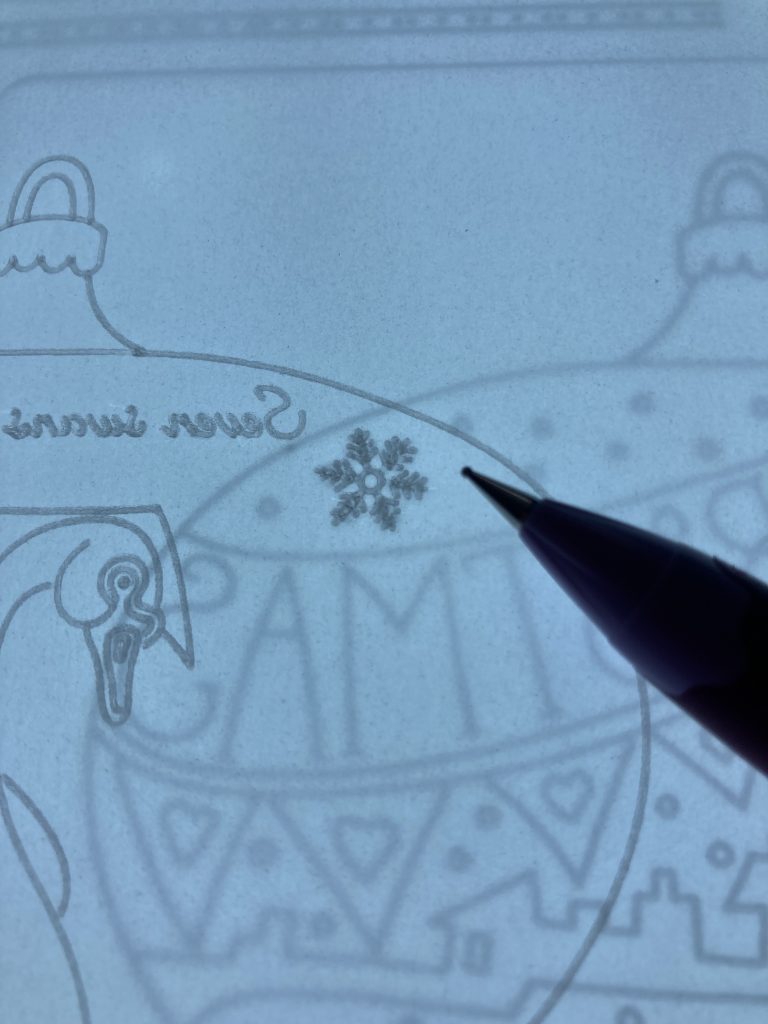
Step 5. Go back to the Bauble plates and use the snowflakes and dots in the bauble design to decorate around the sides of the swan.
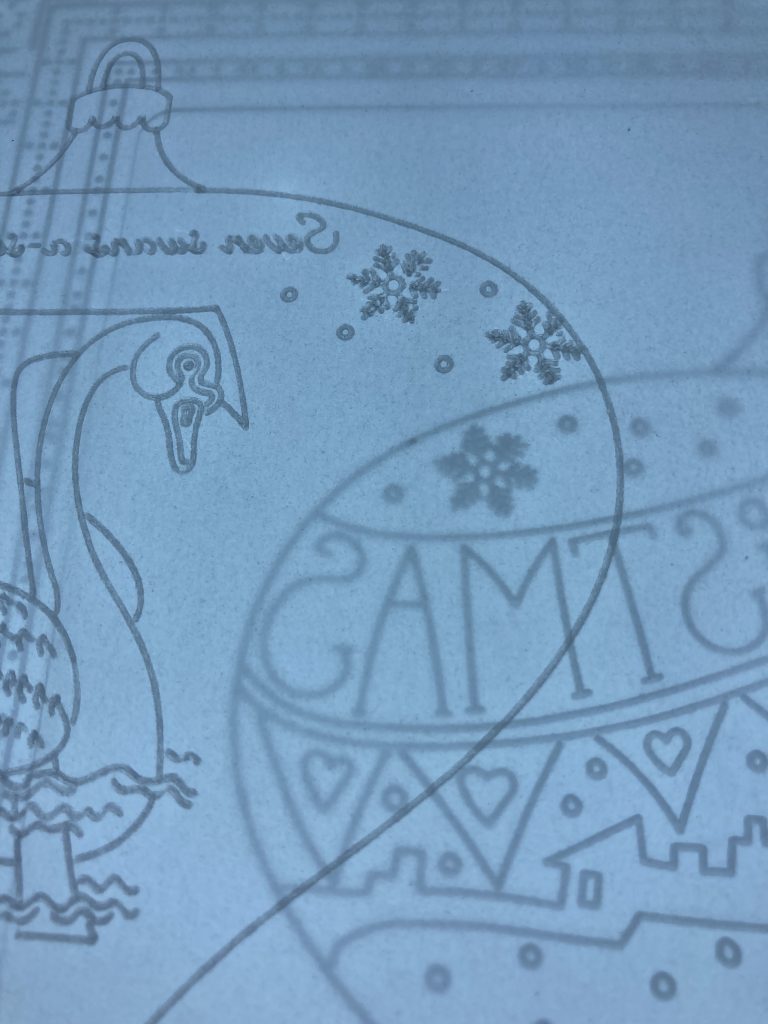

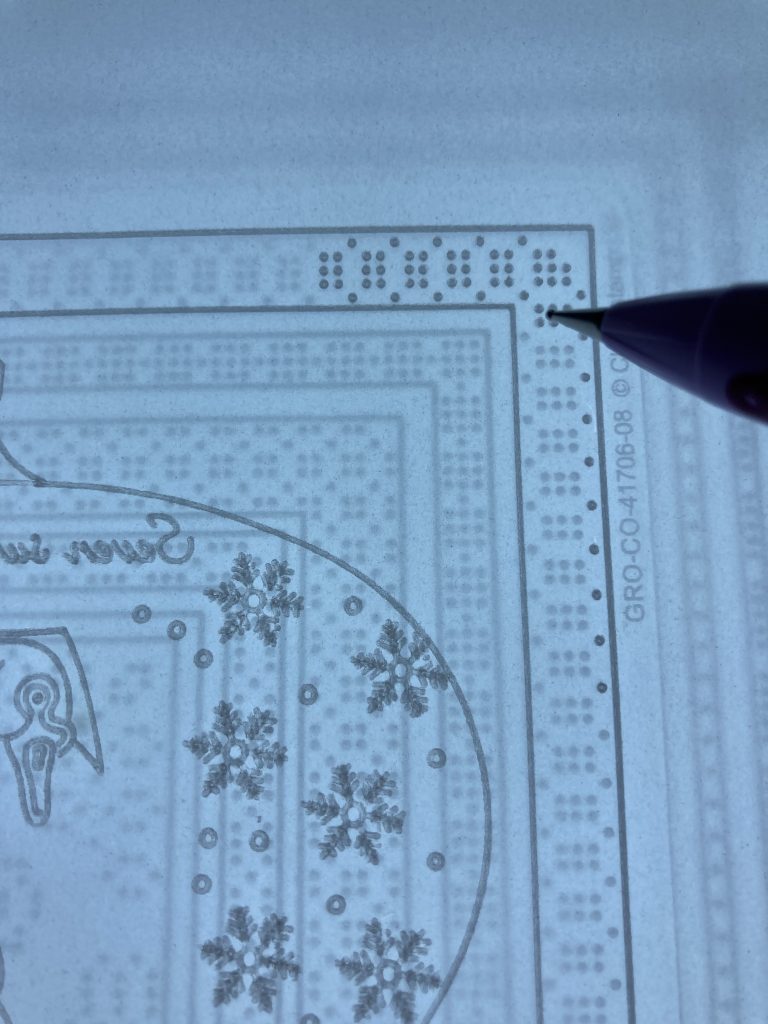
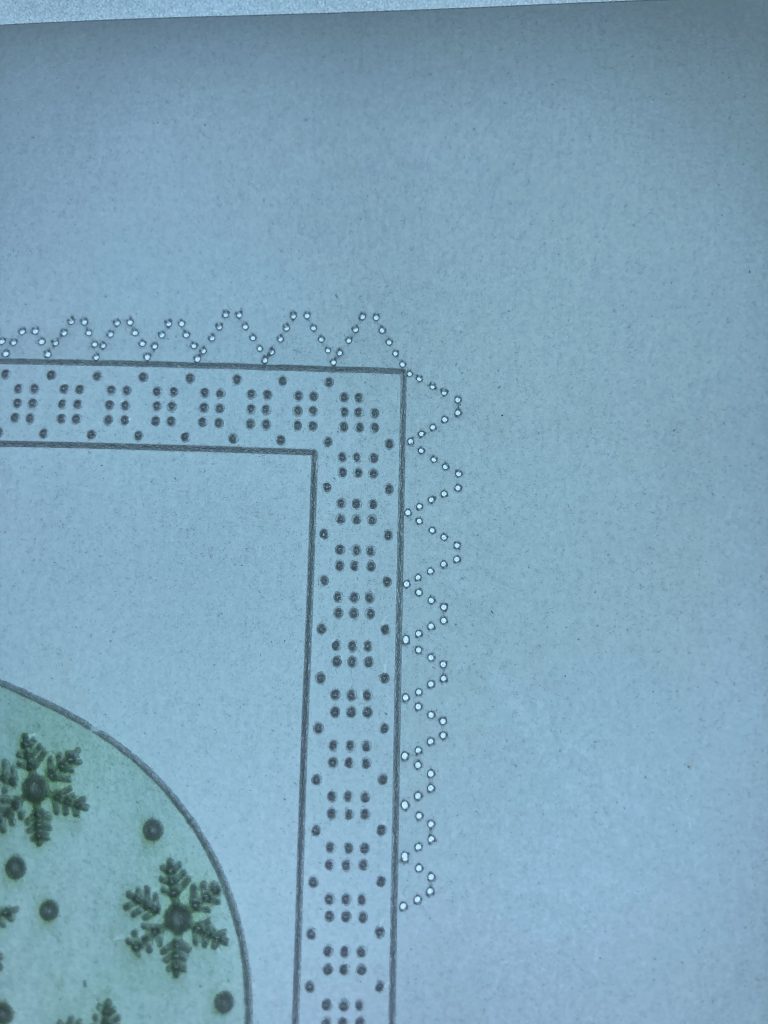
Step 6. Remove the bauble plate and replace with the pattern plate that comes with the plate mate. Line up the bauble so it is in the middle of the largest square on the inner plate.

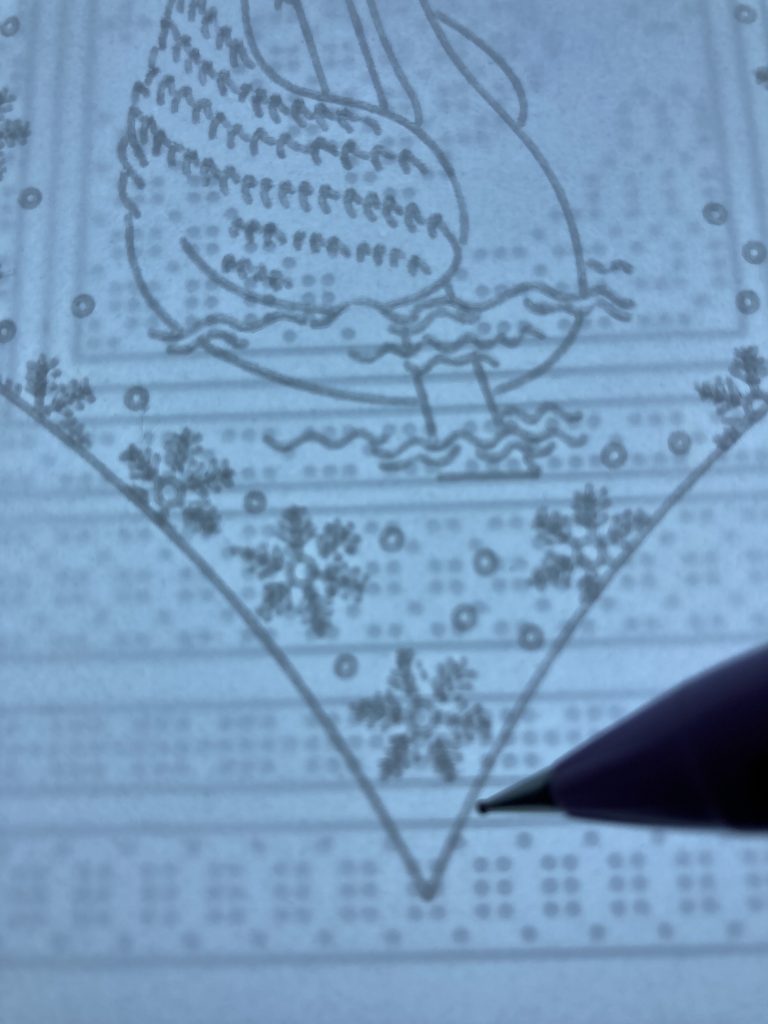

Step 7. Emboss the frame and dots avoiding the top and bottom of the bauble.
Step 8. Use the Groovi tool 3&4 to emboss white work in the dots and centres of the snowflakes.
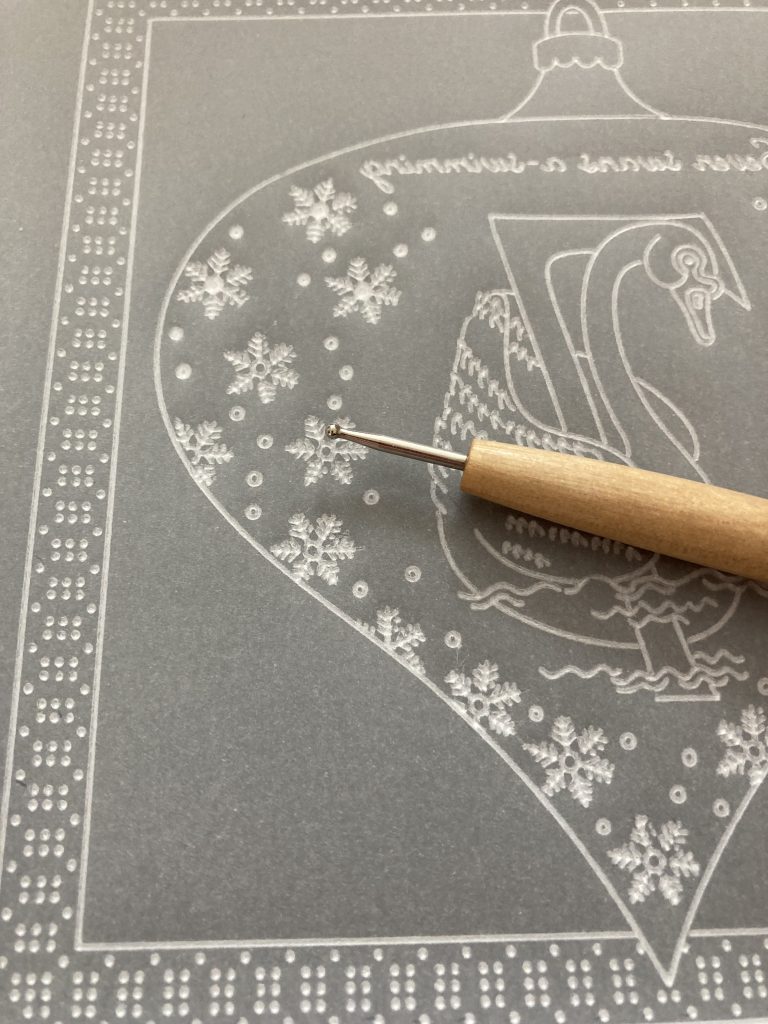
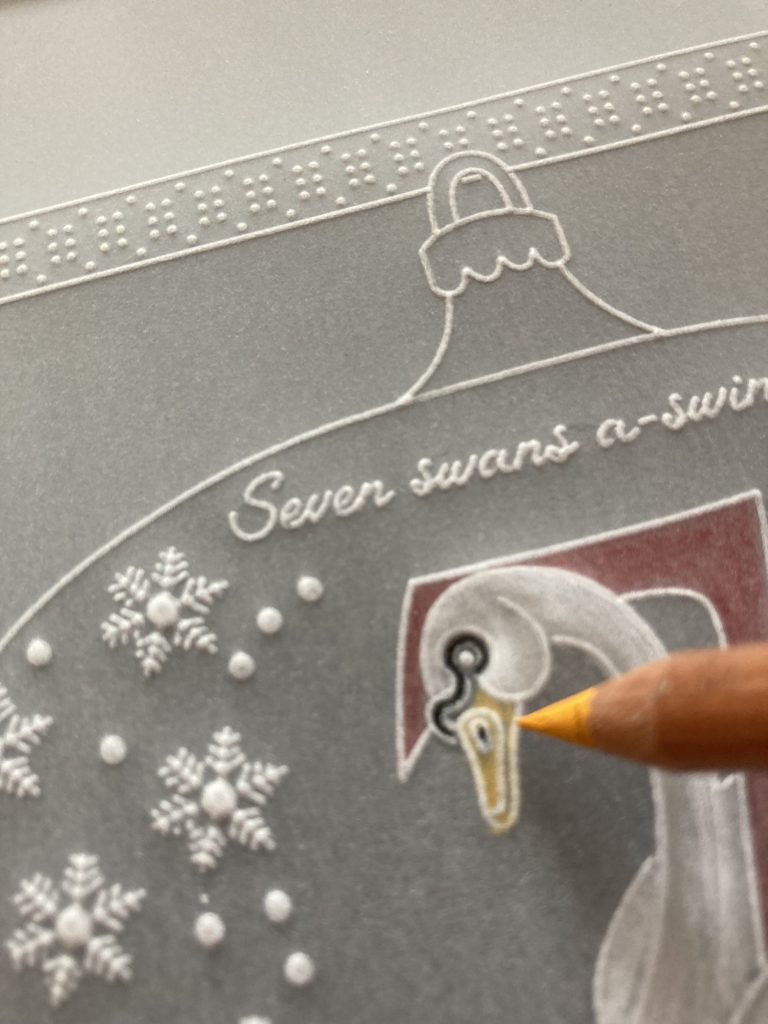
Step 9. Use the shader to add some embossing to the swan. Only lightly as this will be coloured later. It is more for dimension rather than white work.
Step 10. Use Pergaliners to add colour to the number and the swan. I use the grey polychromo pencil to add shade. A later picture will show you the colouring more. On the front add colour to the bill and the eye.
Step 11. On a separate piece of parchment and using the 0.5mm embossing tool emboss the main bauble shape only until it falls out to make a mask. The 0.5mm tool is too small for the groove and with a few strokes will cut the parchment. You need the outer part only for this project but keep both as they will come in useful.
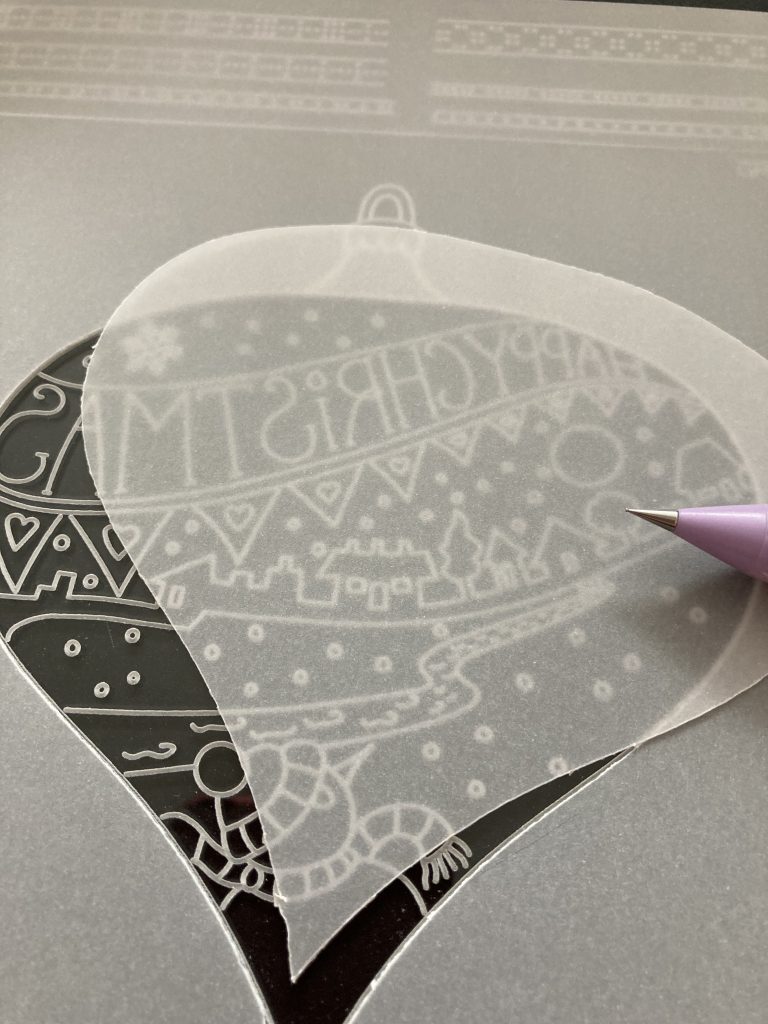
Step 12. Line up the outer mask with the main piece and attach with Groovi tabs.

Step 13. Use the artistry ink and a brush.
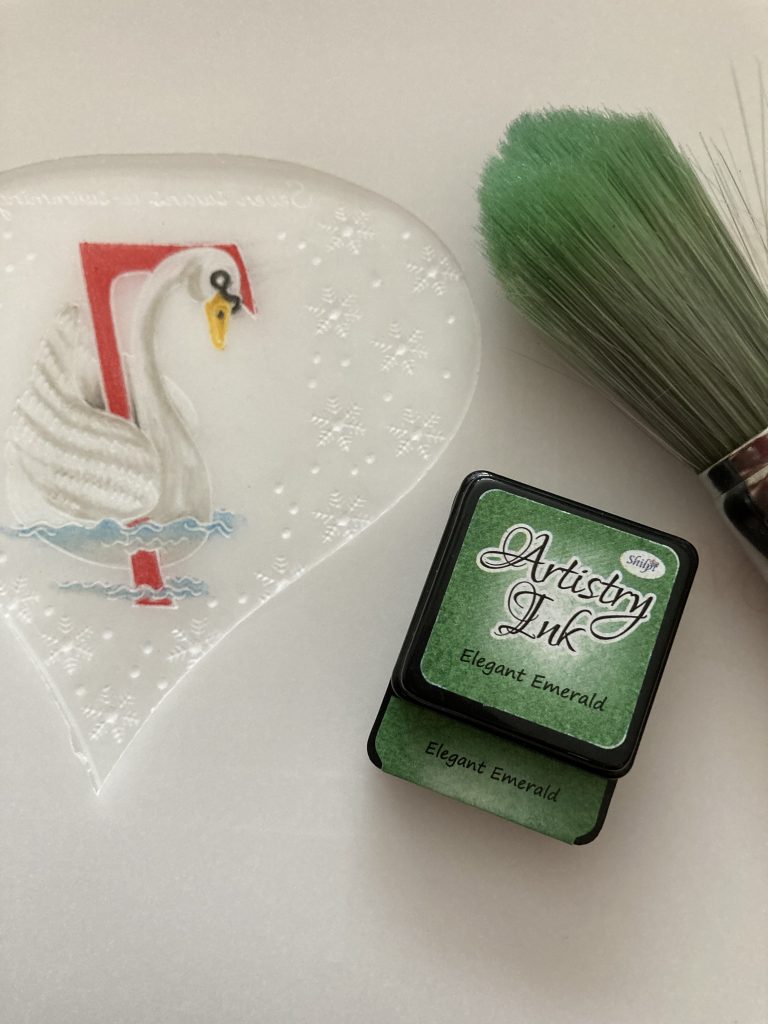
Tip: You can see the colouring of the swan better in the above picture.
Step 14. Brush over the snowflake area of the bauble avoiding the swan area and darker nearer to the edges.
Step 15. Use a green Pergaliner to add colour to the top of the bauble.
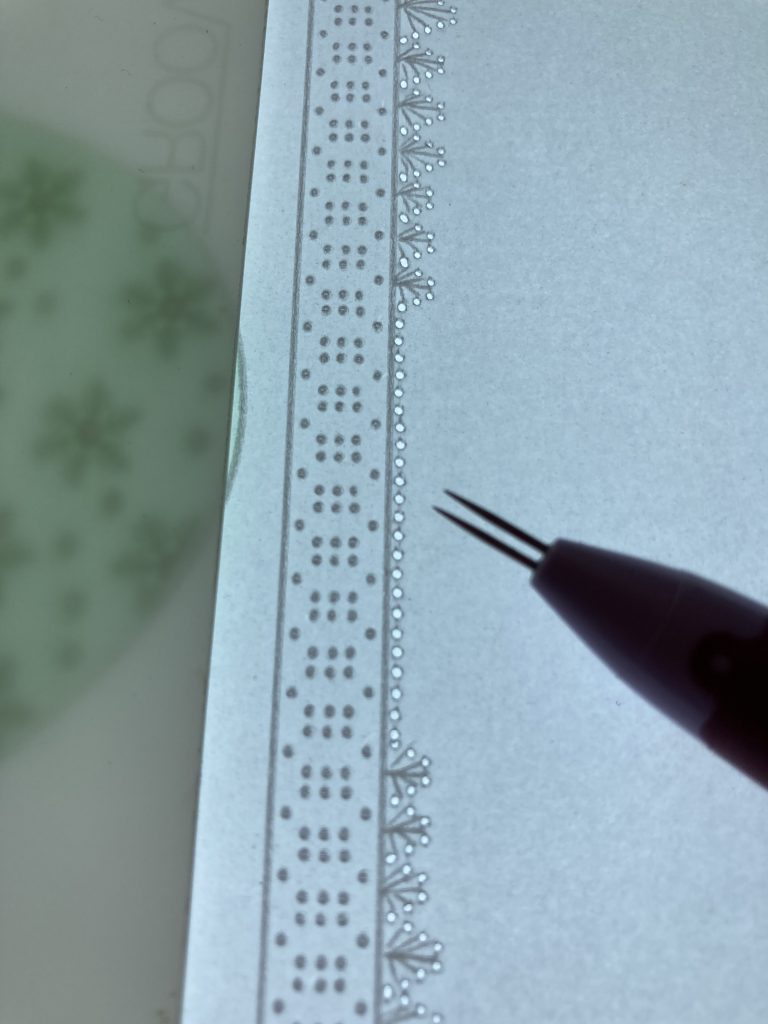
Step 16. Use the Picot V tools to shallow perforate around each corner.
Step 17. Use the 0.5mm ball tool to emboss a pattern in the V shapes.
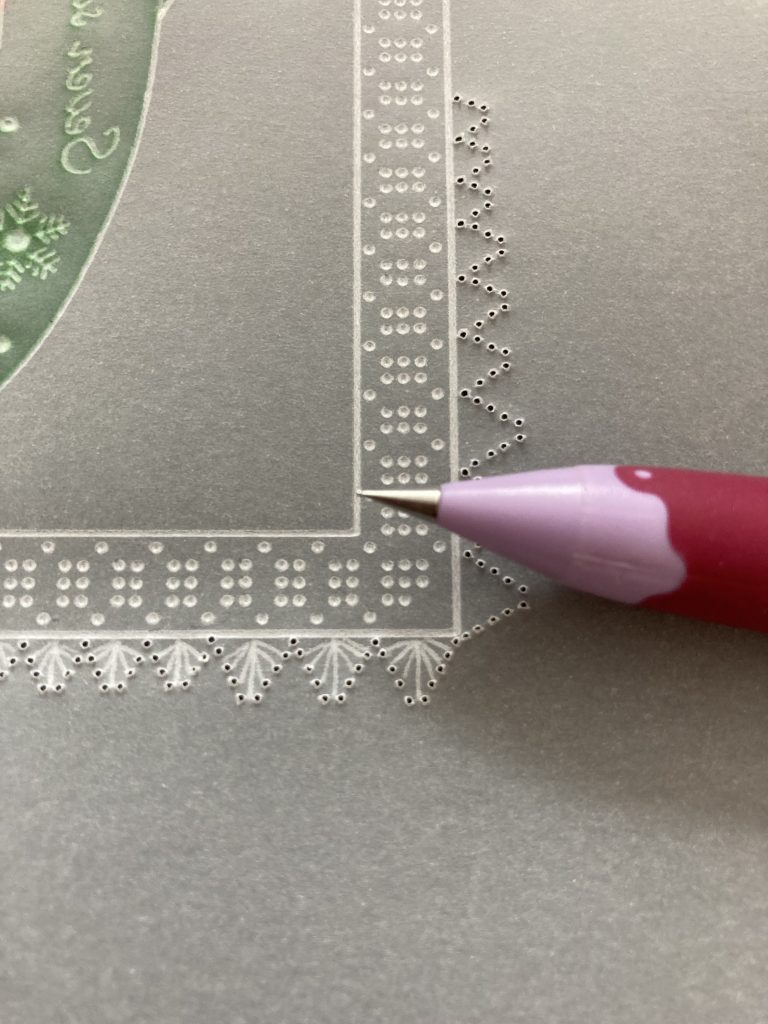
Step 18. Re-perforate the V shapes.

Step 19. Perforate between the Vs in the gap along the outer line.
Step 20. Cut away waste.
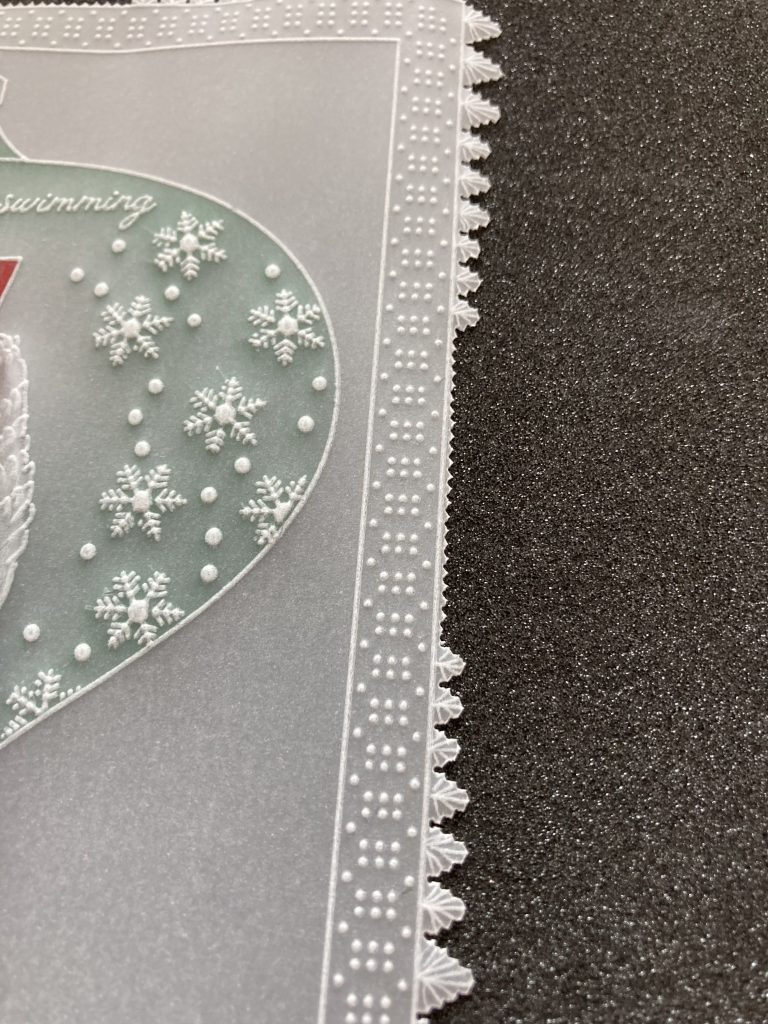
Step 21. Attach to a piece of designer paper with brads.
And here is the finished project!
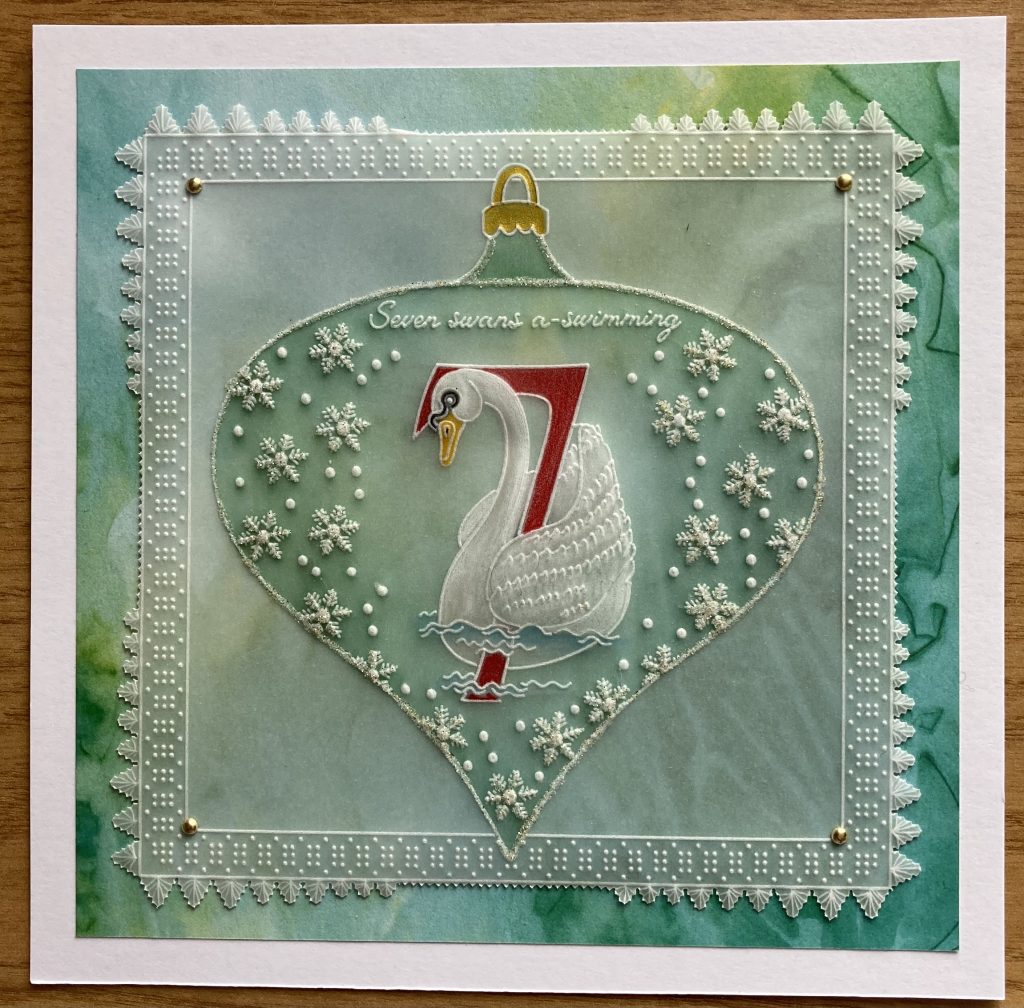
What a clever way to combine plates and designs, Jane! Thank you so much for teaching us your ways 🙂 There are several bauble designs on the Clarity website – just search “baubles” and see what comes up!
We have put everything in one place over on the Clarity website HERE
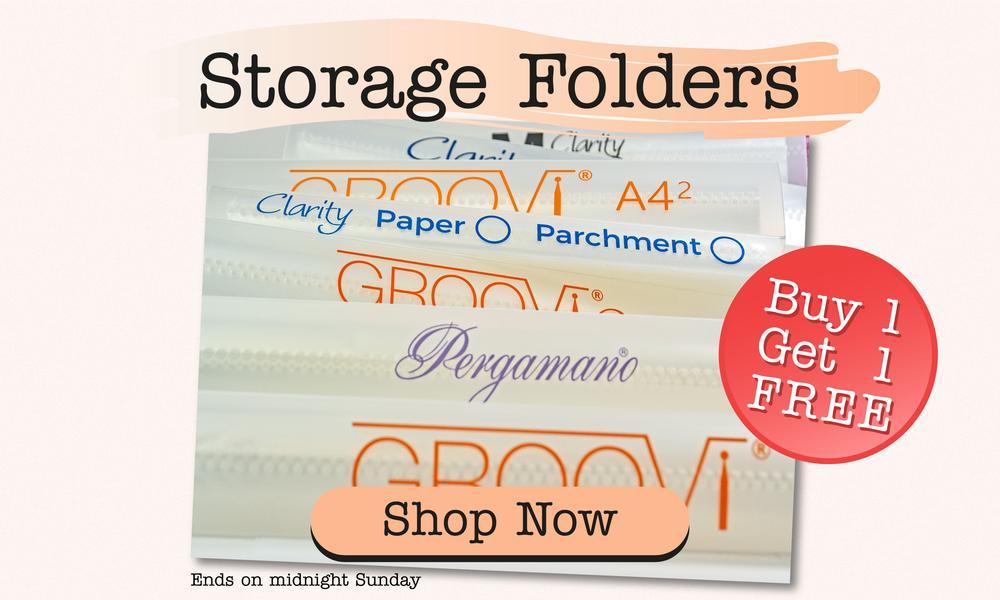
Don’t forget that we currently have a Buy One Get One Free Offer on all of our storage folders over on the Clarity website HERE until midnight tonight!
Lotsa love, Grace & Jane xo
Clarity – The Home of Art, Craft and Well-Being.
Great project.
Safe journey today, you must be so excited.
Hugs
Really helpful tutorial. I’ve just received the twelve days of Christmas plate, waiting for the storage folder to come back in stock, and needed some ideas. Plus I am working out a card with cat plates for my daughter’s birthday and wanted to create a pattern on the outside. I had forgotten I have that plate and the mate. So thankou.
Thank you Jane for a brilliant tutorial.
What a wonderful tutorial. Thank you Jane. Hugs xxx
Hi Grace, Hi Jane, Wow Jane, this is stunning, stunning, stunning !! Thank you so much for your ‘in-depth’ tutorial, truly stunning.
Take care.
Lots of love from Patricia xx
Beautiful project, than you. Bet you’re so excited Grace ! X
Hi Grace – can feel you excitement pouring out – super excited is an understatement – won’t be long now – what a party this will be for you all !!! 😊
Hi Jane what a wonderful beautiful tutorial – thank you so much
Love Seta Xx
What a superb tutorial Jane. I want to make this now! Thank you xxxx
Really lovely tutorial not done it yet, my fingertips are coming back to normal and as soon as back lots to try thank you xx
Hello ladies! Thank you from the bottom of my heart for these wonderful tutorials. She is a complete amateur in parchment, because in Slovenia this technique is not well known or it is difficult to gain any knowledge. Now there is also a problem with the import of your products as shipping costs – customs for me are very high. Namely, I am a pensioner, pensions in Slovenia are very low, and there are 6 more members in the family. So I can only really help myself with your advice. You are a golden creator and all thanks go to you for sharing your knowledge.