Clarity’s Blog Tutorial: How to Add a Pattern to Your Design Using the Straight Basic Grid
Hello hello! Grace here
I hope this finds you happy and enjoying your Sunday!
As you know, we’re blessed with best here at Clarity, so Josie Davidson is back in Blog Land today, to share a fantastic step-by-step project with us 🙂
This project will teach us how to add a pattern to our design, using the straight basic grid. Brilliant!
I’ll hand you over to the pro…

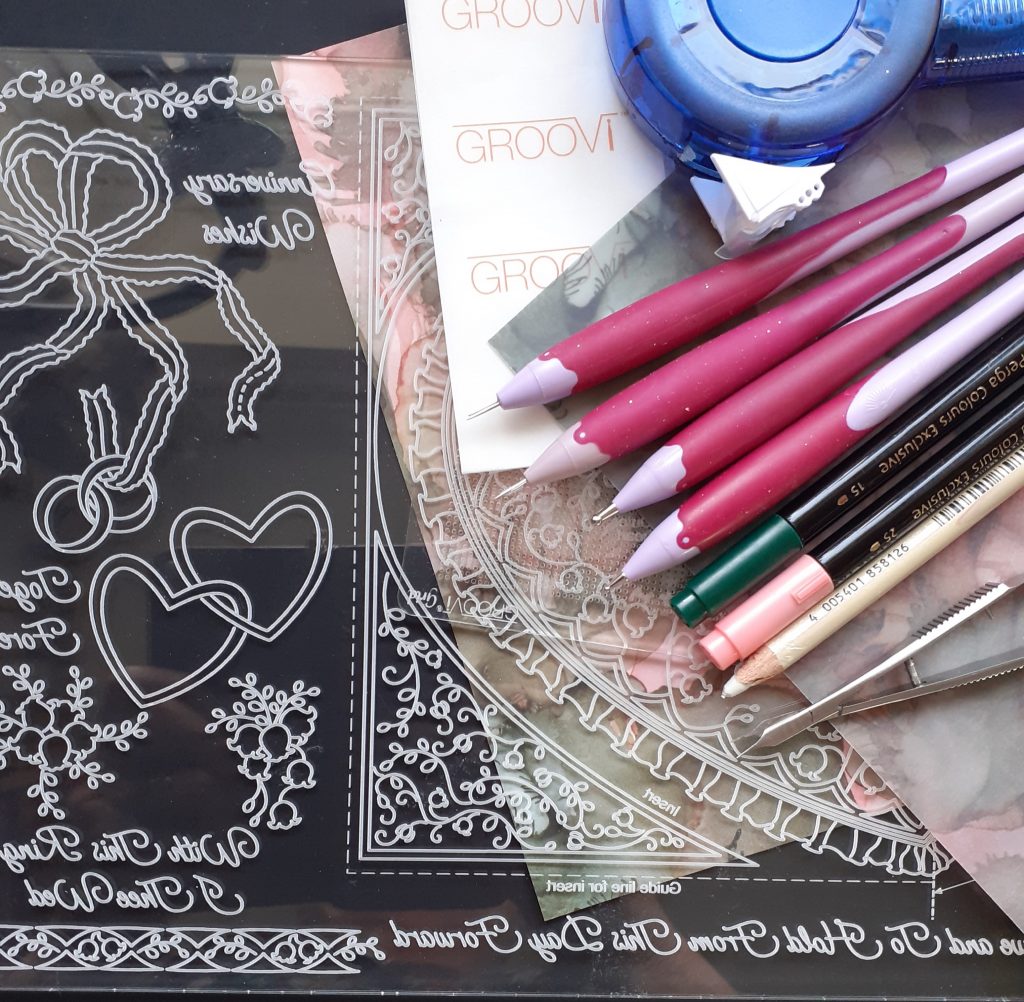
Ingredients
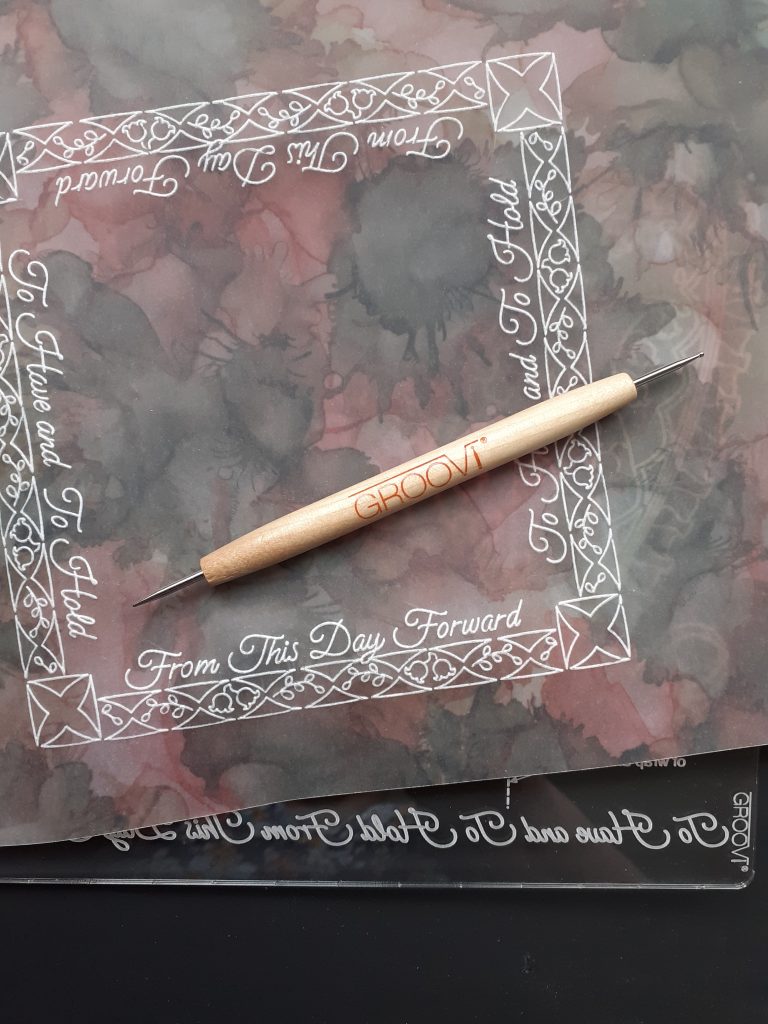
Linda’s Heart Wrap (GRO-LW-41752-16)
Basic Straight Grid (GRO-GG-40202-12)
Groovi Embossing Tool (GRO-AC-40026-XX)
Pergamano 1.5mm embossing tool (PER-TO-70004-XX)
Pergamano 3mm embossing tool (PER-TO-70005-XX)
Pergamano 1 needle bold tool (PER-TO-70028-XX)
Pergamano 2 needle bold tool (PER-TO-70279-XX)
Pergamano Exclusive Scissors (PER-TO-70040-XX)
or Pergamano Perga Cutters (PER-TO-70042-XX)
or Pergamano Ringlock Scissors (PER-TO-70041-XX)
Perga Colours 15 & 15 (PER-CO-70060-XX)
Eraser Pencil (ACC-PE-30611-XX)
Pergamano Pink Glitter (PER-AC-70252-XX)
Sticky Ink (PER-AC-70134-XX)
Mapping Pen (PER-TO-70039-XX)
(Glitter, Sticky Ink & Mapping Pen available as a bundle)
Rainbow River Parchment (ACC-CA-30540-88)
Rainbow River Paper (ACC-CA-30539-88)
6 x 6 White Card Blank
7 x 7 White Card Blank
Clarity Roller Tape (ACC-MS-31065-XX)
x4 Pergamano Brads
Method
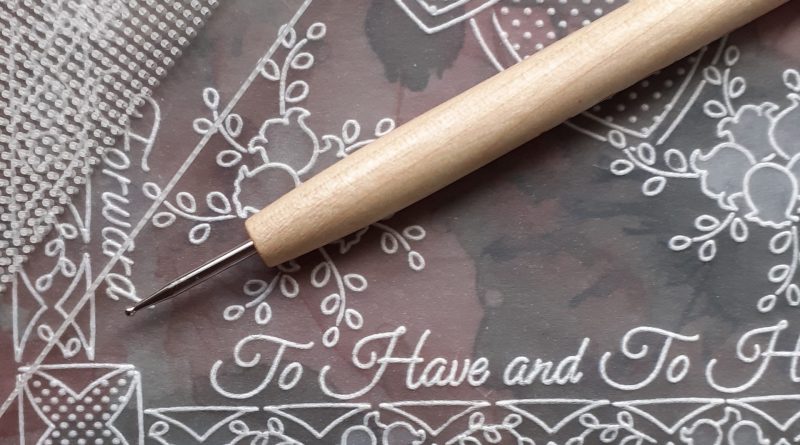
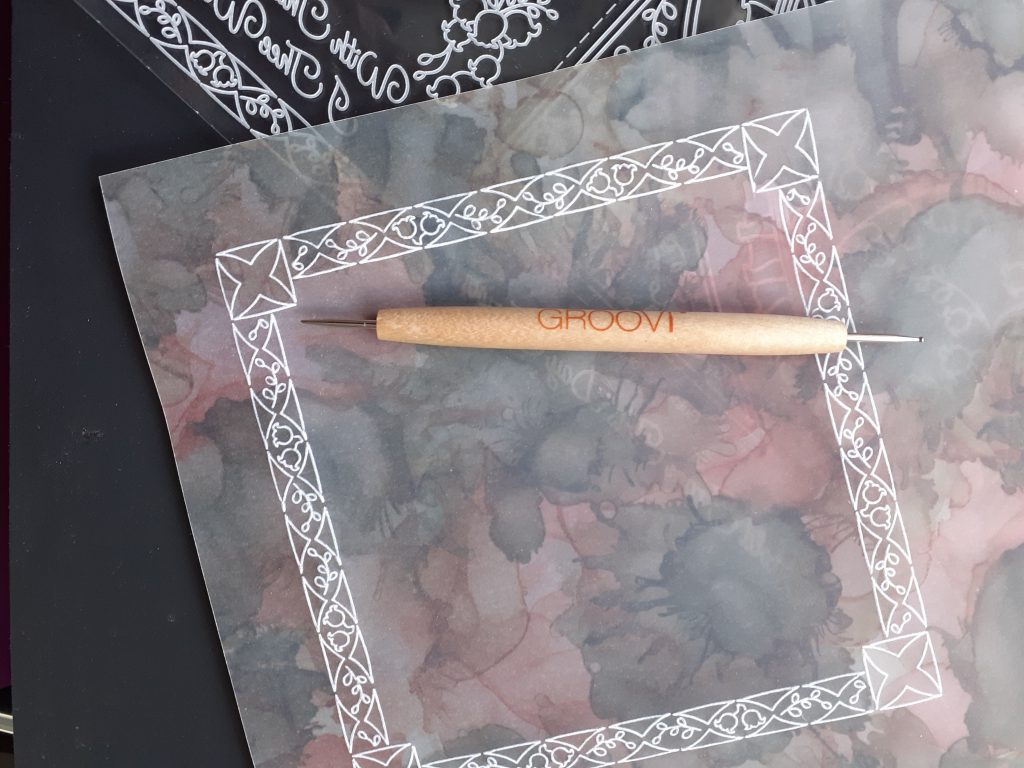
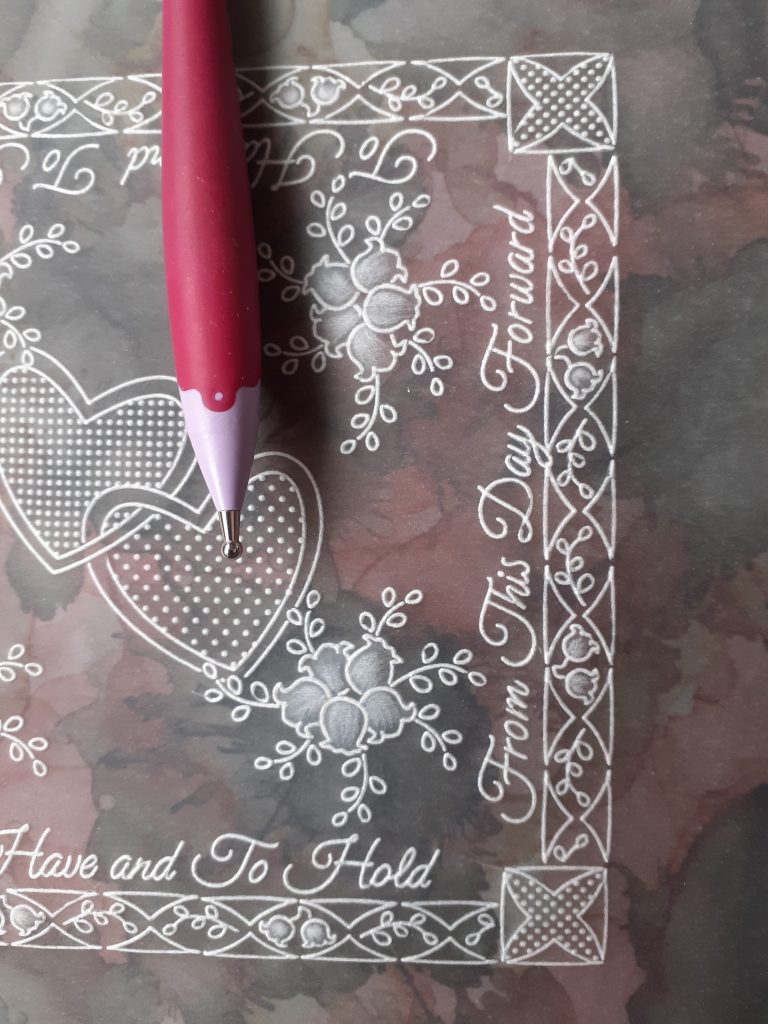
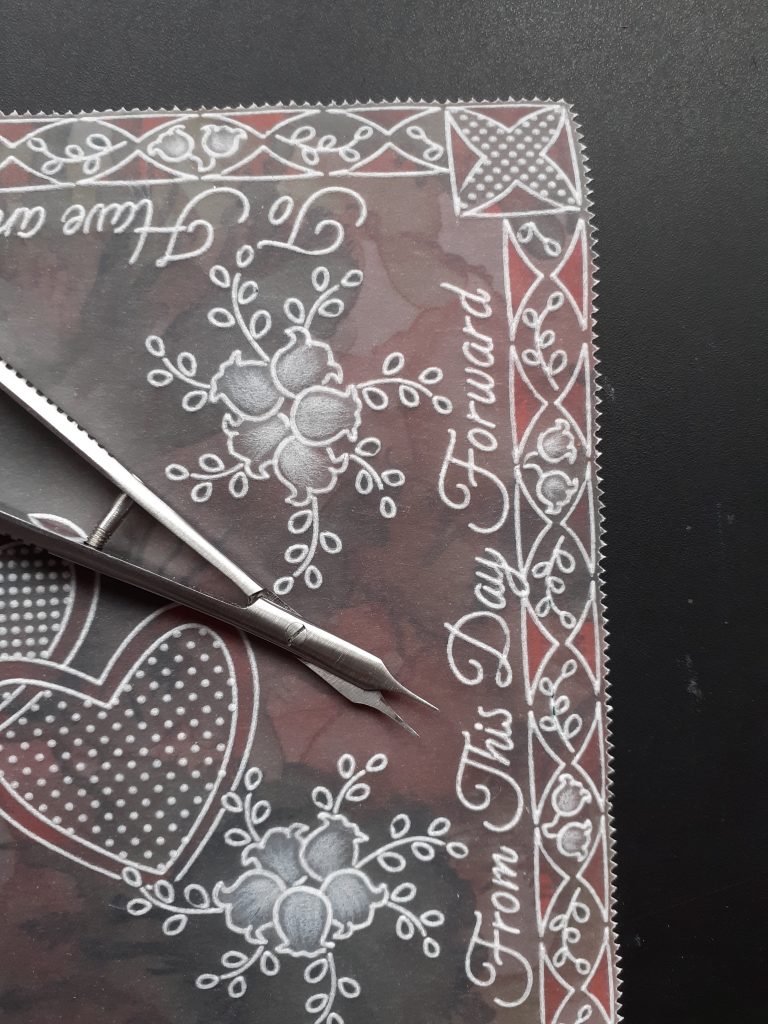
Step 1. Using the Rainbow River parchment and No 1 Groovi tool, emboss the border at the bottom left of the Heart plate. The pattern repeats so you can move your work around for the next corner and your embossing will slot into the design on the plate.
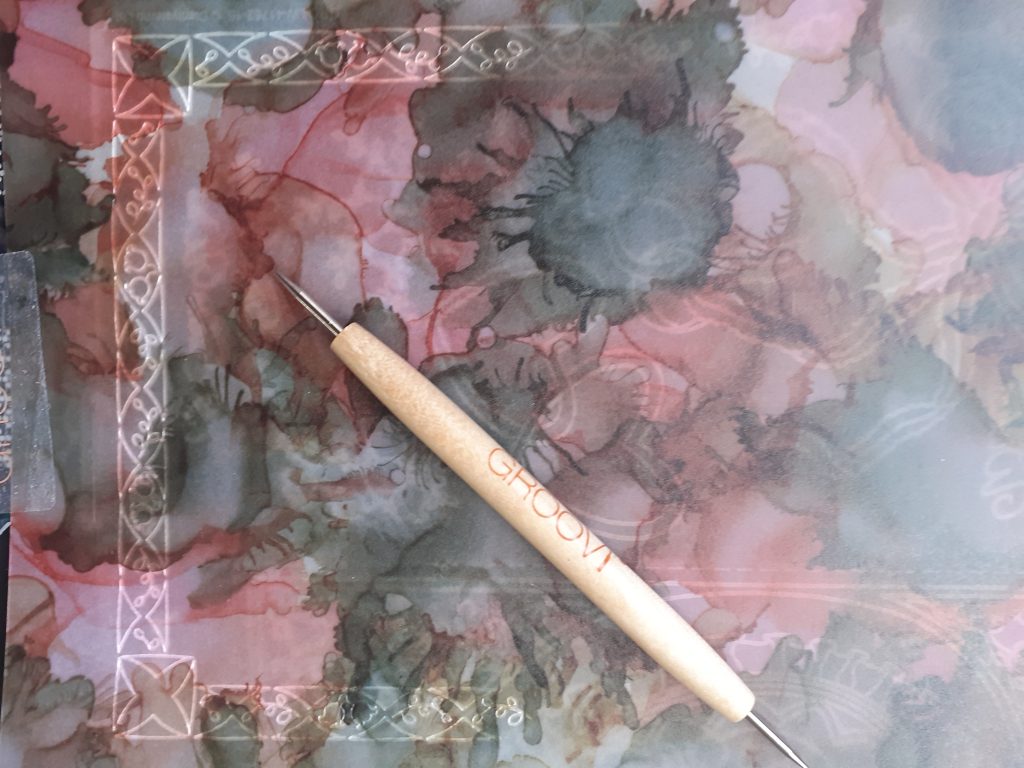
Step 2. Work all four corners as in step one.
Step 3. Emboss the words from the bottom of the plate on the inside of the border using the No 1 Groovi tool.
Step 4. Emboss the flower pattern in each corner of the design using No 1 Groovi tool.
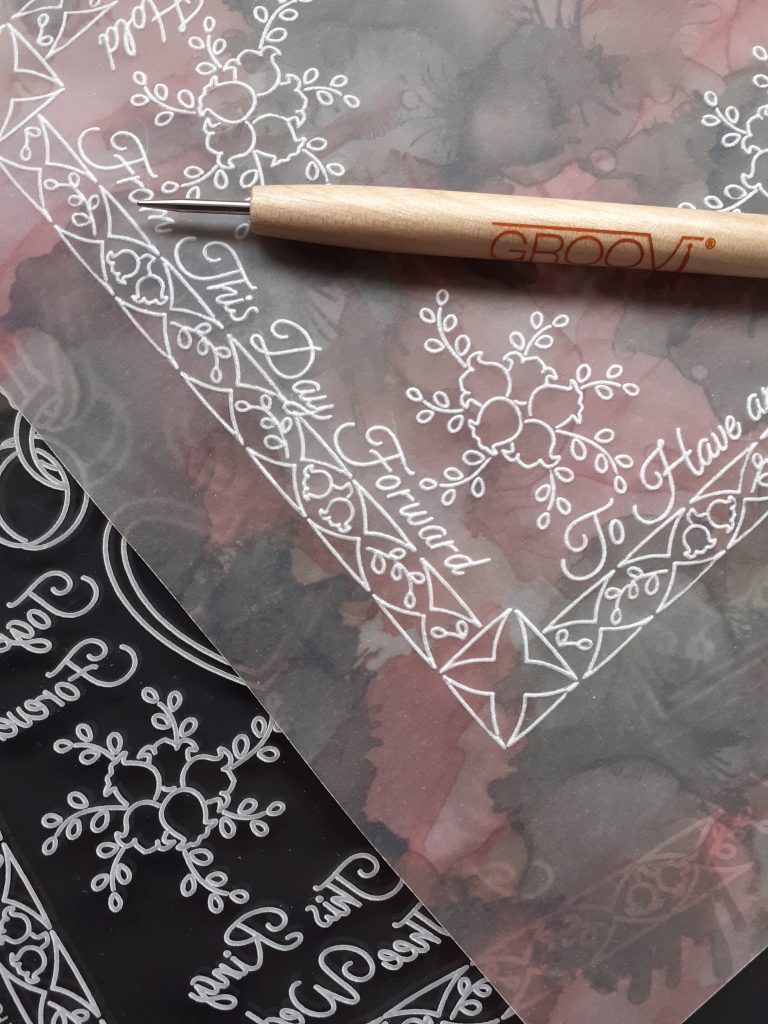
Step 5. Emboss the two hearts in the centre of the design. You will need to avoid the leaves you have already embossed at the top and bottom of the hearts.

Step 6. Working on the grid plate, emboss a pattern in both of the hearts using the 1.5mm Pergamano tool.
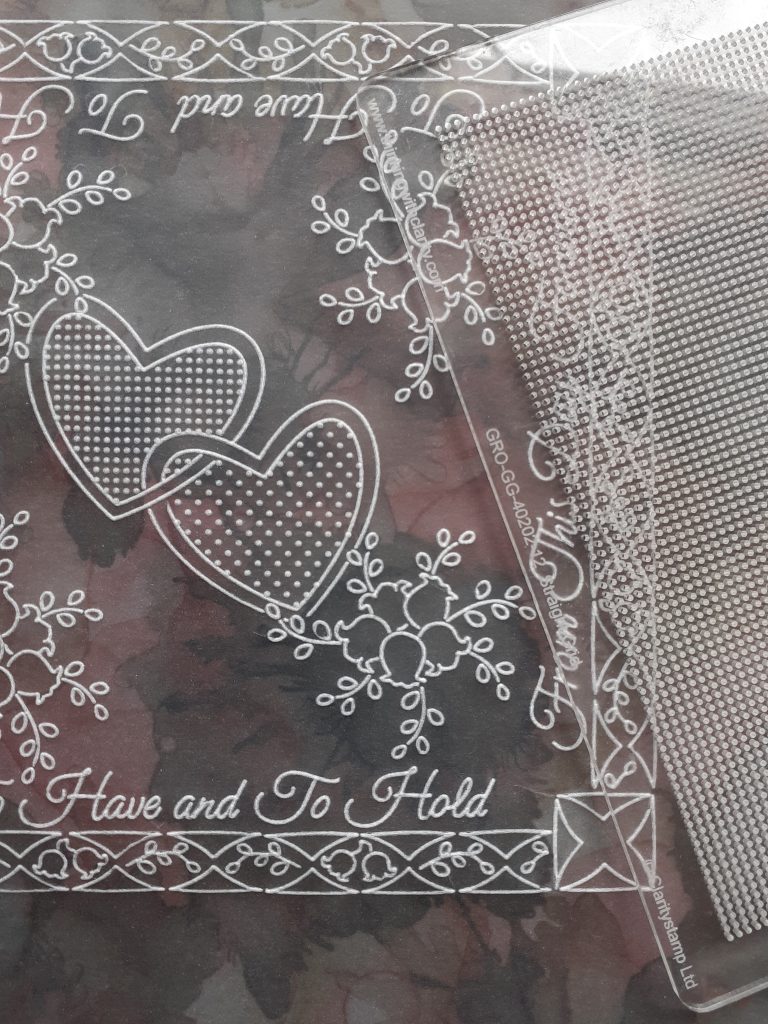
Step 7. To emboss the dots in the corners of the design place the parchment onto the grid diagonally so that the dots go from corner to corner.
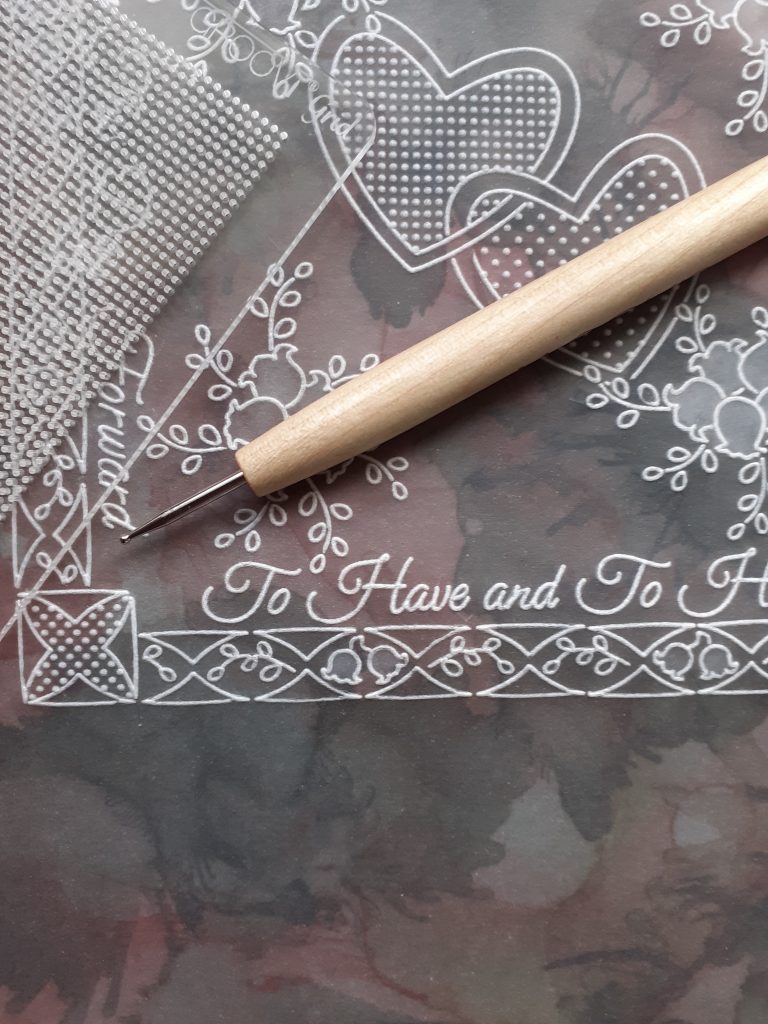
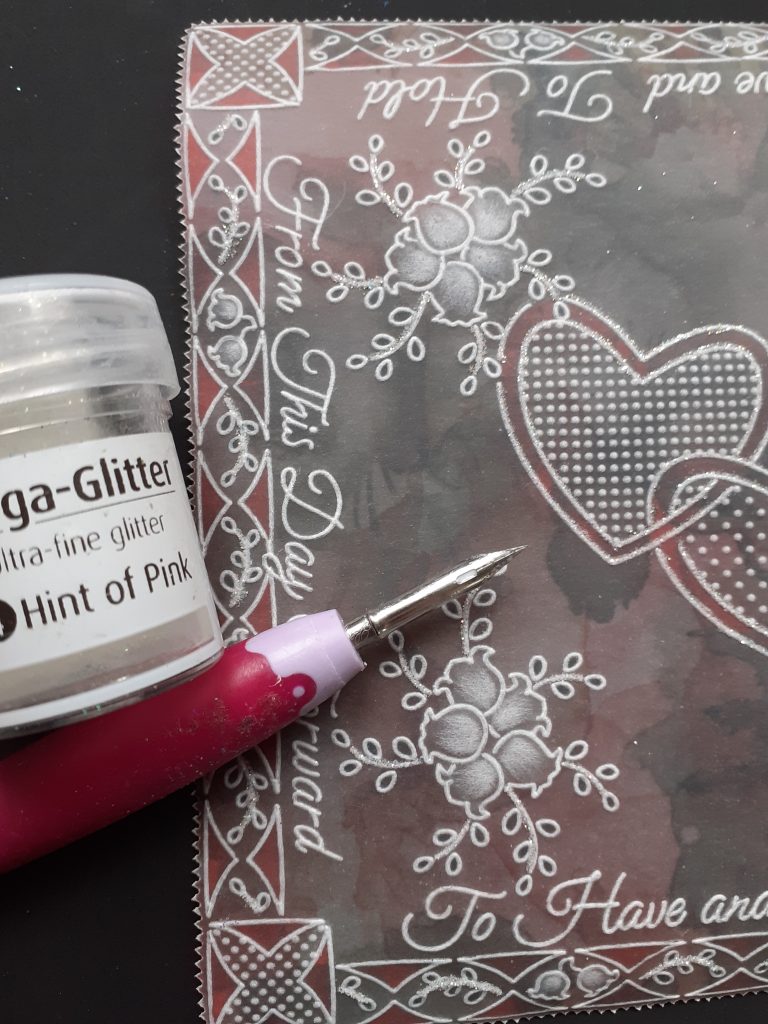
Step 8. From the back of the parchment, erase the colour from the flowers in the centre and in the border.
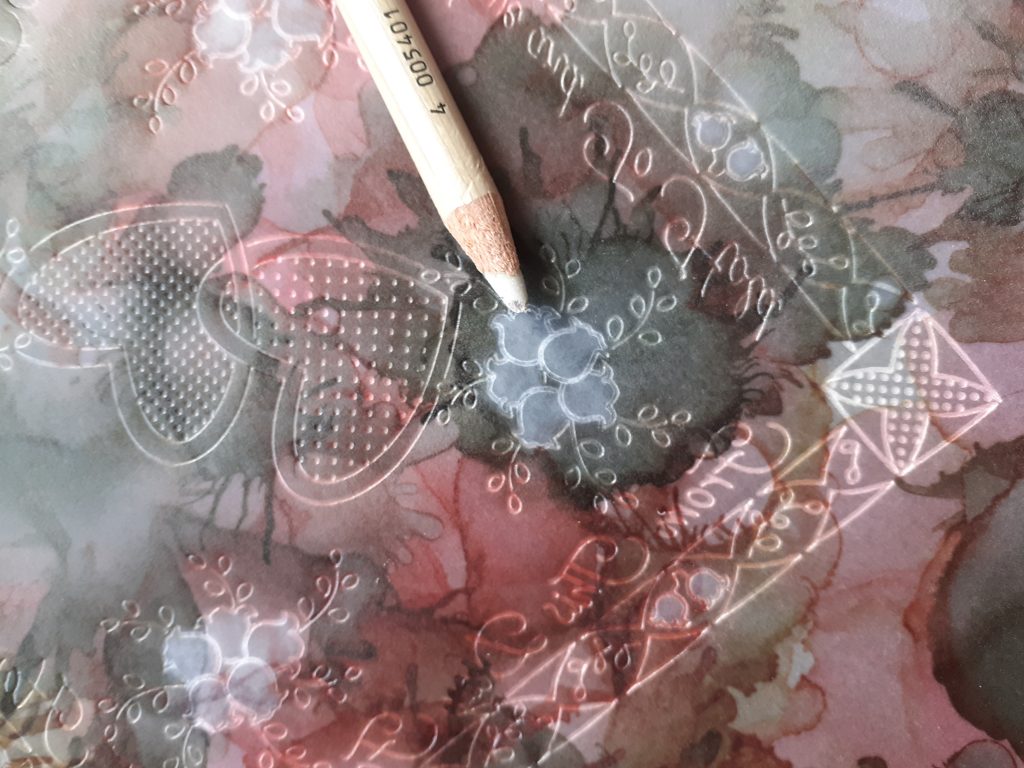
Step 9. Use the 3mm ball tool to lightly emboss in the flowers.
Step 10. Colour the leaves, the double outlines of the hearts and the triangles in the border using the Pergacolours, I have not erased the colour of the parchment but you could if you prefer.
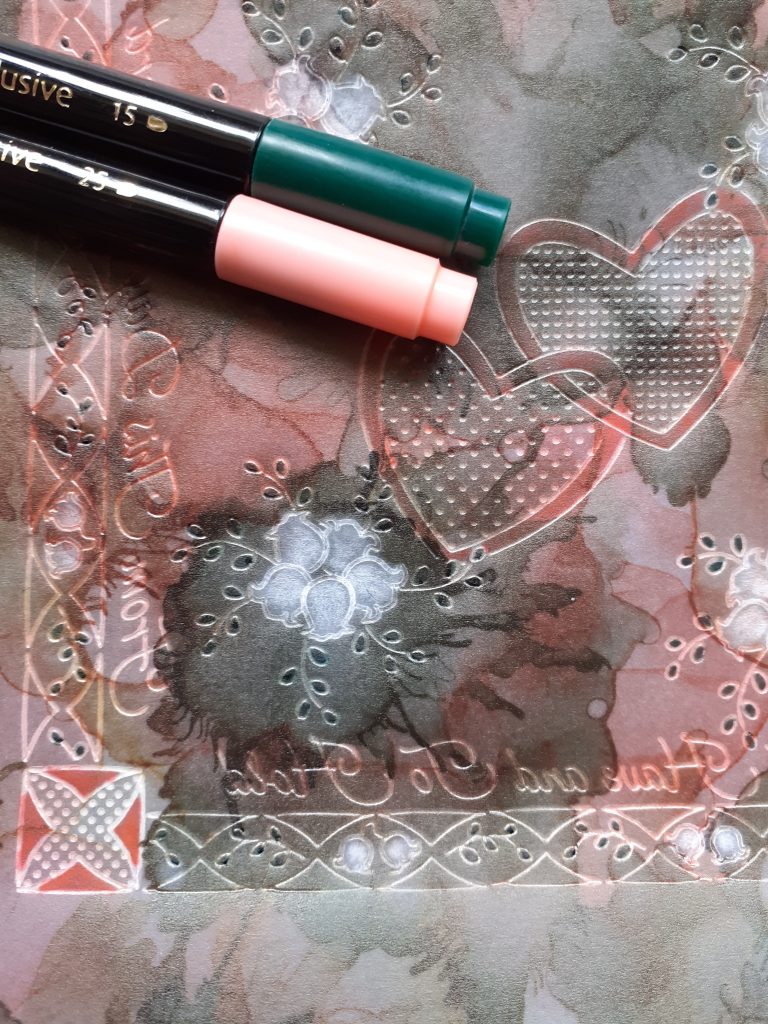
Step 11. Perforate around the outer edge of the border with the bold two needle tool.
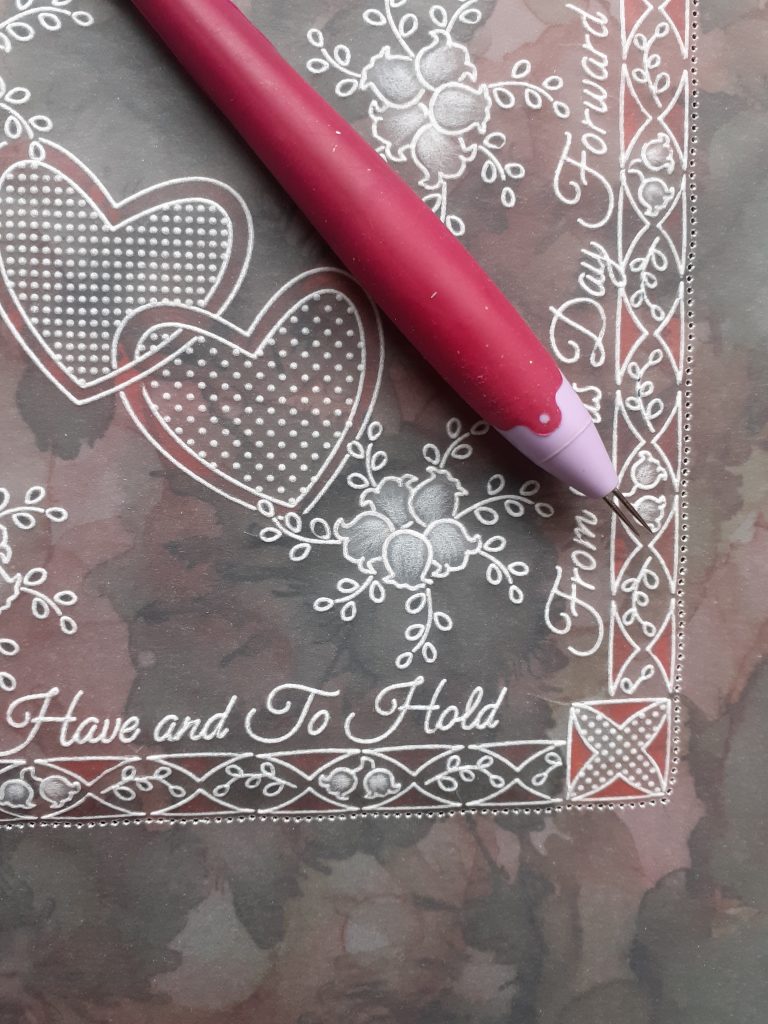
Step 12. Picot cut the two needle perforations.
Step 13. Decorate the stems of the leaves and the double outline of the hearts with glitter.
Step 14. To finish, attach the parchment to a piece of 6 x 6 card using the brads in the corners. Trim the designer paper to 6.5 x 6.5 inches and matt this onto the 7×7 card blank. Matt your finished piece of work onto the card. And you’re done!
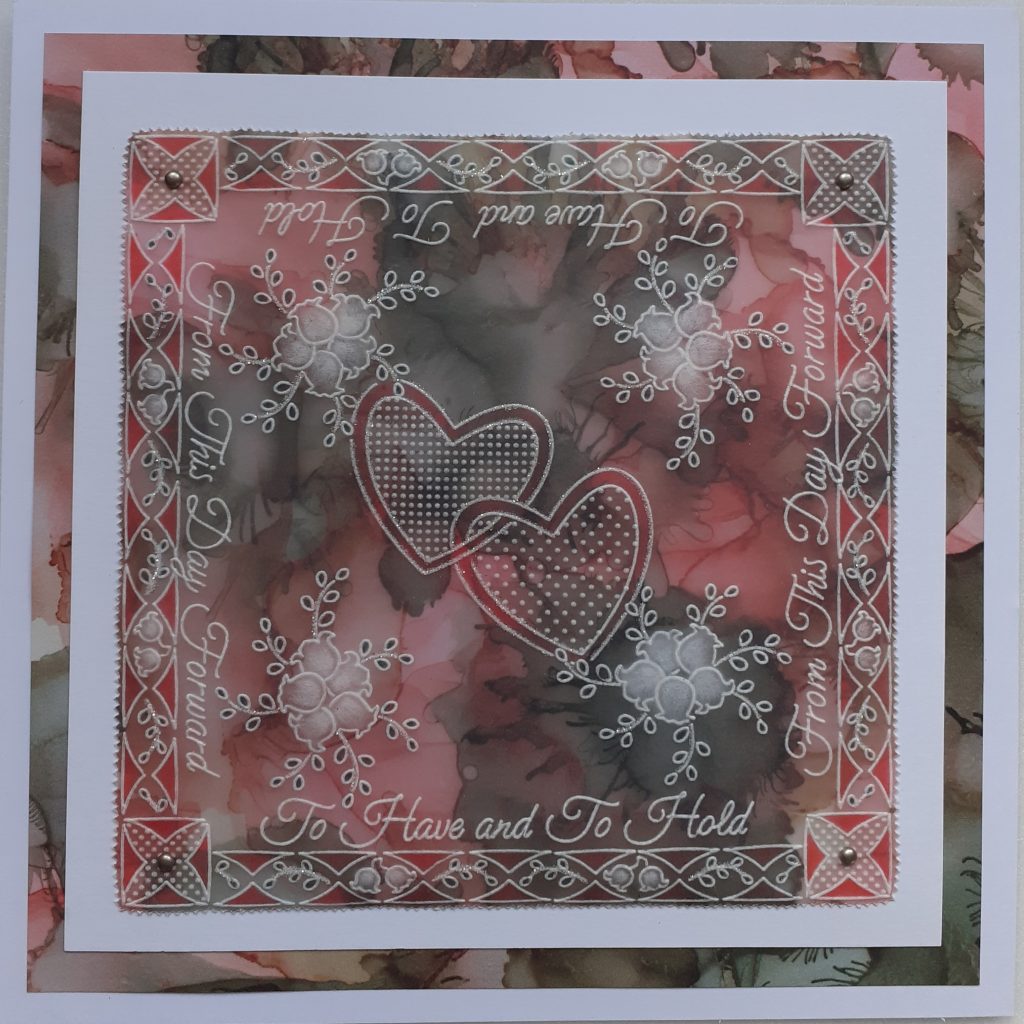
Thank you so much, Josie, for such a gorgeous card tutorial! What a lovely wedding or anniversary card this would make. Beautiful!
As usual, we have put everything together in one place over on the Clarity website HERE
If you’d like to give this card a go, don’t forget to email me your final piece! I’d LOVE to see your work.
Have you heard our other exciting news?
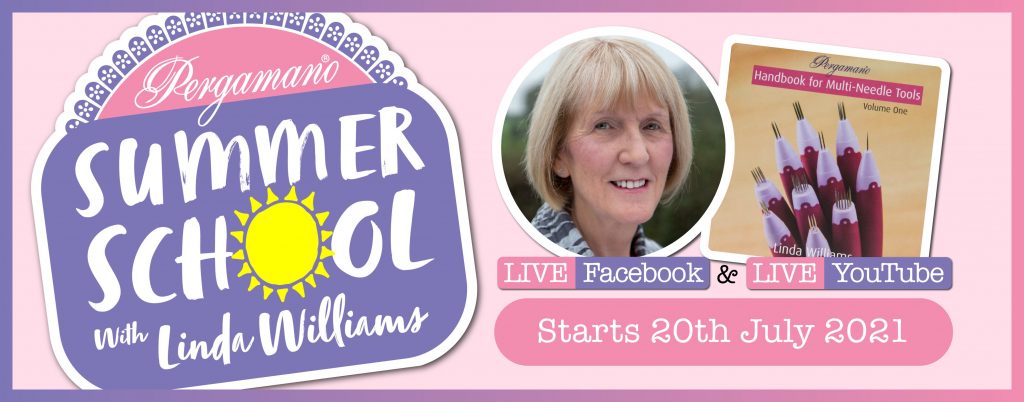
For those of you who are into your parchment craft whether it be traditionally or using the Groovi system, you will probably be familiar with the name Linda Williams, the world’s foremost Pergamano expert and Master Tutor (only 2 in the world!). Linda has been working her magic with parchment craft for many years – designing, teaching, demonstrating and writing lots of books!
When? – Pergamano Summer School starts at 10am on Tuesday 20th July
Where? – Live on Facebook and YouTube
What if I can’t watch live? – Don’t worry, all sessions will be recorded so you can catch up later and refer back to them as often as you like!
What will I need? – Linda’s Multi-Needle Tool Handbook Volume 1 and the necessary tools
How much? Free! No charge!
How do I get started? – We have created a special section over on the Clarity website giving you details of everything required for class! We have even created a downloadable “Tick List” so that you can get organised ahead of the start of the school term! – Click HERE to investigate!
How exciting is that?! Front row comfy seats, FREE superb tuition from the best in the business! I can’t wait! We love working with Linda and will be in the room asking questions on your behalf! Don’t worry if you are just starting out on the Parchment journey, with Linda’s gentle guidance and tuition, she has you covered!
Don’t forget, Mum is on the TV today in just a couple hours! The Craft Store (aka Hochanda) from 2pm – 4pm with some brand new GLORIOUS stamps and Groovi plates. These are special designs, as they tell the story of where Clarity started all those years ago in sunny California… Make sure to tune in and see what Clarity has to offer today 🙂
Speaking of California… if you’re based in the USA, don’t forget that we’re having an Amazon USA Summer Sale at the moment, in celebration of July 4th this weekend. You can check it out here!
Happy July 4th from me in Brooklyn!
For now though, travel gently 🙂
Lotsa love, Grace & Josie xo
Clarity – The Home of Art, Craft and Well-Being.
Enjoy your celebration today this 4th of July. Elizabeth
A beautiful tutorial, thank you Josie, Grace and all at Clarity.
Happy 4th of July to everyone across the pond!
Take care, keep safe everyone
Happy 4th July, Grace. Have a good day. Hxx
Happy 4th. of July Grace.
It s also THANK YOU day here in England so my ‘thank you’ goes to all involved with Clarity, the team and especially the customers who have supported Clarity through thick and thin. Together we are a great bunch of crafters.
Enjoy your day.🍒
Thank you Josie for this tutorial!
Happy 4th of July Grace and have a great day!
Lots of love, Trijntje Huppel
Great tutorial Josie x
Brilliant tutorial Josie. Happy 4th July Grace and Mark ❤️❤️❤️
Hi Grace, Hi Josie, Wow Josie this is a stunning card, thank you so much for the step by step tutorial, it is truly awesome.
Happy July 4th y’all and take care.
Lots of love from Patricia xx