Clarity’s Blog Tutorial: How to Combine Duet Plates & Toppers
Hello hello! Grace here.
I hope this finds you well? I do love these Sunday tutorials! We’re currently building a new lovely little home for them on the Clarity website. Stay tuned!
We’re lucky to have the brilliant Josie Davidson back in our tutorial blogland this weekend! I’ll waste no more time and hand you over…

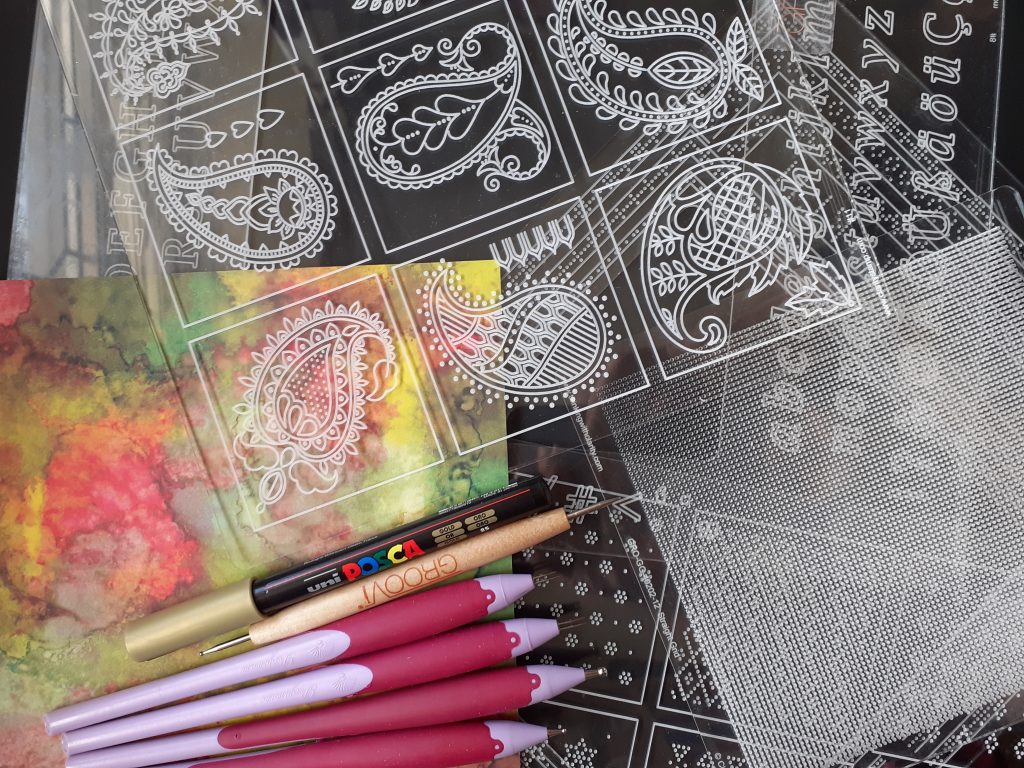
INGREDIENTS
Paisley Plate (GRO-TR-41761-15)
Josie’s Diagonal Grid Sampler (GRO-GG-41733-24)
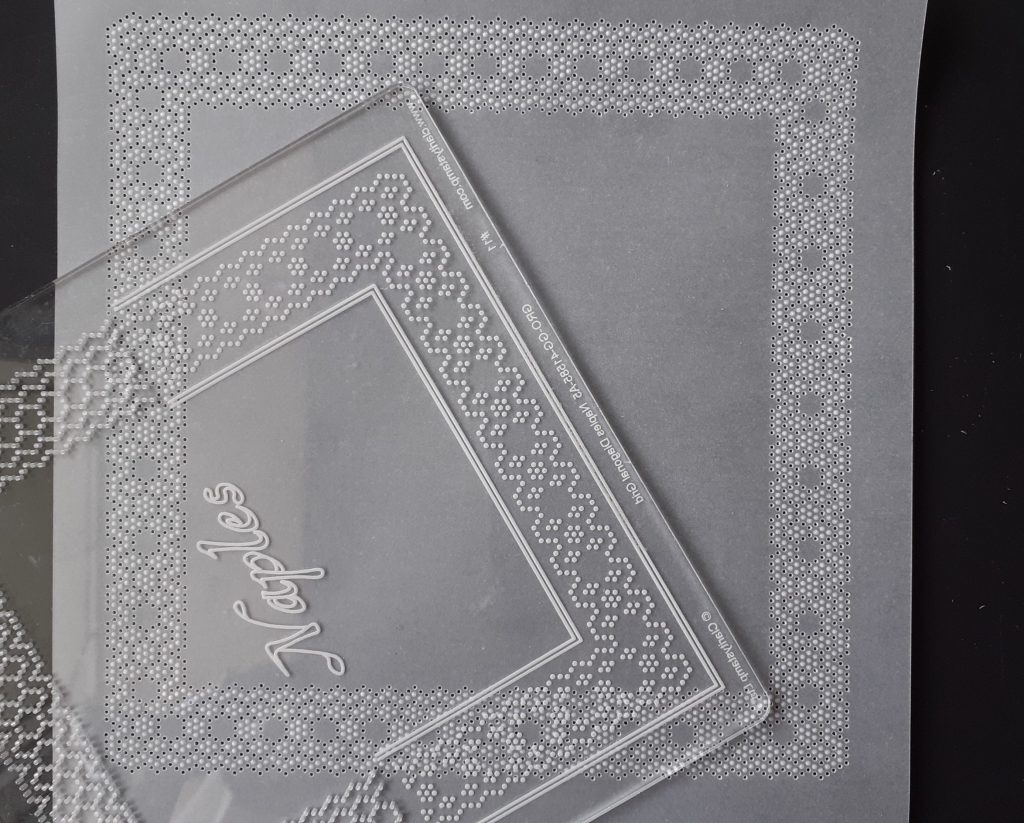
Naples Diagonal Grid (GRO-GG-41585-03)
A5 Plate Mate (GRO-MA-40002-07)
A5 Grid Plate Mate (GRO-CO-41706-08)
Nested Scalloped Squares (GRO-PA-40557-03)
A5 Basic Straight Grid (GRO-GG-40202-12)
Rainbow River Parchment (ACC-CA-30540-88)
Rainbow River Paper (ACC-CA-30539-88)
A4 Translucent Parchment (GRO-AC-40024-XX)
Pergamano Scissors or Cutters
Pergamano Bold 1 Needle Tool (PER-TO-70028-XX)
Pergamano Bold 2 Needle Tool (PER-TO-70279-XX)
Gold Posca Pen (POSCAGOLDSILVERMEDIUM)
Pergamano Gold Brads (PER-AC-70274-XX)
Clarity Roll-A-Tape (ACC-MS-31065-XX)
Embossing tools – Groovi 1 & 2, Pergamano 1.5mm & 3mm
Black & White Super Foam (GRO-AC-41759-XX)
7×7 White Card Blank (GRO-AC-40625-XX)
METHOD
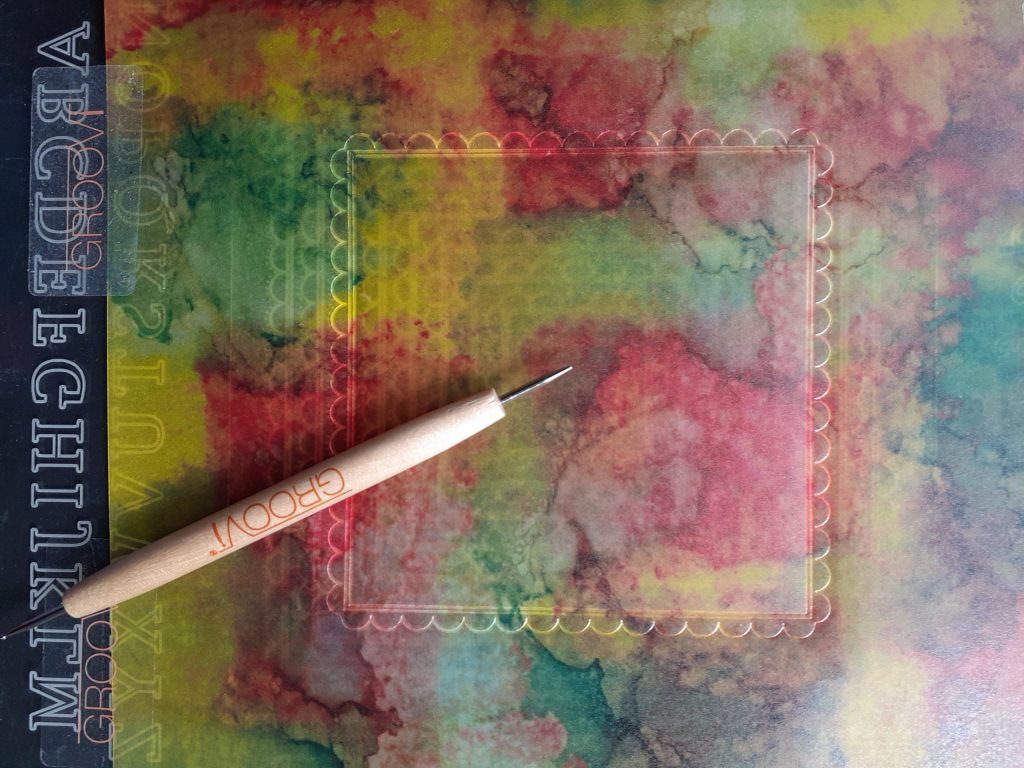
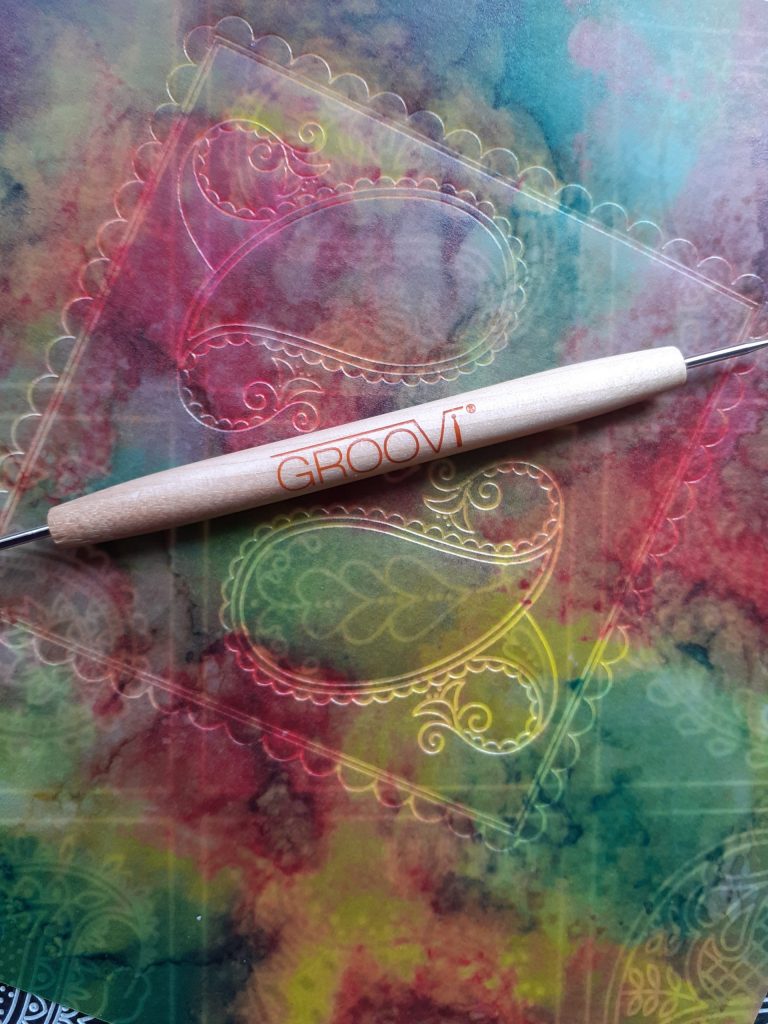
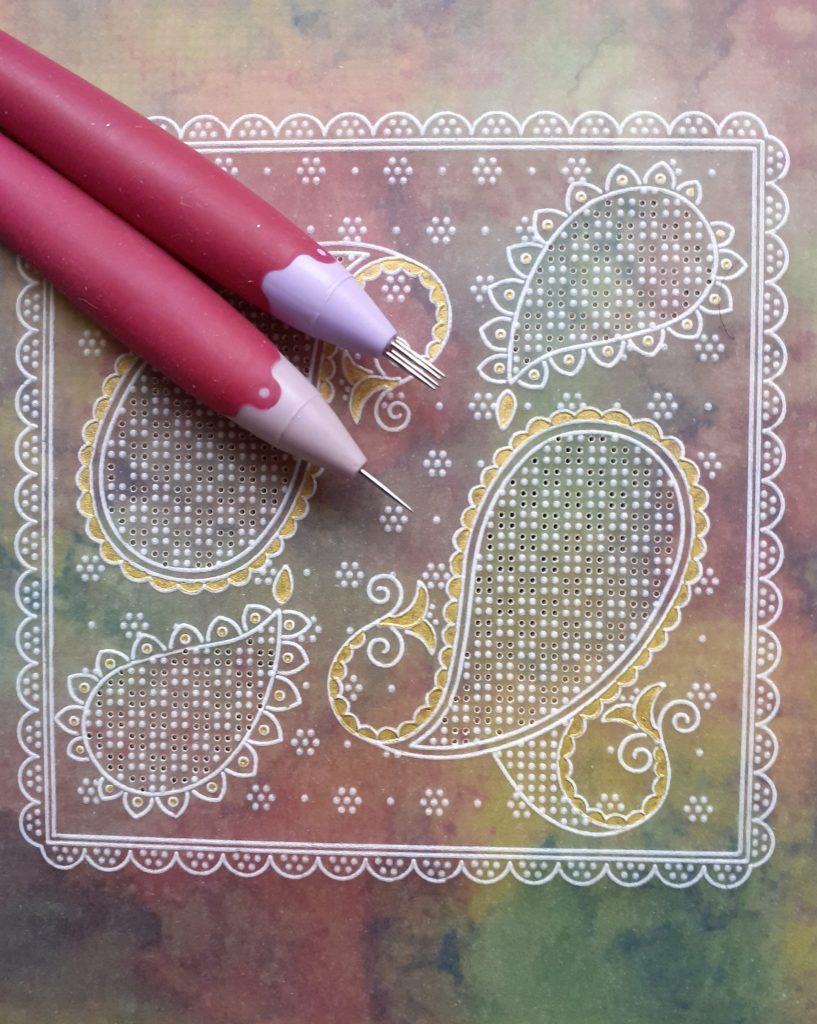
Step 1. Using the Nested Scalloped Square, the Rainbow River Parchment and your No 1 Groovi Tool, emboss the 3rd scallops and lines from the outer edge.
Step 2. In one corner emboss the outlines of the centre paisley design with the No 1 Groovi tool.
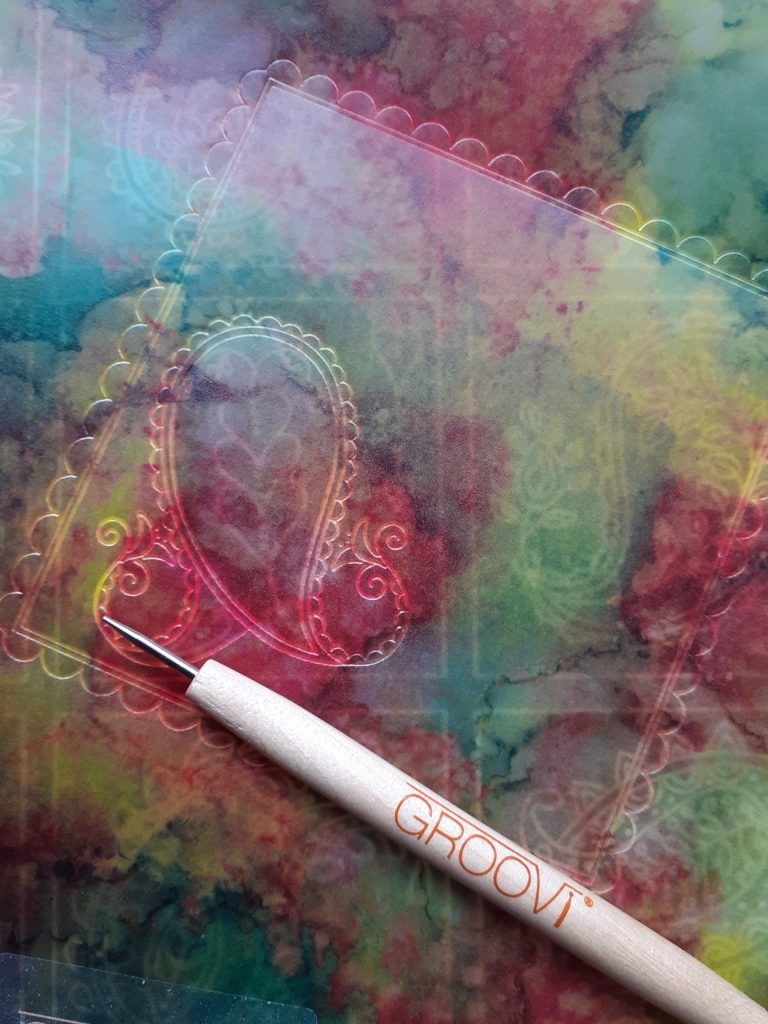
Step 3. Repeat step 2 in the diagonally opposite corner.
Step 4. Using the centre part of the design (in the top left hand corner of the plate) emboss this in one of the remaining corners.
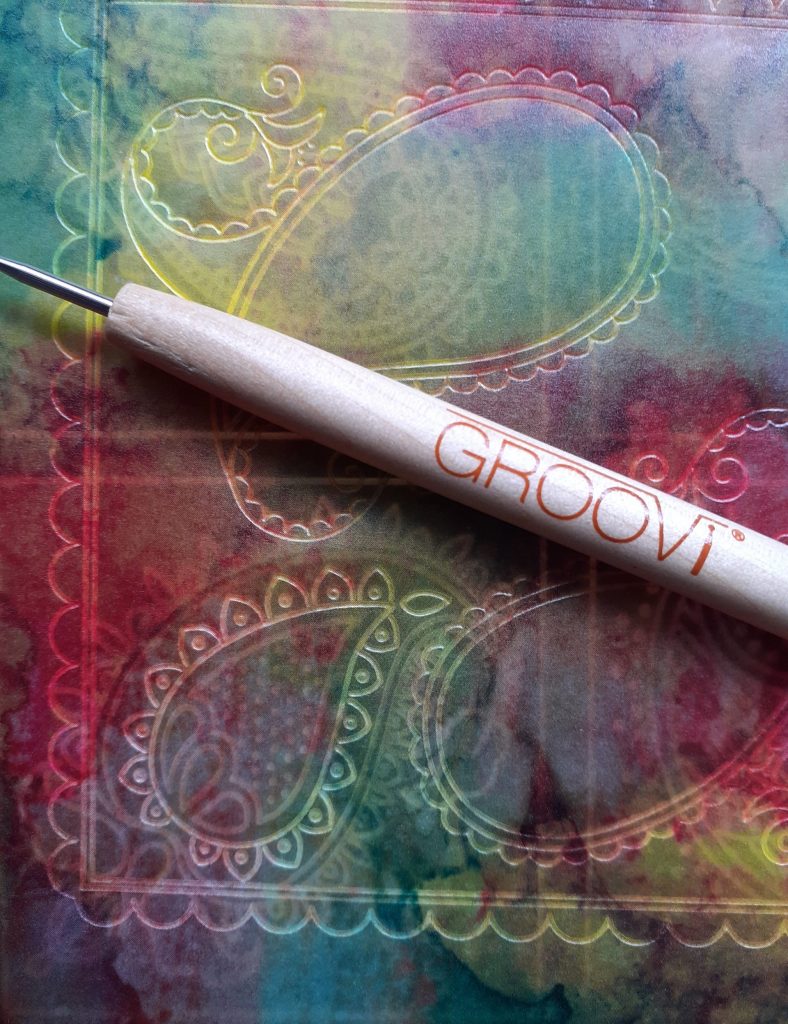
Step 5. Repeat step 4 in the other corner.
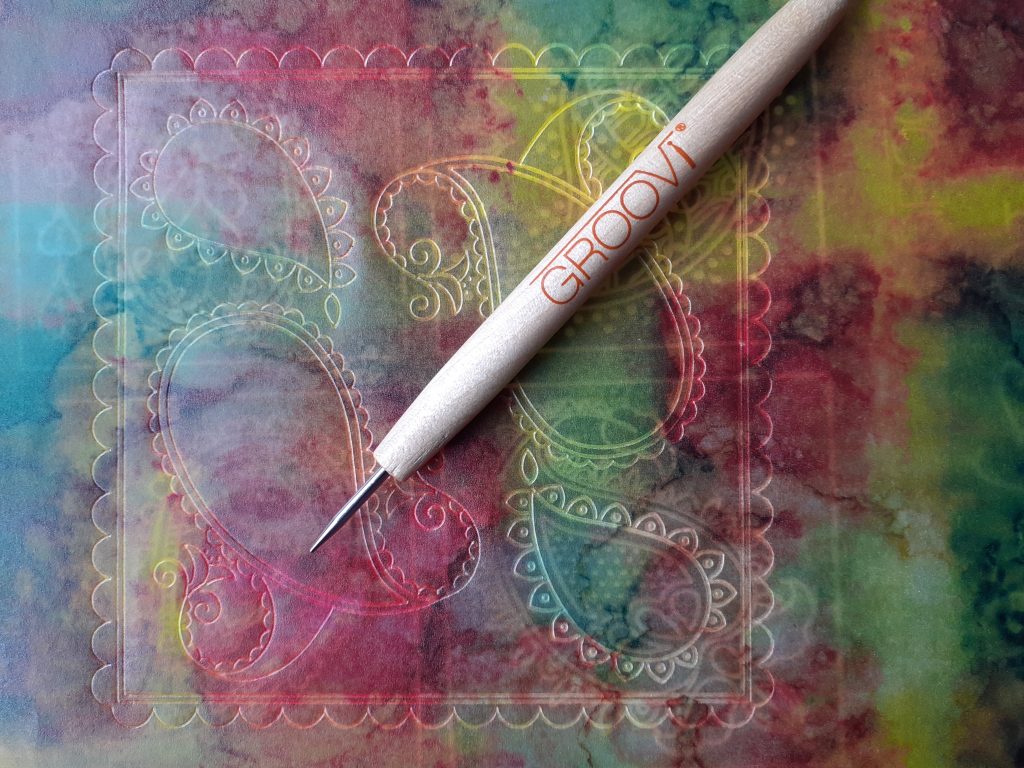
Step 6. Using the design in the bottom left hand corner of the diagonal grid sampler (and your Groovi No 2 tool) emboss around your paisley patterns.
Step 7. Move the plate along and realign some of the embossed dots with the dots on the plate the fill the area.
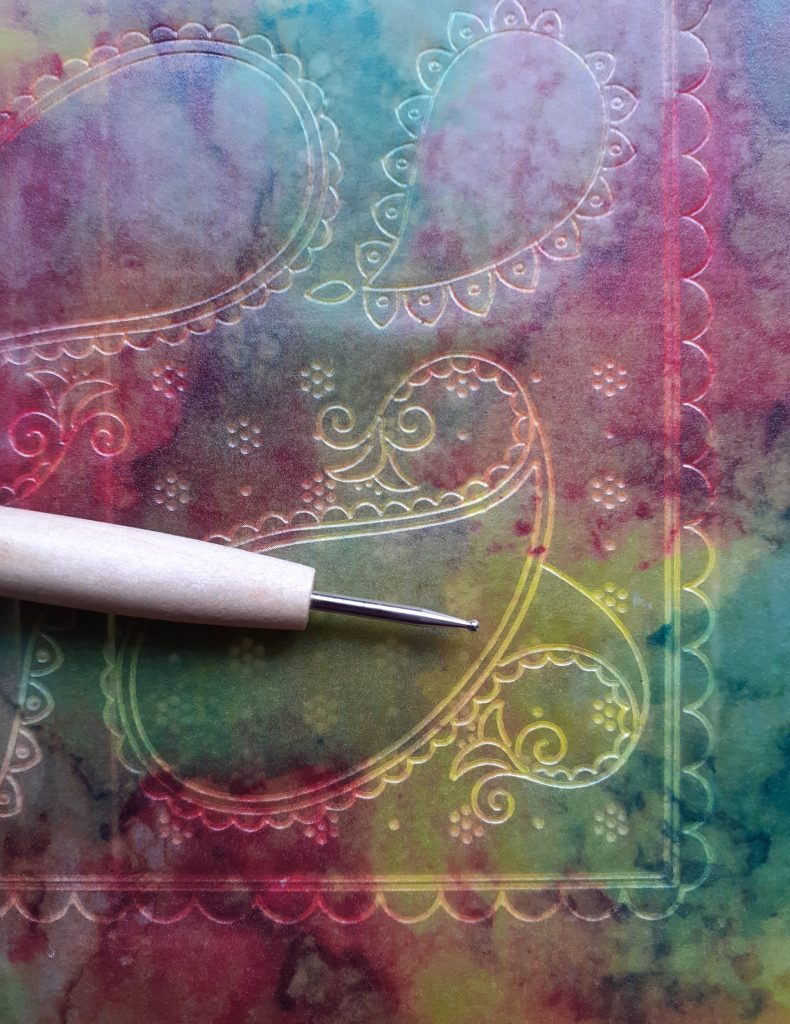
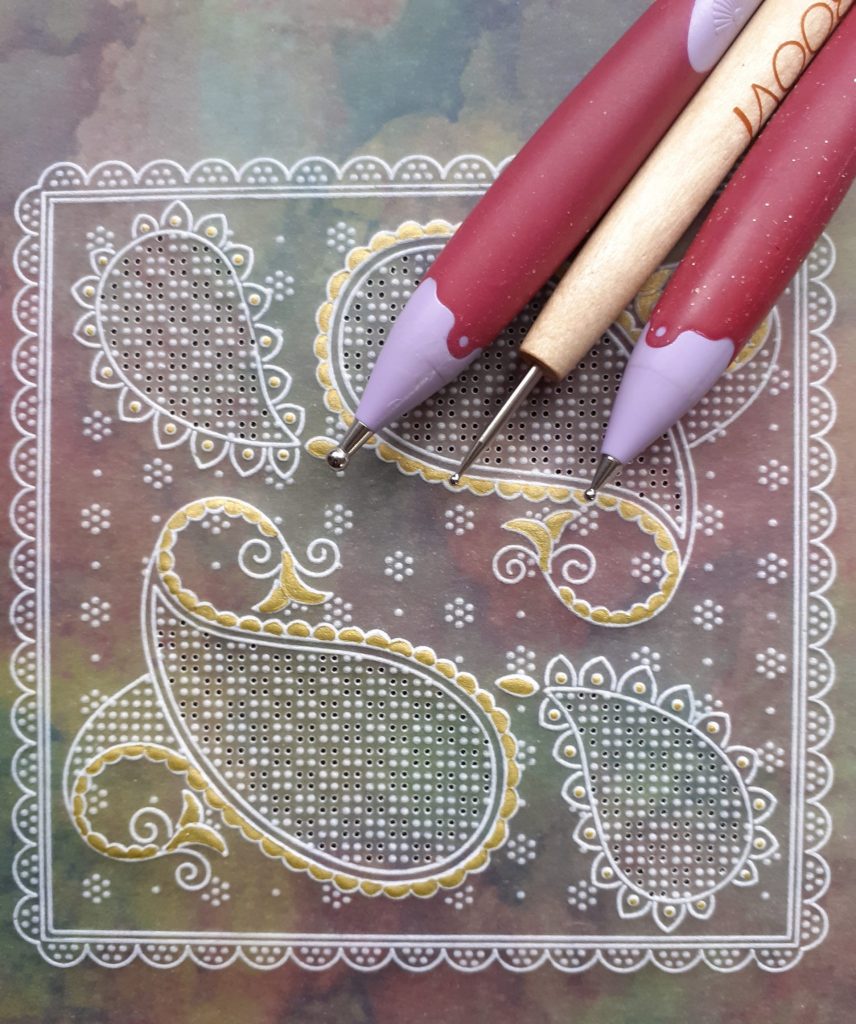
Step 8. Using the same pattern, emboss part of the flower in the scallops around the square.
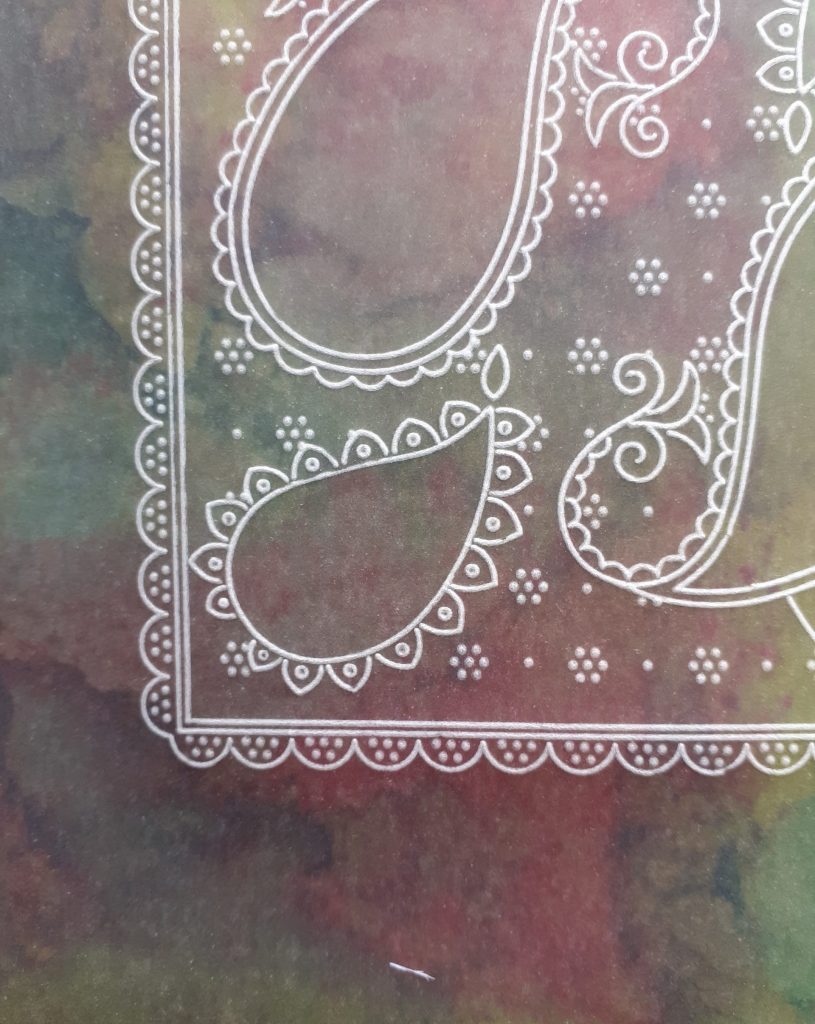
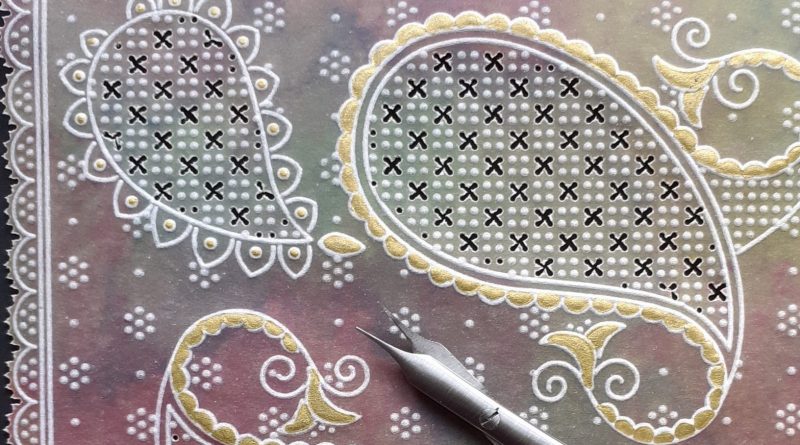
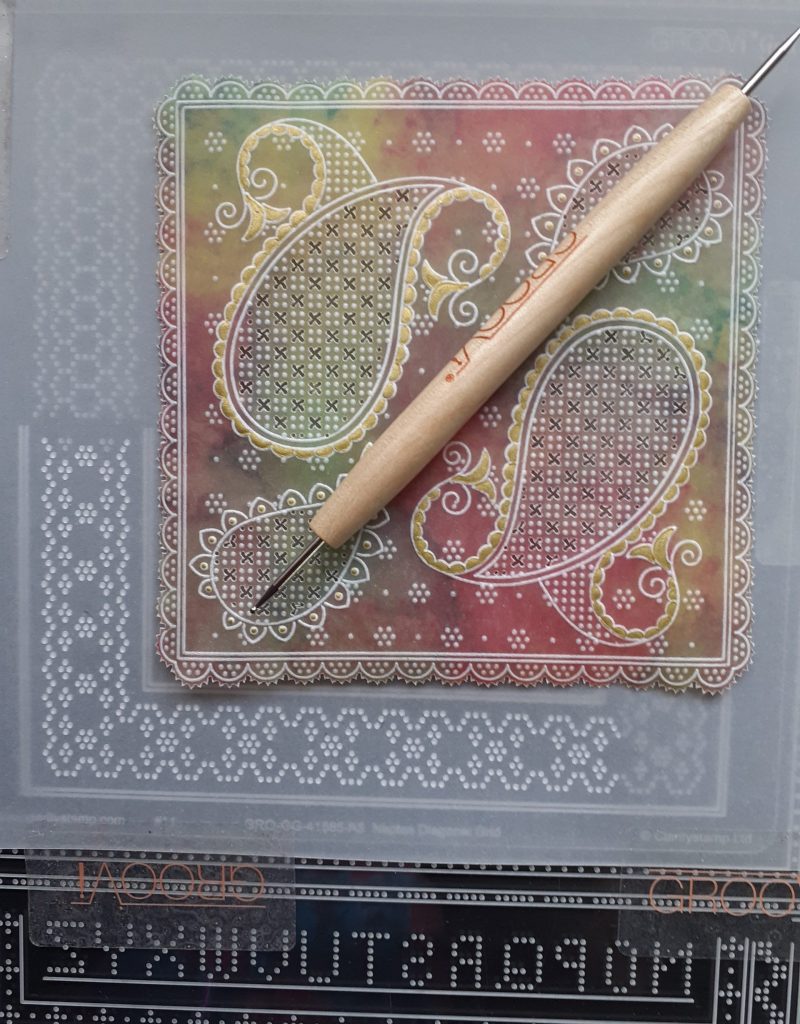
Step 9. Working on the straight grid and using the Pergamano 1.5mm tool, emboss a chequer board design inside the paisley embossing. Emboss all of the dots in the smaller area attached to the larger paisley designs.
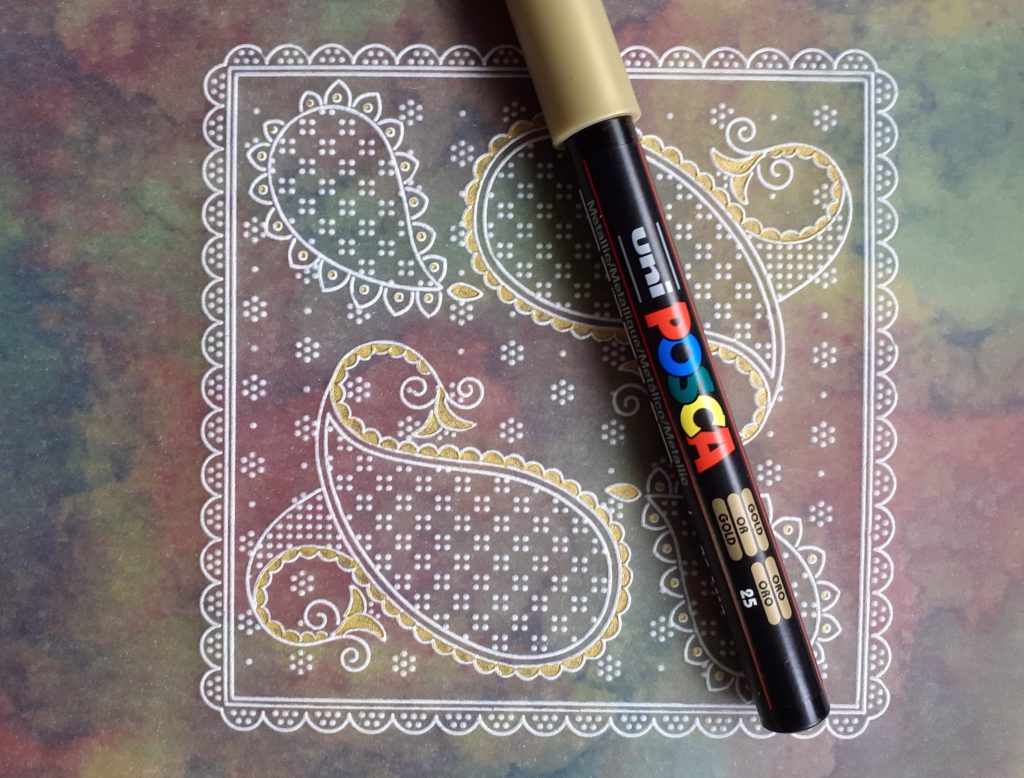
Step 10. Working on the front of the parchment, colour inside the scallops and the leaves of the larger patterns. Also colour inside the dots in the scallops of the smaller designs.
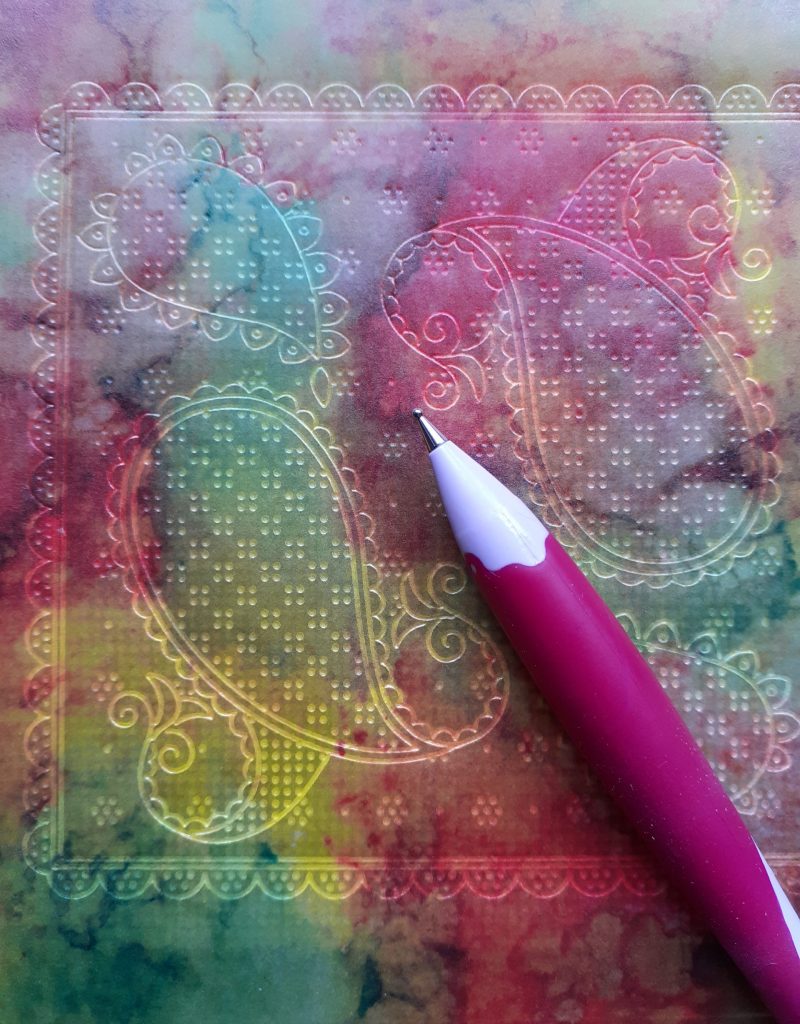
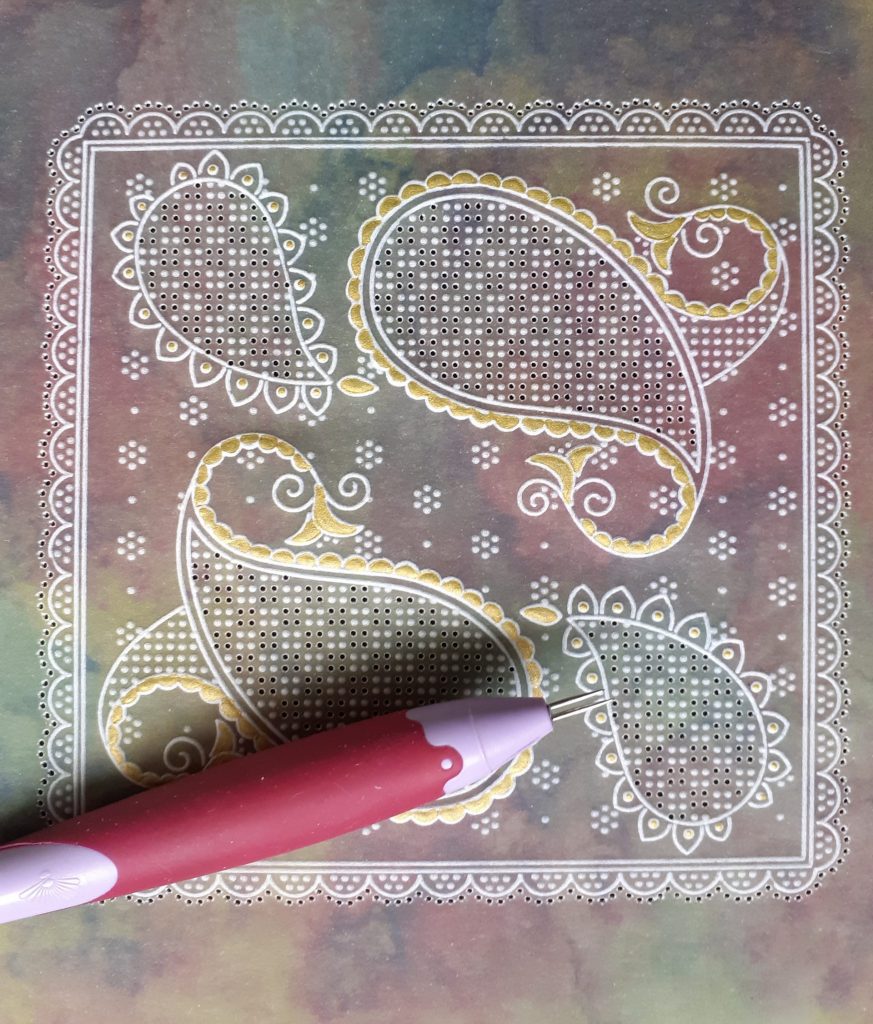
Step 11. Working from the front of the parchment, realign the embossed dots with the holes in the straight grid and perforate the sets of 4 holes using the bold 1 needle tool. If you have a four needle tool you can use this but will need to use the 1 needle tool for the areas near the outer edges of the grid pattern.
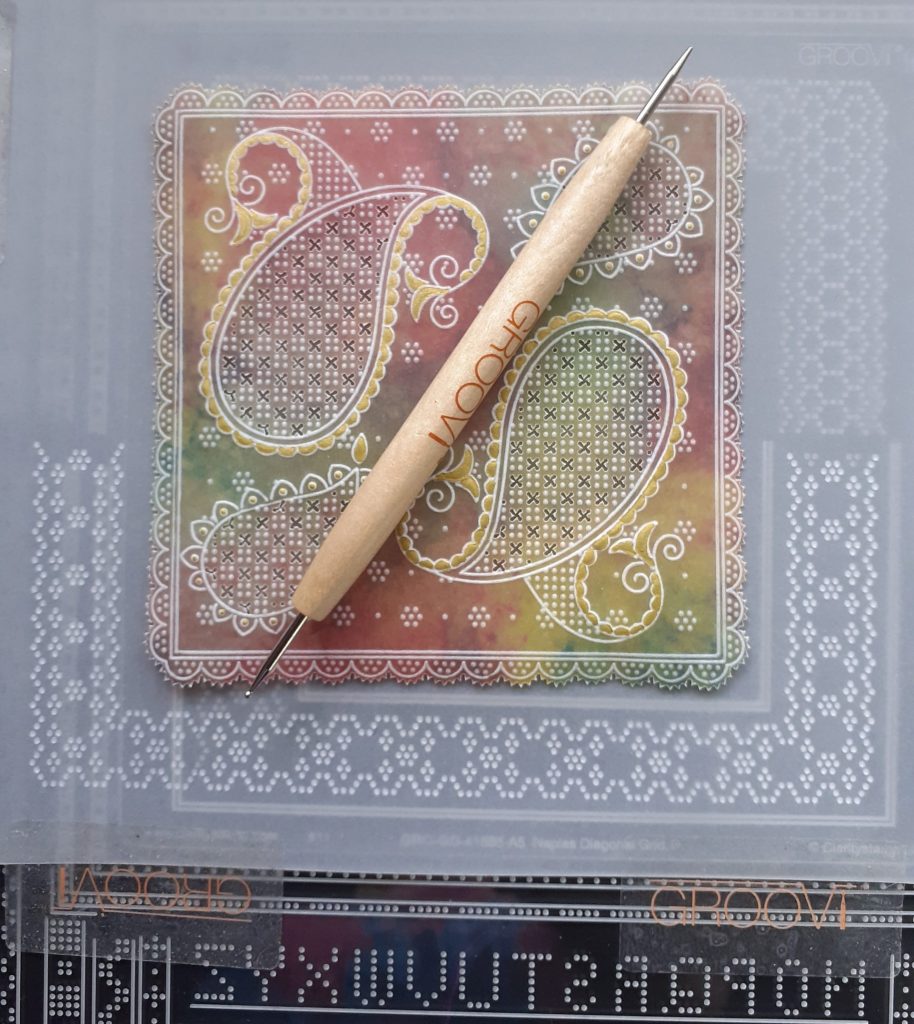
Step 12. Emboss the gold coloured areas from the back of the parchment with ball tools.
Step 13. Perforate around the outer scallops with the bold 2 needle tool.
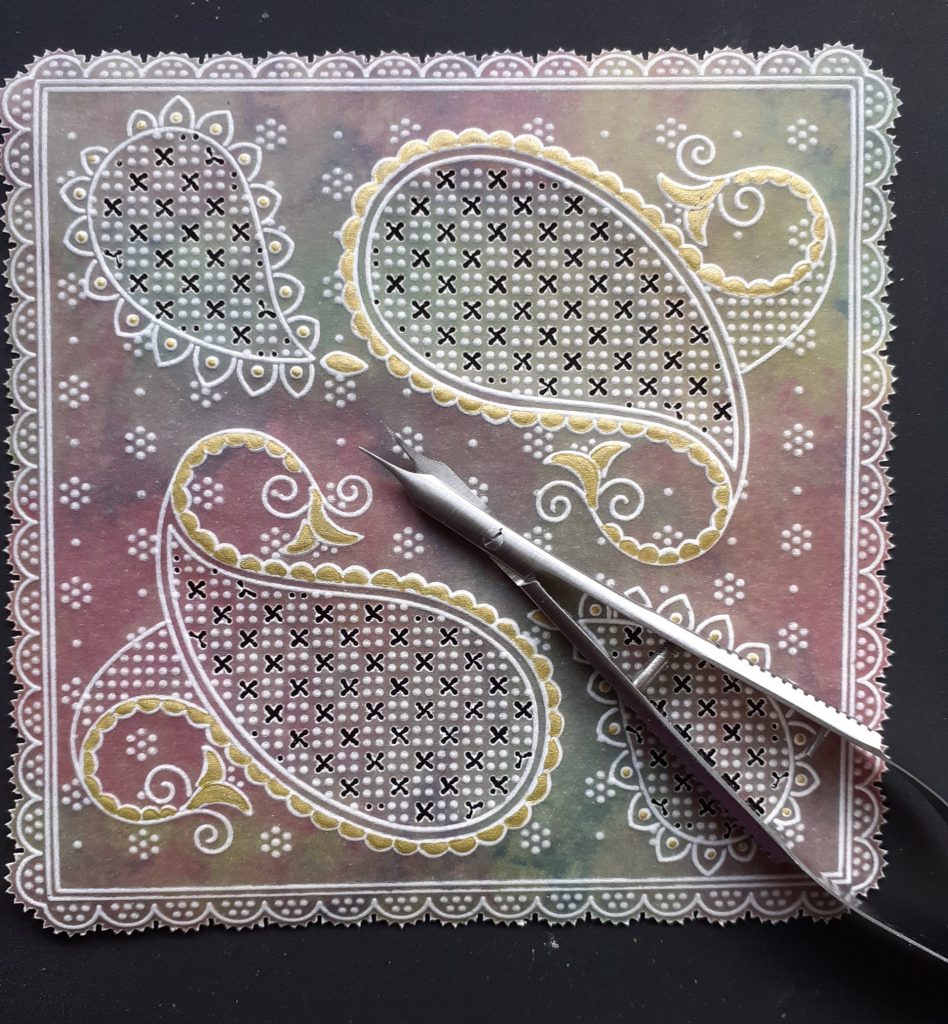
Step 14. Cut out the crosses in the paisley design and the 2 needle perforations around the outside of the topper.
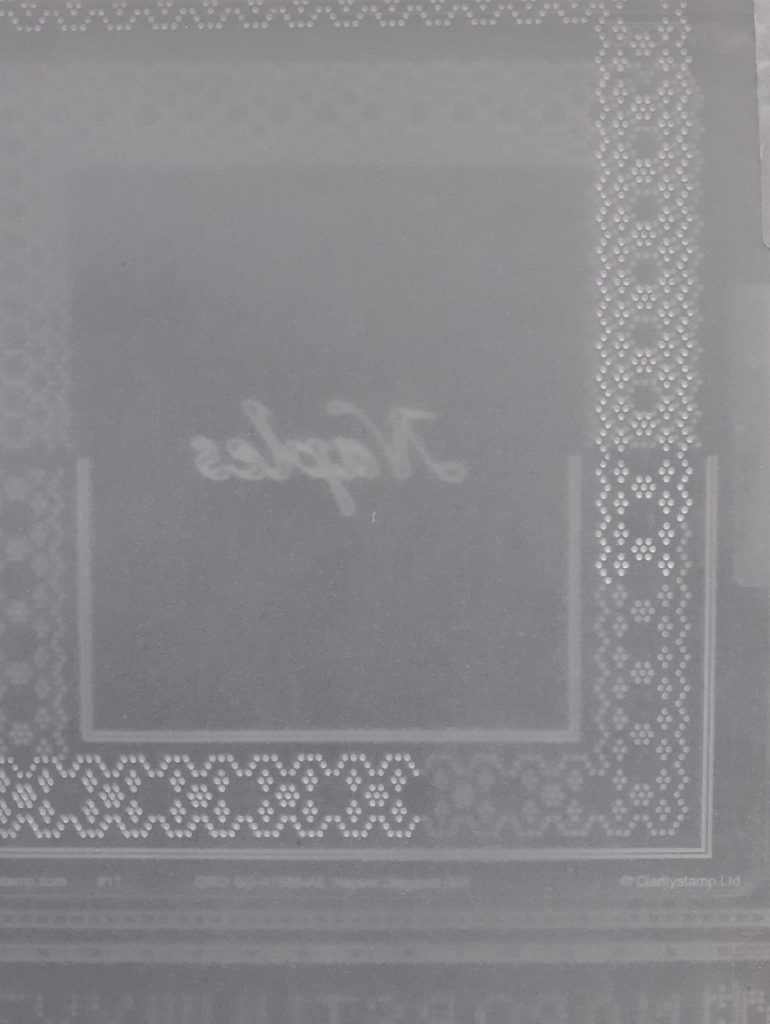
Step 15. Using translucent parchment, place the Naples plate inside the A4 grid plate mate lining up the edge of the parchment with the lines on the platemate. Emboss the dots. You can check how large you need to make your frame by putting the topper onto your work.
Step 16. There are 10 repeats of the embossed flower design before turning the corner. Move the parchment along the plate, realign the dots with the dots on the plate and work the next corner. Line the edge of the parchment up with the lines or lines of dots on the plate mate to keep your work straight.
Step 17. Carry on working around your border until the two sets of embossing line up with the dots in the plate. There are 28 of the points along the outer edges of the other two sides.
Step 18. Turn the parchment over and realign with the drilled holes side of the plate. Perforate using the 1 needle bold tool.
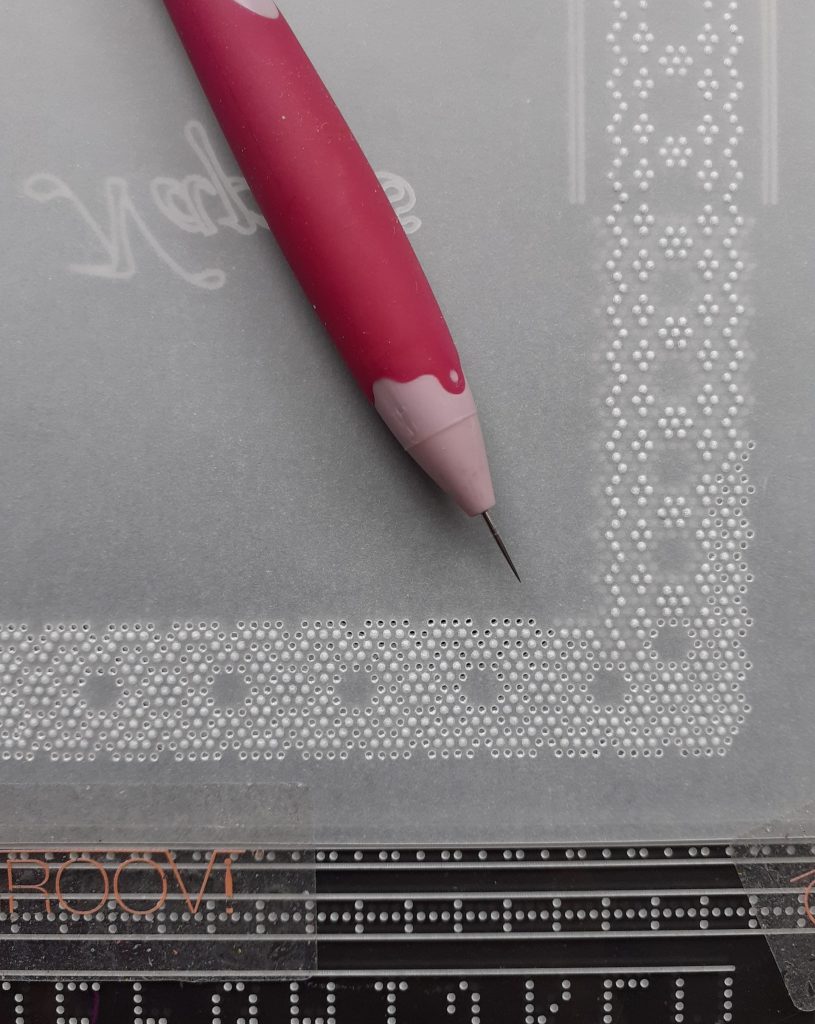
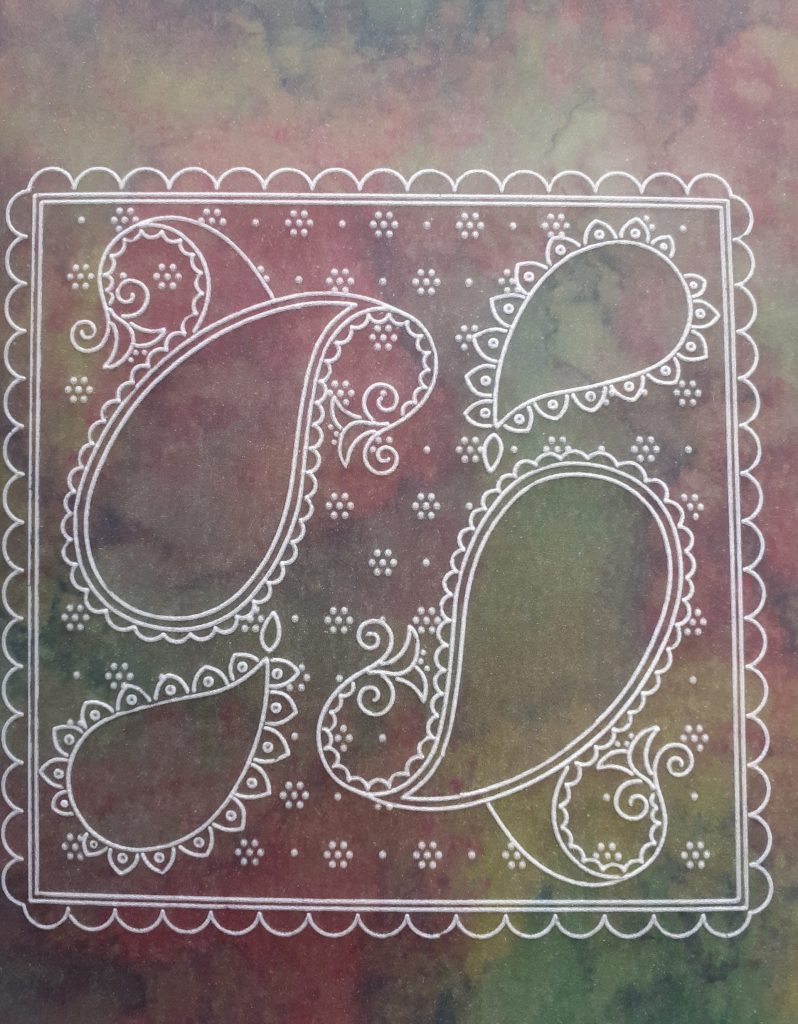
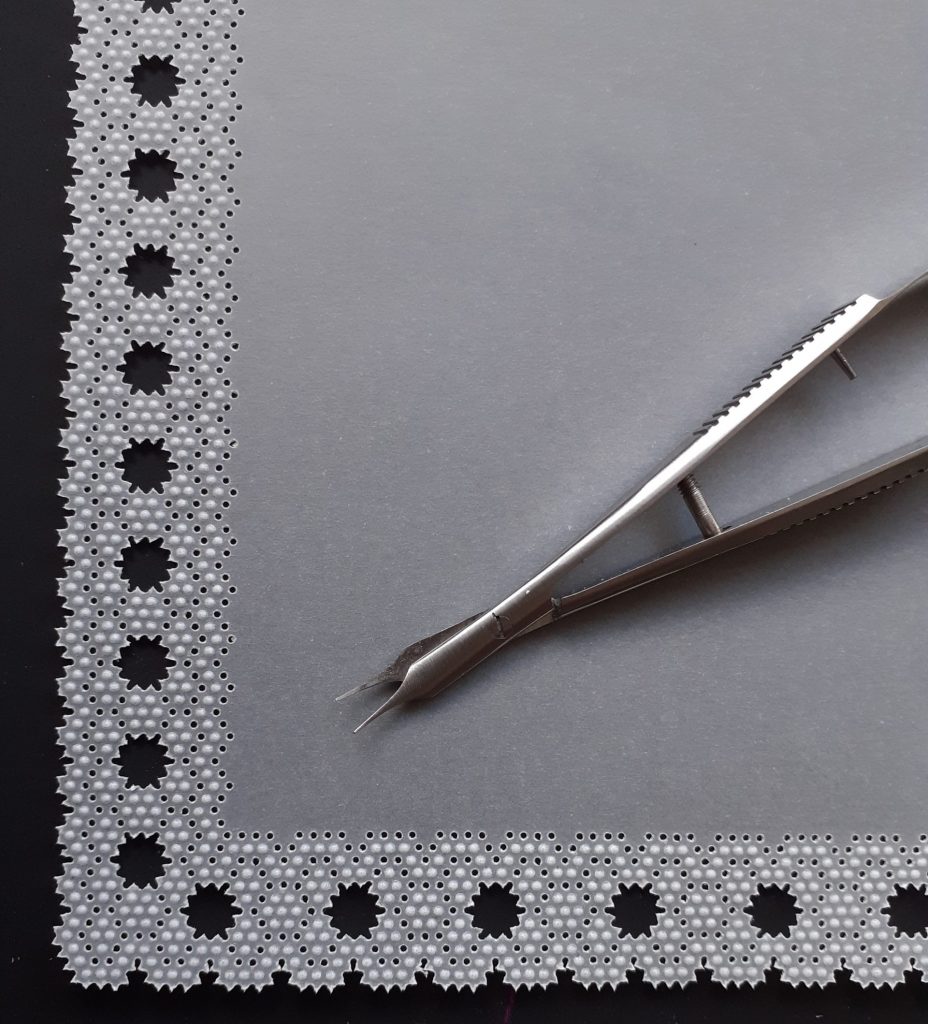
Step 19. Your completed embossed and perforated piece should look like this.
Step 20. Cut out the shapes inside the design and then cut the outer edge using your scissors or Pergacutters.
Step 21. Cut the Rainbow River designer paper to a 6½” square and mount the topper and lace border on to it using the brads. Attach this to your card blank using the Clarity Roll-A-Tape. And you’re done! Voila.
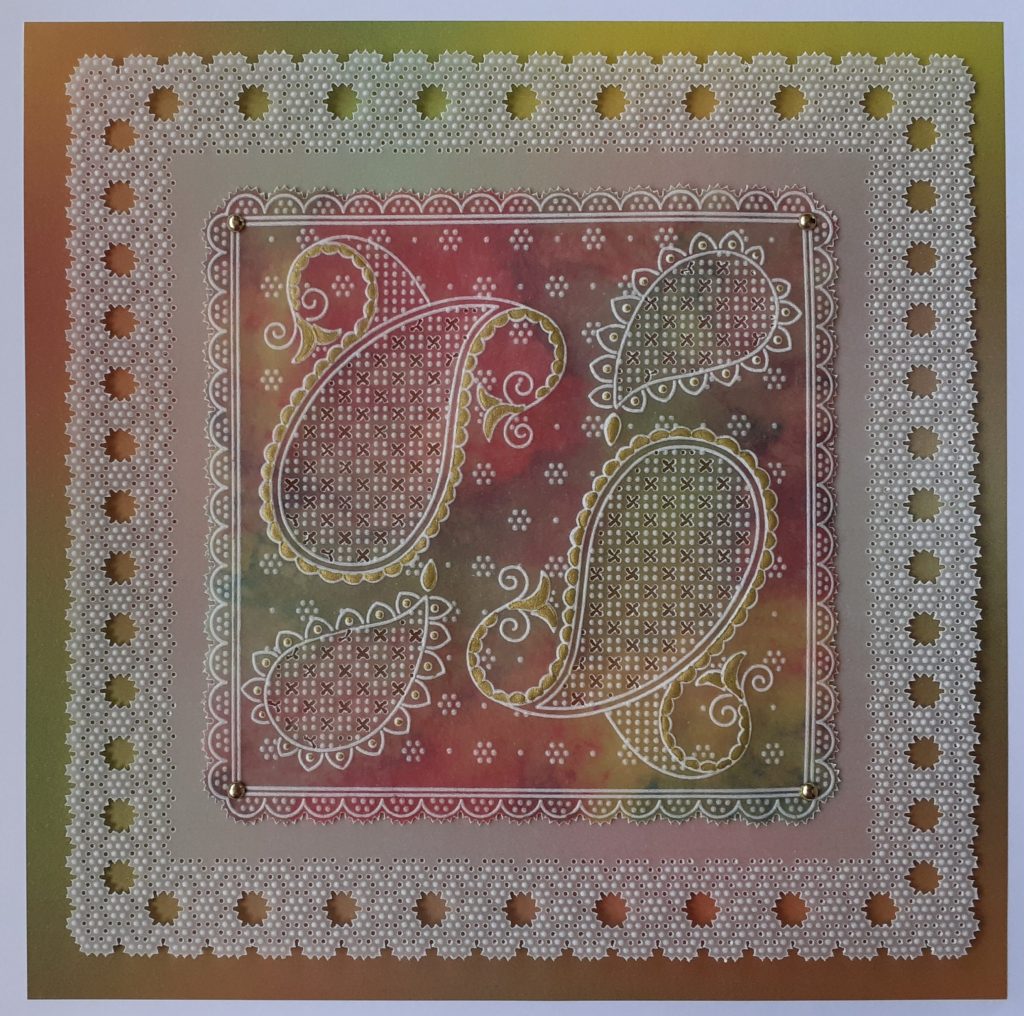
Another absolutely stunning Paisley card. LOVE IT. Thank you, Josie!
Super talent. And she breaks it down into achievable steps to follow. Brilliant.
Don’t forget, we have put everything that Josie has used in one place over on the Clarity website HERE and if you have missed the previous Groovi Sunday Tutorials they are all available HERE
Do you think you have what it takes to recreate this? I think you do! It doesn’t matter how far you are on the Groovi journey, you can adapt the steps to suit you.
I would love to see it. It’s all about to trying new things, improving and/or honing in on the skills that we’re gathering.
“There are no experts in this building”.
And your artwork doesn’t have to be an exact replica! It’s just inspiration, a starting block…
Go on… send me your versions: Grace@claritystamp.com
If you’re open to having your card shared on the Saturday Share Blogs, let me know when you send it! And if you don’t want it shared online, but just want to show little ol’ me… then let me know that too! Either way is welcome.
All I ask is that when you email it to me, please include the following information:
– Your full name
– Your email address
– The specific blog tutorial title that you used as inspiration
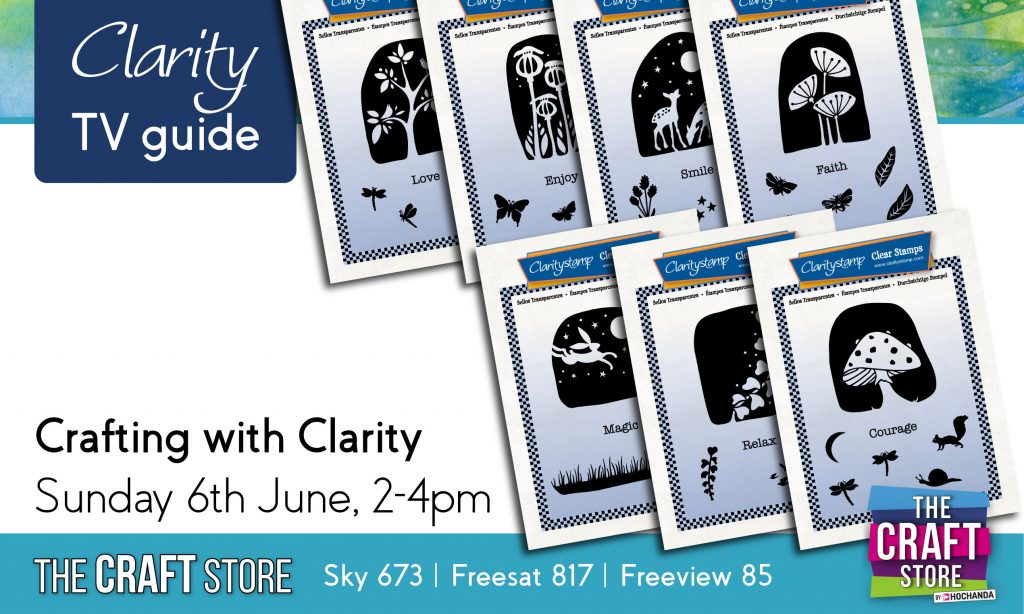
Don’t forget to join Mum on The Craft Store in a couple hours! She’s back in the actual building after a long time and would love your company! Pretty epic new stamps too 😉
She’s on from 2-4pm (UK time). You can find all of the info HERE.
Travel gently…
Lotsa love, Grace & Josie xo
Clarity – The Home of Art, Craft and Well-Being.
Absolutely beautiful! Gorgeous frame!
Beautiful sample from Josie today. Hope you’re mum is not too stressed returning to the building. She’ll no doubt be exhausted by the time she is finished today. I had to return to our building today, too, so had a very tense morning. However, I survived and it went ok. Hope you are doing well. Lots of love. Hxx
Thank you Josie and Grace for sharing this. So pleased all these projects are going to be collected in one place, much easier to find then.
Getting set up to watch your Mum in 20 minutes, just need to make the coffee and get the cushions to put my feet up.
Stay safe.
It is so beautiful this pattern on colored paper! Thank you Josie!
When I started many years ago in the 80th with Pergamano, we had to make our own colored paper. But it never was so beautiful as this paper we can buy now from Clarity!!!
Hope your weekend is going well Grace and your mum isn’t too exhausted when she comes home.
Lots of love, Trijntje Huppel
Hi Grace, Absolutely stunning groovi art, Josie, absolutely stunning !!
Thank you for the fabulous tutorial.
Love from Patricia xx