Clarity’s Blog Tutorial: How to Apply Colour to Coloured Parchment
Hello hello! Grace here.
Happy Sunday! I hope this finds you well?
We’re blessed to have the wonderful Jane Telford back in our virtual bubble today! Jane told me just this week that in July it will be her 8 year anniversary of being a member of the Clarity Design Team! Wow! How is that for loyal? We love her dearly. Such a talent. But most importantly, a very good friend!
I’ll hand you over to the lovely lady herself…

Hi! Jane here.
I love working on Black parchment. The results are so dramatic in my opinion, though I realise that it isn’t for everyone. This project would look nice on plain or another colour of parchment so you can decide for yourself!
If you are working on black parchment it’s easy to tell which side is which. The reverse is always the blackest side and is shiny.
One thing I have to add here… to work on black parchment you do really need a light panel. I don’t think I could work without one these days! I have also found that if I need to emboss on the black parchment the pink excellence mat is translucent and can be used on the light panel. Let’s get stuck in!
Ingredients
Linda’s Gladiolus and Lace Plate (GRO-FL-40921-03)
Plate Mate for A5sq Grids (GRO-CO-41706-08)
A4 Lightwave Panel (ACC-LP-30352-A4)
Tina’s Dragonfly Fun plate (GRO-AN-40857-03)
Nested Squares Ext. & Alphabet Frame A4 Sq Plate (GRO-WO-40538-15)
Black Parchment (A4 GRO-AC-40681-A4)
Small Piece of Plain Parchment (GRO-AC-40024-XX)
7×7 Card Blank (ACC-CA-30619-77)
4 Black Brads (PER-AC-70271-XX)
Pergamano Excellent Embossing Mat (PER-AC-70075-XX)
2 Needle Perforating Tool (PER-TO-70037-XX)
Picot V Small (10285) Perforating Tool (PER-TO-70281-XX)
Pencil Eraser White (ACC-PE-30670-XX)
Perga Colours Exclusives (PER-CO-70060-XX)
Perga Liners (PER-CO-70063-XX)
Mix Mat (PER-AC-70304-XX)
Fine Paint Brush (PER-BR-70044-XX)
Leonie’s Words Sticker Collection (ACC-SC-30834-A5)
Method
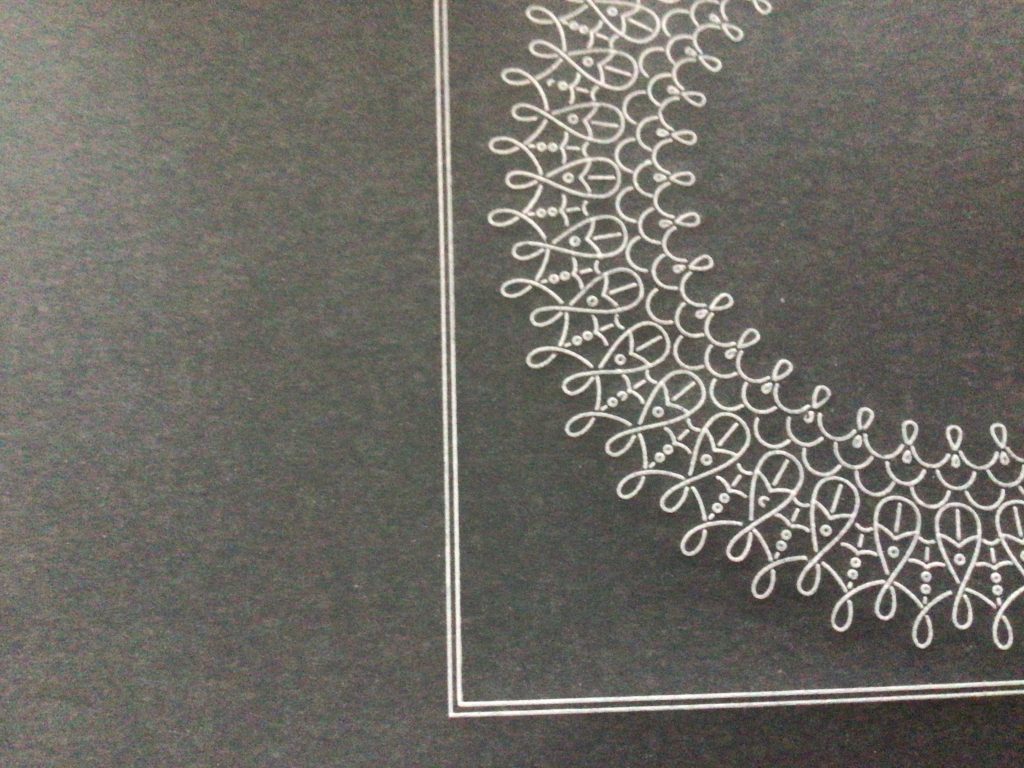
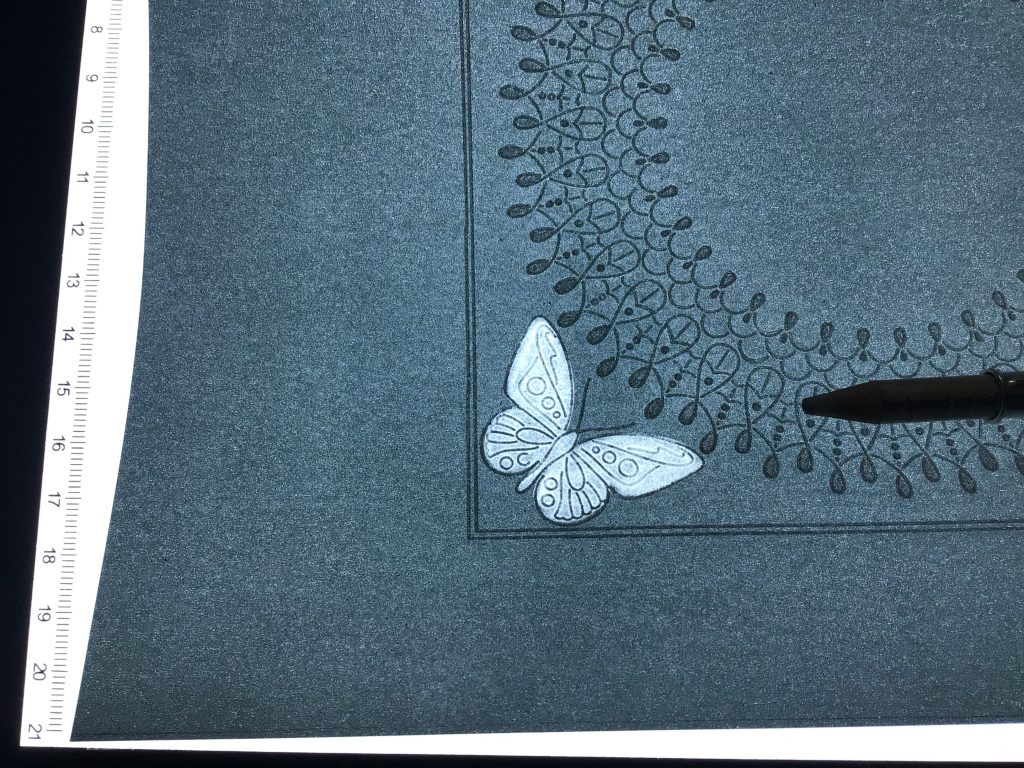
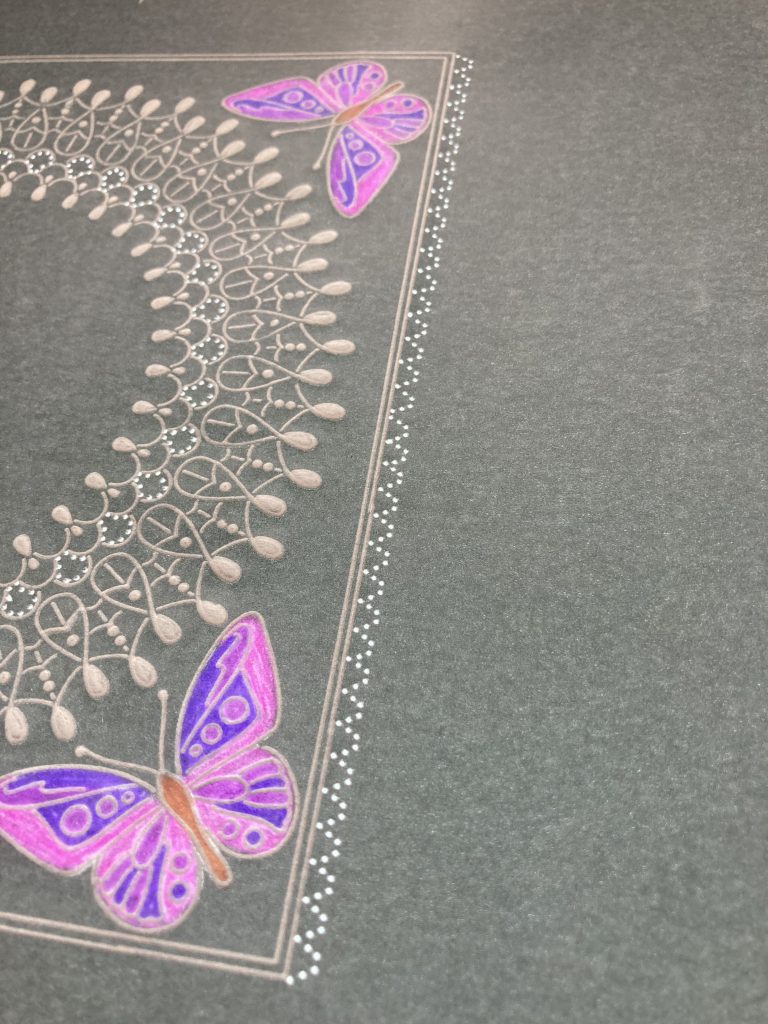
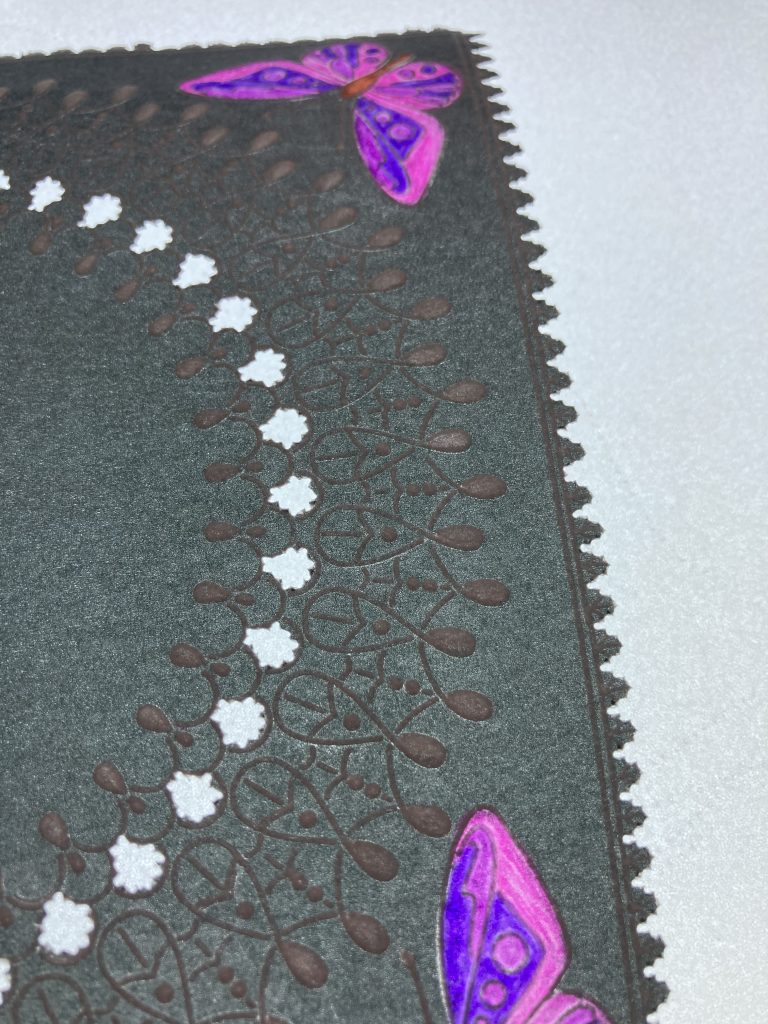
Step 1. Attach a piece of black parchment over the plate, leaving yourself plenty of space around the image to fit in the frame and picot V edge. Emboss the half circle of lace.
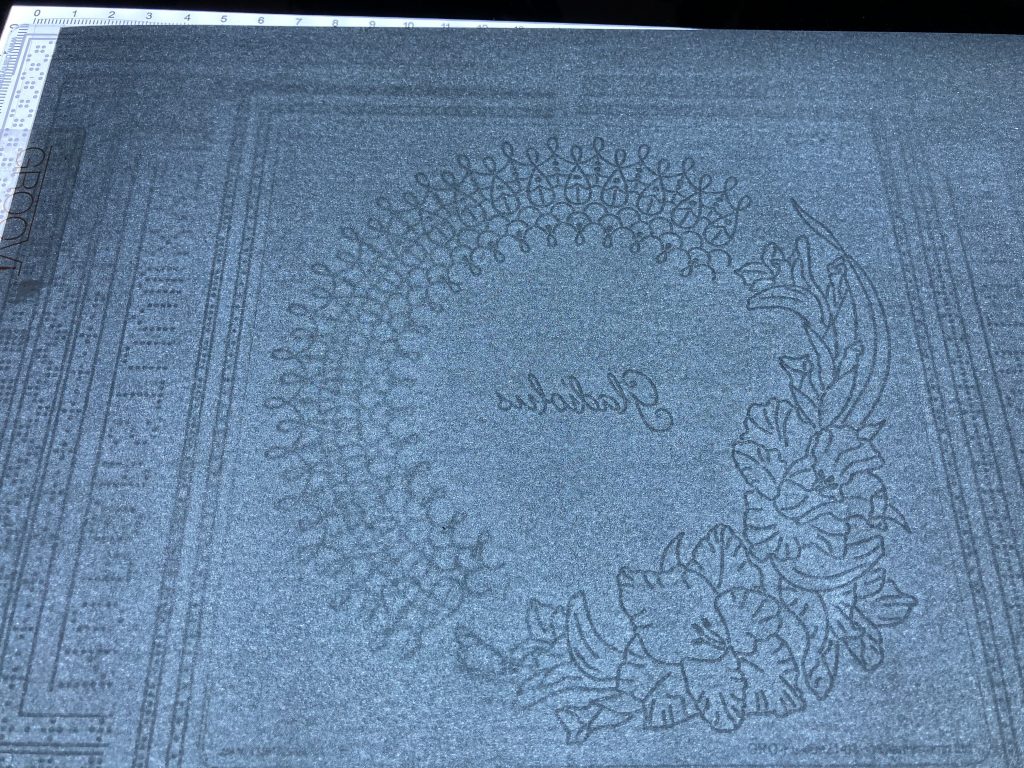
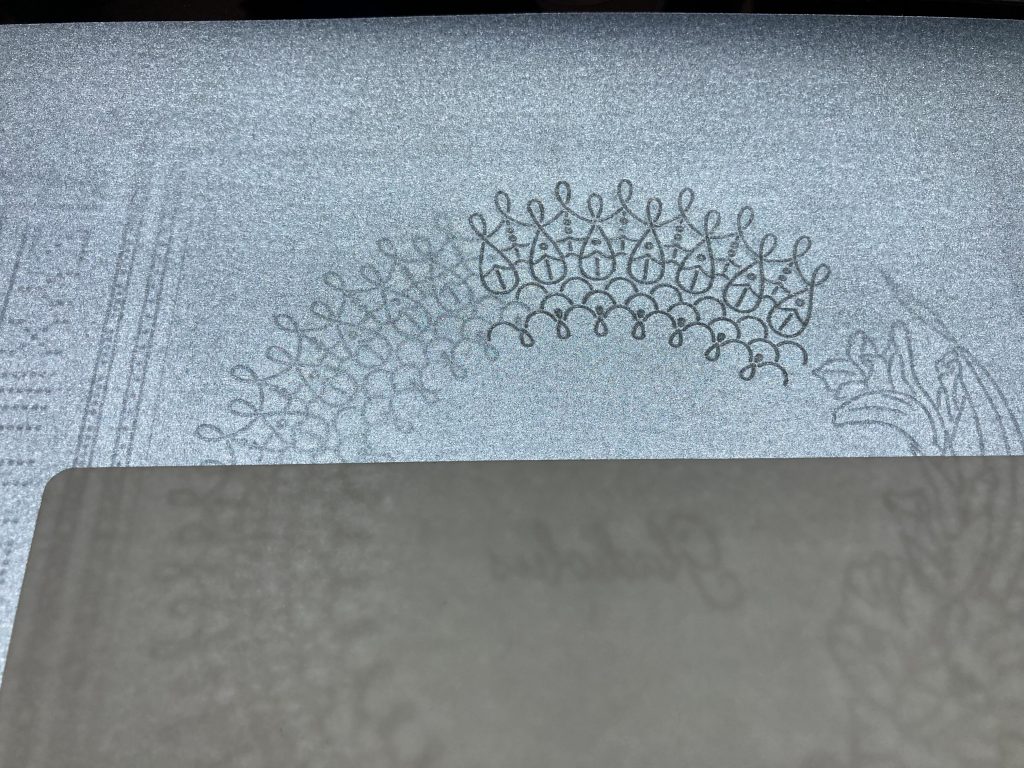
Step 2. Turn your artwork round and relocate the ends of the embossing to create a full circle.
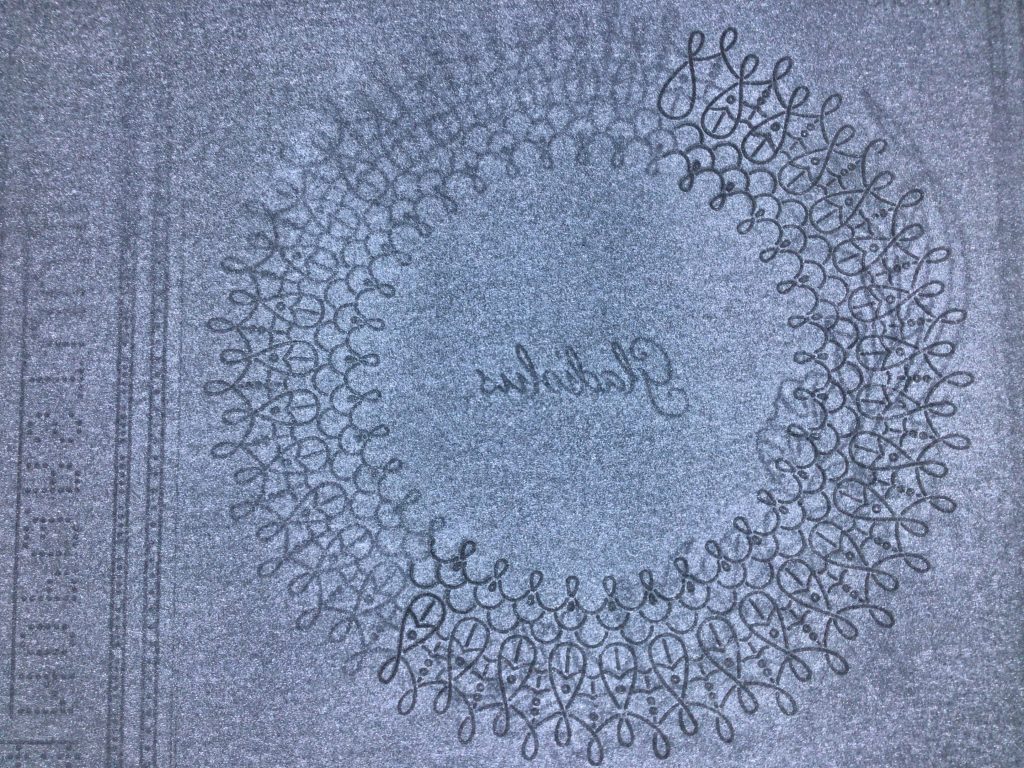
Step 3. Change the plates to the A4sq nested square in the A4 plate mate and attach the parchment so that the lace circle is evenly in the centre. Emboss the line 7th in from the edge.
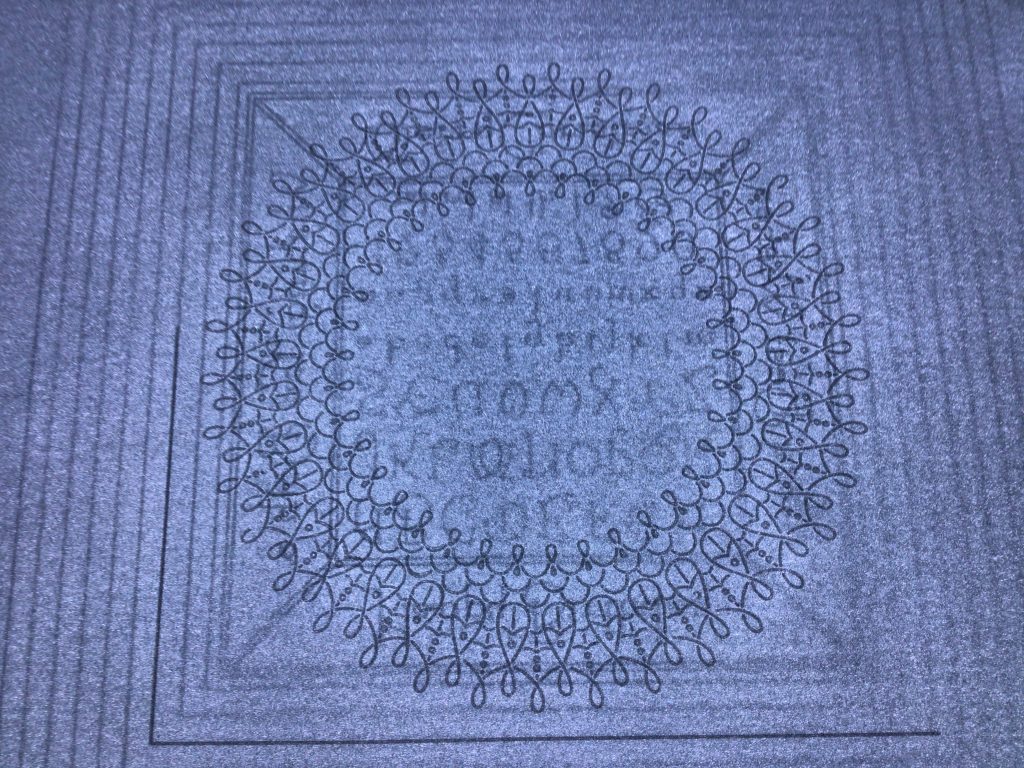
Use the plate to add a narrow border around the outside of the square.
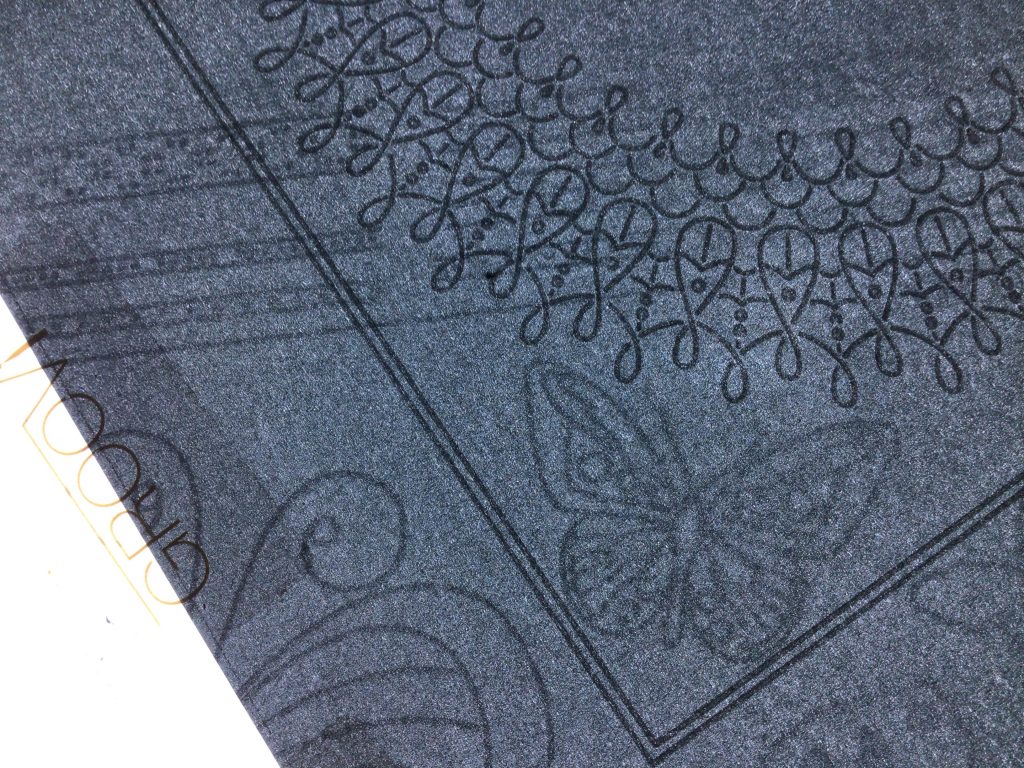
Step 4. Emboss the butterfly in each corner from Tina’s Butterfly Fun plate.
Step 5. Put the Pink excellence mat on the light panel and emboss the parts you want white.
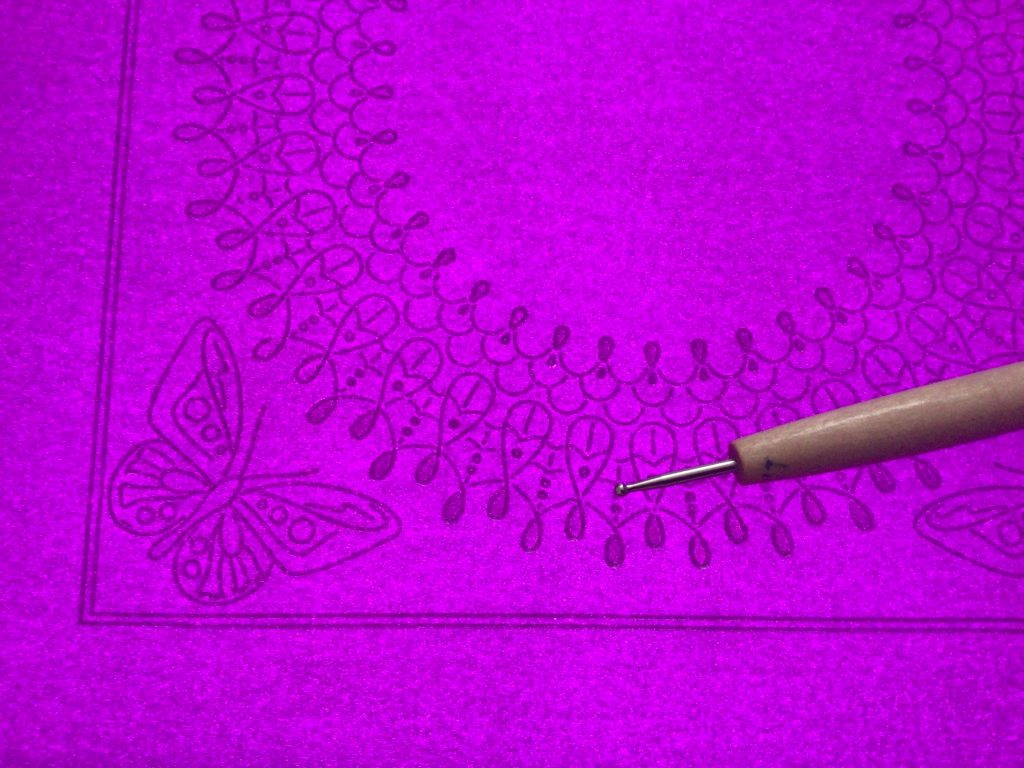
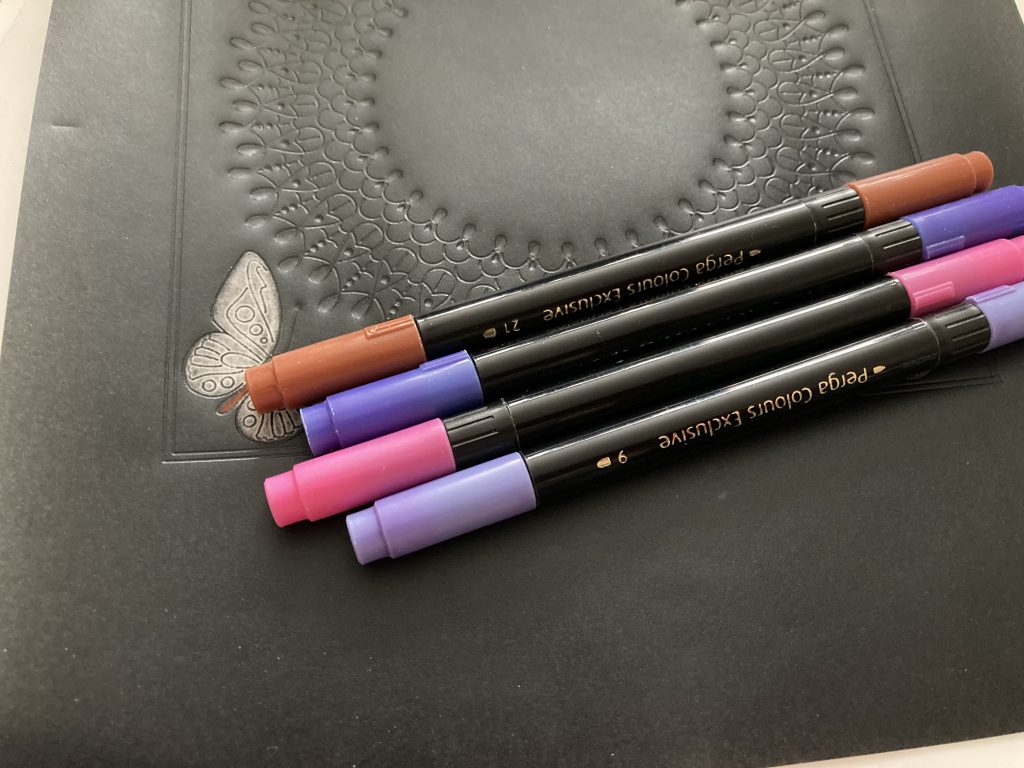
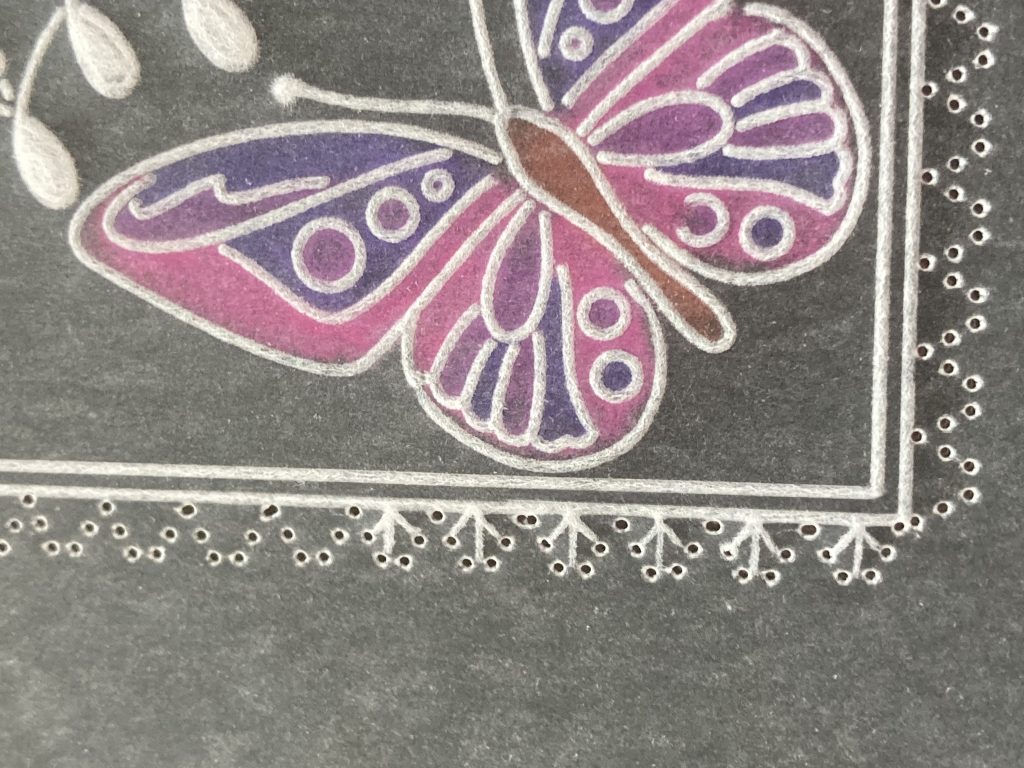
Step 6. Remove the pink mat and use the white eraser pencil to remove the black ink from the butterflies in each corner.
Step 7. Colour in the butterflies in each corner using Perga Colours Exclusives.
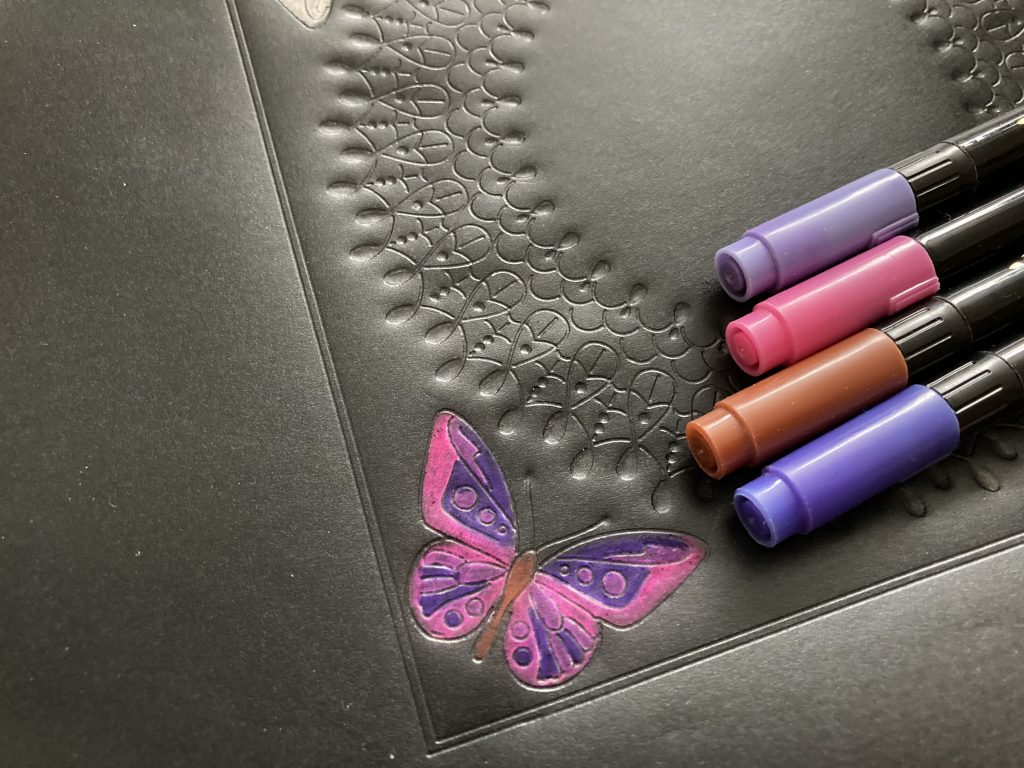
Step 8. Perforate using the 2 needle tool within the lace design.
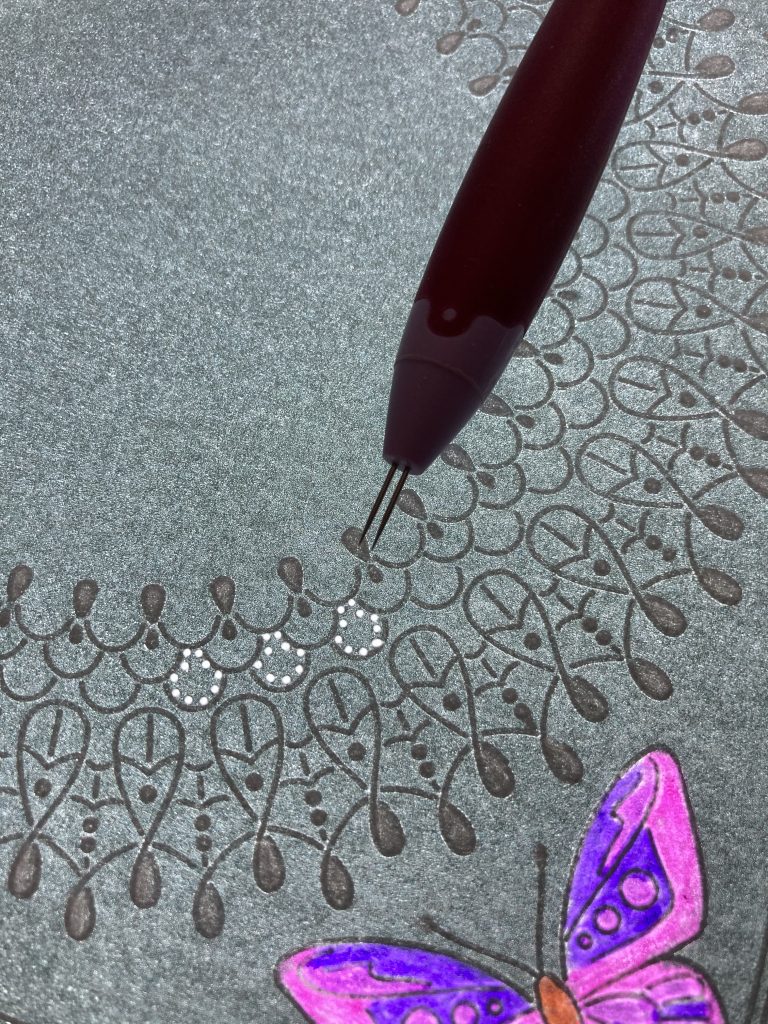
Step 9. Shallow perforate around the outer square using the small picot V tool .
(Jane’s Top Tip: When shallow perforating use the shallow mat that comes with the light panel)
Step 10. Put a piece of cellophane over the thin translucent mat and emboss lines in the picot V shapes, using a 0.5mm tool.
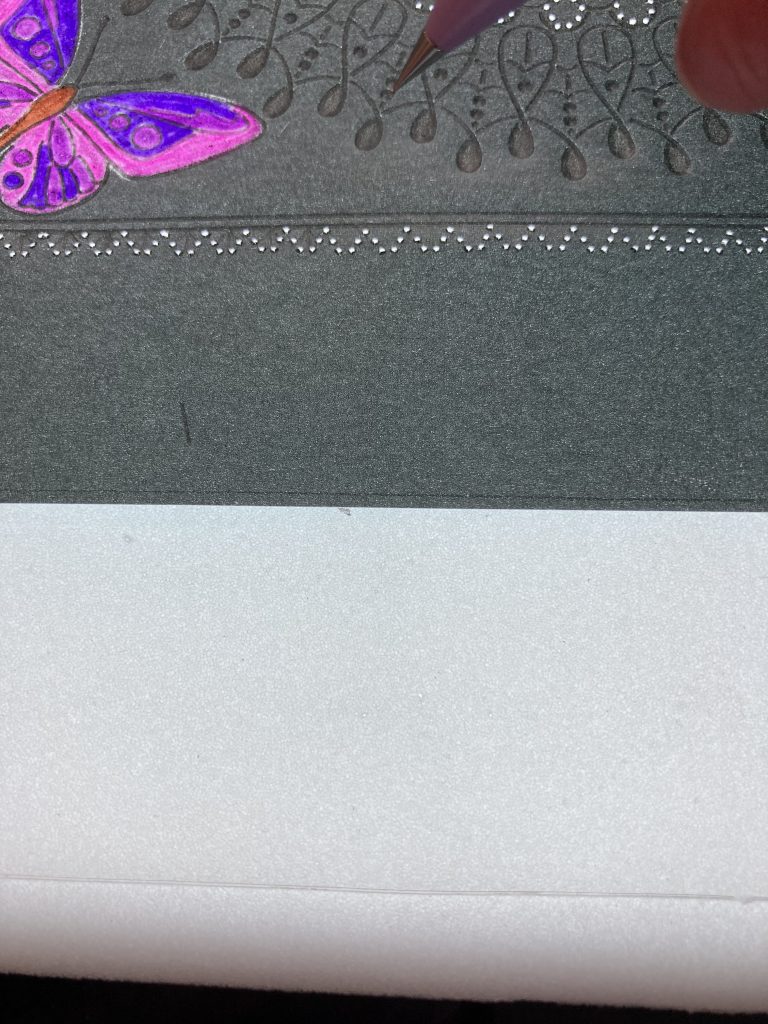
Step 11. Re-perforate the Picot V shapes – rather than try to line up the Picot V, you might find it easier to use a 1 needle tool. Once completed, picot cut using your scissors of choice. Also picot cut the area within the lace area as shown.
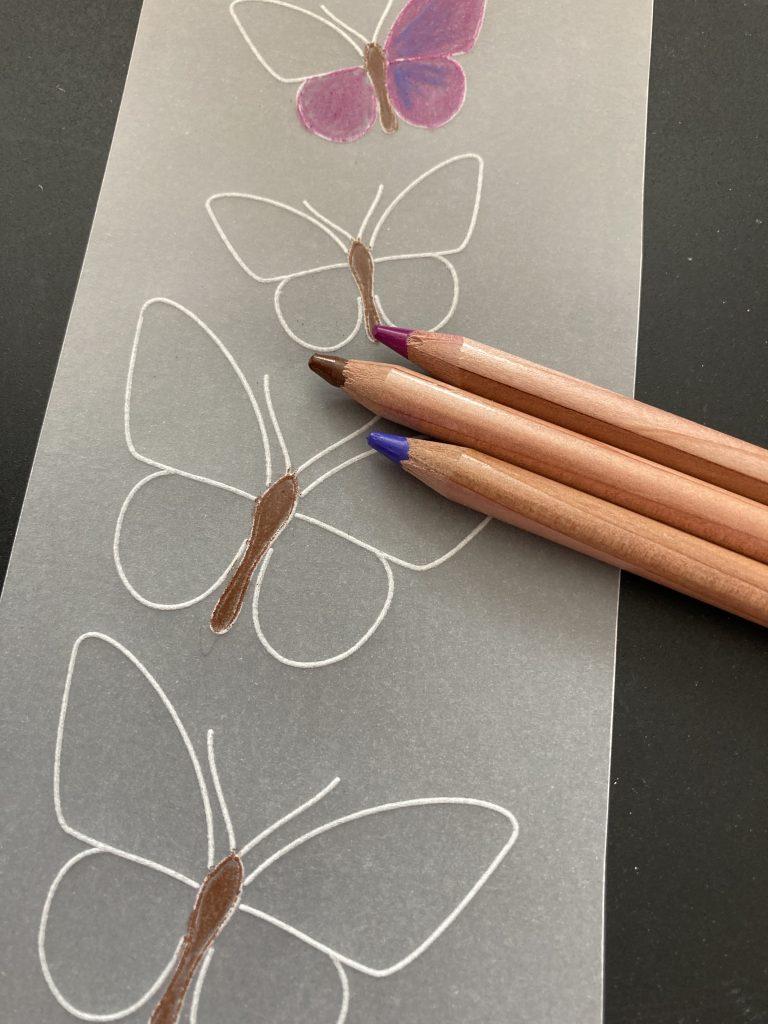
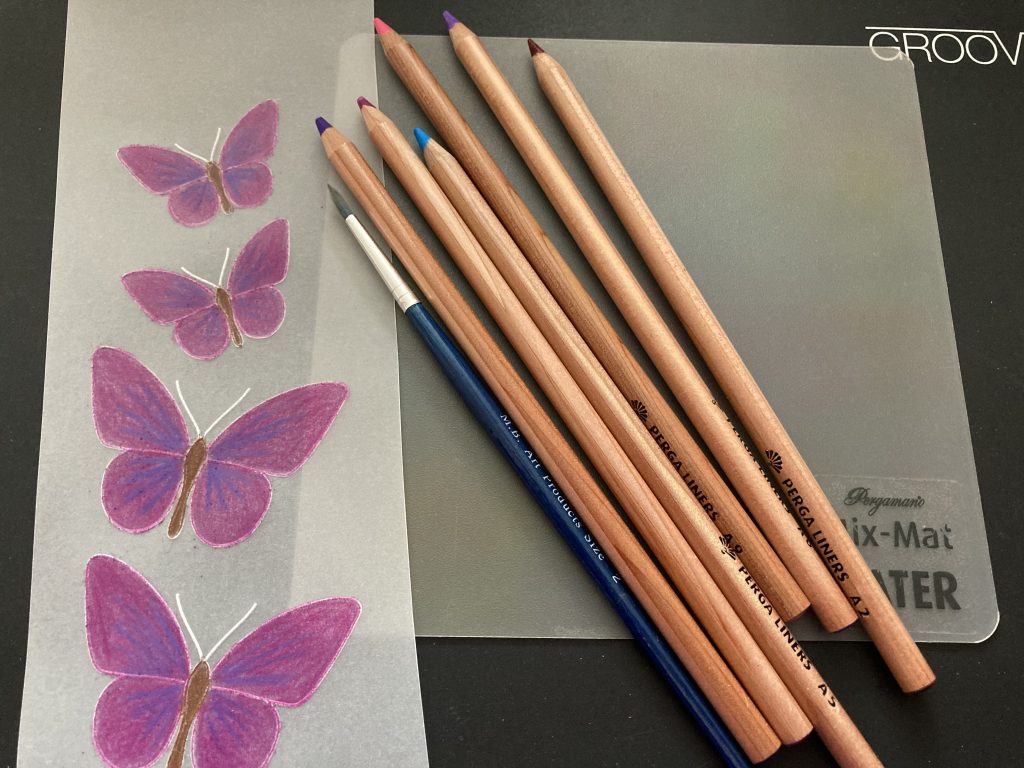
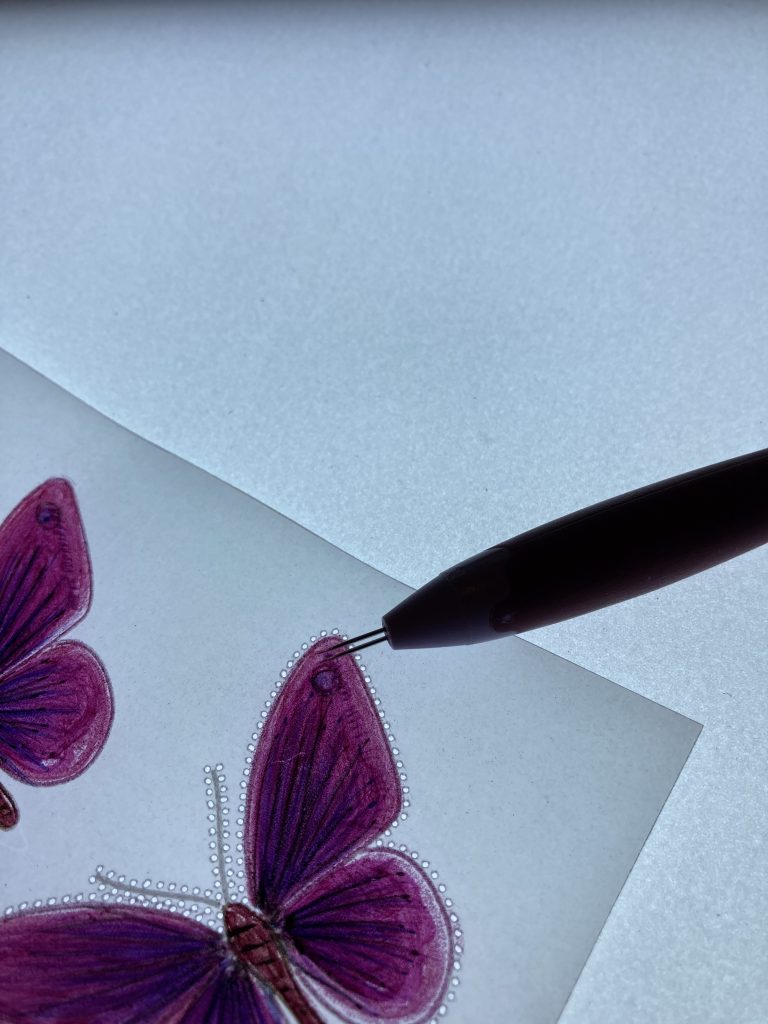
Step 12. Using the 1.5mm tool emboss two small and two large butterflies on a piece of plain parchment. I always do more than I need in case one goes wrong! Colour in on the FRONT using the B pencils. It needs to cover the white line. Now use the A pencils, putting the colour on a mix mat and picking up the colour from there with a brush that is just damp. Paint this over the colour you have already got.
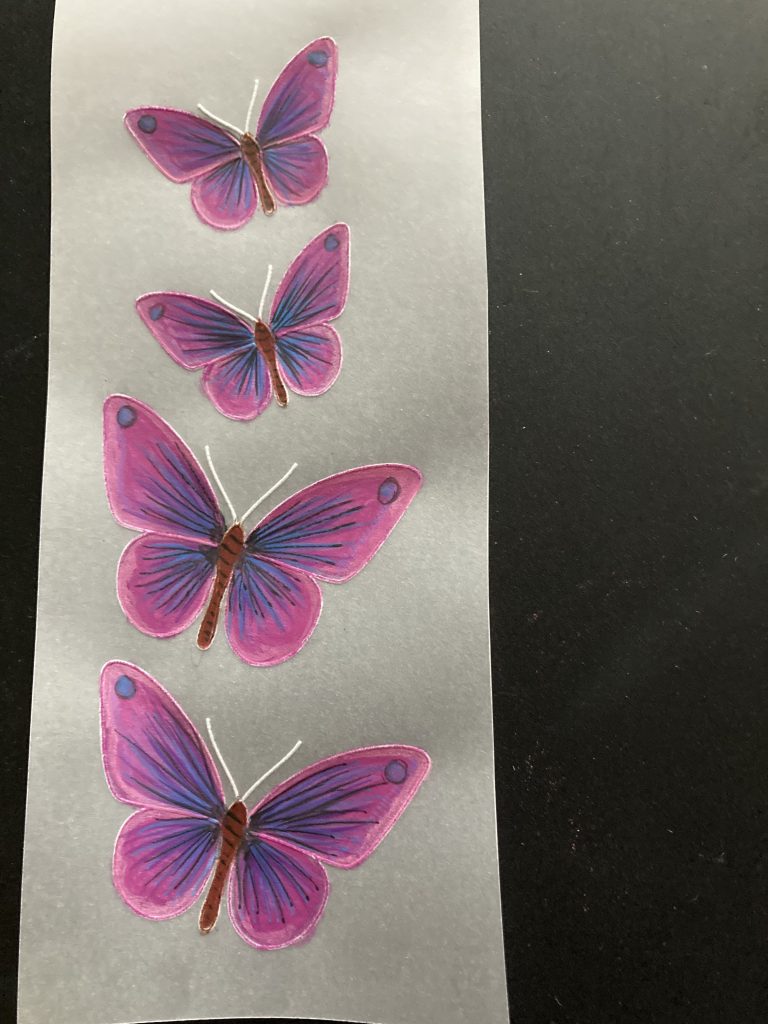
Step 13. When the butterflies are dry, perforate around them with a 2 needle tool.
Step 14. Cut out the butterflies and shape the wings carefully using the handle of the paintbrush. Bend them up from the body slightly.

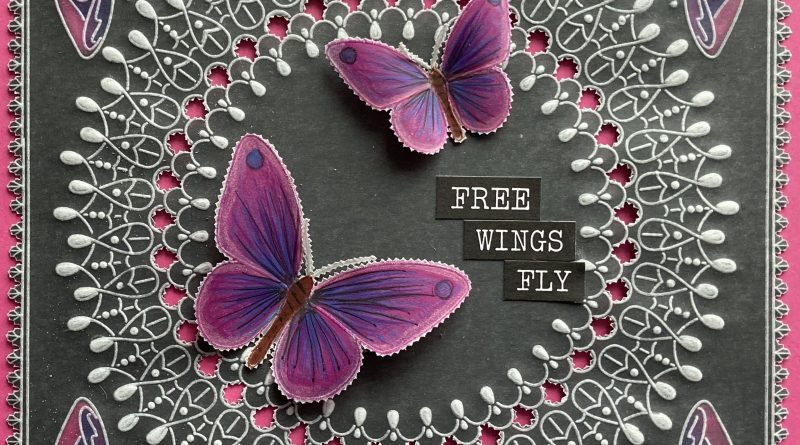
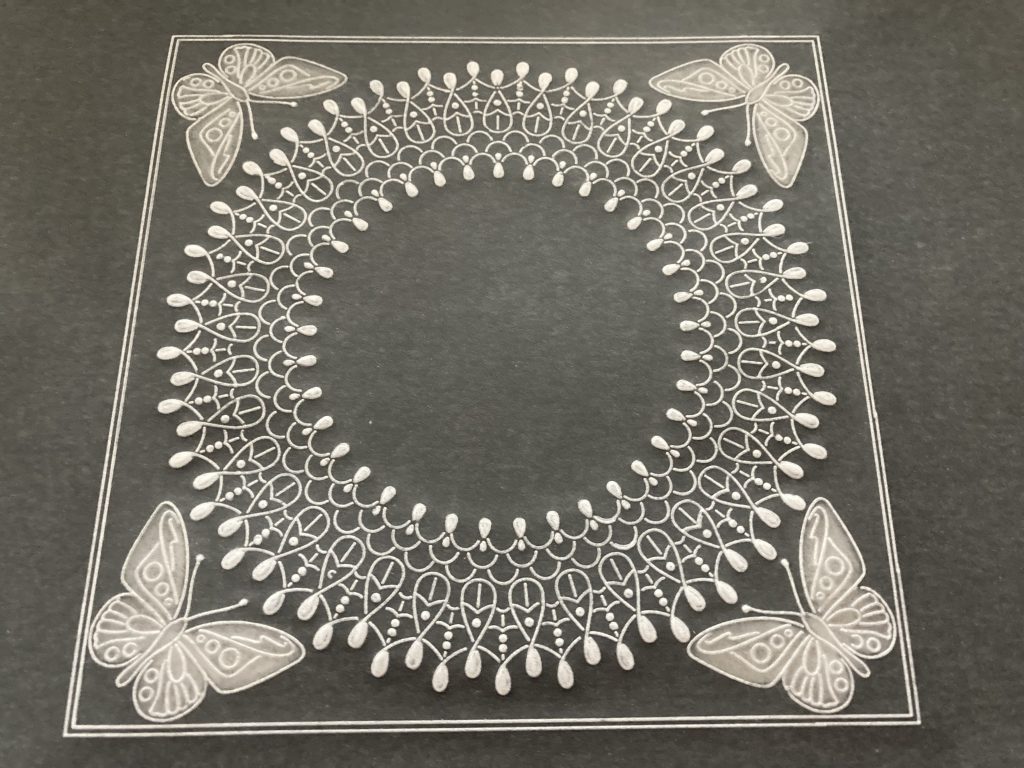
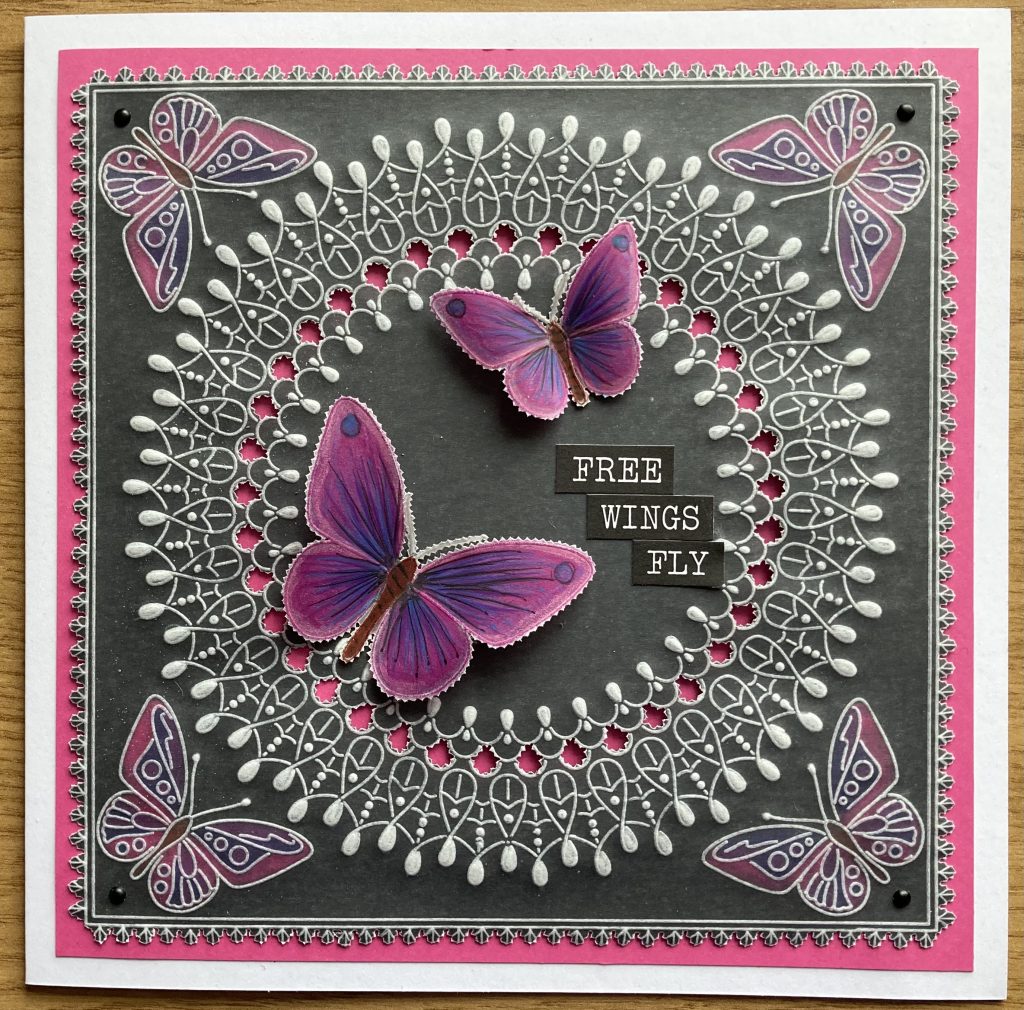
Step 15. Cut a piece of pink card to 16.5cm x 16.5cm. Attach the black parchment using brads. Mount on to a 7×7 card blank. Add the butterflies using redline tape. Add the word stickers. Ta Da!!!!
Jane x
Blimey! Thank you, Jane. What a pretty card! Those butterflies are stunning, they’d make great broaches *heart eyes*
For those of you at home, I hope you’ll give this a go. Jane makes what looks impossible, so achievable for us! I personally love the black parchment. Have you tried it? If not, why not?! Maybe today is the new for new things!
For those of you that bought our Butterfly Wreath Offer of the Week recently, wouldn’t that look fab too?!
You can find everything in one place over on the Clarity website HERE
Lotsa love, Grace xo
Clarity – The Home of Art, Craft and Well-Being.
Wow that is beautiful!! Thank you Jane!!
Never seen black parchment paper before.
Take care and lots of love Grace,
Trijntje Huppel
Oh wow this is a stunning card. I just love it. Take care. Hugs xxx
Thanks Jane and Grace. Must give this a try, it is stunning.
Didn’t realise the pink mat could be used on a light box. Thanks for the tip. It will make some of the embossing so much easier.
Stay safe.
Wow lovely card Jane and blog Grace
Will have a try at this
Now off to watch the Moto GP then football , more crafting tomorrow
Beautiful card, wonderful inspiration. Thank you. xx
Such a stunning card Jane!
really lovely Jane love the colours
Take Care Keep Safe
love
Kathleen
xx
Such a stunning card love it xxx
Thank you for the tutorial jane xxx
Thank you Jane a really beautiful card I will make this one
Hi Grace, Happy 8th Anniversary Jane, and Wow what a stunning parchment, I love everything about this, it is dramatic, soft and delicate and truly amazing !! Thank you for the tutorial.
Love from Patricia xx
What a stunning card, not tried black parchment yet but have some in my stash so must dig it out. Started off with all good intentions last week, it just needs mounting on backing paper & a card blank. Why do the days fly by so quickly at the moment ?
8 years on the Design Team is a wonderful achievement Jane, I wonder how many samples you have made in that time ?
What a stunning project. I don’t think I even knew there was black parchment. Isn’t the Gladiolus plate fab? Not sure I have the skill to do this but the instructions are so clear that I might have a go once I have that plate! Many thanks xx