
Trial and Error
Hi there! Grace here.
I hope this finds you well!
I’ve been given the daunting task of opening up my Gemini machine and having my first go at Fresh Cut Dies. I’ve been putting this off for about a week now, and I’m not entirely sure why. Maybe the same reason some people are scared of using Twitter?! The ‘unknown’, I suppose.
So… let’s make the unknown KNOWN. I found this brilliant video of our Paul Church (isn’t he wonderful?) demonstrating Fresh Cut Dies, and using some of our best sellers! All of which are available on our USA amazon store and also our general website.
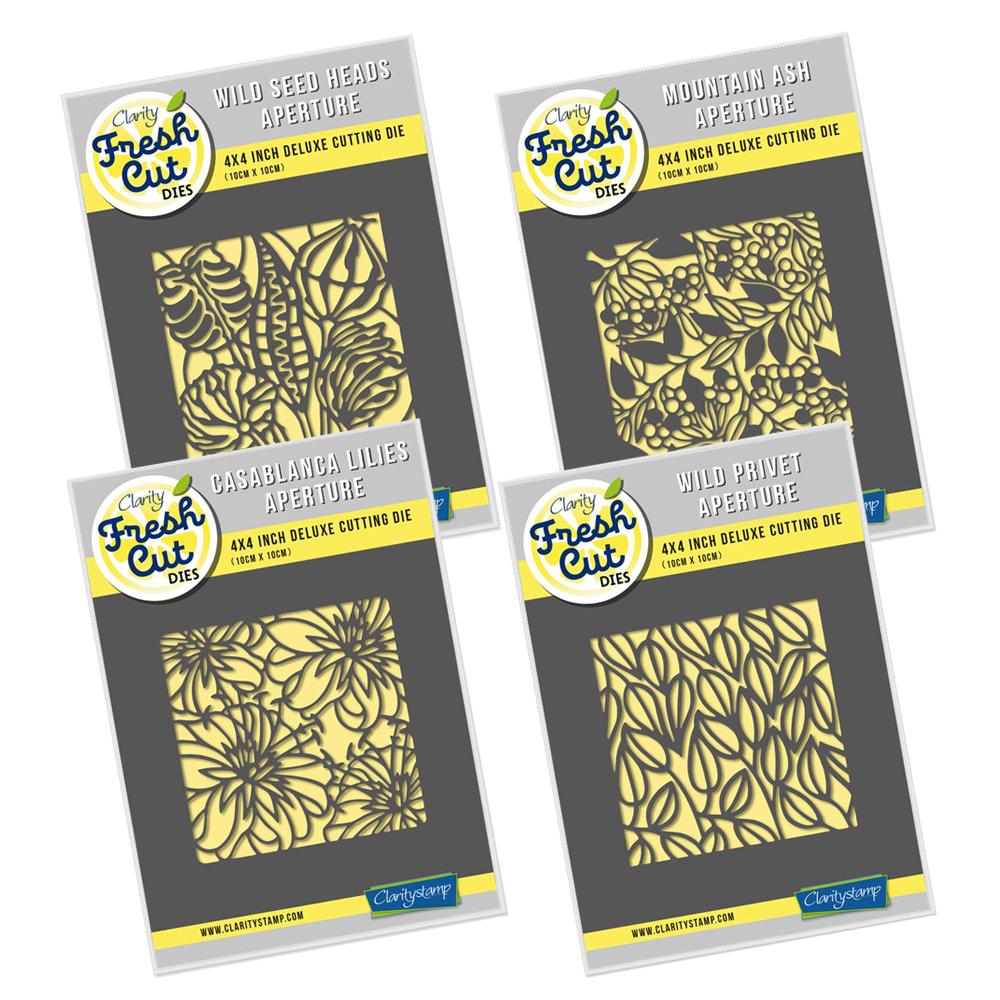
So… from my stash of Clarity goodies, I grabbed the 8 gorgeous Dies that Paul mentioned.
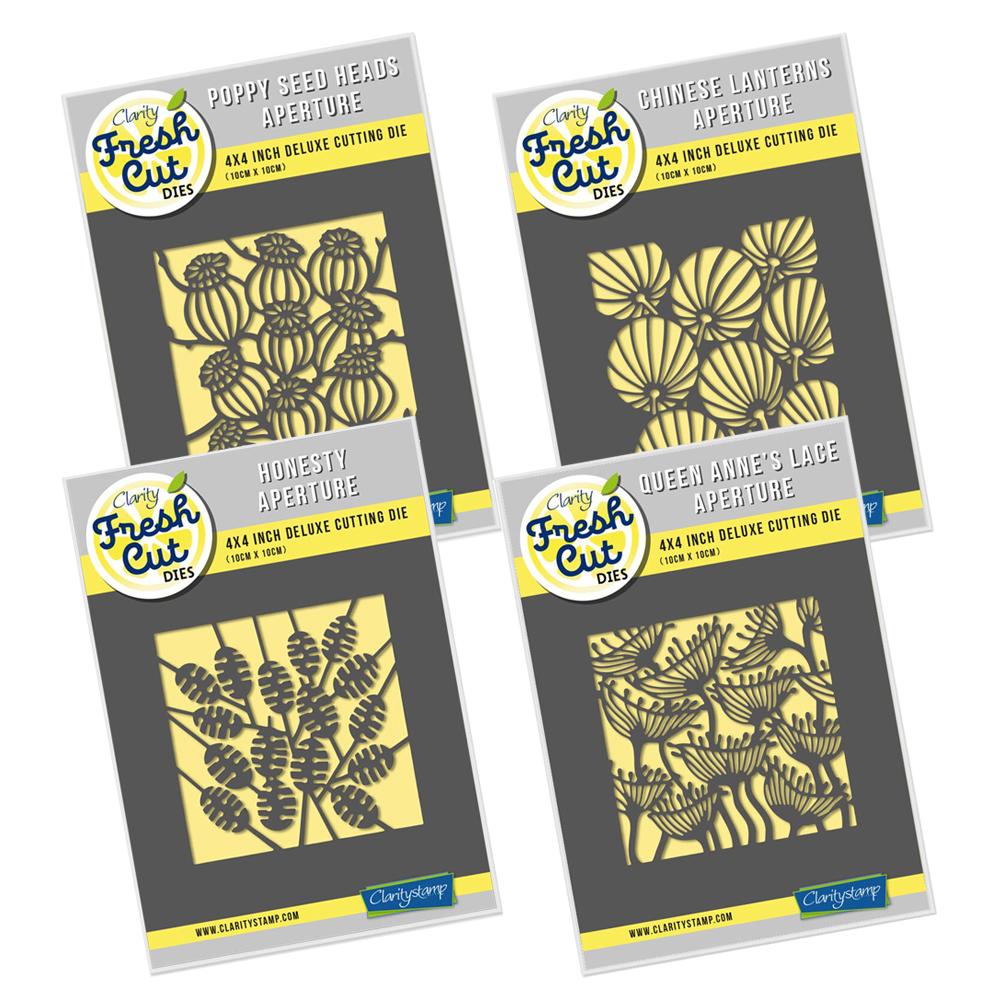
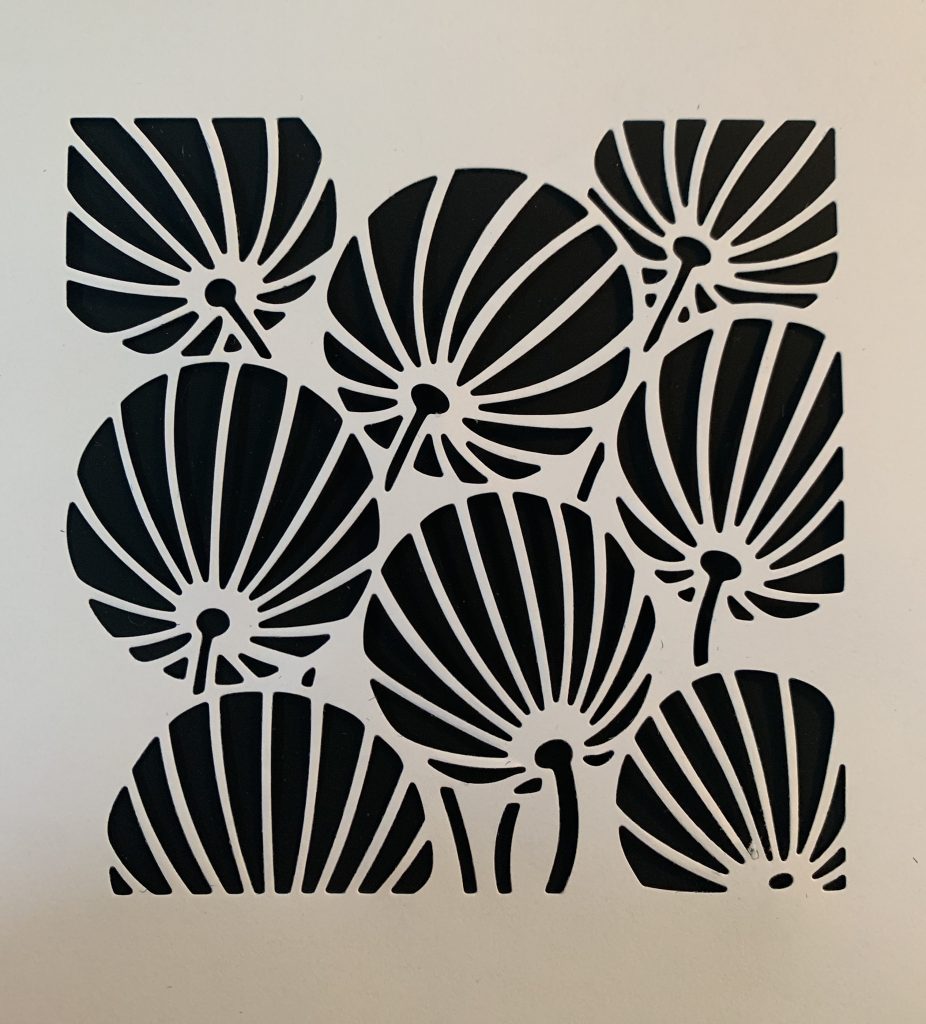
And picked the Chinese Lanterns Aperture Die and had a play.
If you’ve done this before, you’ll know. I googled the ‘sandwich’ (the order in which your plates go together) and copied exactly what the internet told me. You can imagine my horror when an almighty cracking sound came from my machine on the first try and the lovely aperture was permanently engraved onto one of my clear plastic cutting plates. Oops! Must have done something wrong.
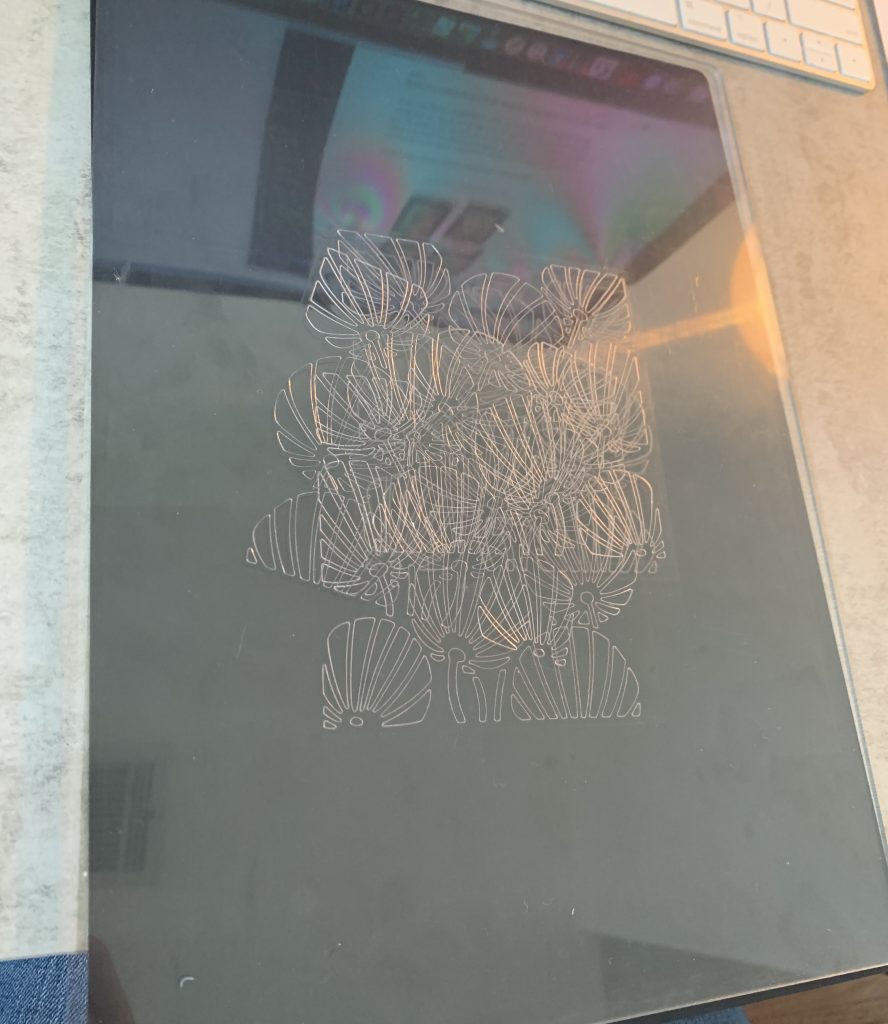
Panic! So I called Paul Church. He assured me that this is normal, and after a few tries it’ll all blend together and it won’t be so clearly etched. And he mentioned the cracking sound. PHEW! I thought I’d broken it. Trial and error. That’s the key, isn’t it?
He told me a funny story about how he went on live television with my Mum when they first launched Fresh Cut Dies. See, Paul has been using dies for years, and my Mum was rather new to them. She introduced him as the ‘Fresh Cut Die Pro’ and he, on live television, promptly put his plates in the wrong order and cut his aperture into the magnetic shim… essentially making himself a fridge magnet instead of a card. Very funny!
It certainly made me feel better mid-experiment with these dies, without any prior experience or knowledge.
He also told me to add a poly bag in my sandwich, and lose the metal cutting plate (top tips).
I had a try with copy paper first…
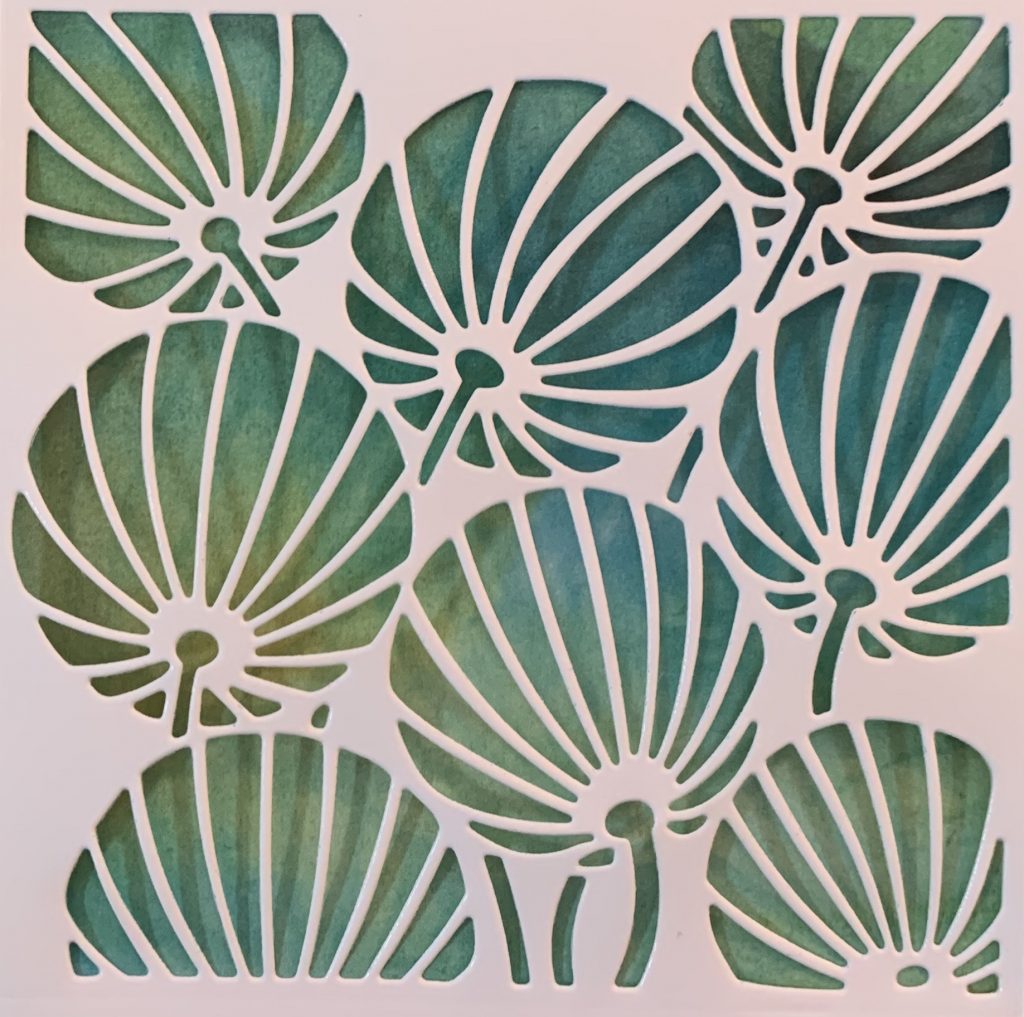
So then I tried it on some of our lovely Clarity designer paper, Northern lights.
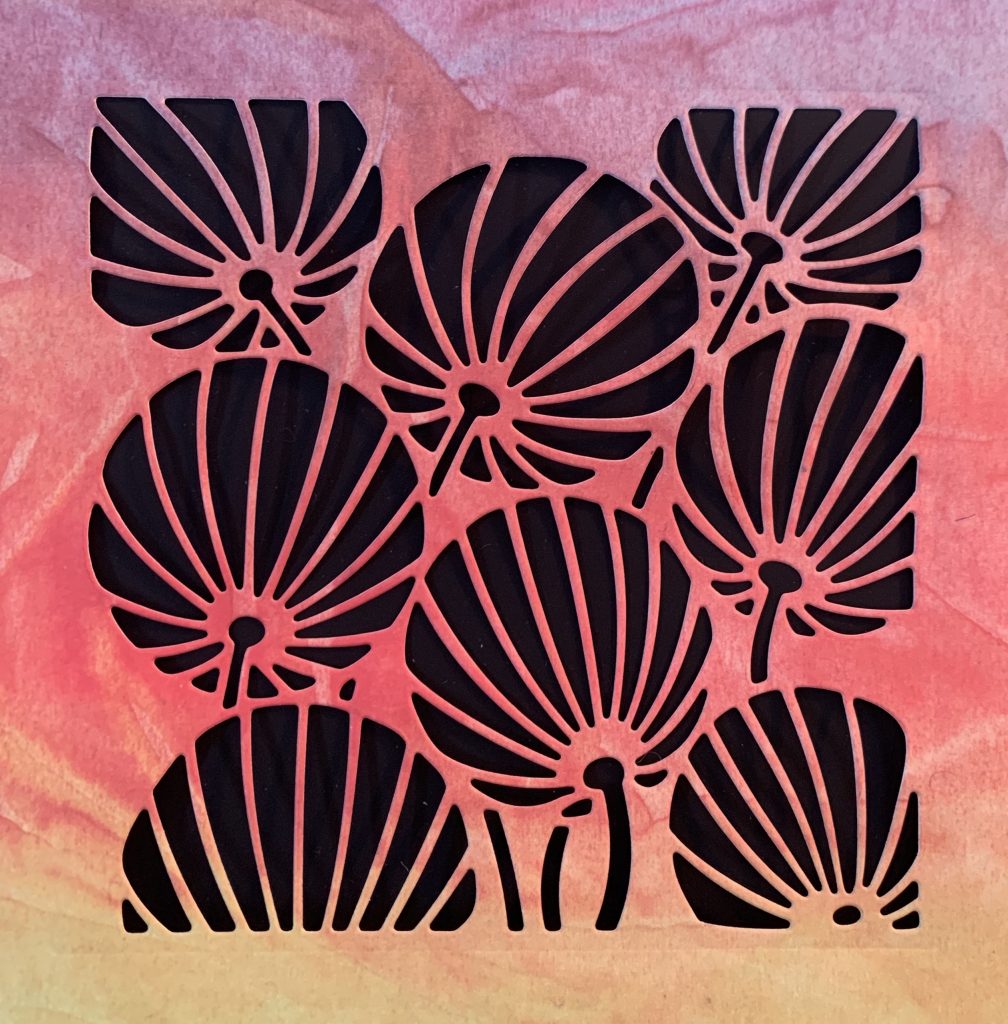
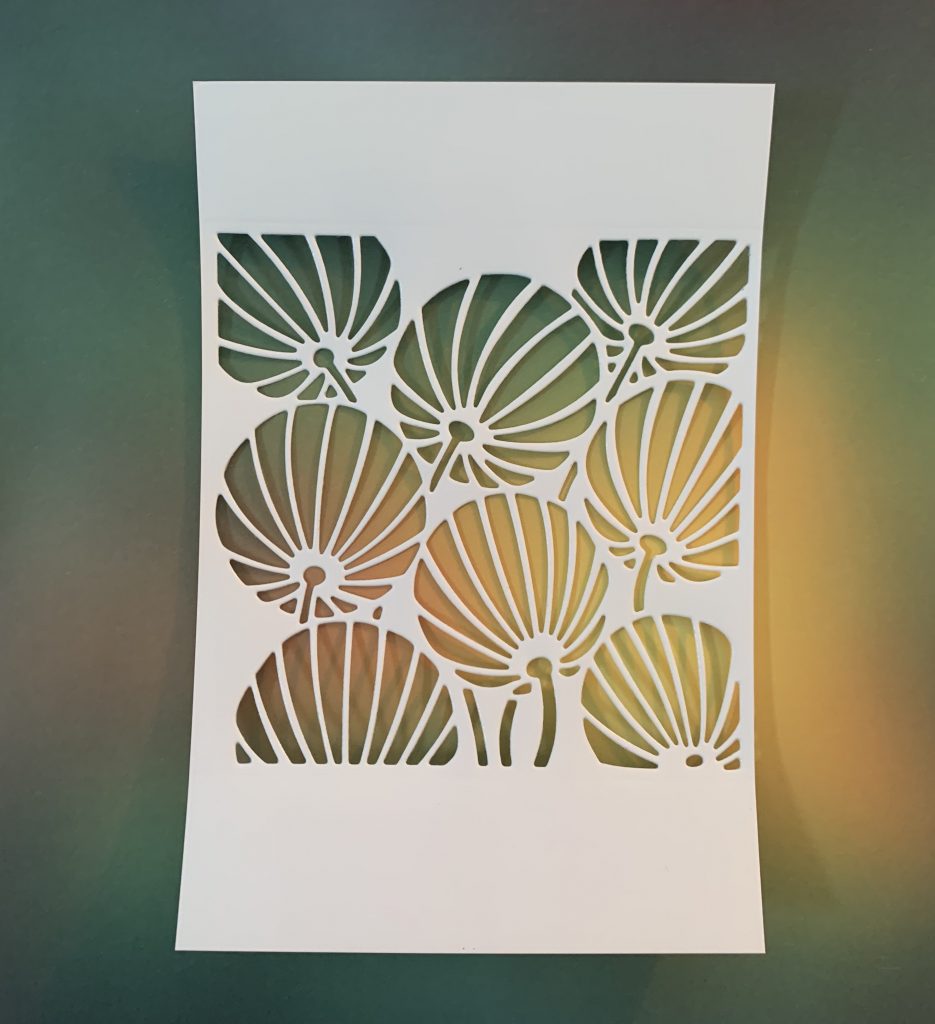
And then I thought I’d have a go on some thicker white card stock…
Simple really. But you don’t know that until you try it!
So there you have it! Something I was sure I wouldn’t be able to do, I figured out (with the help of Paul) quite quickly!
Now, I got a tad overly confident and launched myself towards ’embossing’. Let’s just say… We must learn to walk before we can run!
I’ll give my Mum a ring for top tips on embossing. Because the online sandwich recipe did not give me the results I’ve seen her achieve! I’m sure you can relate to that! 🙂
If you’ve always fancied trying this, I absolutely recommend it. What an easy way to achieve something effective and impressive. Christmas cards sorted!
Watch this space. I’m just getting started! Any top tips or ideas that you have are more than welcome! We are all learning together.
Lotsa Love, Grace xoxo
Clarity – The Home of Art, Craft and Well-being.
Ha ha Grace, I remember my reaction to ‘that crack’ too, your heart just sinks. Here I am tho’ 20 years down the road and still learning….and brave enough to try things (altho’ not yet signed up to ‘The Twitter’ lol! Good luck on your die cutting journey….main thing is to have fun and try not to stress.
Congratulations! It’s scary trying something new, especially when you are expected to share with the entire world. The Clarity dies are very well made and are different from anything else out there.
Would never have thought to use copy paper. I would have assumed it was too fragile to die cut detailed dies. I’m going to try that. It will be nice to experiment without wasting any of my card stock or even worse my precious Clarity papers (which are so thick they could almost be called card).
Hi there, If you are cutting the double sided sticky sheets with a die, I recommend putting the thin metal shim in the sandwich as well because it needs that wee bit of extra pressure to get through all the layers. It is also worth putting low tack tape round the edges of it as it is quite sharp! Those are two of the tips I got from others on the FB pages when the die didn’t cut right through. I never need it at any other time with Clarity dies. They cut perfectly every time. I think it’s just the fact the double sided sheets are sticky! Anyway, have lots of fun. Hx
.
Hi Grace, well done! everyday is a learning day. Don’t forget to turn/rotate the plates or you could end up with a bowed plate – if your not sure what I’m on about check with Paul as he probably would explain it better. Take care.
I completely get where you’re coming from with the crack! After finding Groovi, my Big Shot lay abandoned and unused for over a year as I focused on the embossing, picot cutting. Then, after buying the picot rectangles in last November’s Gray Friday sale (they were cheaper separately at that time than in the usual bundle), I cranked the machine back into life. I’ve been die cutting for years before the break, but I’d seemingly forgotten about the crack and it scared the bleep outta me. Grin! xoxo
I cut through a few of those magnetic shims until I stopped following the Gemini order of sandwich and went back to the Sizzix order of die face down. Just couldn’t see the sense of putting dies where I couldn’t see where they were placed. Sandwich rules were meant to be “interpreted”, like everything else. Keep playing with the embossing. I find that waving the paper through a fine mist of water really helps to make the embossing work best.
To emboss with your dies without cutting them out try this:
Base plate
Rubber embossing mat (should come with your machne)
Paper or card
Die, cutting side down
Shim
Top cutting plate
You should get a nice embossed finish but if not, experiment with what you are using above the die as all machines are different.
To cut and emboss cut your die as usual but do not remove from the plates. I turn mine over then remove the base plate, add the rubber embossing mat, replace the base plate, turn the whole lot over again, remove the opaque plate, replace the top plate and put through the machine again.
When you take it all apart you should have a beautiful die cut piece with bevelled embossed edges.
Hope this works for you Grace. Took me some time to learn but once you’ve got it it’s easy peasy.
To take care of your base plates remember to turn them every time so that you don’t get curvy bent plates, this will extend their life, as will using a document sleeve or some of the packaging which comes with the Groovi plates under your cutting material as this will prevent any coloured bits getting into the marks on your plate. Especially important when cutting black card.
Happy crafting. 🍒
Enjoy your die cutting journey, don’t forget you can snip bits out of the design as well to make a completely different look. Best of all is trapping the scrap to make twofers !! Your Mom loves doing those, I am sure there is a you tube video for that as well x
Well done Grace! I remember I had a gel press for about a year before I took it out of the package to have a play – fear of failure can really stop you from having a go and having fun. I love using my Freshcut Dies with gel press prints that didn’t work out the way I wanted them to. Somehow they look super-cool when cut out, even if they are relegated to the reject pile.
I love die cutting! It was the Clarity Fresh cut dies that really got me into it, so I thoroughly recommend them. so many good tips in the comments above. The other advice I was given was to put you die on the plates at a slight angle – that really reduces the cracking sound from the pressure hitting the straight edge of the die. enjoy! 🙂