Clarity’s Blog Tutorial: How To Put Grid Patterns In Irregular Shapes
Hello hello! Grace here.
I hope you’re enjoying your weekend and feeling crafty!
We’re joined by the fantastic Josie Davidson today! We love us some Josie! She’s going to share a project with us that looks at how to put grid patterns in irregular shapes and how to cut out the backing for octagonal pieces of work. Useful!
I’ll hand you right over to the pro…

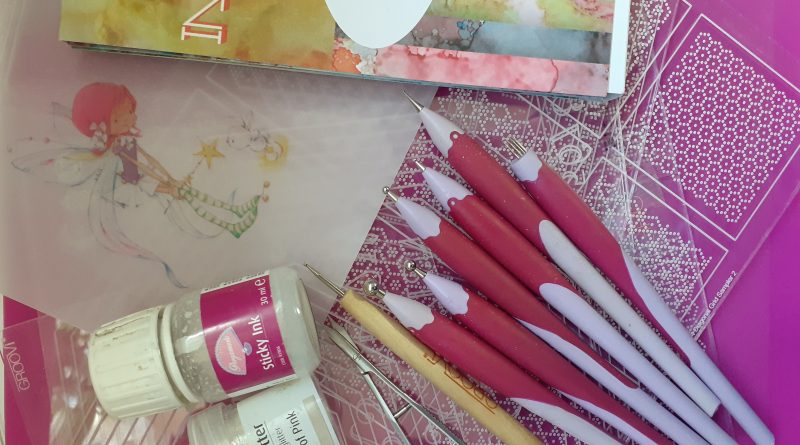
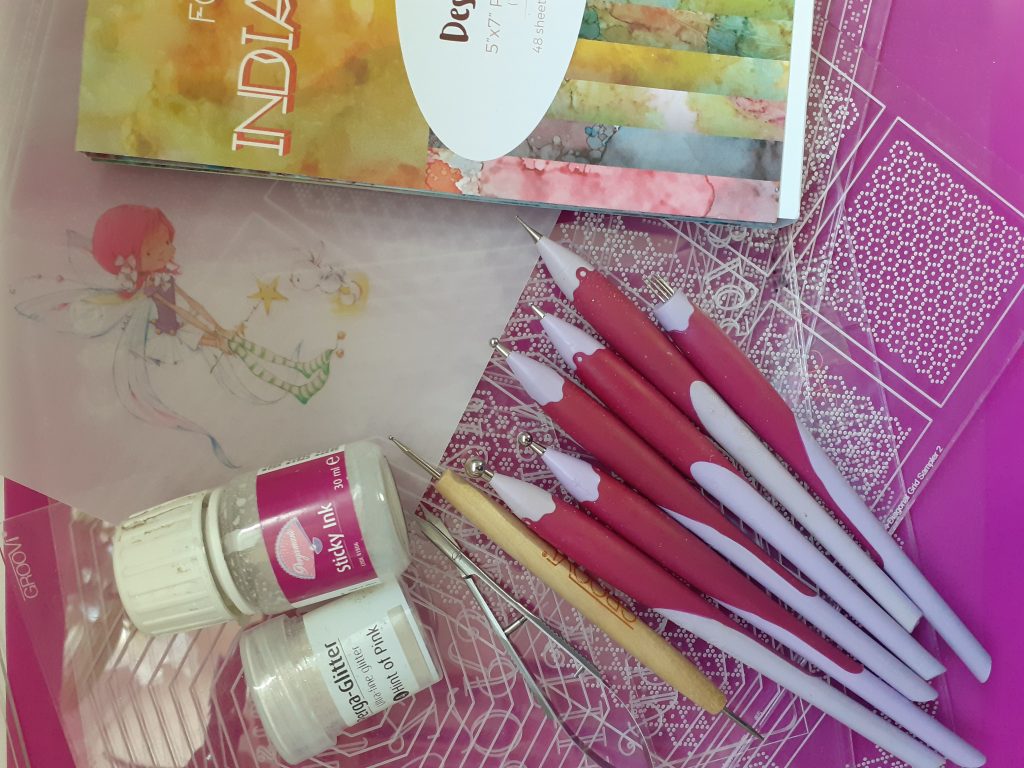
Ingredients
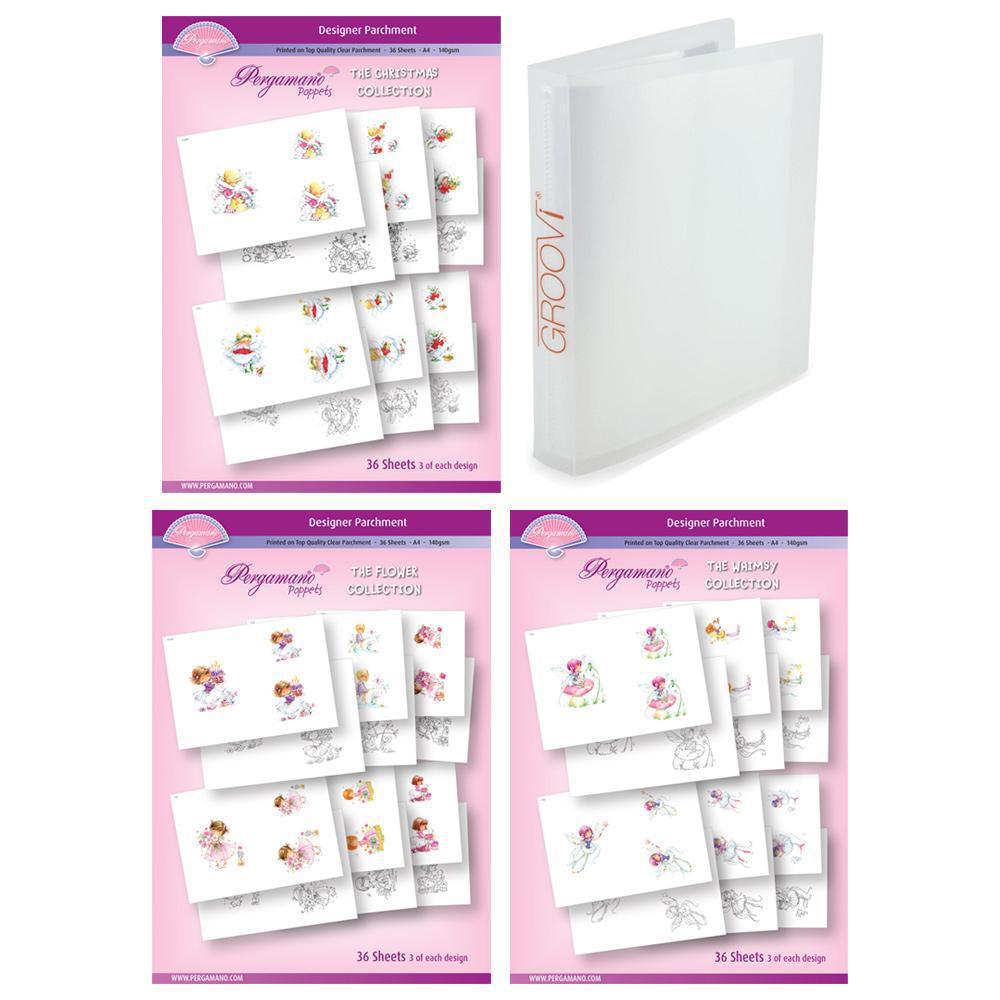
Whimsy Parchment Poppet – Pippin (PER-PA-70391-A4)
A4 Plain Parchment (GRO-AC-40024-XX)
Diagonal Grid Sampler 2 (GRO-GG-41793-24)
Octagon Extension Plate (GRO-PA-40552-15)
Nested Octagons (GRO-PA-40119-03)
A5 Grid Plate Mate (GRO-CO-41706-08)
A4 Plate Mate (GRO-MA-41768-21) OR (GRO-WO-40875-21)
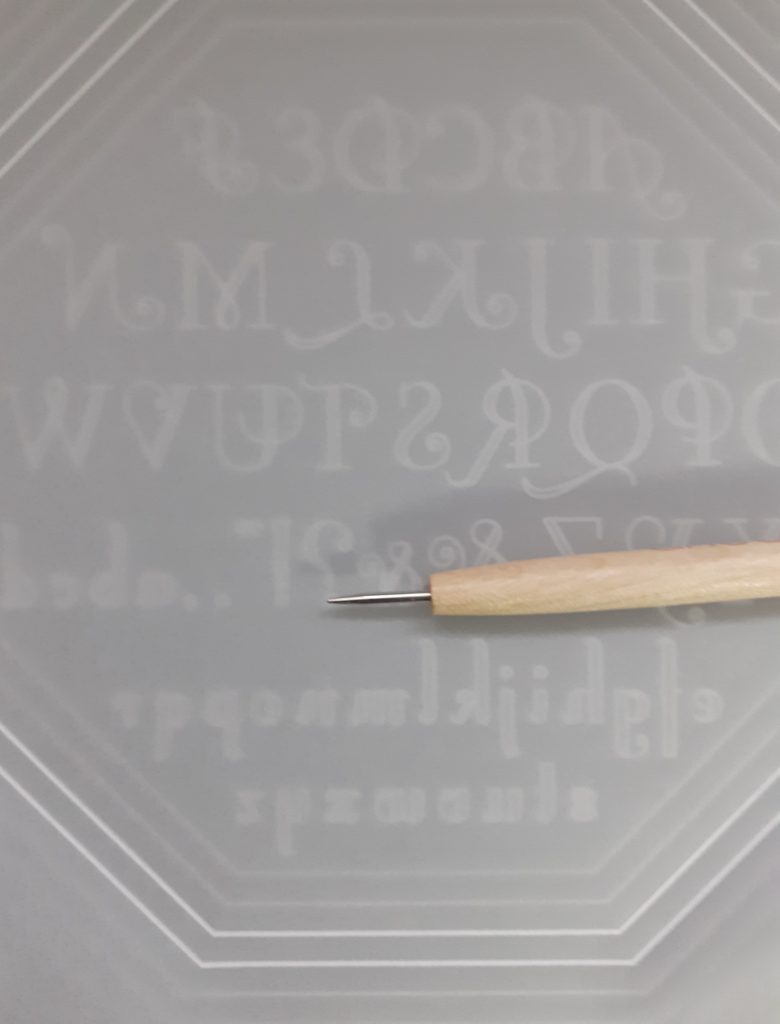
Groovi Tool 1 & 2 (GRO-AC-40026-XX)
Pergamano Embossing tools 6mm, 4.5mm, 3mm and 1.5mm
Pergamano Semi-Circle Tool (PER-TO-70017-XX)
Pergamano 1 Needle Fine Tool (PER-TO-70035-XX)
Pergamano 1 Bold Tool (PER-TO-70028-XX)
2 Needle Bold Tool (PER-TO-70279-XX)
Pergamano Scissors or Pergacutters
Pergamano Embossing Mat (PER-AC-70075-XX)
Thick Perforating Mat (GRO-AC-40603-A4)
Thin Perforating Mat/Picot Foam (GRO-AC-40625-XX)
Mapping Pen, Sticky Ink & Pergamano Glitter (PER-AC-70305-XX)
Indian Summer Paper (ACC-CA-30524-88)
Indian Summer Card (ACC-CA-30554-57)
12 Cream Multi Colour Brads (PER-AC-70270-XX)
8×8 Card Blank (ACC-CA-30620-88)
Double Sided Tape
Foam Tape
Regular Scissors
Tumble Dryer Sheet
Method
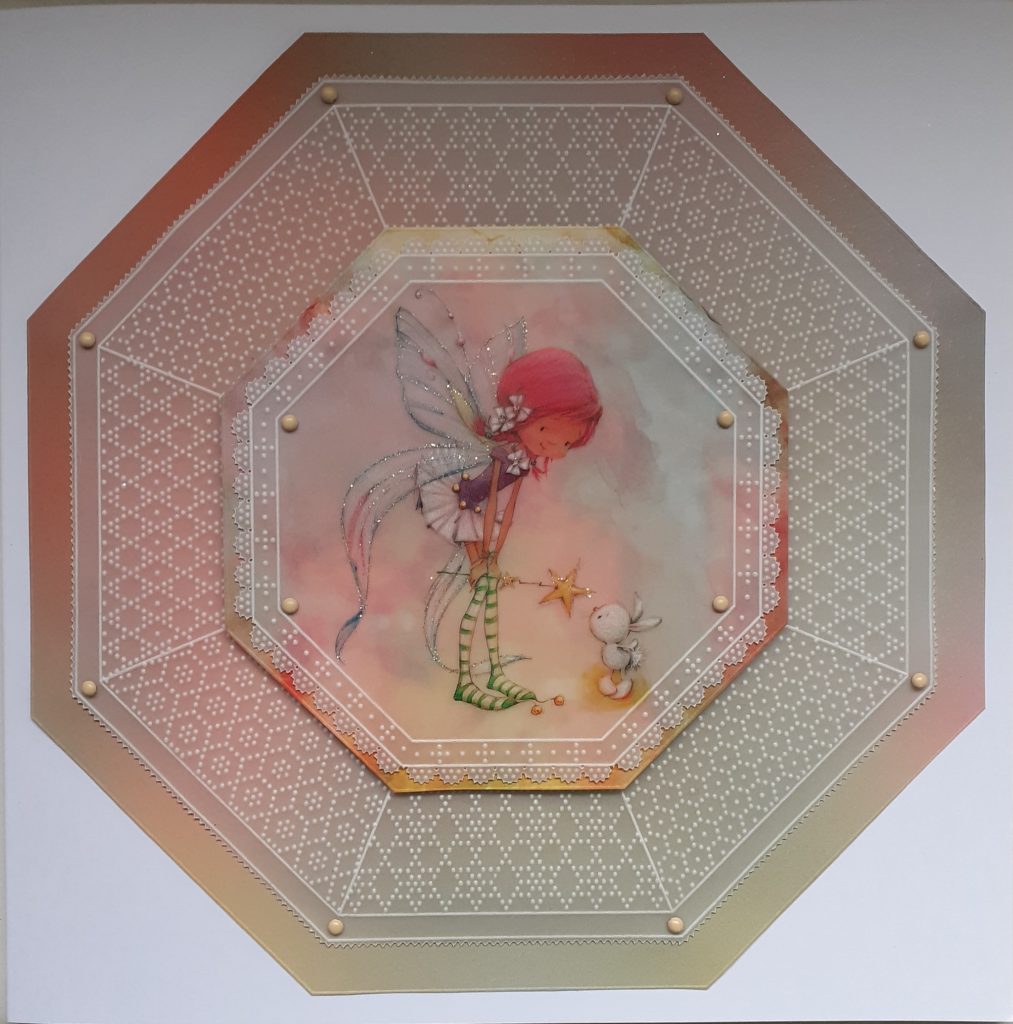
TOPPER
Step 1. Using the medium-sized parchment poppet and the Groovi number 1 tool, place her (shiny side down) onto the A5sq octagon plate. Emboss lines 4 and 5 from the outer edge.
Step 2. Using the Groovi number 2 tool and working between the double lines, emboss a pattern from the Plate Mate for A5sq Grids. You will find it easier if you emboss each of the sides separately as you can centre your pattern.
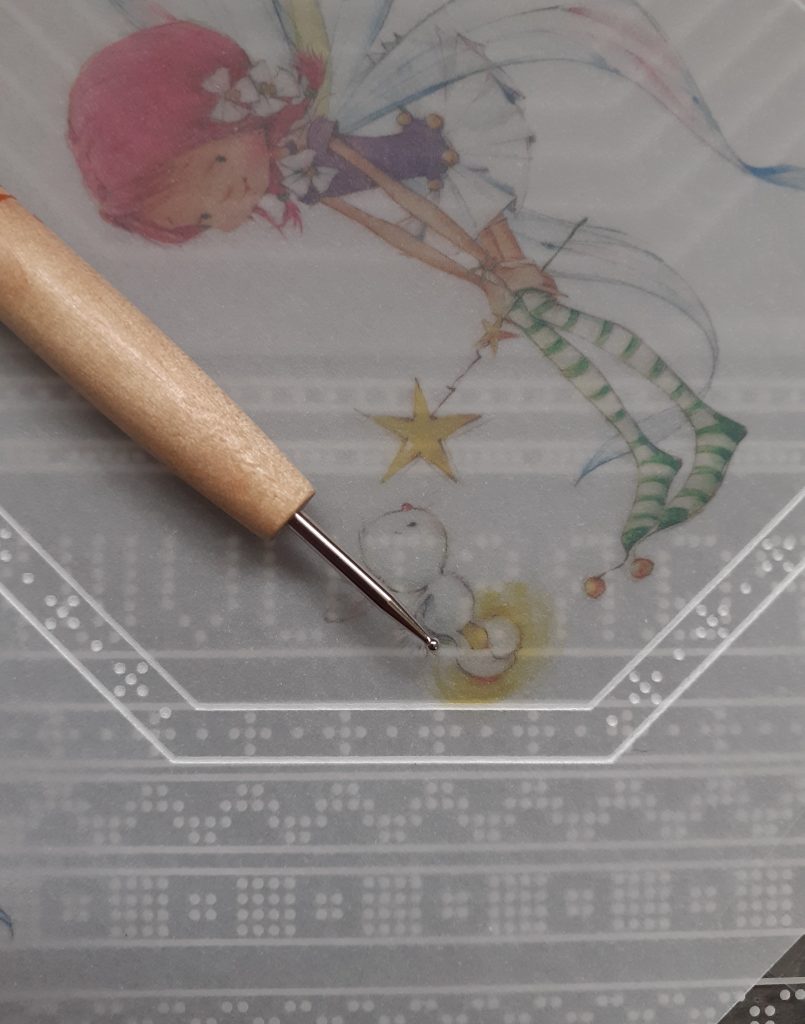
Step 3. Emboss the poppet from the back of the work. Perforate along each edge of the octagon with the semi-circle tool, using your thin foam mat underneath.
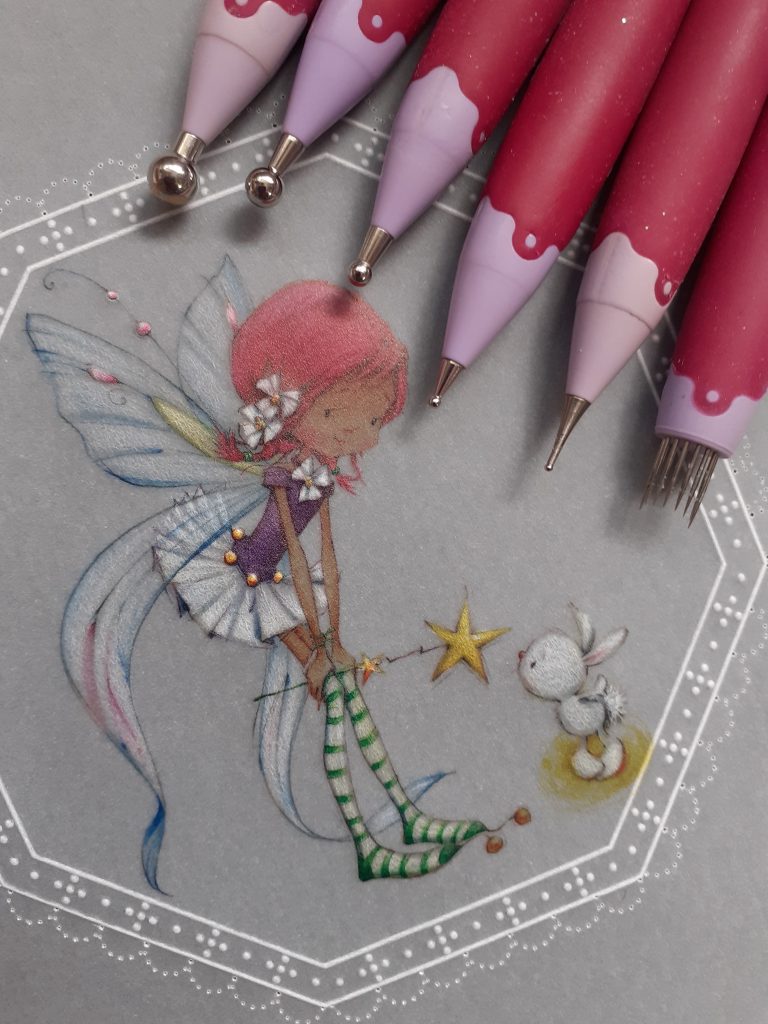
Step 4. Emboss part of the flower design from the sampler plate into each of the semi-circle perforations.
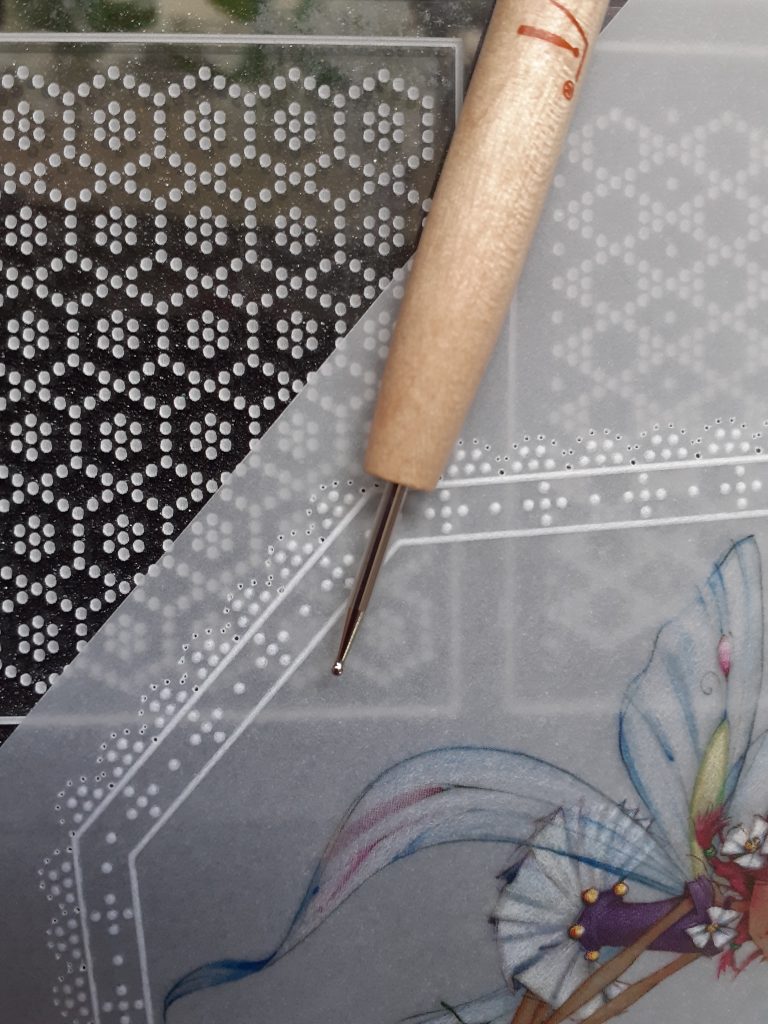
Step 5. Working on a thick foam mat, reperforate all of the semi-circle perforations with the fine single needle tool. Picot cut the perforations.
Put your topper to one side for later whilst you work on the base of your card.
BASE OF CARD
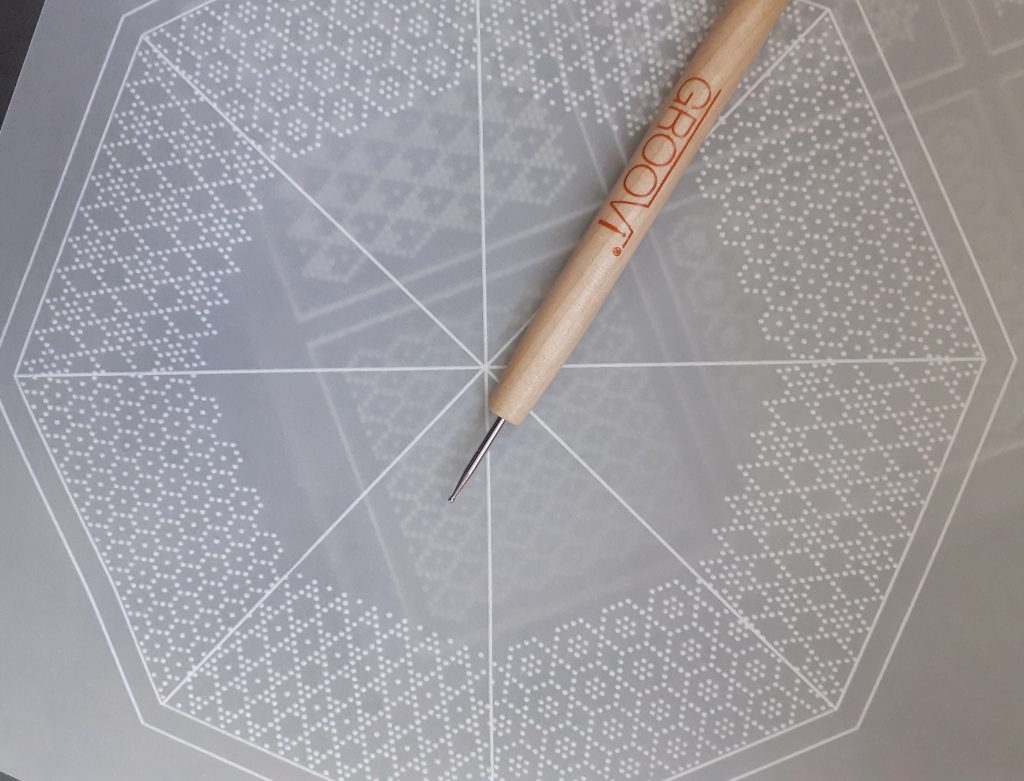
Step 6. Using A4 plain parchment and the number 1 Groovi tool, emboss lines 4 and 5 from the Octagonal extensions plate.
Step 7. Use one of the long lines from the A5 grid plate mate to emboss lines (with the number 1 Groovi tool). Go from ‘corner’ to ‘corner’ of your octagon. This will create 8 triangular segments.
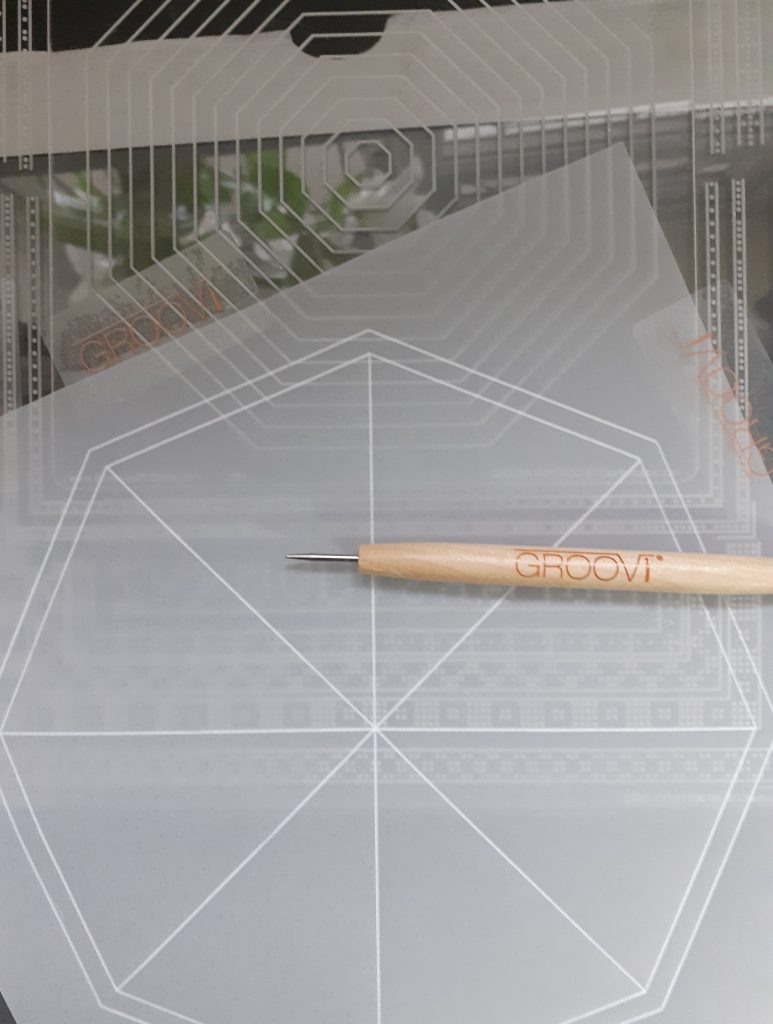
Step 8. We will now add grid designs from the grid sampler plate into each triangular segment. Choose the pattern you wish to put into the first segment. Line it up along the inside of line 5 (traced from the octagon plate), centralising it. Emboss the design using the number 2 Groovi tool but you don’t need to fill all of the area. Just emboss far enough down to where your topper will go over the edge of the design.
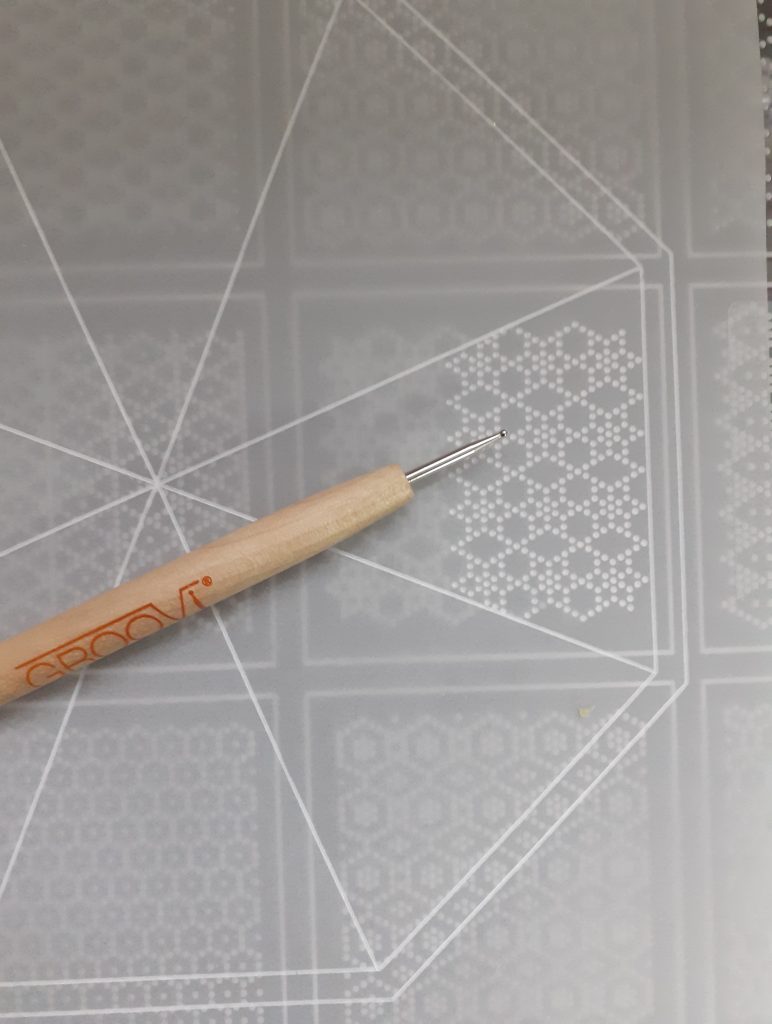
Step 9. You will see that you have a gap at either side of the design at the end of the triangle. Reposition your parchment onto the design on the plate. You will find the dots you have made will fit into the dots in the plate and emboss the pattern on both sides.
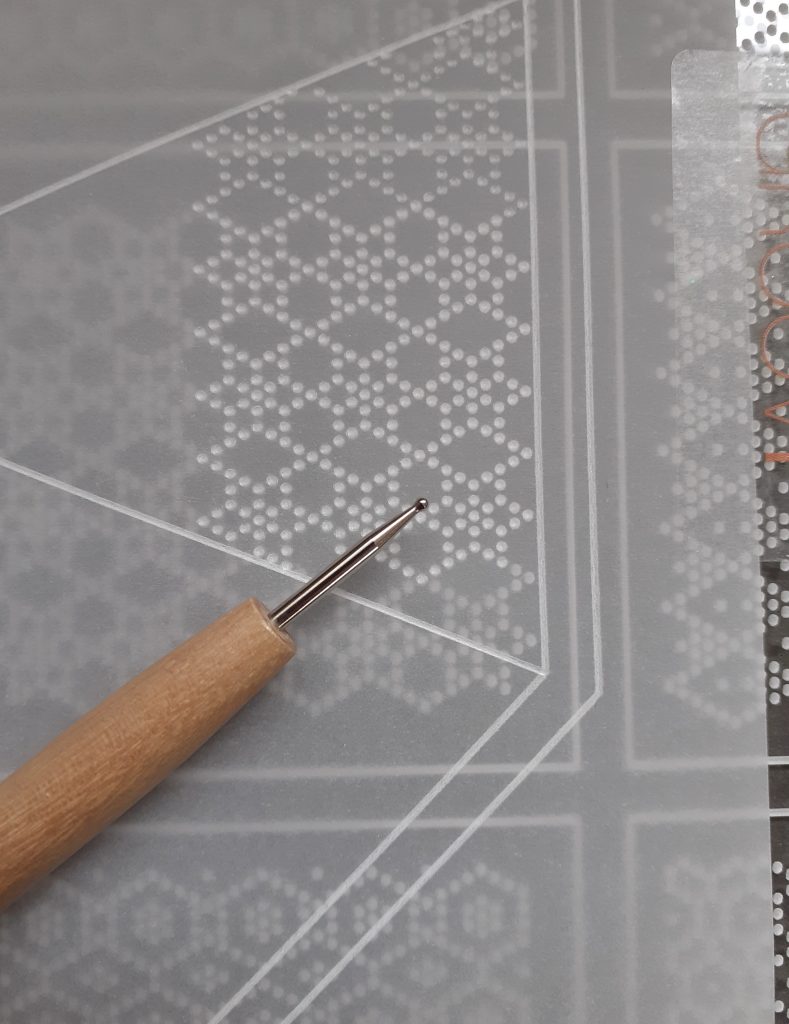
Step 10. Repeat the instructions in step 9 in the opposite triangle. Work the rest of the triangles in the same way until you have all 8 triangles filled with grid patterns.
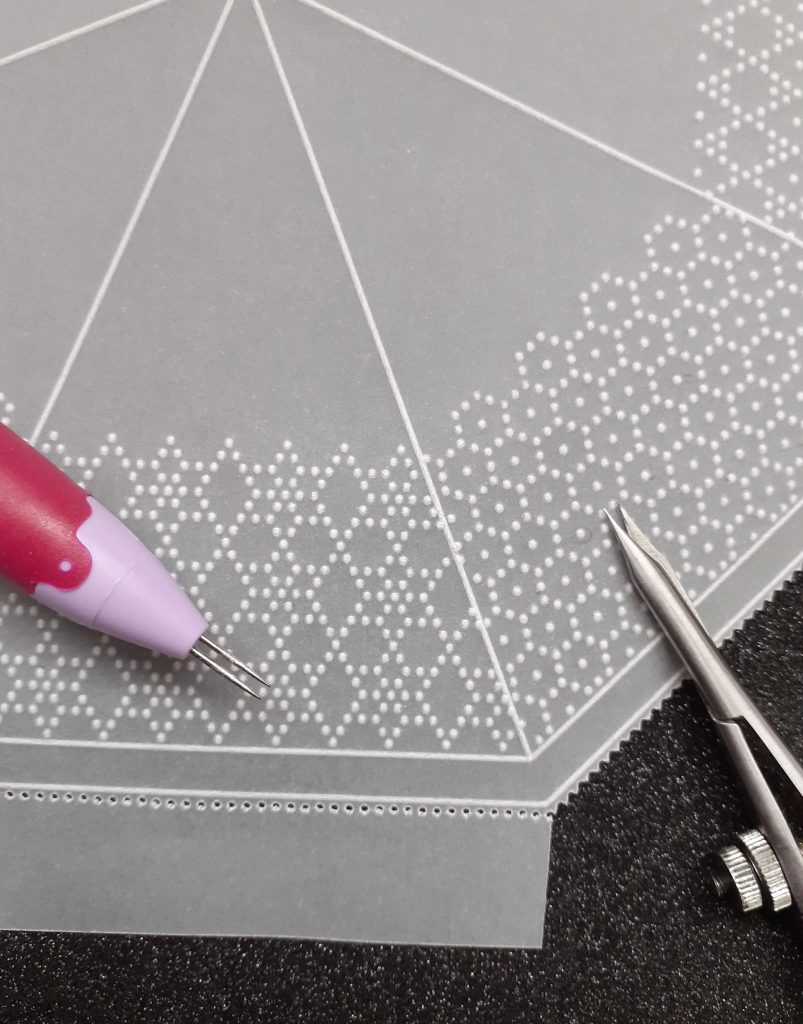
Step 11. Perforate around the outline of the octagon with the bold two needle tool and picot cut.
Step 12. We will now make the shaped backing for each piece.
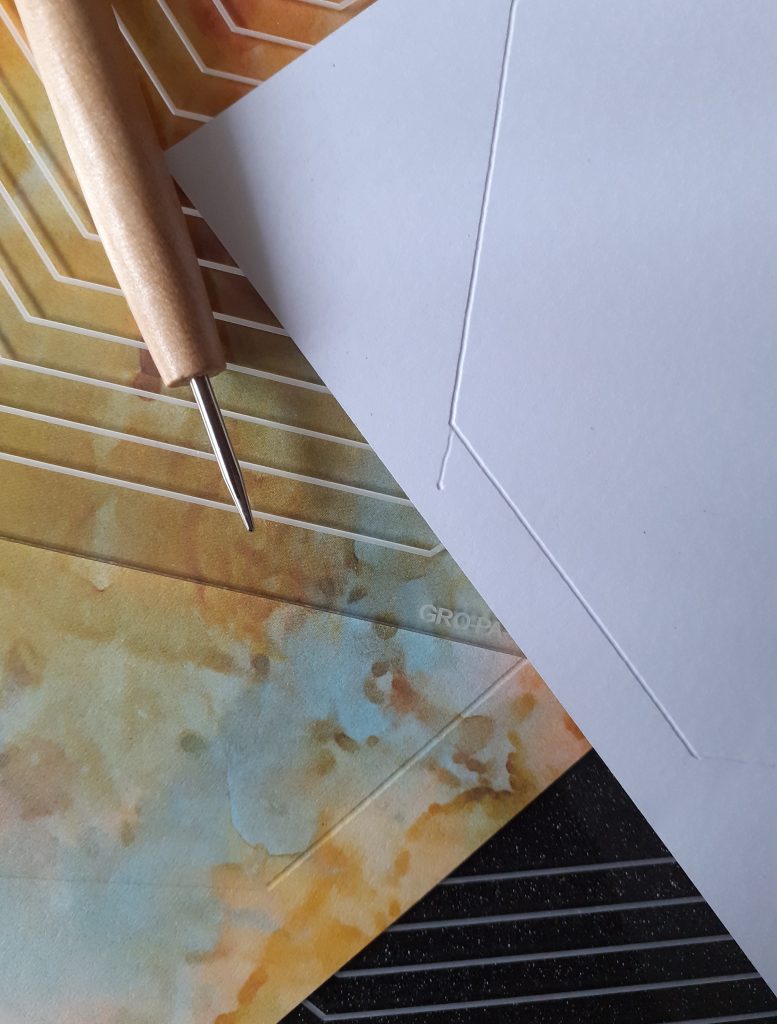
Using the Indian Summer paper, place it onto the extended Octagon plate with the side you want behind your work facing the plate. Wipe with a tumble dryer sheet and emboss the 2nd line from the outside edge with the No Groovi tool. If you have a light panel then you will be able to see the lines through the paper, if you don’t have one then look under the paper where the line is and then you can find it with your tool. Once you are in the Groove you will find it much easier to emboss the line along each side. Cut out around the embossed lines with regular scissors.
Step 13. Repeat the above instructions using the Indian Summer card and nested octagons plate. You will need to emboss the 3rd line from the outer edge of the plate.
You can add glitter to your poppet if you wish using sticky ink and the mapping pen.
Matt your finished pieces onto the backing paper/card using brads. I used 8 for the gridwork piece and 4 for the poppet.
I find it easier to put my work onto a thick foam mat, centralise the topper on the backing paper and make a hole using a bold single needle tool where I want my brad. Then I push the brad through the hole and open the wings at the back of it. The finished picture of the card shows where my brads have been put.
Use double sided tape to attach the gridwork piece to your card blank. I used foam tape to attach the topper to the centre of my work to give it a little height. And you’re all done!
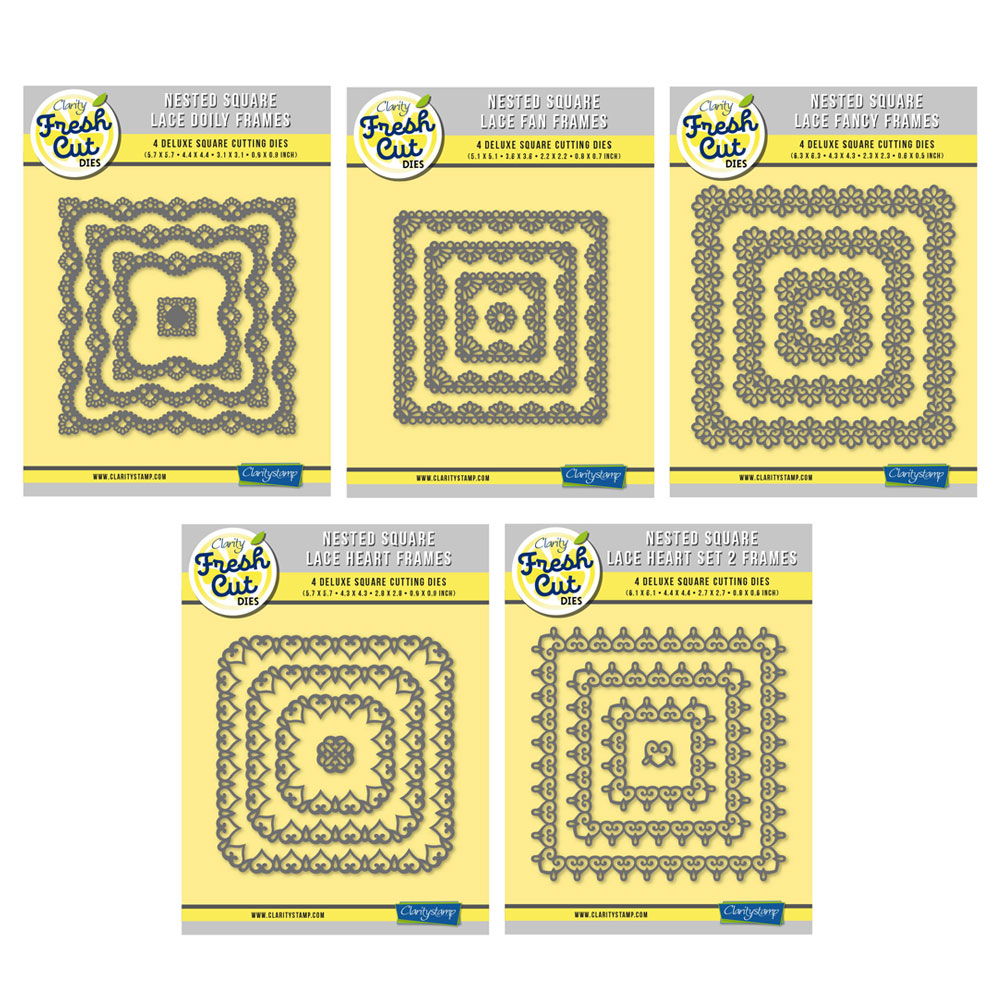
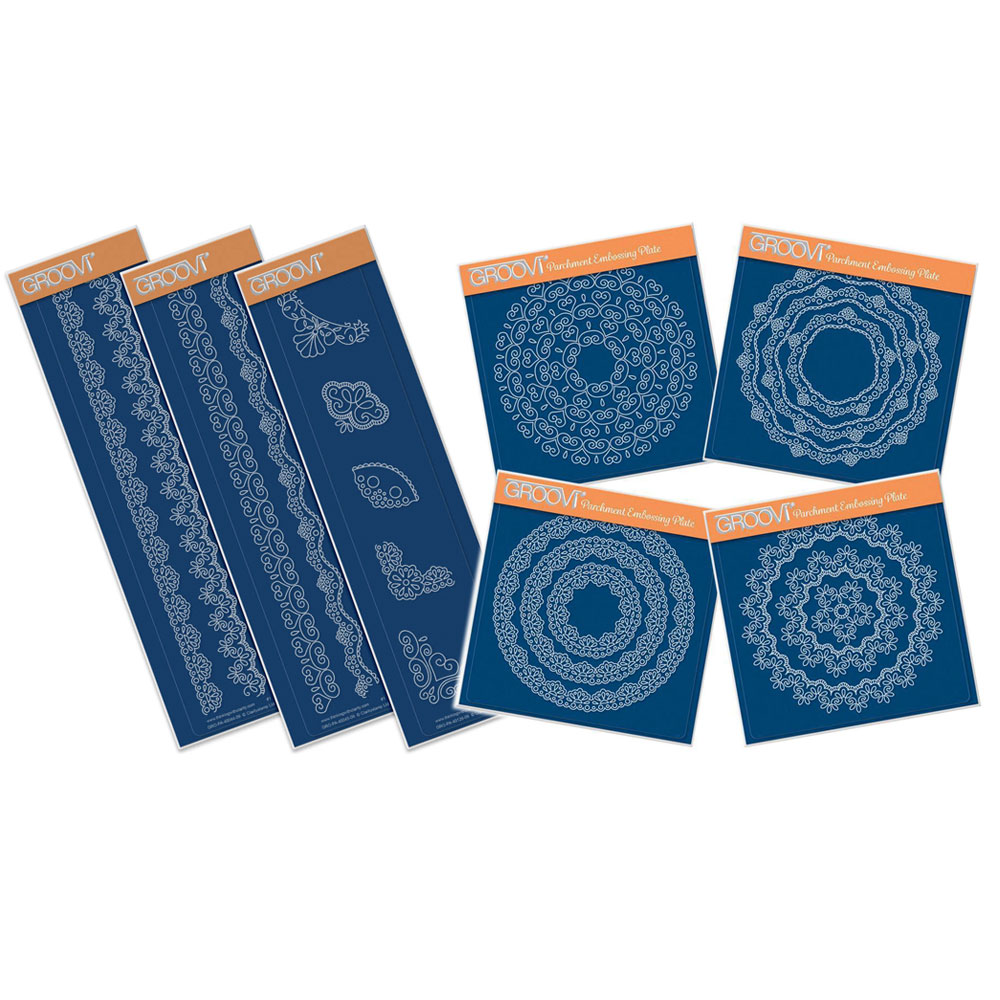
Did you manage to catch Paul on Create and Craft last Wednesday & Thursday? He was also using the Pergamano Parchment Poppets in conjunction with the One Day Special – the Fresh Cut Nested Square Lace Frames with the designs taken from the original Nested Circle Lace Groovi plates
Everything that Josie has used in her project can be found over on the Clarity website HERE
So what does the week ahead look like at Clarity Towers?
Monday, May 9th: SHAC Shack with Barb – Live at 10am on Facebook & YouTube
Tuesday, May 10th: Groovi Tuesday with Paul – Live at 10am on Facebook & YouTube
Thursday, May 12th: SHAC Shack with Barb – Live at 10am on Facebook & YouTube
Thursday, May 12th: The Pergamano Show with Paul on Create and Craft at 11am & 3pm
Thursday, May 12th: Crafting with Clarity with Paul on Create and Craft at 5pm
Lotsa love, Grace & Josie xoxo
Clarity – The Home of Art, Craft and Well-Being.
That is an absolutely stunning card, Josie, Thank you Josie and Grace.
Love this. Beautiful card Josie.
Another great project from Josie & yes I have the necessary ingredients so no excuse not to have a go.
Will get everything ready for this evening when I have caught up on a few other chores that really need doing first. Perhaps that will make me do them all quicker !!
Thanks Grace for putting this blog together each week – have a good one & I will check in next Saturday.
Already had the Groovi plates. The dies arrived yesterday and I spent the afternoon cutting and now have a beautiful stash of coloured and white borders handy for future use.
Great project Josie, thank you.
Stay safe all.
A beautiful and achievable project, Josie. I will be doing this one as soon as I find where my poppets have hidden themselves. I might start by doing things backwards, doing the backing sections first. xxx Maggie Craner. (Silvercrafter)