Clarity’s Blog Tutorial: How To Get Groovi With Ginkgos!
Hello hello! Grace here.
I hope this finds you happy, safe and enjoying your weekend! Happy Sunday.
Today we are joined by the fantastically talented and equally wonderful Glynis Whitehead and she is showcasing a brand new plate Mum will be launching on Create and Craft at 3pm-5pm later today! Let’s jump right in.

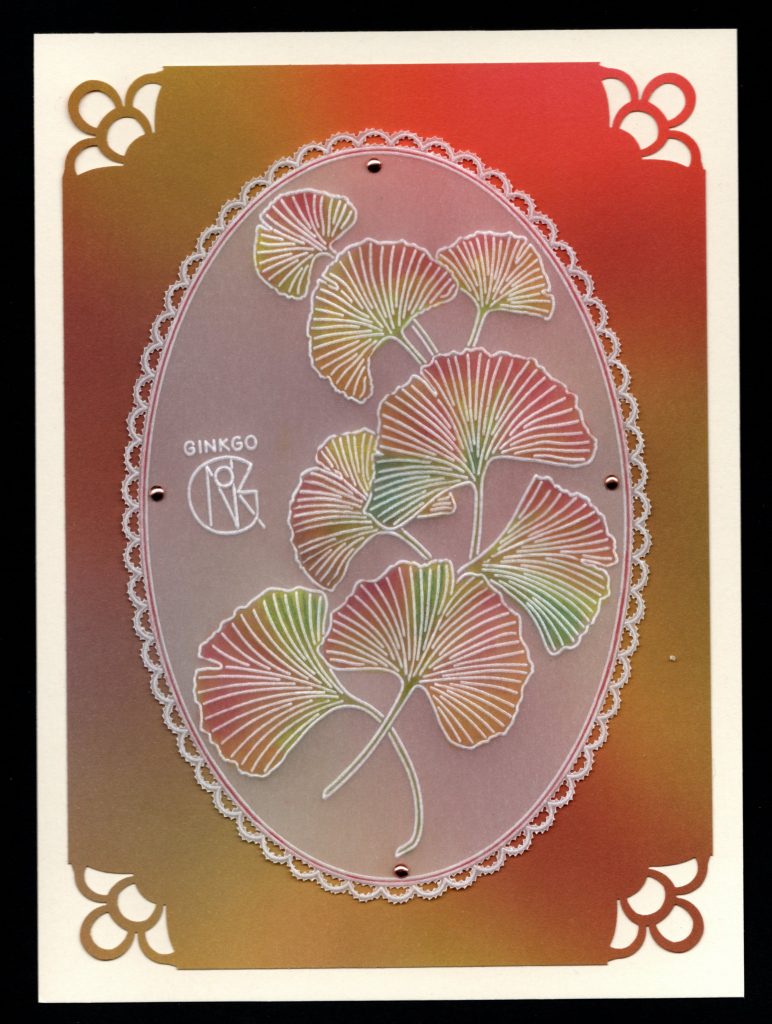
Ginkgo Leaves
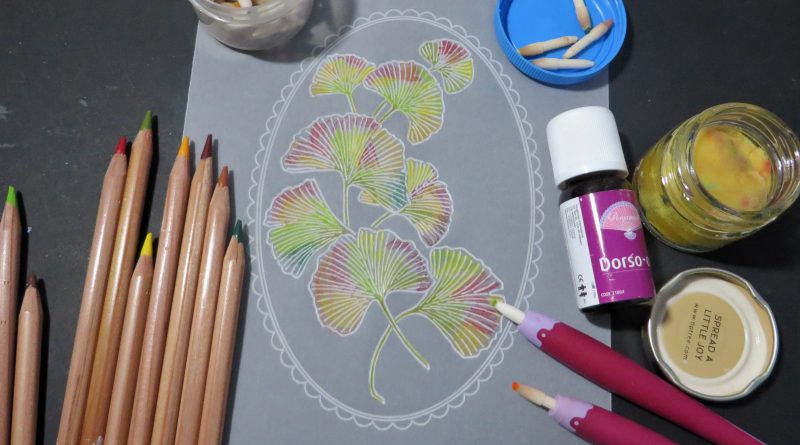
I thought I would use some Perga Liner Pencils to put some autumn colours into these lovely ginkgo leaves that Barbara showed us in the Shac-Shack a while ago. I also wanted to show you how to get delicate picot cut scallops around your work.
Ingredients
Barbara’s Ginkgo Leaves – A6 Rectangle Plate (GRO-TR-41589-02)
Nested Scalloped Oval – A5 Rectangle Plate (GRO-PA-40586)
Calligraphy Alphabet Plate Mate for A5 Rectangle Plates (GRO-MA-40517-08)
Groovi No1 & No2 Tool (GRO-AC-40026-XX)
Groovi Tabs (GRO-AC-40437-XX)
Groovi Guard (GRO-AC-40345-XX)
Perga Liner Pencils (PER-CO-70063-XX)
Dorso Oil (PER-CO-70066-XX)
Blending Nibs (PER-AC-70299-XX)
Spot on Sponges (ACC-MC-30537-XX)
Pergamano 2-Needle Perforating Tool – FINE (PER-TO-70037-XX)
12×12 Black Super Foam (GRO-AC-41757-XX)
Pergamano Exclusive Pointed Scissors (PER-TO-70040-XX)
Pergamano Ring Lock Scissors (PER-TO-70041-XX)
Pergacutters – Curved (PER-TO-70042-XX)
Northern Lights Designer Paper (ACC-CA-30443-88)
Method
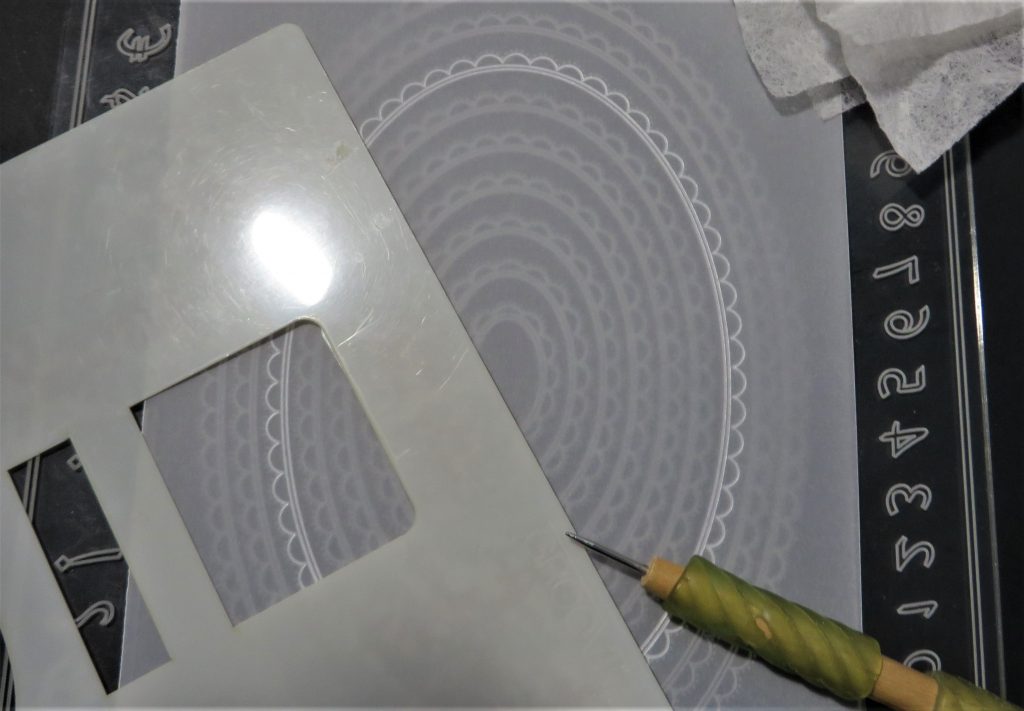
Step 1. Attach an A5 piece of plain parchment to the nested ovals plate and wipe with a tumble dryer sheet. Then, emboss the third scalloped oval in. Take your time with this as the scallops need to be sharp.
TOP TIP: Make sure to use your Groovi Guard to hold the parchment in place when you are doing this.
Step 2. Switch out the ovals for the Ginkgo leaves plate, there are lots of spacers on the website to help you make the smaller plate fit into the plate mates so check them out on the Clarity Website. I have used another A6 rectangle plate so that my Ginkgo plate fits snugly.
TOP TIP: Fix the plates with a couple of Groovi tabs to stop them from moving about in the Plate Mate.
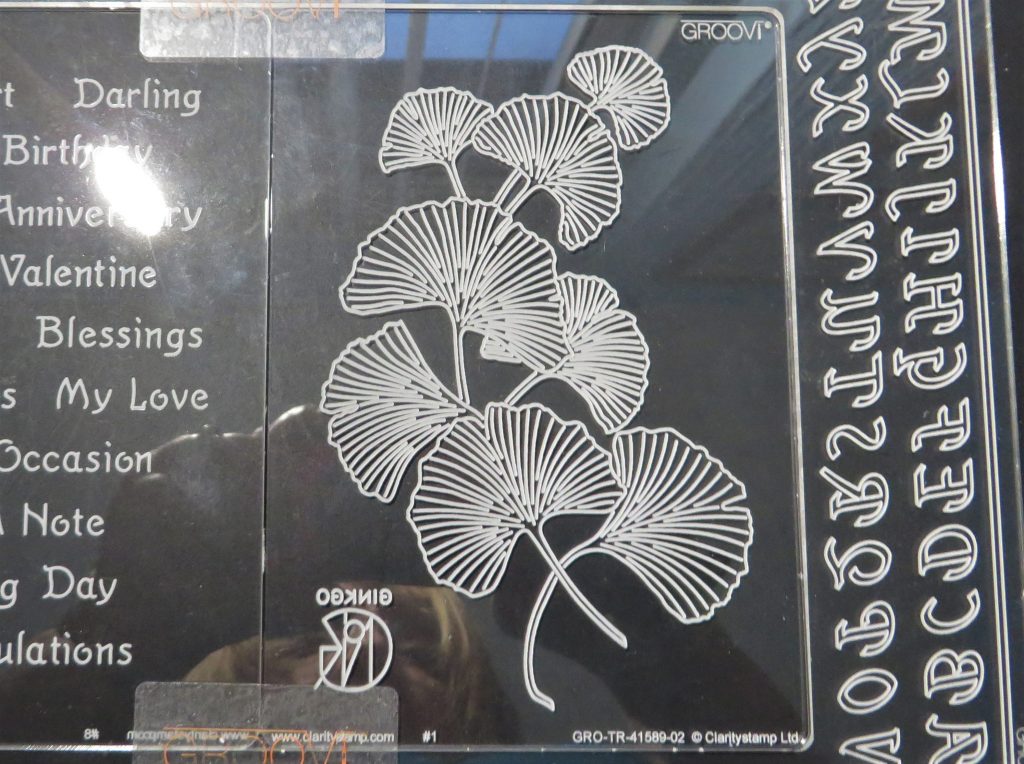
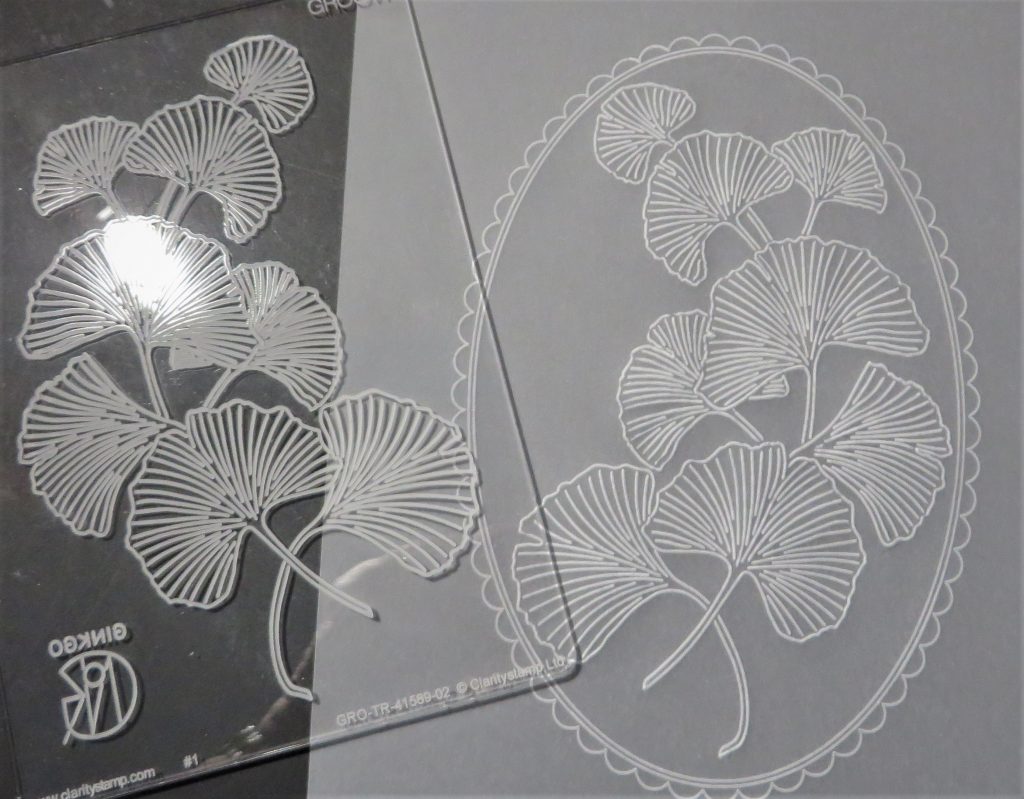
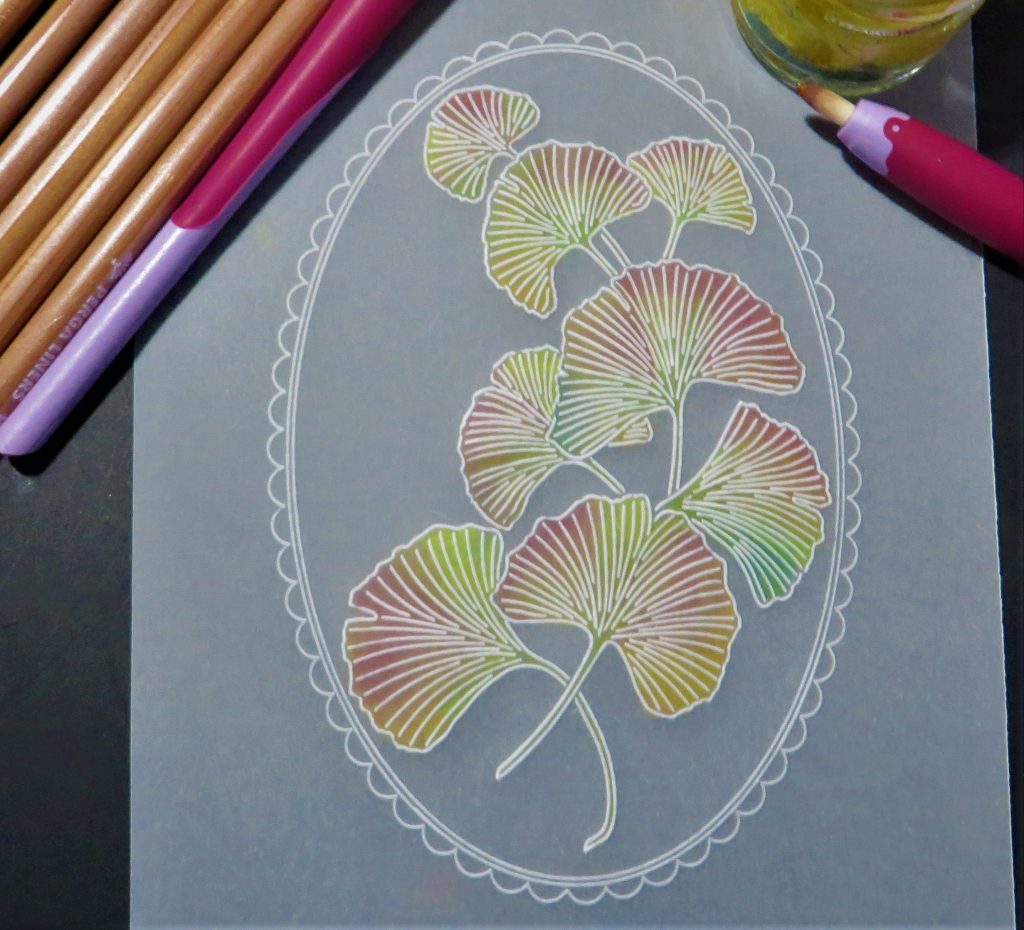
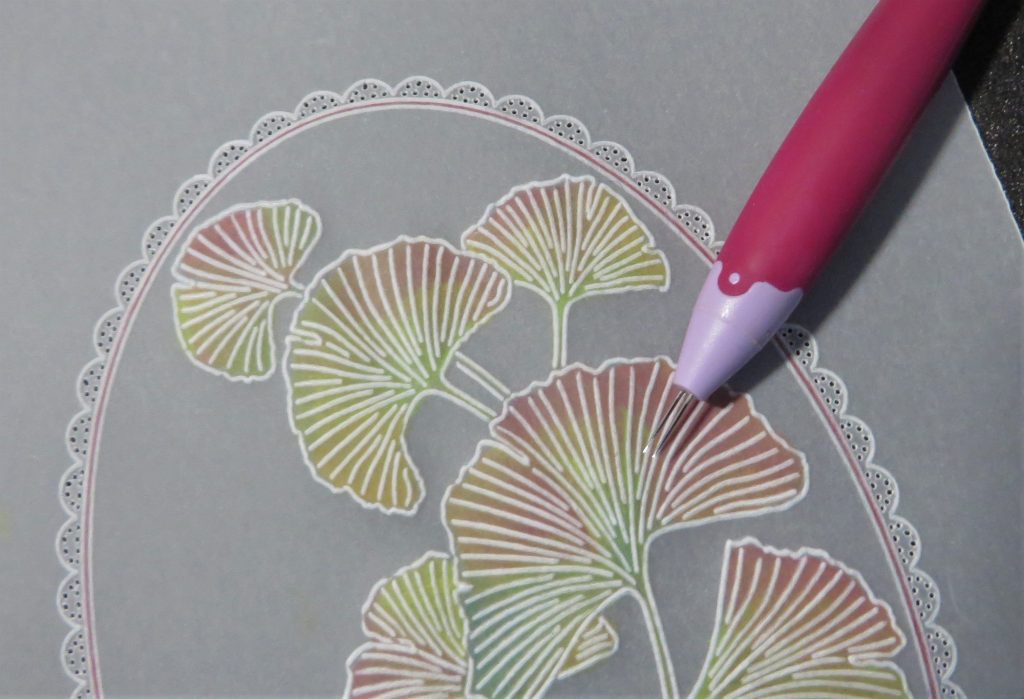
Step 3. Trace the Ginkgo leaves into the centre of the oval.
Step 4. Now to add some colour to the leaves. Using the B pencils – take a selection of autumnal colours. I decided on my backing paper first and then chose the colours to suit. I went for 3, 6, 7, 8, 9, 11, 12, 13 & 15. Start with the lighter colours first. Just put the colours on in scribbled spots – it doesn’t matter if it looks very patchy at the moment.
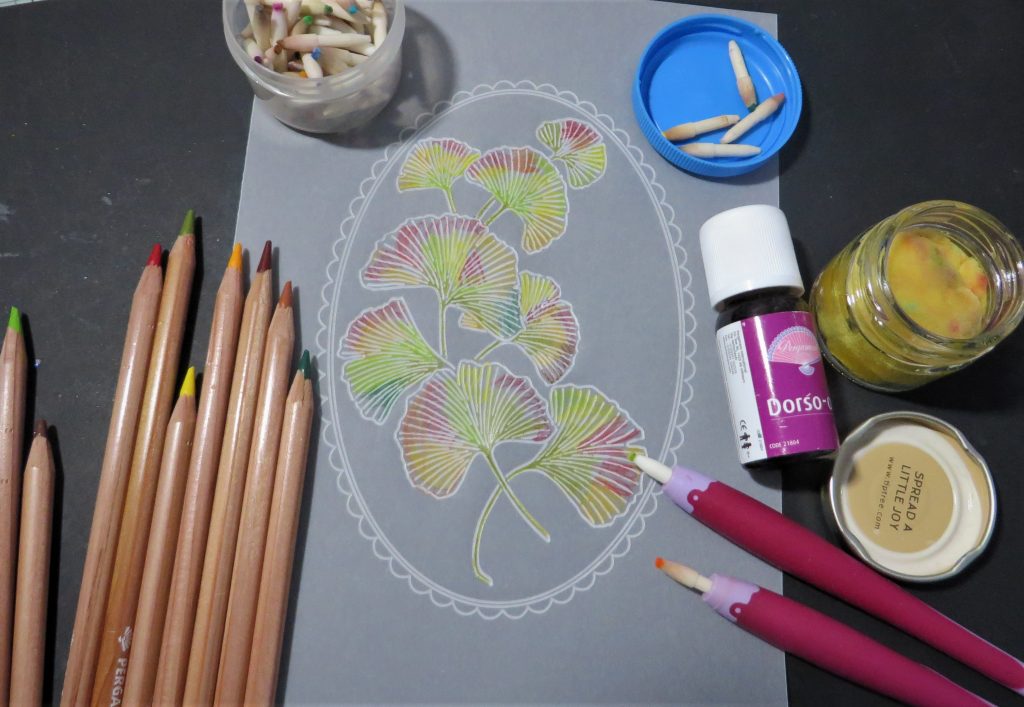
Step 5. Use the blending nibs and work with each colour at one time with a nib that is dedicated to the colour you are blending. Just add a tiny amount of Dorso oil to a sponge and take any excess oil off the nib before you start blending.
TOP TIP: Too much oil and you end up removing colour instead of spreading it.
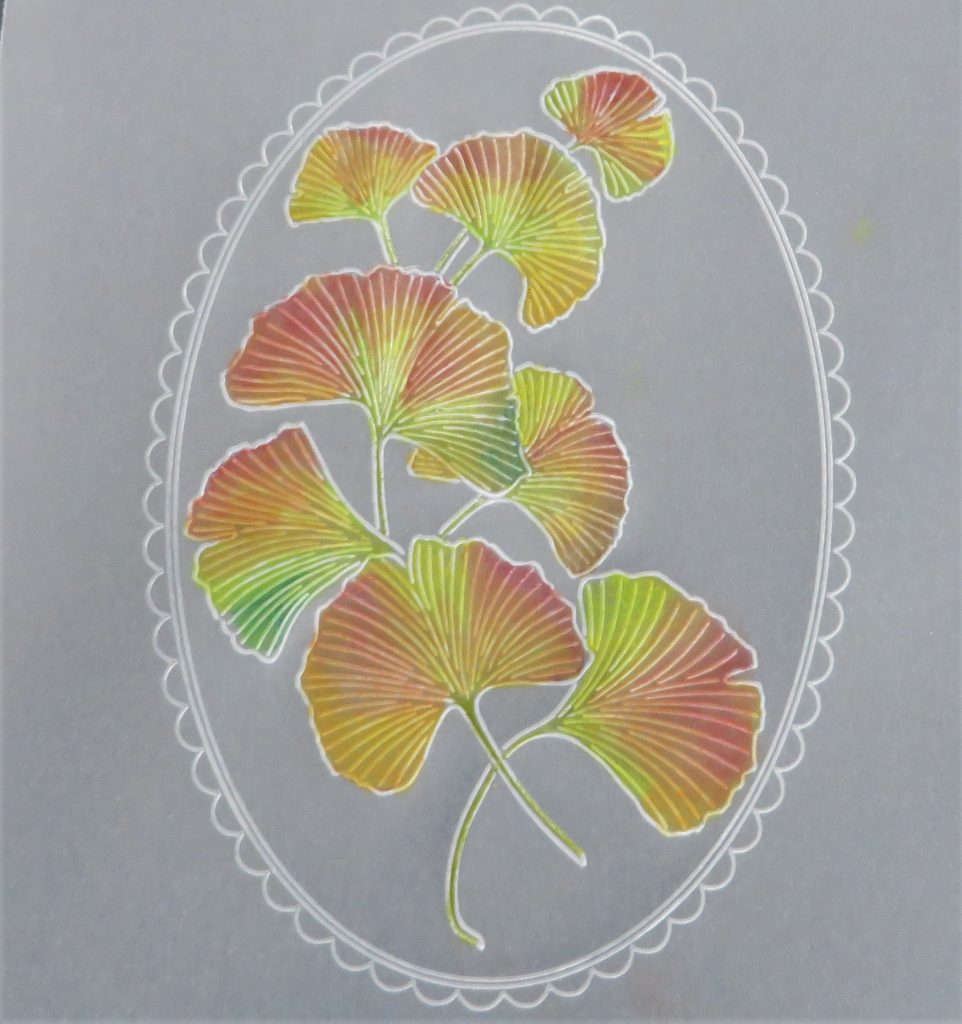
Step 6. When I blended, I started with the yellow, then orange, greens, then blended the reds and browns into the yellows and greens.
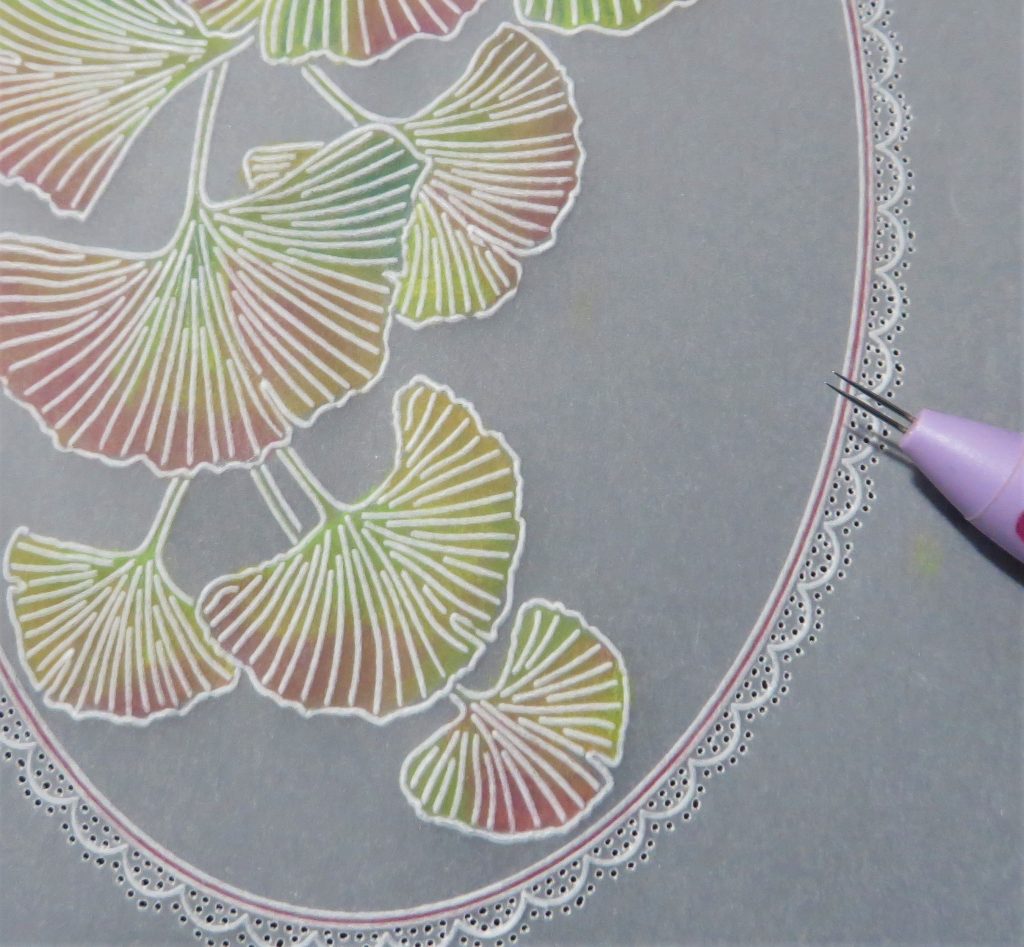
Step 7. Put the piece onto the 12×12 Black Super Foam (if you are using your light wave panel, then you will need to use the 12×12 or A4 White Super Foam). Use the 2-needle tool to perforate within the scallops. Remember that we perforate from the front of our work! The fine needled tool is needed for this as the space is quite tight. Start on the oval edge, going from corner to corner, hooking the second needle into the first hole so that you are making one hole at a time. I have also added some red pencil to the margin of the oval.
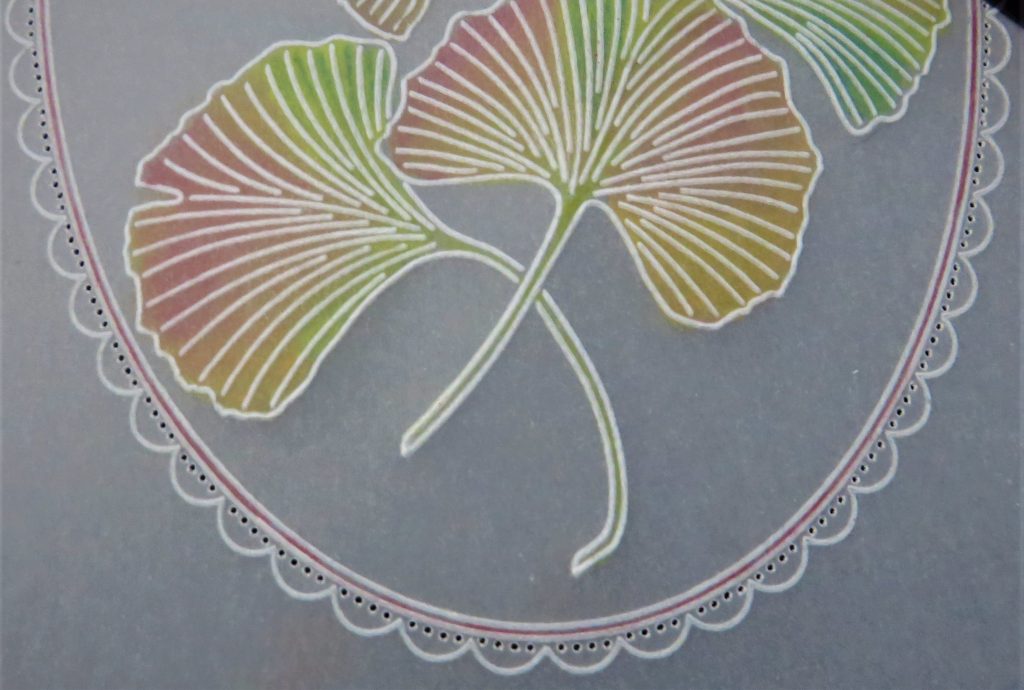
Step 8. Now go around the inside of each arc, still progressing one hole at a time – be careful not to go into the embossed line.
Step 9. Go around the outside of the scallops. I used my fine 2-needle perforating tool, but if you look at the Nested Scallop Plate, you will see lots of little dots around the outside. This provides you with an option, as the dots fit nicely with the BOLD 2-needle tool. So if you prefer to go that way, the choice is there.
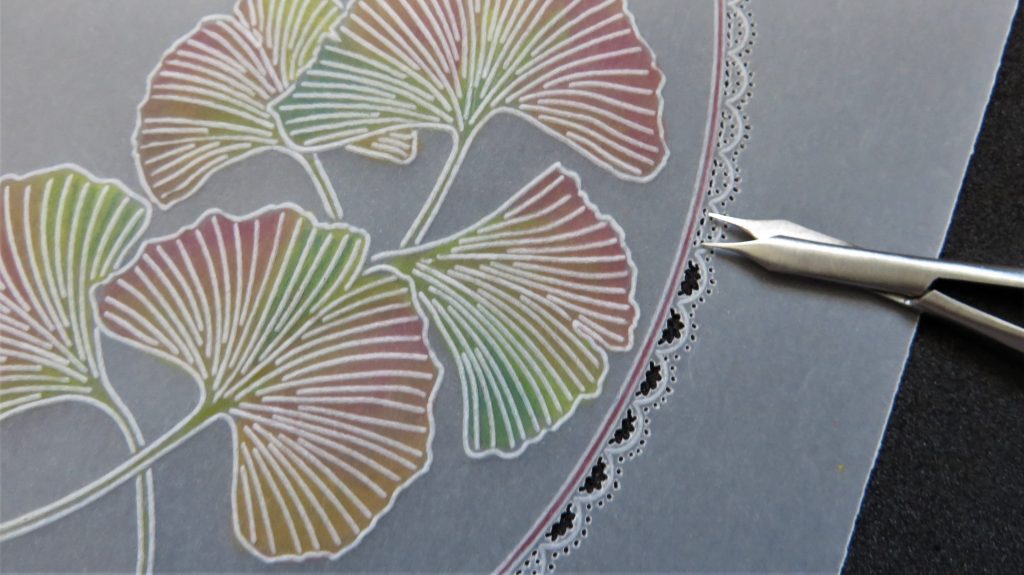
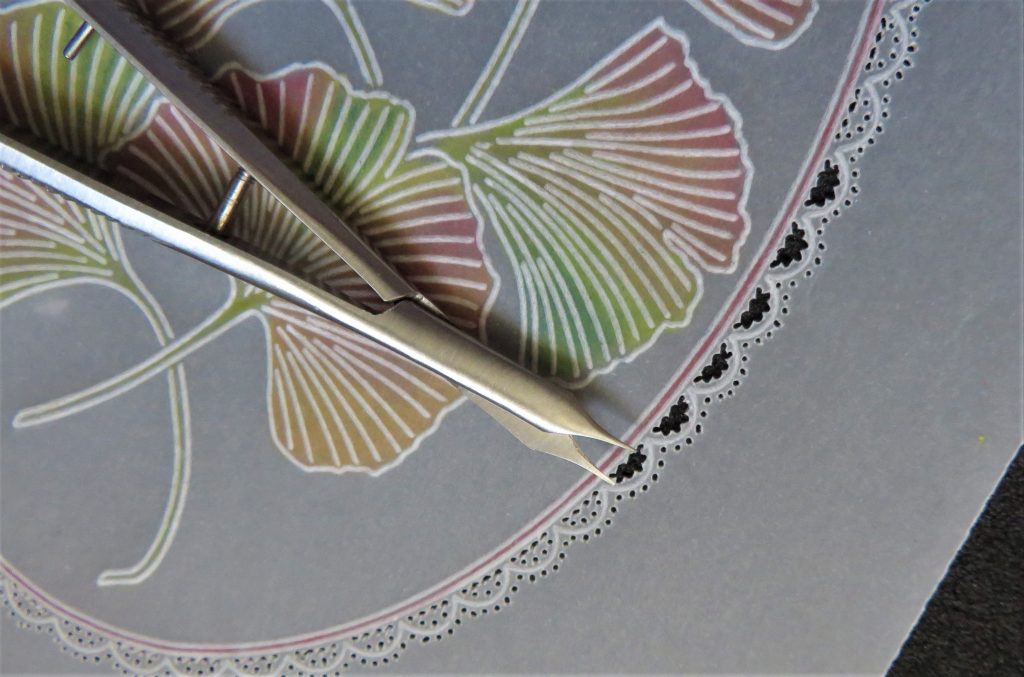
Step 10. When you snip out the work, do the insides of the arches first. Laying the work on the mat (rather than holding it in your hand) helps to protect the delicate edging. Turn the work as you go. Then snip around the outside (again, being very careful not to break the delicate arcs of the scallops).
TOP TIP: When cutting out pieces that are in the centre of a shape, make sure you point the scissors/snips in the right direction. The points need to be towards the piece you are keeping so that the body of the scissors/snips is over the waste.
Step 11. Once you have cut out the centres from all the scallops, cut around the outside – remember to turn the work as you go as this helps you to keep the picots straight and even. It’s also kinder to your wrist.
Step 12. I wanted to use some embellishment to the side of the ginkgo leaves and thought the logo that Barbara designed was so cool, I went back to the plate and added it. Then I cut my Northern Lights Designer backing paper to 5×7 inches and then attached it to a card blank. I also used a corner punch to decorate the corners, but the piece does look lovely without too.
That’s a beautiful card!! Thank you so much, Glynis, for sharing your detailed step-by-step tutorial with us.
As usual, everything that Glynis has used can be found over on the Clarity website HERE.
Don’t forget that if you love all things Groovi/Pergamano/Parching then we’re having a sale! Up to 50% off on hundreds of items over on the May Day Madness event on the Clarity website HERE. If you are a Clarity Craft Club Member, then you get an extra 10%-15% off! Many of the items that Glynis has used in her project are included too.

And for those of you that aren’t yet members…
What is the Clarity Craft Club I hear you ask?
Sign up today for as little as £6.00 per month, for a brand new stamp, stencil, Groovi Plate or Fresh Cut die, and a project sheet. You can choose any 1, 2, 3 or all 4 clubs, and look forward to a crafty monthly delivery from Clarity! Plus you’ll also enjoy a ton of enticing membership benefits that begin right away, such as a 10% or 15% discount on all purchases online, and over the phone! Sounds good, right?
If you want to find out more or sign up click HERE.
We have another busy Clarity week ahead, with lots for you to get involved in and enjoy. Let’s run through it…
Sunday, May 1st (Today!): Crafting with Clarity with Barb on Create and Craft for the usual first Sunday of the month 2-hour show, 3pm – 5pm. See you there!
Tuesday, May 3rd: Groovi Tuesday with Paul – Live at 10am on Facebook & YouTube
Wednesday, May 4th: One Day Special – Groovi with Paul on Create and Craft at 6pm & 9pm and then Thursday at 10am & 2pm
Thursday, May 5th: SHAC Shack with Barb – Live at 10am on Facebook & YouTube
Right, I’m off to enjoy the rest of the day, ahead of Mum’s tv show! Love those ginkgos! See you there 🙂
Travel gently.
Lotsa love, Grace & Glynis xo
Clarity – The Home of Art, Craft and Well-Being.
Beautiful project, thank you, think I’m going to get some of the small stamps and Ginko (probably others) plates as I didn’t first time round. Lovely colours xx
Lovely project- thank you xx
Another gorgeous project , thanks Glynis, and Grace for the brilliant blog
Will have a go at this hopefully later
Enjoy the rest of your weekend x
Hi Grace & Glynis, another great project. I enjoyed drawing the Ginko in the SHAC shack, in fact I found a WIP on designer parchment whilst sorting through my stash. Had left it to rest but I think it has hibernated !!
Looking forward to the shows this afternoon – will be doing my ironing whilst watching !! & recording for future reference. A grey damp day here today so not the sort of day to be in the garden – another area that needs some TLC.
Have a good week xx
Love the colours Glynis.
Gorgeous card Glynis. Absolutely love it, specially colour combination. Readymade for autumn ( its autumn in Australia) thank you.