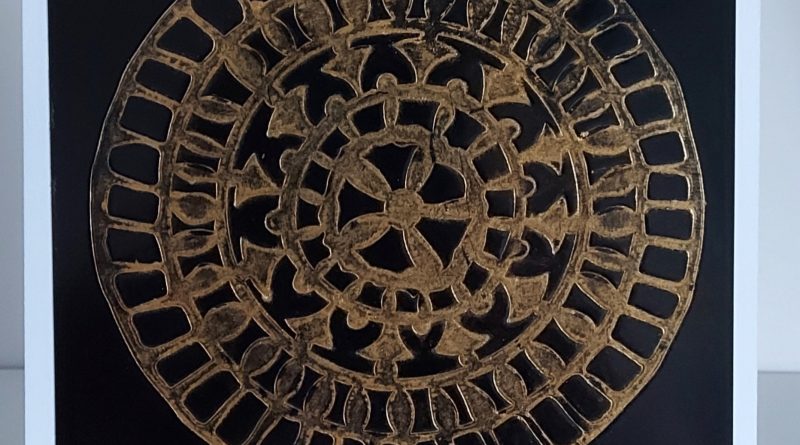
Clarity Matters Blog Tutorial: How To Emboss and Print with a Stencil
Hello hello! Grace here.
I hope this finds you well and enjoying your Sunday!
Feeling crafty? Good! We are joined by the super-talented Tina Morris. She has kindly put together a two-for-one step-by-step blog tutorial for us! Result!
I’ll hand you right over to our teacher!

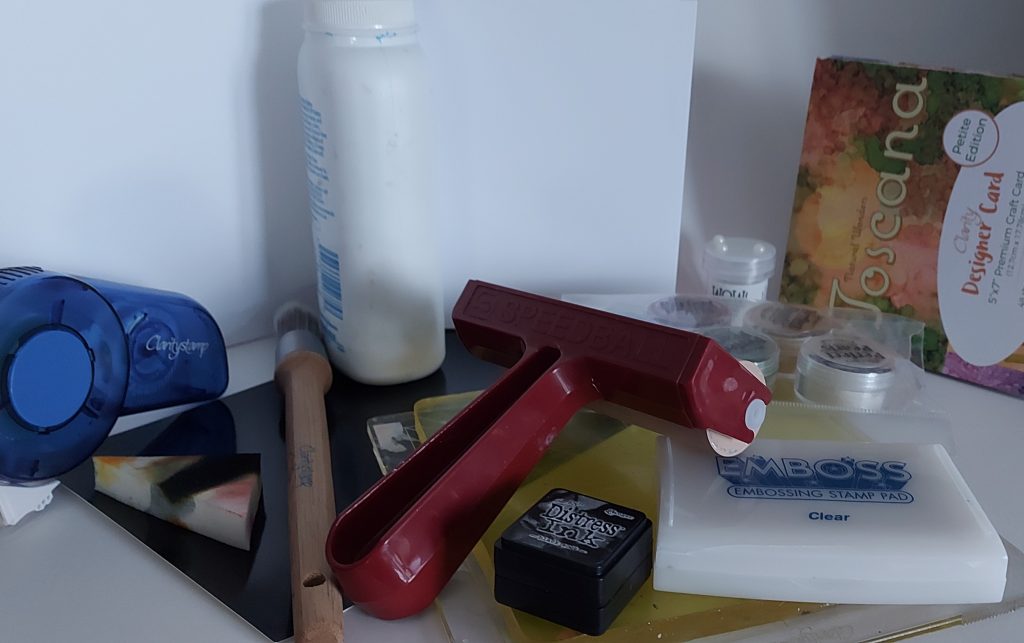
Ingredients
Clarity Card Black Coated Card A5 x25 (ACC-CA-30368-A5)
Card Blanks 6″ x 6″ Black & White x10 Of Each (ACC-CA-30614-66)
Card Blanks 7″ x 7″ Black & White x10 Of Each (ACC-CA-30615-77)
Toscana Designer Card Pack 5″ x 7″ – Petite Edition (ACC-CA-30893-57)
Gel Press Printing Plate 6 x 6 Inch (ACC-GP-30373-66)
Clarity Mega Mount 7″ x 7″ (ACC-MO-30003-77)
Speedball Brayer (ACC-BY-30096-XX)
Distress Ink Pad – Black Soot (INK-DP-50071-XX)
Spot On Sponges (ACC-MG-30537-XX)
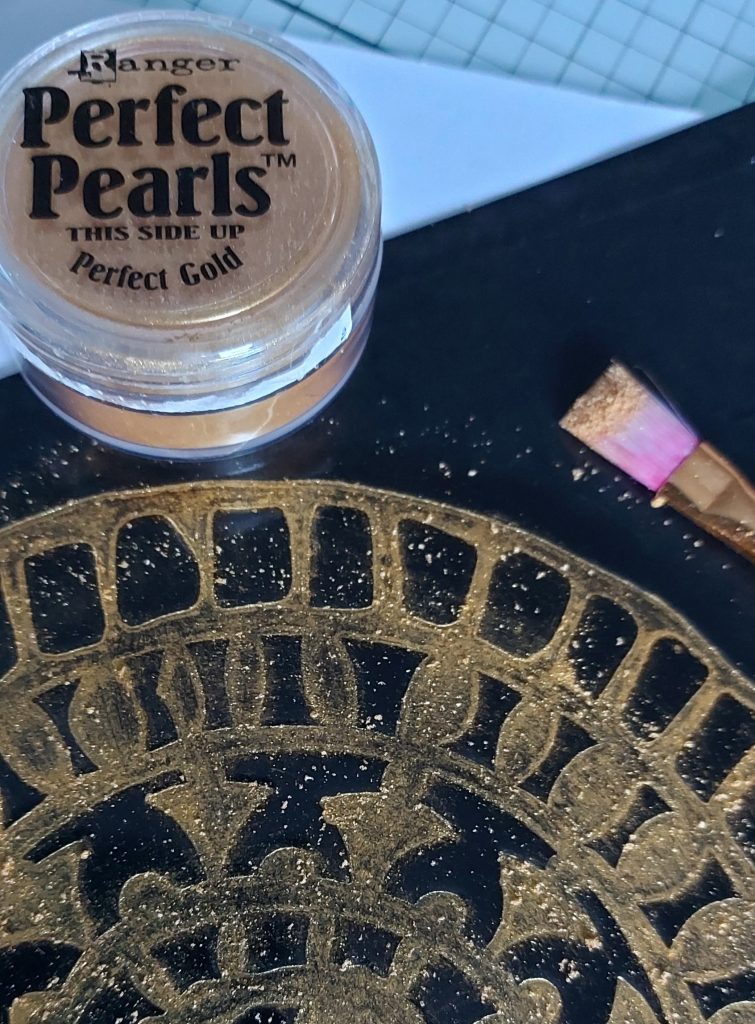
Mica Powder – Perfect Gold (ACC-MI-30256-XX)
WOW! Clear Ultra Slow Drying Embossing Pad (ACC-EM-31270-XX)
Embossing Powder Ultra High 15ml – Clear (ACC-EM-30463-XX)
WOW! Dual Heat Embossing Heat Tool (MIS-EM-60156-XX)
Clarity Stencil Brushes (Set Of 4) (ACC-BR-30006-XX)
Pure Sable Hair Paintbrush No.6 (ACC-BR-30210-XX)
Feel Good Factor Words Sticker Collection (ACC-SC-31048-A5)
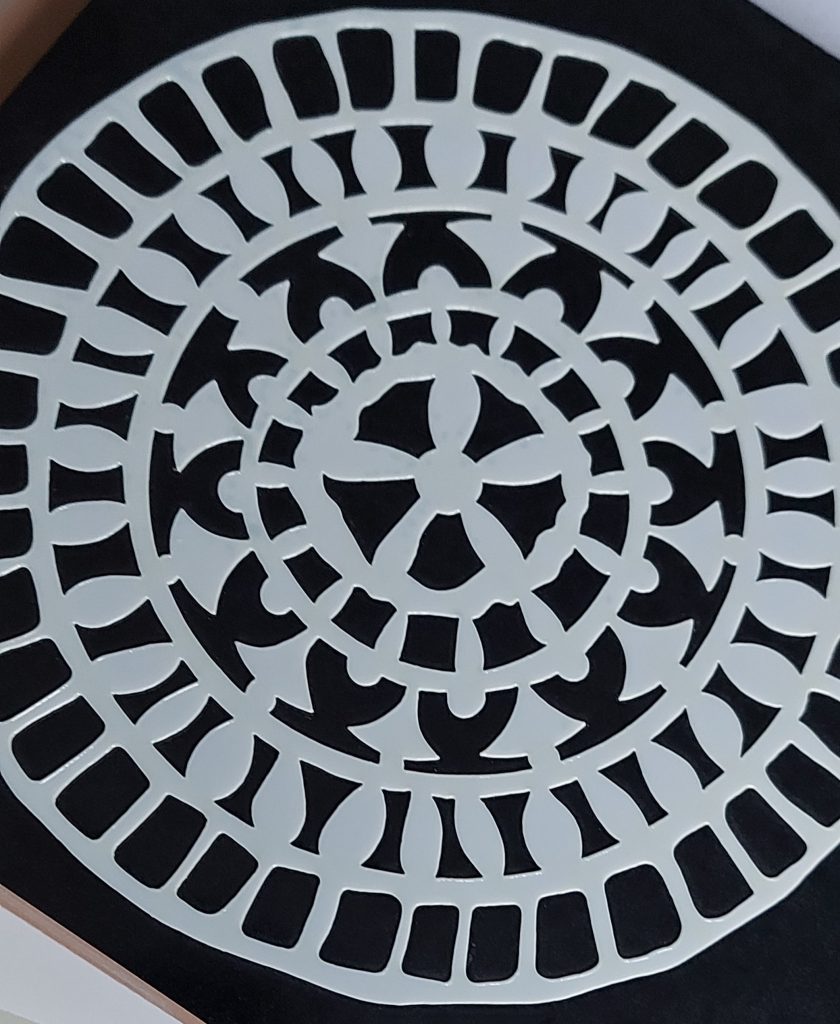
Bijou Block Circle Stencil (STE-PA-00945-55)
Die Cutting Machine/Embossing Machine (Manual/Electronic) 6 Inch Mouth (ACC-MS-30655-XX)
Cotton Bud
Baby Powder/Corn Flour Or Anti Static Bag
Firstly, collect all of your ingredients to hand…
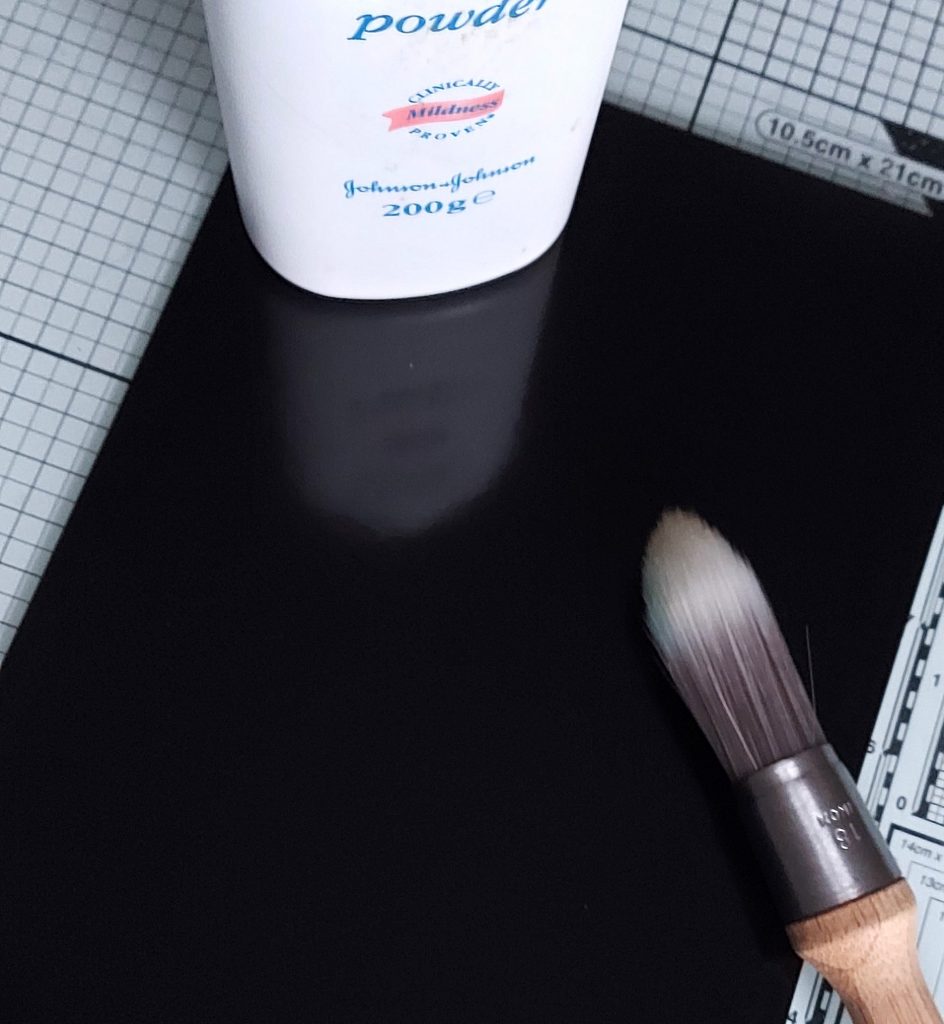
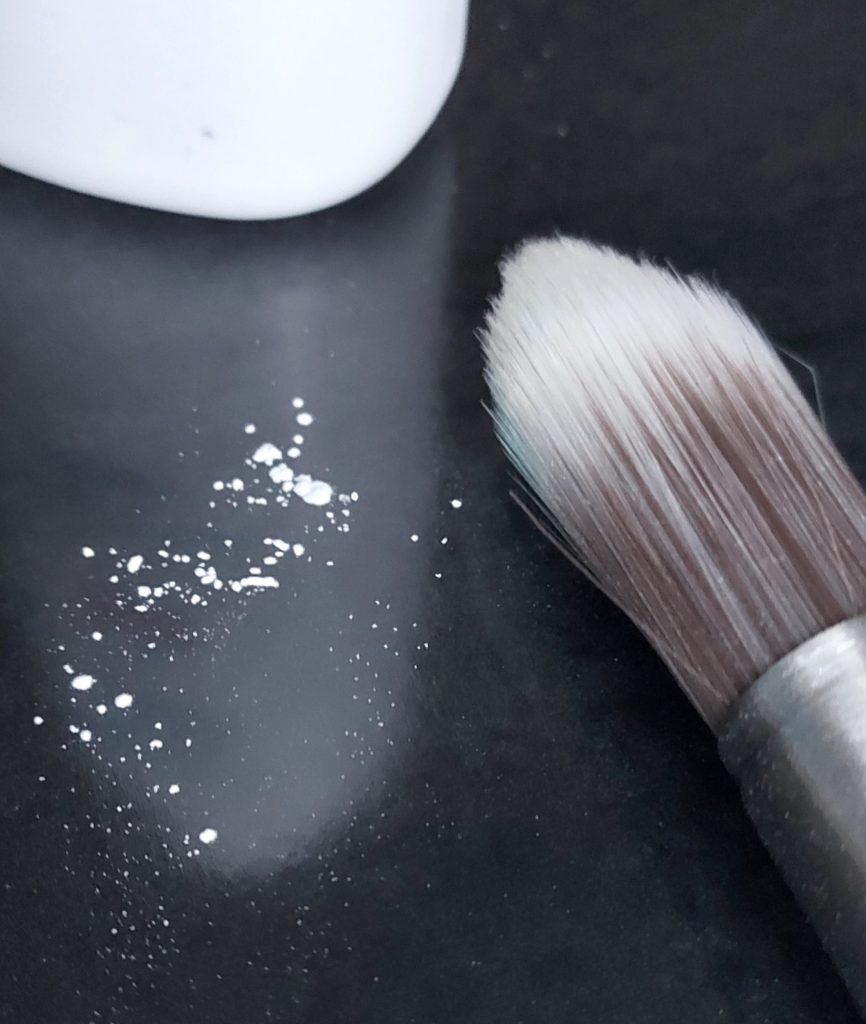
Step 1. Take your black-coated card, add a little baby powder, and distribute evenly with a Clarity stencil brush. Blow away any remaining powder – be careful not to spit at your artwork.
Step 2. Mount your gel plate on your 7×7 mega mount. My Gel plate is yellow from some Alcohol ink previously used, yours will probably be a little cleaner than my well-loved plate.
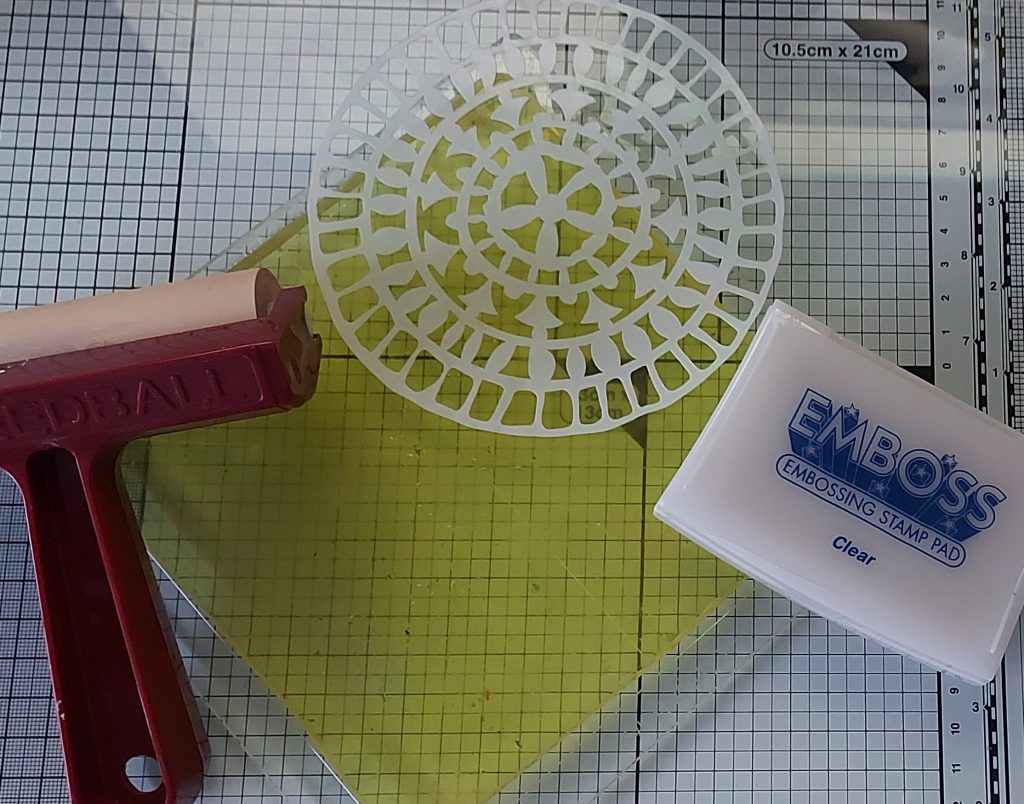
Step 3. Take your bijou frameless Stencil and lay it down on your 6×6 gel plate. Using your clear ultra-slow drying embossing pad, cover your stencil and your gel plate evenly.
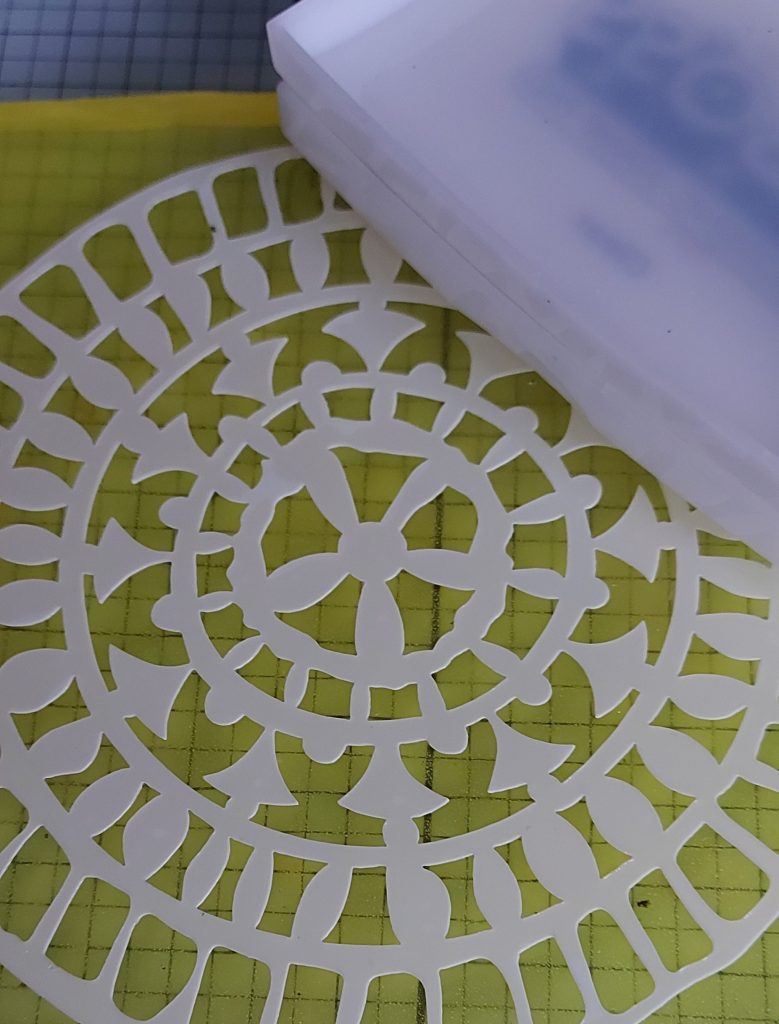
Step 4. Set this aside whilst you organise your sandwich for your embossing machine / using your rubber mat. We will come back to the remaining ink on the gel press later.
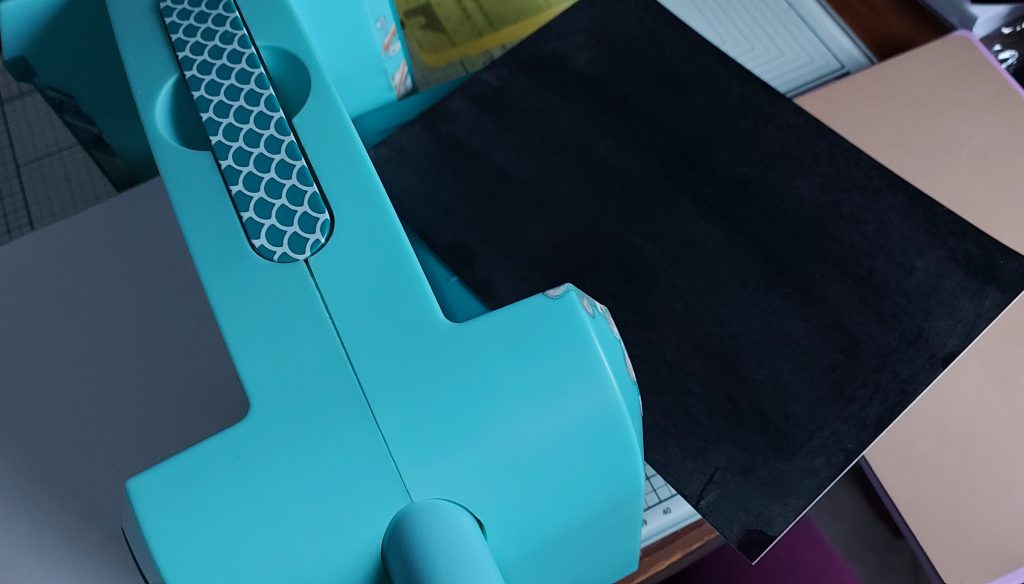
For my spellbinder’s manual A5 machine, I have used the following:
Base plate, copy paper, the stencil coated in clear embossing ink facing up.
Lay your black-coated card face down on the wet stencil, taking care not to move.
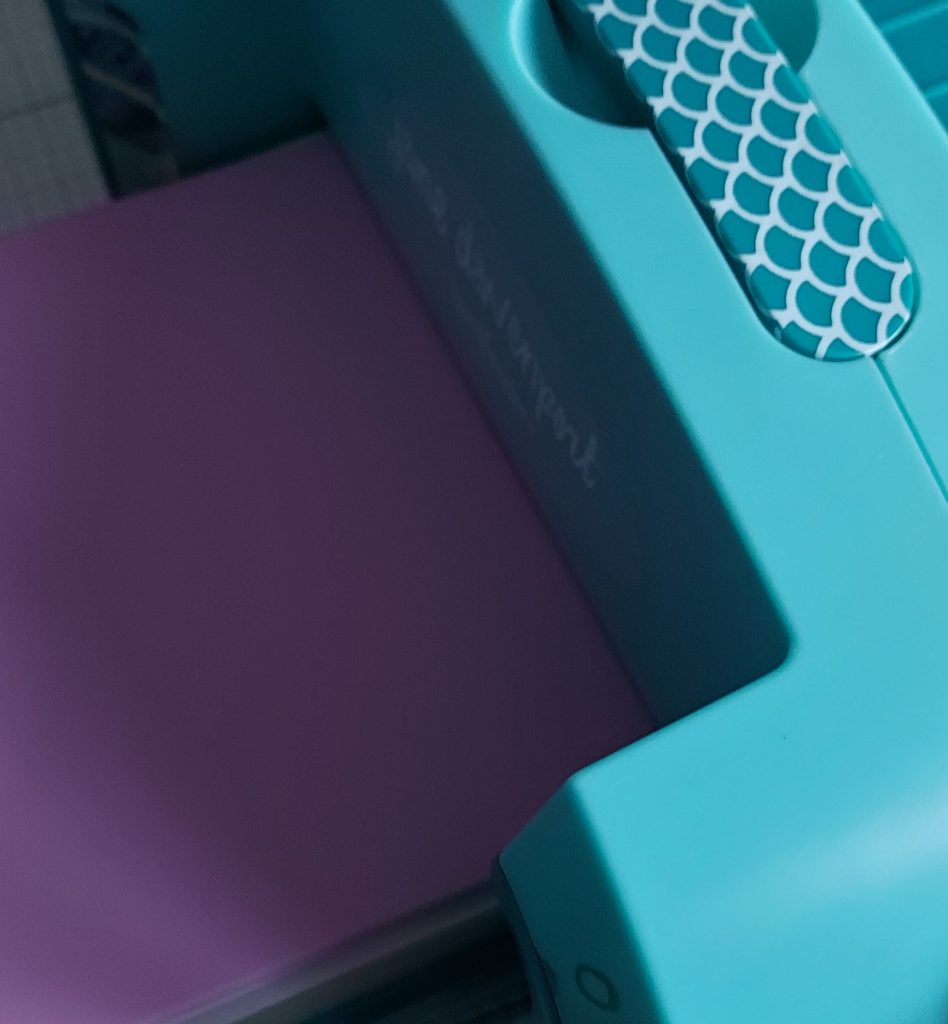
Lay the rubber mat on top and then one of the clear top-cutting plates on top of the rubber mat – preferably the clear plate that hasn’t been cut into.
Alternatively, add another sheet of copy paper to protect the back of the card from cut imprints.
Run the sandwich through the machine
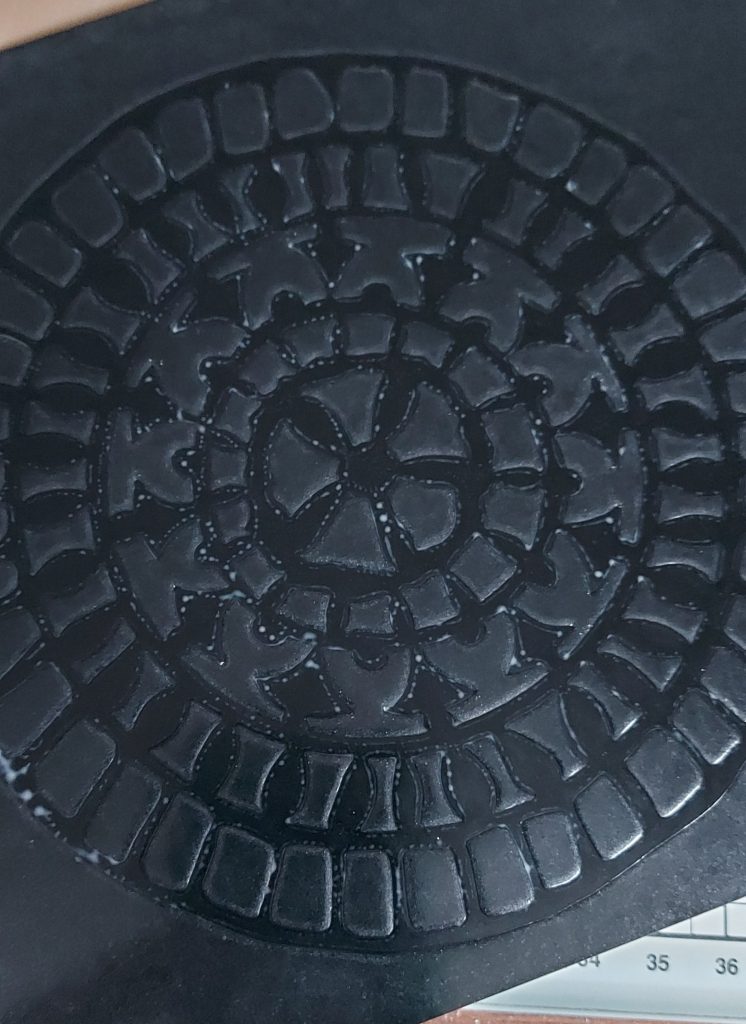
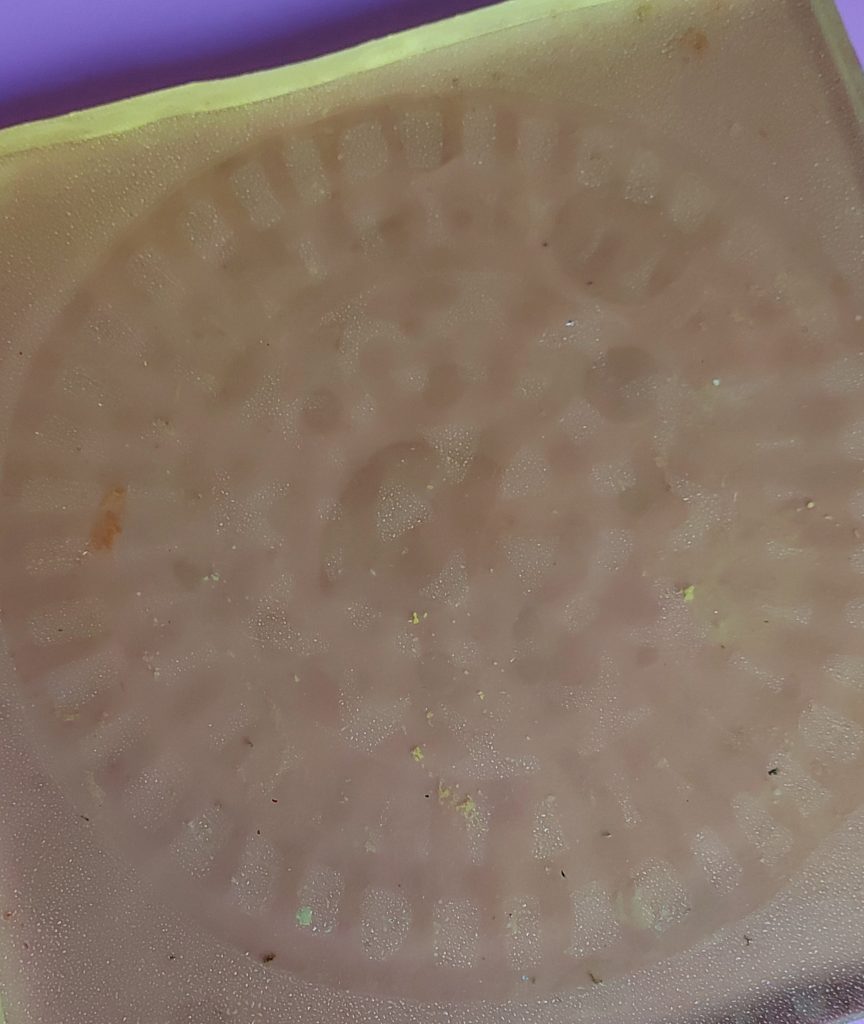
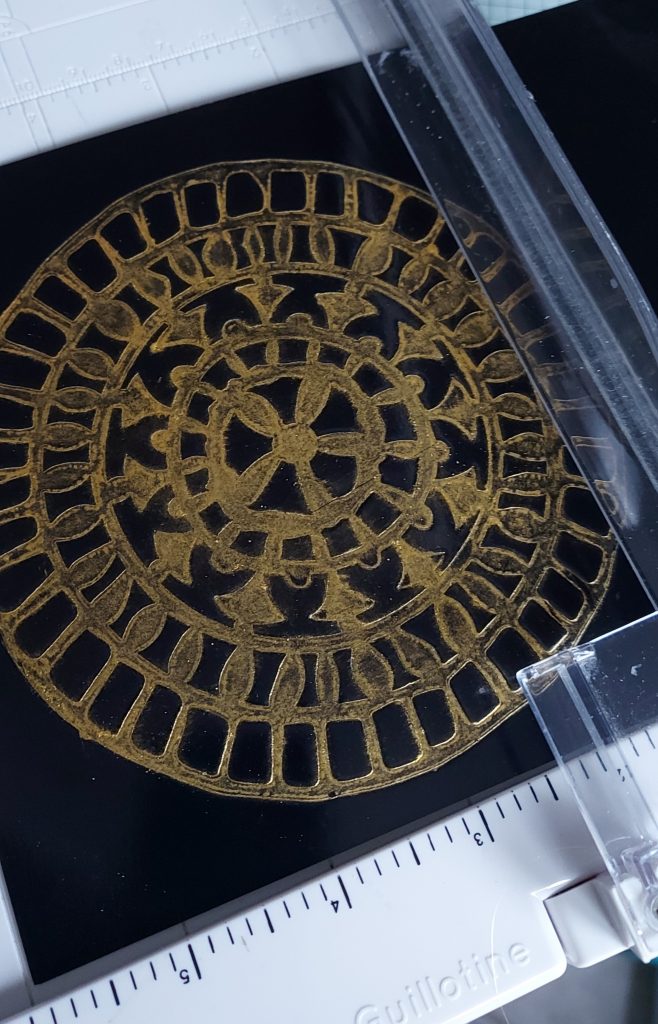
Step 5. Remove the sandwich carefully, ensuring you do not smudge the sticky ink. The card should be embossed and the sticky ink in the recesses of the stencil.
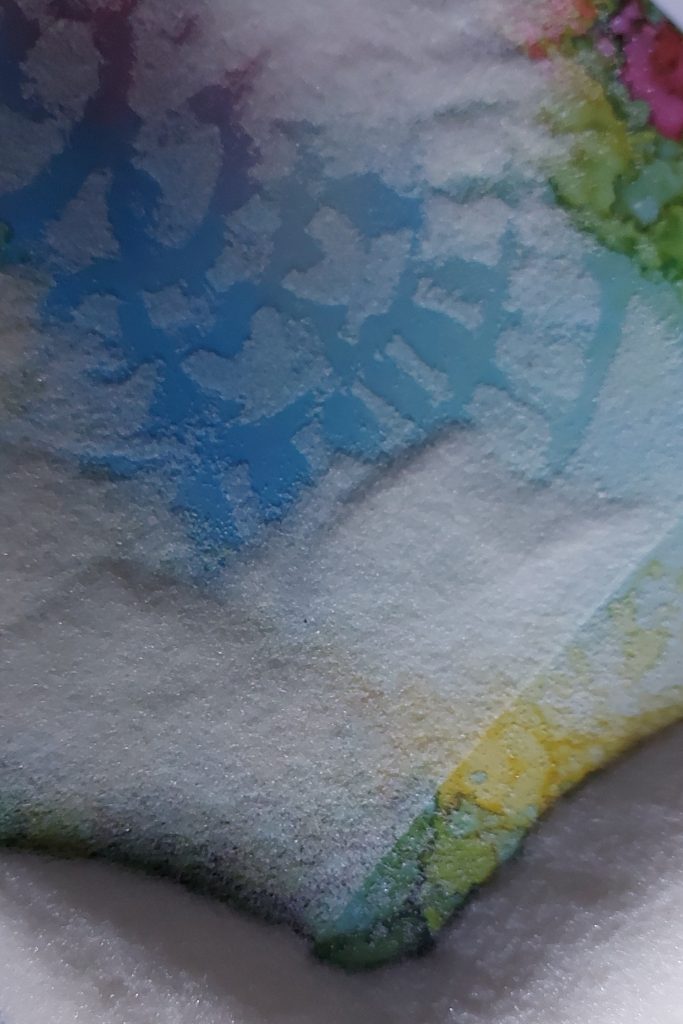
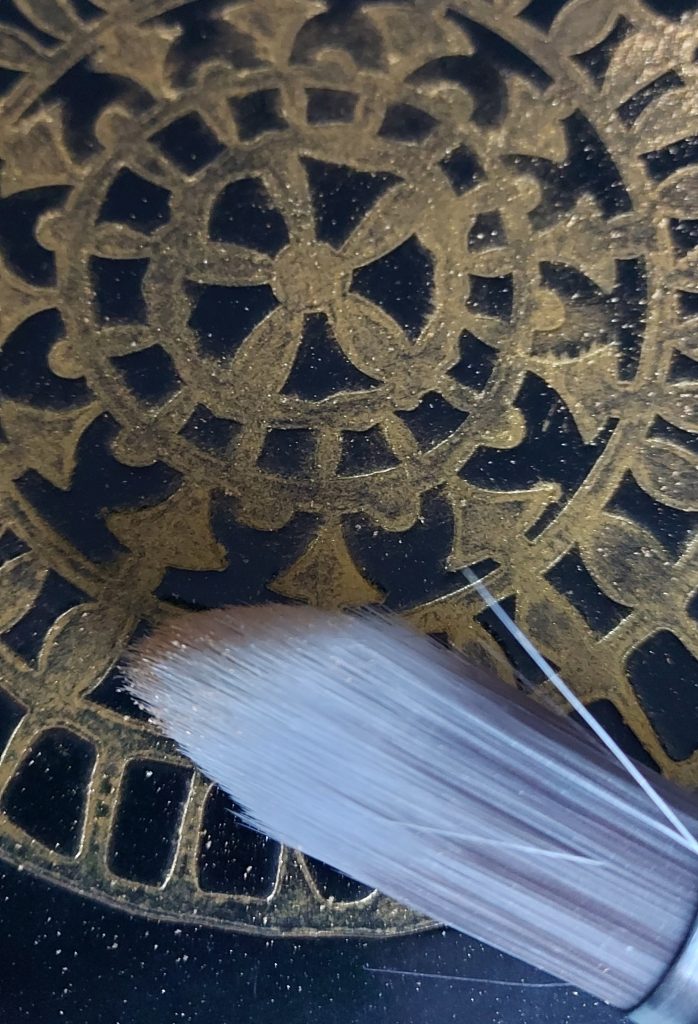
Step 6. Set aside your machine. Place your black coated card with your sticky impression on a piece of copy paper and carefully open your perfect pearl colour choice- this is where you don’t want to sneeze, blow at or spit at your work. Using a small dry brush, pick up the powder and liberally cover your stencil impression in the sticky areas until completely covered. The talc/anti-static used earlier should create a resistance for the perfect pearl.
Step 7. Once fully covered I tend to put this aside to let the ink absorb the powder, whilst I crack on with the 2nd card.
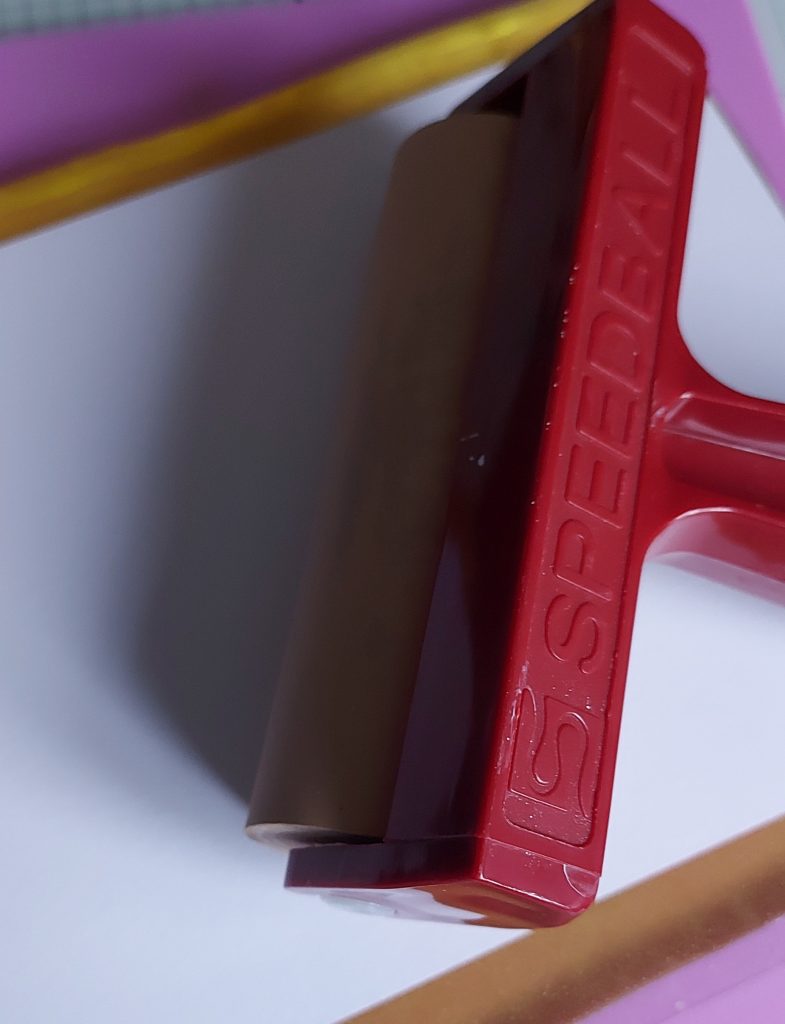
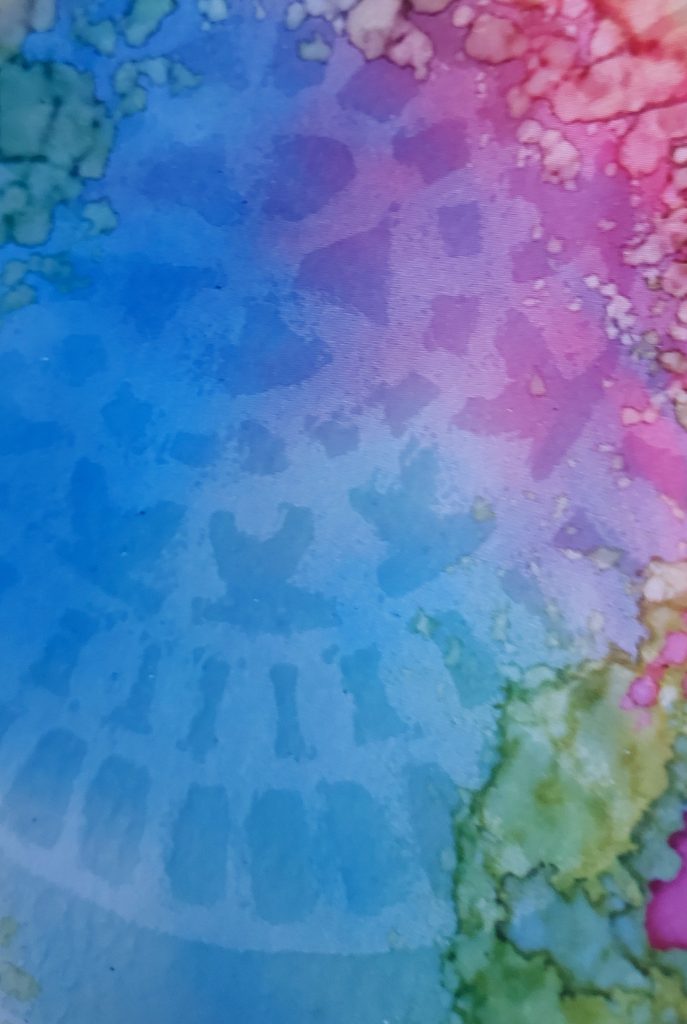
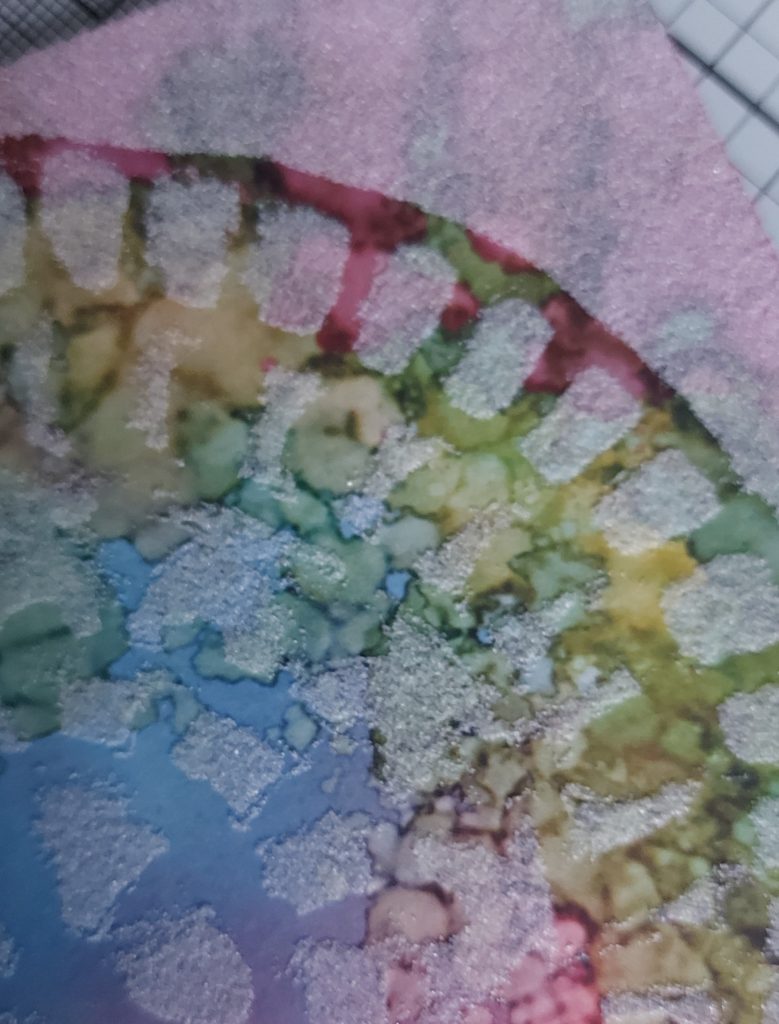
Step 8. Time to focus on our second card. In comes the gel press and the remaining sticky ink. Take your chosen petite 5×7 designer paper, and lay the coloured side flat over the gel press. Using a clean brayer, brayer the back of the designer card until you feel you have picked up all the sticky ink.
Step 9. Remove carefully from the gel plate. You should have a small area that isn’t covered to hold onto, allowing the prevention of a sticky fingerprint in the sticky ink.
Step 10. Using your clear embossing powder and a new clean piece of copy paper, cover the sticky ink. Tap off any excess and decant back in your tub, we don’t want to waste any product… You know us frugal crafters.
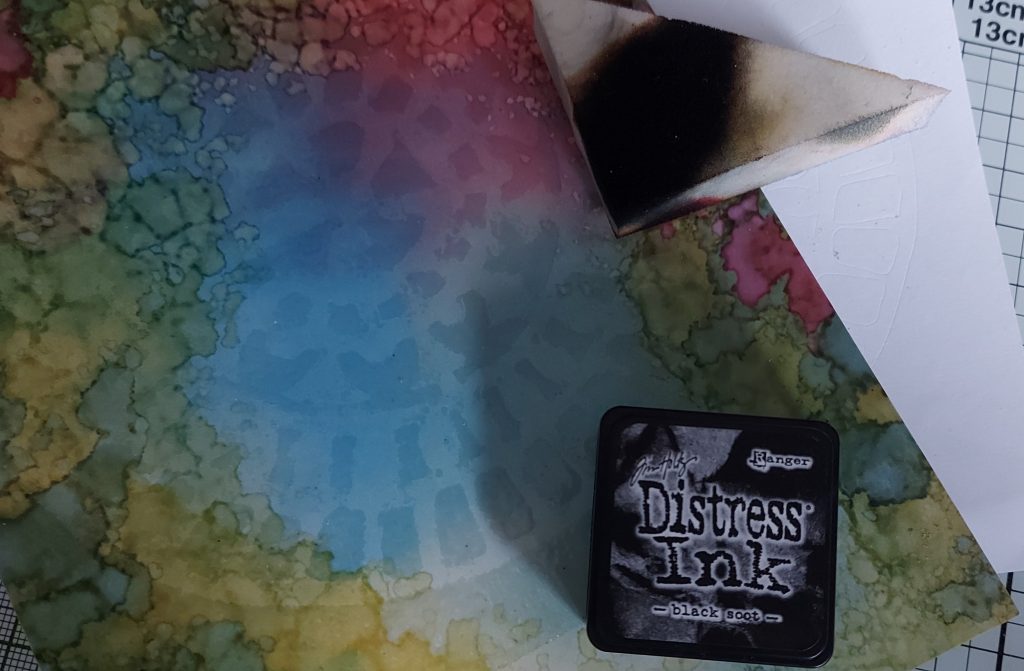
Step 11. Heat up your heat gun and heat set the clear emboss. If you heat from the reverse, the powder melts smoothly. If you heat from above/the front, a more dimpled effect is obtained. I did half and half on my piece so you could see the different textures.

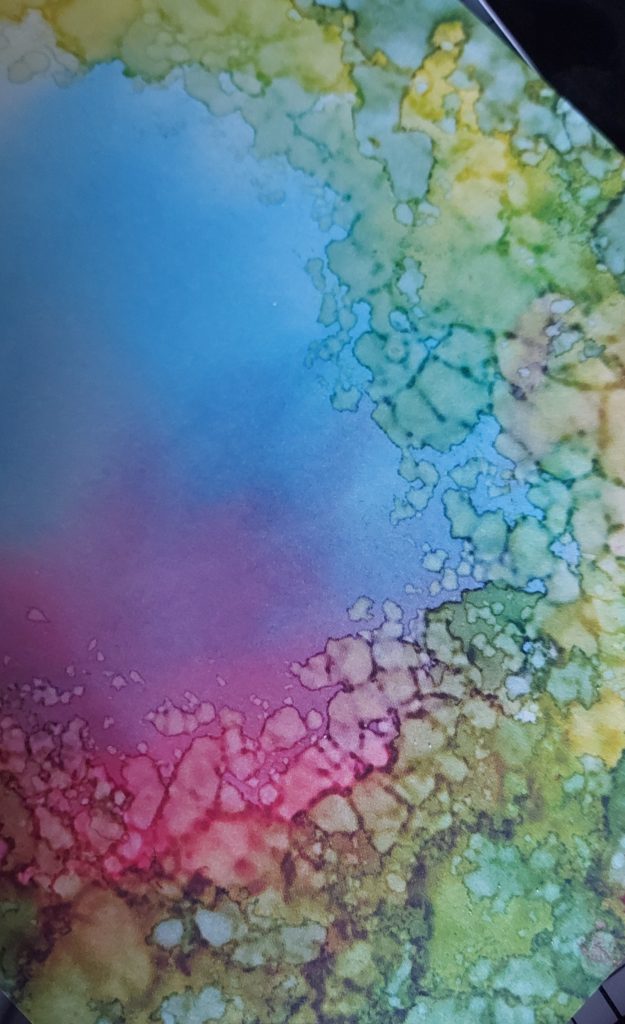
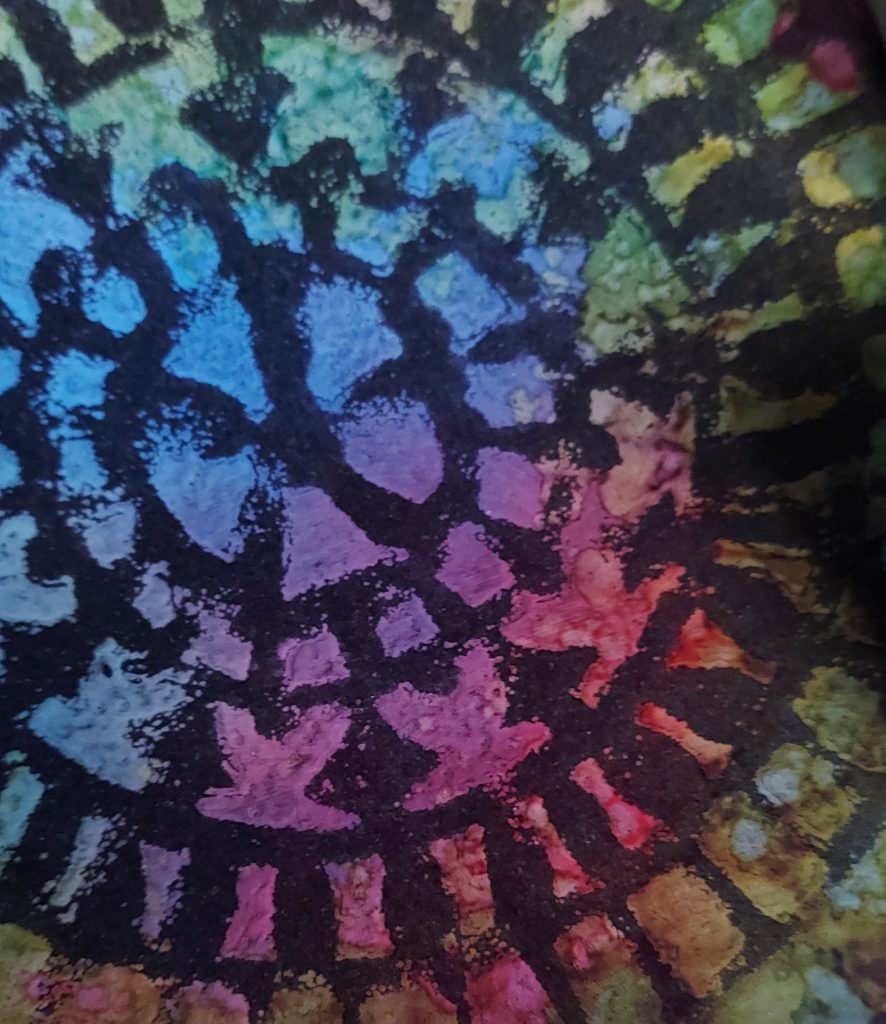
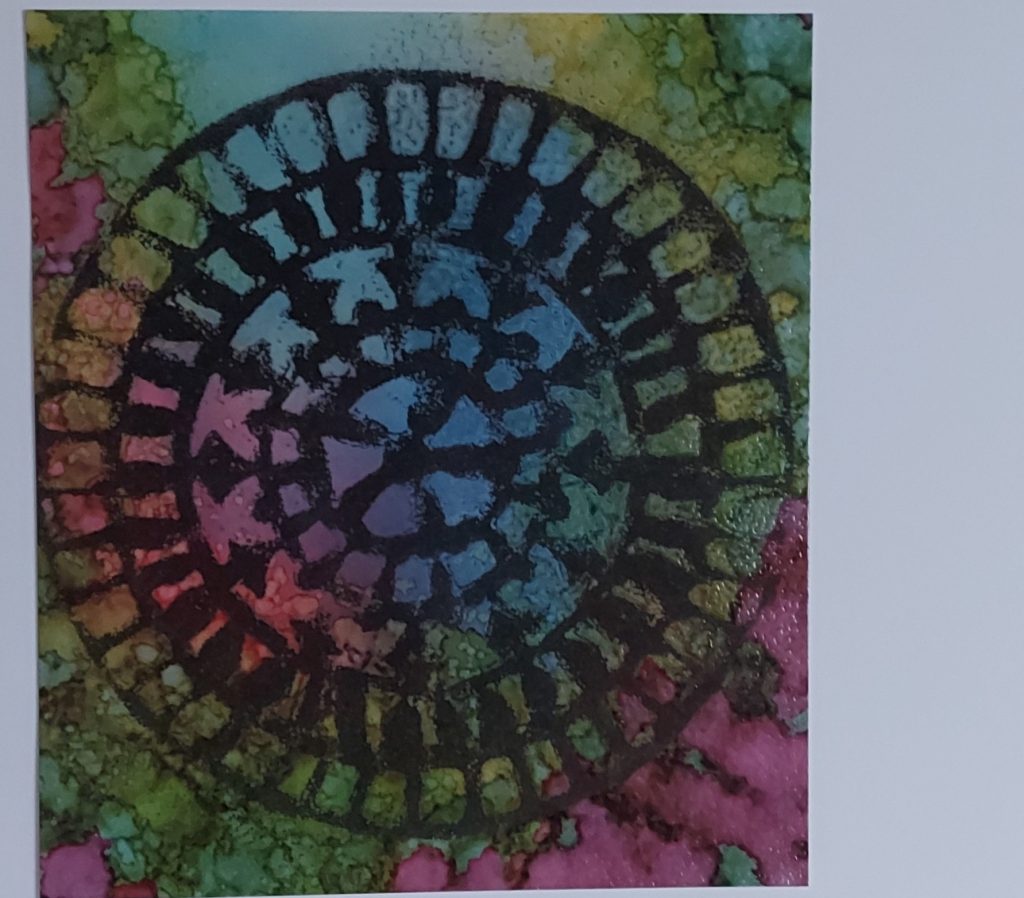
Step 12. Once fully set and cooled down, take your black distress ink and either using the pad or a spot-on sponge, add the black to the areas within the stencil not coated with the clear embossing powder, which should now act as a resist.

Step 13. Remove the remaining ink from the shiny clear embossing with a soft tissue. Repeat until you have the depth of black you desire. Jane Telford used the same technique a while back in one of her step-by-steps (https://www.claritymattersblog.com/2022/11/06/claritys-matters-blog-tutorial-how-to-do-resist-embossing).
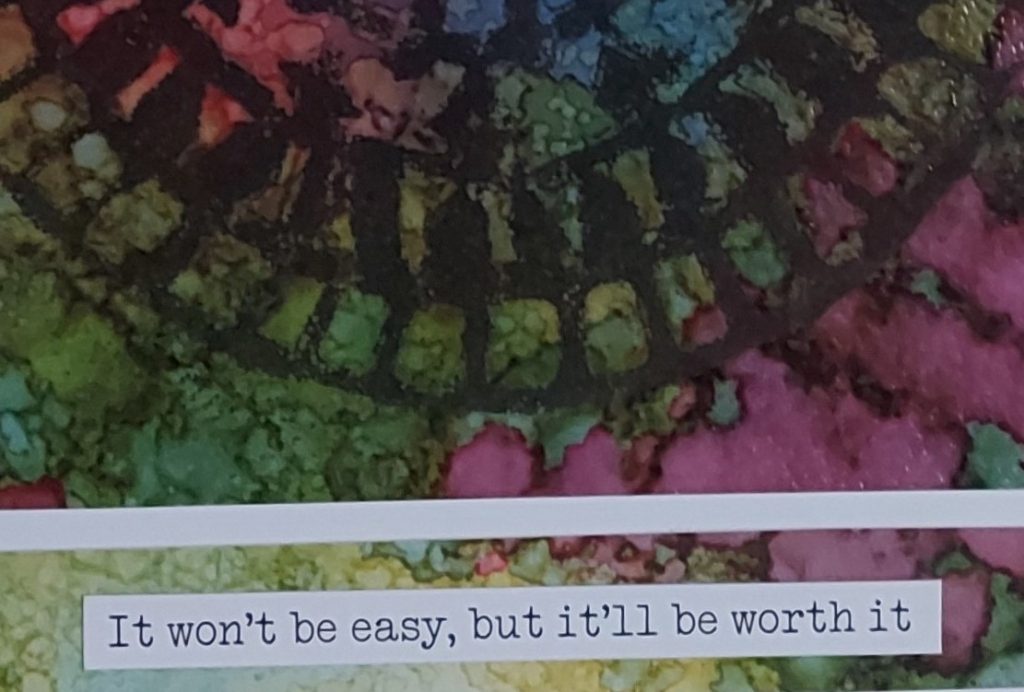
Step 14. Cut the unglazed strip from the bottom of the 5×7, as we will be using this part for our sentiment.
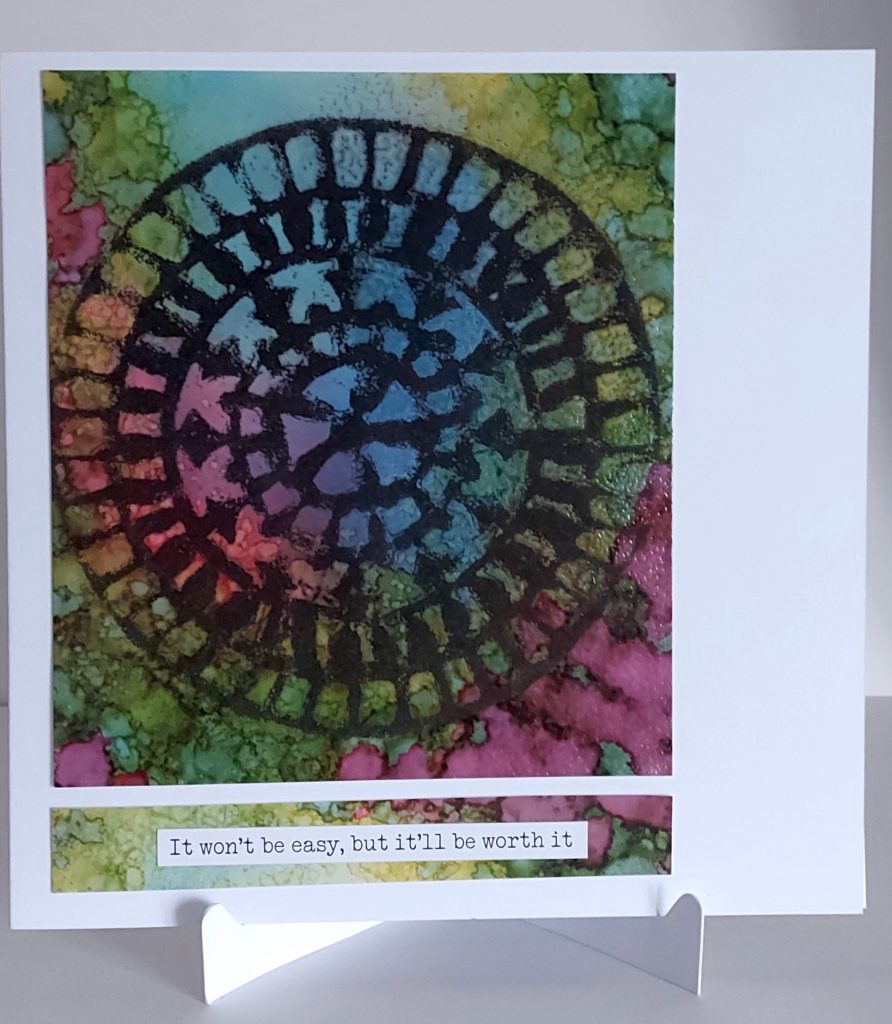
Step 15. Mount on the 7×7 card. Position it where you feel it looks best; I have gone with my sentiment on the additional strip below, but you can compose it any way you like.
Step 16. Choose your sentiment and stick to your 7×7 card blank… and voila card two is completed!
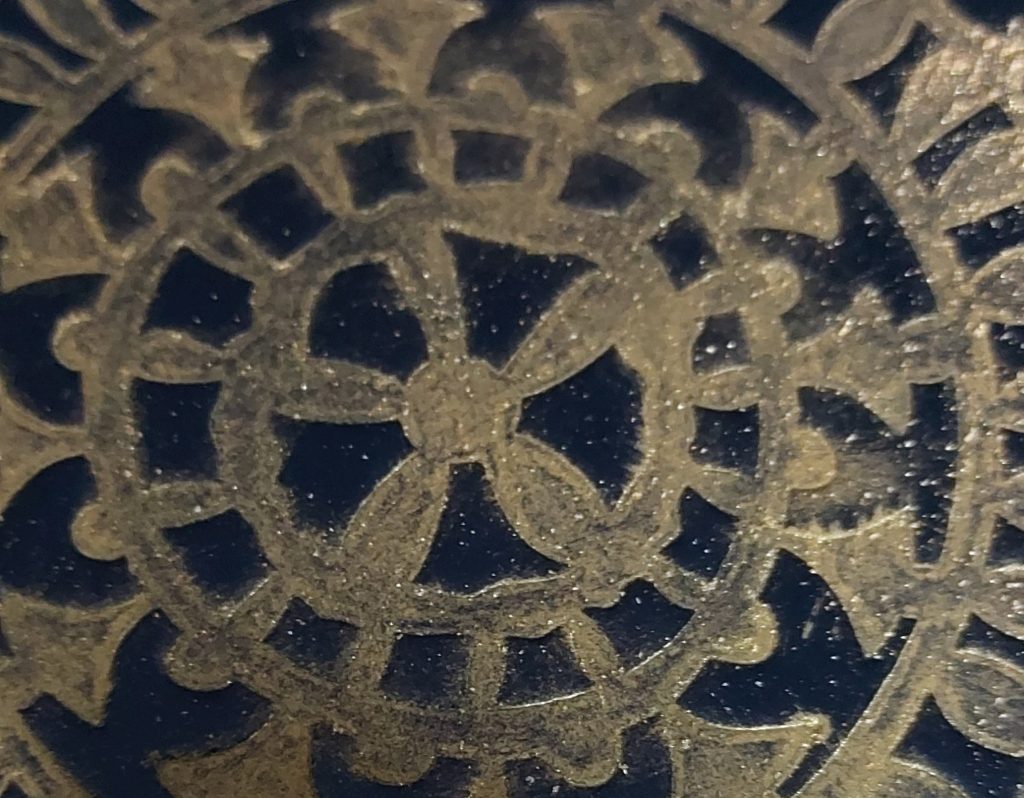
Step 17. Now, back to the coated card with your gold perfect pearls. Using a clean dry stencil brush, remove the excess gold powder. Using a cotton bud, remove any additional powder that may have adhered to the non-recessed area of your coated card.
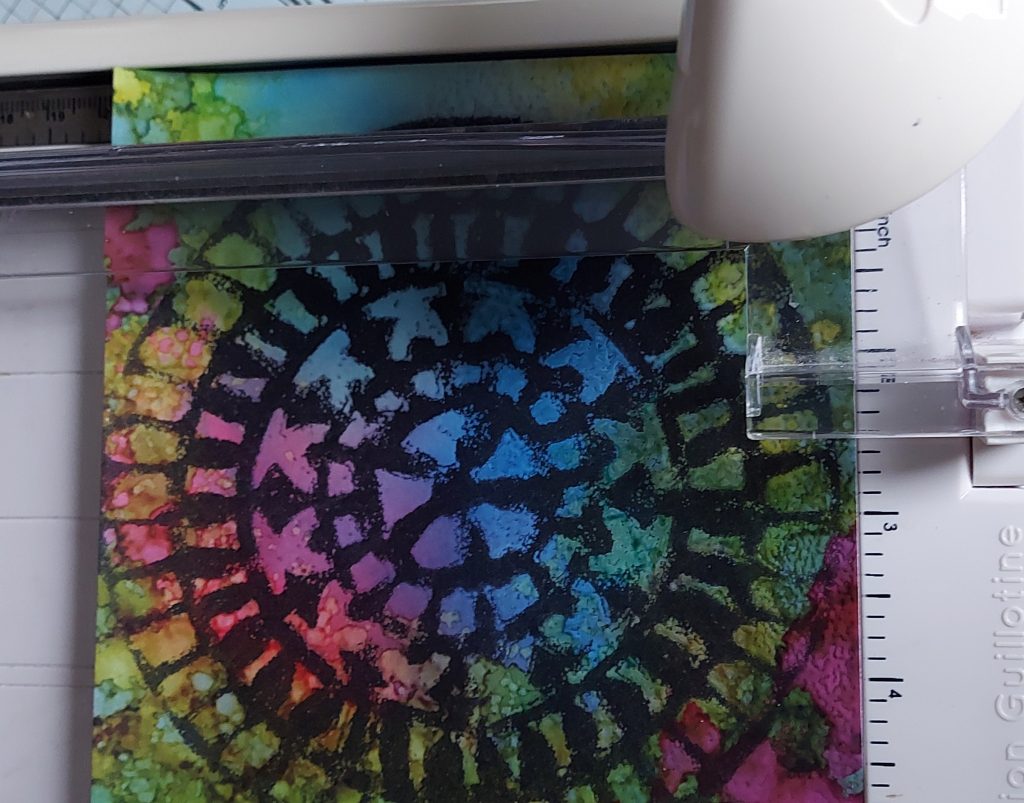
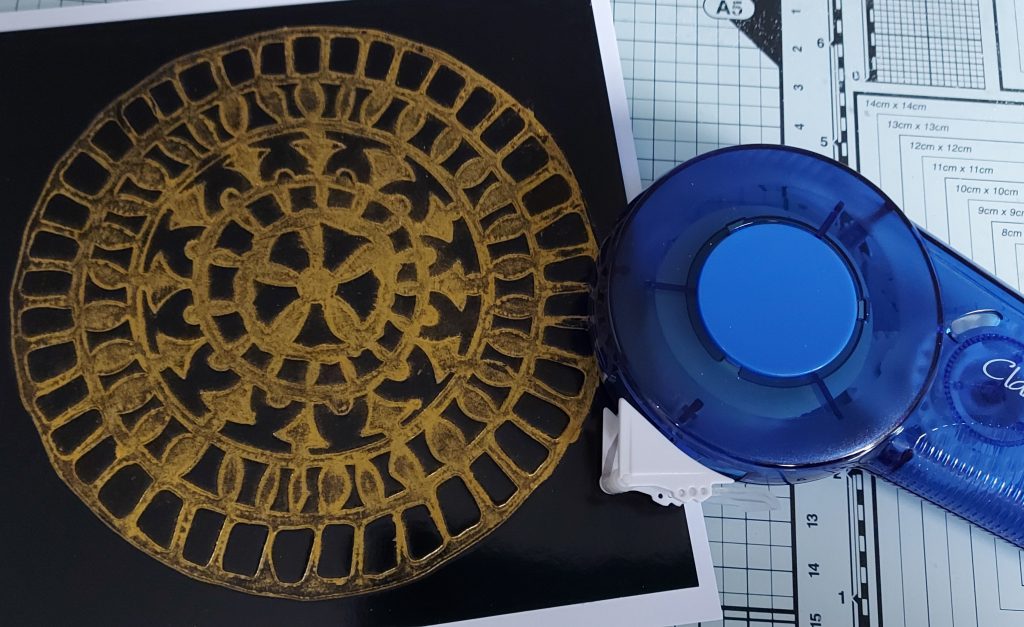
Step 18. Cut your card to just outside of the stencil size so it has an even border around the sides (that is, if you managed to position your stencil in the centre when embossing).
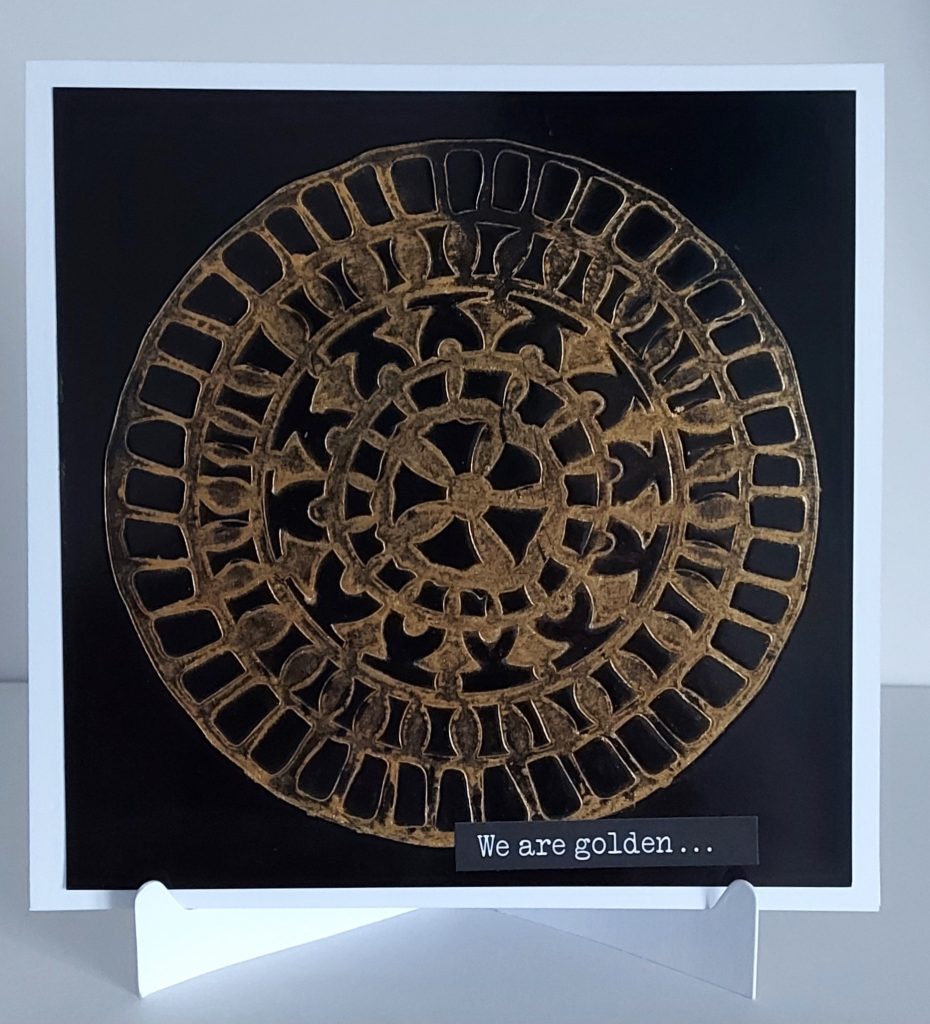
Step 19. Position on a 6×6 card, choose a word sticker to finish, or if you decide to use this as the centrepiece for a larger piece of art adhere to your chosen base. And voila, card two is complete!
I hope you have enjoyed your two-for-one step-by-step blog tutorial!
I would love to see the creations you come up with. Please share these on the Clarity Worldwide Facebook group or tag Clarity in your Instagram posts. Don’t forget, sharing is caring and we sure love to see your art!
WOW! Such gorgeous cards. Thank you, Tina, for sharing your tips and tricks with us. And two projects in one? Got to love that!
Everything that Tina has used can be found over on the Clarity website HERE
Looking at the week ahead:
Tuesday 14th Mar:
Groovi Tuesday with Paul – 10am Live on Facebook and YouTube
Wednesday 15th Mar:
One Day Special with Barbara & Paul on Create & Craft – 6pm & 9pm
Thursday 16th Mar:
One Day Special with Barbara & Paul on Create & Craft – 10am & 2pm
Travel gently, friends.
Lotsa love, Grace & Tina xoxo
Clarity – The Home of Art, Craft, and Well-Being.
Thank you Tina for this – I really, really must get my gelli plate of hibernation, blow off the dust and have a play xx
Thank you Tina. I love a twofer! And great idea of using the gel press to transfer the ink!
Need to get my gel press out now! Xx
Fab demo thanks, not sure I’m brave enough to try but I really should use that geli plate ! X
Wow!!
Two gorgeous cards.
A great way to use a stencil and gelliplate!!
Will have a go when I have found my gelliplate again…they are taken by gnomes I think..lol
Thank you Tina for your explanation.
Thanks Tina for a great twofer, who doesn’t love a twofer !! another way to make use of the gelli plate as well which it seems like many others are hiding away in our craft rooms. Great step by step instructions so there is no excuse really not to go & give it ago. I will let you know how I get on !!
Thanks Grace for bringing us our weekend of claritymatters.
Take care everyone x
That looks lovely, Thankyou for completing the demo! X
I love love love this one!
I’m so relieved to know that I’m not alone in putting my gel plates in safe places and never seeing them again. I have 5″x7″, which I’ve used a fair bit, and the 6″ square; they arrived on the same day, years ago, and the square is still in that elusive safe place.
That end result is lovely so I want to try it, and hope that it works as well for me.
Good luck to everyone with their creations! Xx
Great demo, thank you. xx
these are fabulous Tina! I definitely need to get my Gelli plate out for a play again…