Clarity Matters Blog Tutorial: How To Create A Wreath with Stamps
Hello hello! Grace here.
I hope this finds you well on this lovely Sunday.
We are joined by the super talented, Tina Morris, who has kindly prepared a detailed step-by-step stamp project for us all!
I’ll pass you along to our teacher…

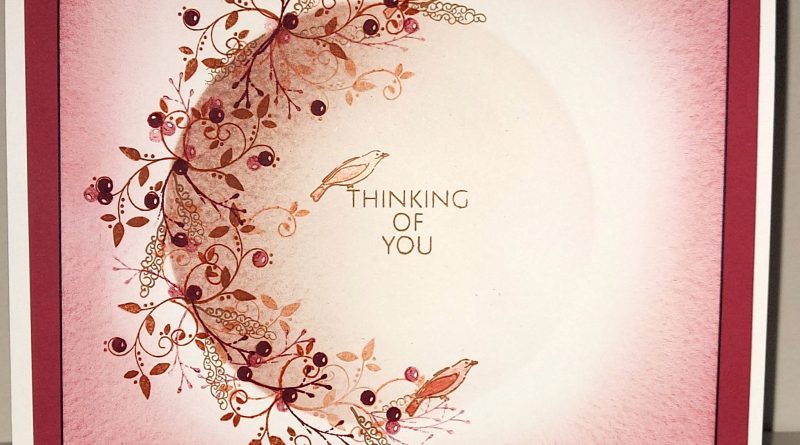
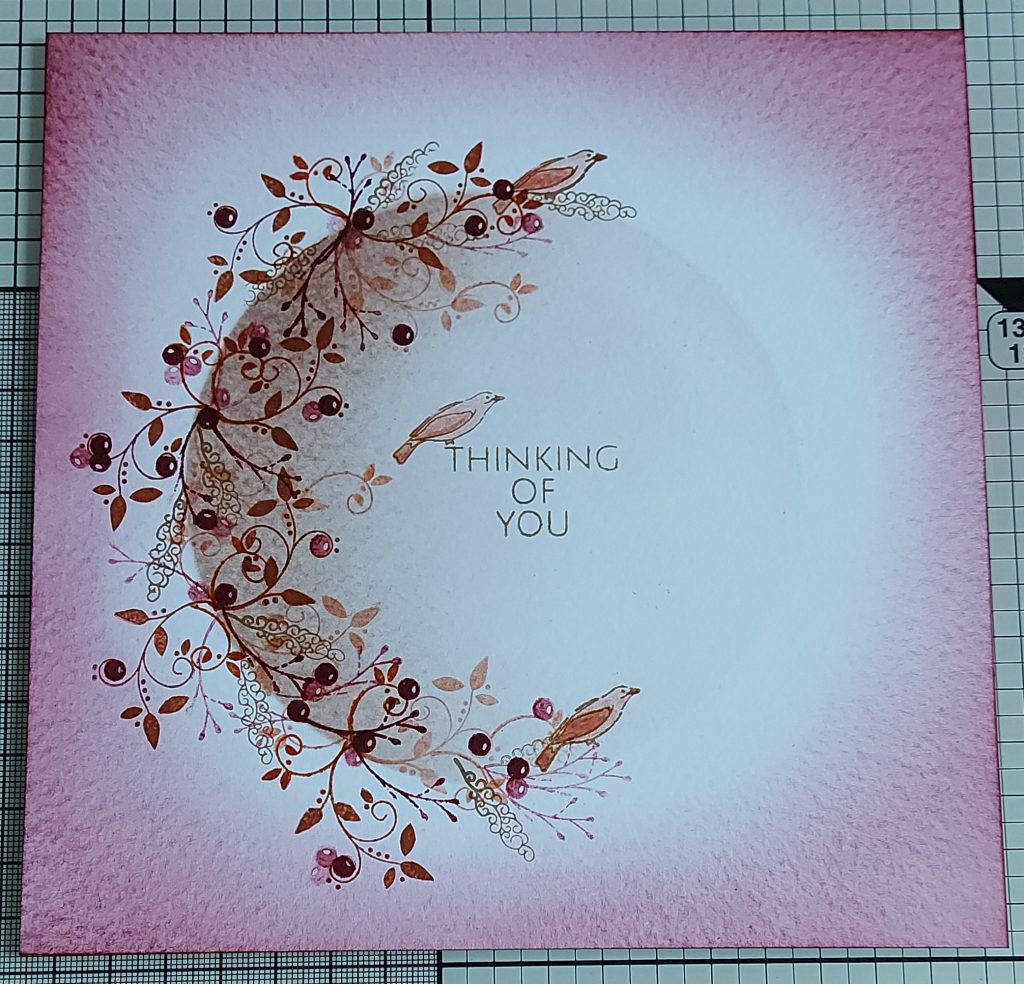
Step by Step – Thinking of You Wreath Stamp Project
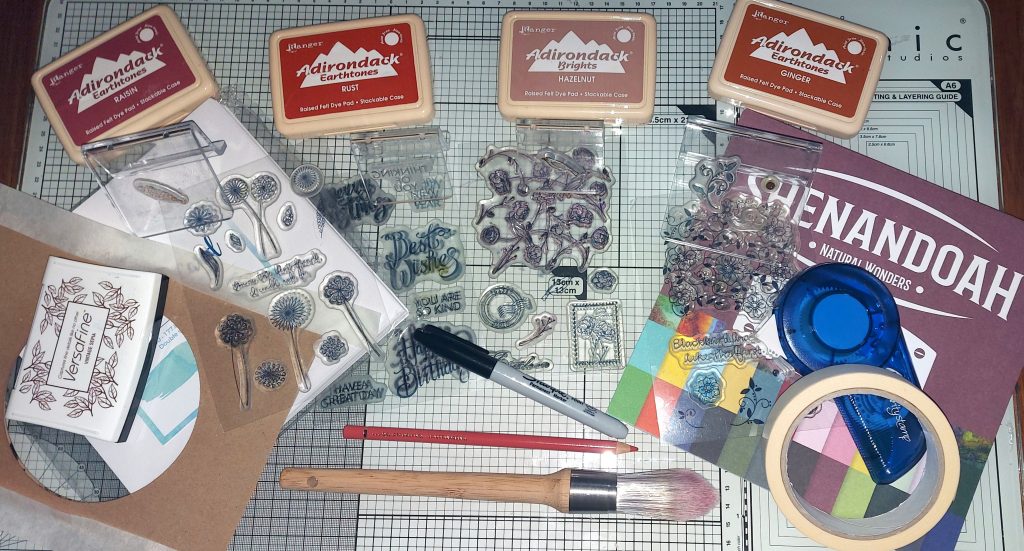
Ingredients

Card Blanks 8″x 8″ White x20 (ACC-CA-30620-88)
Stencil Card 7″x 7″ (50 Sheets) (ACC-CA-30095-77)
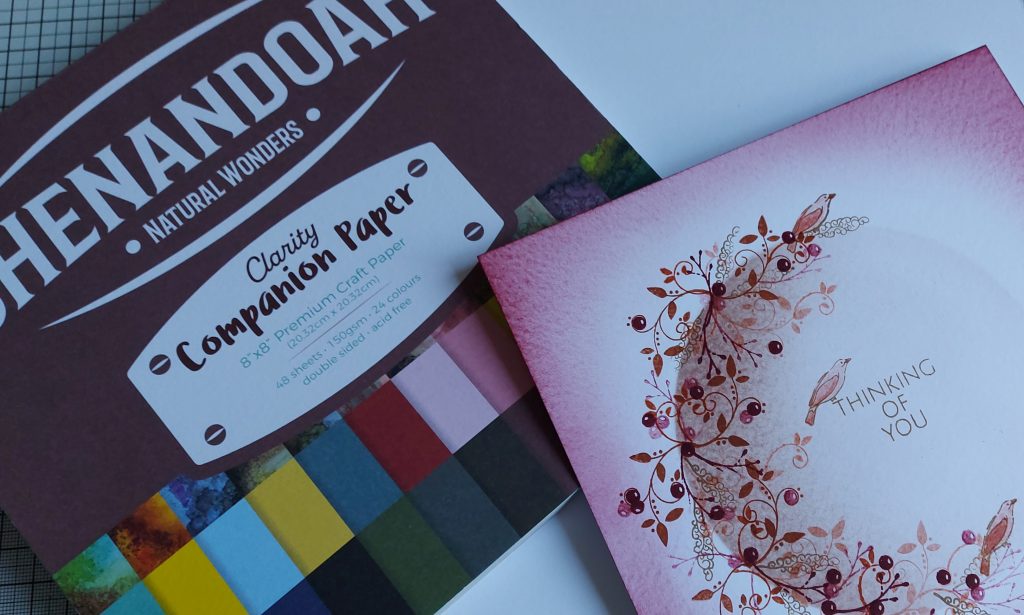
Shenandoah Companion Paper 8″x 8″ (ACC-CA-31340-88)
Clarity Low Tack Masking Tape (ACC-AD-31211-XX)
Roll-A-Tape Super Strong Permanent Glue Tape Runner (ACC-MS-31065-XX)
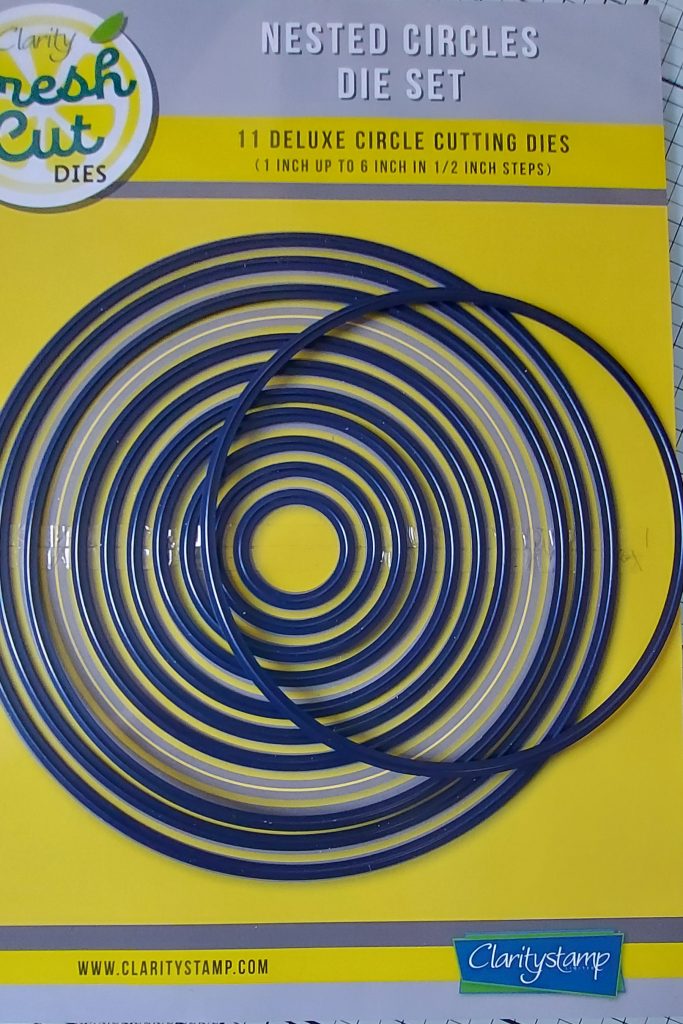
Nested Circles Die Set Clarity Fresh Cut Dies (ACC-DI-30667-66)
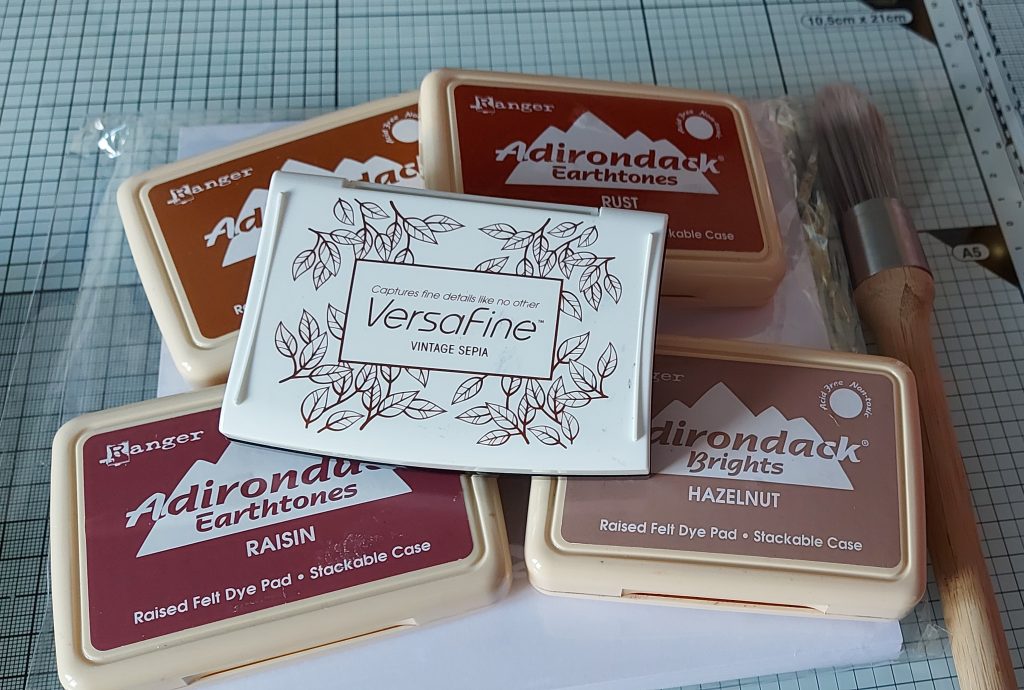
Archival Ink Pads or Artistry Ink Mini Ink Pads – Old Parchment Collection – (Box Of 12) (INK-AT-50228-XX) (Tone on Tone colours)
Clarity Stencil Brushes (Set Of 4) (ACC-BR-30006-XX)
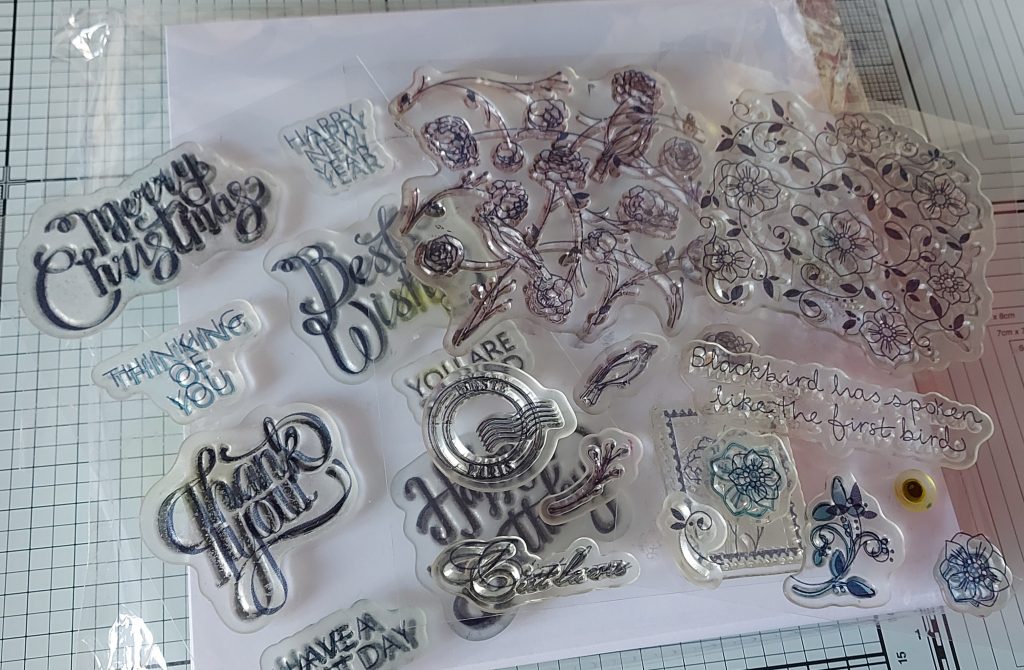
KISS By Clarity – Bijou Ribbon Sentiments A6 Stamp Set (STA-WO-11506-A6)
Blackbird On The Wing Decorator A6 Stamp Set (STA-FL-11495-A6)
Clarity Cut Card Kit – On The Wing Collection (CLA-BI-21141-XX)
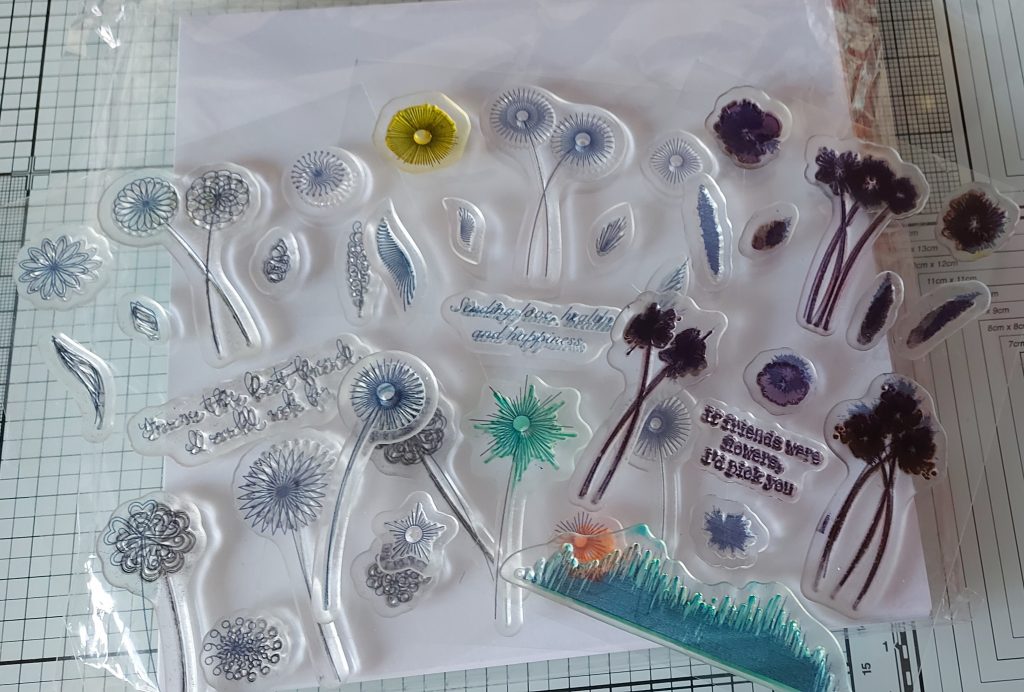
KISS By Clarity – Build-A-Scene Doodle Flowers A6 Stamp Set (STA-FL-11518-A6)
8x Square Stamp Mounts/Handles (ACC-MO-30391-XX)
Polychromo – 190 Venetian Red (ACC-PE-30797-XX)
Sharpie Black Pen
Method
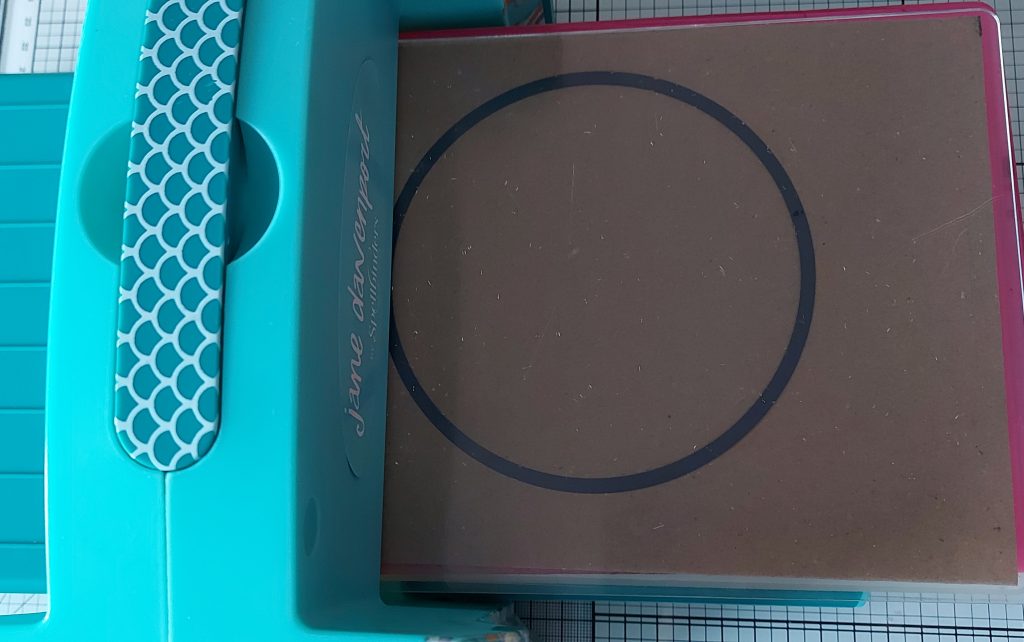
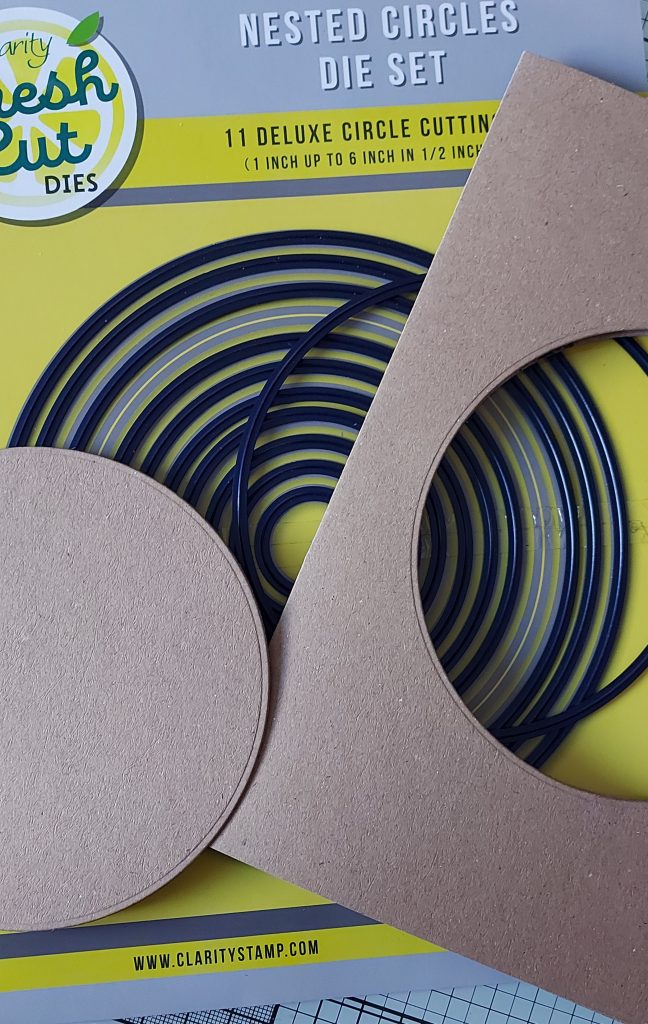
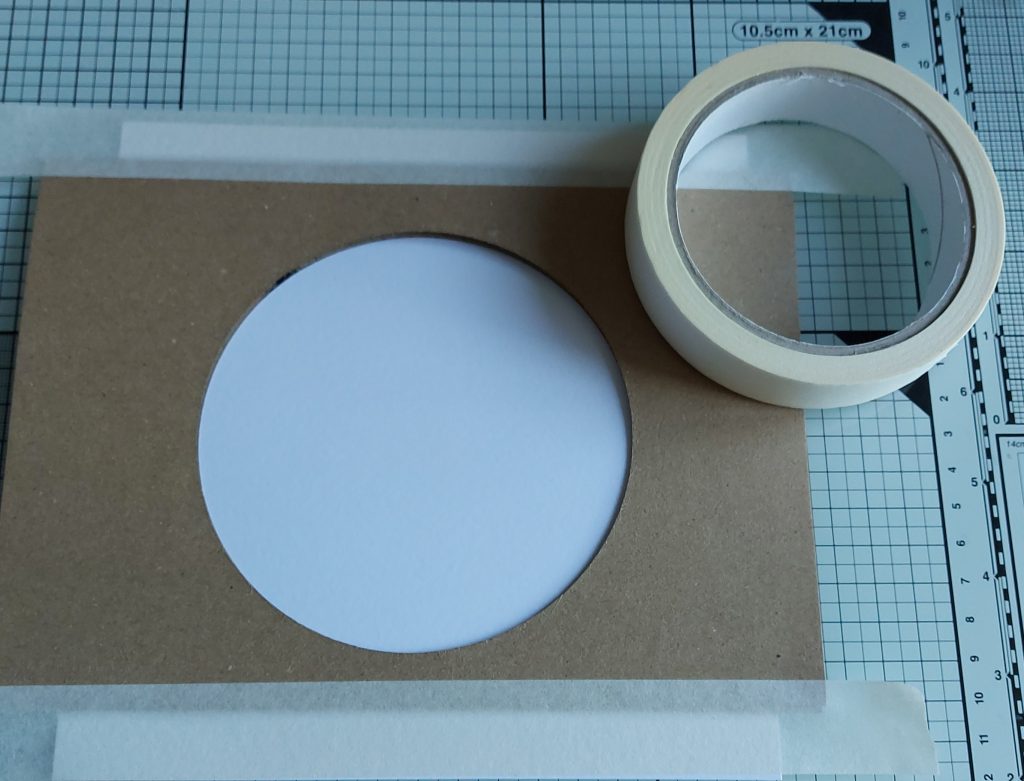
Step 1. Using the 4th Die in (from the Nested Circle set), cut out of old card or paper a circle, this will be used as the aperture. If you have one of the Clarity Circle Stencils this could also be used.
Step 2. Using the aperture and the Clarity Low Tack Tape, attach your aperture or circle stencil to your 7×7 stencil card stock.
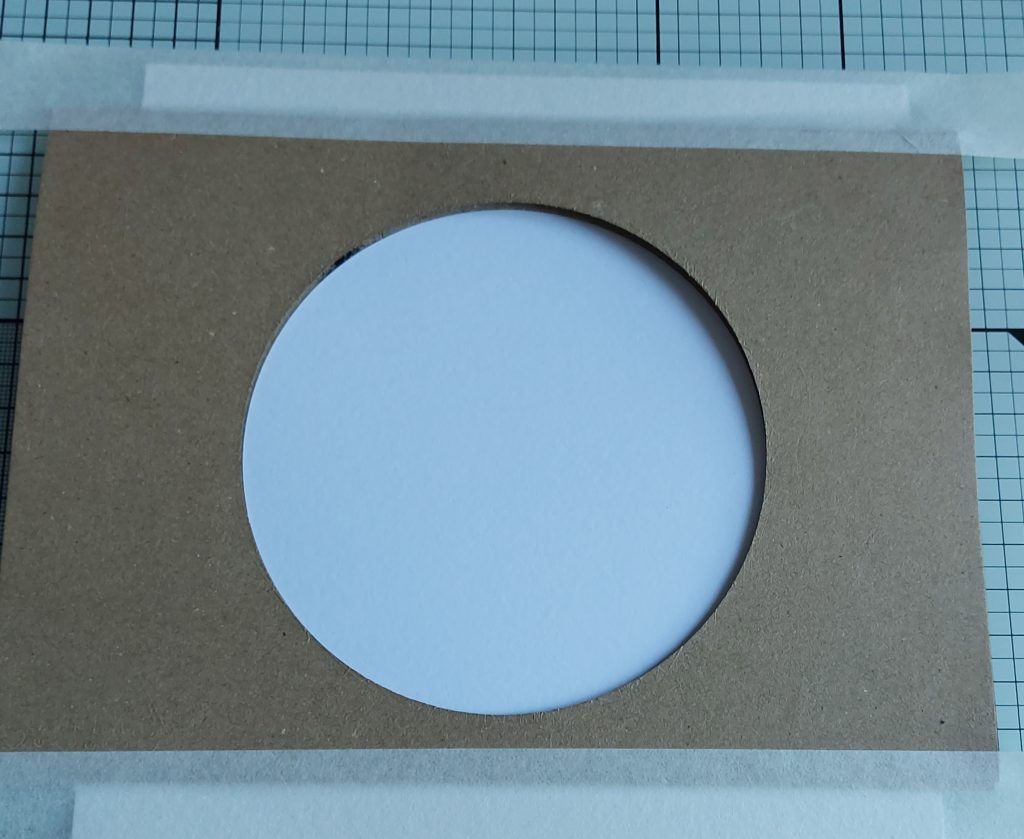
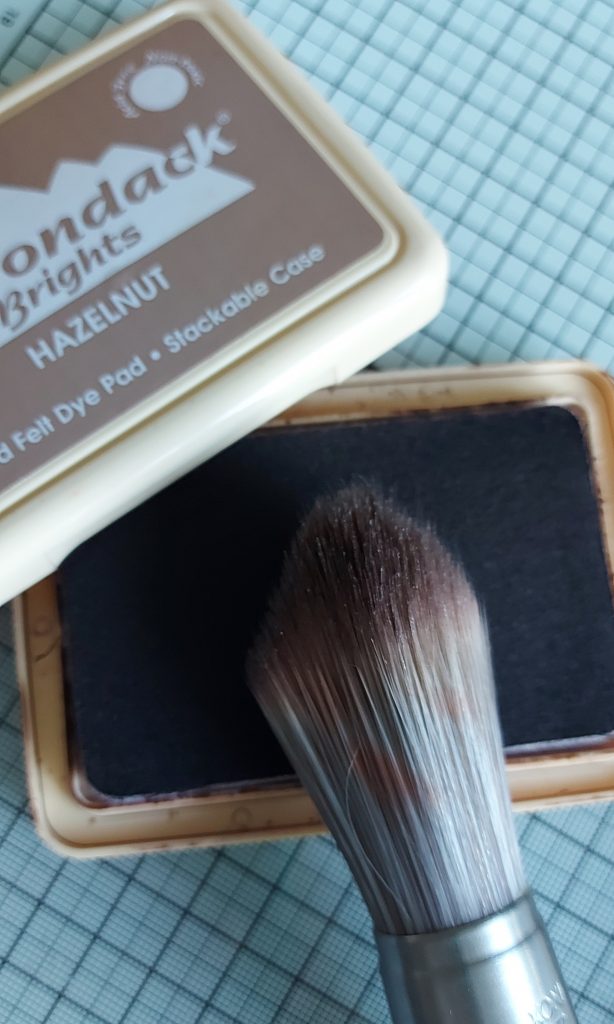
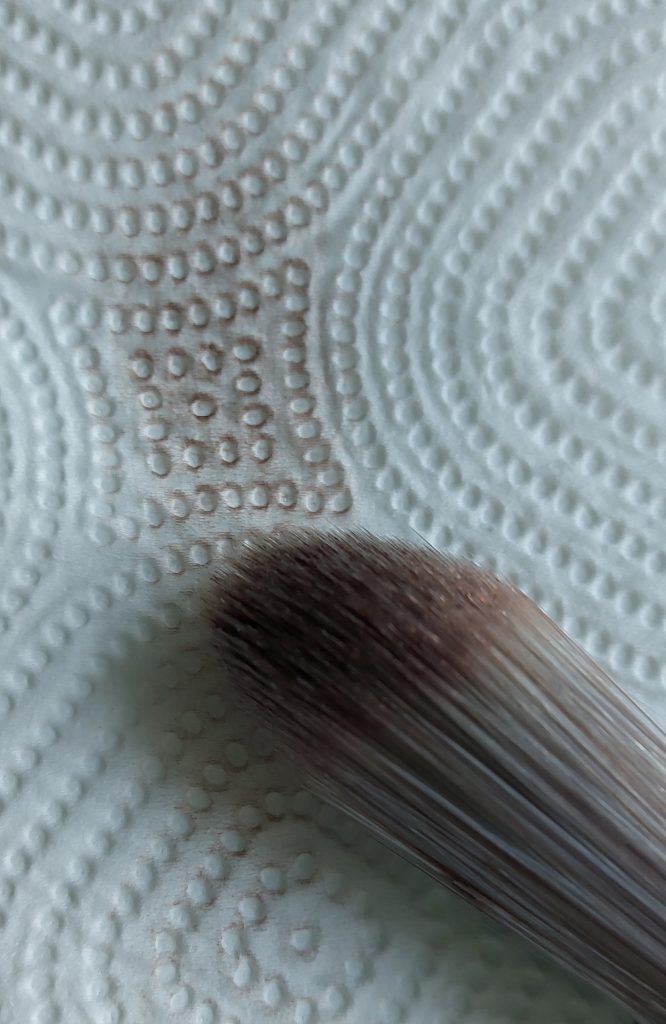
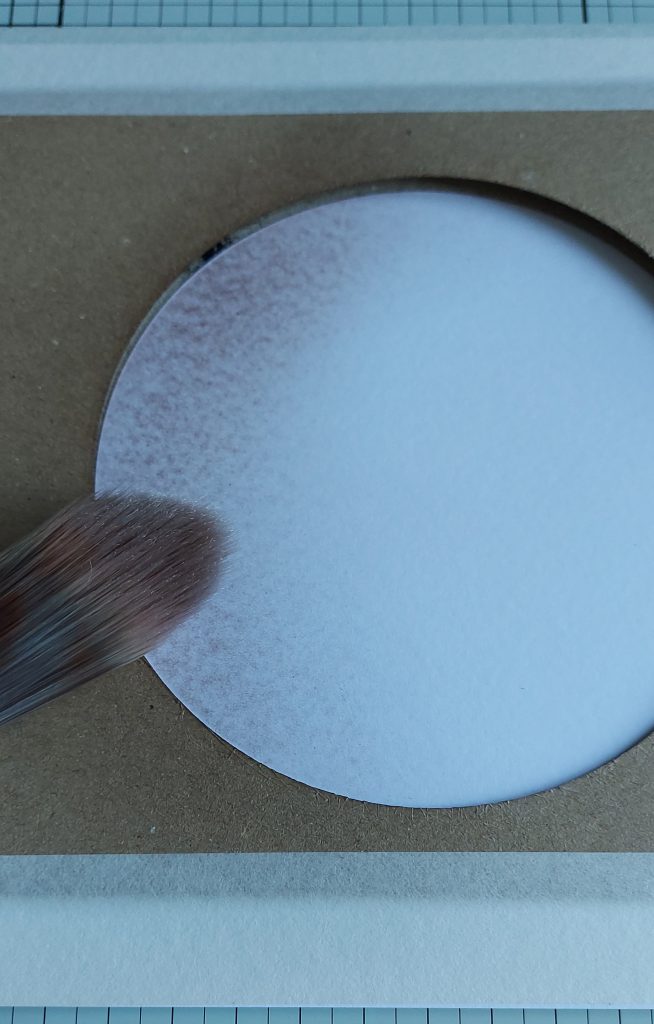
Step 3. Ink up your lightest colour (Hazelnut Adirondack ink) with your Clarity Stencil Brush. Using a piece of kitchen towel, wipe off the excess. Remember, you can always add more but you can’t take it away.
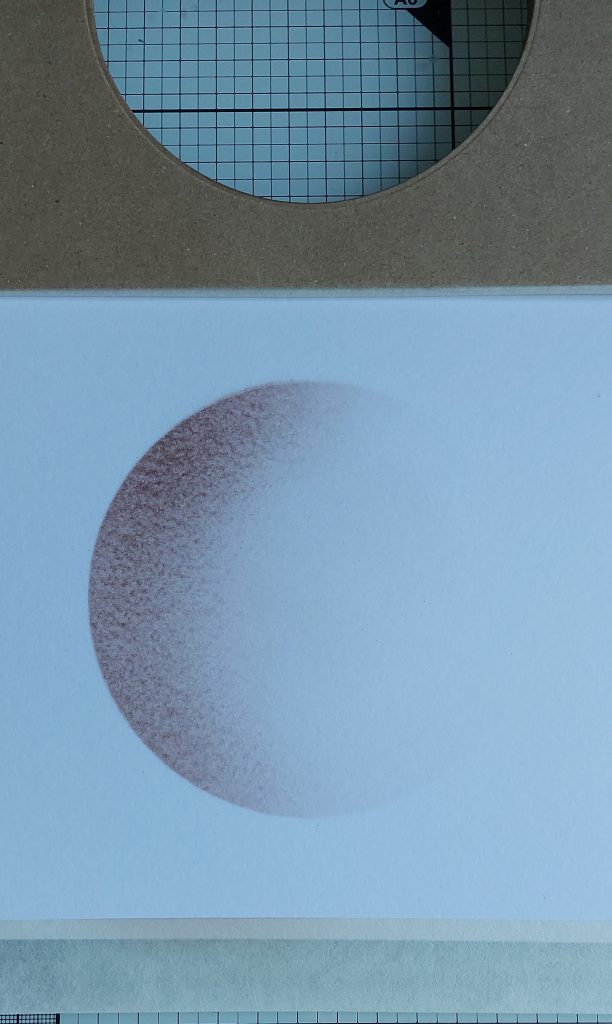
Step 4. Gently brush through the circle aperture mainly concentrating on one side. For the last couple of brushes, use almost a dry brush, going around the whole aperture. Remove the tape from the bottom of your stencil/aperture and leave the top tape in place as a hinge, just incase later you want to darken your aperture image
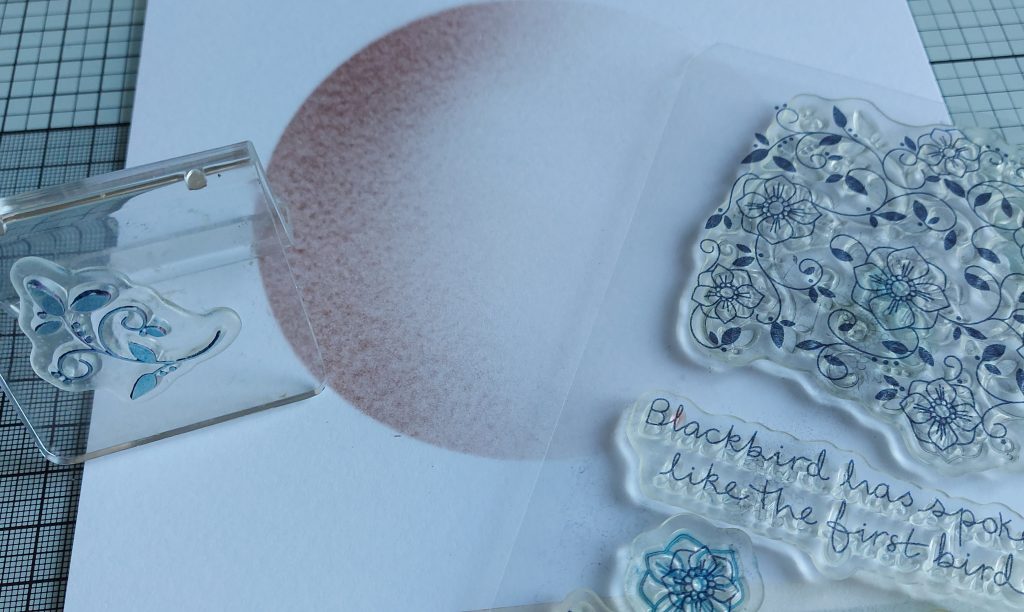
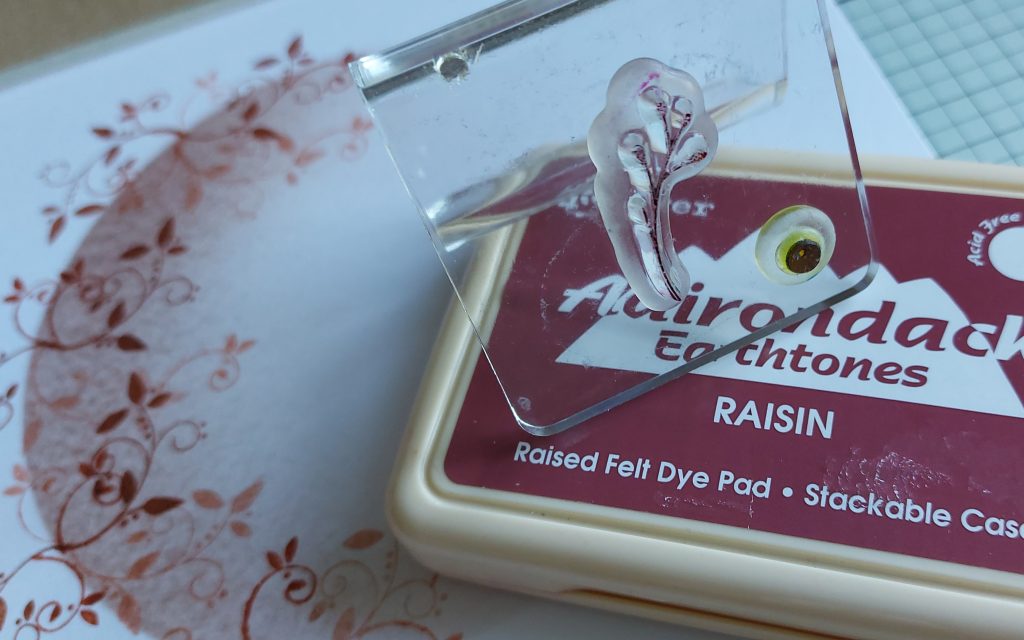
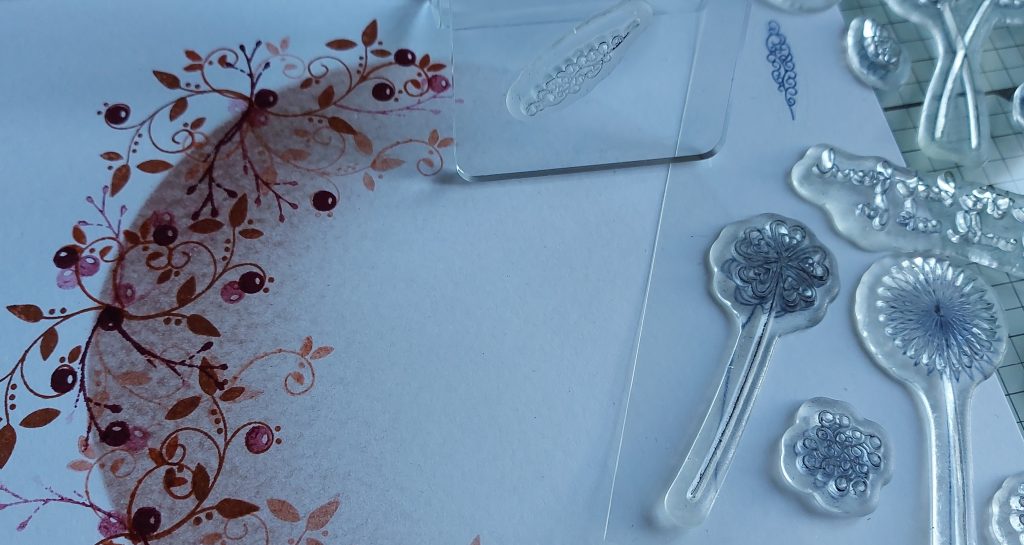
Step 5. Choose your first small stamp to make the semi-circle wreath. I have chosen one of the swirls from the Blackbird On The Wing Decorator A6 Stamp Set. Mounted on one of the Clarity Stamp mount handles, I have also added a smaller stamp to stop any wobble.
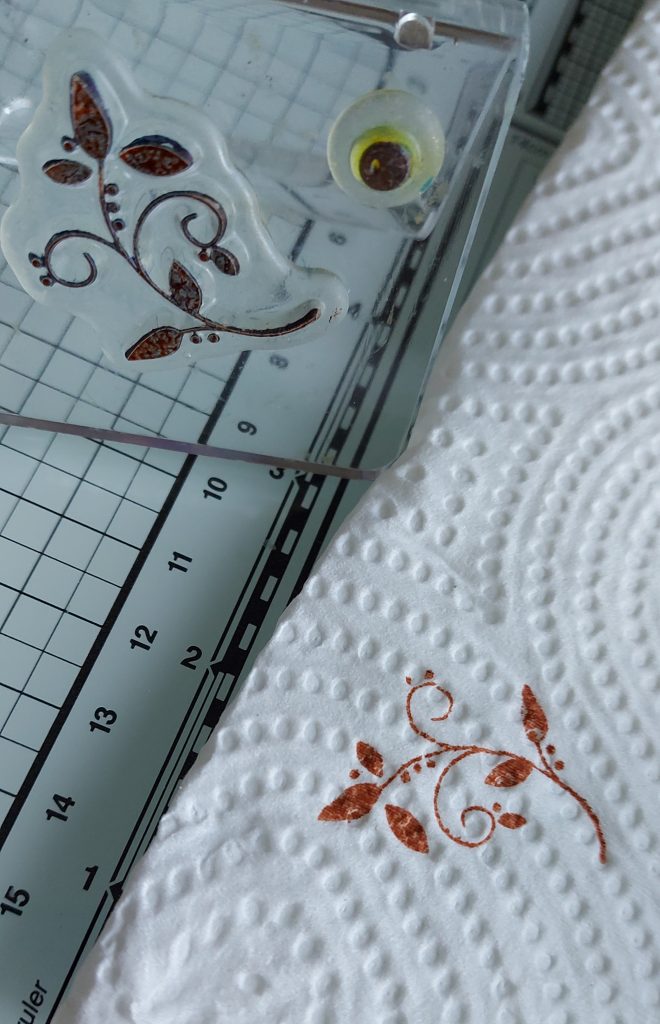
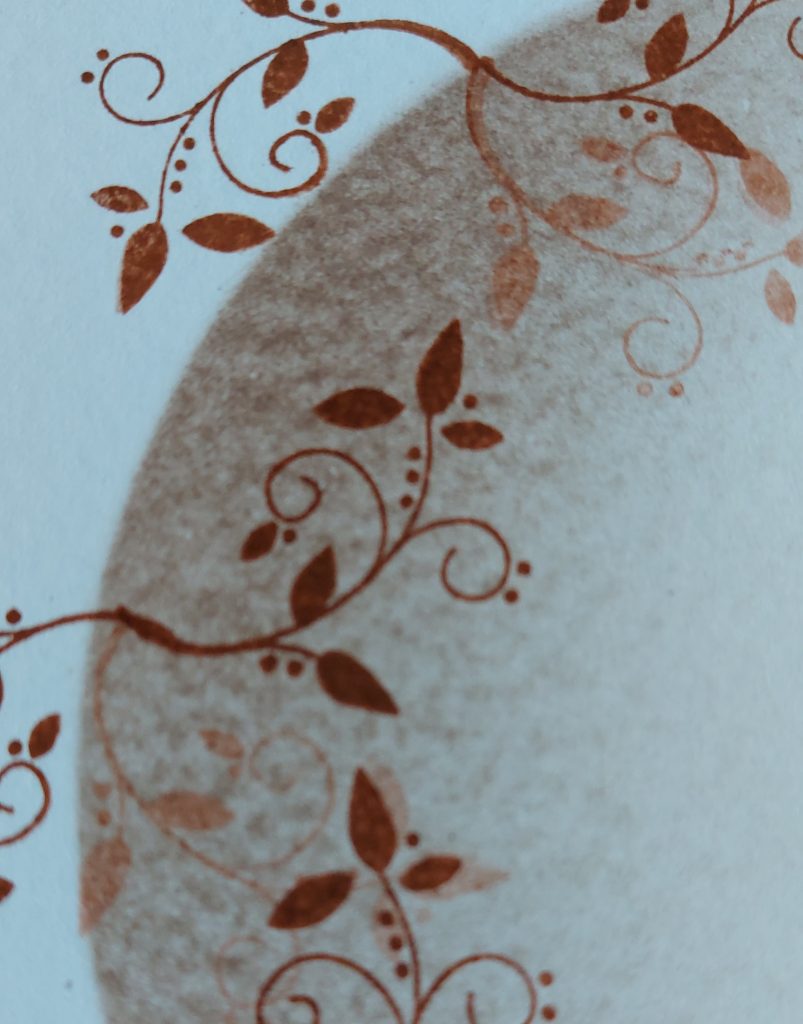
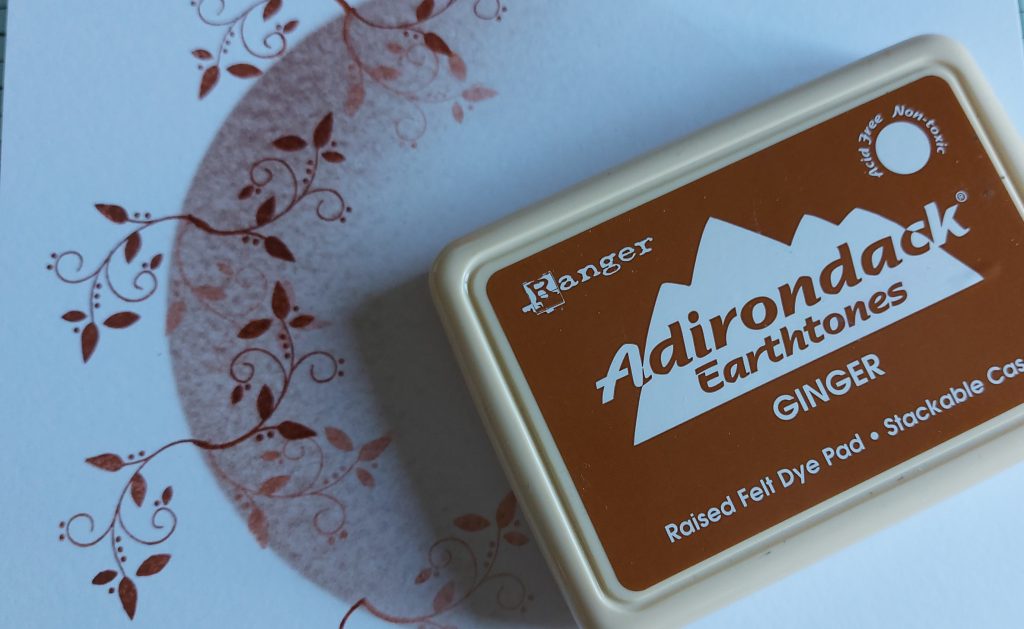
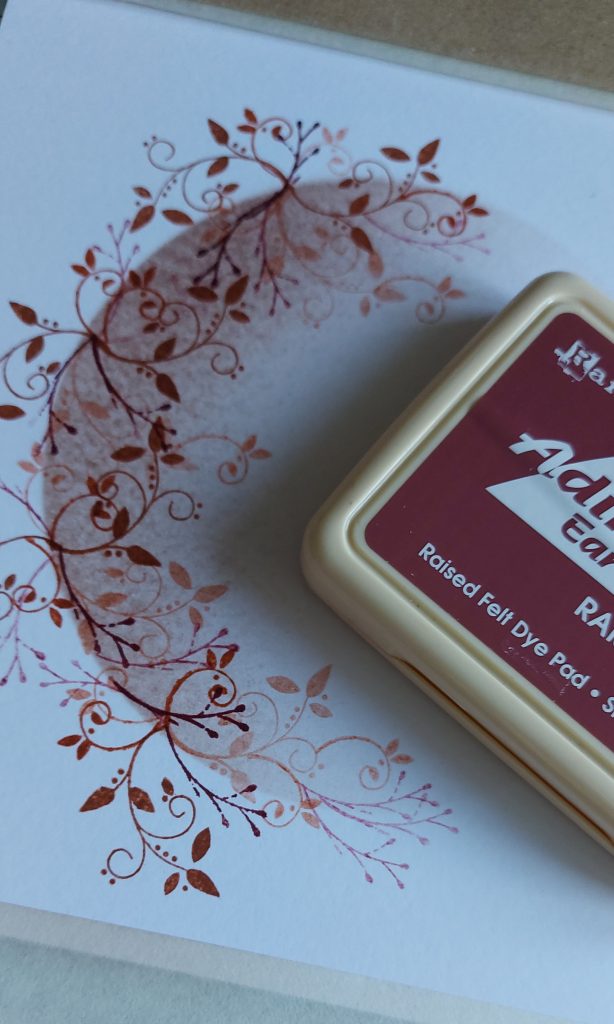
Step 6. Using the 1st and 2nd generation stamping, I have used the Ginger Adirondack Earthtones to stamp a similar pattern around the left-hand side, where I added the Hazelnut Adirondack ink. You can do this random or in a pattern – it’s your art.
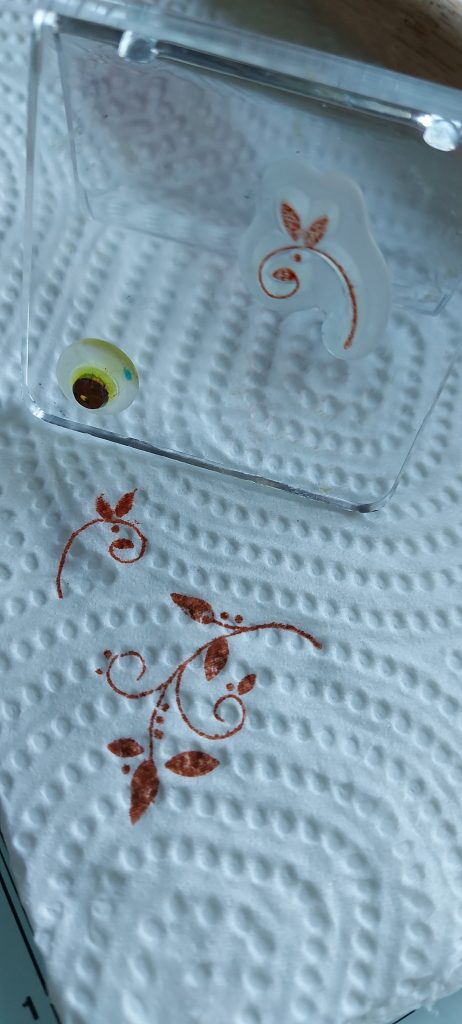
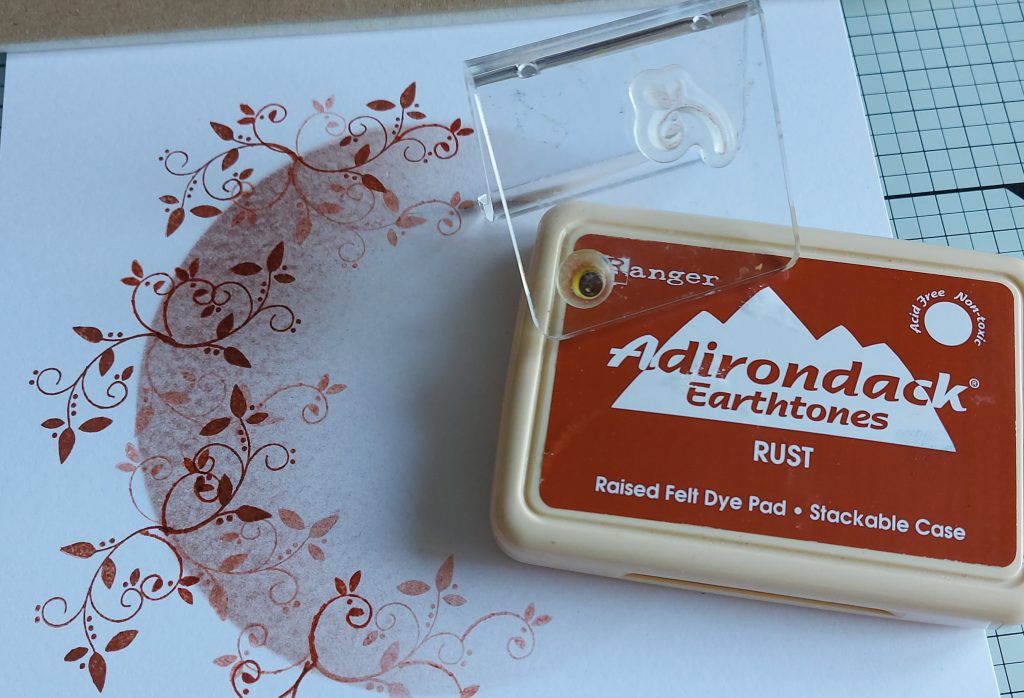
Step 7. Taking the slightly darker ink and another of the smaller stamps from the same stamp set, repeat the 1st and 2nd generation stamping. For this stamp I used the Rust Adirondack Earthtones.
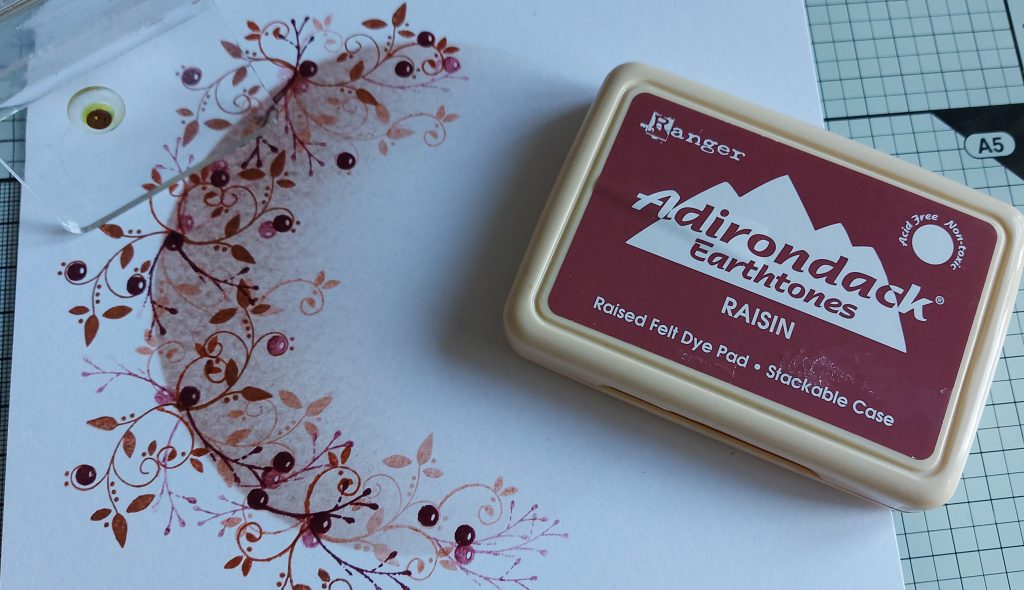
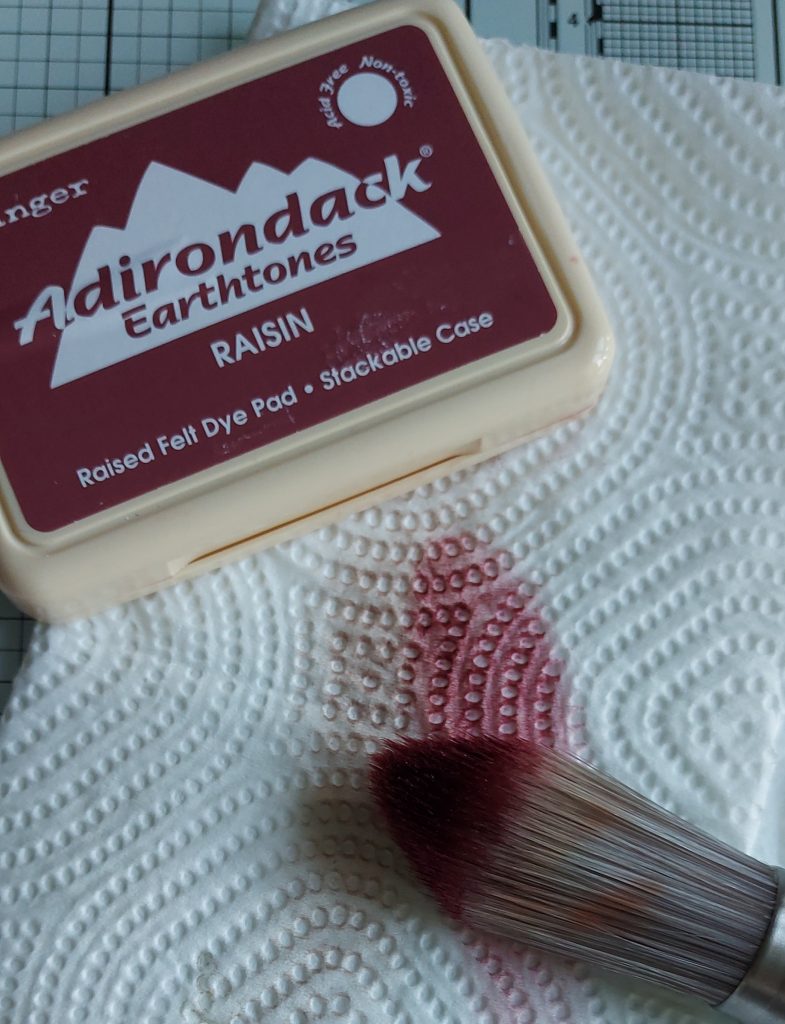
Step 8. Take the darkest of the inks (Raisin – Adirondack Earthtones) and another of the smaller stamps this time (from the Clarity Cut Card Kit – On The Wing Collection). Use 1st and 2nd generation stamping to fill in any gaps.
Step 9. Take the little berry stamp (from the Blackbird On The Wing Decorator A6 Stamp Set) and using 1st and 2nd (and even 3rd) ink permitting generation stamping. If you can achieve batches of 3 it makes the berries look a little more realistic.
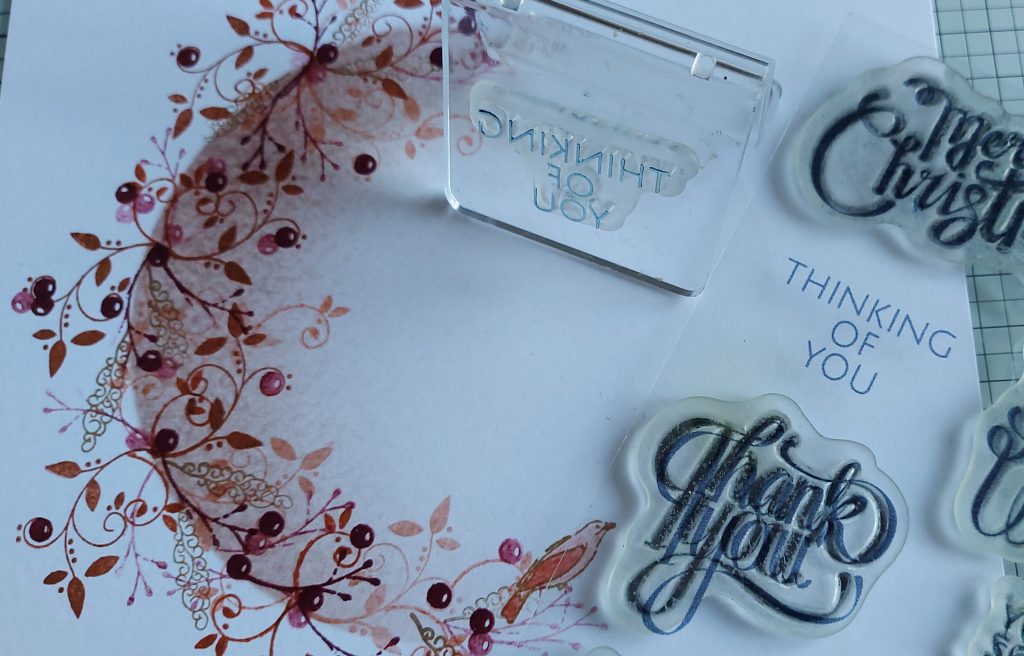
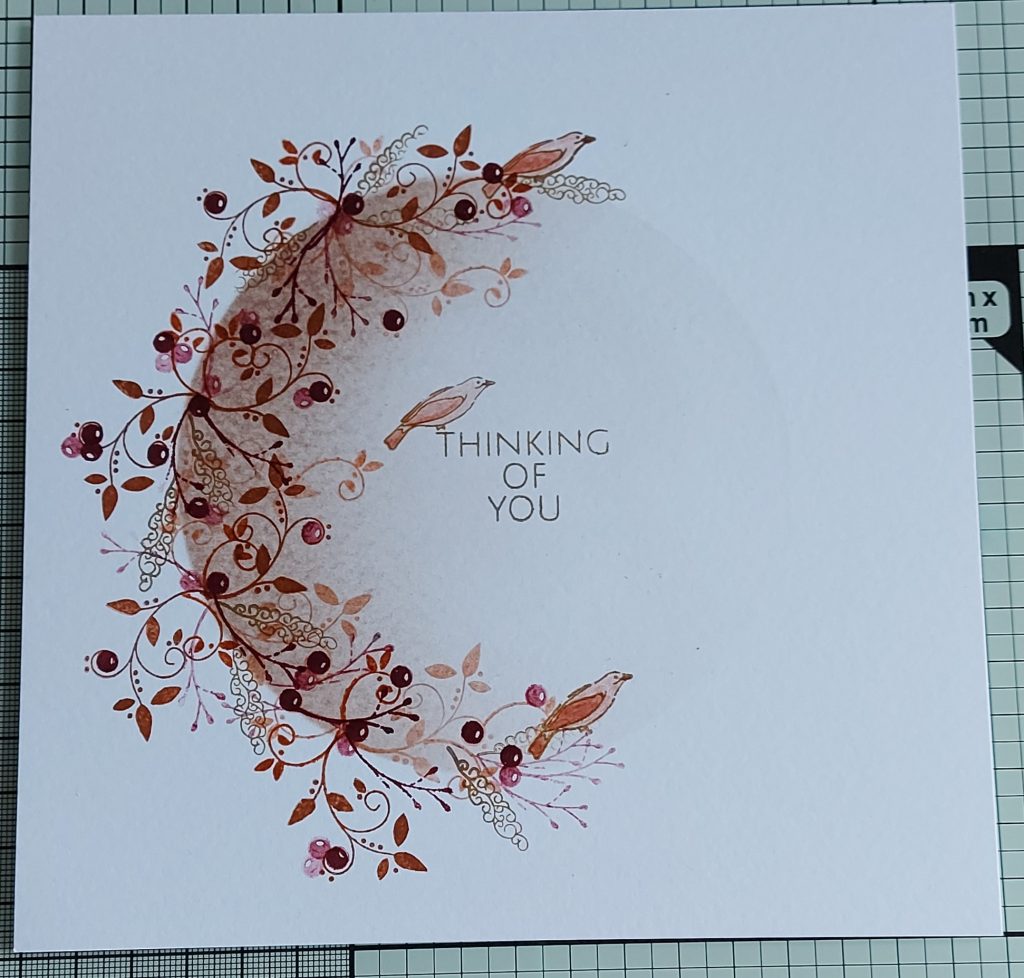
Step 10. Next, I chose one of the stamps from the KISS By Clarity Build-A-Scene Doodle Flowers A6 Stamp Set. The Versafine Vintage Sepia is the colour that I have used to stamp my sentiment and birds. I added a few of these in 1st and 2nd generation to pull in the colour tones.
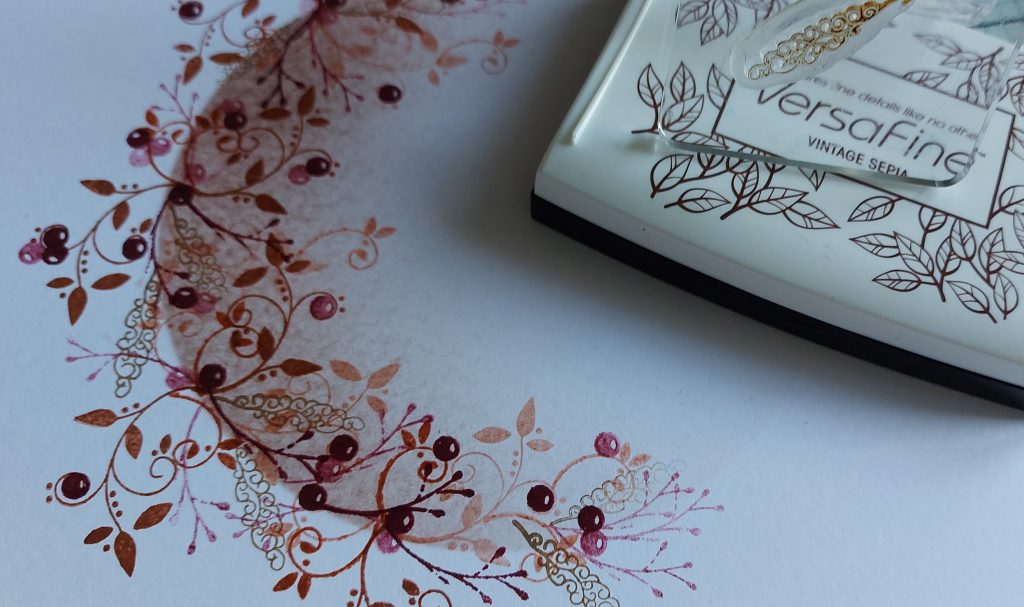
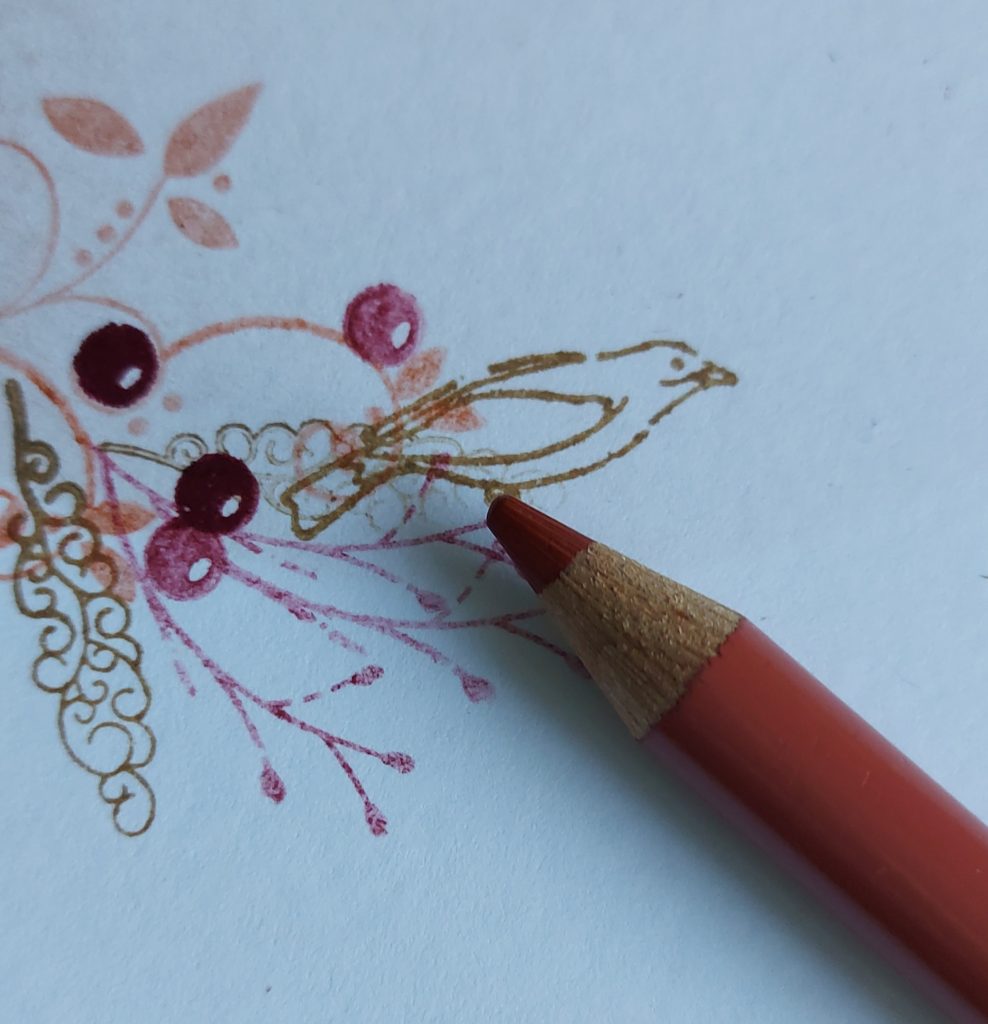
Step 11. Using the bird (from the Clarity Cut Card Kit On The Wing Collection), I stamped him on the bottom and top branch of the wreath, knowing that I would also be stamping him perched on my sentiment.
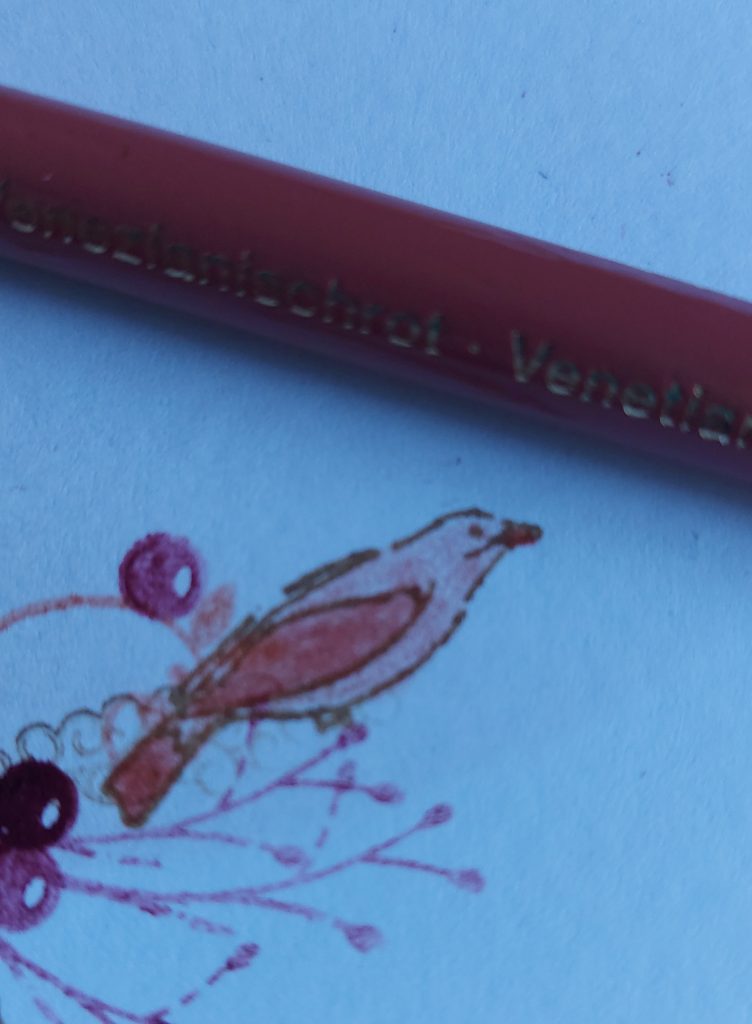
The rule of 3, just like gardening- keep things in batches of odd numbers 1,3,5, and 7’s works well. Using a Polychromo tonal pencil (Venetian Red-190 in this case), colour in the bird a light layer on the body and darker on the wing and beak.
Step 12. Choose your sentiment. I personally love the KISS By Clarity Bijou Ribbon Sentiments A6 Stamp Set. It’s one of my go-to’s for quick stylish sentiments for the inside of a card as well as your outer sentiments. Don’t forget to add your 3rd bird for balance.
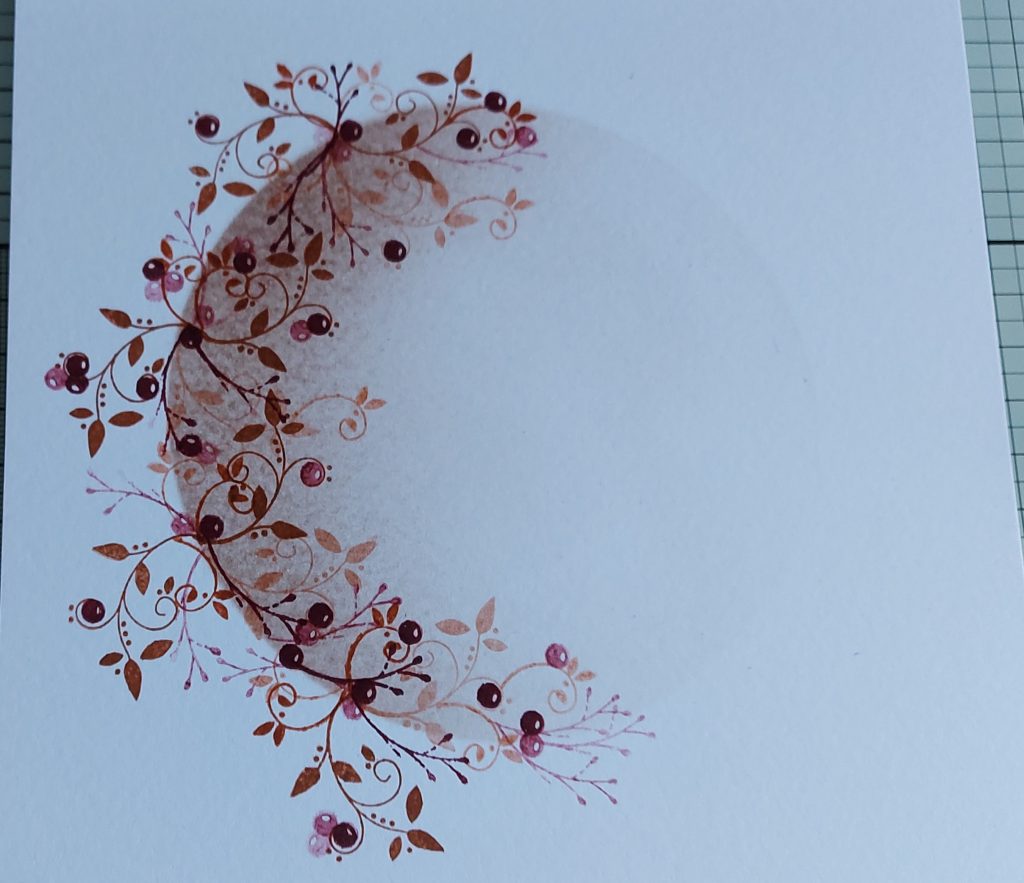
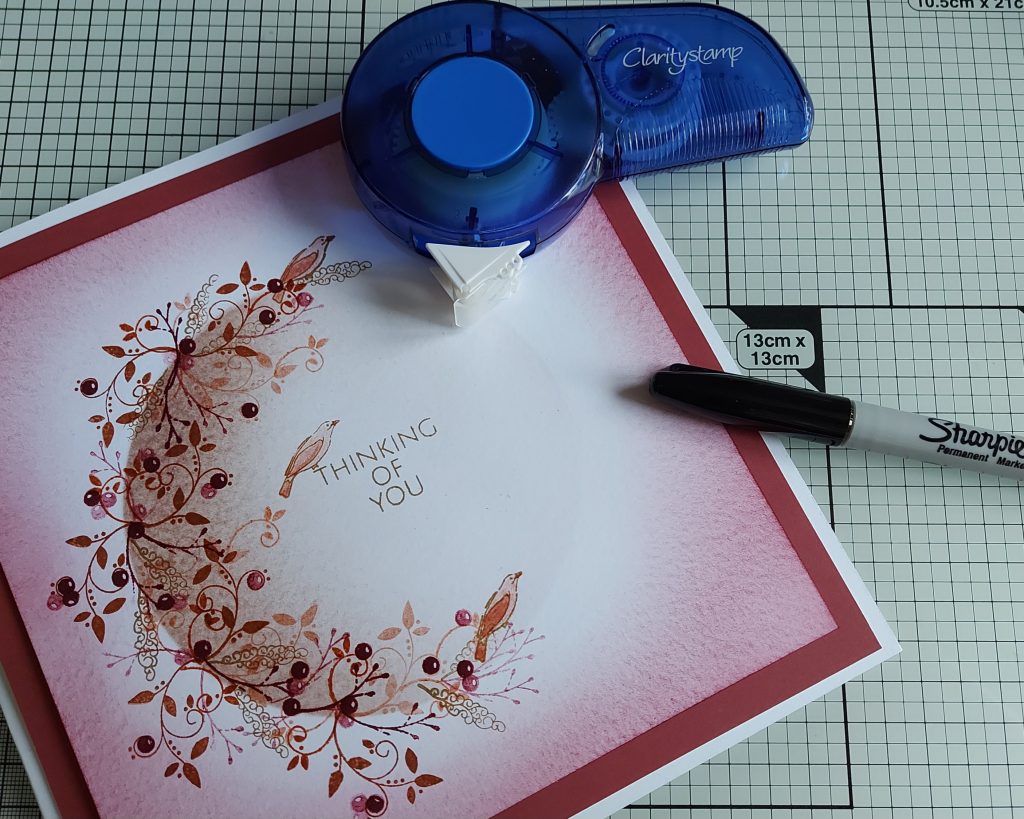
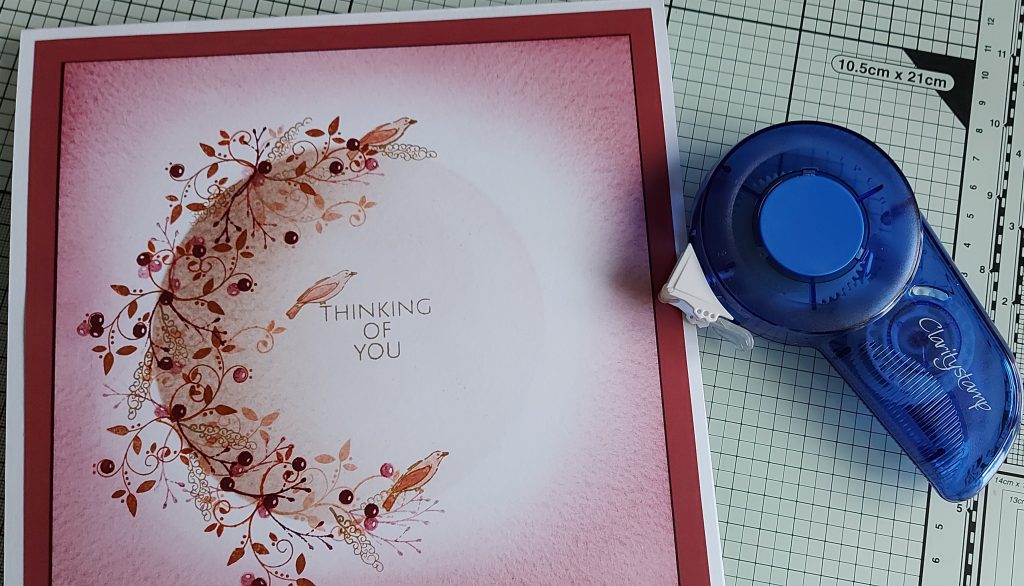
Step 13. Using your darkest ink, load your brush and then dispense a lot onto your kitchen towel. Once you have the required amount, we are going to create a vignette around the wreath, leaving about an inch of white space so don’t brush in too far.
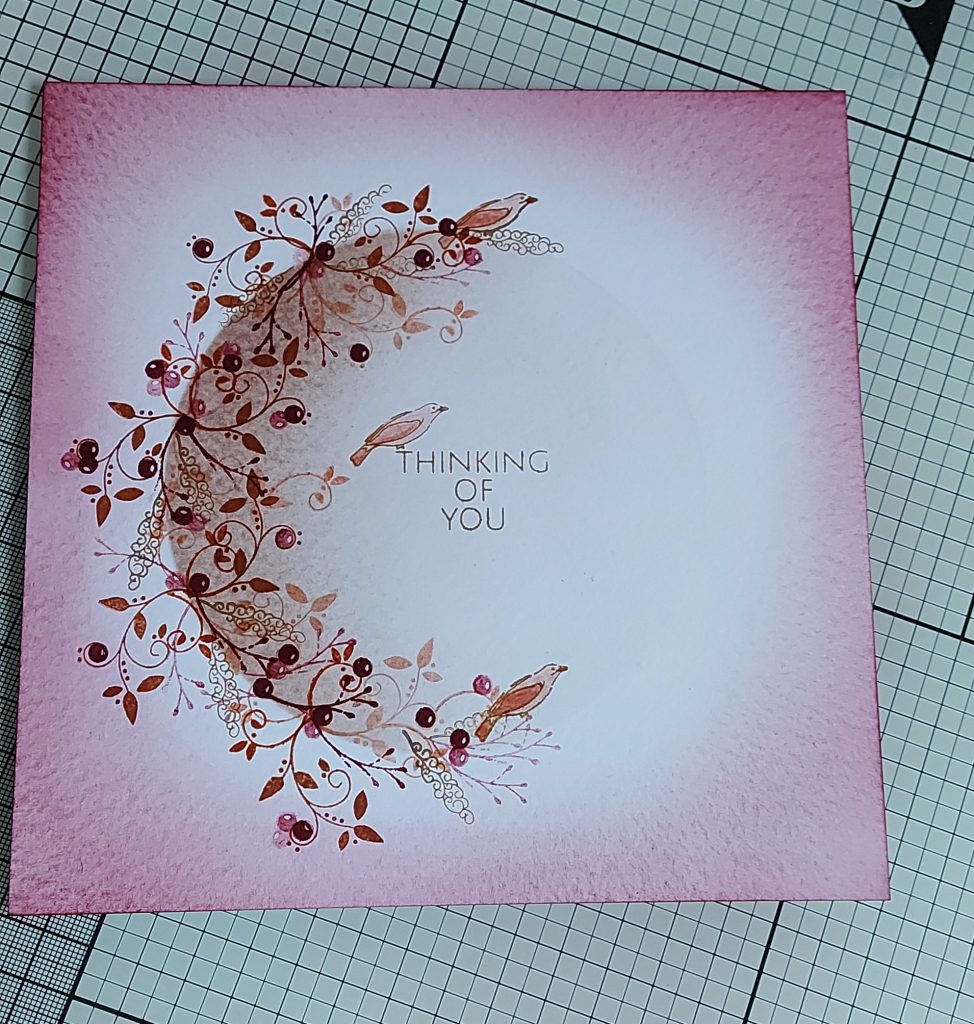
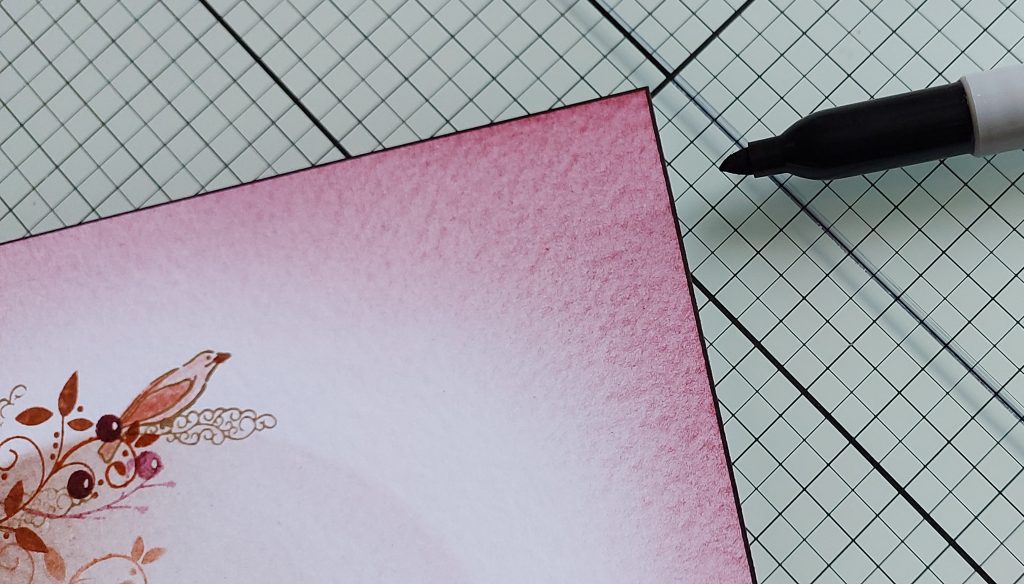
Step 14. Edge your card with your black Sharpie, by digging in at an angle. Take care to have enough space to pull the pen towards you the whole length of the card, taking care not to slip and sharpie your artwork.
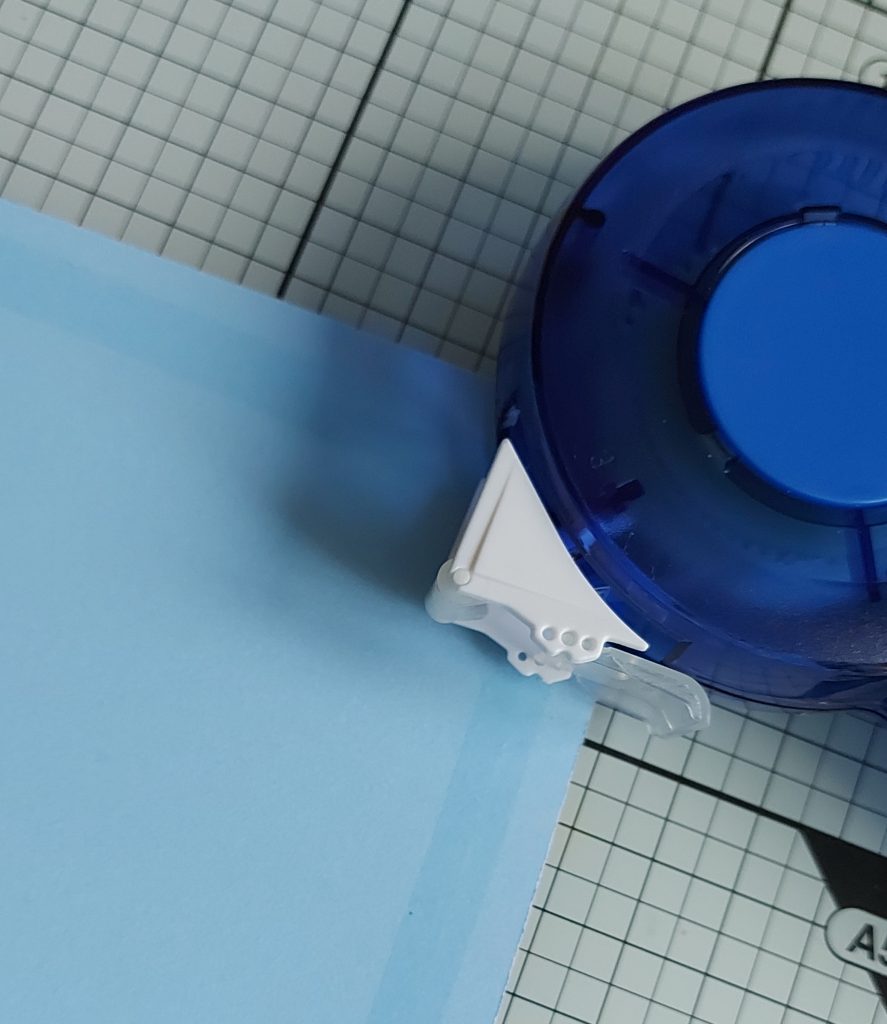
Step 15. Choose a Companion paper to match your colour tones. I have used the Shenandoah for my colour palette. Cut about 3 millimetres off of two sides of the Companion paper, you want enough just to give you an equal board to your 8×8 card blank.
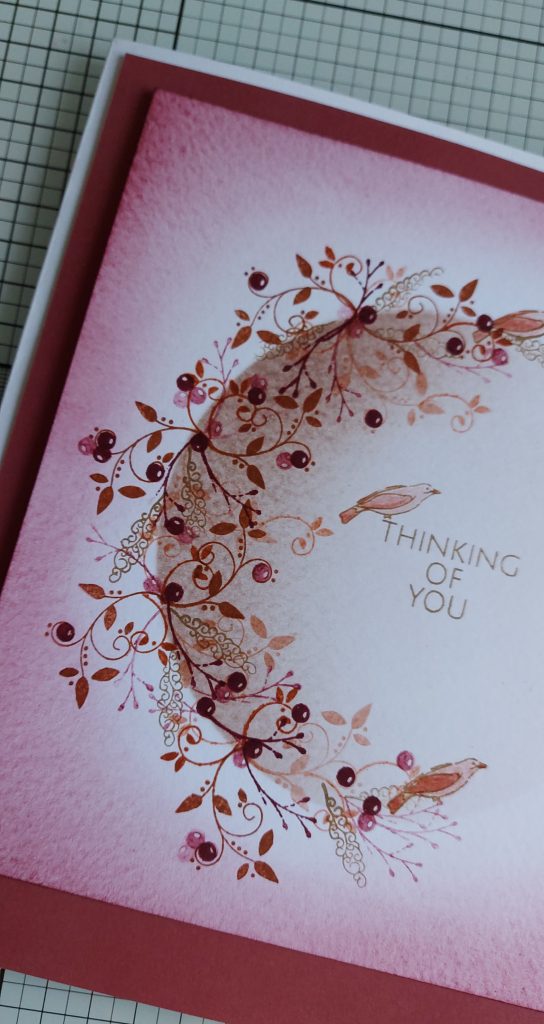
Step 16. Using your Clarity roll a tape, mount your Companion Paper on the 8×8 card base, then your art onto the companion Paper. I eyeball mine but if you’re into measuring go right ahead. As Barb says, your ride, your rules.
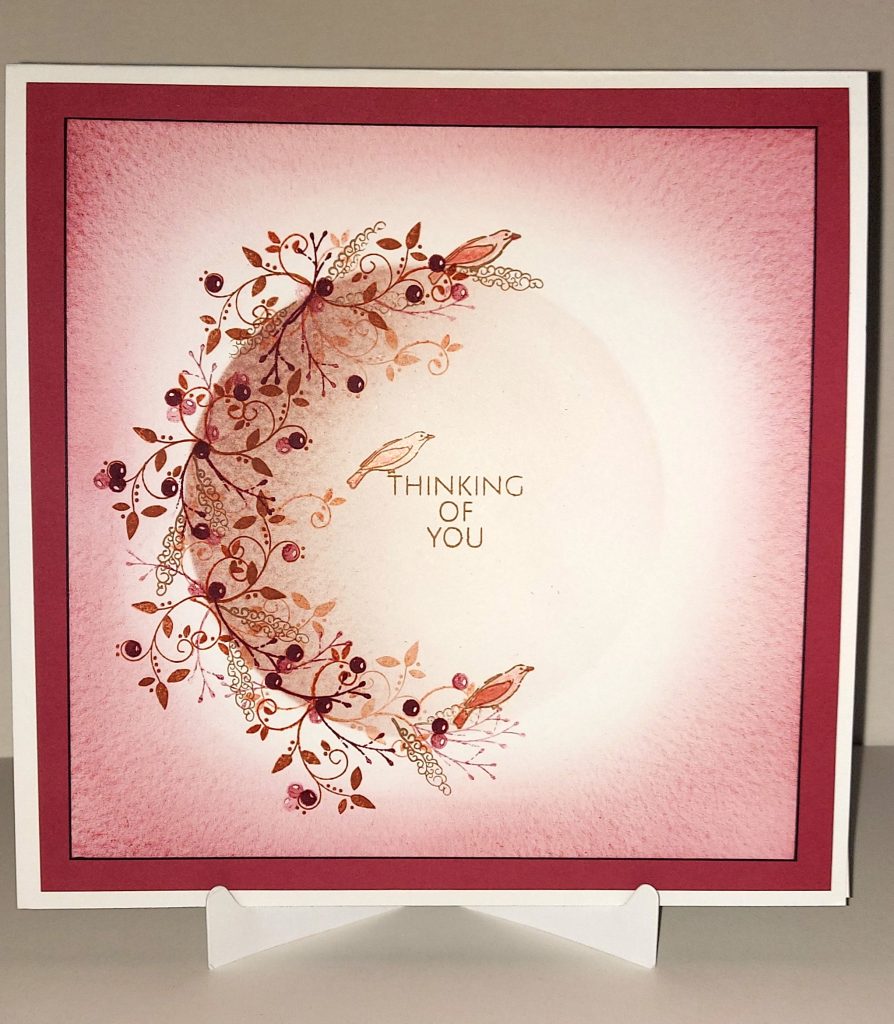
And you’re finished!
As with all my step-by-step projects, the ingredients can be swapped out for your preference of colours and stamps. Have a play! We are just here to hopefully inspire your ideas. Here at Clarity, we would love to see your takes and twists on the art inspiration we provide.
If anyone would like a particular card put into a step-by-step, please let Clarity know in your comments below. What ideas do you like to see?
Thank you, Tina, for sharing your beautiful step-by-step project with us. That is such a stunning card, as always.
Items that Tina has used to create her work can be found over on the Clarity website HERE
If you’d like to recreate this beauty, please don’t forget to post your artwork on Clarity Worldwide 🙂 Or email it to me – grace@claritystamp.com
Don’t forget that Paul will be on Create & Craft today between 3pm & 5pm with some wonderful designs created by Jazz.
Looking at the week ahead:
Sunday 5th Mar:
Clarity Classics with Paul on Create & Craft – 3pm-5pm – 2 hours
Tuesday 7th Mar:
Groovi Tuesday with Paul – 10am Live on Facebook and YouTube
Thursday 9th Mar:
The Pergamano Show with Tina Cox on Create & Craft – 11am & 3pm
Travel gently, friends.
Lotsa love, Grace & Tina M xoxo
Clarity – The Home of Art, Craft, and Well-Being.
What a fabulous tutorial. I don’t have these particular stamps but I’m sure I’ll have something in my stash so that I can give this a go. Thank you for the inspiration xx
Great tutorial , I initially thought there was an aperture in the card blank.
Nice to see a stamped project in the Sunday tutorial
Thanks Sharon, hopefully the inky DT members have been sending theirs in for future blogs, so keep your eyes peeled. T.xx
Thank you Tina for the wonderful stamping tutorial, that’s something I am going to try. I don’t think I have those particular stamps but I am sure I can find something to try in my Clarity stash.
Thanks Ann, it was a bit of a long winded project, lots of steps, but once your set up its quite forgiving if you dont have a steady hand when stamping.
I’d love to see your version if you get round to making one. T. Xx
A lovely project and the inking really draws your eye to the focal point.
Beautiful card, thanks for sharing.🍒
Many thanks, what a lovely inspirational card, can’t wait to look through my stamps and have a go xx
Gorgeous tutorial today Tina, you make it look so simple!!
What a fabulous, clear to follow tutorial. Like Ann I don’t have any of the stamps or inks used but will have a look to see what I could use instead. Thank you for posting this xx
Beverly, you’d be surprised how many stamps you have in your stash you can use. They don’t even need to be twig like, or swirly. Flower’s, stars dots, moons, hearts…. your stamp collection is your oyster… hope to see your version on clarity worldwide. T.××
A beautiful project, with great step by step instructions. Thank you.
Thanks Tina for sharing the great step by step instructions that break it down to what is quite a simple process but the end result is stunning. Will see what I have in my stash to have a go at this one later.
Take care & have a good week everyone x
Hi Sue, can’t wait to see your version. I love getting inky, but I really am a messy finger person, thank goodness most of the time I can hide that inky blob with a Stamp or sticker.😘
Beautiful card created by Tina. I’ll be trying that idea for sure – love a wreath.
Im looking forward to todays show too!
Thanks Grace for the blog as always.
Beautiful card , thank you for sharing your expertise x
Thankyou Tina, what a beautiful inspirational card, can’t wait to get stamps out and have a go xx
Please could we have some tutorials using the doodle die frame-its panels – that would be very helpful.
I have used mine a few times but struggle for ways of utilising them.
Thank you
Thanks for such a great project. I too will have a rummage through my stash which I could use but it’s the colours used I find quite inspirational. Thankyou. Beryl Sheppard.