
Clarity’s Matters Blog Tutorial: How To Create a Highlight Using Stamps
Hello hello! Grace here.
I hope this finds you well and enjoying your Sunday!
We are joined this weekend by the fabulous Tina Morris. She has kindly prepared a step-by-step project for us. I’ll hand you right over to Tina…

Ingredients
Tina’s Meditation Mandala A5 Sq Stamp Set (STA-PA-11046-A5)
Clarity Mega Mount 7×7 (ACC-MO-30003-77)
Card Blank 7×7 (ACC-CA-30619-77)
Companion Paper Rainbow River 8×8 (ACC-CA-31341-88) – Using a light and dark shade
Clarity Stamp Board Shapes – Heart (ACC-CA-31040-XX)
Wendy Vecchi Mini Archival Ink Pads Kit 1 (INK-AR-50443-XX) – Using the Carnation Red
Archival Black (INK-AR-50030-XX)
Nested Sq Heart Doodle Aperture Frame-Its Die Set (ACC-DI-31158-66)
Clarity Stencil Brushes (Set of 4) Free Cloud Mask (ACC-BR-30006-XX)
Barbara’s Words Sticker Collection (ACC-SC-30849-A5)
Roll-a-Tape Super strong Permanent Glue Tape Runner (ACC-MS-31065-XX)
Kiss Ring of Stencils Set 1 (STE-PA-00906-XX)
Method
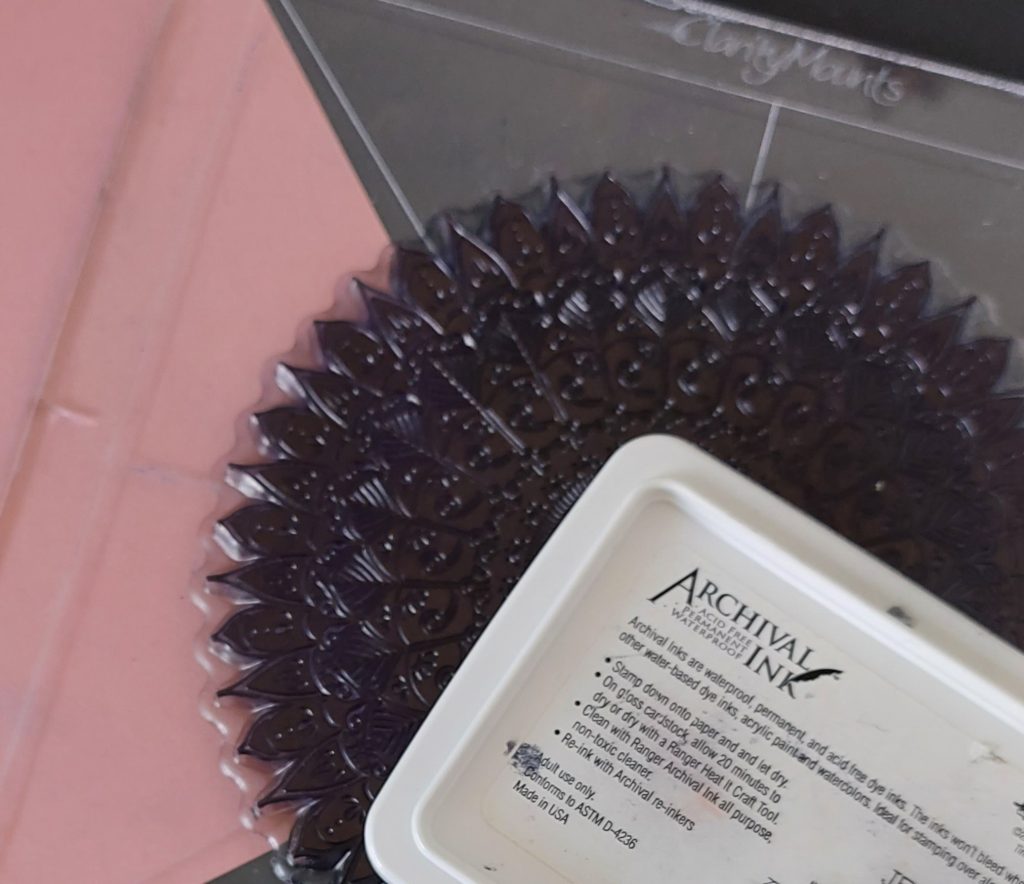
Step 1. I have gathered all of my ingredients (to prevent me from going off-course). My archival ink pad is quite old, so I’ve chosen the lightest of the two Rainbow River companion papers to stamp the mandala, as I am looking for a shabby/faded stamped image to go with the feel of the paper shade. If your inkpad is too juicy you may want to use a darker shade of paper, to make it pop.

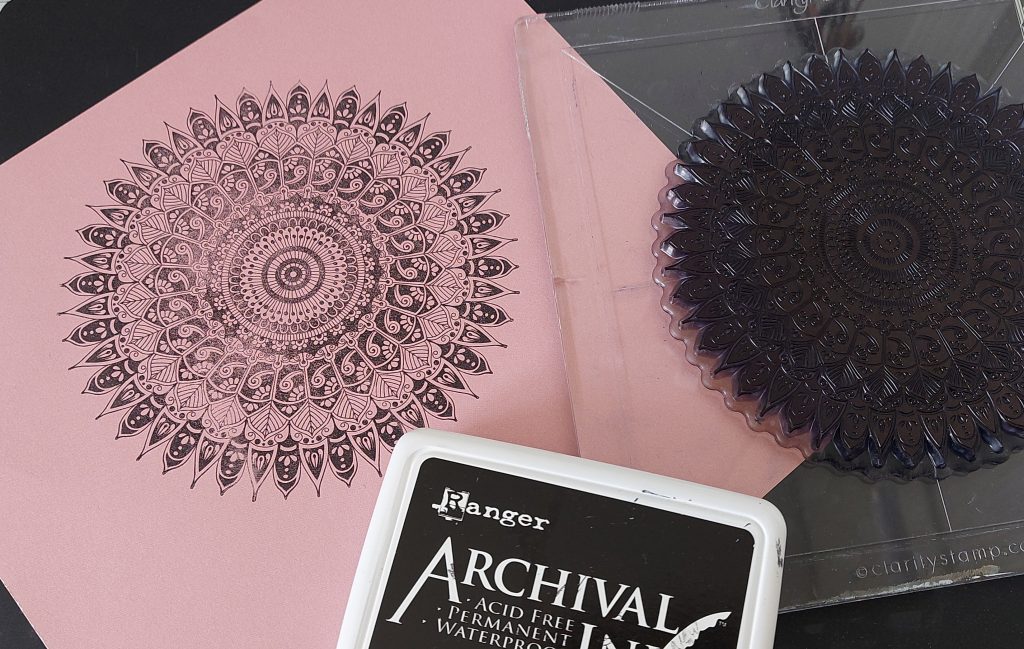
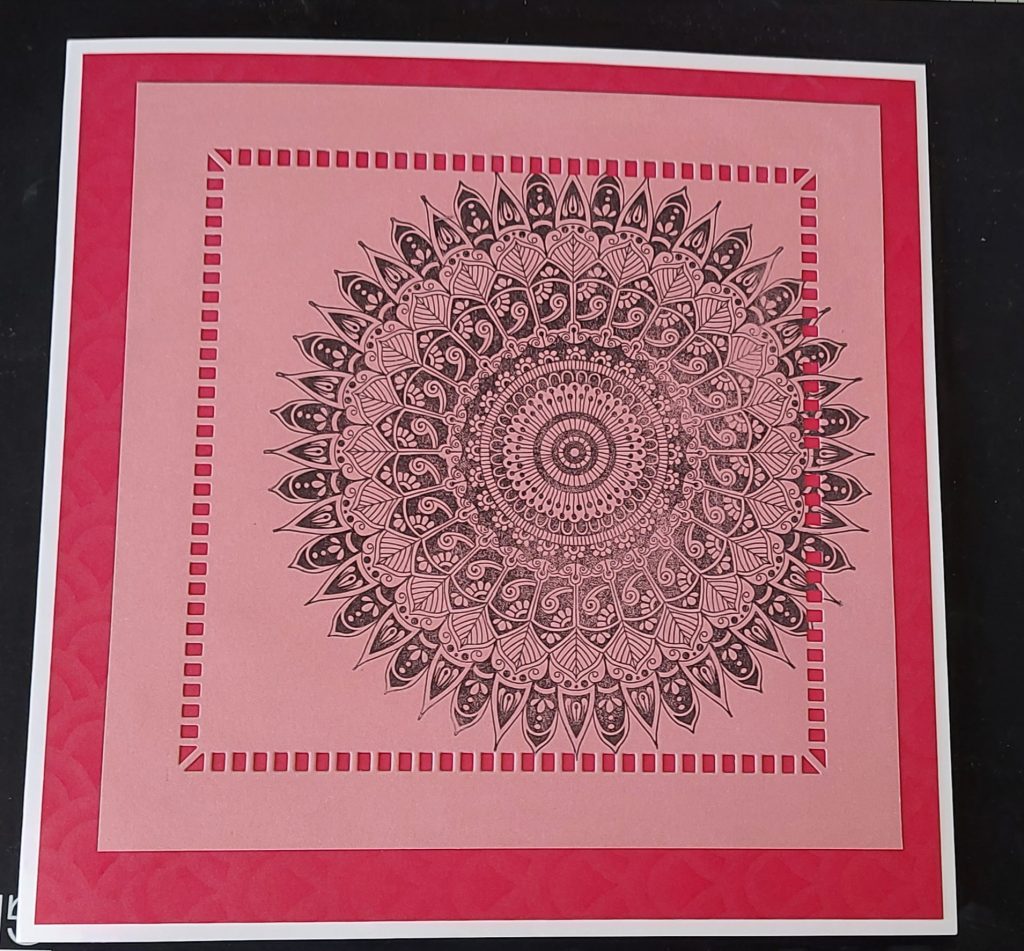
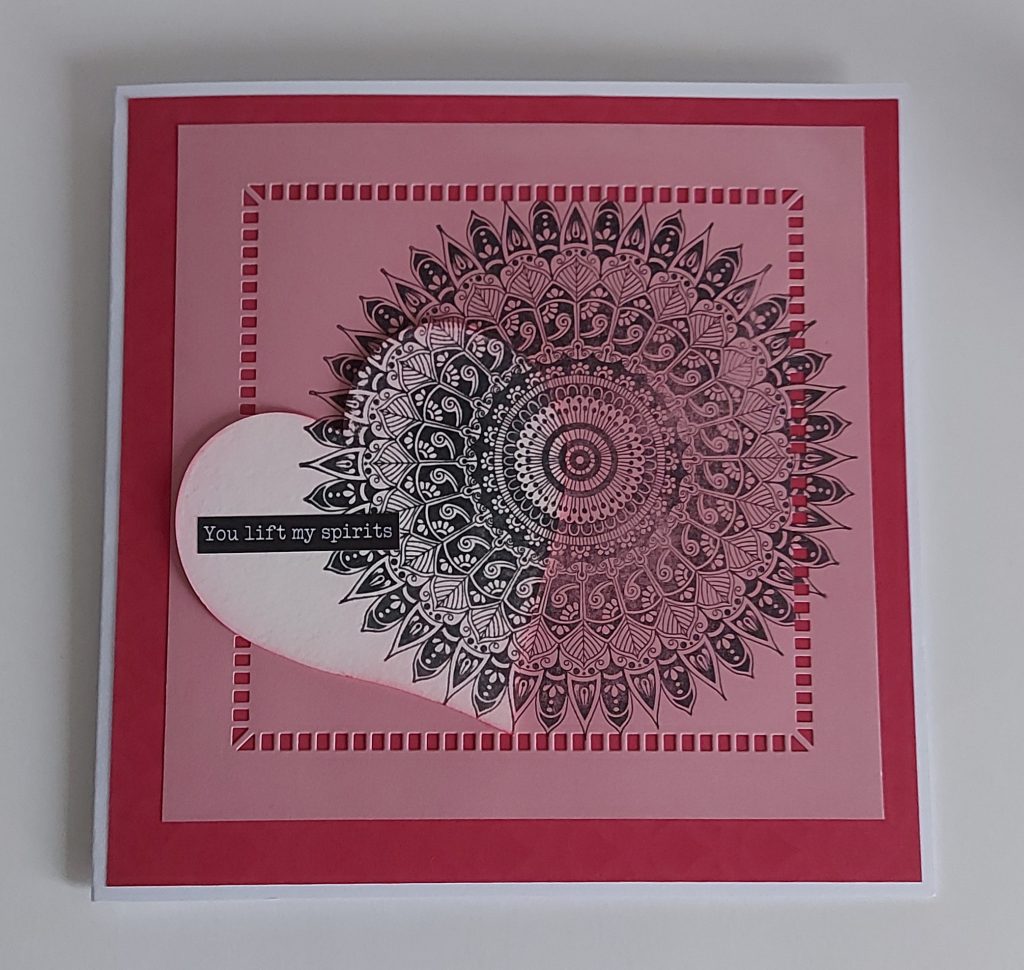
Step 2. Mount Tina’s Meditation Mandala A5 square stamp on the Clarity 7×7 Mega Mount and ink up the stamp well. The stamped image looks a little faded in places but that’s what I wanted! And it has all been stamped perfectly on the Rose coloured 8×8 Companion Paper.
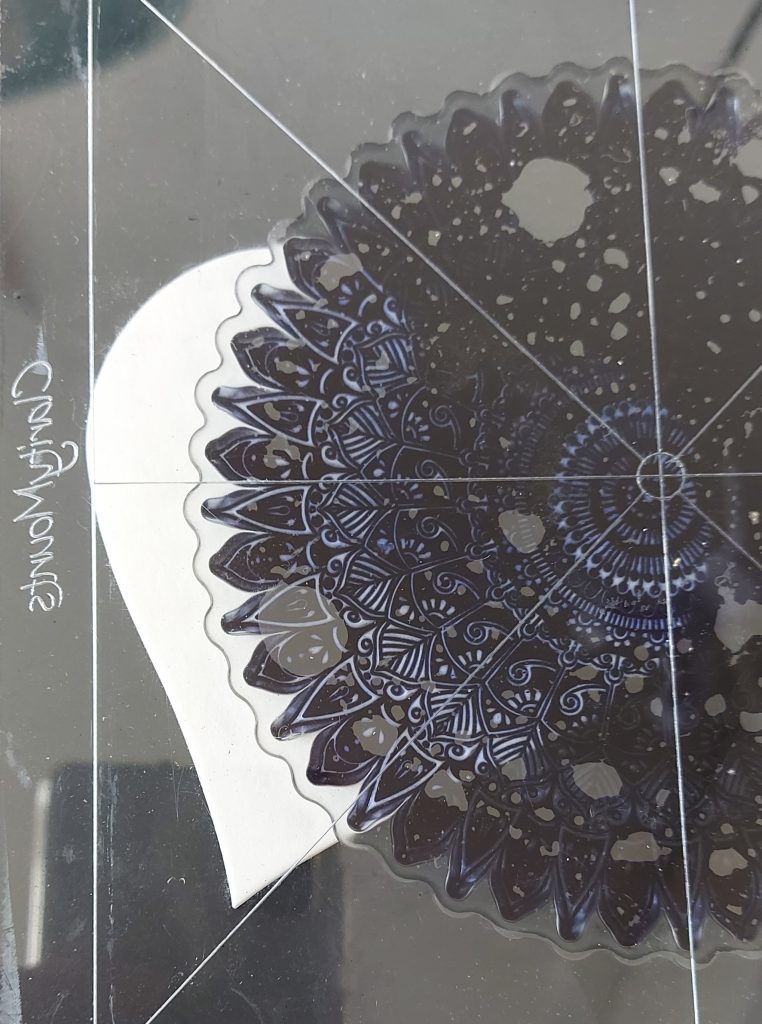
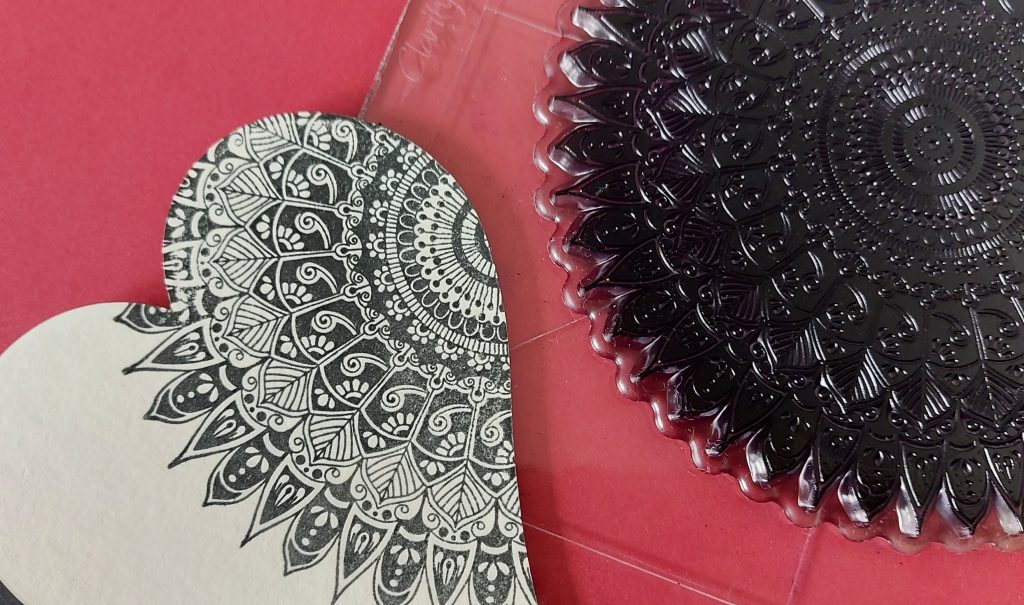
Step 3. Ink up the stamp again, and partially stamp the image on the middle-sized heart mountboard.
Step 4. With a small trimmer, cut the Mandala stamped image (on the rose coloured paper) down to 6×6. Cut down the darker shade of Companion paper to 6.75 x 6.75.
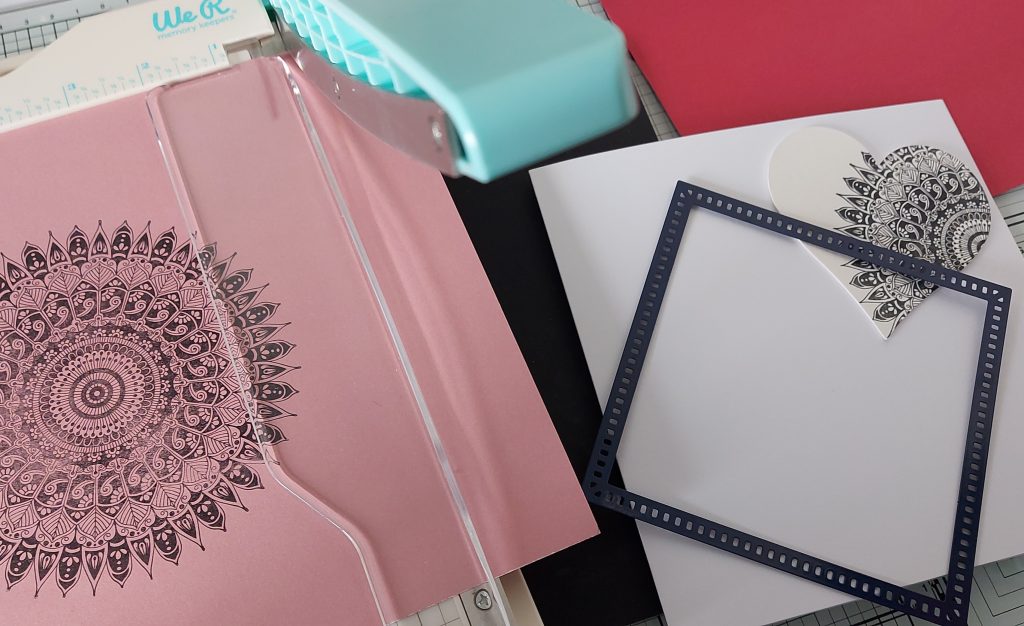
Step 5. Choose your border. I have chosen my favourite film strip effect from the Nested square heart Doodle aperture frame-its die set. This has been run through my small manual die-cutting machine. My paper size is 6×6, as you can see it just fits on the plate. Don’t forget to tape down your die with low tack tape or clarity masking tape. We don’t want the frame to move as we pass this through the machine.

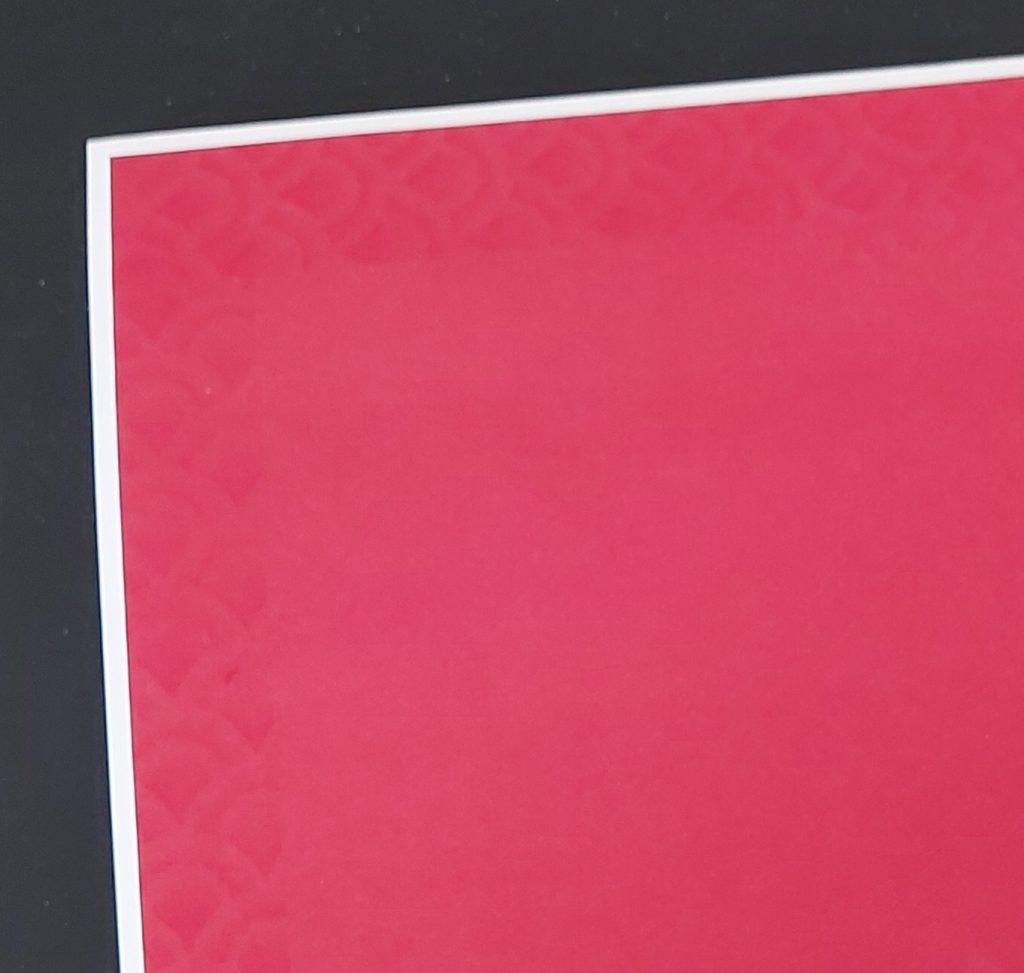
Step 6. With the 6.75 x 6.75 darker shade of pink companion paper, tape your chosen stencil (from the Kiss Ring of Stencils Set 1) to the edge. You only want about an inch as your lighter shade companion paper will be placed on top.
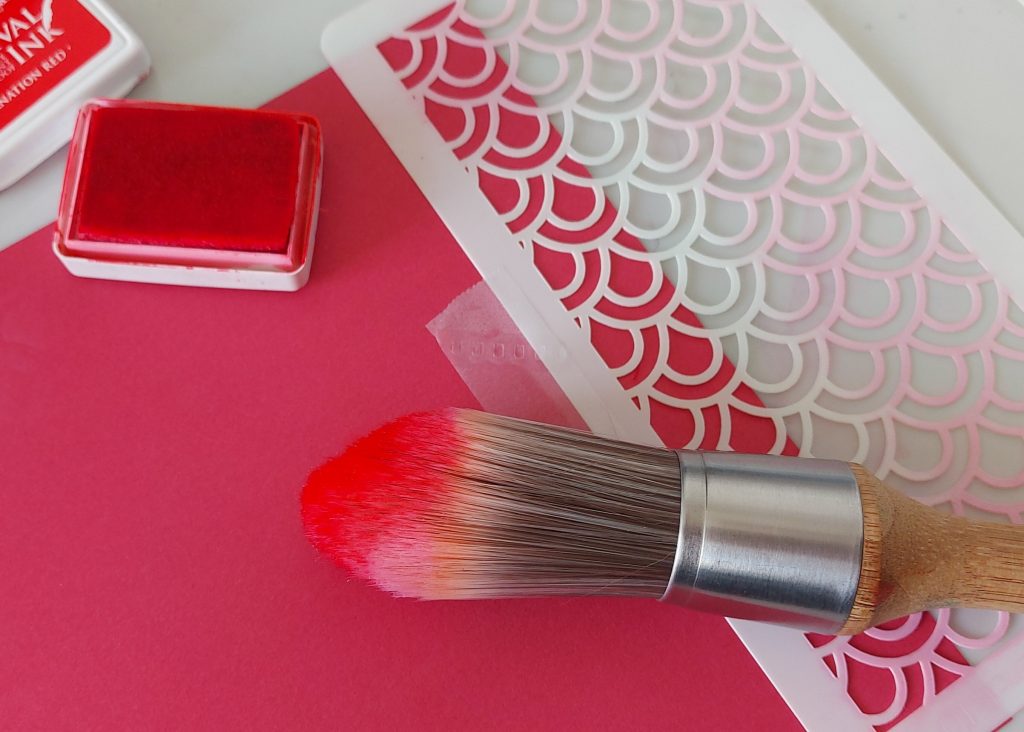
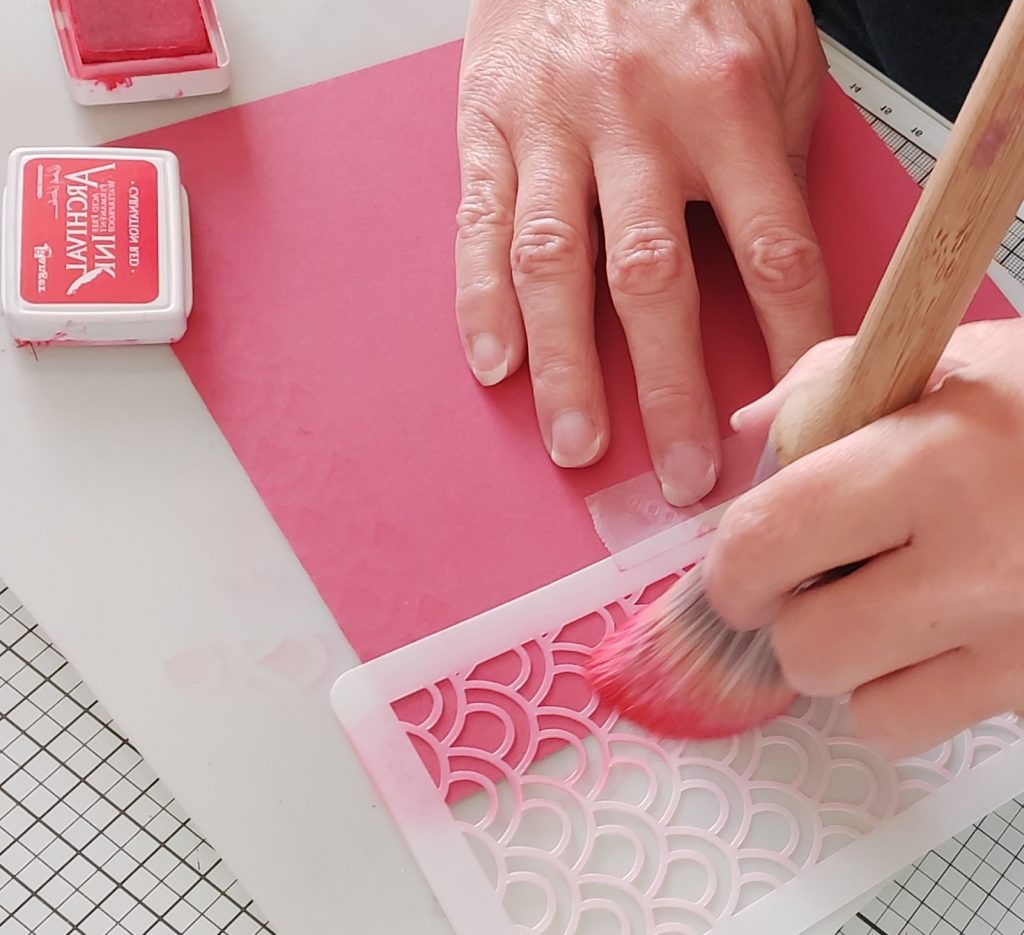
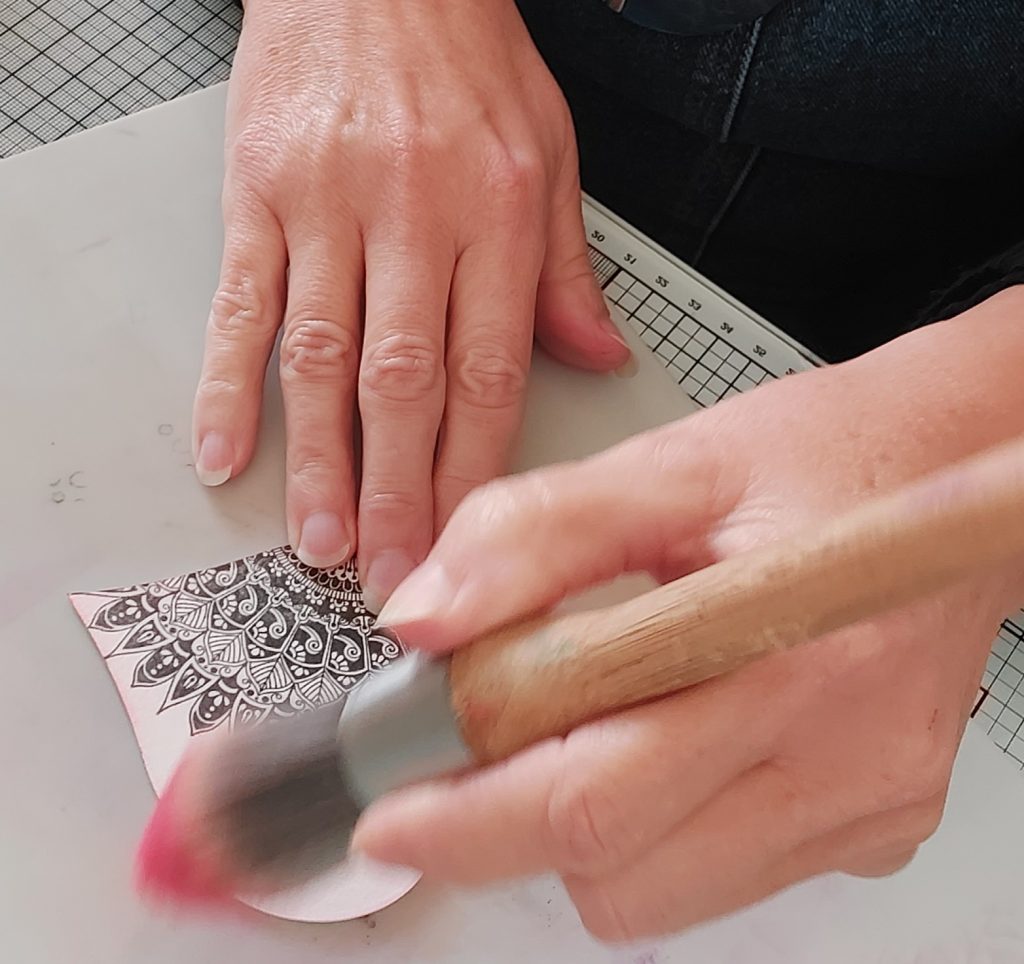
Step 7. Using your Carnation Red Archival inkpad and your Clarity stencil brushes, brush through the stencil in one direction. I’m just looking for the lightest of patterns, just to give some interest on the back layer but not to distract from the mandala pattern. Do this on all four sides, turning the paper as you go (as the stencil is not long enough to go down the whole edge of the 6.75 x 6.75 paper) and line up carefully.
Step 7. Position your pieces for layering up your finished card and make sure you are happy with the composition. I moved the Heart around to several positions until I felt happy with how the card looked (at this point I think I want to add a bit of the Carnation Red Archival ink to the edges of the stamp board. If it helps take a photograph to help you remember what you liked the best.
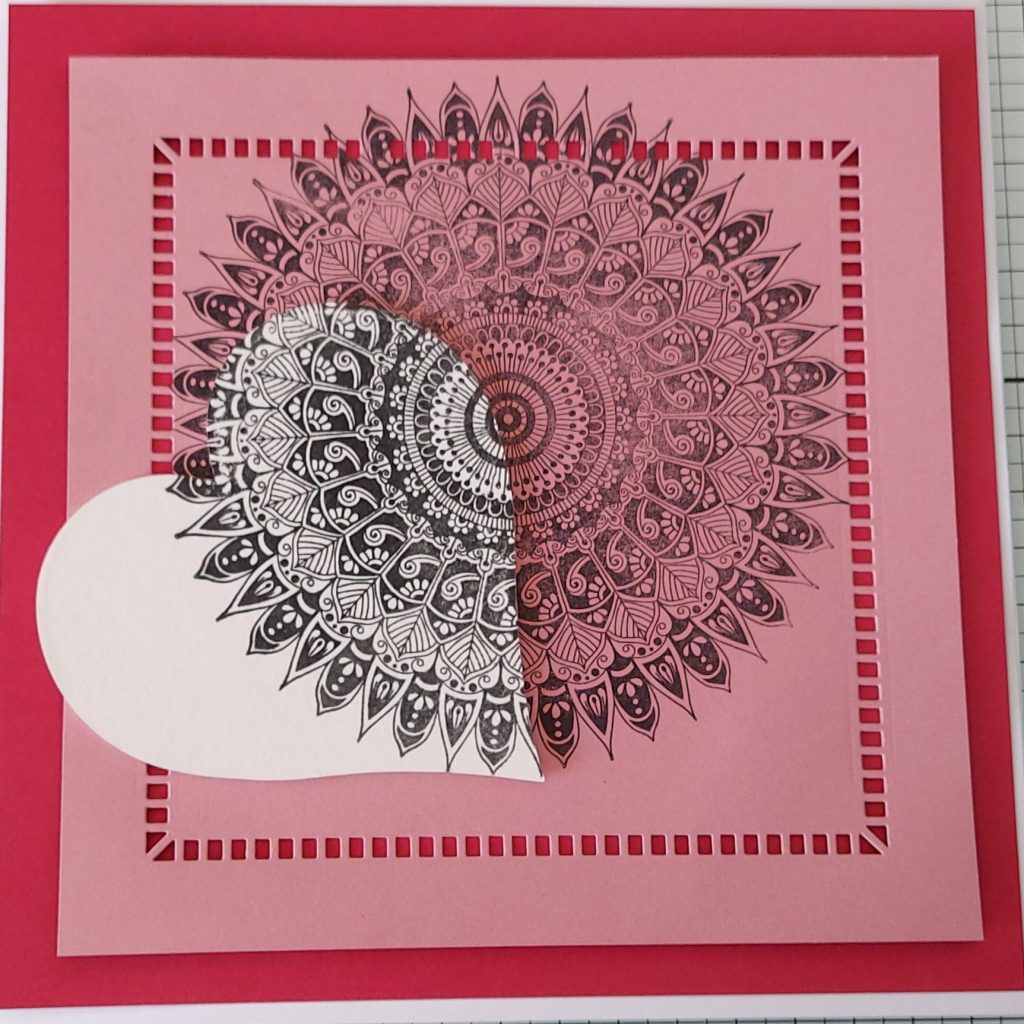
Step 8. Give the heart a light dusting around the edge, just to pull in the final composition, as I found without this the heart was a bit too harsh being stark white. I’m looking for a softer card on this occasion.
Step 9. Now all components have been stamped and inked, it is time to put the layers together for the final steps. Lay your largest layer on the Card blank 7×7 and adhere with your choice of glue or Clarity Roll-a-Tape.
Step 10. Before arranging your next layer with your die-cut aperture and mandala stamp, decide which way round your card will open as you need to make sure when you position the heart it’s not going to lay outside the card blank area. Adhere this to your first darker layer.
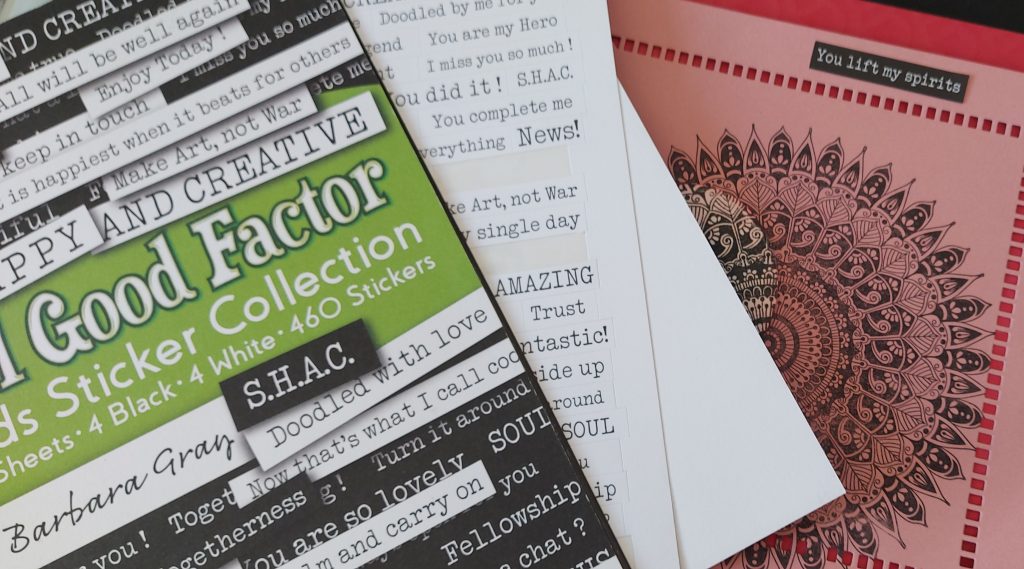
Step 11. Position your heart and then adhere. Choose the sentiment from Barbara’s Word Stickers collection and add to your card. As they are repositionable, you can also play around and decide its final resting place.

Ta Da! You have a completed your project. You could try this with your favourite companion colours. It would be lovely to see yours on Clarity Worldwide!

Wow! That is gorgeous, Tina! Thank you so much for sharing your tips and tricks with us.
As always, everything that Tina has used can be found on the Clarity website HERE. You may find some of the items that Tina has used in this weekend’s Mixed Media Sale HERE.
Can’t resist a bargain!
Now, let’s look at the week ahead at Clarity Towers…
Monday 21st Nov:
SHAC Shack with Barbara – 10am Live on Facebook and YouTube
Tuesday 22nd Nov:
Groovi Tuesday with Paul – 10am Live on Facebook and YouTube
Thursday 24th Nov:
Christmas Treasures Set 5 New & Exclusive with Barbara on Create and Craft at 4pm & 8pm
Friday 25th Nov:
Christmas Treasures Set 5 New & Exclusive with Paul on Create and Craft at 8am
Friday 25th Nov:
Crafting with Clarity with Barbara on Create and Craft at 9am & 1pm
Busy busy, as always! We hope you’ll join us.
Travel gently, friends.
Lotsa love, Grace & Tina (Morris) xoxo
Clarity – The Home of Art, Craft, and Well-Being.
Ah Thanks Grace. It’s strange to see your own art work blogged. I really must get round to trying out Janes resist technique and Sarah’s flowers.
I hope our dear Clarity friends enjoy our shares.
We’d love to see their versions. WIth the mixed media bargins, what treat upto 60% off, we are being spoiled.
Lots of love Tina.xx
Thank you for the inspiration to use the stampboard shapes. It’s also good to see a tutorial that’s not groovi.
What a lovely project from Tina to try. Thank you for sharing xx
Oh Tina that’s a great project. Thank you so much.
And with the mixed media sale on at the moment perfectly timed to show how those materials can be used.
Thank you to grace for putting these blogs together!
Lots of love. Jane xxxxx
Whilst I love to see the parchment creations it’s a lovely change to see other ideas using products readily available from Clarity or what you may have in your crafty stash.
Great to see a mixed media project – thanks Tina and Grace. 🍒
Enjoyed this post many thanks to Tina and you, of course, Grace.👍🏻👏🏻
I couldn’t find the Saturday share yesterday, is it on Clarity matters please. Sorry, no good at tacky stuff and everything that could go wrong did just that yesterday!
Hi Pat,
Grace posted and apology, she didn’t get round to posting the Saturday share, but rest assured there will be double next week.
Lots of love Tina.x
Hi Grace
Just seen on your mum’s blog your Mark has proposed. Congratulations! Xx
Hi Grace
I too have just read your mum’s blog for today and have heard your fantastic news.
I’m so pleased for you both. Many Congratulations.
Love & Hugs
Penny
Xxxxx