Clarity’s Blog Tutorial: How To Make A Lace Strip Across A Card
Hello hello! Grace here.
I hope this finds you safe & well.
Another Sunday, another step-by-step blog tutorial to get you feeling crafty! We’re joined this week by the fantastic Josie Davidson. Lucky lucky us!

Josie is going to show us how to make a lace/ribbon strip across a card using the Ribbon Duet Border Groovi Plate. Tricky stuff! But not when you have it broken down into simple steps. Let’s dive right in!
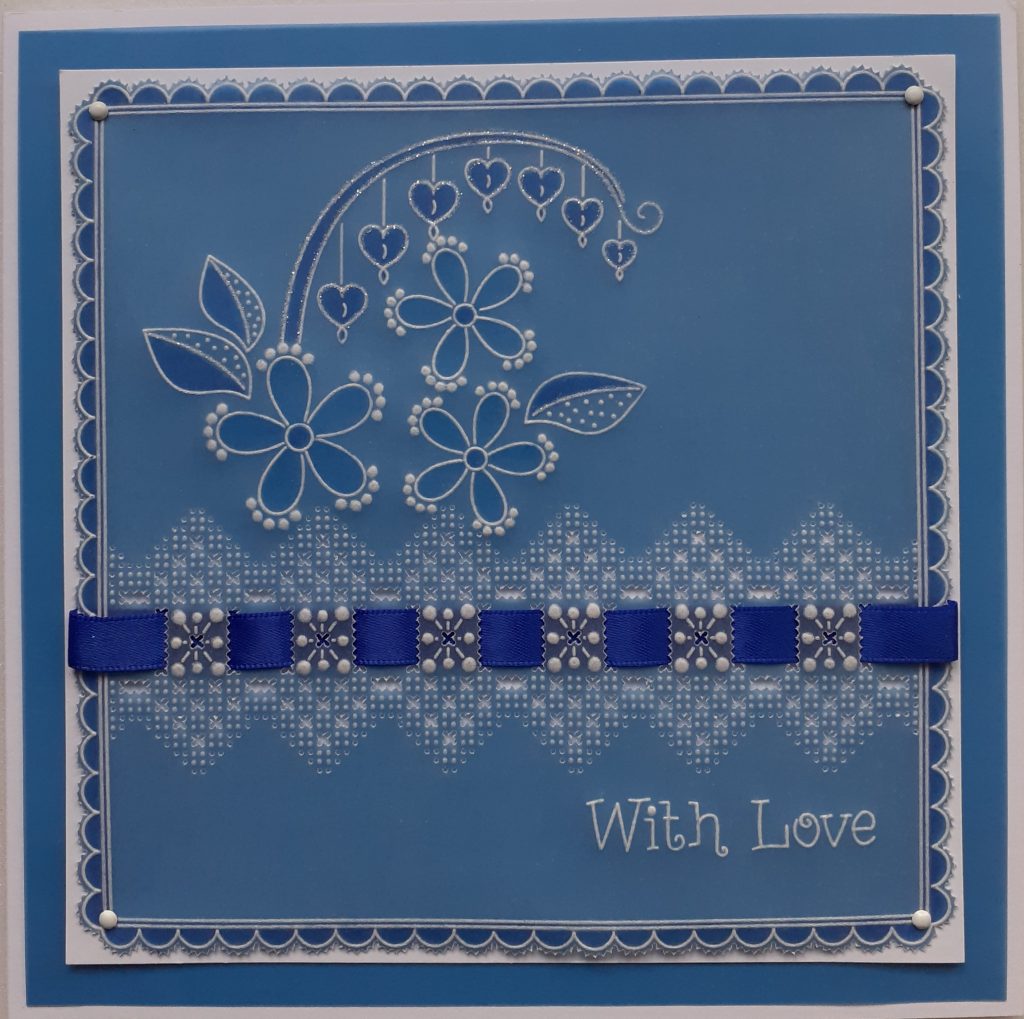
Ribbon Duet Plate Step-by-Step Project
Ingredients
Congratulations Ribbon Lace Duet A4 SQ Straight Plate (GRO-GG-41693-24)
A4 Grid Plate Mate (GRO-MA-41768-21)
Extended Nested Scallops Plate (GRO-WO-41168-15)
Linda’s Children’s Accessories A4 Plate (GRO-LW-41616-16)
2 Sheets A4 Blue Parchment (GRO-AC-41404-A4)
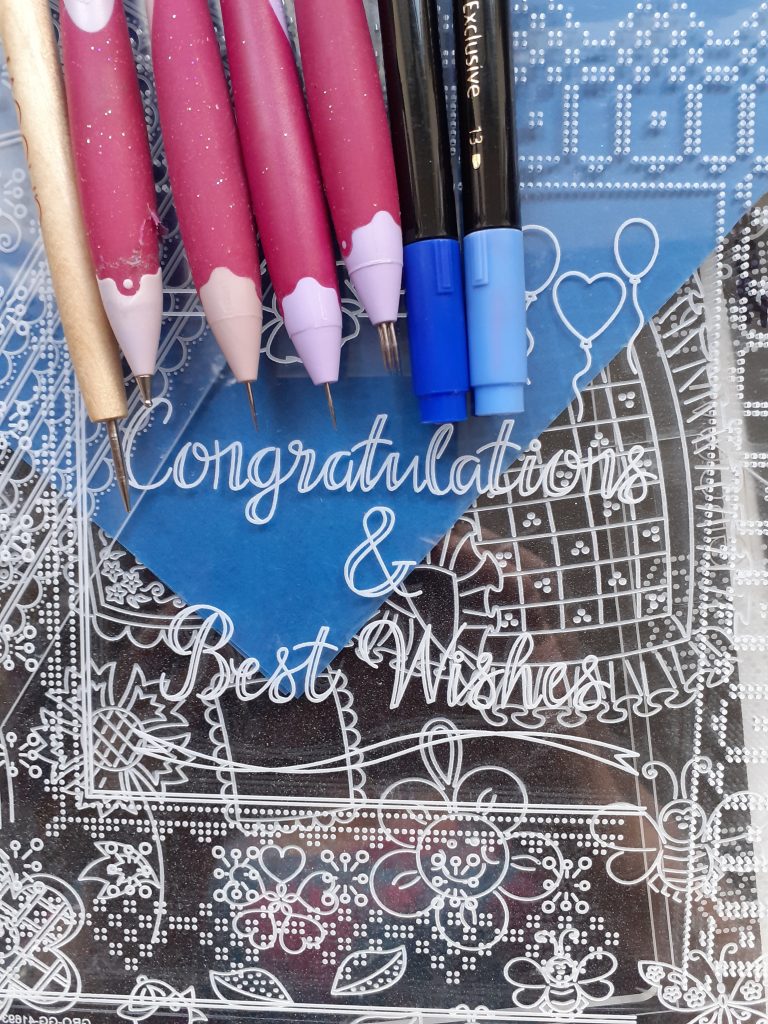
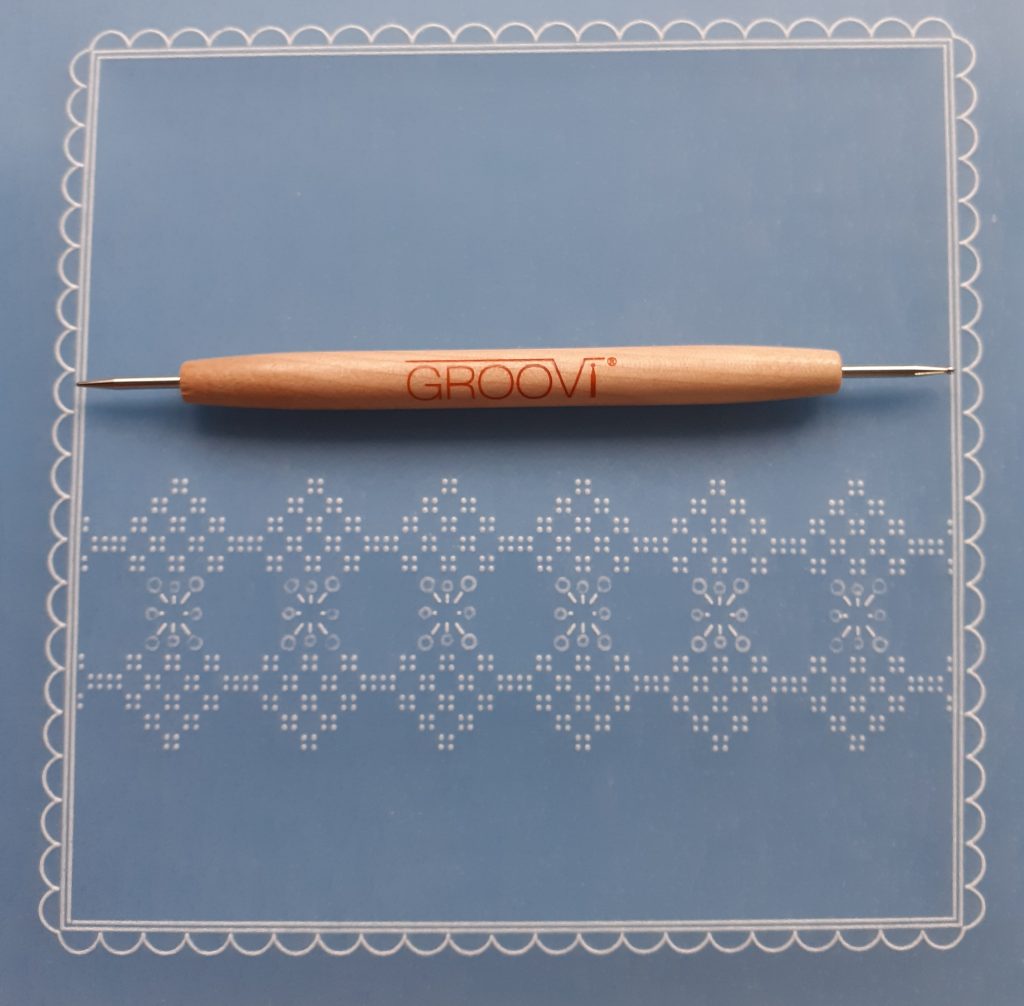
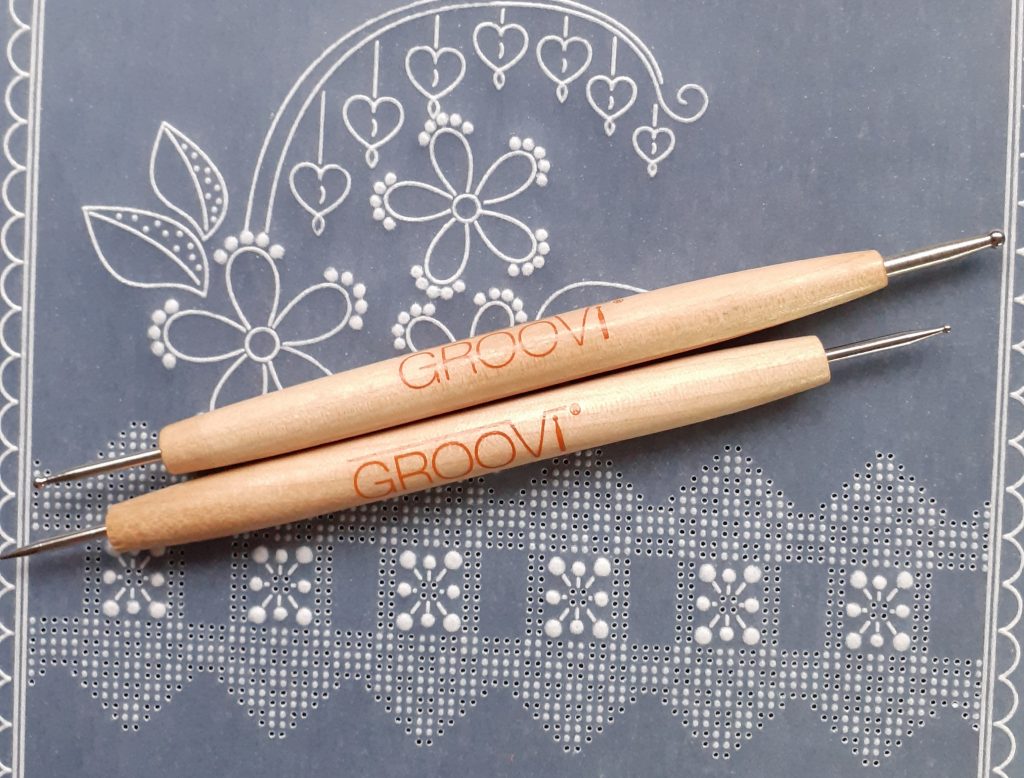
Groovi 1&2 Tool (GRO-AC-40026-XX) & 3&4 Tool (GRO-AC-40027-XX)
Pergamano 1.5mm Ball Tool (PER-TO-70004-XX)
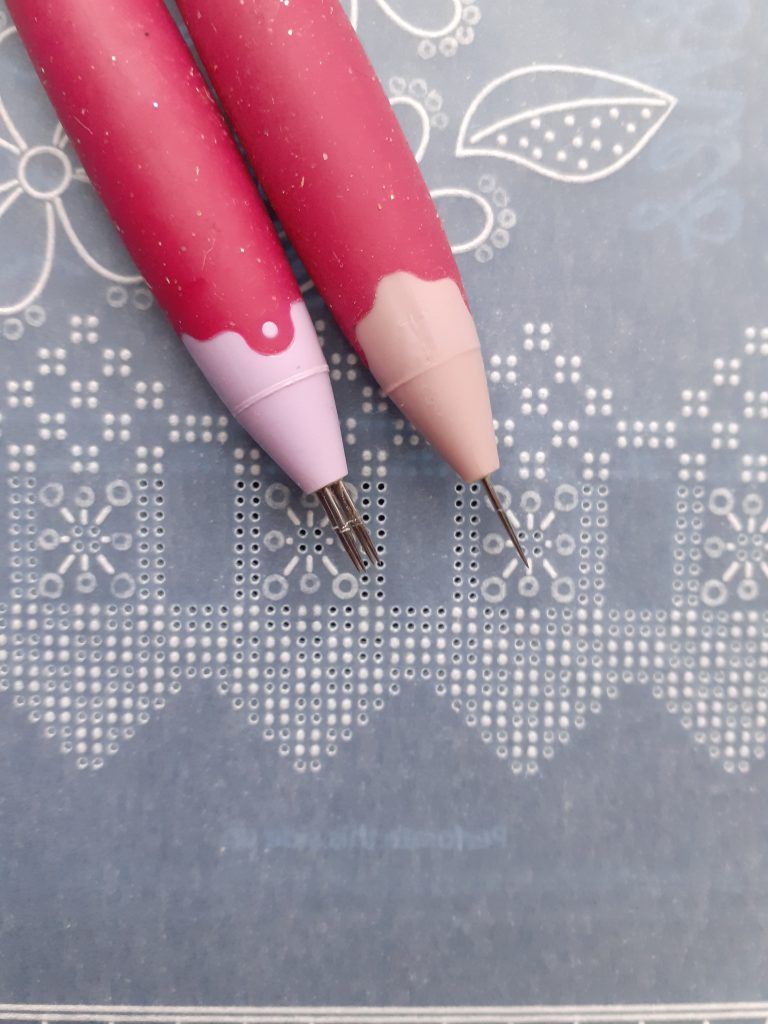
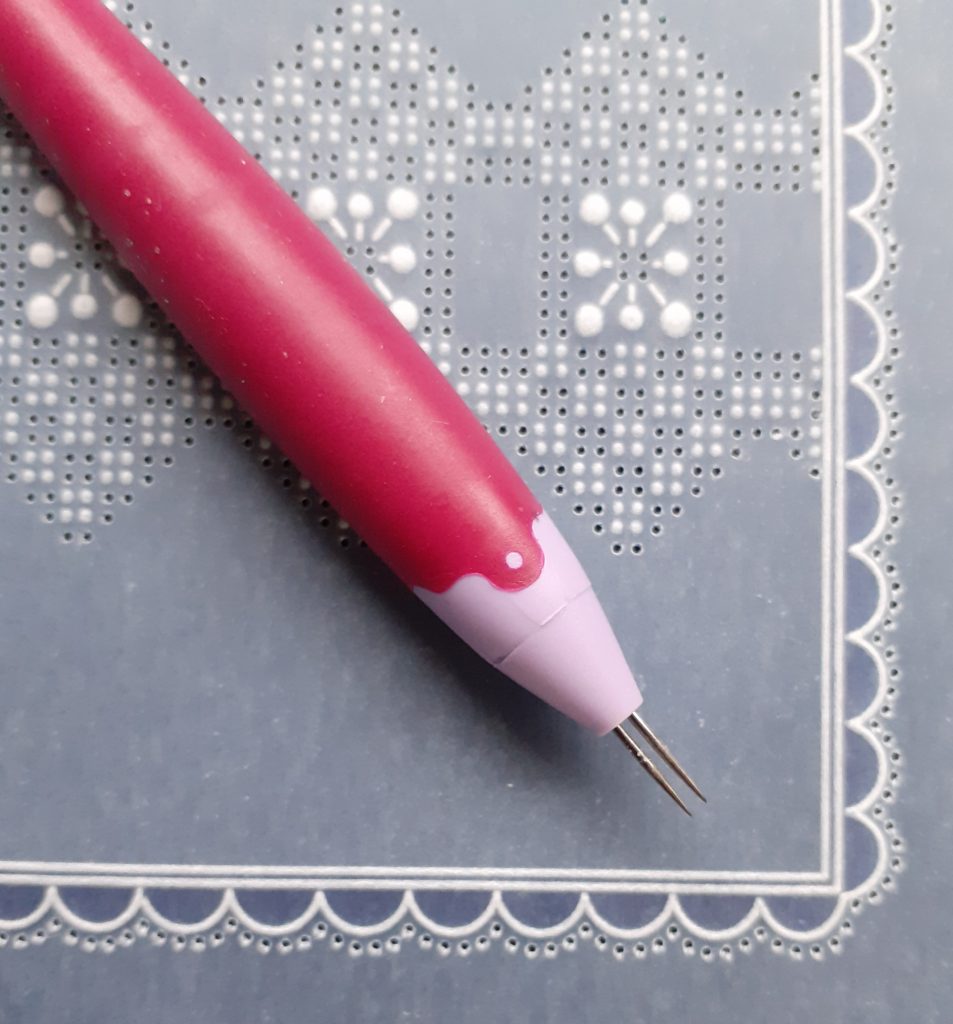
Pergamano Bold 1, 2 & 4 Needle Tools (PER-TO-70342-XX)
Scissors (PER-TO-70041-XX) or Perga Cutters (PER-TO-70042-XX)
Clarity Blue Satin Ribbon (ACC-MS-31107-XX)
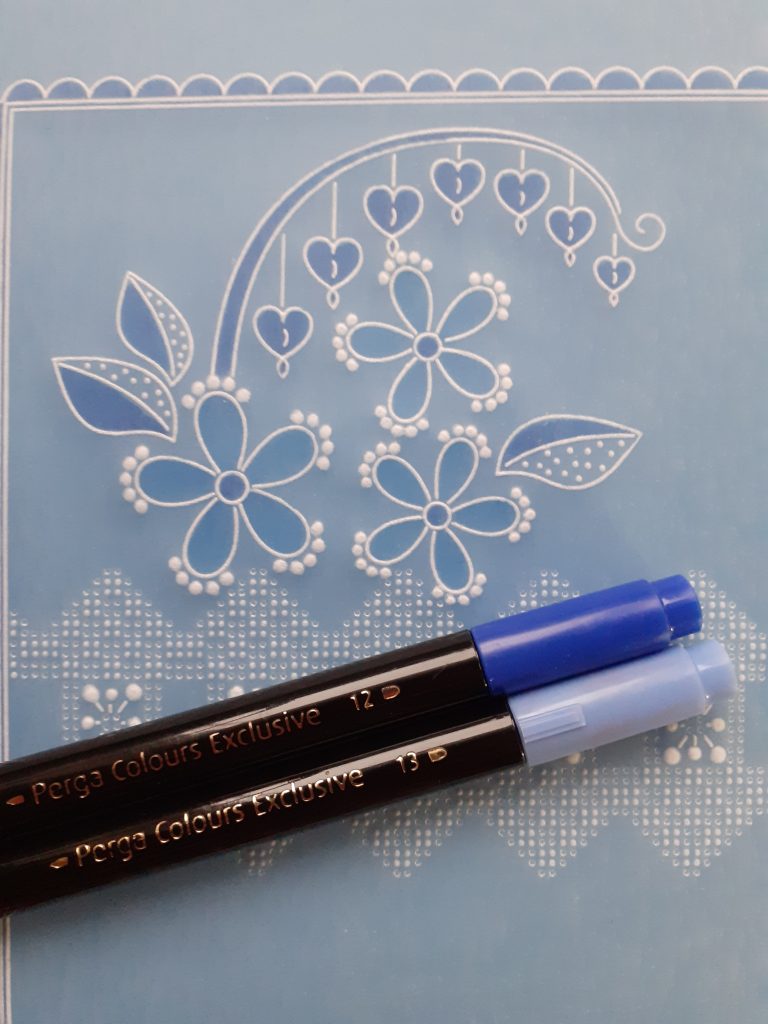
Pergacolours 12 and 13 (PER-CO-70060-XX)
Embossing Mat (PER-AC-70075-XX)
Thick Perforating Mat (GRO-AC-41757-XX)
Groovi Tabs (GRO-AC-40437-XX)
Red Liner Tape (ACC-AD-30375-XX)
Sticky Ink (PER-AC-70134-XX)
Mapping Pen (PER-TO-70039-XX)
Blue Perga Glitter (PER-AC-70252-XX)
Pergamano White Brads (PER-AC-70269-XX)
Roller Glue (ACC-MS-31065-XX)
6×6 White Card (ACC-CA-30618-66)
Tumble Dryer Sheet
Method
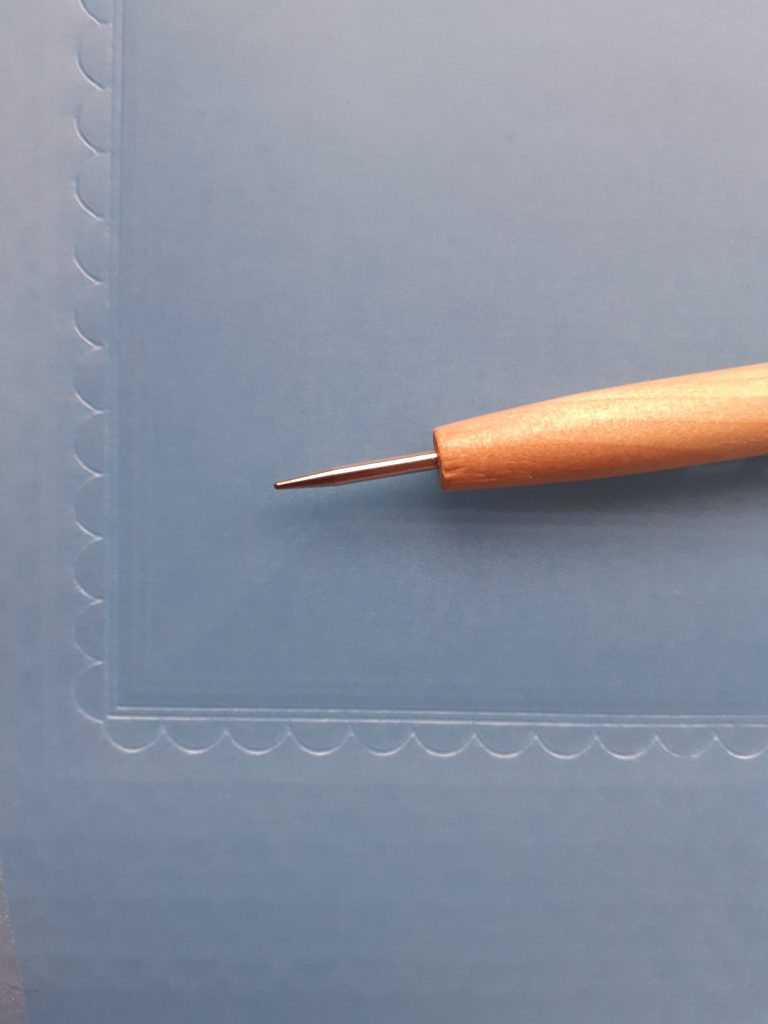
Step 1. Using the blue parchment (with the shiny side facing you) emboss the inner scallops and double lines from the Nested Scallop Groovi Plate with the #1 Groovi tool.
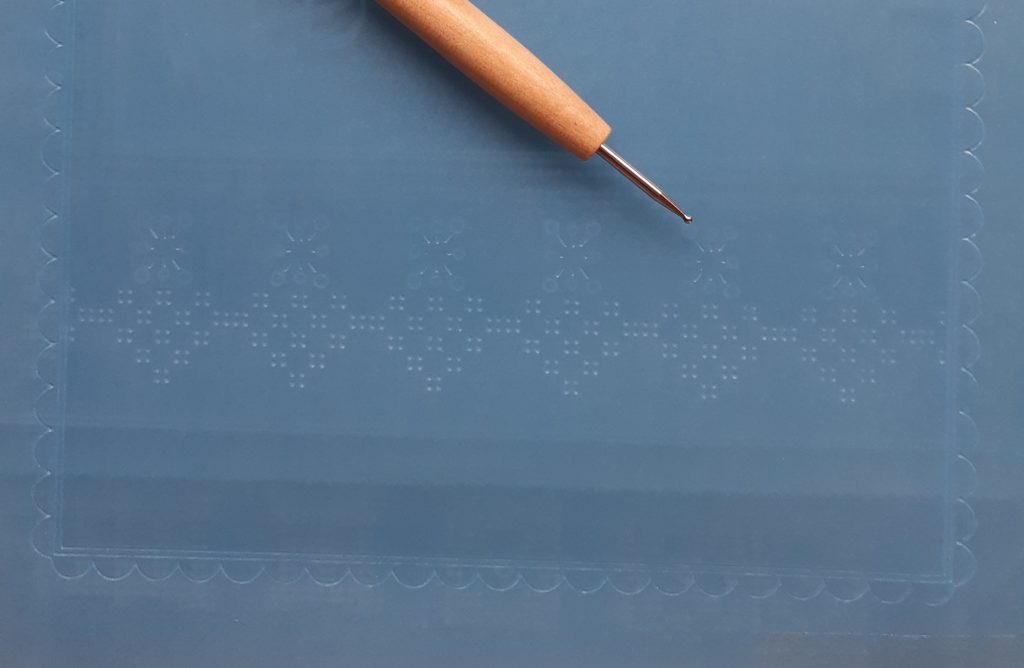
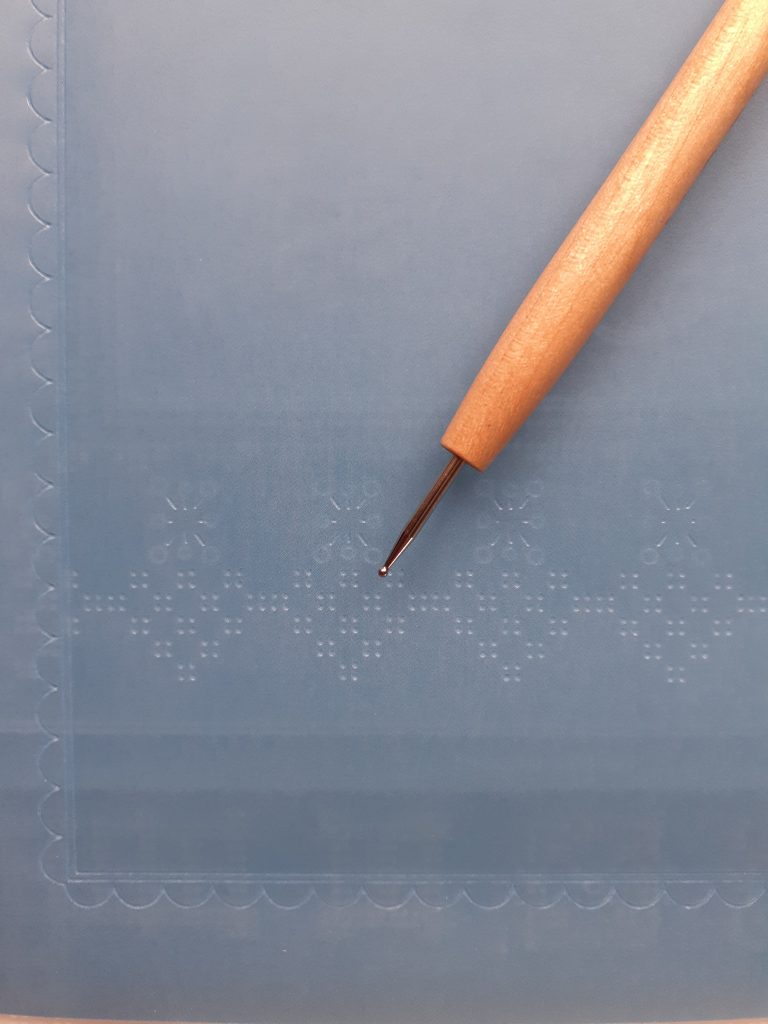
Step 2. Centralise your Scallop Square onto the Ribbon Groovi Plate, with the words ‘emboss this side’ facing you. Approximately 6 scallops from the bottom edge, emboss the dots with the #2 Groovi tool (or the Pergamano 1.5mm tool). You only need to emboss the outer dots and the circle design on the plate, we are not using the inner 4 embossed lines of dots.
Emboss the circle design using both the 1 & 2 Groovi tools.
Step 3. We are now going to add the embossed dots to the top of the pattern. Turn your parchment around and realign the centre designs you have embossed into the grooves on the plate. You can now add the embossed dots to mirror-image the dots on the other side of the ribbon threading section.
Step 4. Emboss the flower and leaf elements from the Children’s Accessories Groovi Plate in the larger top section of your work, using 1 & 2 Groovi tools.

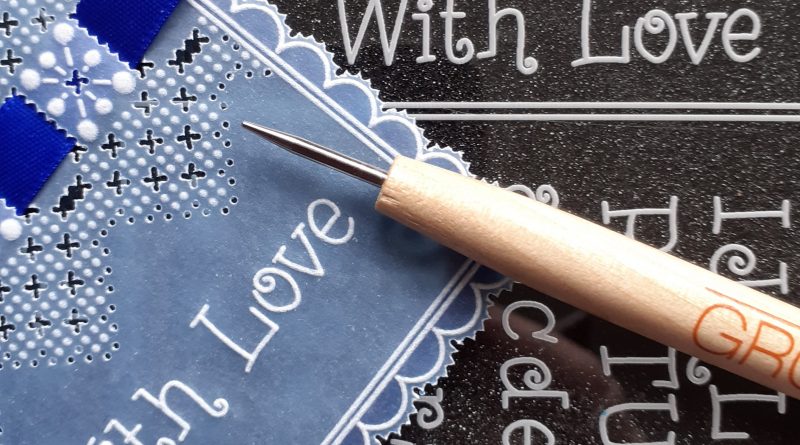
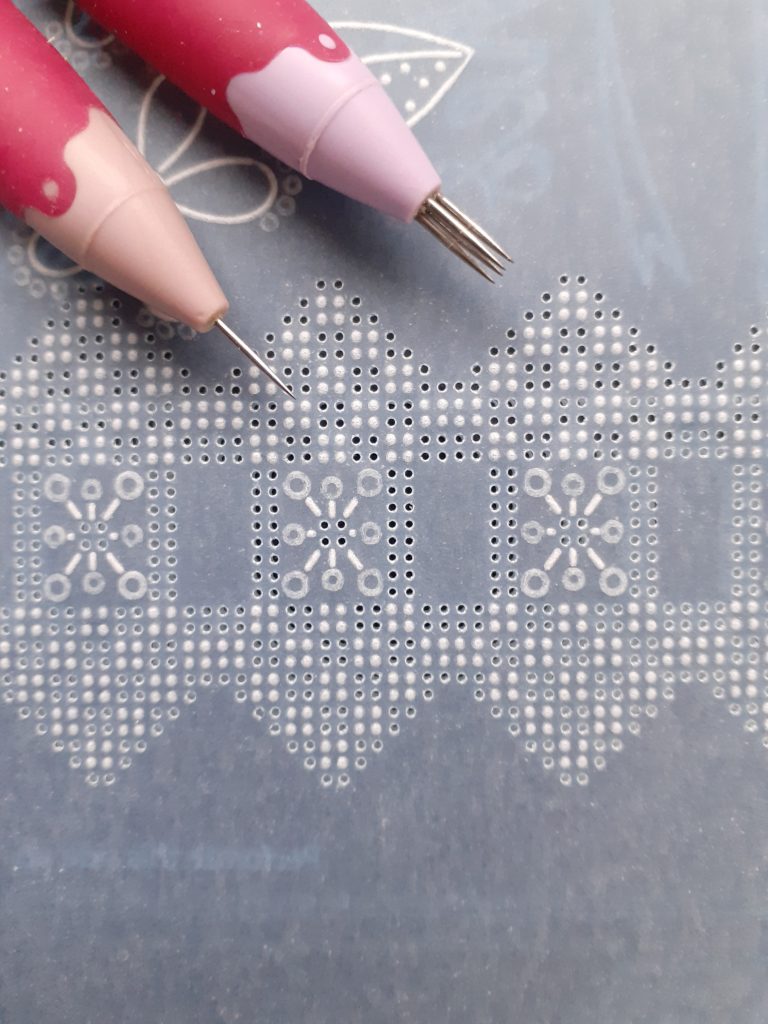
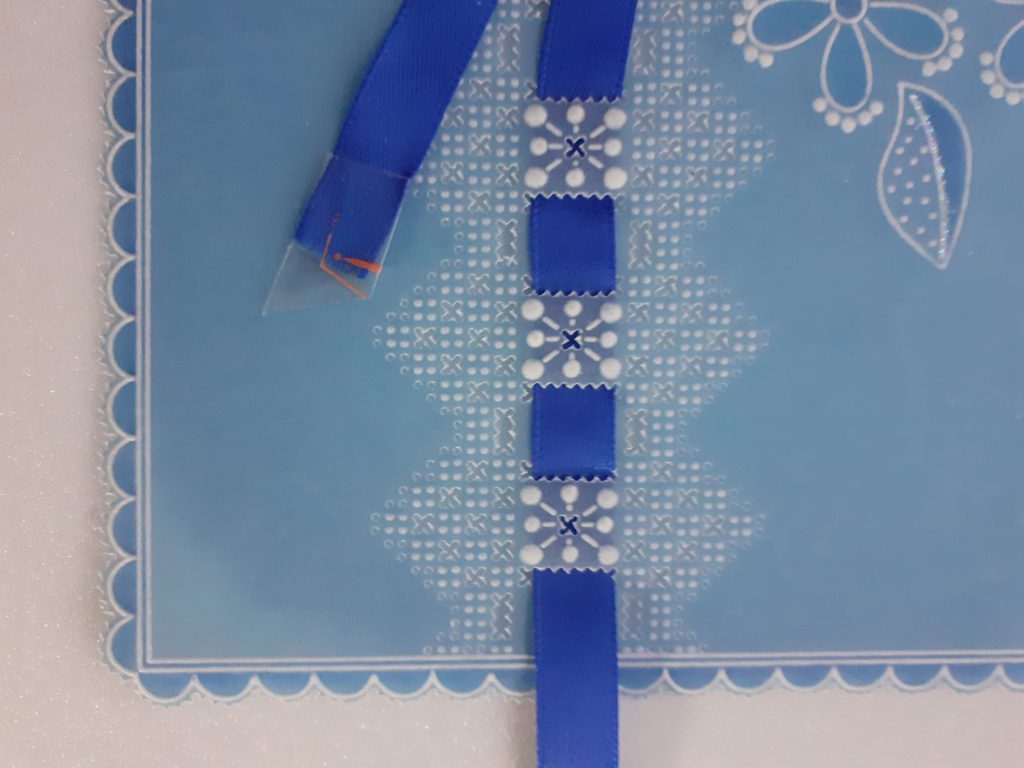
Step 5. Using the bold 1 and 4 needle tools (and working with the front of your parchment facing you), perforate the holes from the ribbon duet plate in between the embossing. You only need to perforate the bottom section and the slots where the ribbon is threaded through.
Step 6. Turn your work around and realign the slots you have perforated into the holes on the plate. You can now perforate the other half of the pattern between your embossed dots .
Step 7. Emboss the circles in the flower design and the circles in the lace border with your #1, 2, 3 & 4 ball tools.
Step 8. Colour your design directly onto the back of the parchment using the perga colour pens.
TOP TIP: Have a piece of kitchen roll handy so that you can dab any dots of colour off your work.
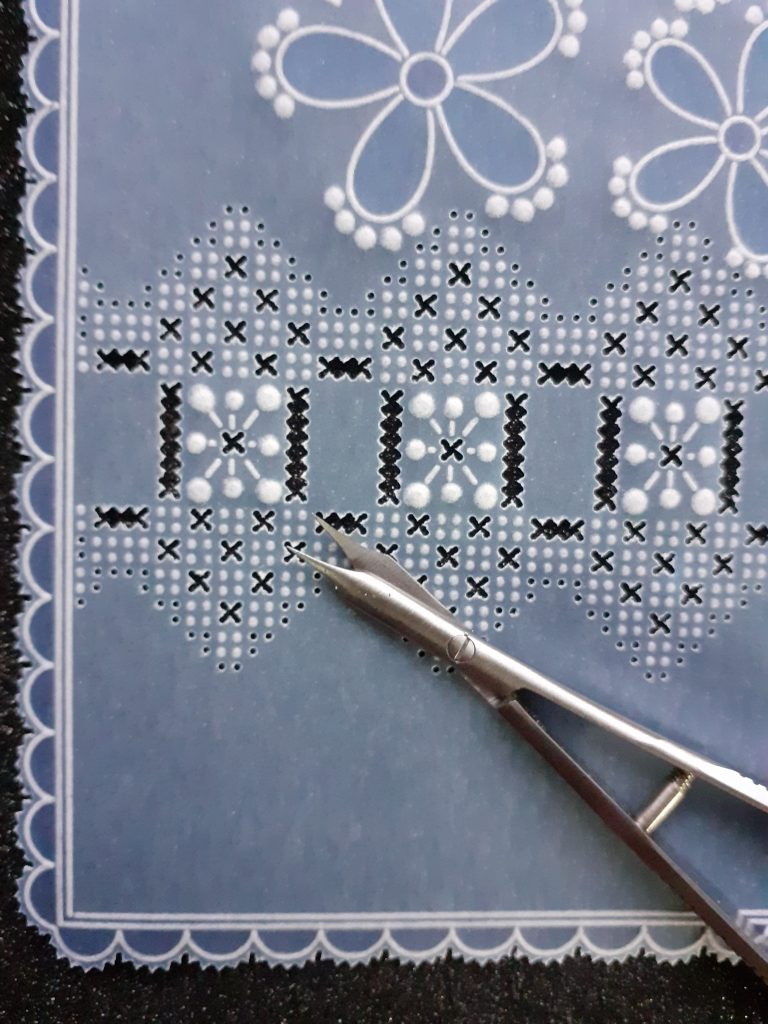
Step 9. Perforate around the scallops with the bold two needle tool.
Step 10. Cut out the lace border design, following the guide that came with your plate. Cut the two-needle perforations around the scalloped edge.
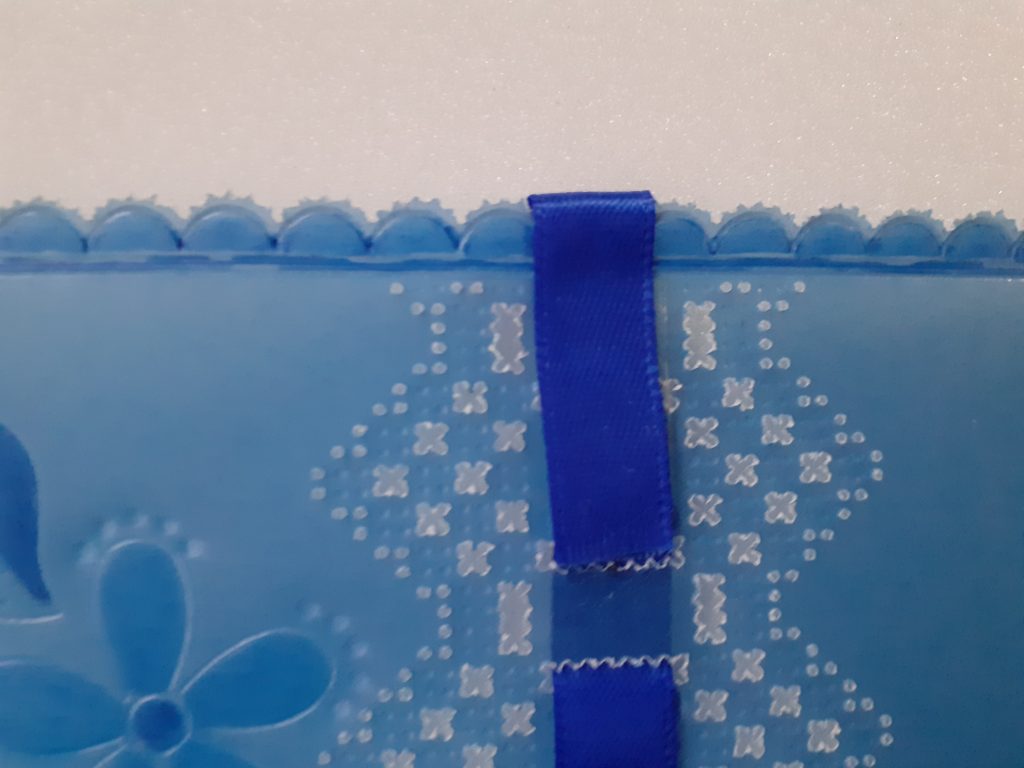
Step 11. Use a Groovi tab to make a pointed threader around one end of your ribbon. Starting from the front of your work, gently thread the ribbon through the holes.
Step 12. Attach a piece of red liner tape to the back of your ribbon to keep it in place.
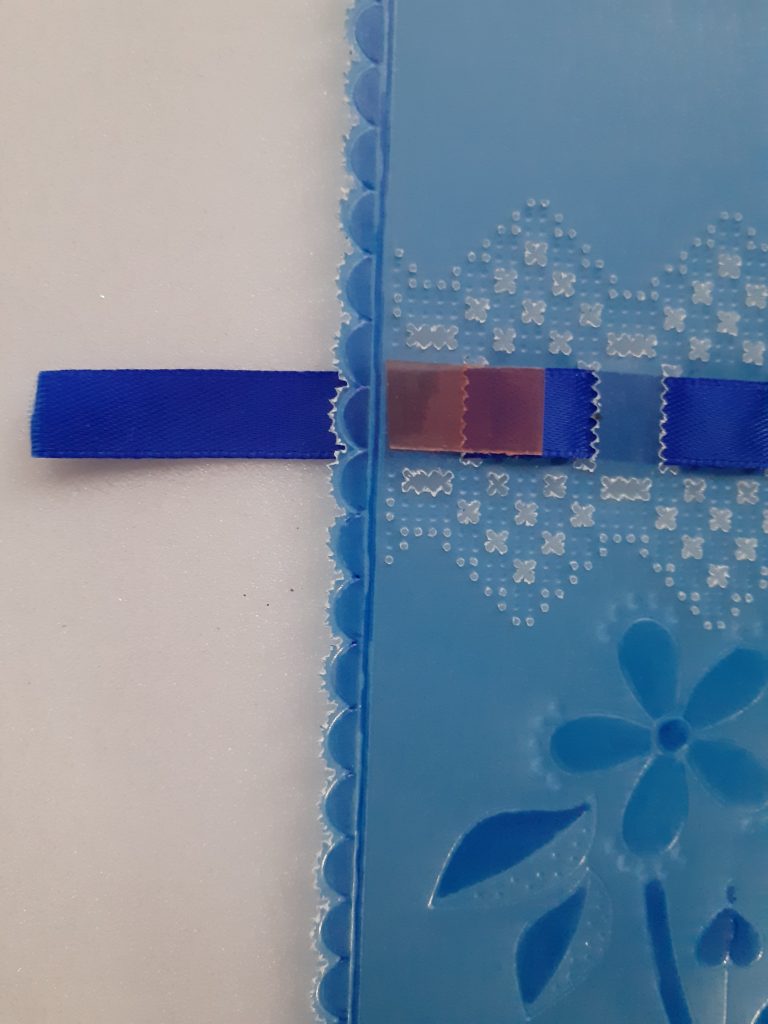
Step 13. Fold the end of the ribbon around the side of your work and stick in place using the red liner tape. Trim off any excess ribbon.
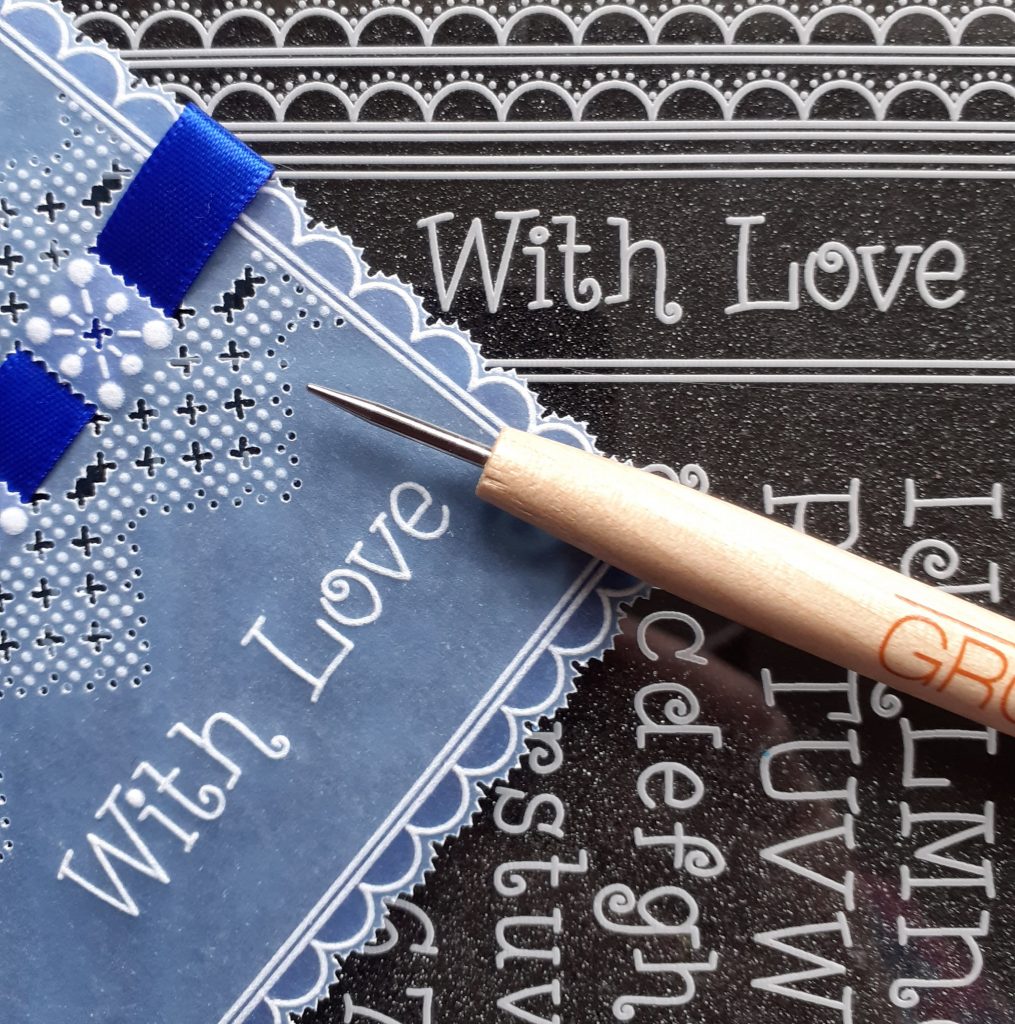
Step 14. I decided to add a greeting (inside the bottom section of my design) from the nested scalloped plate, using the #1 Groovi tool.
Step 15. Attach your work onto the piece of 6×6 white card using brads.
Cut a 6½x 6½ inch square from the second piece of blue parchment and attach this to your card blank using roller glue. Attach your finished work onto your card base in the same way. And voila!!!
STUNNING!
Thank you, Josie, for sharing another wonderful step-by-step project with us. I know these ribbon cards are so very popular. And a personal favourite style of mine too. They always catch my eye! What about you?
As always, everything that Josie has used is in one place over on the Clarity website, HERE.
Looking at the week ahead, we have some great stuff in store!
Monday 21st: SHAC Shack with Barb – Live at 10am on Facebook & YouTube
Tuesday 22nd: Groovi Tuesday with Paul – Live at 10am on Facebook & YouTube
Thursday 24th: SHAC Shack with Barb – Live at 10am on Facebook & YouTube
Friday 25th: Fresh Cut Dies with Paul on Create and Craft – 7am
Friday 25th: Mixed Media with Sam Crowe on Create and Craft – 9am & 12pm
Friday 25th: Get Groovi with Paul on Create and Craft – 3pm & 7pm
We hope you’ll join us!
Travel gently…
Lotsa love, Grace & Josie xo
Clarity – The Home of Art, Craft and Well-Being.
Many thanks Grace and Josie for another brilliant blog and project , will have a go at this one , have a great Sunday xx
Thank you Grace and Josie. I hope you’re enjoying your weekend xx
As always a brilliant blog and project. Have only just got on the groovi bus and have very limited tools but do love seeing what can be achived.
Lovely project thank you, I’ve done a lace strip across a PTC before now. It’s just something different isn’t it. Will now do one across a card as, for some reason or other, I don’t think I’ve thought of that ! Have a good Sunday xx
Hi Grace & Josie
Thank you for another lovely tutorial – will try giving this a go
Have a good week
Love Seta xxx
Totally awesome !! Thank you. xx
Looks so wonderful , will also try it , maybe a little smaller but i will try…. Thank you so much for showing us your tips , so that we can forget the bad news for a little while…. Josie and Grace thanks….. 🙋♀️
Brilliant project Josie, thank you xx
Looks lovely. I think I could manage something similar – can’t line up a complete border so this is perfect for me.
That’s a fab project Josie. And a great reminder of other plates that you’ve used!
Hope the birthday weekend is going well Grace and have a very happy birthday on Wednesday.
Lots of love xxxxx
Thank you so much. I’ll definitely be trying this one. Love it. 😍
Oh How lovely is that. I really must try this. Thanks Josie and Grace. x Have a good week. xx
Didn’t have the right plates, so used a grid to make the pattern. After about three or four tries I finally got it and now have a finished piece of lace across a card. Thankyou for showing us how. I wasbhaving a struggle with lace plates…… getting the piercing to line up with the embossing but managed this blog and while my project is not perfect enjoyed the battle. Feeling very pleased with myself. Nothing like the lace you produce but happy with my project.
It was ribbon threading on parchment which first attracted me to the craft. Lovely demo Josie, thank you.