Clarity’s Blog Tutorial: How To Colour the Amaryllis
Hello Hello! Grace here.
I hope this finds you safe and well, friends.
We’re joined this week by the fantastically talented Jane Telford. i’ll waste no more precious time and hand you straight over to the pro…

Frosted Floral Overlay
Hi! Today I’m going to show you how to colour the Amaryllis and add gold lettering to the design. This is where we are headed…

Ingredients
Frosted Floral Overlay Pack – Amaryllis (PER-PA-70416-XX)
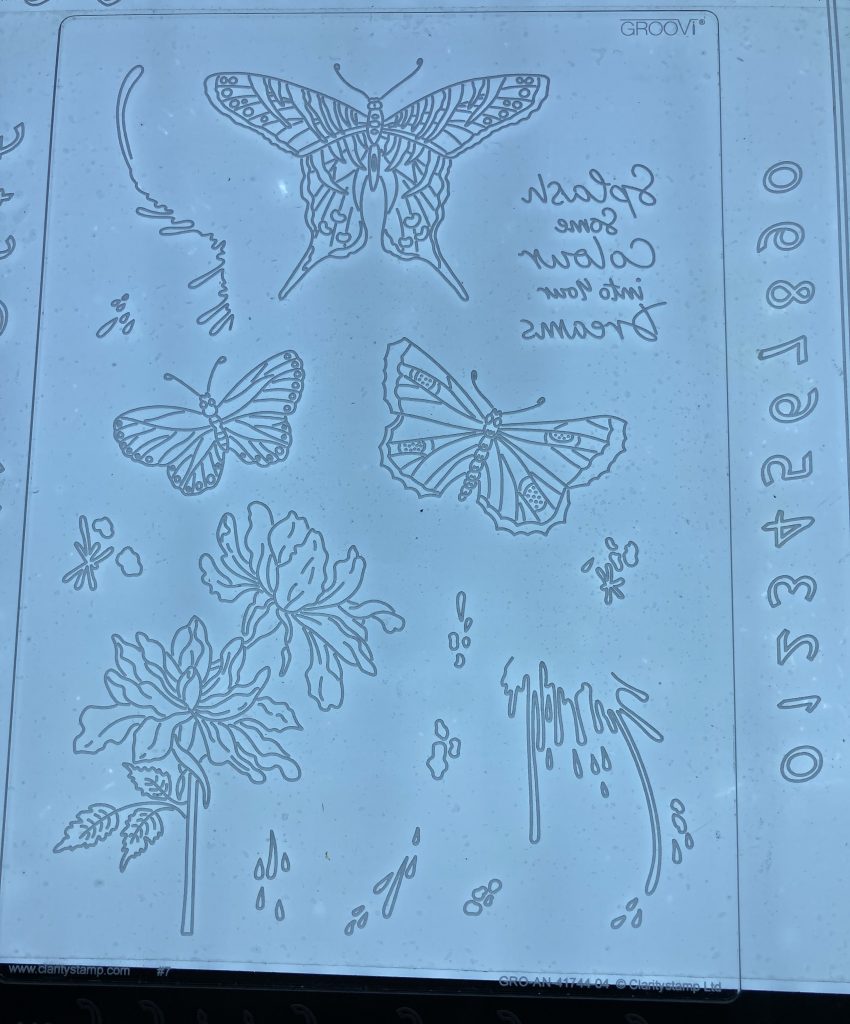
Cherry’s Splash Some Colour Montage Elements A5 Groovi Plate (GRO-AN-41744-04)
Nested Scallops Rectangles A5 Groovi Plate (GRO-PA-40587-04)
Calligraphy Alphabet A5 Groovi Plate Mate (GRO-MA-40517-08)
Groovi A4 Clear Parchment Paper (20 Sheets) (GRO-AC-40024-XX)
Clarity Low Tack Masking Tape (ACC-AD-31211-XX)
Black Dual-Purpose Groovi Mat A4 (GRO-AC-40194-A4)
Groovi Embossing Tool 0.8mm – 1.3mm (GRO-AC-40026-XX)
6mm Embossing Tool (PER-TO-70016-XX)
2 Needle Tool (PER-TO-70037-XX)
Ringlock Scissors (PER-TO-70041-XX)
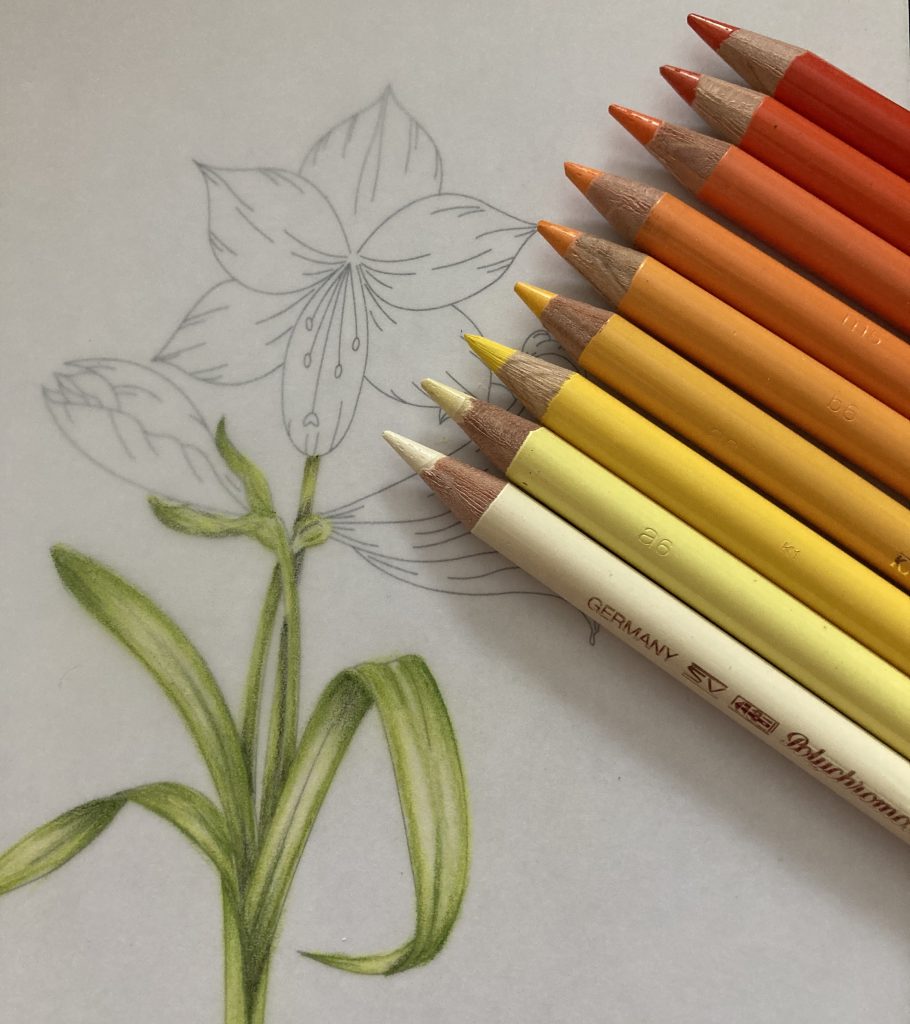
Polychromo Pencils (ACC-PE-30797-XX)
White – Uni Posca Marker Pen – Pc-1mr – Ultra Fine (POSCAWHITEFINE)
Gel Pen – Gold (29251) (PER-CO-70070-XX)
4 Gold Brads (PER-AC-70274-XX)
Orange Card
A5 Card Blank
Method
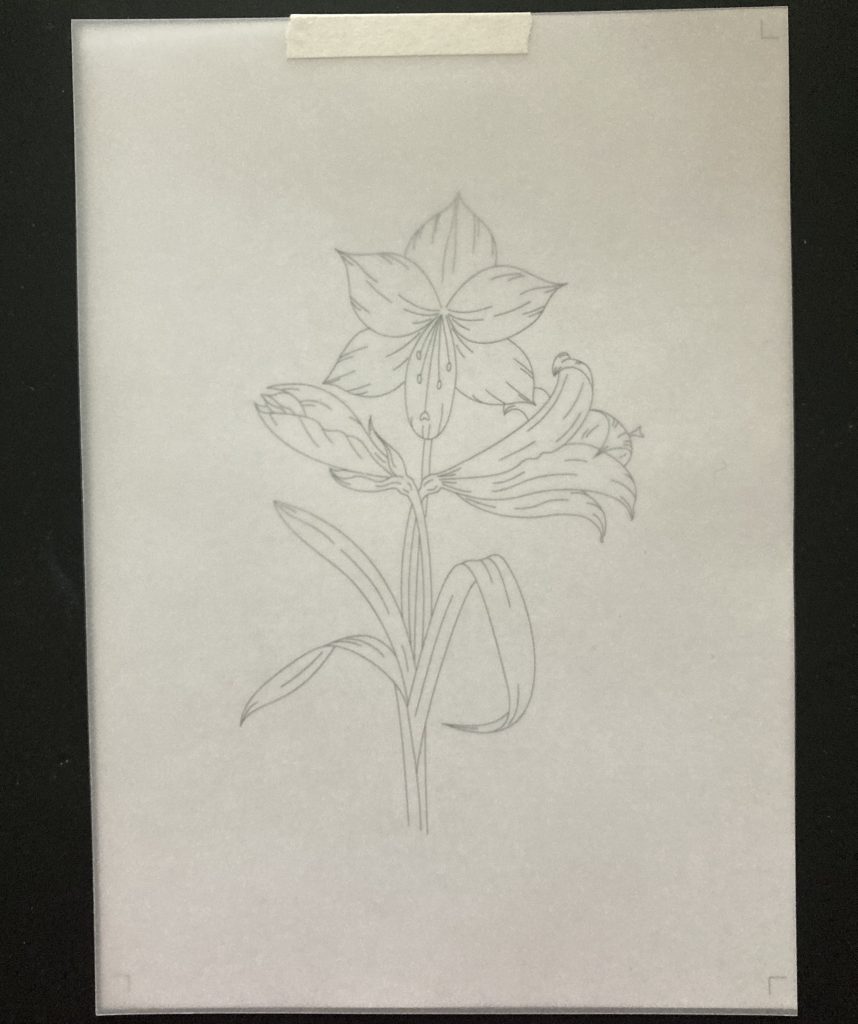
Step 1. Take the flower pattern piece that is printed on copy paper aswell as one piece of A5 clear parchment from the pack. Attach them together using low tack tape at the top (and the bottom if you so wish) so that the parchment does not move.
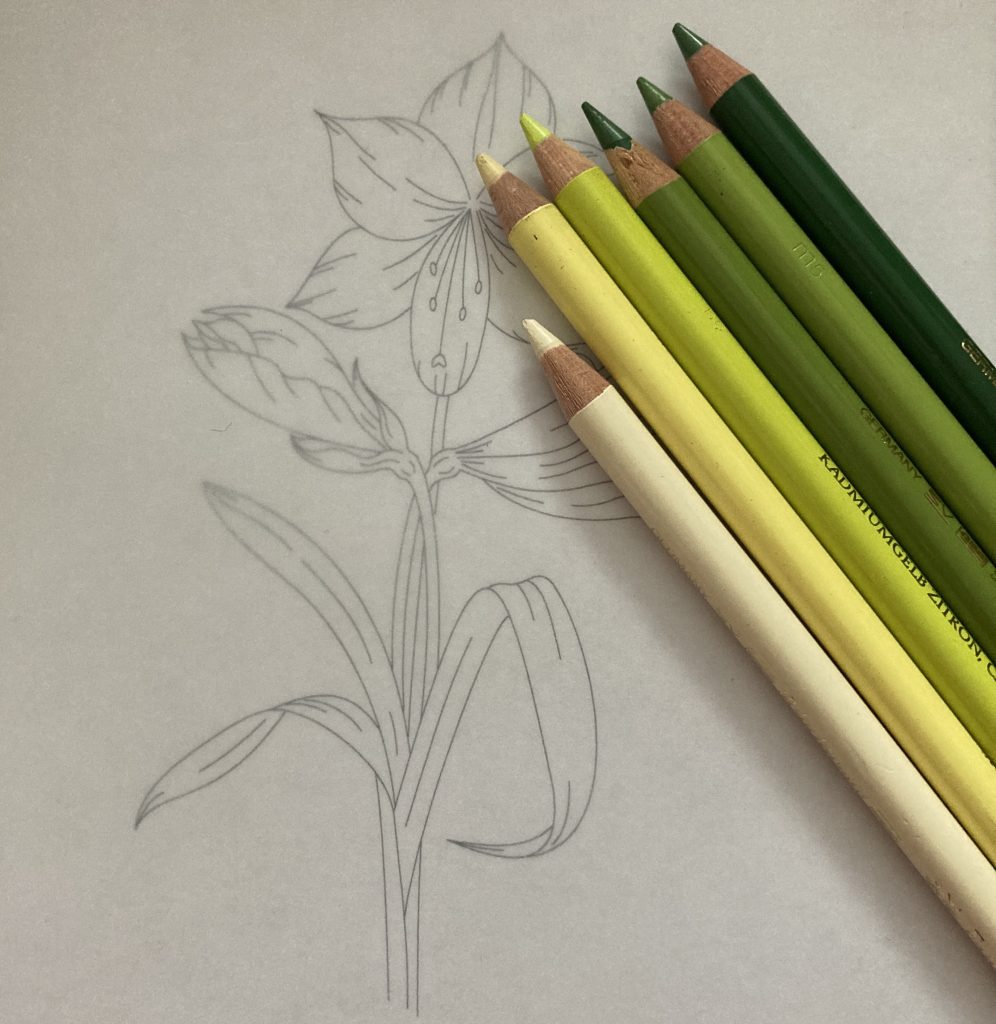
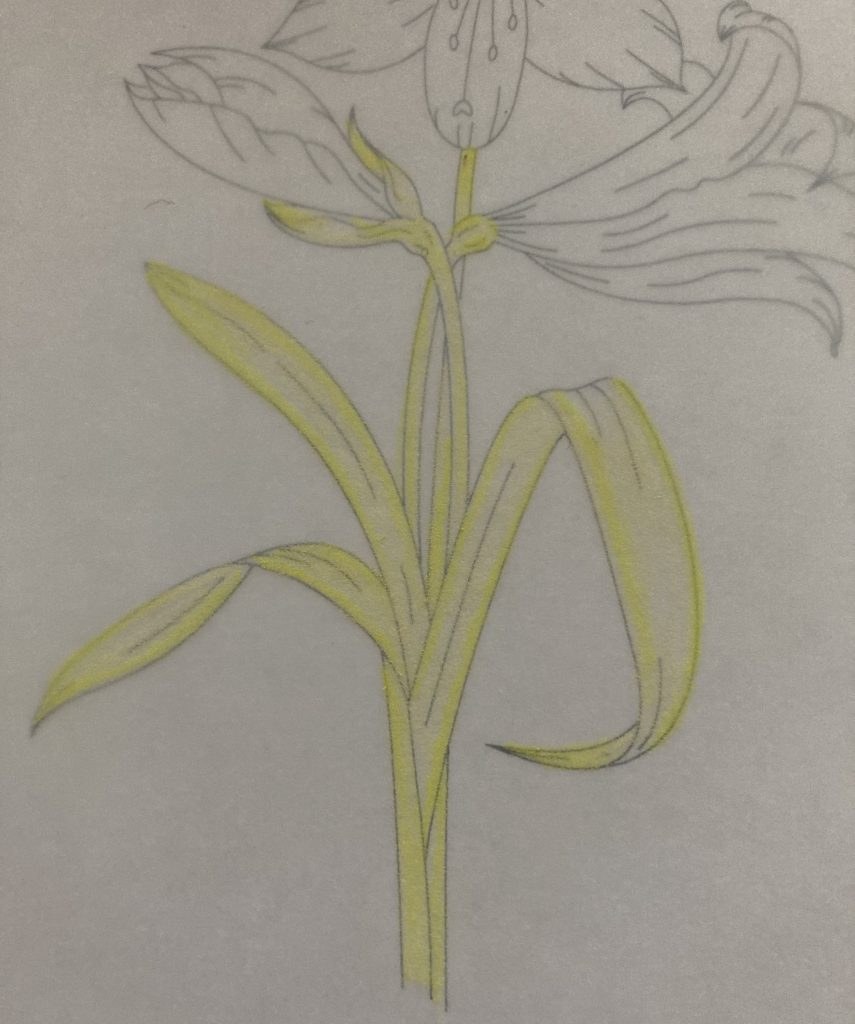
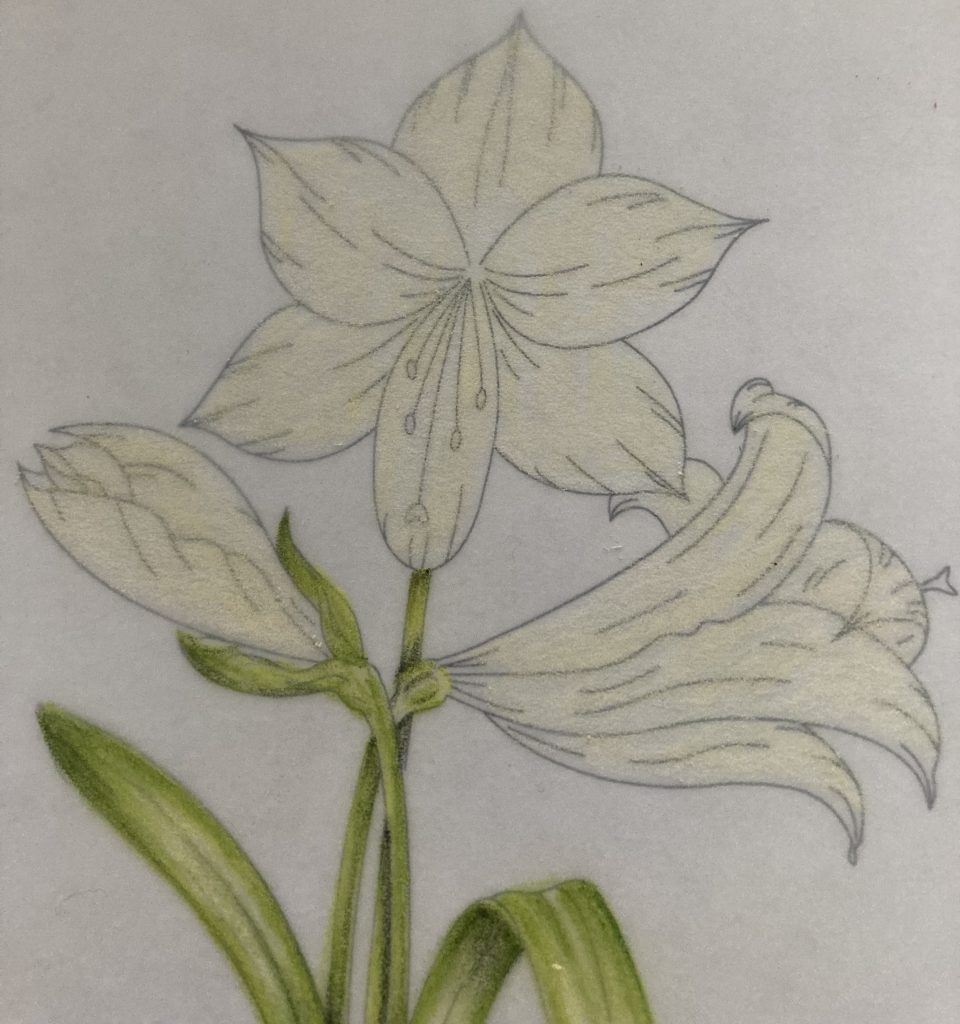
Step 2. Take a selection of green pencils (light, medium and dark shades) plus a cream and a light yellow. Starting with the lightest, add a light coat of colour all over the leaves and stems. Do not press hard.
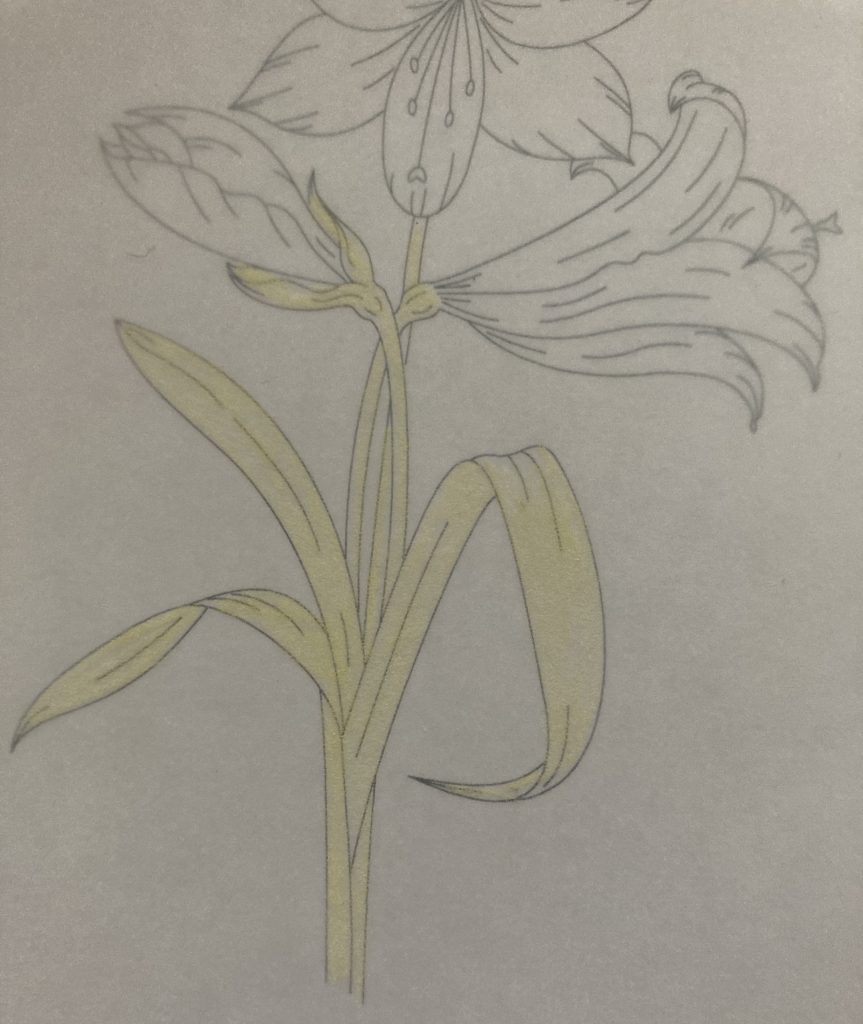
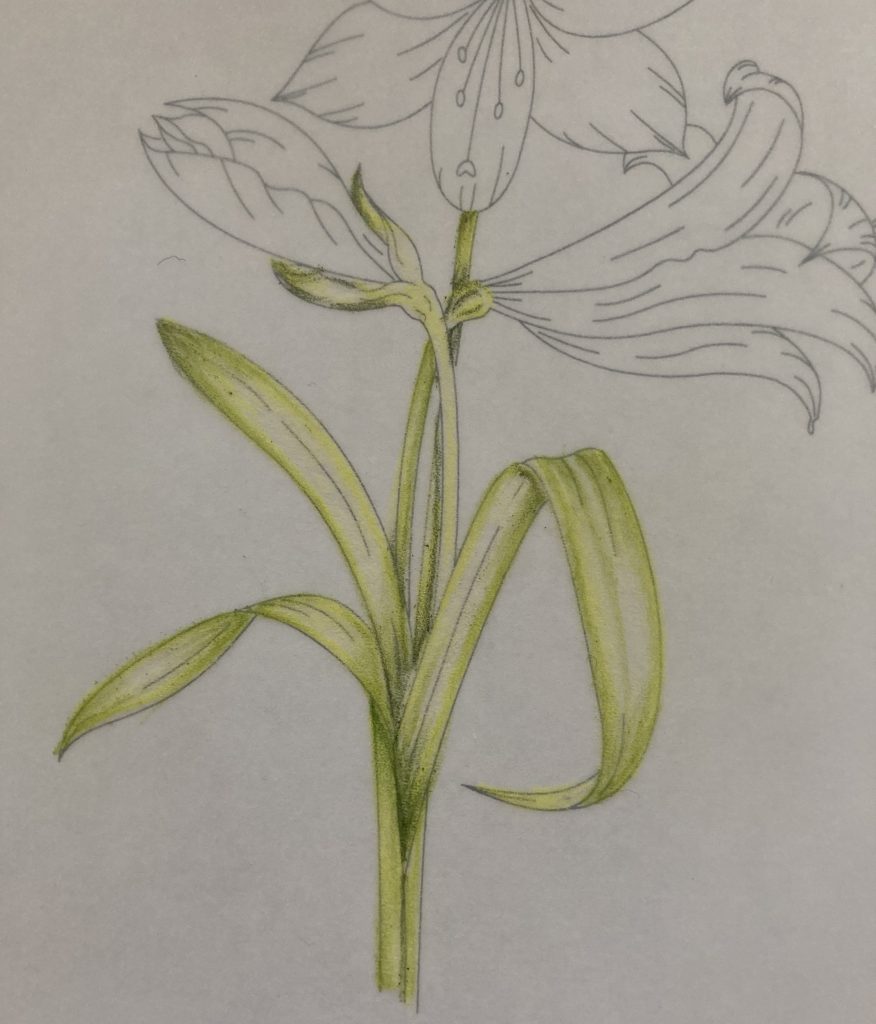
Step 3. Add deeper shades of the green, gradually leaving lighter areas of the leaves where light might hit them. Use the coloured example in the pack as a guide, if necessary.
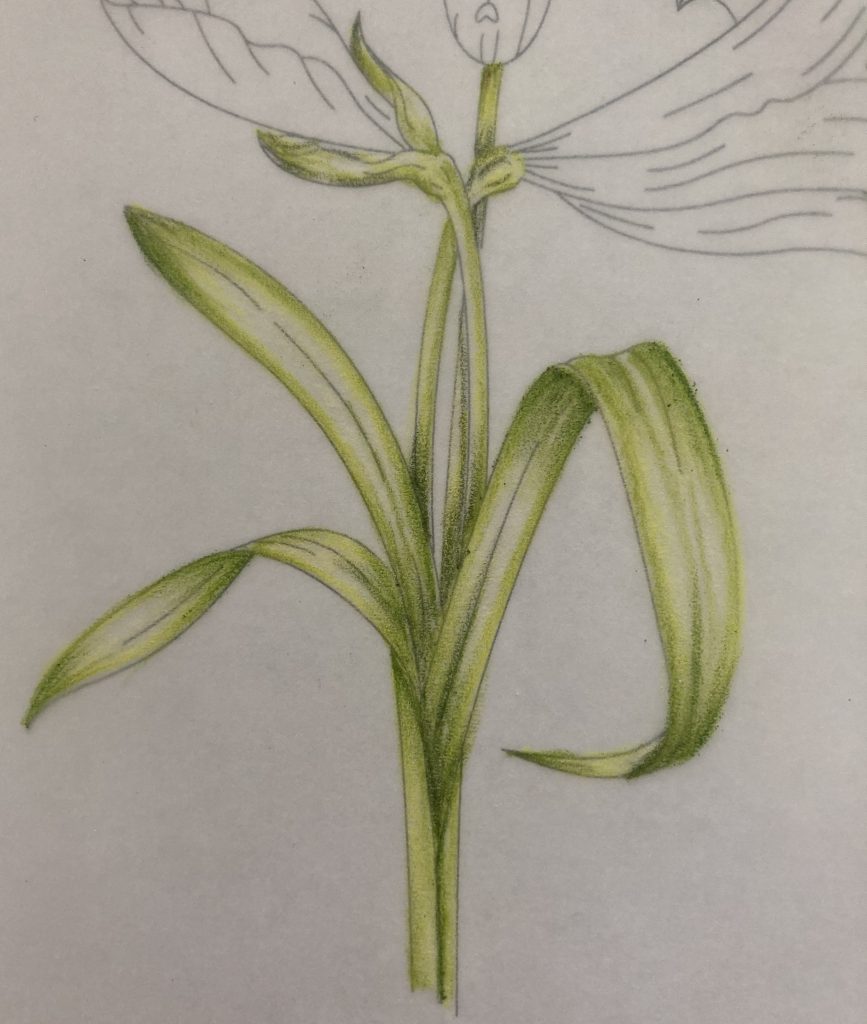
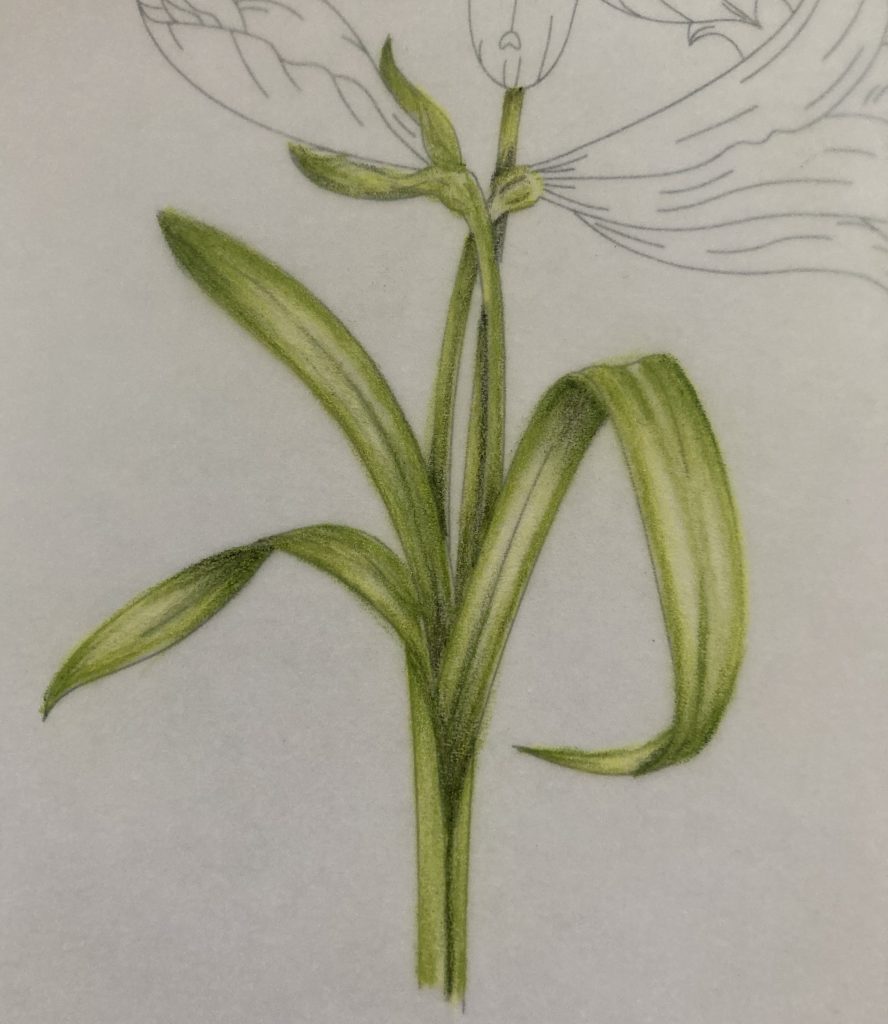
Step 4. Finish the leaves by adding to the darkest areas with a sharpened dark green and grey 5 pencil.
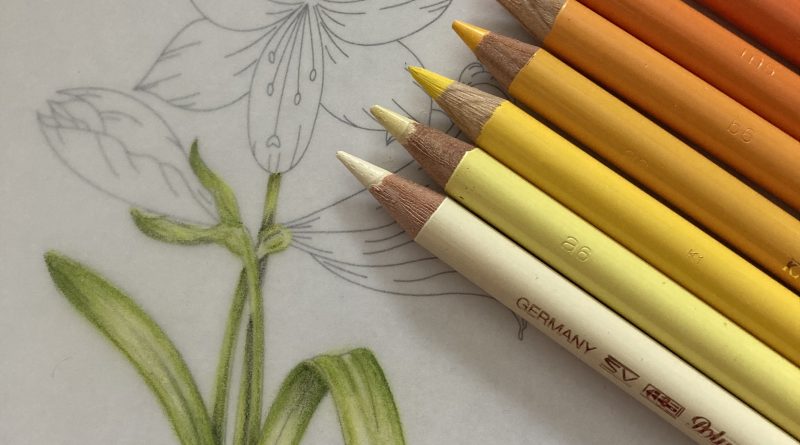
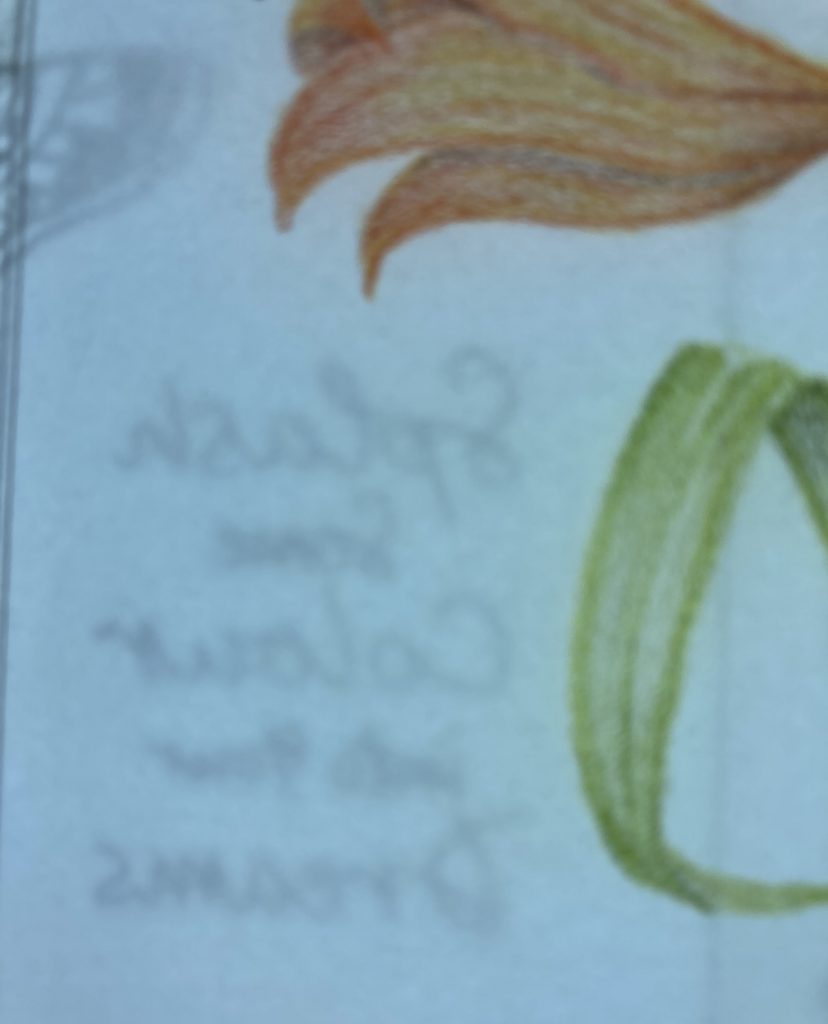
Step 5. Now choose a selection of yellow and orange pencils. Colour the petals light to dark, then finish with a dark brown in the shaded areas.
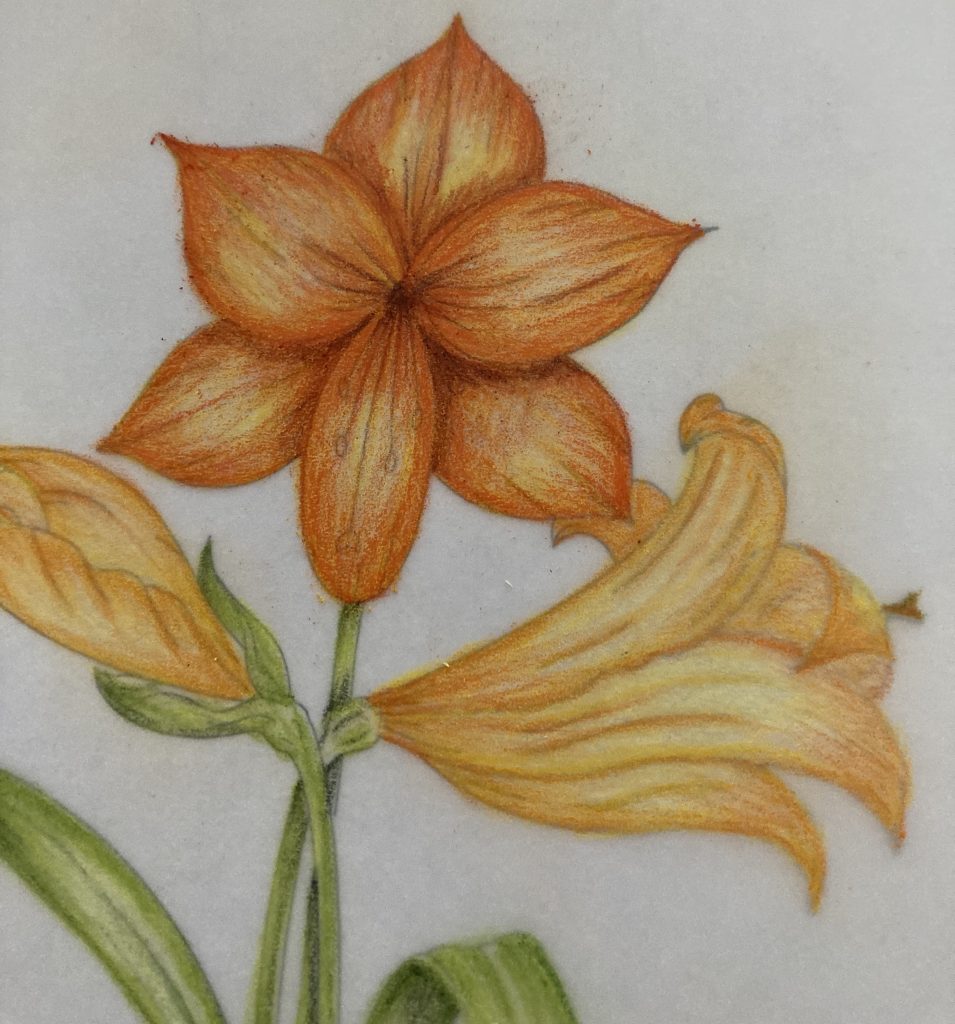
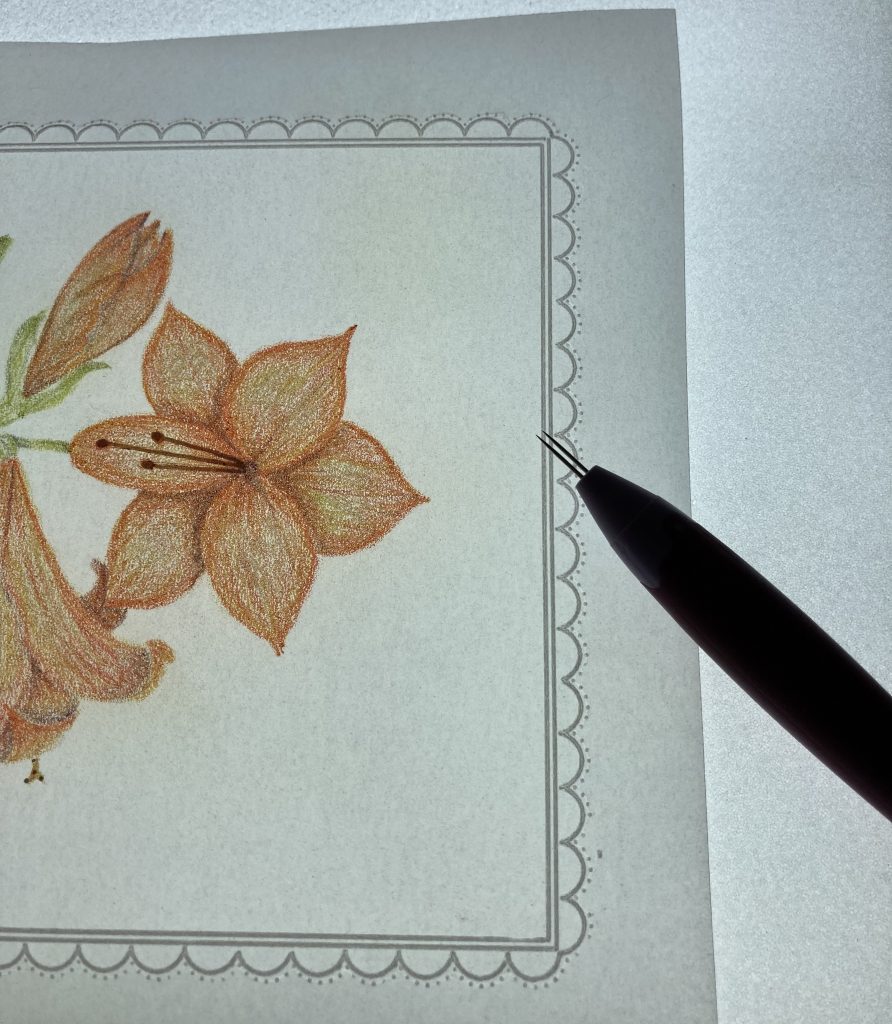
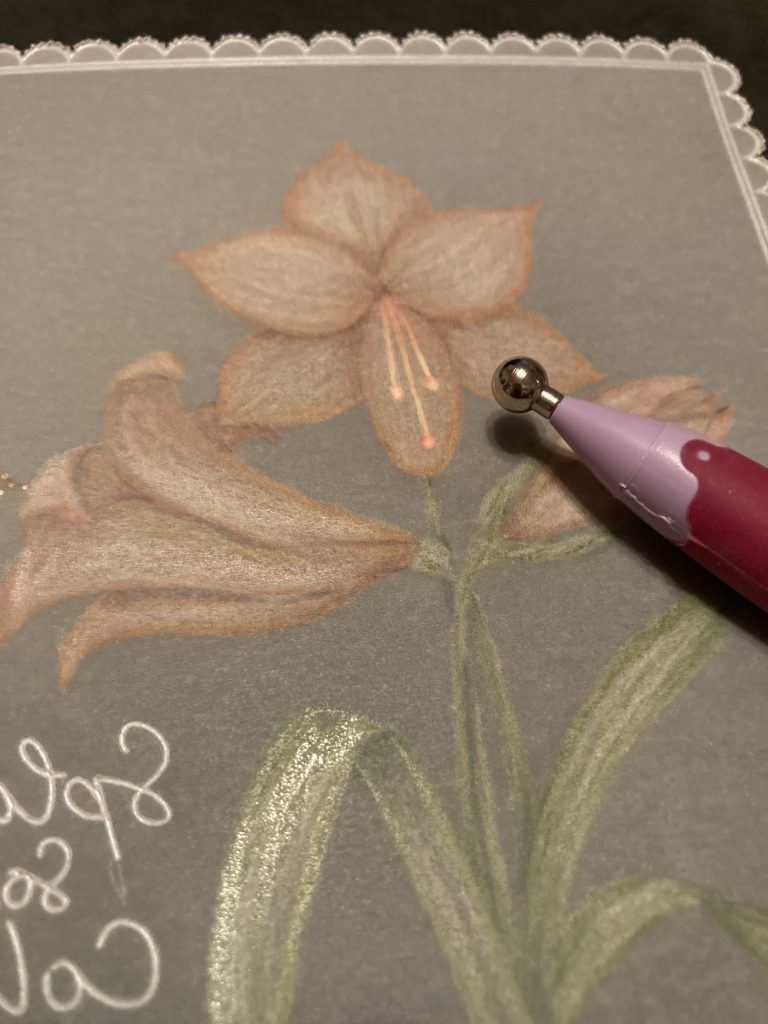
Step 6. Use a white Posca pen over the top of the pencil colour to add the stamen.
Step 7. Here is the finished Amaryllis.
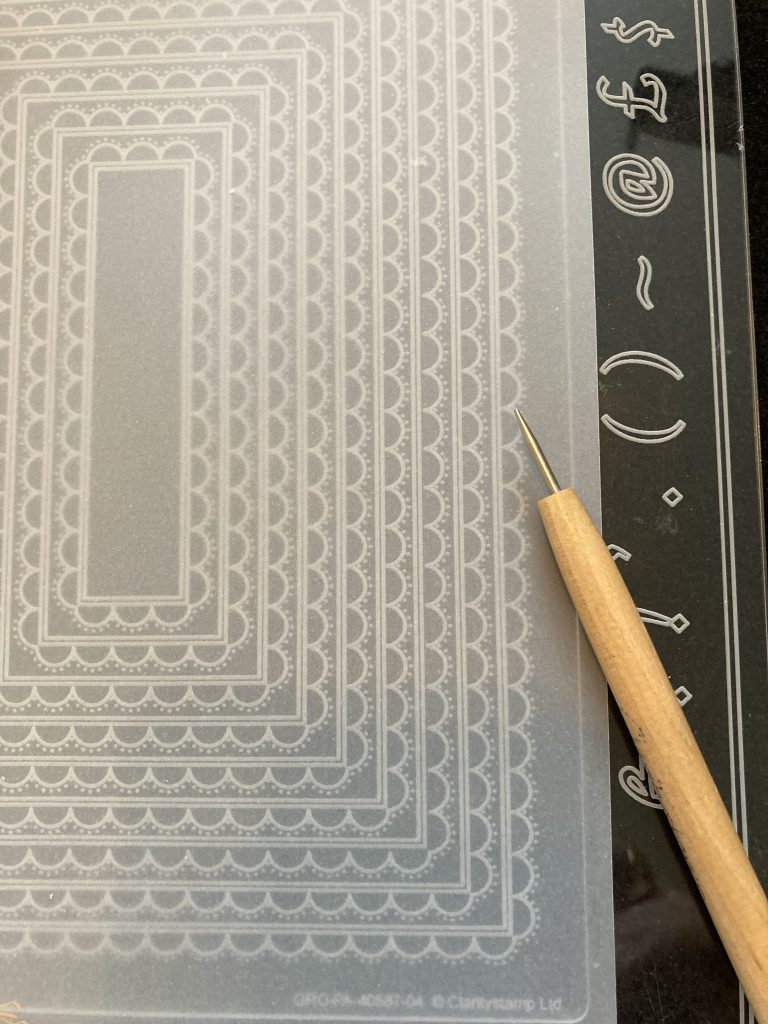
Step 8. Turn the flower over and attach the parchment to the scalloped rectangle plate. Emboss the second sized rectangle and scallops.
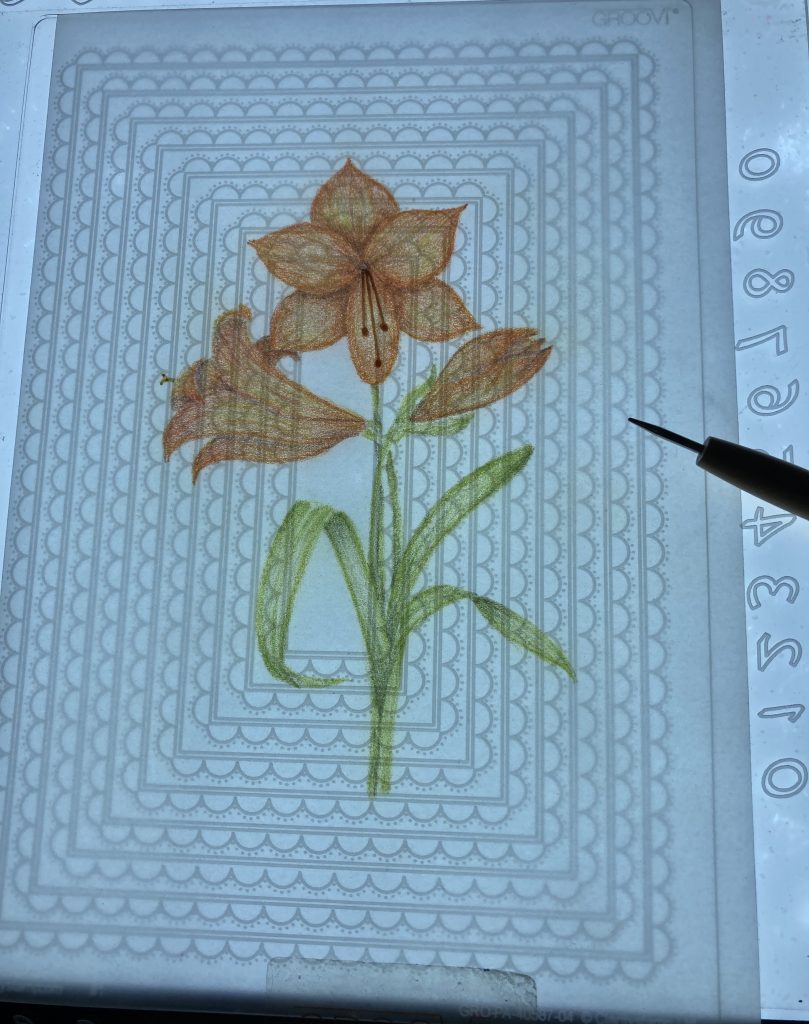
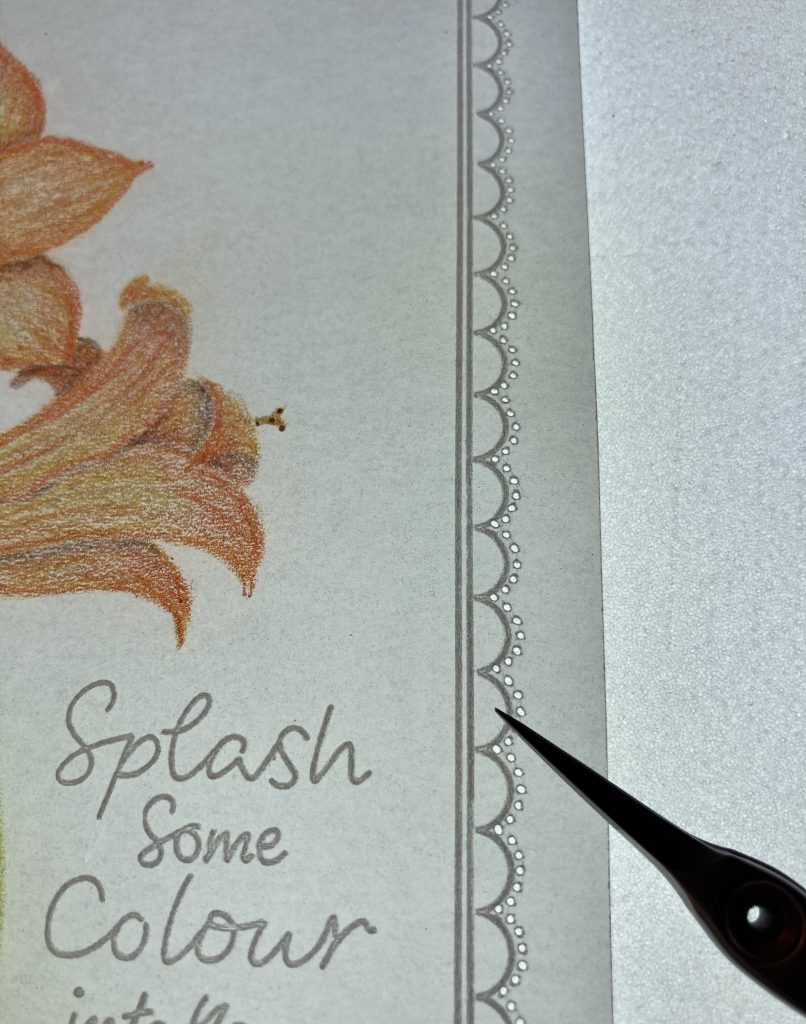
Step 9. Put the butterfly plate in the A5 plate mate and emboss the words to the side of your Amaryllis.
Step 10. Perforate around the scallops with a 2 needle tool.
Step 11. Cut waste from around the outside of the scalloped frame.
Step 12. On the reverse of the parchment, using the 6 mm ball tool, emboss the petals and some of the leaves. This just gives the flower some dimension.
Step 13. On another piece of plain parchment, emboss the largest rectangle and scallops. Perforate and cut this out.
Step 14. Cut a piece of orange card to 13.5cm x19.5cm and layer the pieces of parchment onto it attaching with brads.
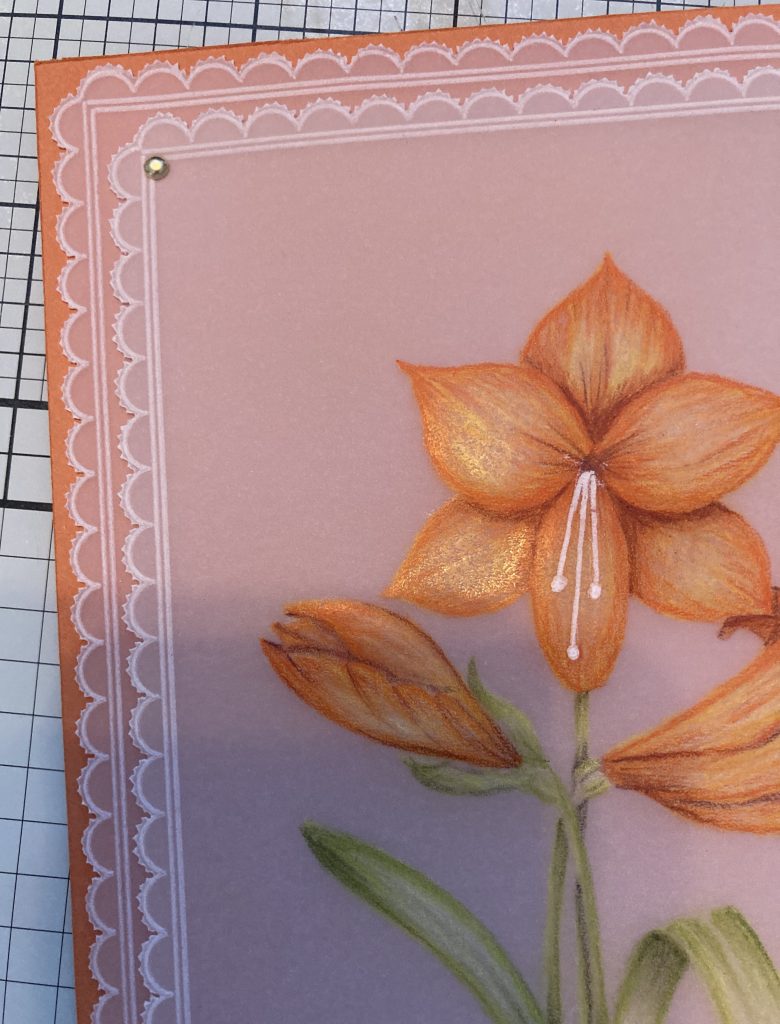
Stick onto an A5 card blank.
Step 15. Using a gold gel pen trace carefully over the words on the front of the card.
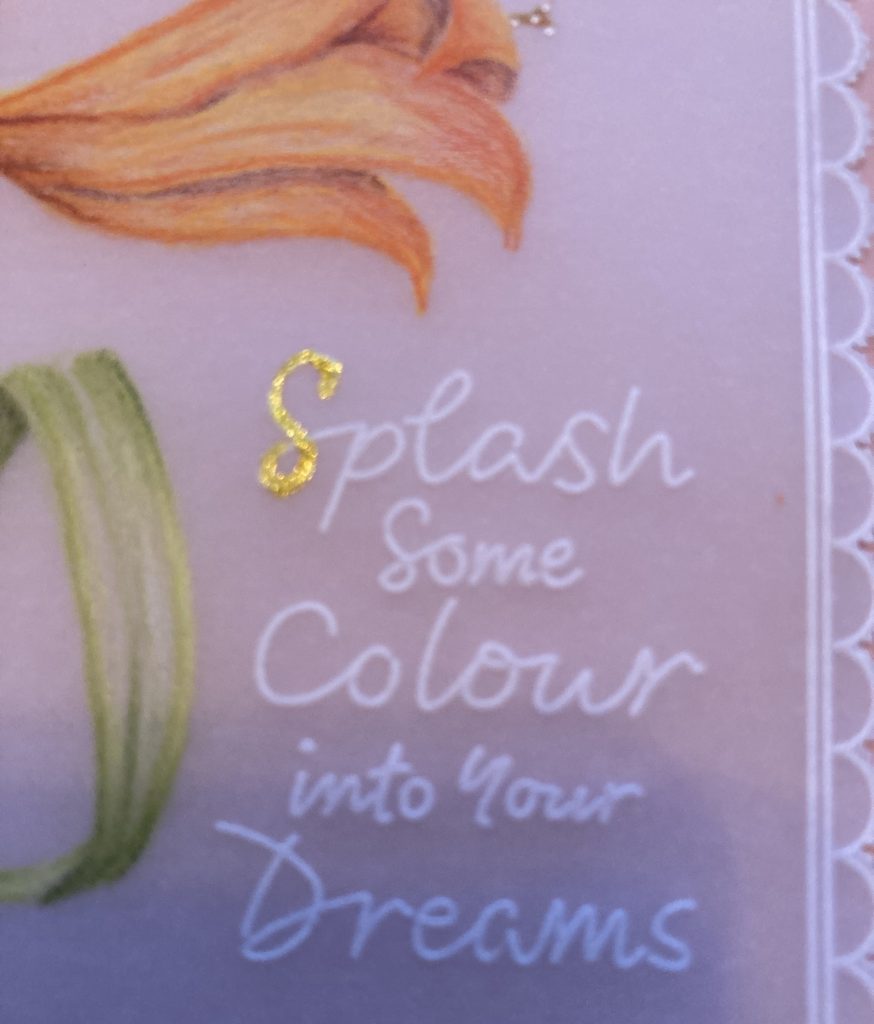
And you’re all done!
GLORIOUS! Thank you, Jane. That is such a stunning card, and you’ve made it attainable for the rest of us by breaking it down into simple steps.
One step at a time, one foot in front of the other. That’s how we make it through 🙂 and end up with impressive results!
As always, everything you need to recreate this masterpiece can be found HERE in one convenient place.
For now though, we’re off to enjoy the last of the weekend! I hope you do too. Perhaps a Sunday afternoon craft session is in your future?
Either way, travel gently.
Lotsa love, Grace & Jane xoxo
Clarity – The Home of Art, Craft and Well-Being.
I love colouring and am always interested in how others approach this relaxing pastime.
Thanks to you both for sharing.
Stay safe.
Wow. perfect recipe for a beautiful flower. Thank you for teaching this !!! Love and Peace… Catherine
Lovely colouring thank you Jane.x
Beautiful jane, as soon as I can craft again I will be trying this. xx
Thank you Jane, Unable to groovi or craft at moment, but so enjoy seeing how it’s done, in the hope that a time will come that perhaps I will be able to use my stash, thank you love to you Grace xxxx
Hi Grace & Jane. A great step by step Jane – colouring is something I need to perfect but its a case of practice practice – the more we do hopefully the better we will get. Love the effect of the parchment using the line art underneath rather than being on the parchment. My list of to do’s is growing fast, just need my new reading glasses to see the close work but that day is getting nearer !!
Late Sunday now so hope you have all had a good weekend – although the days seem to blend together these days when there is no work to worry about x
Hi Jane did you use dorso oil between layers as I couldn’t see it in the ingredients. Thank you
I didn’t use dorso oil at all. The pencils seem to blend themselves. Occasionally I will use my finger to smooth it or a dry blending nib but didn’t on this one.
Hope that helps.
This is absolutely beautiful, it’s just the most stunning coloring I have ever seen. JUST WOW
I wish I had a quarter of the talent it takes to make something like it.
thank you for sharing this piece of art.