Clarity’s Blog Tutorial: How To – Pointillism Rose Using the Frosted Floral Overlay.
Hello hello! Grace here.
I hope this finds you safe and well!
Did you survive the wind on Friday? I hope so! Well, I have a stunner of a project to share with you. It will certainly blow you away 😉 See what I did there?
We’re joined by the oh-so-talented Glynis Whitehead, for another fantastic step-by-step project.
I’ll hand over the reigns to our teacher 🙂
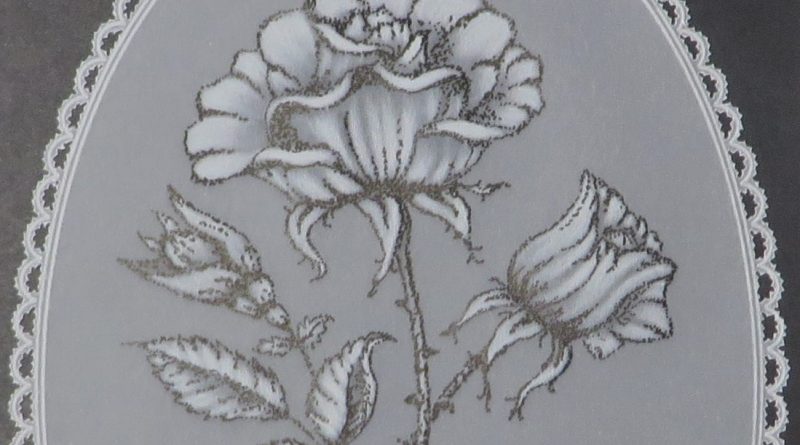
Pointillism Rose Using the Frosted Floral Overlay.
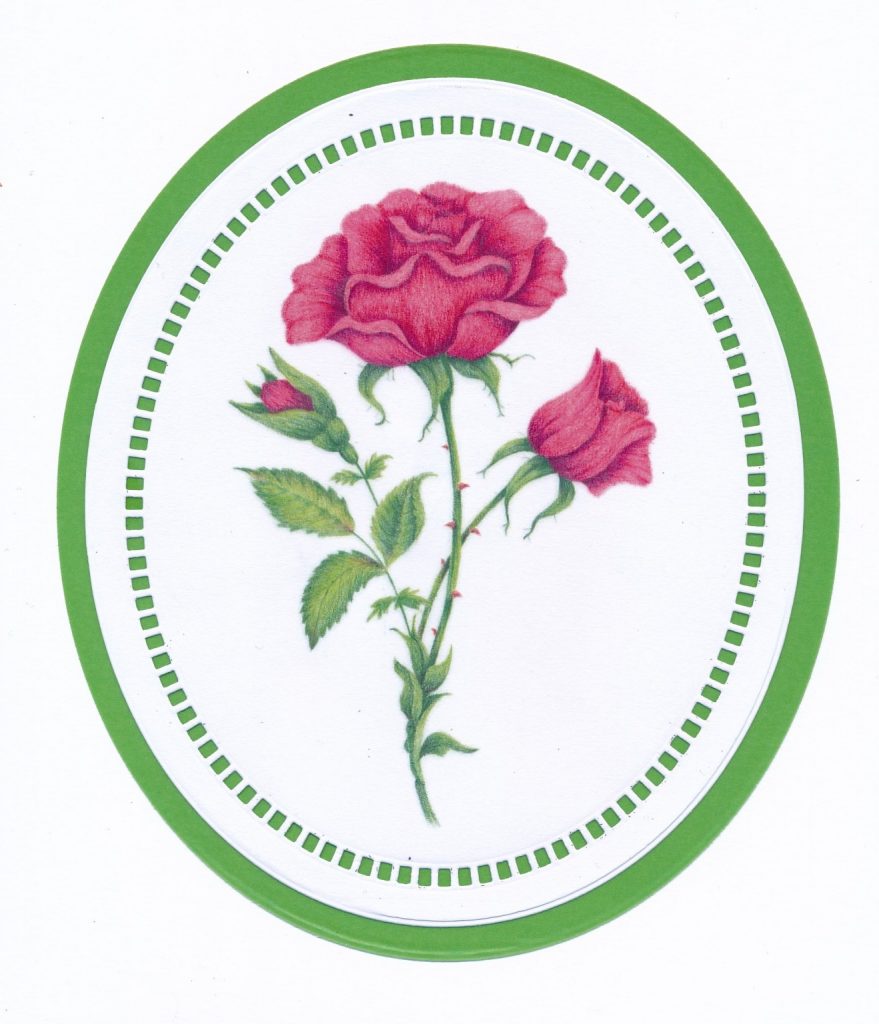
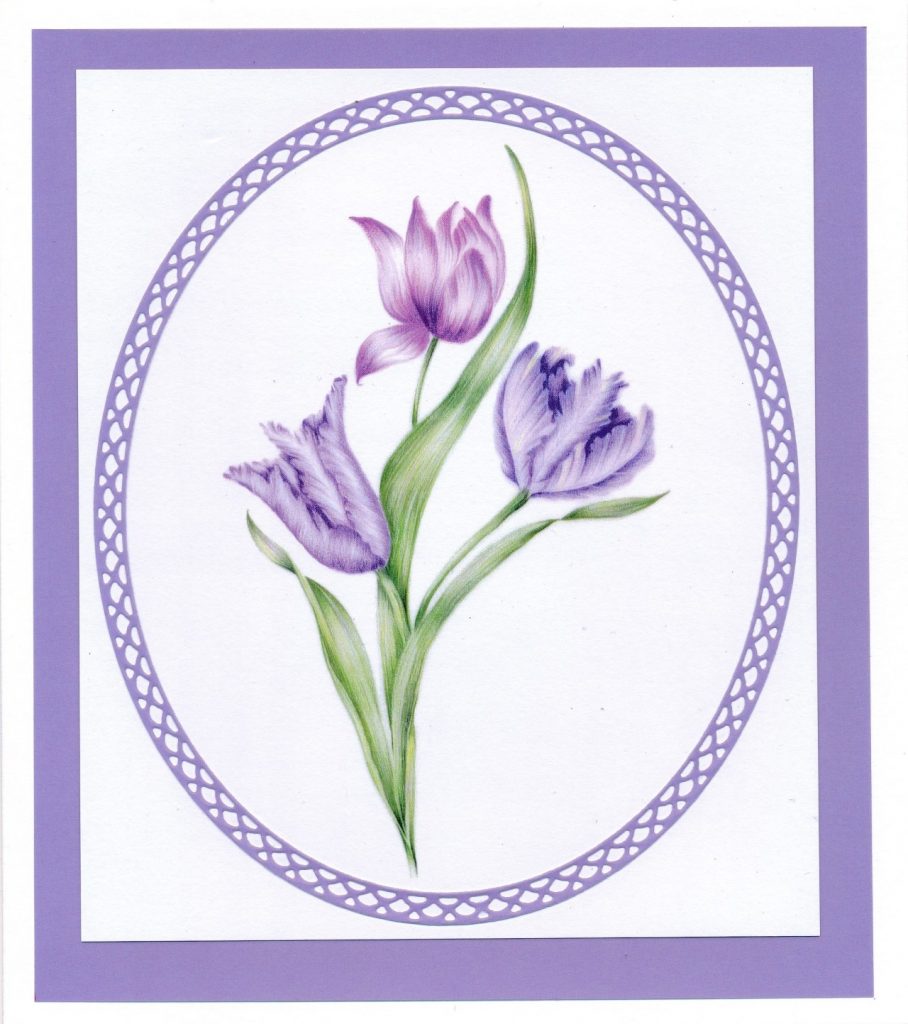
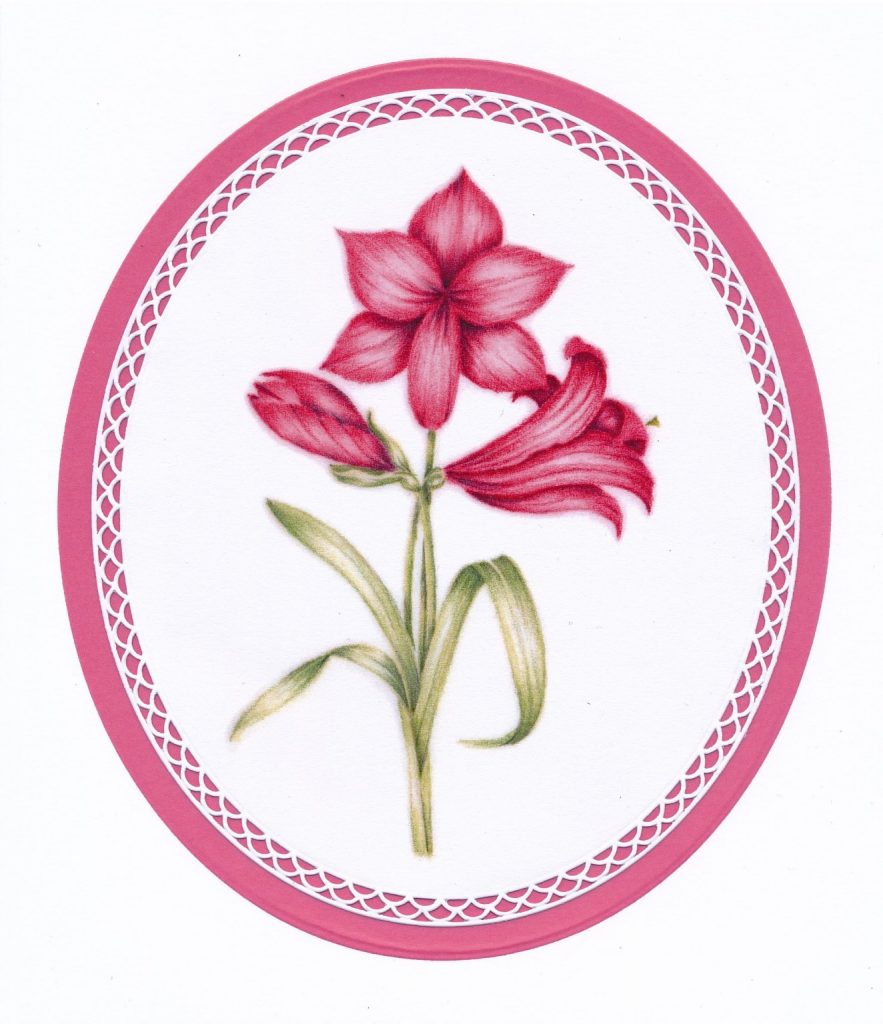
The new Frosted Floral Overlay Packs are a brilliant idea. There are 5 packs to choose from – Rose, Christmas Rose, Tulip, Amaryllis and Fuchsia. In each pack you get 4 printed in white on parchment, 1 with all the elements of the flower printed in white (for practice), 4 extra sheets of parchment, 1 flower printed in black on white paper, a full colour rose on paper (to show you the way with colouring) and a printed black outline on parchment.
There are also step-by-step instructions with hints and tips written by Linda Williams. There are so many ways in which these packs can be used, and here I would like to show you a pointillism version of the Rose.
Ingredients
Frosted Floral Overlay Pack – Rose (PER-PA-70419-XX)
Micron Pen Set of 7 (ACC-PE-30778-XX)
Nested Scallops Ovals A5 Groovi Plate (GRO-PA-40586-04)
Calligraphy Alphabet A5 Groovi Plate Mate (GRO-MA-40517-08)
6mm Embossing Tool (PER-TO-70016-XX)
4.5mm Embossing Tool (PER-TO-70015-XX)
3mm Embossing Tool (PER-TO-70005-XX)
2 Needle Fine Perforating Tool (PER-TO-70037-XX)
Method
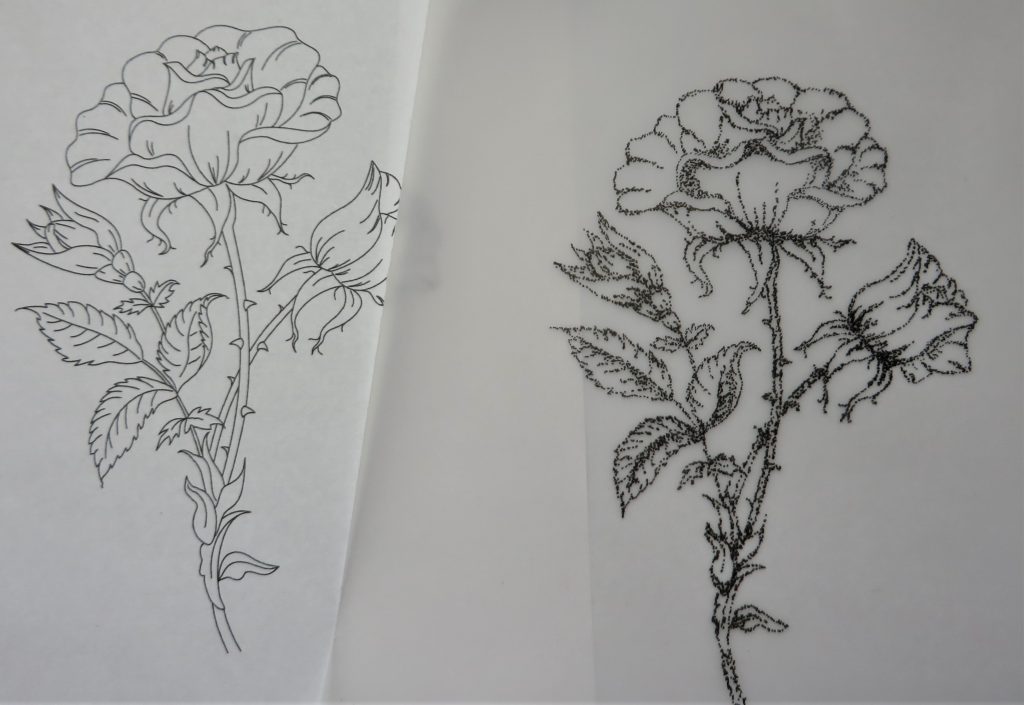
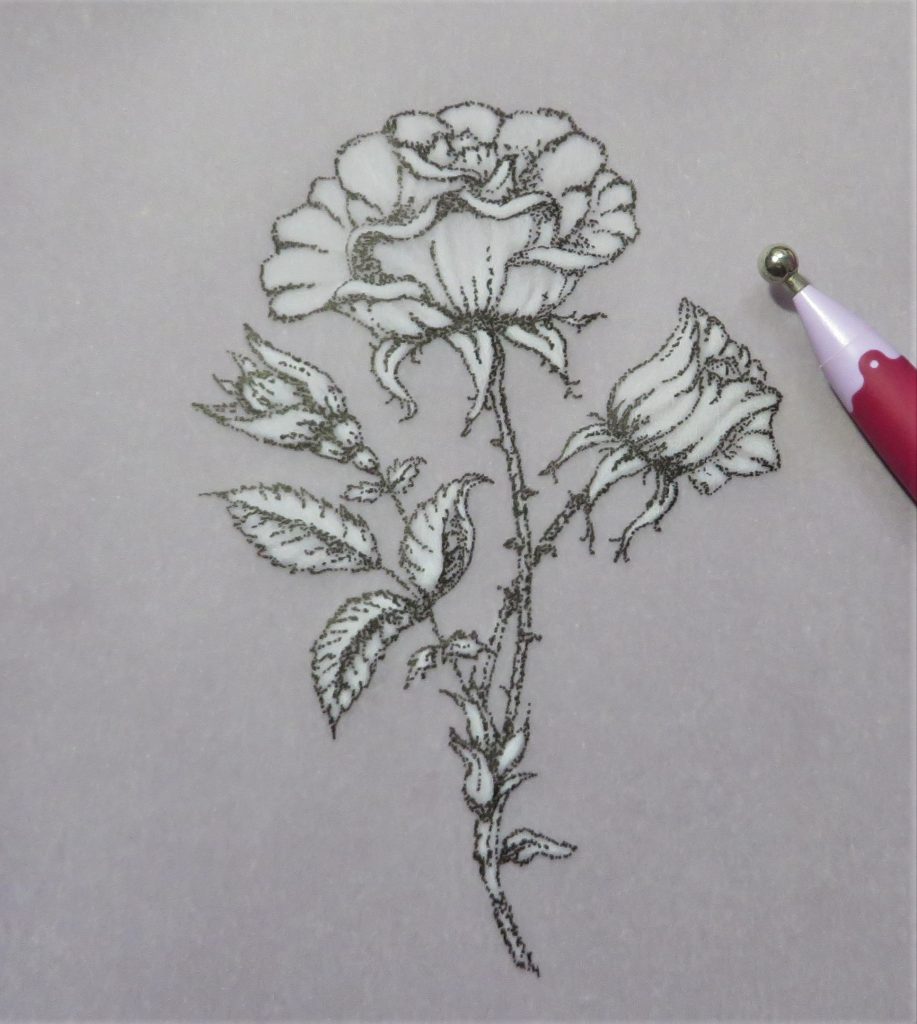
Step 1. Put a piece of the A5 parchment over the black and white rose, which has been printed on white paper. Secure it with Groovi Tabs.
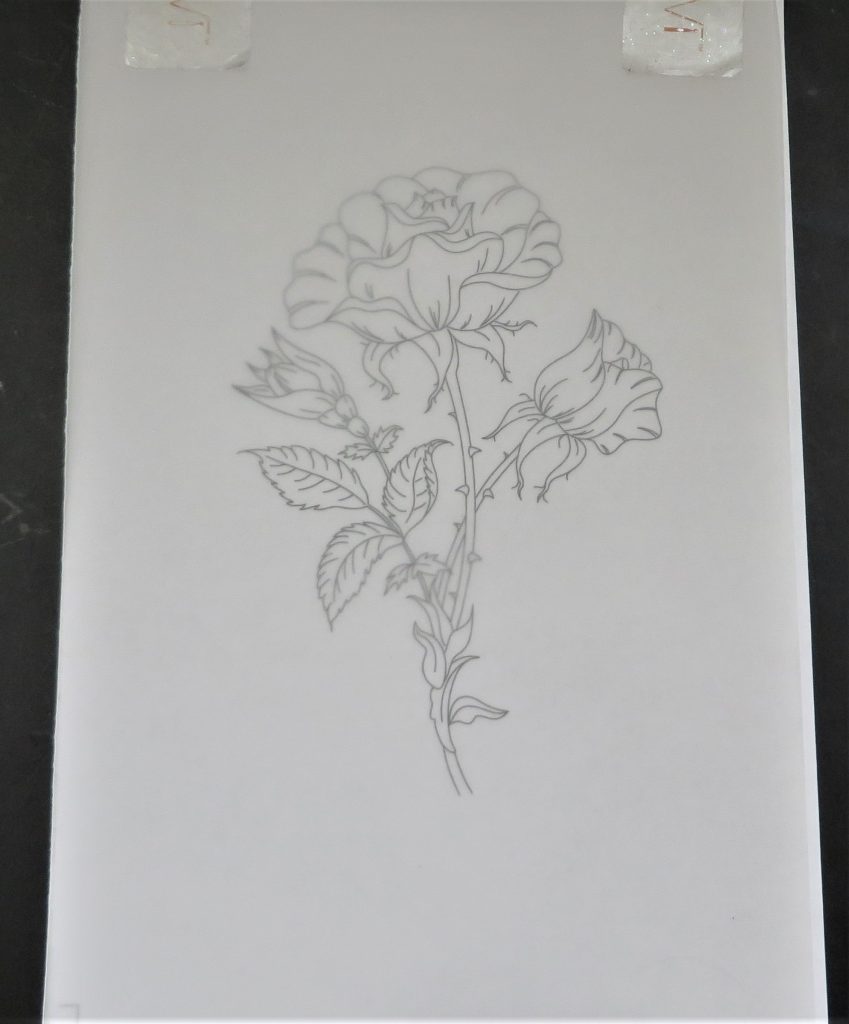
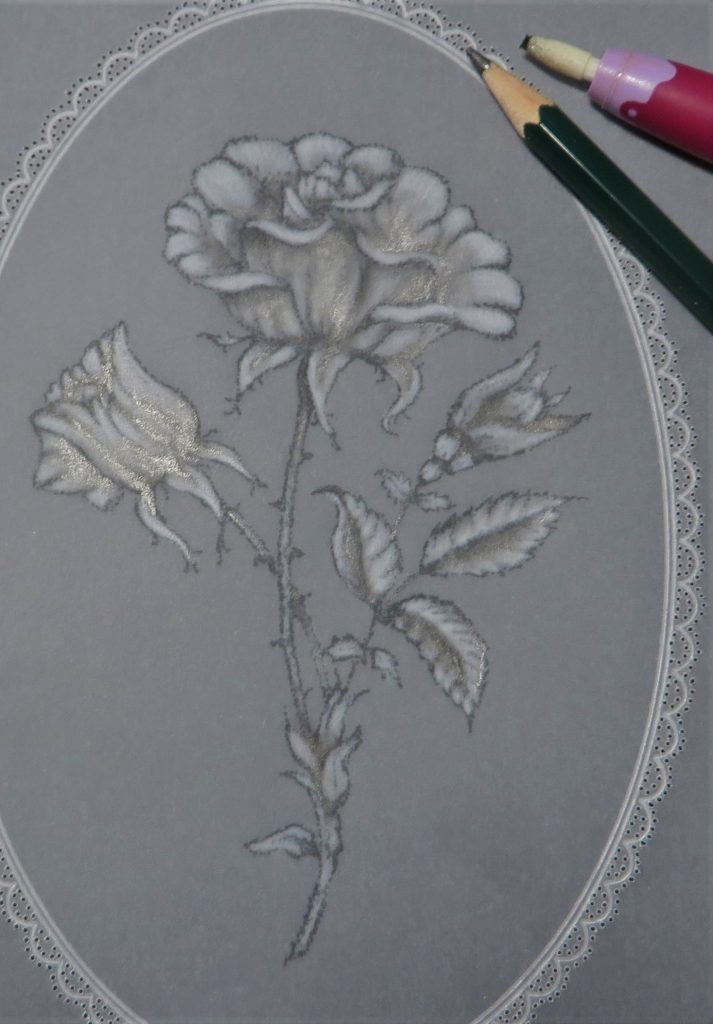
Step 2. With the 005 Micron pen (and using the lines of the drawing underneath) add lots of little dots along the lines. Pay attention to where shade and light would be – here is where the dots have to be denser than elsewhere.
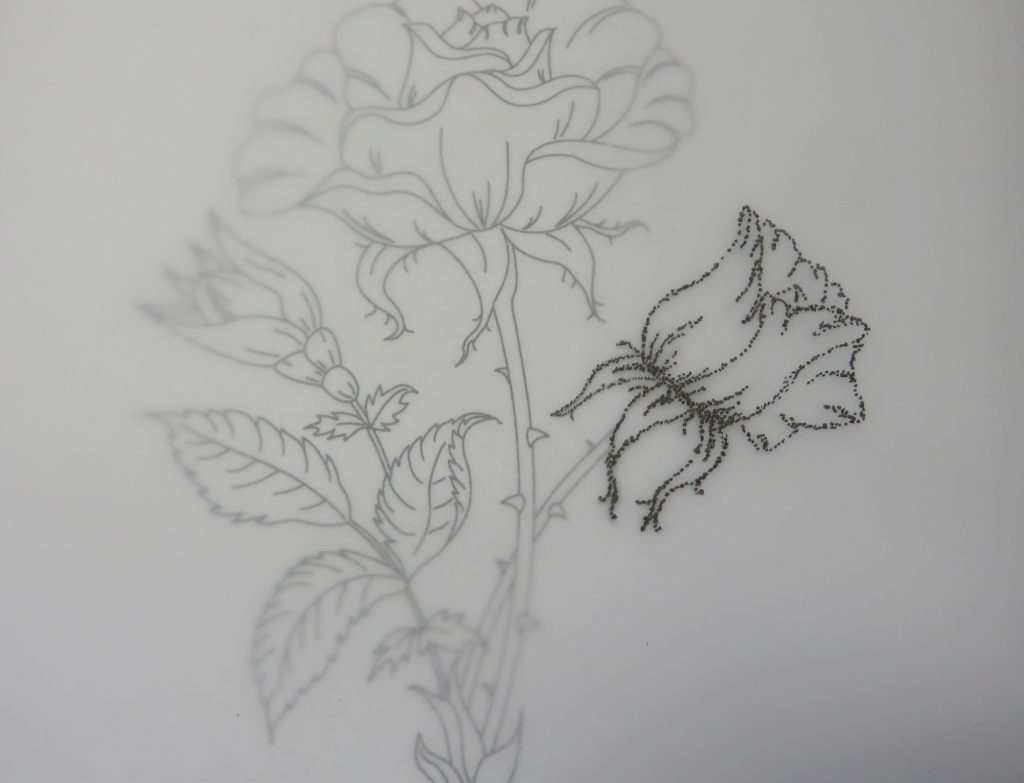
Step 3. Continue to do all the flower heads in the same way, adding more dots where you think shade should be.
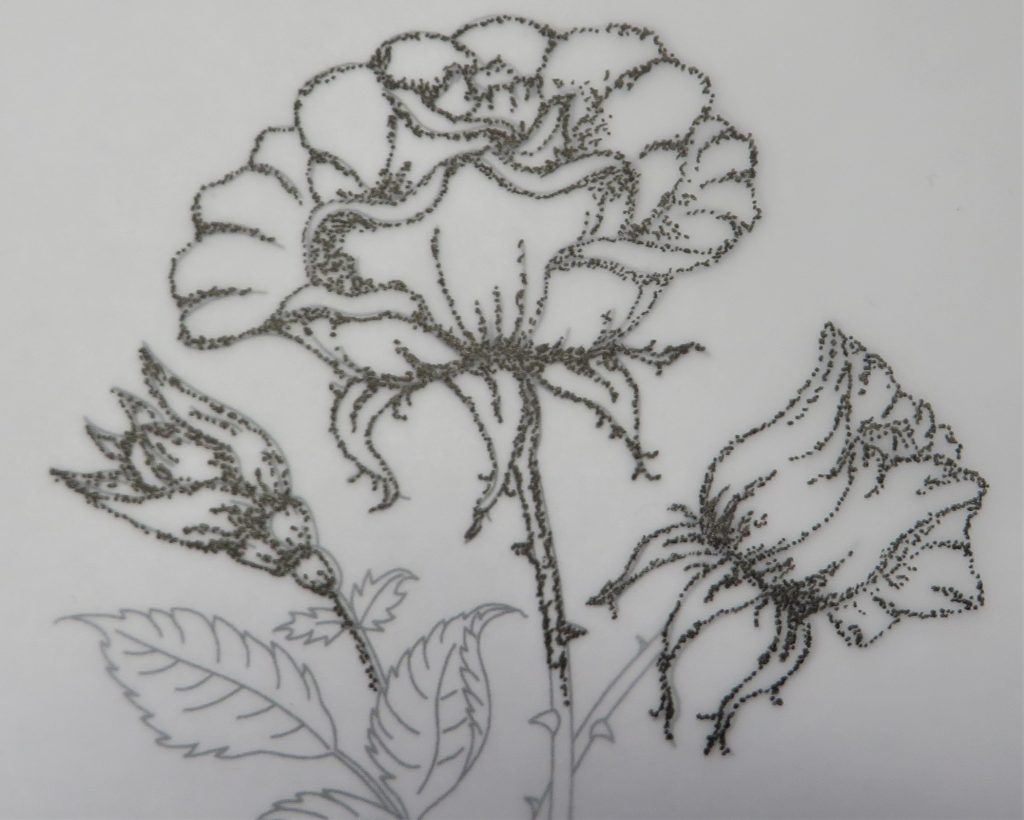
Step 4. When it comes to the leaves, decide in which direction the light is coming from. On the side where the light hits the leaf, it will be lighter down the centre spine with a thinner outline. The side in the shade will have more density down the spine. Linda has provided the veins of the leaves where you need a few dots to denote them.
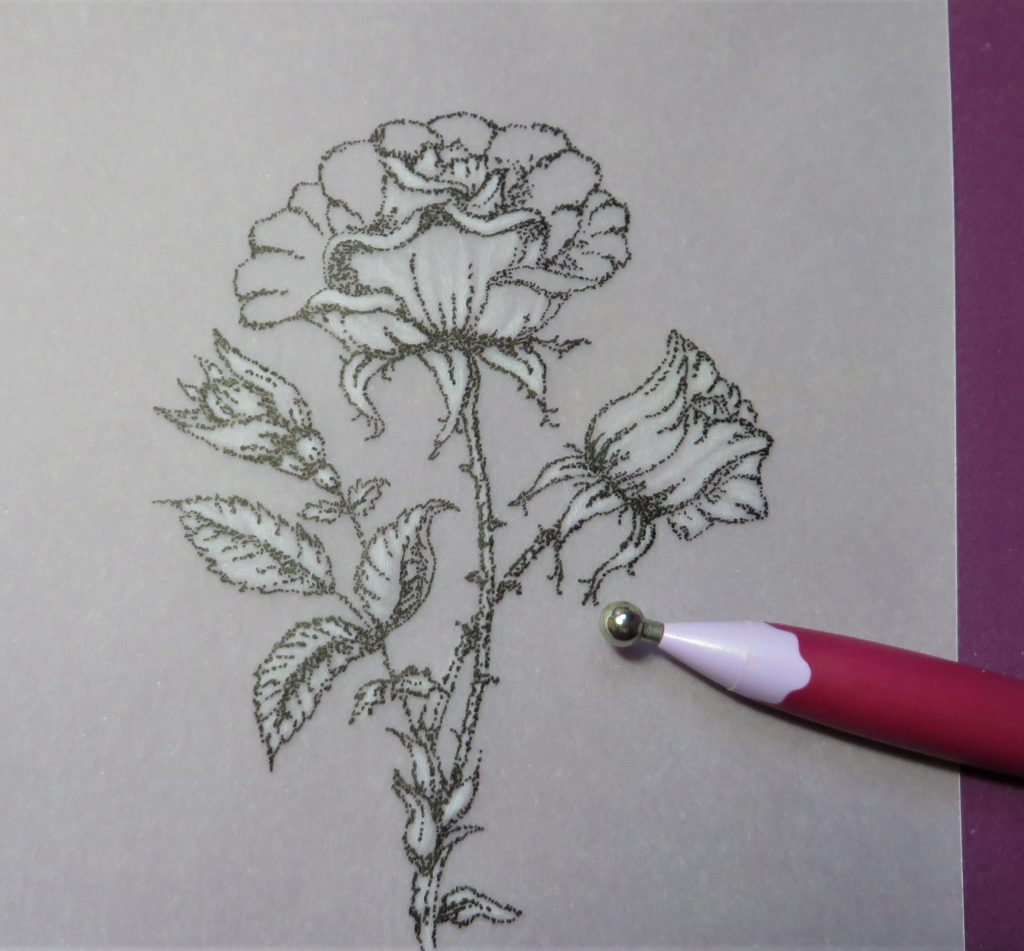
Step 5. It’s not finished until all the embossing is done – then you will see it pop. Follow the instructions in the pack – Linda has explained it so well and provided pictures to illustrate. Remember where the shady bits should be, there should be a lot less embossing. Do one layer and then go and make a cuppa and let the parchment rest. Start with the largest ball that will fit the space.
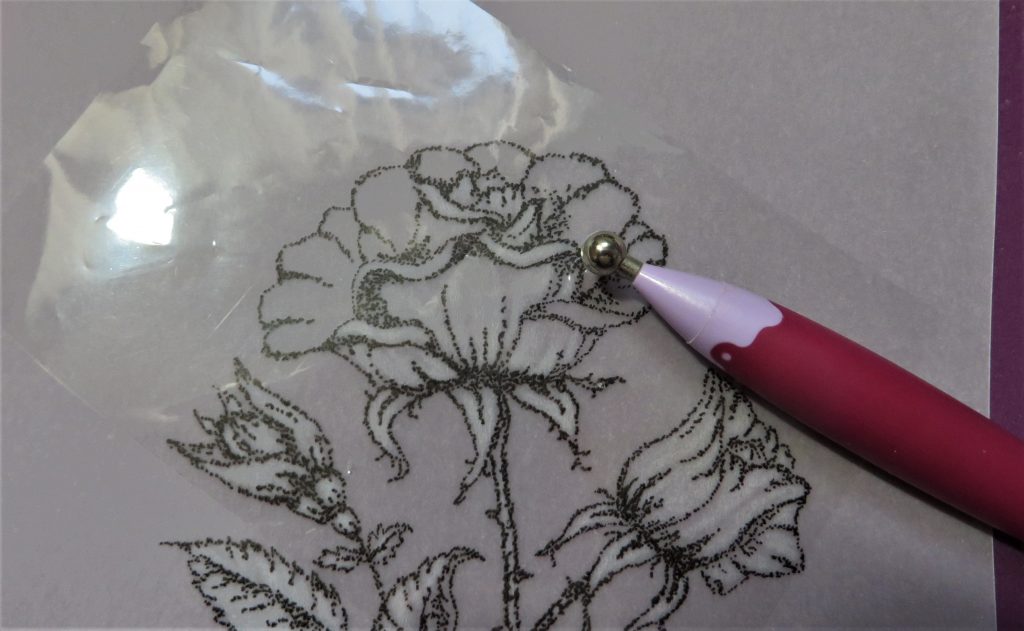
Step 6. As you can see, there are some petals of the rose that need some embossing from the front of the work. When we do that, we need to take a piece of cello bag – just one layer, and put that between the embossing ball and the parchment. This prevents the parchment from getting too shiny. Again, keep the embossing light. It is more like grey work than white work at the moment. There is a very handy progress chart in the pack too, so that you can keep track of how many layers of embossing you do.
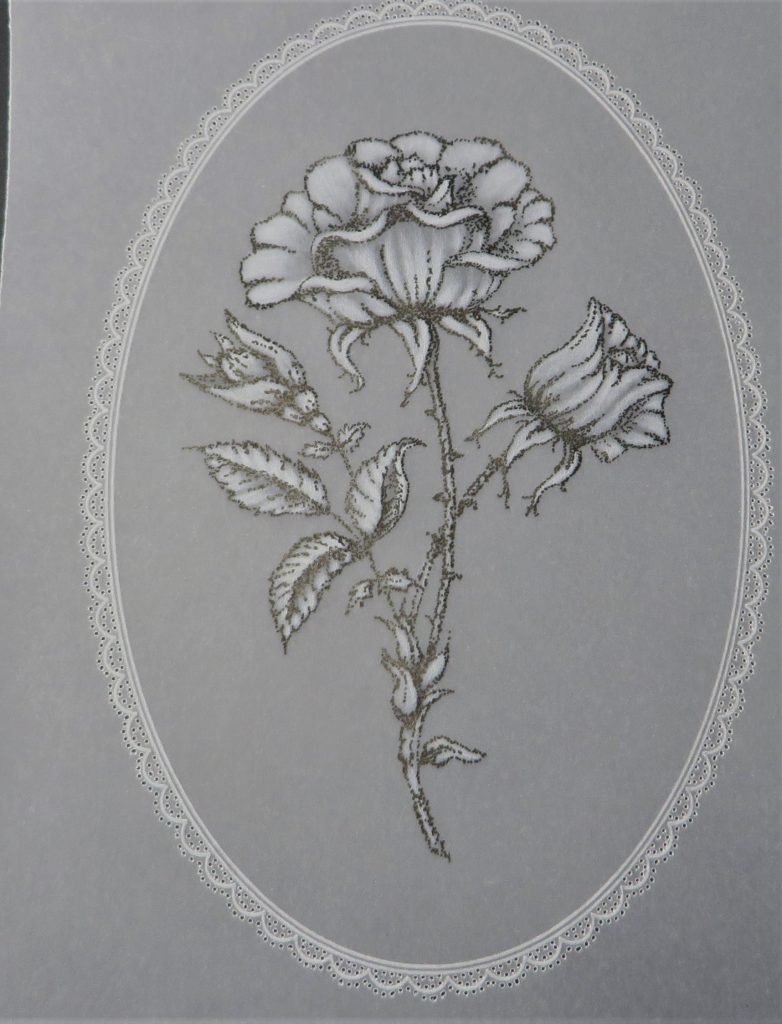
Step 7. I have now done 3 layers of embossing with a 6mm ball tool. I let the parchment rest for a few hours between the first and second layer, then left the piece overnight before adding another.
TOP TIP: When doing shadow embossing, the grey areas are just as important as the white areas, so leave some shadows within the image.
Step 8. Whilst the parchment is resting, we can start on the frame. I need the piece to fit into a 5×7 inch picture frame, so I chose the Nested Scallops Ovals A5 Groovi plate and used the second oval in to frame the flower.
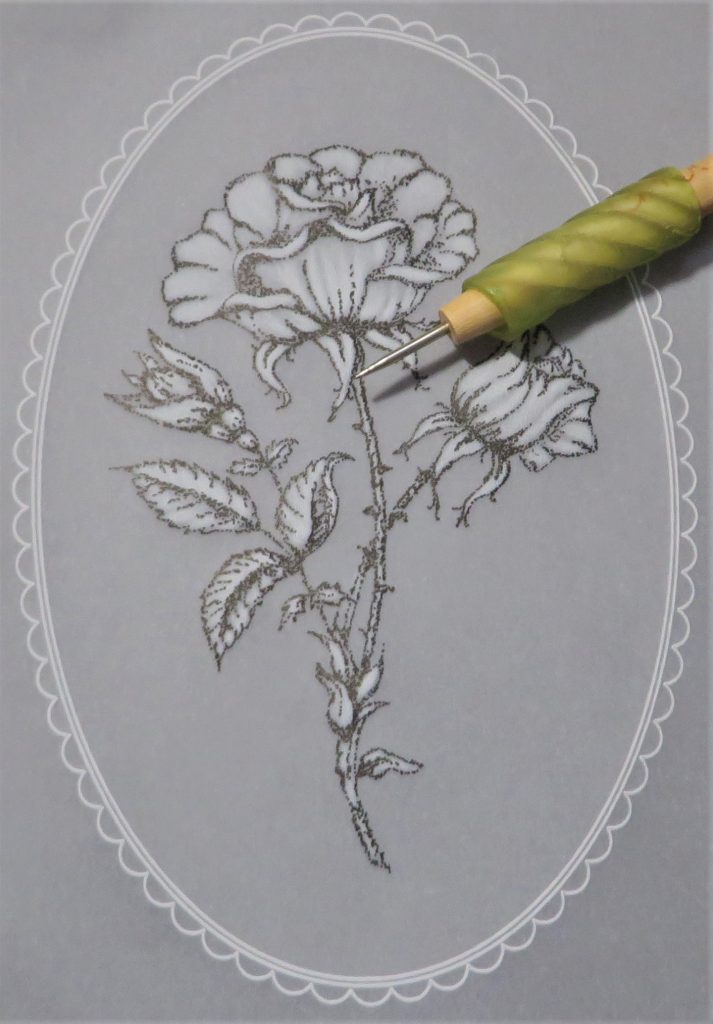
Step 9. Put the work down onto a deep perforating mat and perforate around the insides of the scallops – keep away from the white lines as much as possible so that you can avoid snapping them whilst snipping. Once you have done the insides of the scallops, go around the outside.
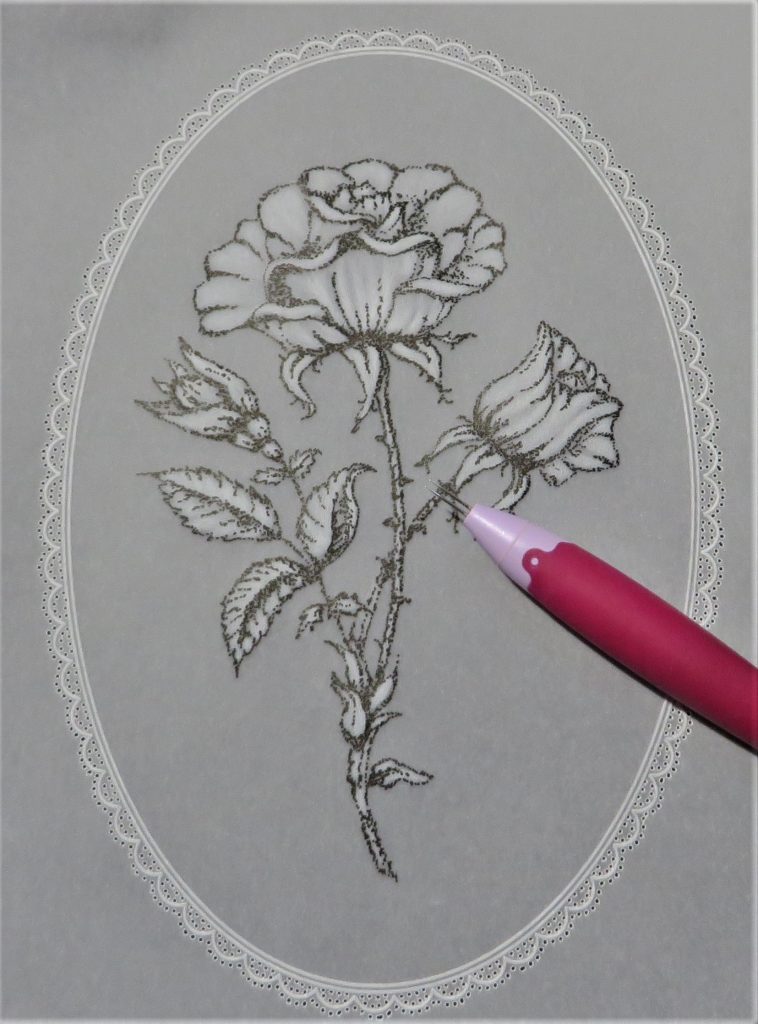
Step 10. After resting the parchment some more, move down to the 3mm ball tool and sharpen up the edges of your embossing.
Step 11. Add some more shadow with a graphite pencil and dry blending nib. If you use a 4B pencil, it will move around nicely on the parchment – work on the back for this. It looks quite messy here on the back, but check out the front of your work!
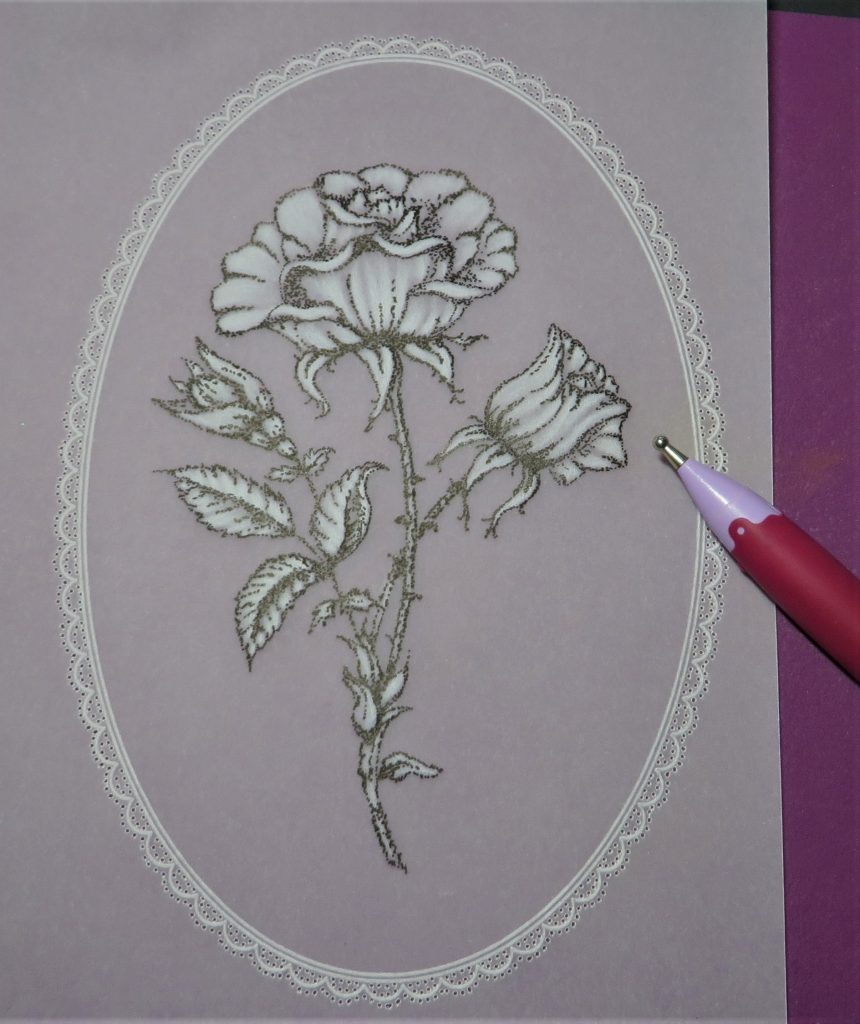
Step 12. Snip out the scallops before snipping out around the edge of the oval. If you do it this way, the piece remains within the page which helps to maintain its strength whilst working.
Step 13. Fix your work to a black background and now it is ready for its 5×7 frame.
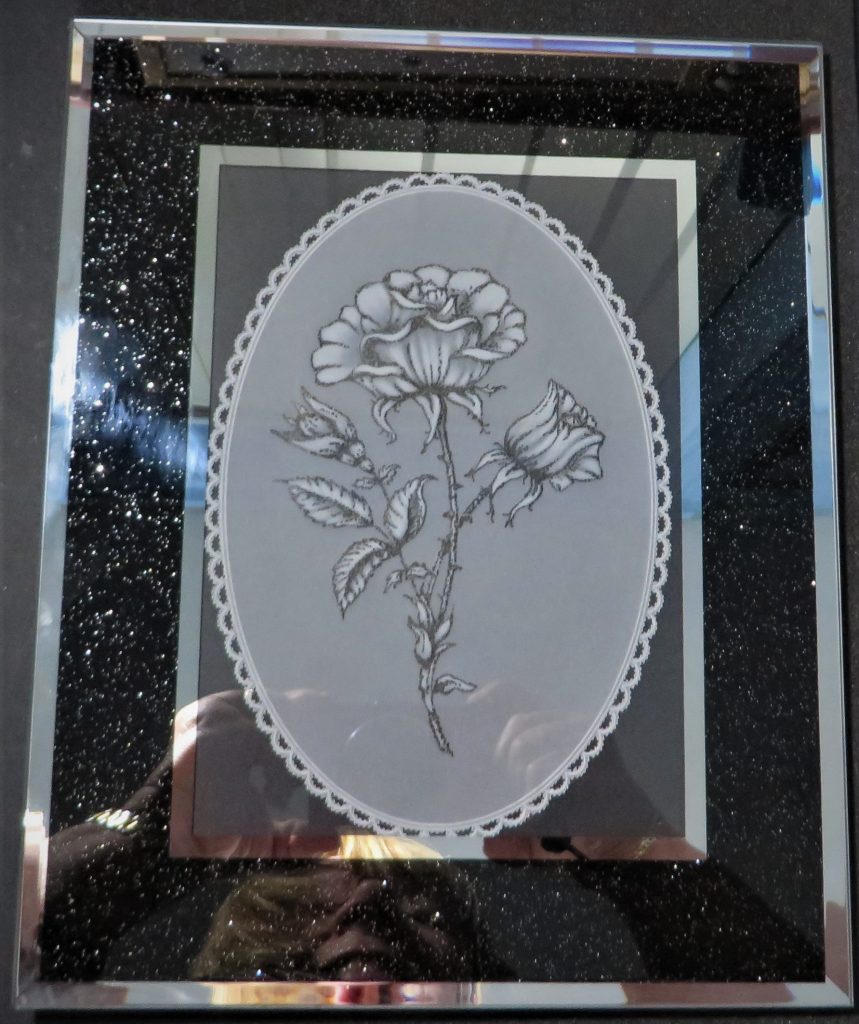
All done!
Just gorgeous! Thank you, Glynis, for all of your helpful tips and tricks. You make it so attainable by breaking it down into steps for us. These popular overlay packs are so brilliant. And I know many appreciate the guidance on how to best use them.
As usual, we have put everything in one place over on the Clarity website HERE
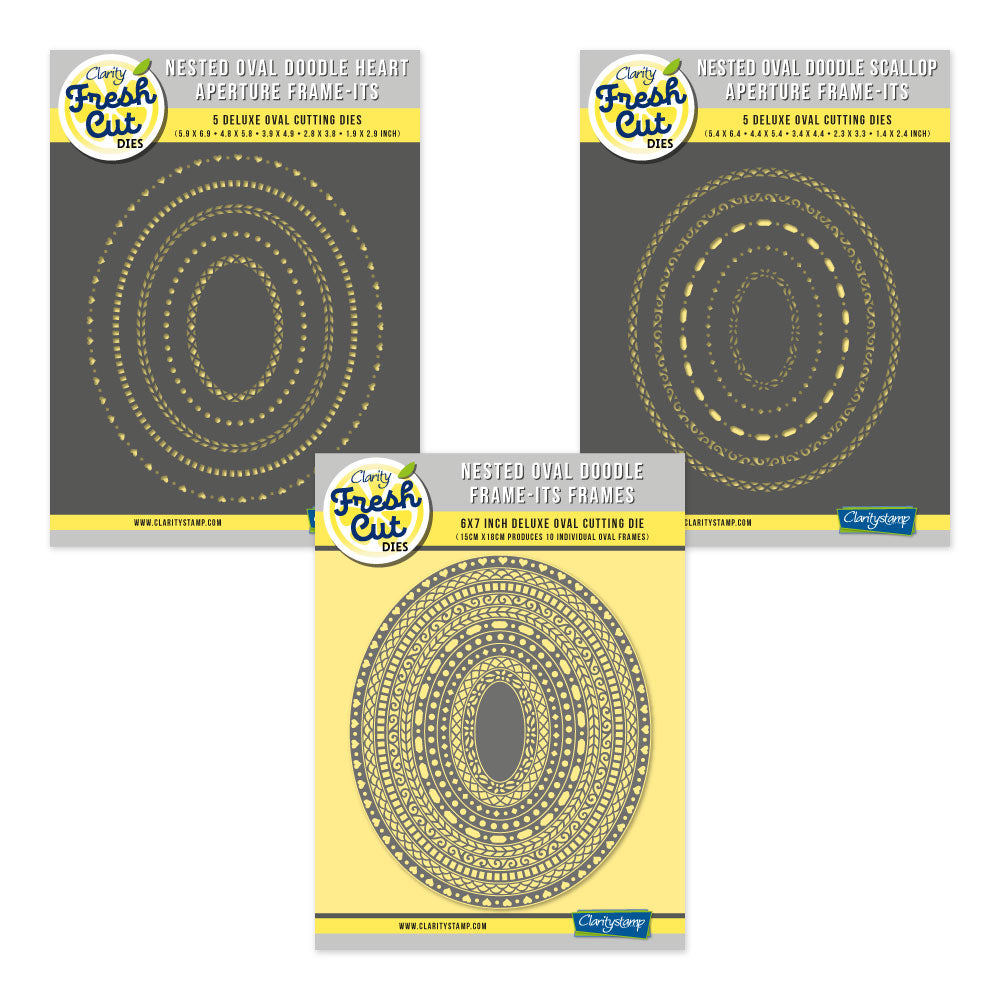
An alternative to using the Nested Scallop Oval Groovi Plate to frame your piece of artwork, is the new Nested Doodle Oval Frame-Its
The week ahead at Clarity Towers:
Monday 21st – SHAC Shack with Mum at 10am – Facebook & YouTube Live
Tuesday 22nd – Groovi Tuesday/Pergamano School with Linda & Paul at 10am – Facebook & YouTube Live
Thursday 24th – SHAC Shack with Mum at 10am – Facebook &YouTube Live
Friday 25th – Mixed Media Friday 9am & 1pm with Mum on The Craft Store/Create & Craft
Travel gently friends.
Lotsa love, Grace & Glynis xoxo
Clarity – The Home of Art, Craft and Well-Being.
Will have to file this in,’maybe one day’.
Got a few on my to do list.
Thanks for all you share with us
Thank you. Another great piece of inspiration for us all.
Thanks Glynis will definitely have a go at this one , amazing art work x
This looks fabulous Glynis. Will definitely try this but ‘slowly, slowly catchee monkey’
Wonderful, will try it with my dots pen to save wrist pain.
Thank you Glynis, I can’t wait to follow your tutorial. I actually prefer the black and white image to the coloured one, mainly because my colouri g isn’t too good ! X
This looks so pretty, I think I’ll give it a try, thank you for sharing this technique, much appreciated.
Thank you for this fabulous project. I think it will have to go on my wish list though.
Hi Grace & Glynis, what a lovely project this week. I must check which ones I have but I suppose it could be done with any of them – there’s a challenge !! Will add it to the do pile, although hopefully I will be able to some soon as my eyes have settled down.
Have a good week everyone, hope no one has any problems with the winds forecast for today & tomorrow.
Beautiful project. Will give it a go . Thank you Glynis xx
Hello Grace and Glynis,
Thank you for this, Glynis. I admired what had been posted in the week and wondered how it was done.
Love,
Roz.xxx