Clarity’s Blog Tutorials: How To Use The Semi Circle Tool (Part 1)
Hello hello!
I hope this finds you well, happy & safe!
We’re BACK in our Clarity Blog Tutorial bubble with the lovable Glynis Whitehead.
Glynis has been creating projects using the Pergamano Mult-Needle Tools that Linda Williams has been showing us how to use as part of our Pergamano Summer School weekly tutorials via Facebook and YouTube.

If you have missed any of the previous lessons, then you can catch up via the Clarity website HERE
So, lets have a look at what Glynis has to show us this week using the Semi-Circle Multi Needle Tool…

Semi-Circle Tool (Part 1)
Ingredients
Pergamano Handbook for Multi-Needle Tools Volume 1 by Linda Williams (PER-BO-70291-XX)
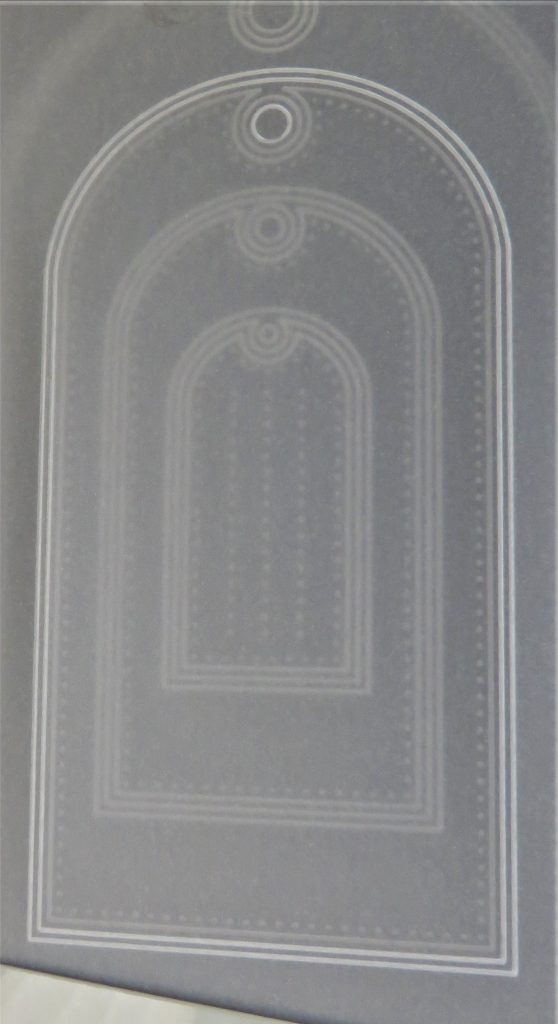
Nested Arch Tags Groovi Plate A5 (GRO-PA-41465-04)
Jayne’s Dahlias Groovi Plate A5 square (GRO-FL-40390-03)
Semi-Circle Perforating Tool (PER-TO-70017-XX)
1.5mm Embossing Ball tool (PER-TO-70004-XX)
3mm Embossing Ball tool (PER-TO-70005-XX)
4.5mm Embossing Ball tool (PER-TO 70015-XX)
6mm Embossing Ball tool (PER-TO-70016-XX)
Tools from the starter kit (1&2) and (3&4)
Faber-Castell Polychromos Pencils (ACC-PE-30797-XX)
OR Perga-Liner Pencil (B) (PER-CO-70063-XX)
Blending nibs (PER-AC-XXXXX-XX)
A4 Translucent Perforating mat (GRO-AC-40307-A4)
A4 Translucent White Super Foam (GRO-AC-40603-A4)
Rainbow River Designer Paper (ACC-CA-30539-88)
Instructions
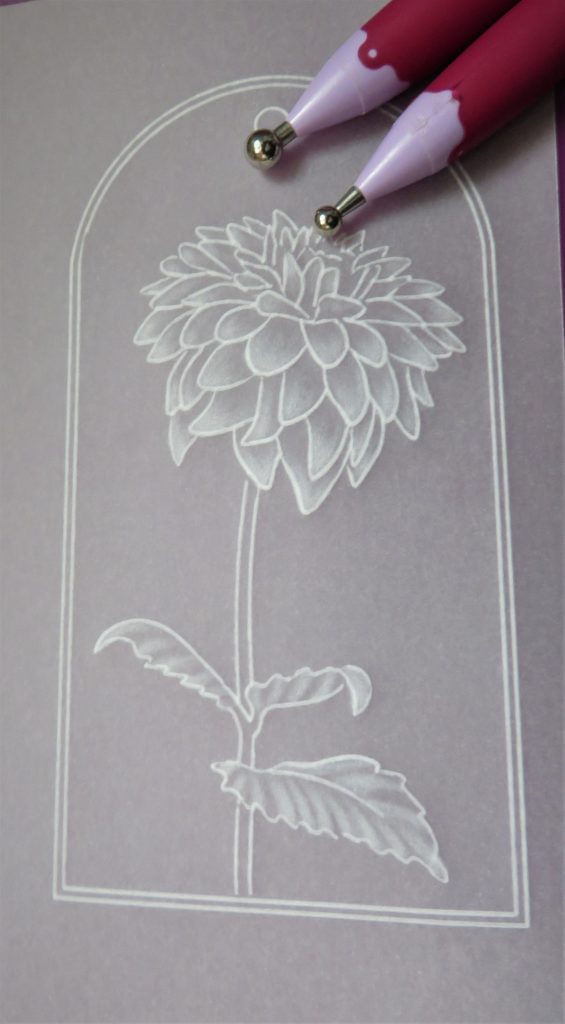
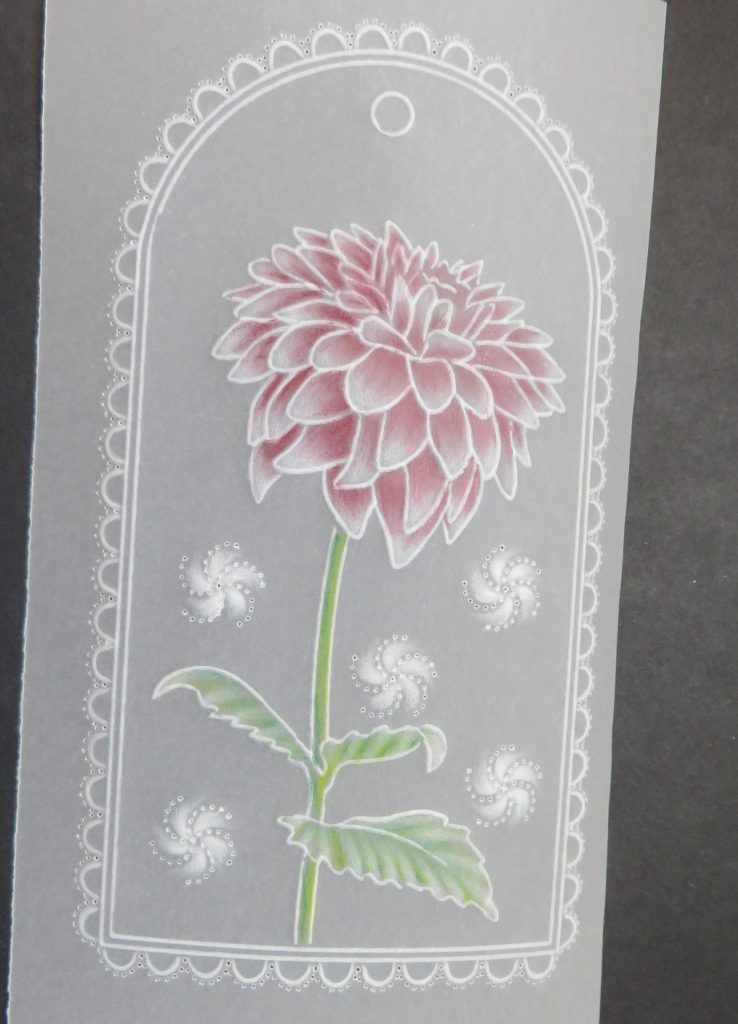
Step 1. Trace the 2nd largest tag from the nested arch tags plate and emboss a dahlia into the centre.

Step 2. Emboss the petals and leaves of the flower – not too much, just to add highlights. Use the largest ball tool and just down-size it appropriate to the space. Remember that not all of the ball touches the parchment so you can make a large tool work better in a smaller area than you might think.
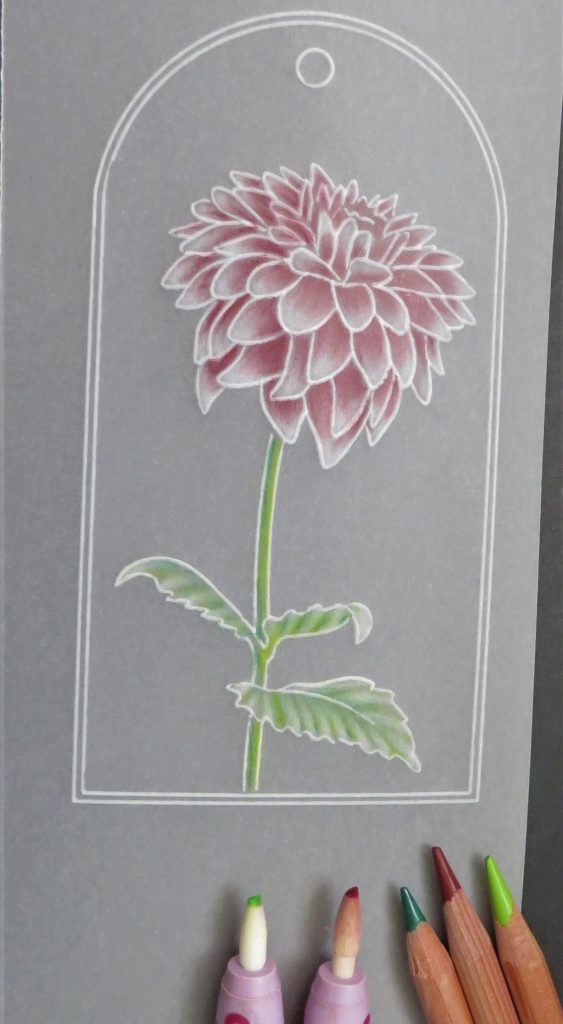
Step 3. Add some colour using blending pencils. Stroke the colour on each petal and leaf in the opposite direction to the embossing and then blend it with a dry nib. Do this on the back of the work, then turn it over and add a little shading to the darker parts of the petals and leaves on the front. I used the Perga-liners B6, B7 & B13.
Step 4. The patterns I am using for this tag can be found on pages 30-33 and I have used the ones indicated by the red arrows. Page 33 is for you to photocopy.
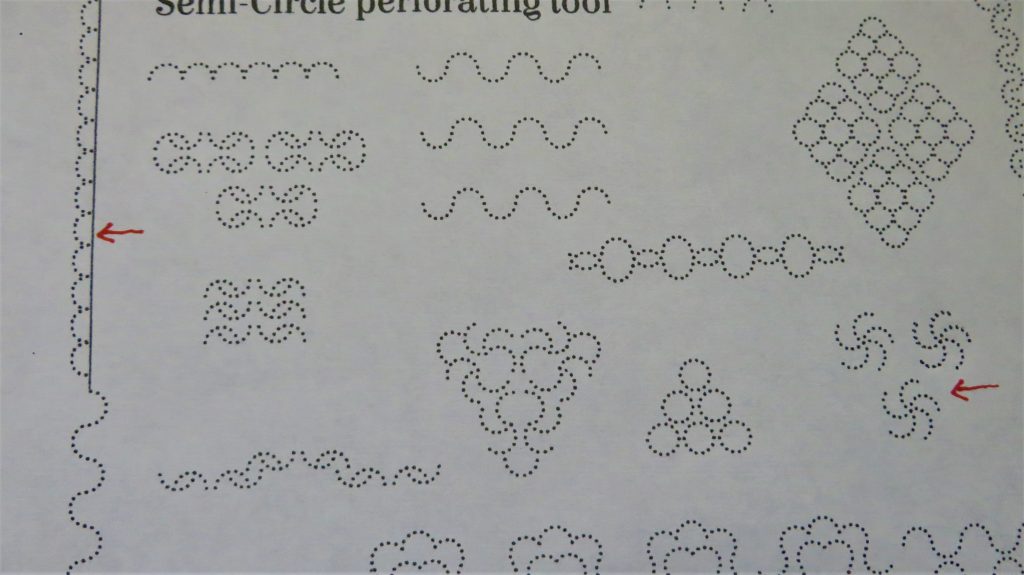
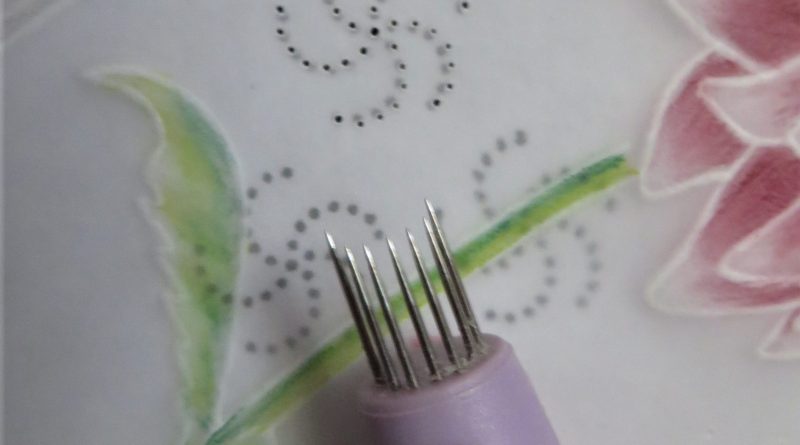
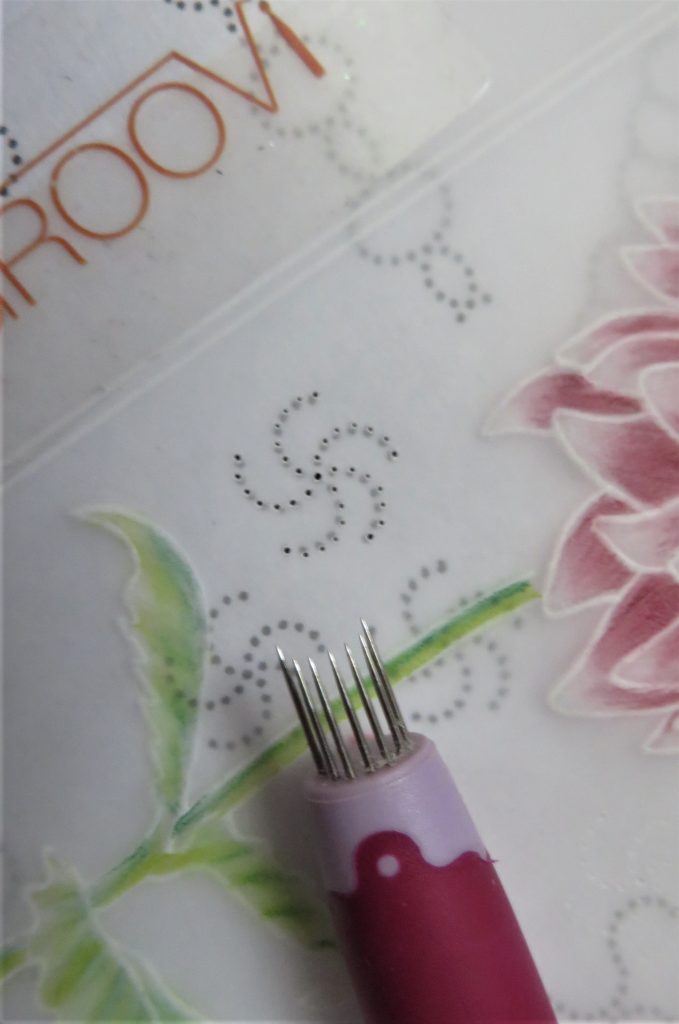
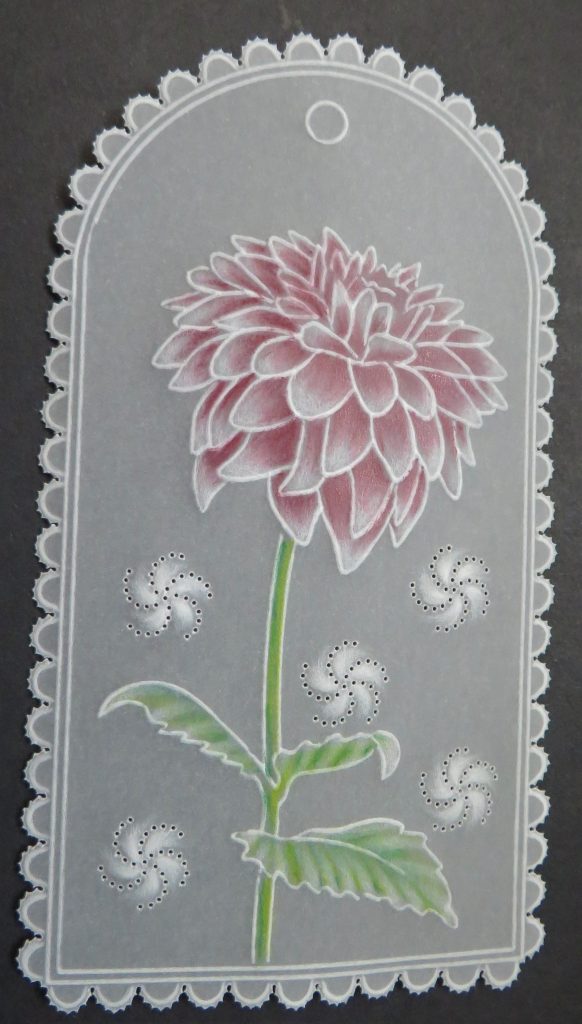
Step 5. Fix the parchment over the pattern and use the semi-circle tool to perforate through, lining up all the needles with the dots underneath. Perforate through the parchment and the copy paper. In the little ‘Catherine’ wheel, the centre hole is where all the semi-circle perforations join together. Move the tag around and add four or five of these.
** IMPORTANT TOP TIP: If you have been watching Linda in the Summer School Facebook Lives, she advocates putting a stout piece of card under your shallow perforating mat. Do not do this with a glass mat or you will ruin your tools.
Step 6. Linda gave us another tip. Put a cello bag or poly-pocket onto your embossing mat to add a bit more resistance when embossing between the perforated holes. Following Linda’s picture on page 30 of the book, emboss these little ‘Catherine’ wheels. Start with 4.5mm ball tool, and to get that lovely fading off look, press at the centre of the section and like striking a match, lift off the embossing tool. Whiteness is gained by repetition of the strokes rather than pressure. When you have gone round them all, change to a 3mm tool and just work near the point. Curve the embossing round – going with the shape of the semi-circle.
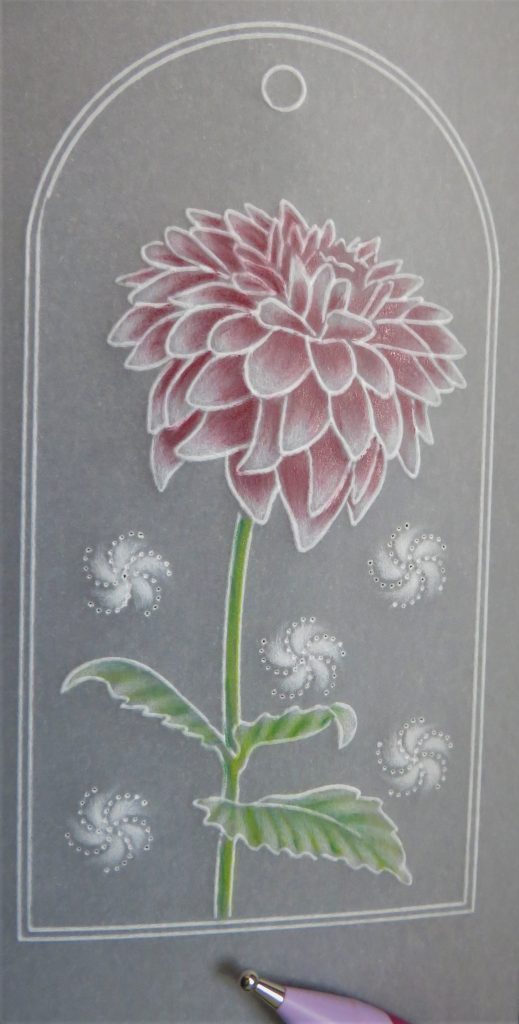
Step 7. Go around the outside of the tag, using the pattern indicated by the red arrow. Try not to stray into the white line of the border.
Step 8. Emboss into the semi-circle perforations using the 1.5mm embossing tool. Emboss very softly and just inside the perforations.
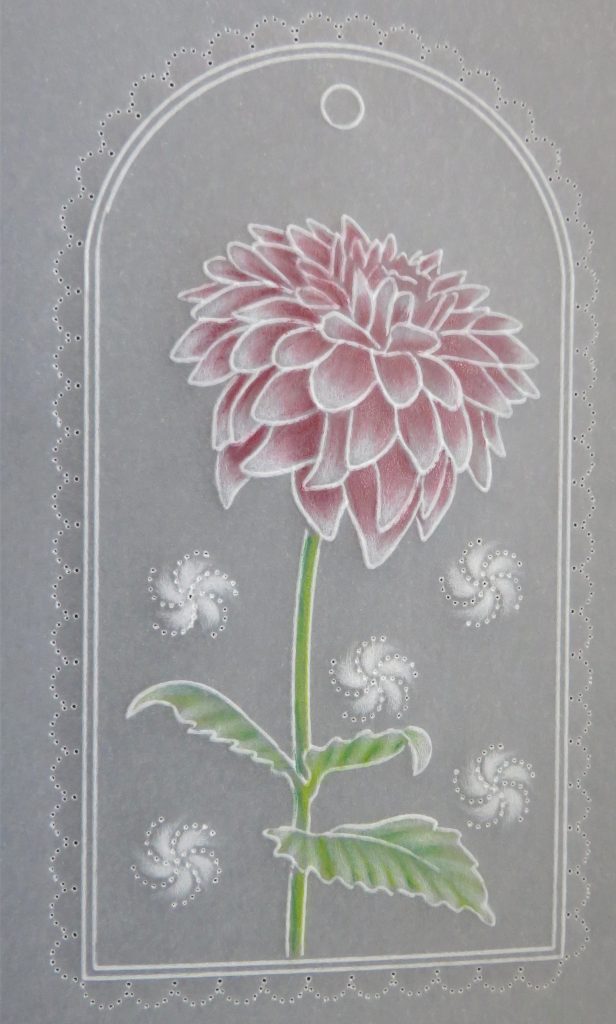
Step 9. Put the work onto a thick perforating mat and use the fine 1-needle tool to re-perforate the holes. Take care not to crack the parchment in between the perforations. Then snip out the tag, making sure to turn your work as you go, supporting it on your perforating mat and keeping your hand in a comfortable position.
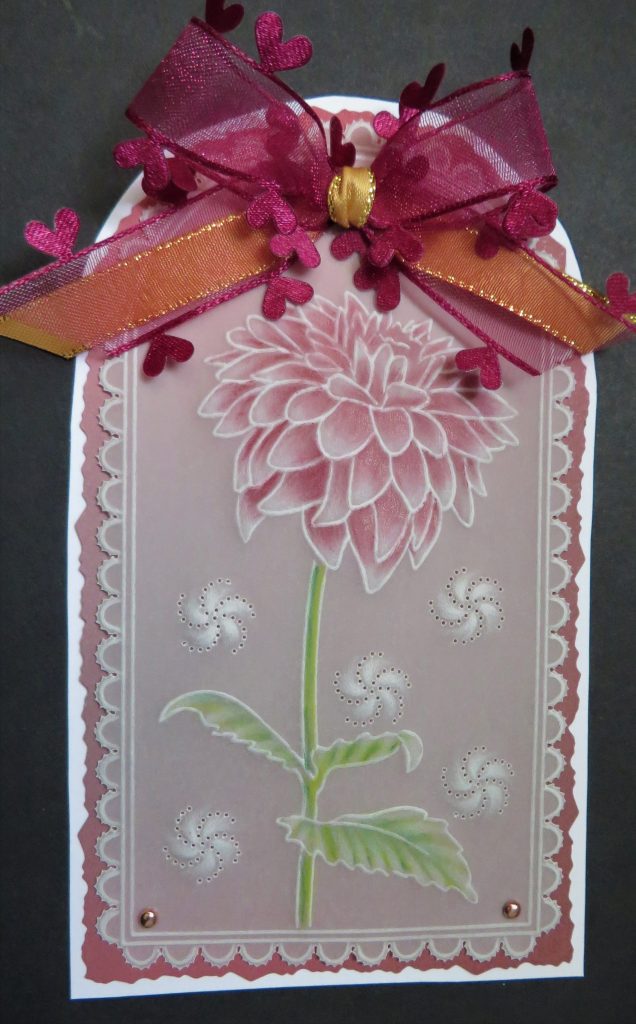
Step 10. Mat and layer the tag onto the background of your choice and then add a bow to the top. Ta da!!
Thank you, Glynis! This one makes me smile. It’s so so lovely. Just like you! How lucky are we…
As usual, you can find everything in one place over on the Clarity website HERE.
Lotsa love, Grace & Glynis xo
Clarity – The Home of Art, Craft and Well-Being.
Beautiful tag, Glynis. Love it. Thank you for creating those for us week by week. Hxx
thank you Glynis love your tags will give it a go
Thank You
xx
Thank you Glynis for another lovely tag & for show casing the use of the tools – wonderful Xx
Loved this Glynis more more more please🥰👍🏻🙏
Bootiful tags😊
Hi Grace, Hi Glynis, Another Wow !! I really love your tutorials, you create some beautiful things and your tips and techniques have helped me a lot, thank you.
Lots of love from Patricia xx
Another beauty. Thank you Glynis x