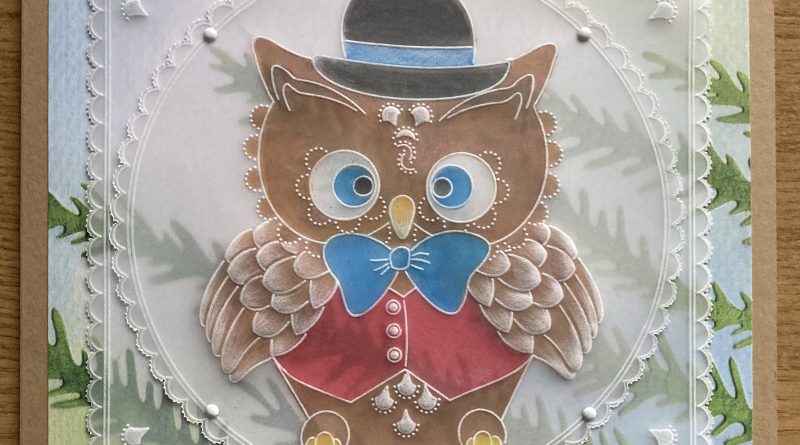
Clarity Matters Blog Tutorial: How To Make An Owl Card
Hello hello! Grace here.
HAPPY NEW YEAR! 2023, we made it 🙂
I hope this finds you well and enjoying your Sunday.
We are joined today by the wonderful Jane Telford, who has put together a fantastic step-by-step project for us. What a way to start the new year!
I’ll hand you right over to Jane…
Glynis did a marvellous job of showing you how to use the plates to make a 3D Owl. I love the little 3D owls but at the end of the day, I want a plate to do more than what it was intended for. So here is a card that would suit most people!
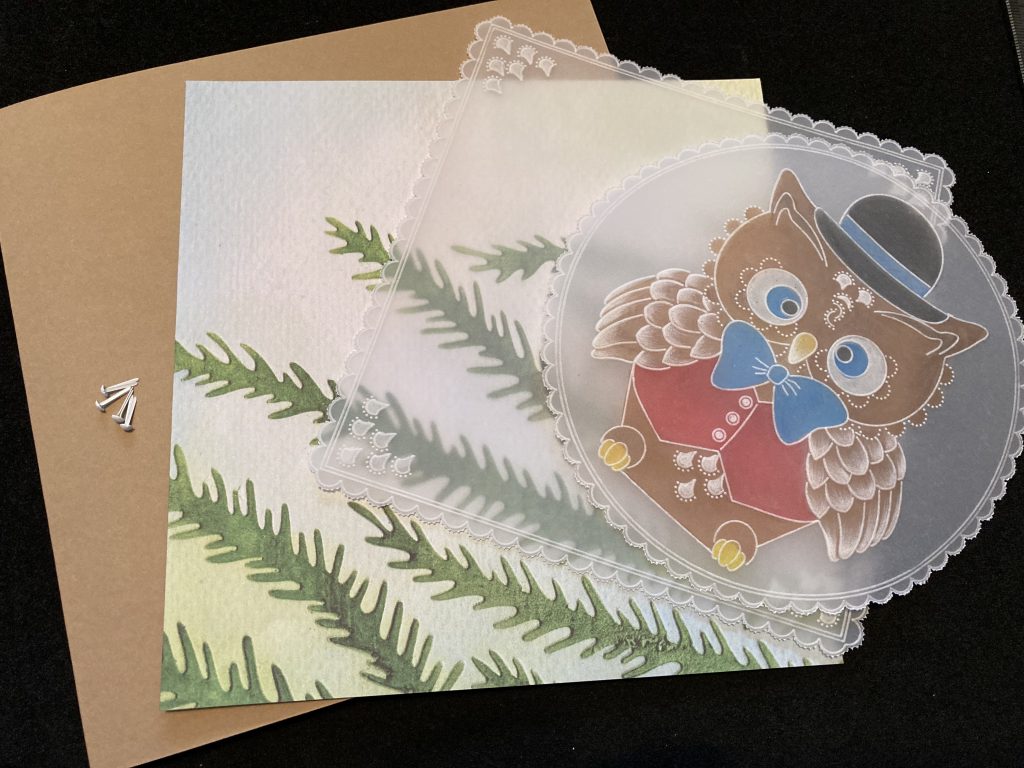
This is where we are headed…
Ingredients
Linda’s Owl Accessories A4 Sq Groovi Tem-Plate (GRO-TE-40879-15)
Linda’s Papa Owl A4 Sq Groovi Tem-Plate (GRO-TE-40876-15)
Nested Scallops Squares Extension A4 Sq Groovi Plate (GRO-WO-41168-15)
Nested Scallops Circles A5 Sq Groovi Plate (GRO-PA-40558-03)
Groovi Plate Mate For A5 Sq Grids (GRO-CO-41706-08)
Black Dual-Purpose Groovi Mat A4 (GRO-AC-40194-A4)
Clear Parchment (GRO-AC-40024-A4)
Light wave (ACC-LP-30352-A4)
Groovi® Embossing Tool 0.8mm – 1.3mm (GRO-AC-40026-XX)
Groovi® Embossing Tool 2.0mm – 2.8mm (GRO-AC-40027-XX)
2 Needle Perforating Tool (PER-TO-70037-XX)
Perga Liners Combi Box (PER-CO-70063-XX)
Pergamano Colouring Essentials Kit (PER-AC-70431-XX)
4 White Brads (PER-AC-70269-XX)
Ringlock Scissors (PER-TO-70041-XX)
Great Lakes Designer Paper (ACC-CA-30851-88)
7×7 Card Blank (ACC-CA-30619-77)
Method
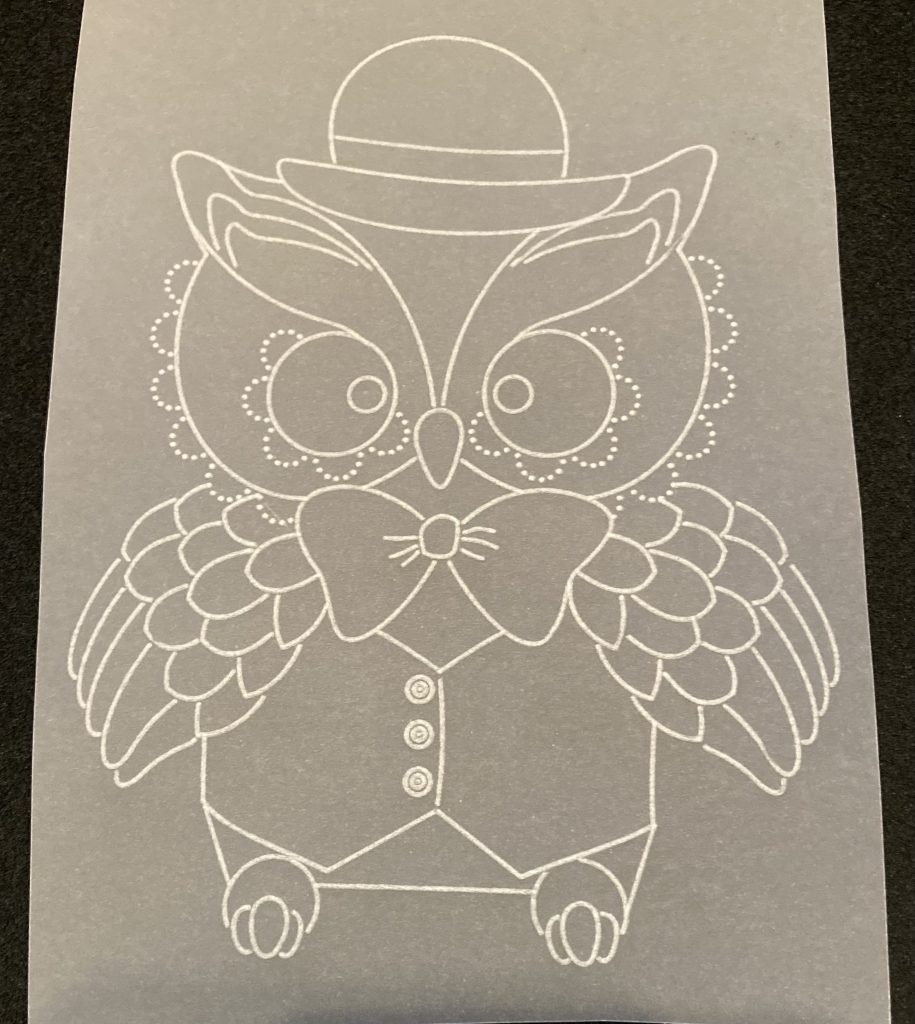
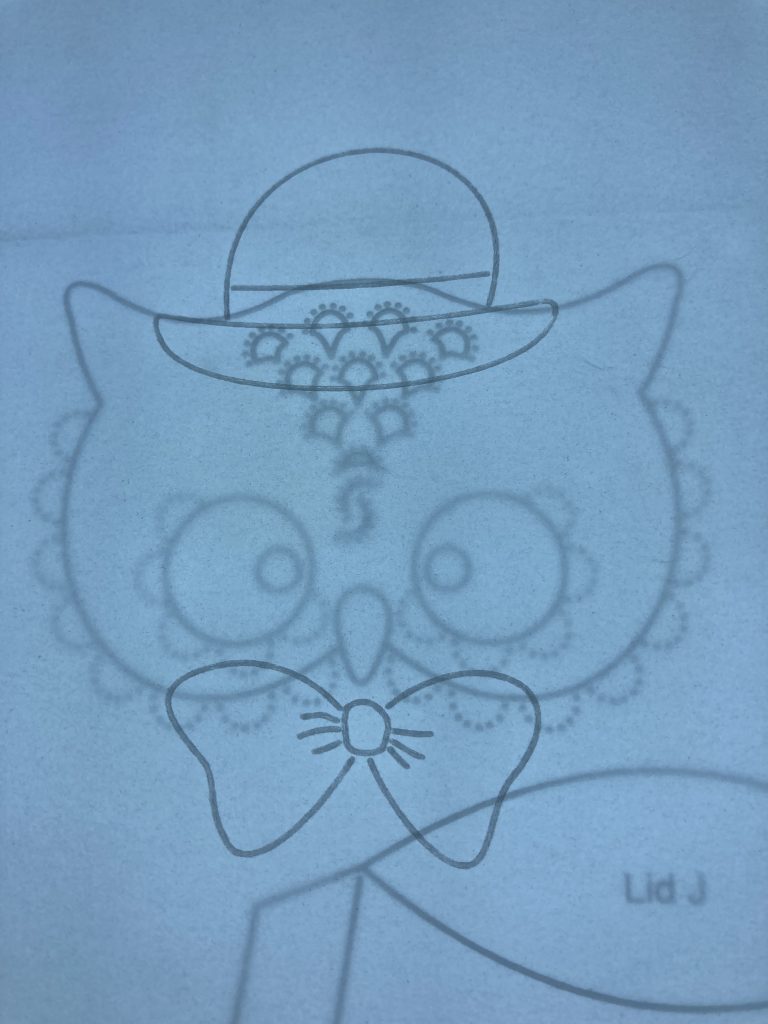
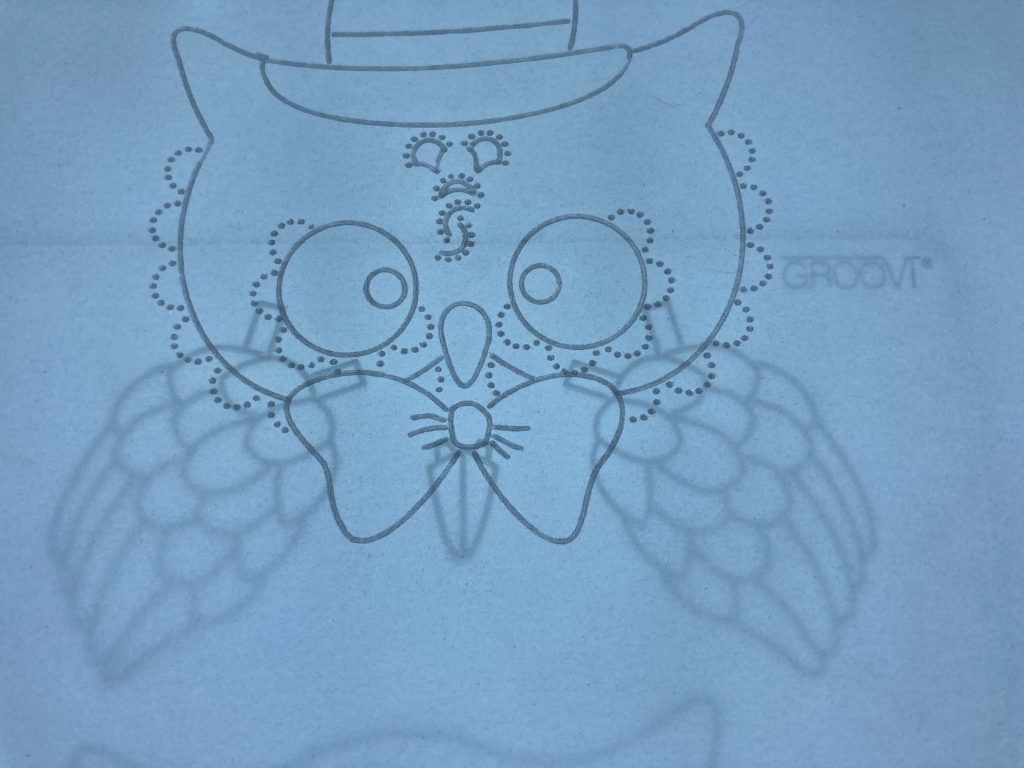
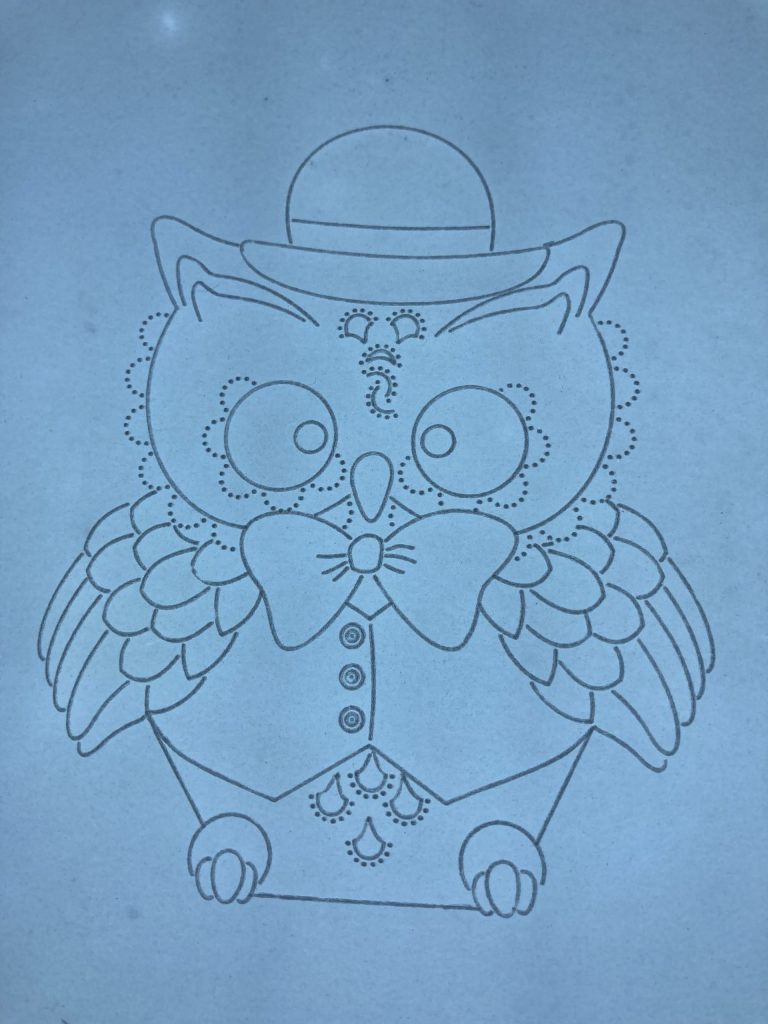
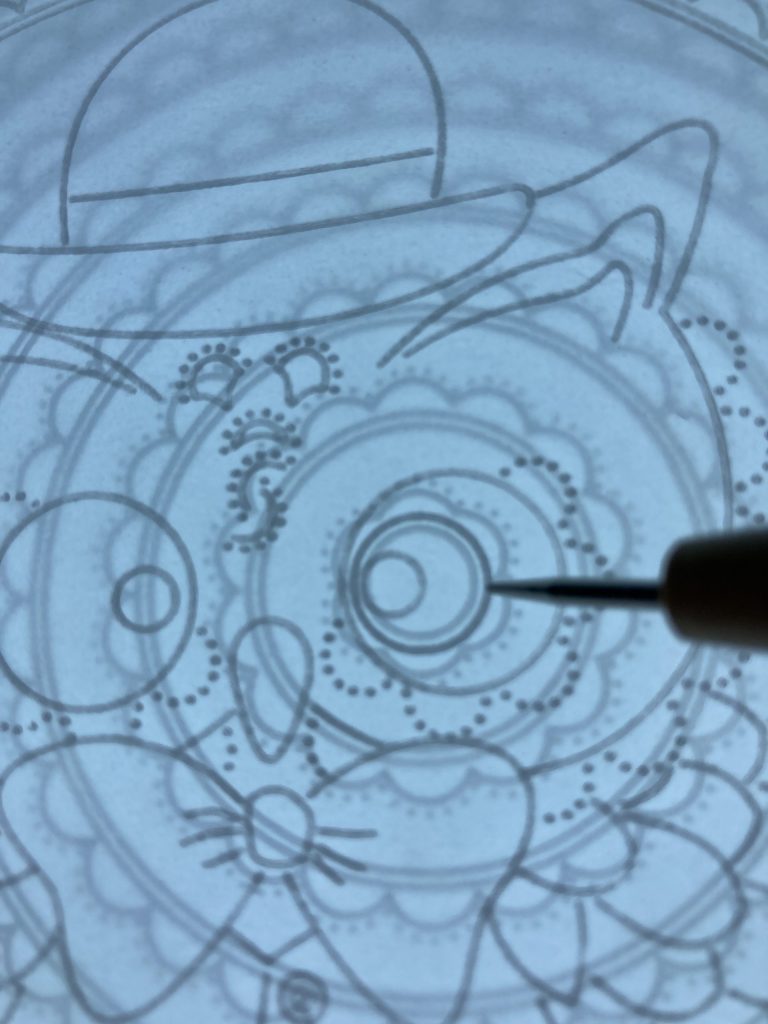
Step 1. The plates I used have so many assets on it, is worth making a template of the owl you would like to make. It also allows you to see how it fits in a frame. Here is the template I made and you can see that I have changed my design slightly on the finished card.
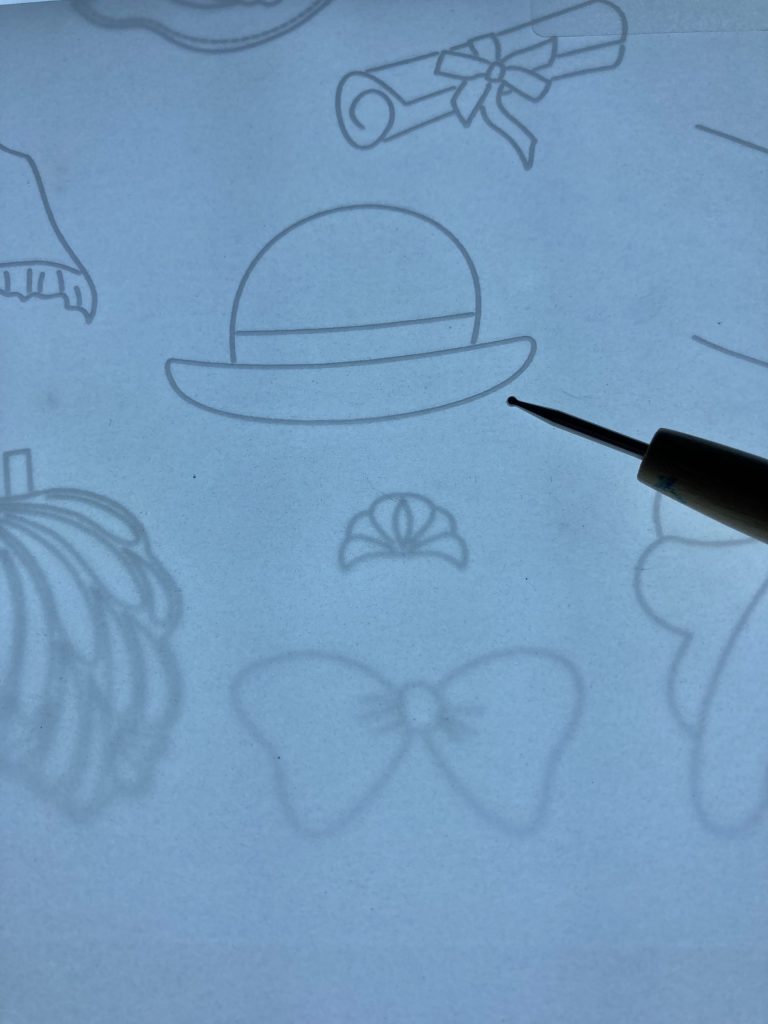
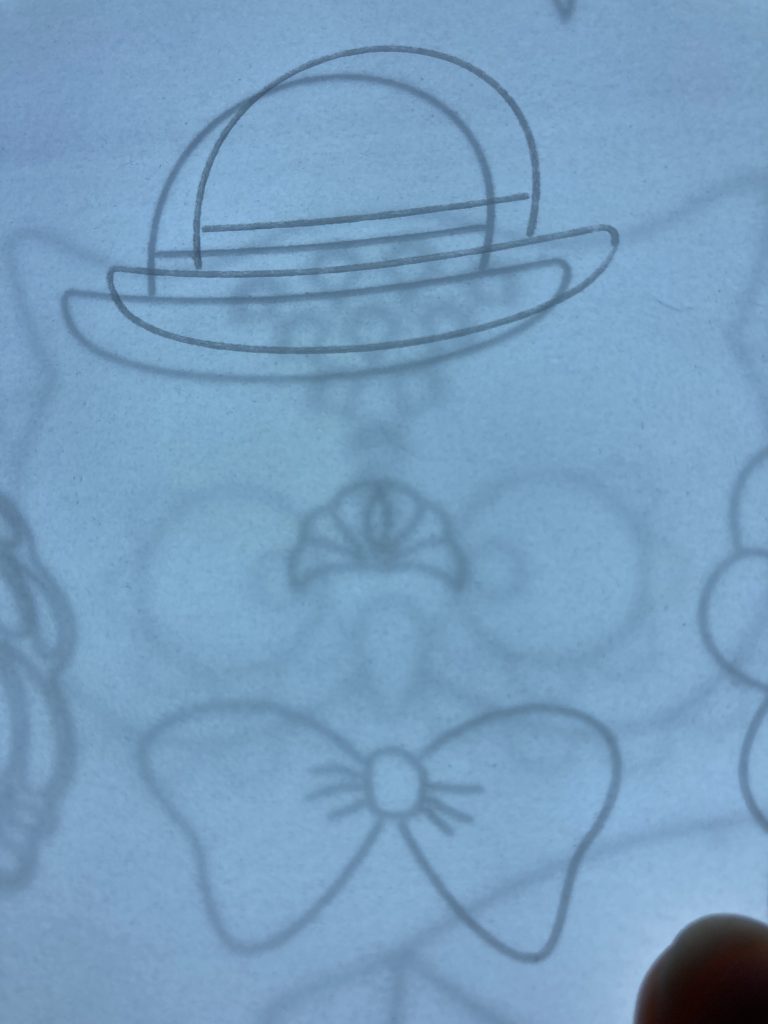
Step 2. I used a piece of A4 parchment to make the topper. Emboss the bowler hat first.
Step 3. Place the Papa Owl plate on the light wave, then the parchment with the hat. Now slide the bow tie into position under the parchment and emboss.
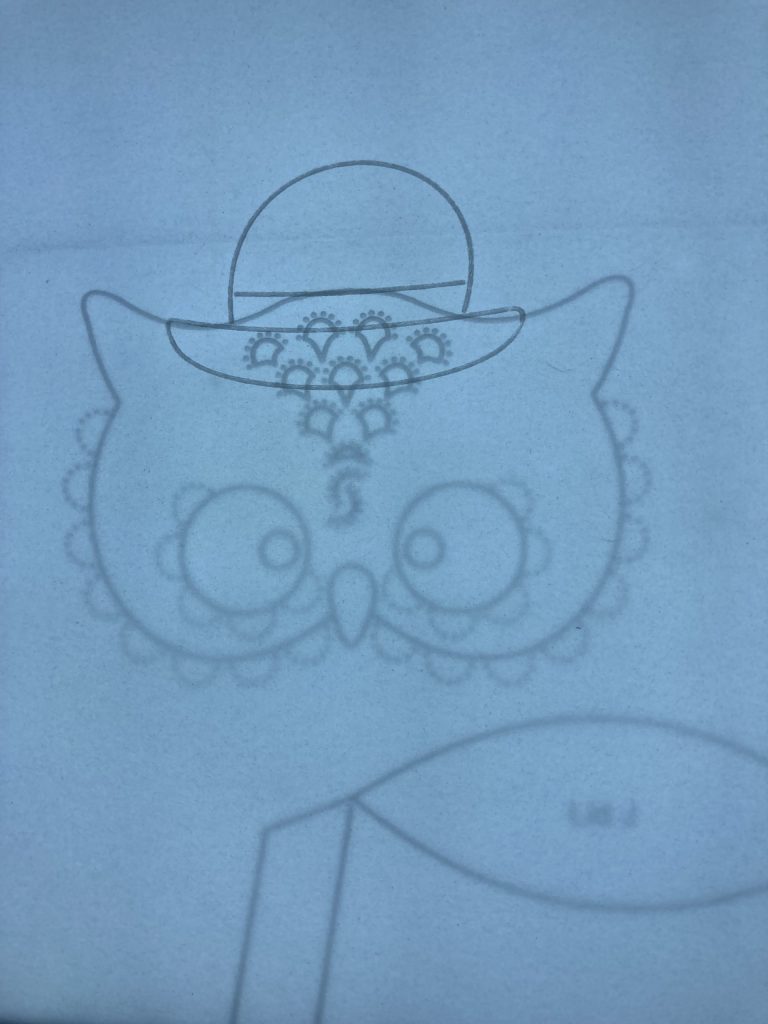

Step 4. Remove the accessories plate and emboss the head. I added the feathers at this stage.
Step 5. Choose the wings you want and emboss them as shown.
Step 6. Emboss the waistcoat and extend the lines to fill in the gaps.

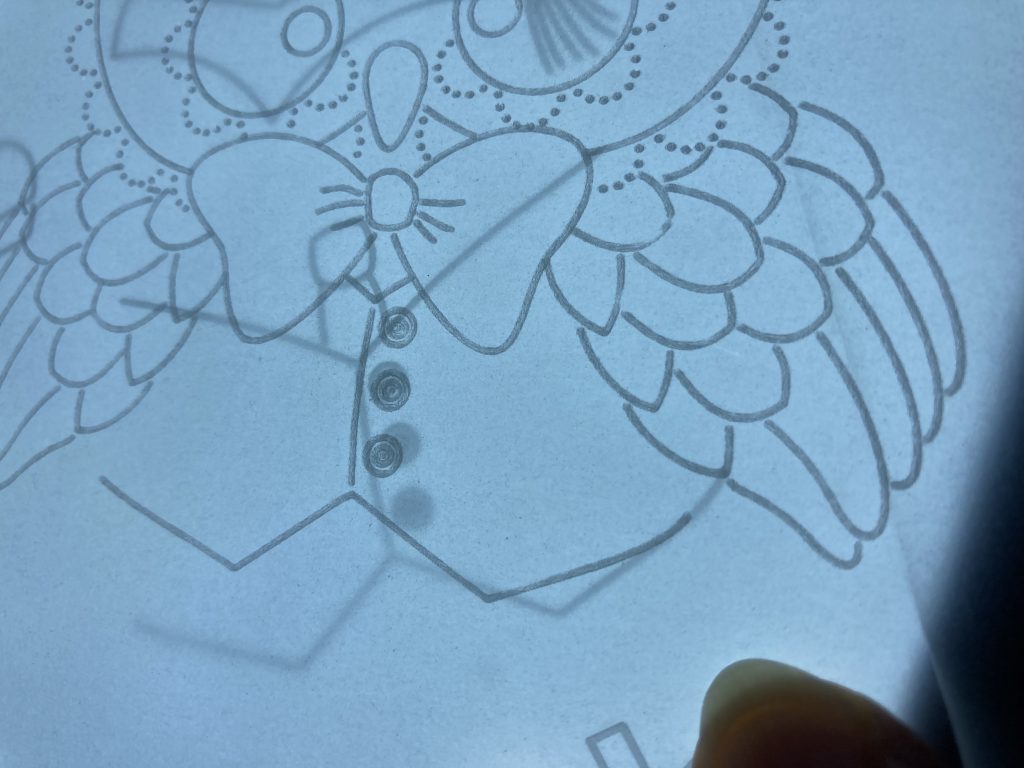
Step 7. Position the body with the feet under the waistcoat and emboss the feet, the line between the feet and the feathers that show below the waistcoat.
Step 8. Use a line from the plate to join the feet to the point where the waistcoat meets the wings.
Step 9. Emboss the lines shown here to give him eyebrows.
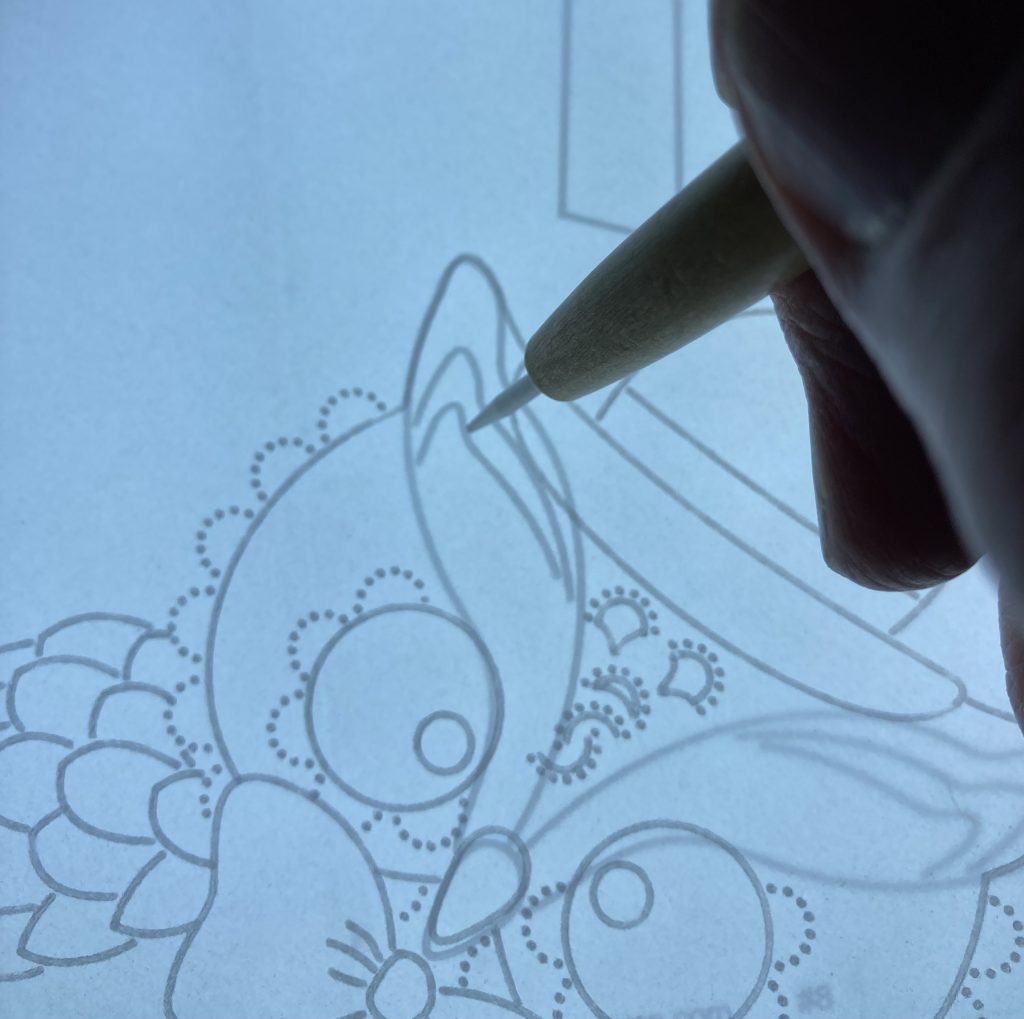
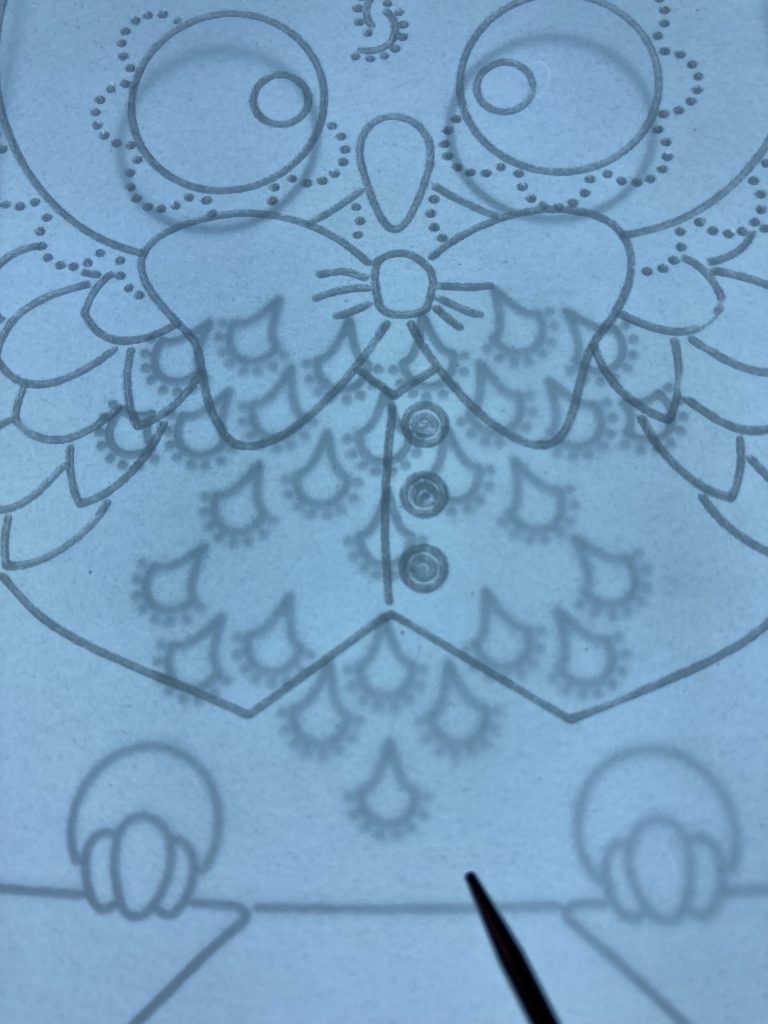
Step 10. Your owl should now look like this.
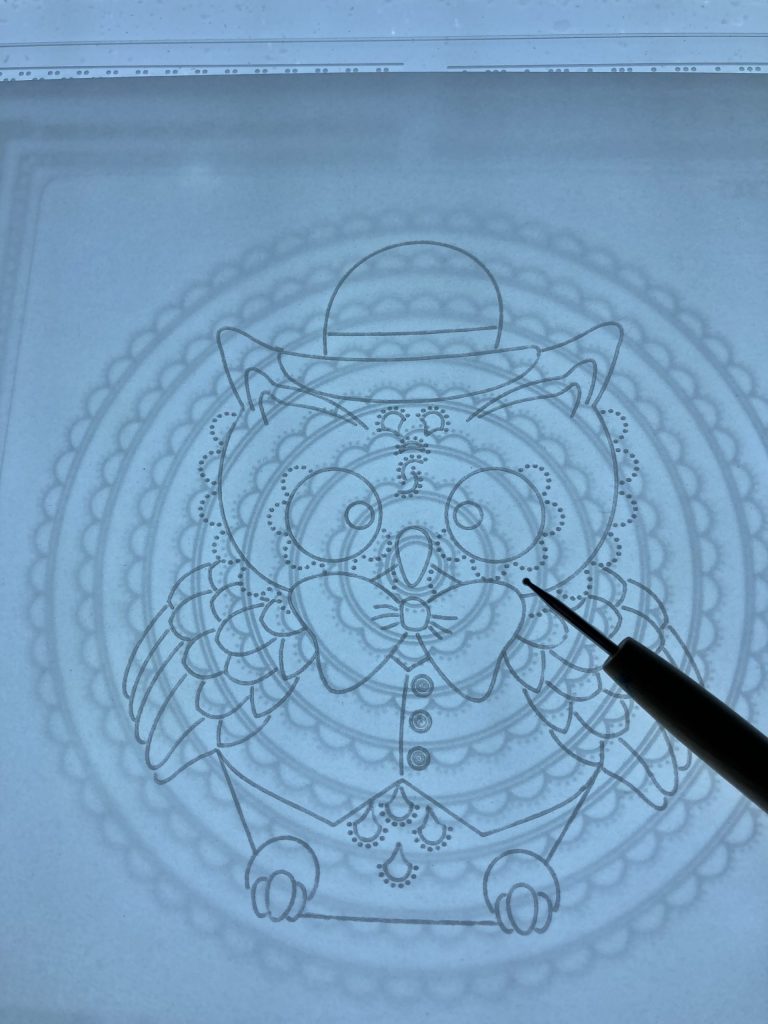
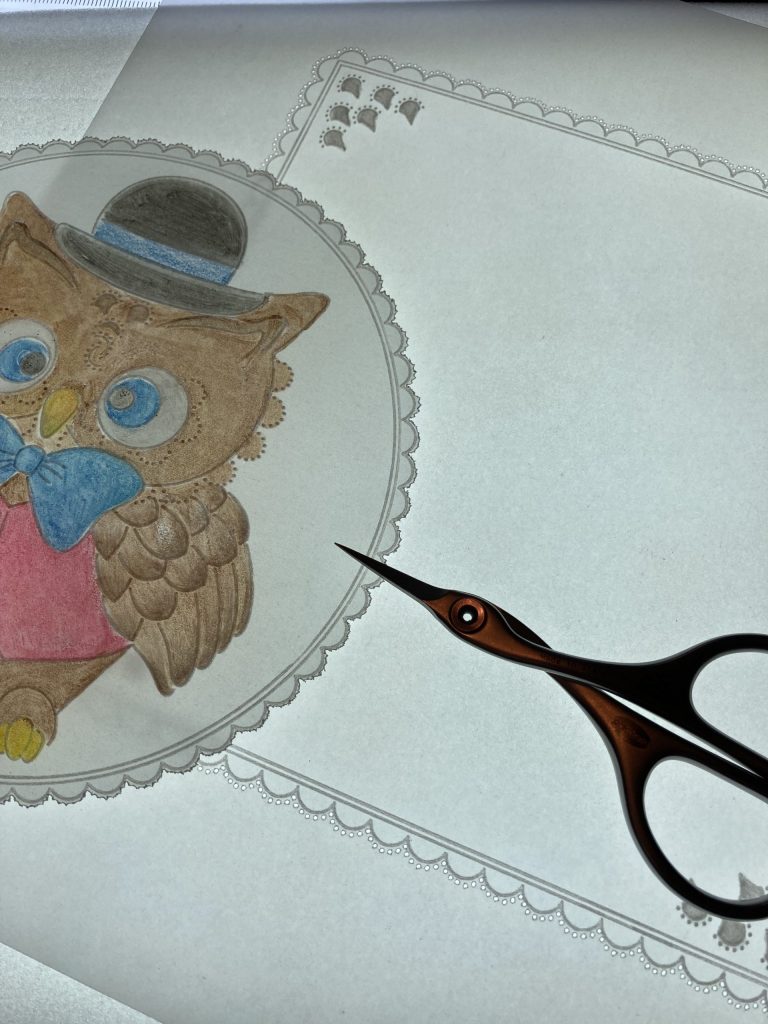
Step 11. Put the scalloped circle plate under the owl and centre him so he fits evenly in the largest circle. Emboss the lines and the scallops including the dots around the edge.
Step 12. I decided at this stage to use the smallest circle to add an extra part of his eye.
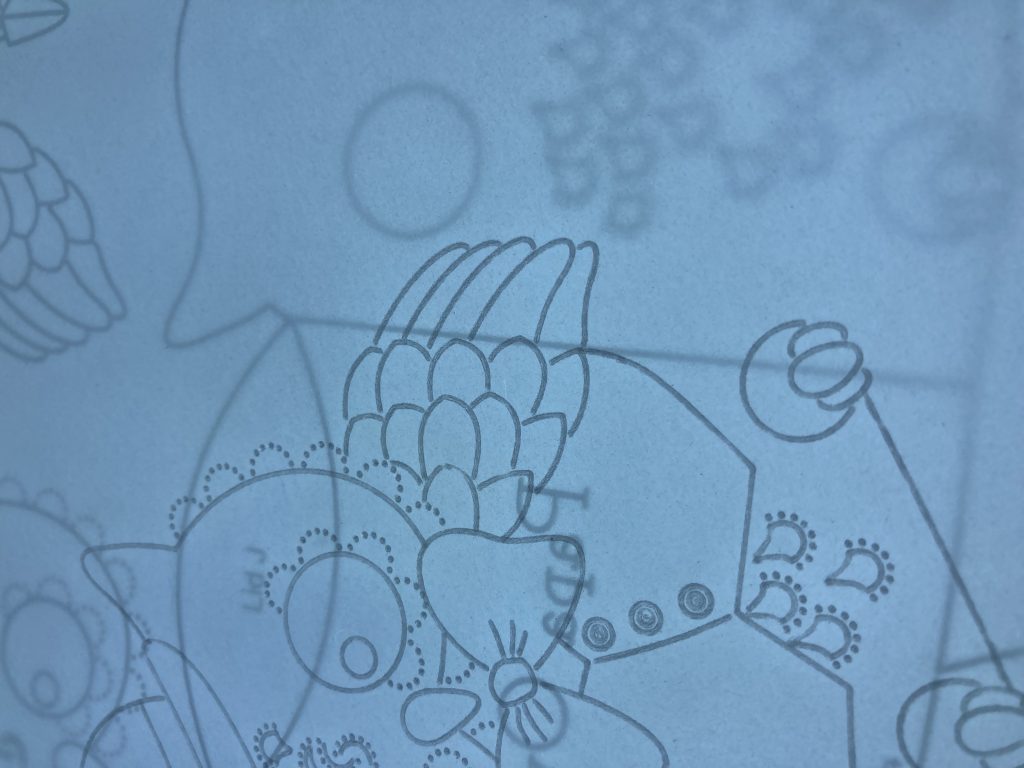
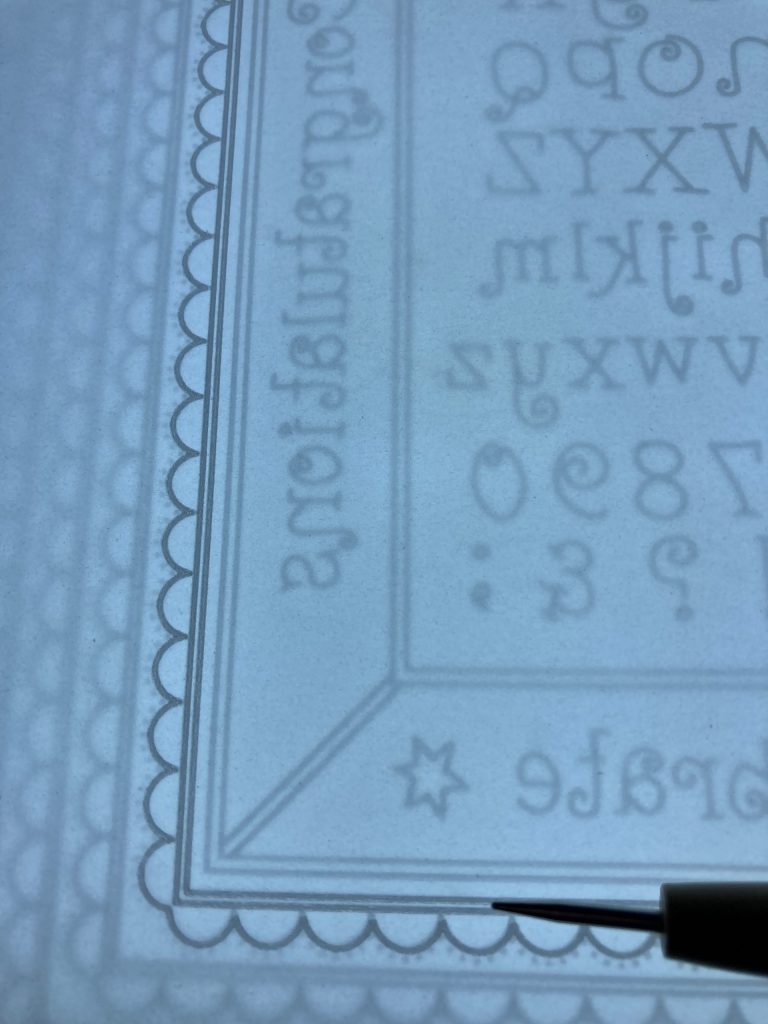
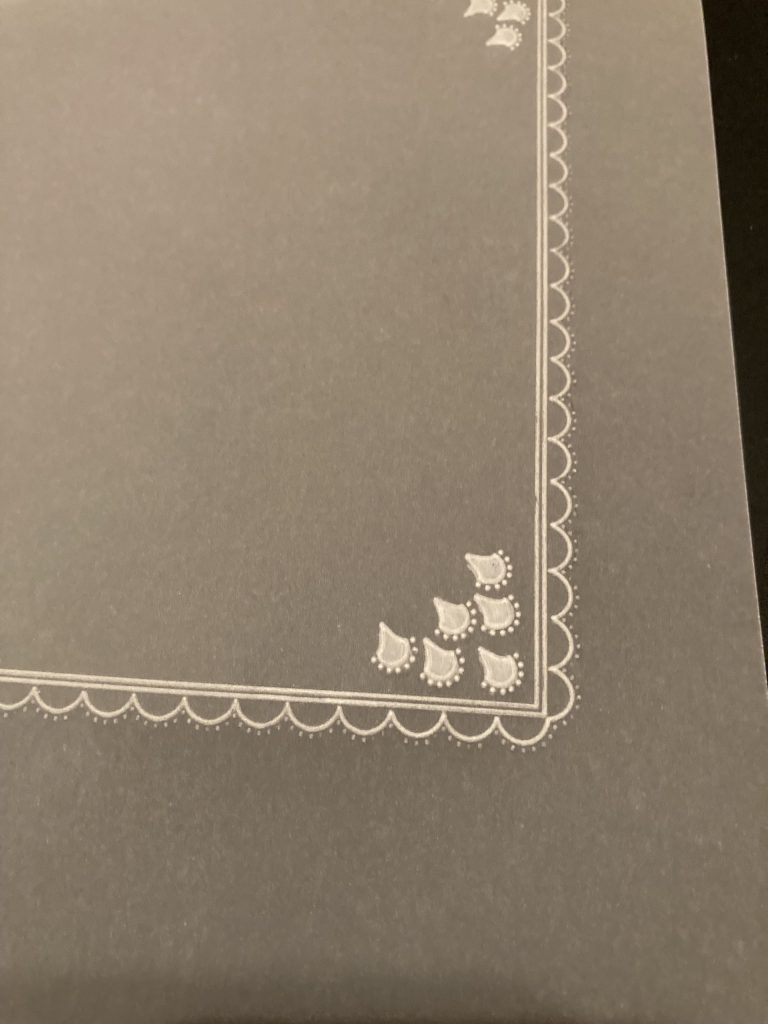
Step 13. On another sheet of parchment emboss the smallest scalloped square on the extension plate.
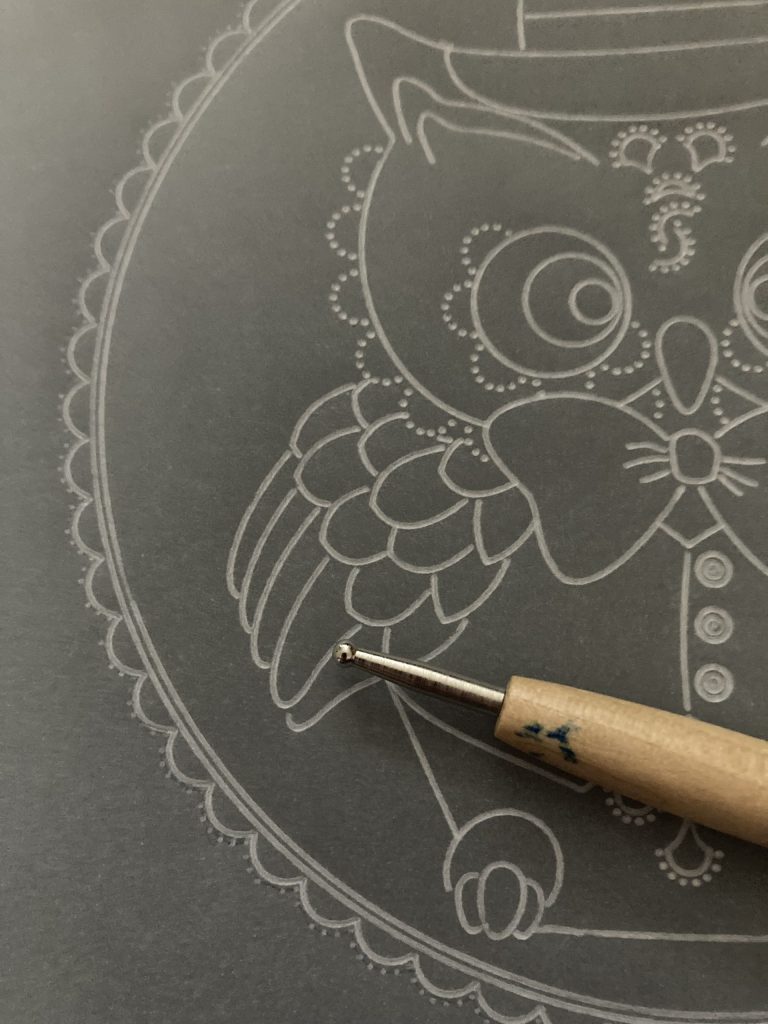
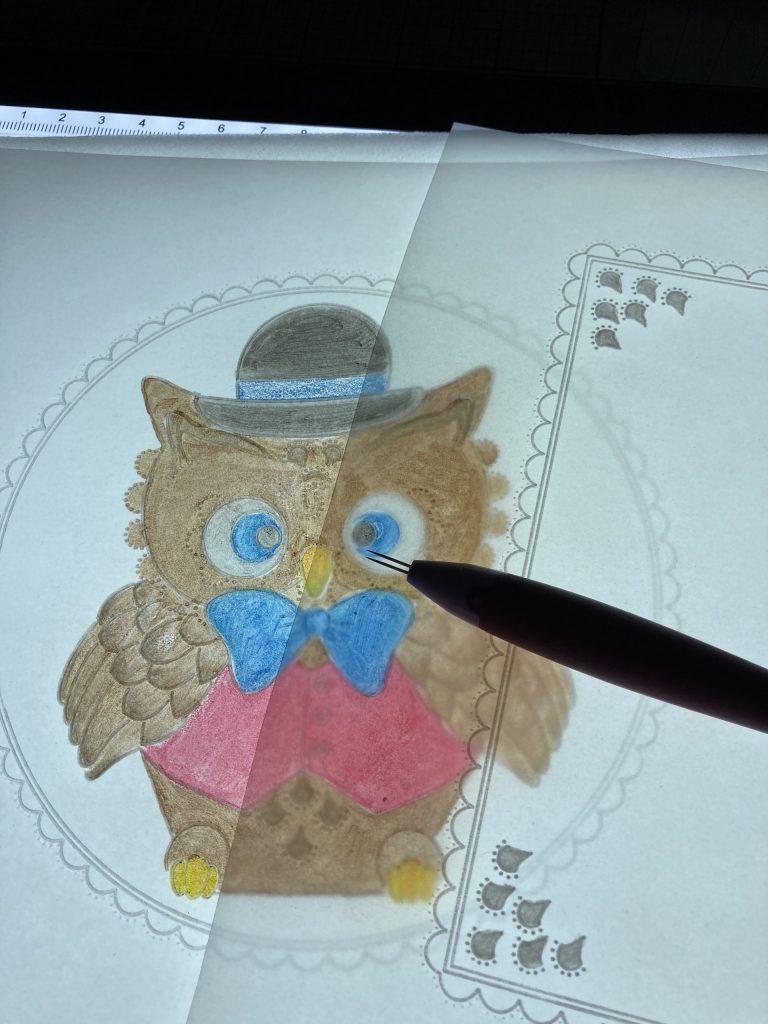
Step 14. Working on the back of the parchment, add white work to the tips of the wings, buttons and feathers of the owl.
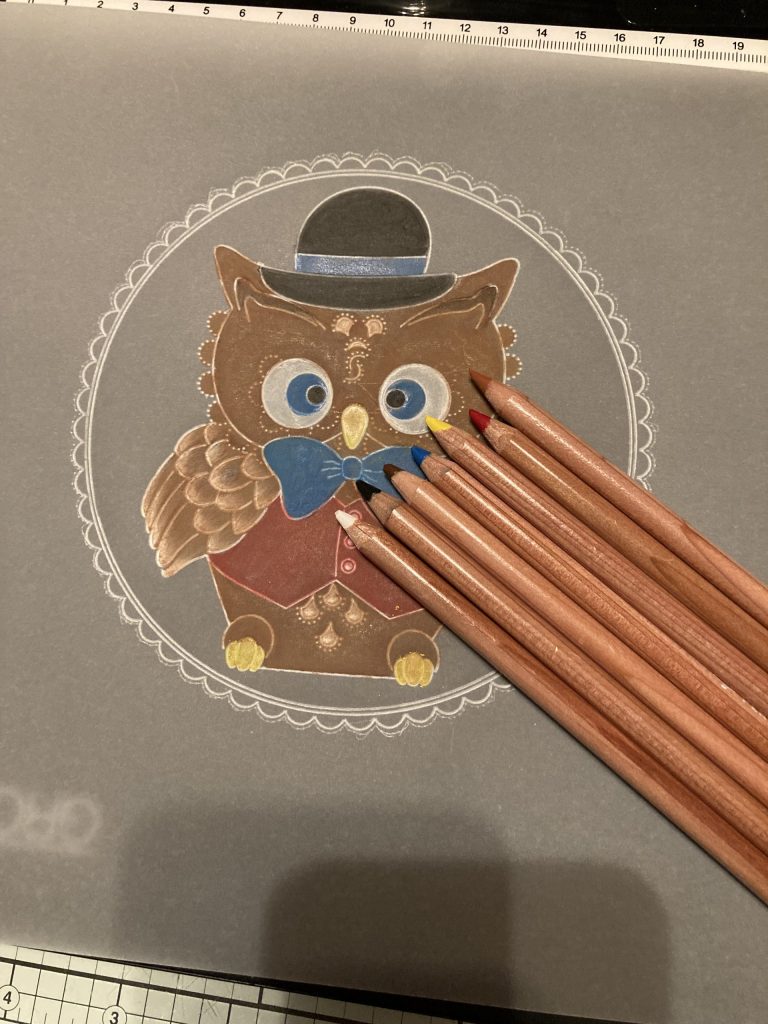
Step 15. Add colour using Perga Liners, blending nibs and Dorso oil. I used the B pencils Nos. 1, 2, 3, 4, 8, 11 & 12.
Step 16. Emboss the feather detail in each corner of the square and add whitework.
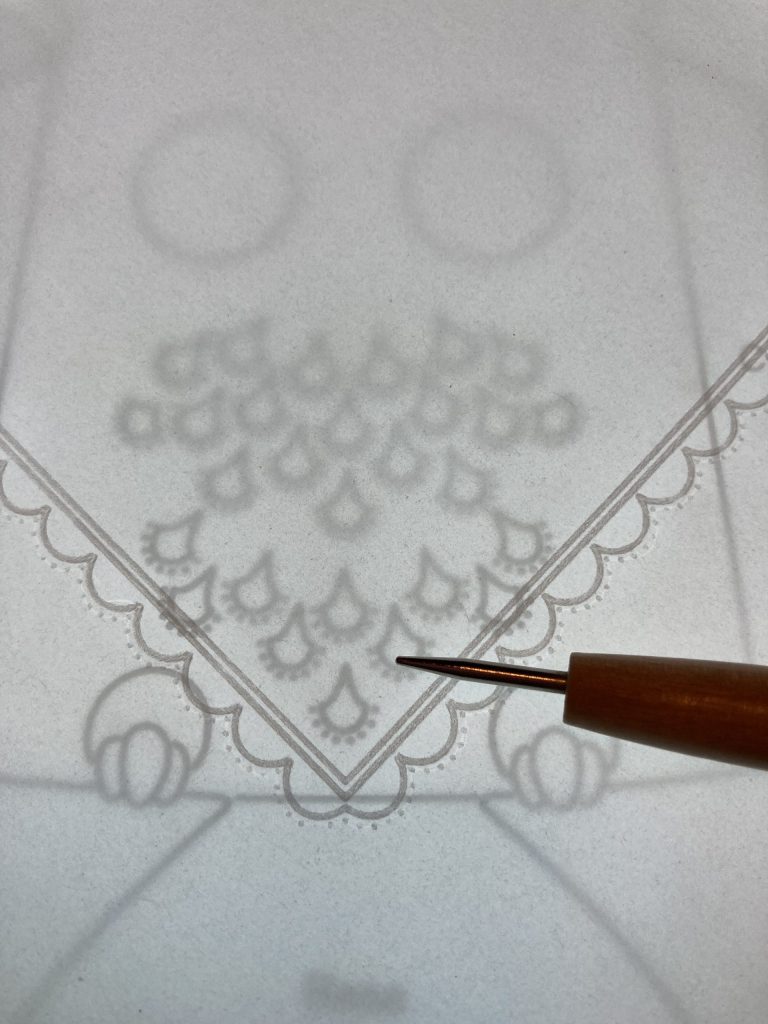
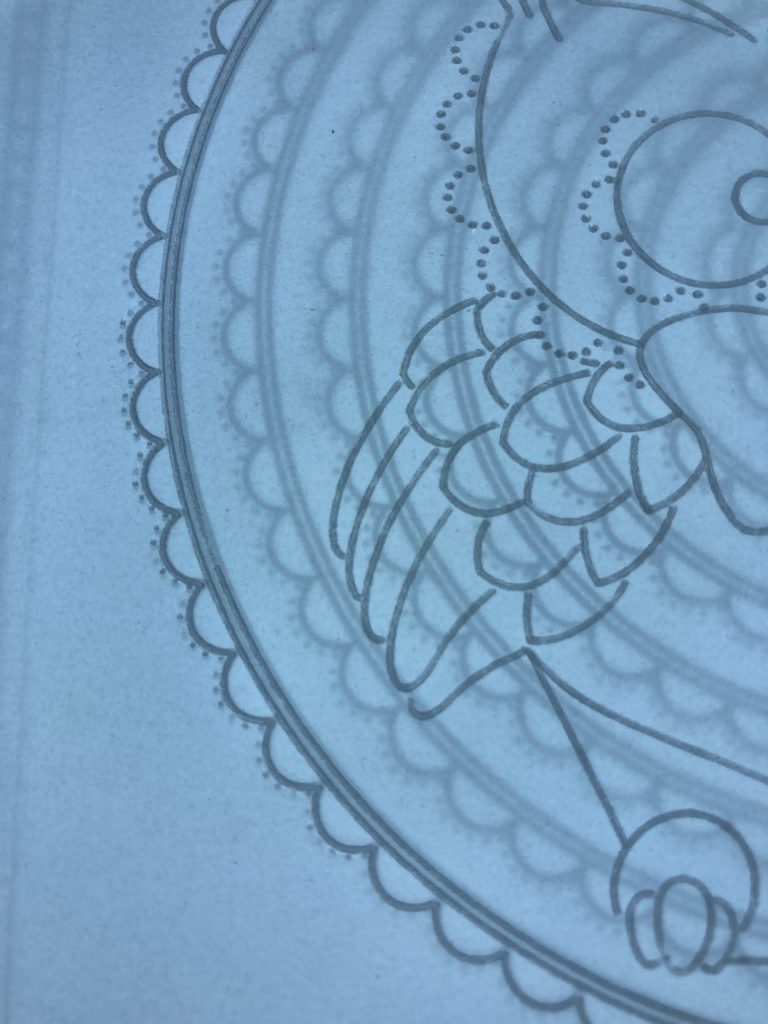
Step 17. Turn your parchment over to work on the front. Using the 2-needle tool, perforate around the scallops on both pieces using the tiny dots as a guide. I find the light wave really helpful in doing this.
Step 18. Cut the waste from around both pieces.
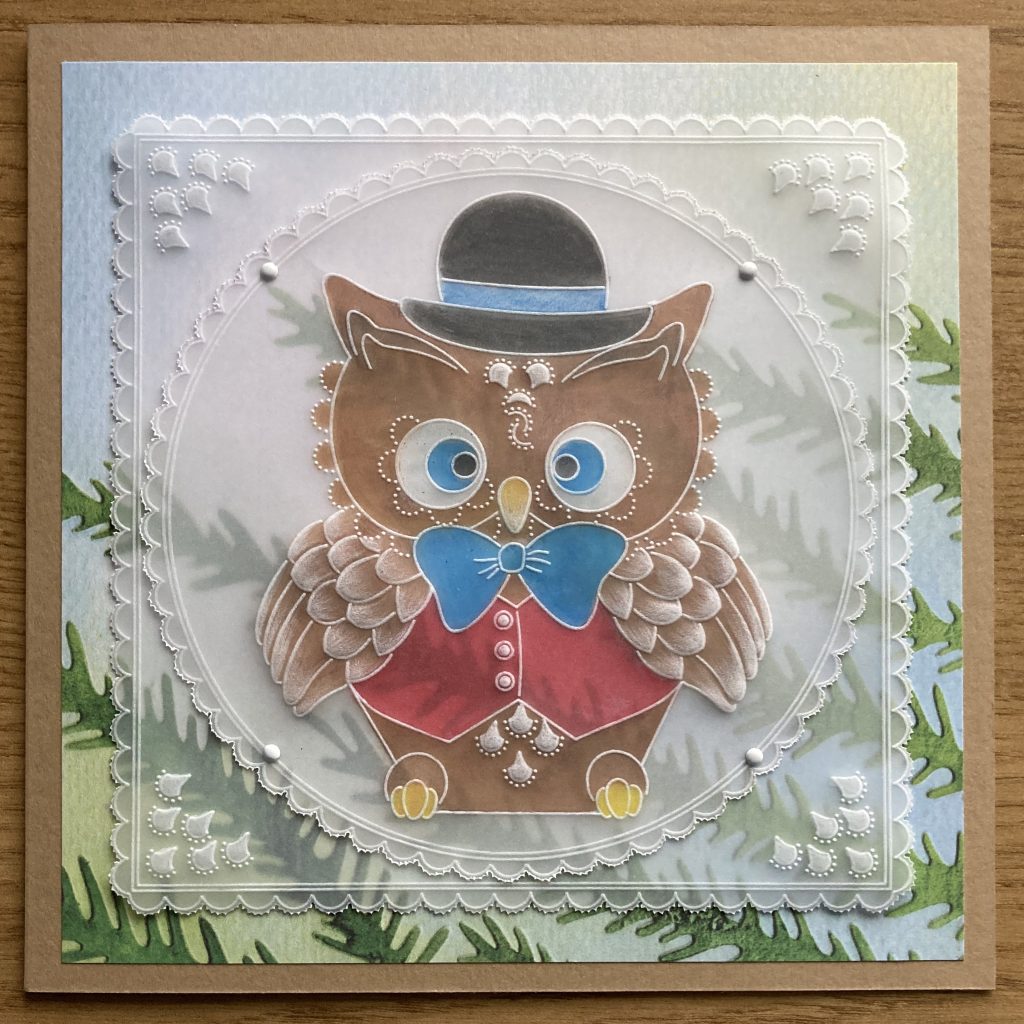
Step 19. Cut the designer paper to measure 6½ X 6½ inches. Layer the parchment pieces, attach them to the paper with 4 brads and adhere to the front of a 7 x 7 card blank.
And there you have it. You have now completed your card!
What a fabulous project! Thank you, Jane, for sharing your tips and tricks with us. it’s amazing what you can create from the same plate.
If you give this project a try yourself, we’d love to see it! Don’t forget to share your artwork in our creative parchment art community, Groovi Worldwide. And as always, should you need assistance with anything at all, my email is Grace@claritystamp.com
Everything that Jane has used in this project, can be found on the Clarity website HERE.
Don’t forget that the price of parchment increases from the 3rd January, so you may want to stock up now! – Click HERE to investigate.
Now, looking at the week ahead:
Tuesday 3rd Jan:
Groovi Tuesday with Paul – 10am Live on Facebook and YouTube
Thursday 5th Jan:
One Day Special with Dawn Wheeler on Create & Craft – 6pm & 9pm
Friday 6th Jan:
One Day Special with Dawn Wheeler on Create & Craft – 10am & 2pm
Sunday 8th Jan:
Clarity Classics with Barbara on Create & Craft – 3pm-5pm
Back in the swing of things, eh?! For now, I’m off. Enjoy the rest of your long weekend! All that is left to say is this…
We, at Clarity, wish you a Happy, Healthy & Peaceful 2023. Thank you for helping us through 2022, we so appreciate your friendship and custom.
We look forward to spending yet another creative & mindful year with you all!
Let’s travel gently into this New Year, friends.
Lotsa love, Grace & Jane xo
Clarity – The Home of Art, Craft, and Well-Being.
Thanks Jane for a lovely project. I have all the owls but don’t experiment enough but will do so now, xx
Happy New Year Grace and Jane,
The owl is beautiful.
Thank You.
Such a sweet card and thank you for sharing.
Thanks Jane for another great project. I haven’t got Papa Owl but I can see possibilities using the other owl plates.
Wishing everyone a Happy & Healthy 2023 with lots more crafting to keep us busy x
Thanks Jane, I love these owl plates. Great step-by-step.
We had a peaceful Christmas and enjoyed a small celebration last night to see in 2023. I am looking forwaed to all that it brings from Clarity.
May I wish you and Grace and all at Clarity a Happy, Healthy and Peaceful New Year.
Happy new year to you as well, I am in San Francisco at the moment with family. Had several weeks here. So lovely to see grandchildren that I haven’t seen for several years. I am sure you enjoyed your trip home. Take care. Xxxx