Clarity Matters Blog Tutorial: A Fluffy Teddy Bear
Hello hello! Grace here.
I hope this finds you well, safe, and feeling crafty.
Did you catch us on telly this weekend? You can catch up on yesterday, HERE. The rest of the weekend’s shows are today…
This week, our talented friend (and Clarity Design Team Member) Glynis Whitehead has prepared a fantastic step-by-step blog tutorial project for us.
I’ll hand you over to our teacher…

Fluffy Teddy Bear Blog
Ingredients
New Design Stamp Club Back Issue – Teddy Bear #141 (NDC141)
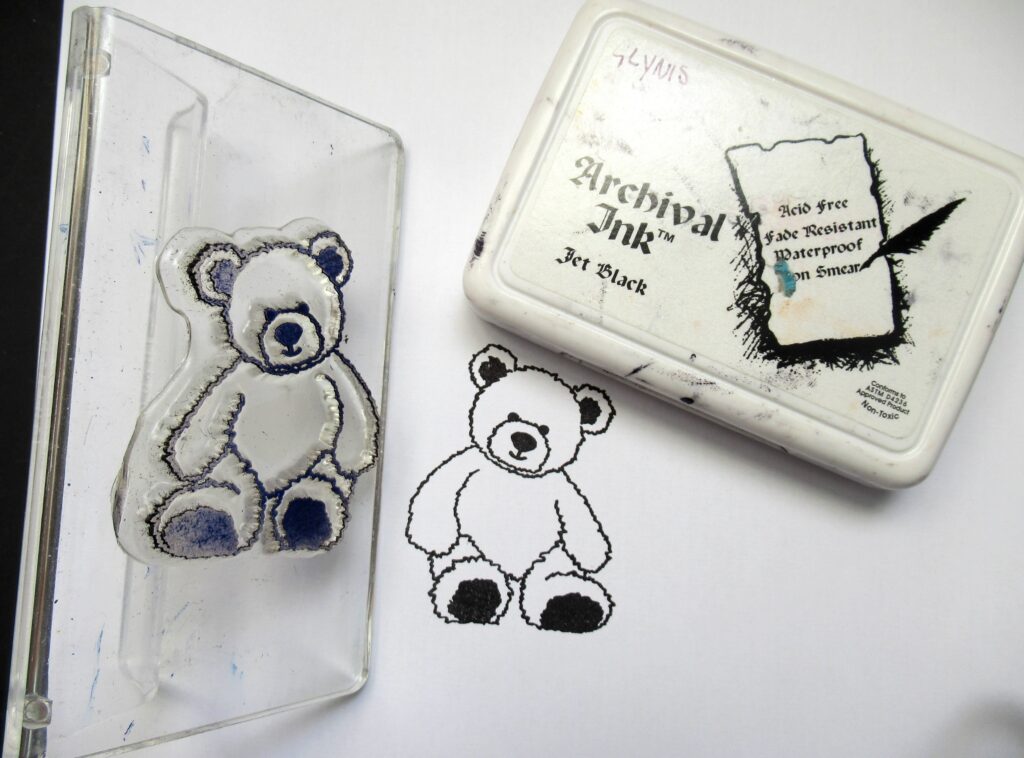
Archival Ink Pad (Jet Black) (INK-AR-50030-XX)
Nested Squares A5 Sq Groovi Plate (GRO-PA-40037-03)
Nested Circles A5 Sq Groovi Plate (GRO-PA-40051-03)
Josie’s Diagonal Embossed Patterns 1 A4 Sq (GRO-GG-41733-24)
Perga Liner B Pencils – B3; B6; B12 (PER-CO-70063-XX)
Dorso Oil (PER-CO-70066-XX)
Blending Pen (PER-AC-70300-XX)
Micron Pen (ACC-PE-30778-XX)
Picot V Medium Pergamano Perforating Tool (PER-TO-70282-XX)
Two Needle Fine Pergamano Perforating Tool (PER-TO-70037-XX)
Method
Step 1. Ink up the teddy stamp and place it into the centre of a piece of A4 copy paper.
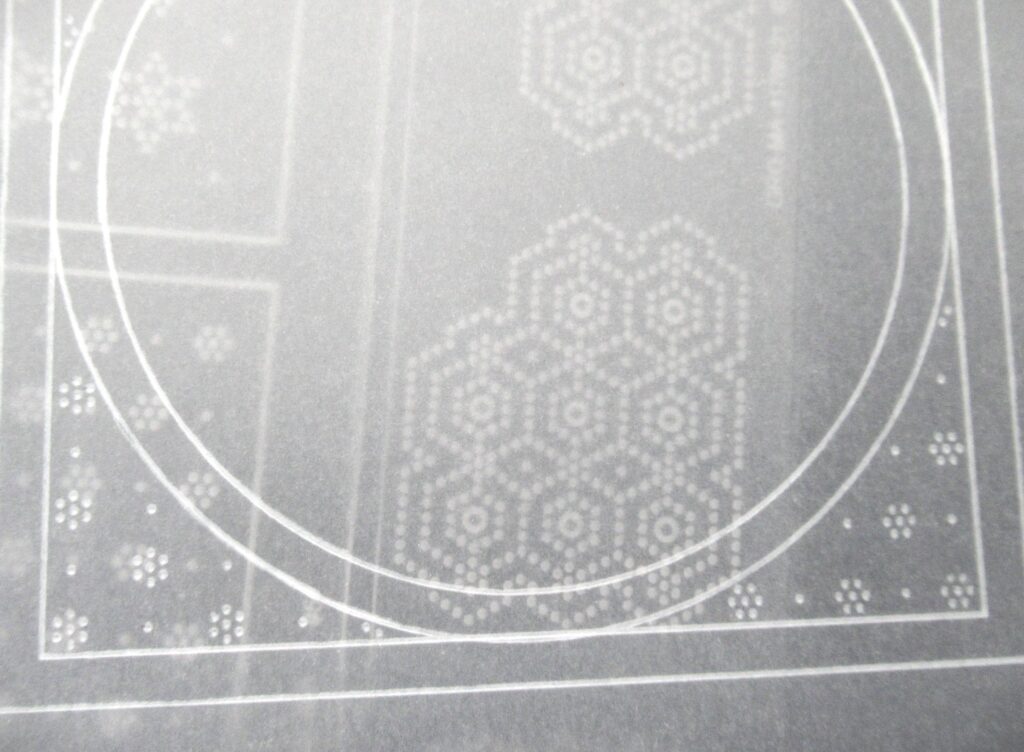
Step 2. Attach an A5 piece of plain parchment to the Nested Circle plate and emboss the 4th and 5th circles in from the outer edge. Then, without removing the parchment from your Plate Mate, swap the Circles out for the Nested Squares plate, and emboss the 3rd and 4th Lines in from the outer edge.
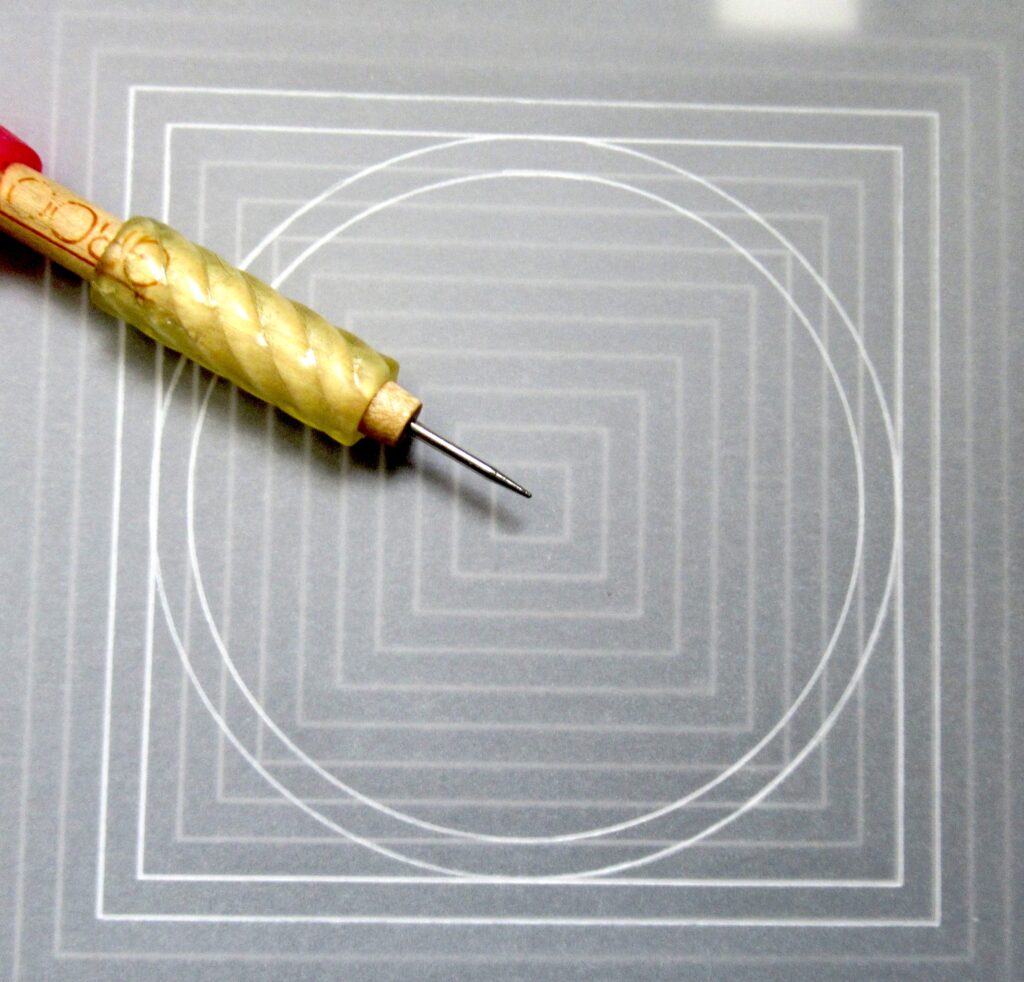
Step 3. Use Josie’s Diagonal Embossed Patterns 1 plate to emboss some dots into the corners and add some detail.
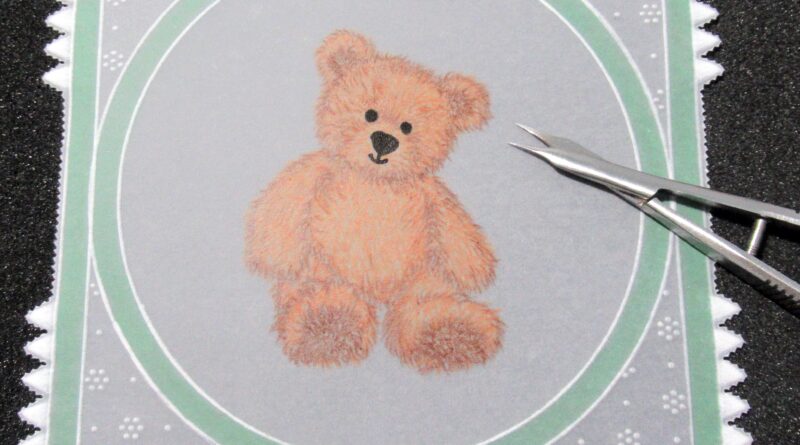
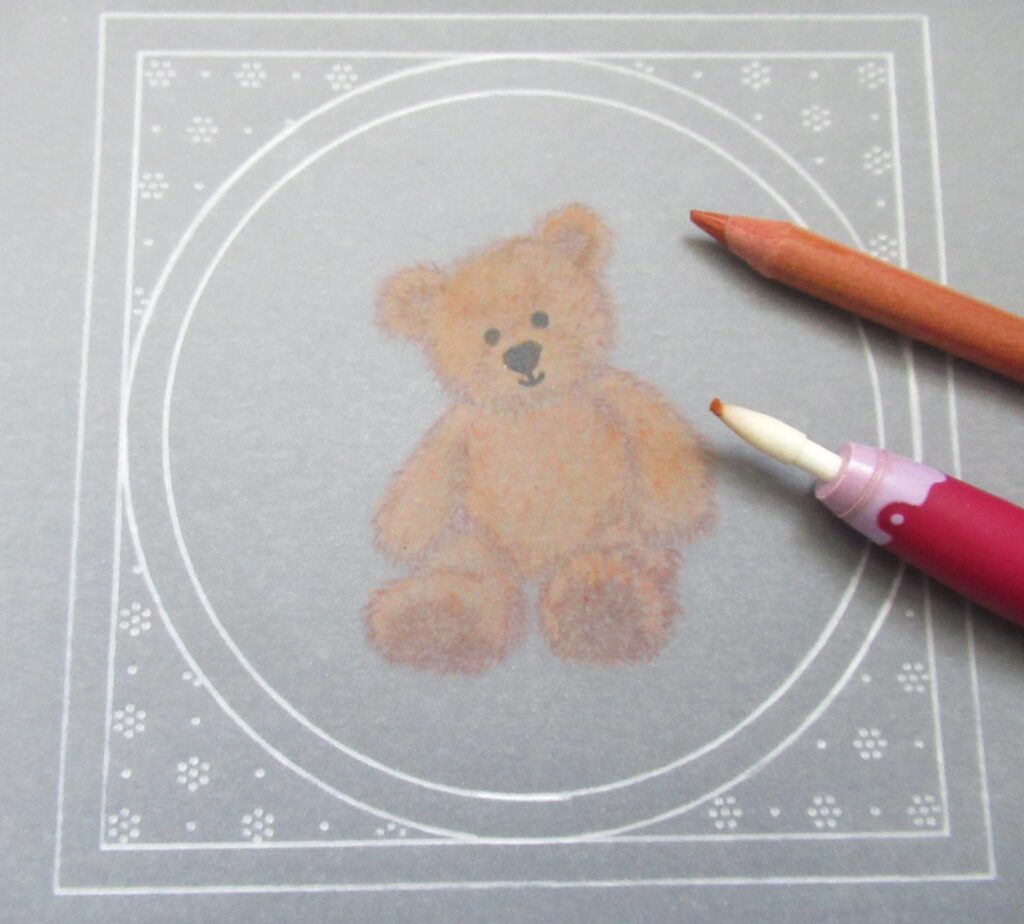
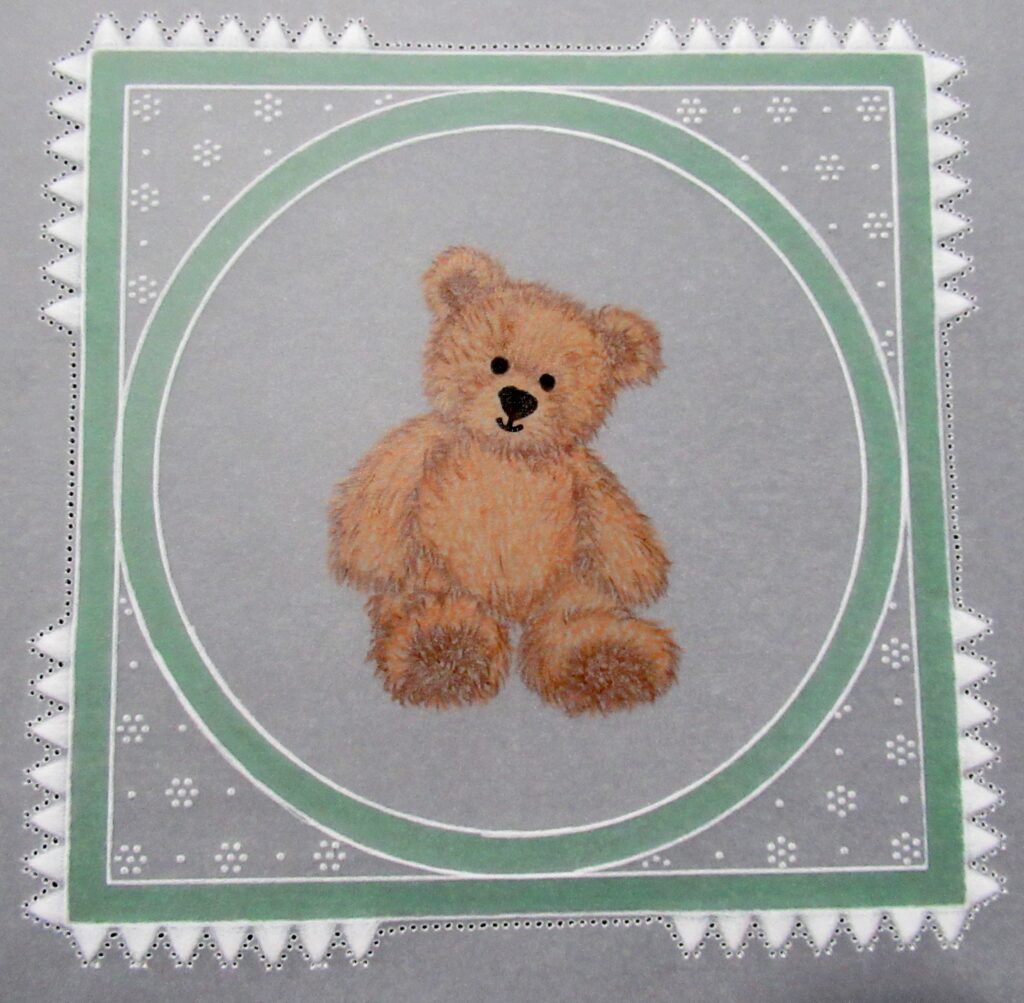
Step 4. Work on the front of the parchment and attach it over the stamped image so that the bear is in the centre. Then start to colour it in with very, very sharp pencils. Start with the B3 and make tiny feather strokes to make the outline of the bear.
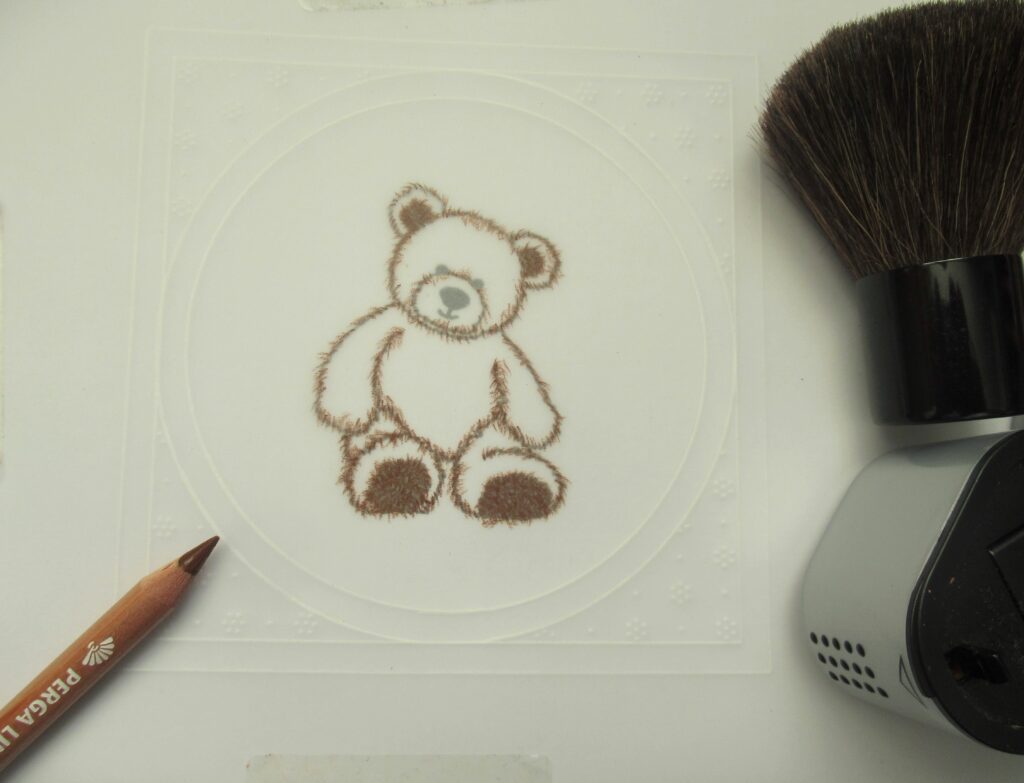
Step 5. Now use the B12 in the same way, filling in the rest of the bear. Your pencil strokes should go in varying directions. Keep turning your pencil so that you have a good point and sharpen it often. Make sure to include a darker outline when you use this colour.
TOP TIP: The best tip I can give you here, is to keep your pencils pinpoint sharp. B pencils will blend together too.
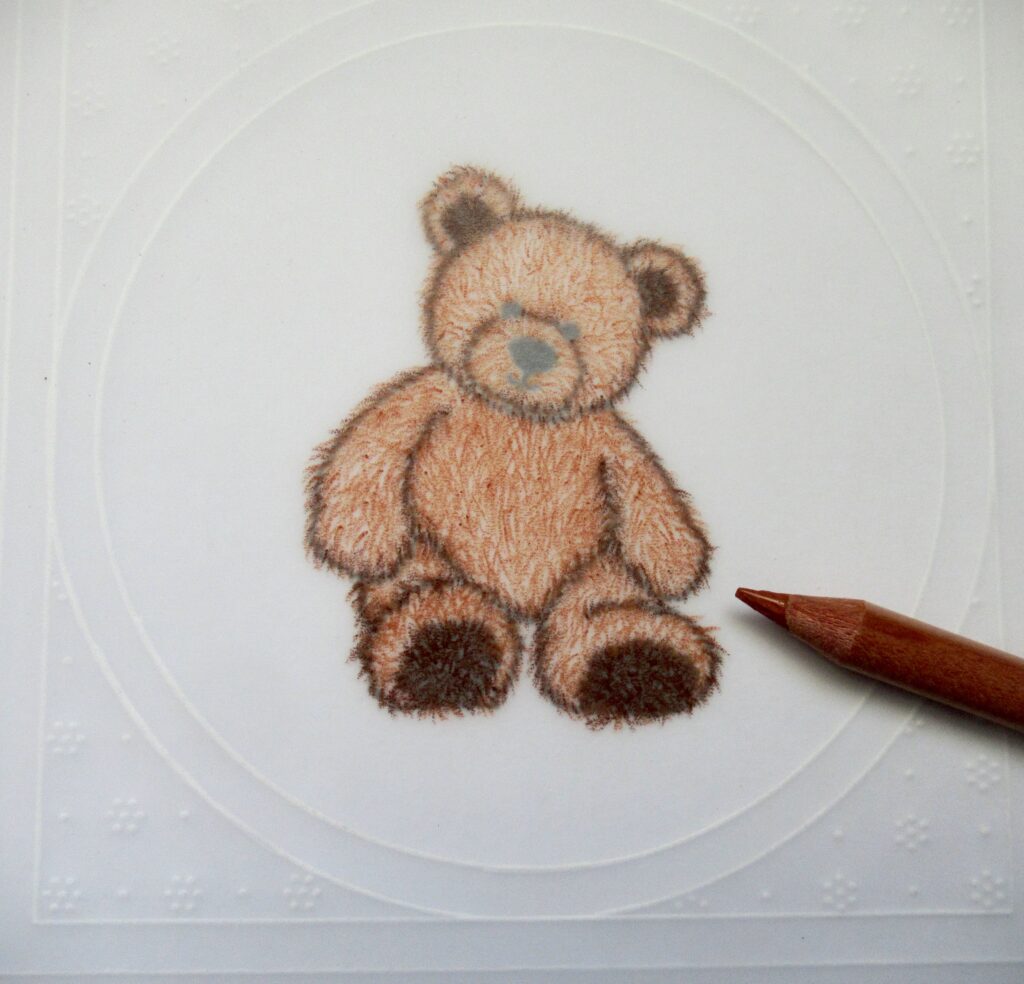
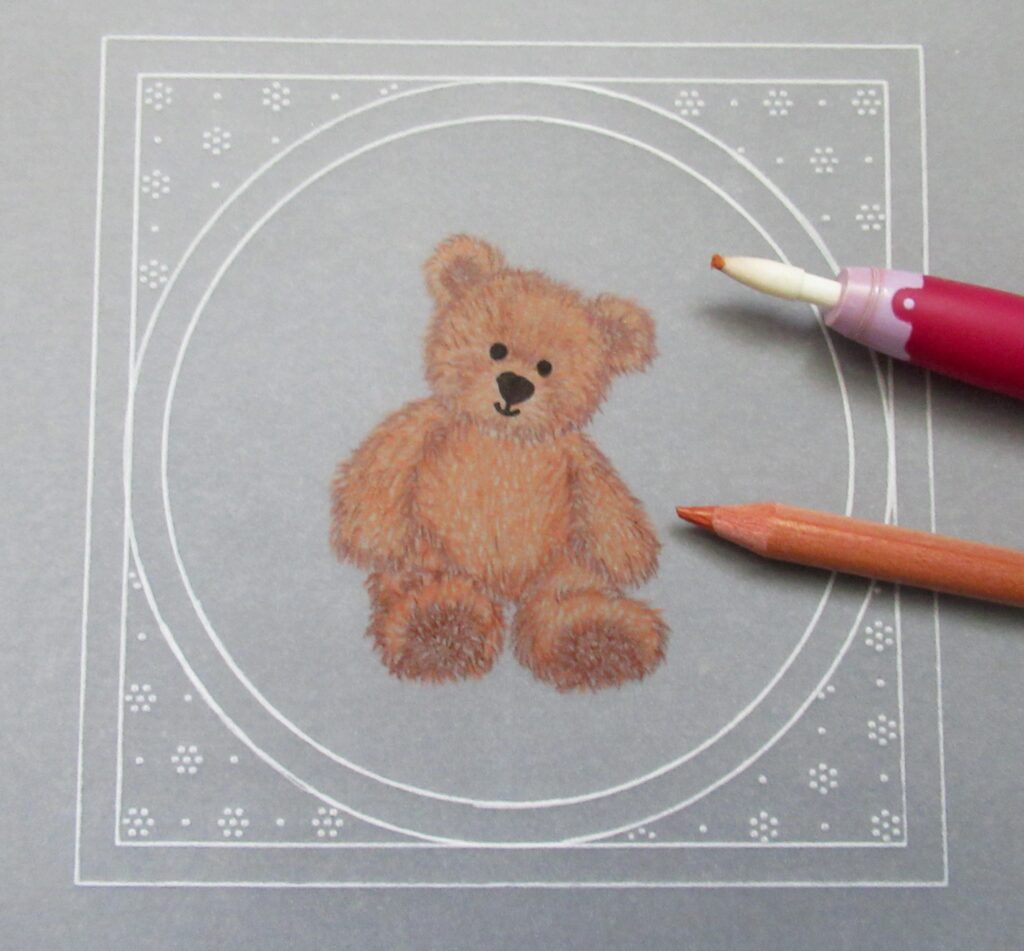
Step 6. Now go back to using the B3 pencil and add a few darker hairs into the bear’s coat, not too much, but you need to add shade and light to give the teddy some shape.
Step 7. Do not worry if you can still see flecks of white parchment between the furry fibres of the bear, we will address that issue in a moment when we turn the parchment over and work on the back. Before we do that though, we need to add the eyes, nose and mouth, using the micron pen. Just follow the picture underneath.

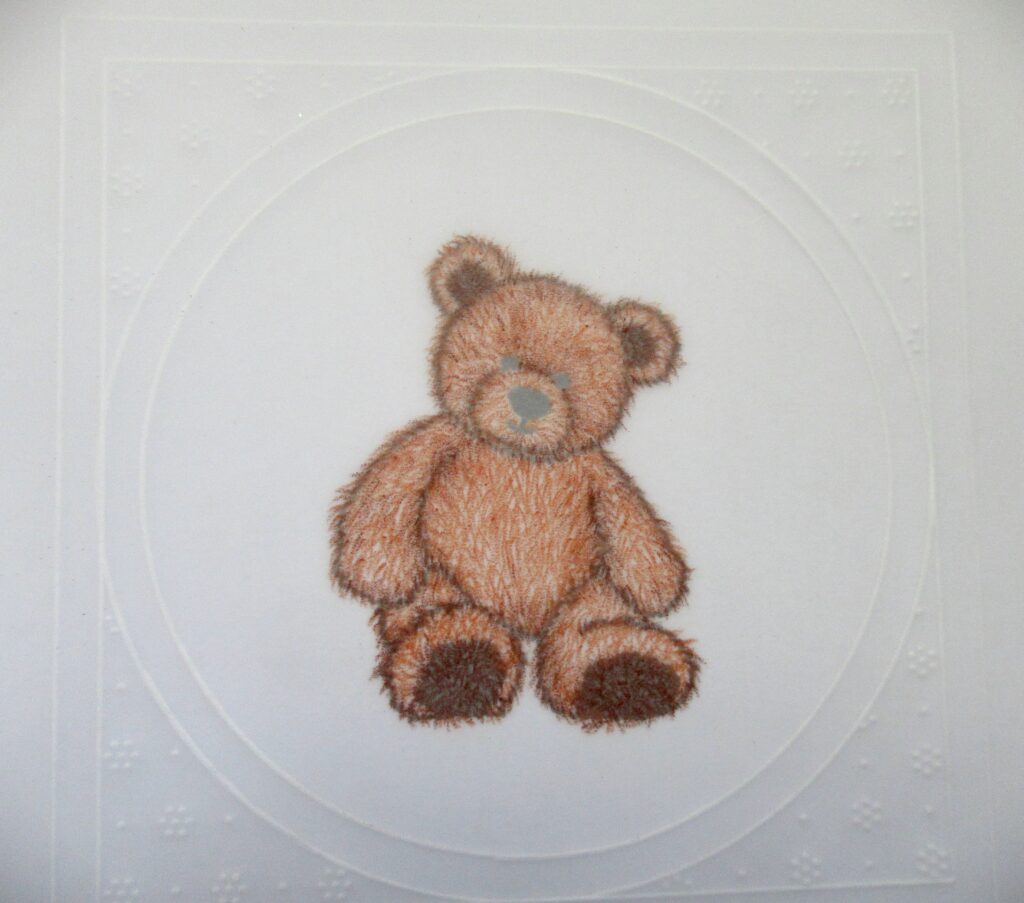
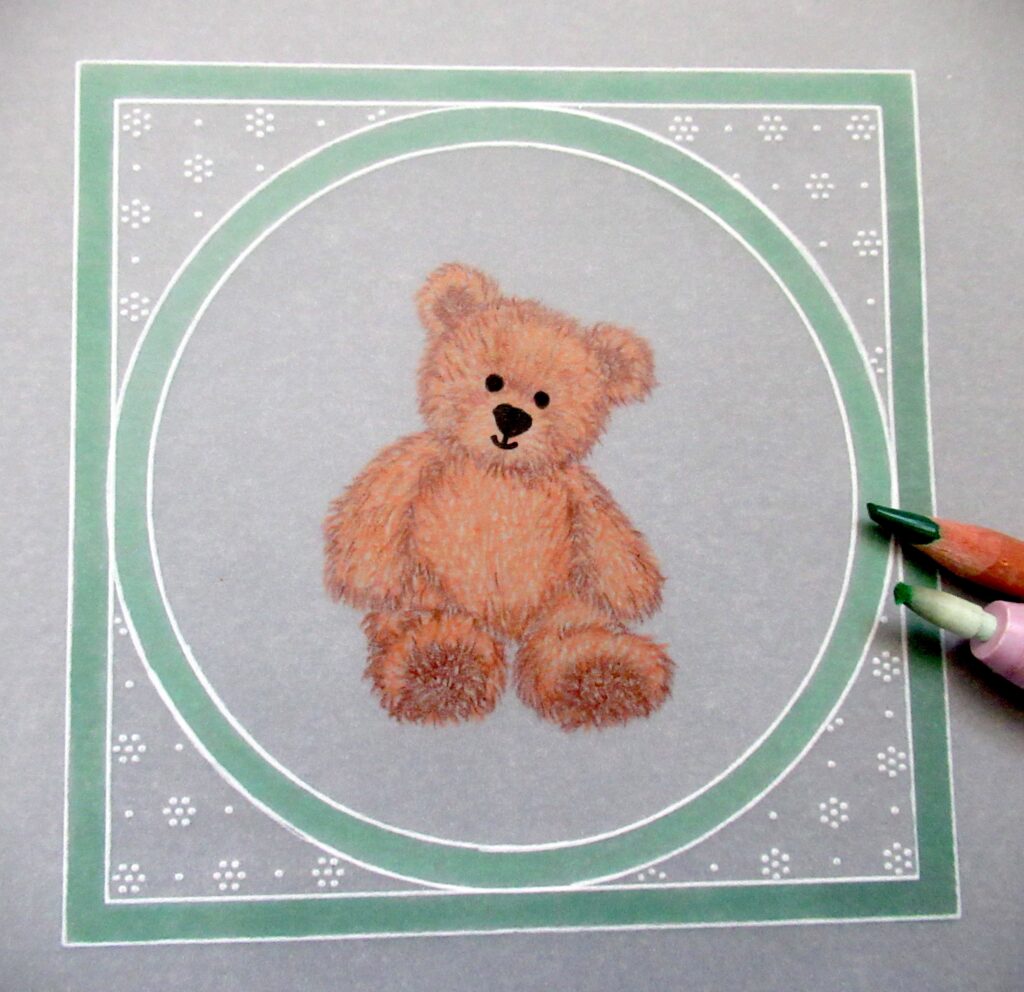
Step 8. On the back, use B12 and add some pigment over the entire bear – it doesn’t need a lot. Blend this out smoothly with a blending nib and Dorso oil. You will find that the bear looks a whole lot better when you have done this. As we say in the crafting world – “It isn’t done until it’s done”.
Step 9. Colour in the margins with a B6 pencil and blend this out with Dorso oil and a blending nib.
Step 10. Shallow perforate, using the Picot V medium perforating tool. I usually follow the rule of odd numbers and have done seven perforations on each corner.

Step 11. Use a 3mm ball tool to emboss into each ‘picot’. Go very gently and make 3 or 4 layers of embossing. If you mark where you started and make little arrows in the direction you are going, it will help you. By the time you have gone all the way around, the parchment will have rested enough for you to put in the next layer. This is just one layer.
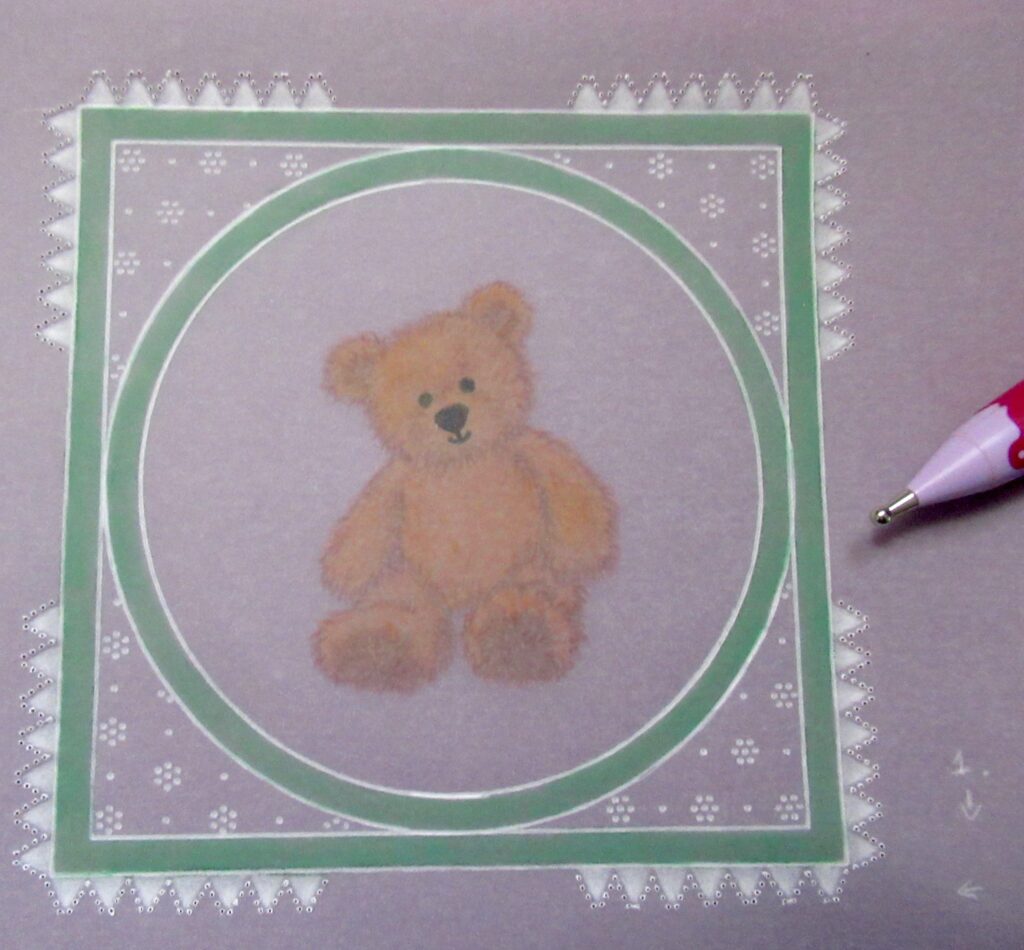
Step 12. When you have done all the layers of embossing, deeply perforate the picot Vs and use the two-needle tool in between each set.
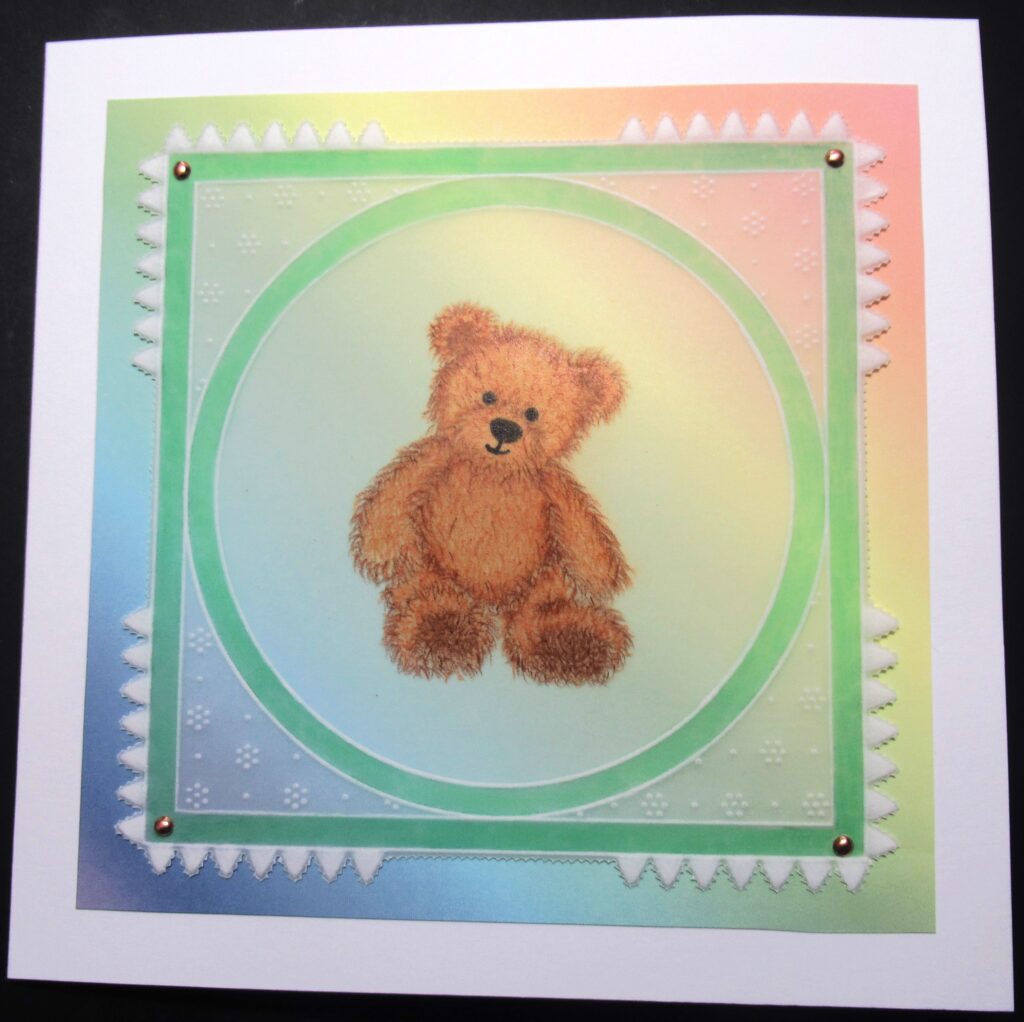
Step 13. Snip out the work.

Step 14. Attach it to a backing paper of your choice and then to a 6 x 6-inch card blank. Your Teddy Bear project is complete!
Such a wonderfully put-together step-by-step project. Many thanks to our insanely talented Clarity Design Team Member, and friend, Glynis Whitehead. Glynis is a crafting machine! And we so love her.
Everything that Glynis has used in this particular project can be found in a shopping list, HERE
We continue to enjoy seeing your versions of these Sunday step-by-step tutorials shared on Facebook. They’re picking up momentum! Thank you for checking in each Sunday on these bloggy tutorials.
Now, looking at the week ahead…
Sunday 3rd March:
Create and Craft – 10am, 2pm and 3pm – 5pm
Monday 4th March:
In the SHAC with Barbara – 10am Live on Facebook & YouTube
Tuesday 5th March:
Groovi Tuesday with Paul – 10am Live on Facebook & YouTube
Thursday 7th March:
The Pergamano Show with Paul on Create & Craft – 11am & 3pm
Thursday 7th March:
In the SHAC with Barbara – 7pm Live on Facebook & YouTube
Don’t miss out! We’re on telly today, with some very exciting new things!! 10am, 2pm and 3-5pm 🙂 We’re pumped about it and hope that you can join in the fun.
See you there!
Travel gently, friends.
Lotsa love, Grace & Glynis xoxo
Clarity – The Home of Art, Craft, and Well-Being.
Gorgeous project Glynis, great for children or new baby! Have a great rest of the weekend both of you and have fun in Nice Grace xx
Beautiful Glynis. Thank you for sharing how you achieved this delightful little bear. x
Wow what a fabulous project thank you so much. I have & use this stamp a lot but would never have imagined you could use it like this. Guess who’s off to find a pencil sharpener & some parchment to have a go before watching today’s shows on TV xxxxx
Thanks Glynis for another great project. I have the stamp & thought at first you were going to stamp on the parchment like we have done in the past with the poppet ones so was surprised when I read the instructions. What a difference this process makes so will definitely give it a go.
Although the sun is shining & the sky is blue it looks very cold outside so more reason to stay in doors & watch Barbara & Paul on the TV. Need to go out first though but will be there this afternoon for the Clarity marathon.
It looks as though the new products have gone down a storm with the crafting world going by the sales last night – will there be enough for today ?
Take care everyone & thanks Grace for another Sunday blog xx
For once I have everything but the bear but I do have a lab dog stamp which should work well. Just perfect for my husband’s birthday card. Thankyou Glynis and for the neat colouring idea. Having a bad time with arthritis but this project looks manageable.
Brilliant project Glynis. Will definately be giving this a go. Thank you so much xx
Un grand merci Glynis voilà un projet qui va plaire à tous nos petits
enfants
What a coincidence, I got this stamp out yesterday to make a card so I’ll try this before I put it away. Thanks Glynis. X