
Clarity Matters Blog Tutorial: Calligraphy Girls
Hello hello! Grace here.
I hope this finds you safe, happy and enjoying your Sunday morning!
We are joined today by the insanely talented Josie Davidson. She has kindly put together a step-by-step blog tutorial for us. I’ll hand you right over to our teacher…

I often get asked how to make a smaller frame using the Plate Mate for Grids borders and so I thought it would be a good idea to explain it in a blog. The process can be used for any of the partial borders on the plate mate so you can make your border to the size you require. Remember to use the lines on the plate mate to keep your parchment square as this will help with alignment of the final corner.
Ingredients
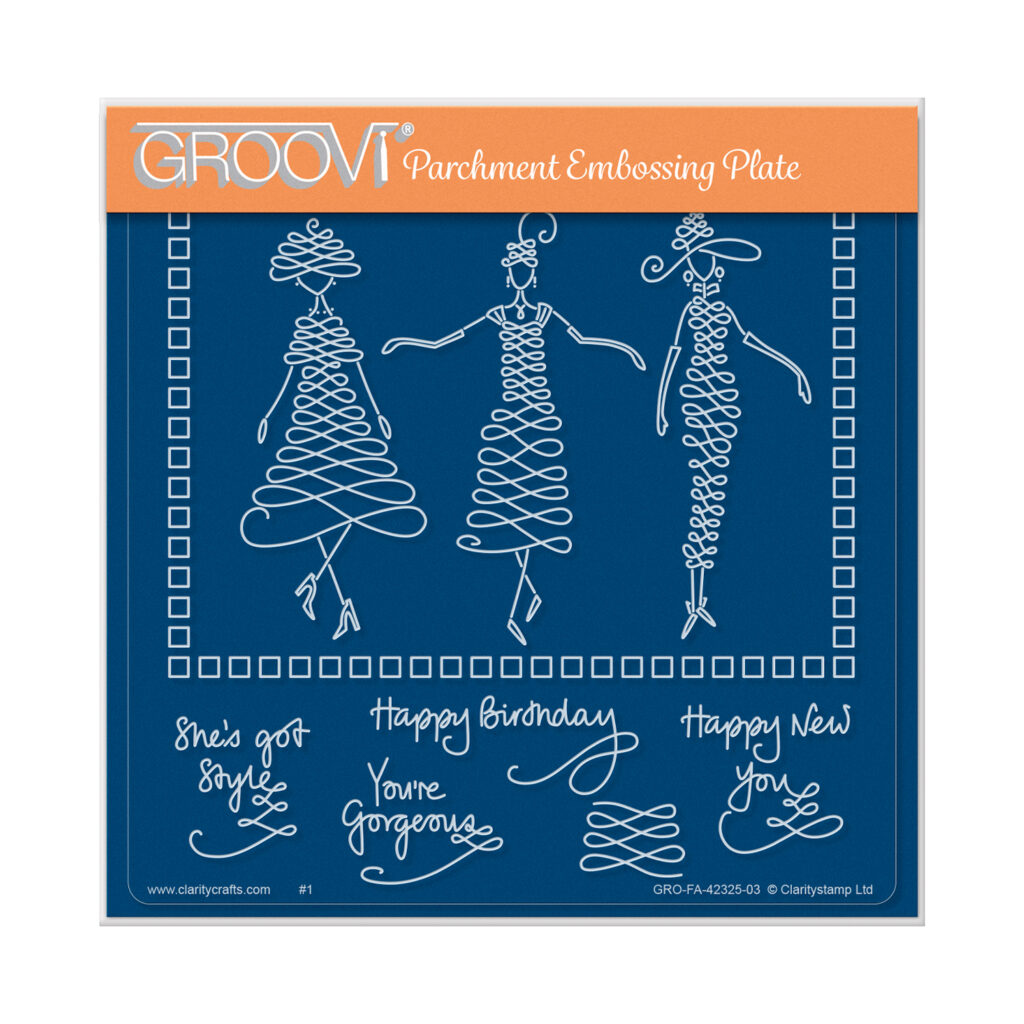
Barb’s SHAC Calligraphy Girls Plate (GRO-FA-42325-03)
Plate Mate for A5 Sq Grids (GRO-CO-41706-08)
Basic Straight Piercing Grid (GRO-GG-40202-12)
Plain Parchment (GRO-AC-40024-A4)
Groovi 1 & 2 Tool (GRO-AC-40026-XX)
Pergamano Bold Single Needle Tool (PER-TO-70028-XX)
Scissors or Perga Cutters
Black Thick Foam Mat (GRO-AC-41957-A4)
Perga Liners B10 & B11 (PER-CO-70063-XX)
Perga Colours 7 & 30 (PER-CO-70060-XX)
Pergamano Ruler (PER-AC-70278-XX)
Groovi Tabs (GRO-AC-40437-XX)
Mapping Pen and Nibs (PER-TO-70039-XX)
Dorso Oil (PER-CO-70066-XX)
Spot-On-Sponge (ACC-MG-30537-XX)
Mapping Pen and Sticky Ink (PER-AC-70134-XX)
Gold Perga Glitter (PER-AC-70455-XX)
Above 5 items available in a set, HERE.
4 Gold Brads (PER-AC-70274-XX)
Rainbow River Companion Paper (ACC-CA-31341-88)
6 x 6 White Card Blank (ACC-CA-30618-66)
Tape Runner (ACC-MS-31065-XX)
Tumble Dryer Sheet
Method
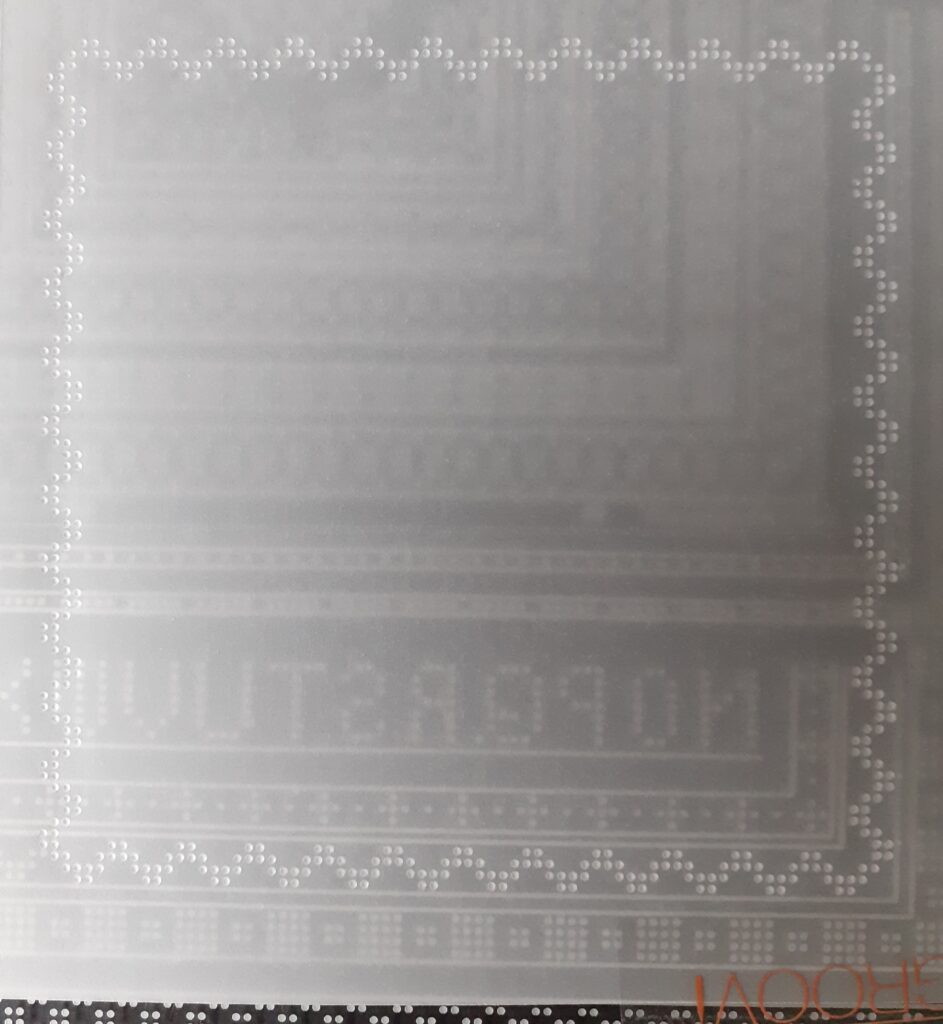
Step 1. We want to make a square approximately 11cm square. Line the edges of your parchment up along the lines on the plate that are around the pattern you wish to use and secure with Groovi tabs. Using the Groovi number 2 tool, emboss the dots of the shorter edge and then along the longer edge but do not go as far as where the corner will be. Check your measurement with your ruler.
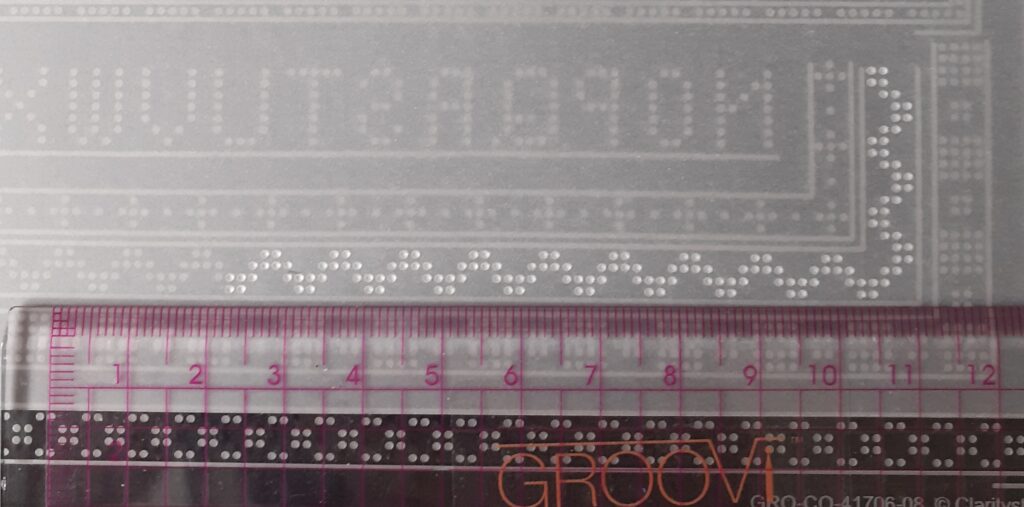
Step 2. Slide your work along the longer edge to the opposite corner (remember to check your measurement) and lock the embossed dots into the dots on the plate. Check that your work is straight with the lines on the plate (the lines of dots that you aren’t using can be useful for this as well). Emboss the dots of the second corner.
Step 3. Rotate your work anti-clockwise and lock the last corner worked into the corner on the right hand side of the plate. By counting the points of the first edge you now know that 12 are needed to work all of the sides, this includes the corner points. Emboss the second side but stop after you have done 12 points along the outer edge.
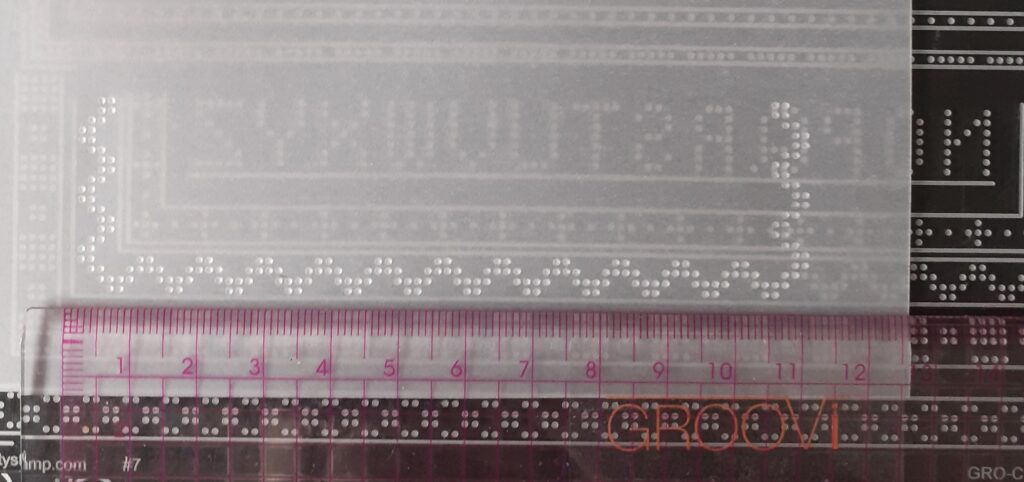
Step 4. Repeat step 3 to complete the third side.
Step 5. Turn your work anti clockwise and lock the dots of the first corner you made into the dots on the left hand side of the plate. Emboss the dots but do not go all the way to the corner. I prefer to finish the square in this way because it is easier to check that your dots are matching up for the final corner and if need be you can make any slight adjustment.
Step 6. Slide your work along to the right hand side corner on the plate and lock your dots into place. You can now emboss your final corner.
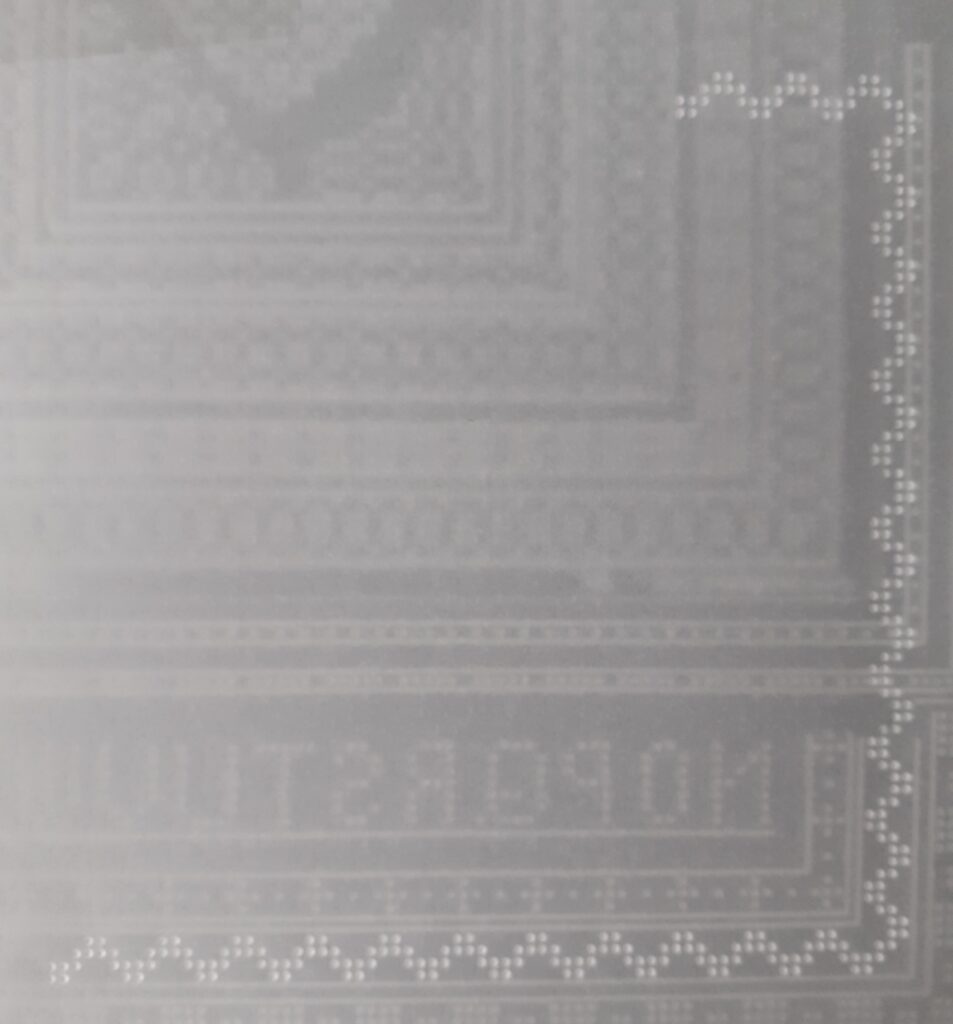
Step 7. Using the Groovi number 1 tool, emboss the centre calligraphy lady inside the right hand side of your border.
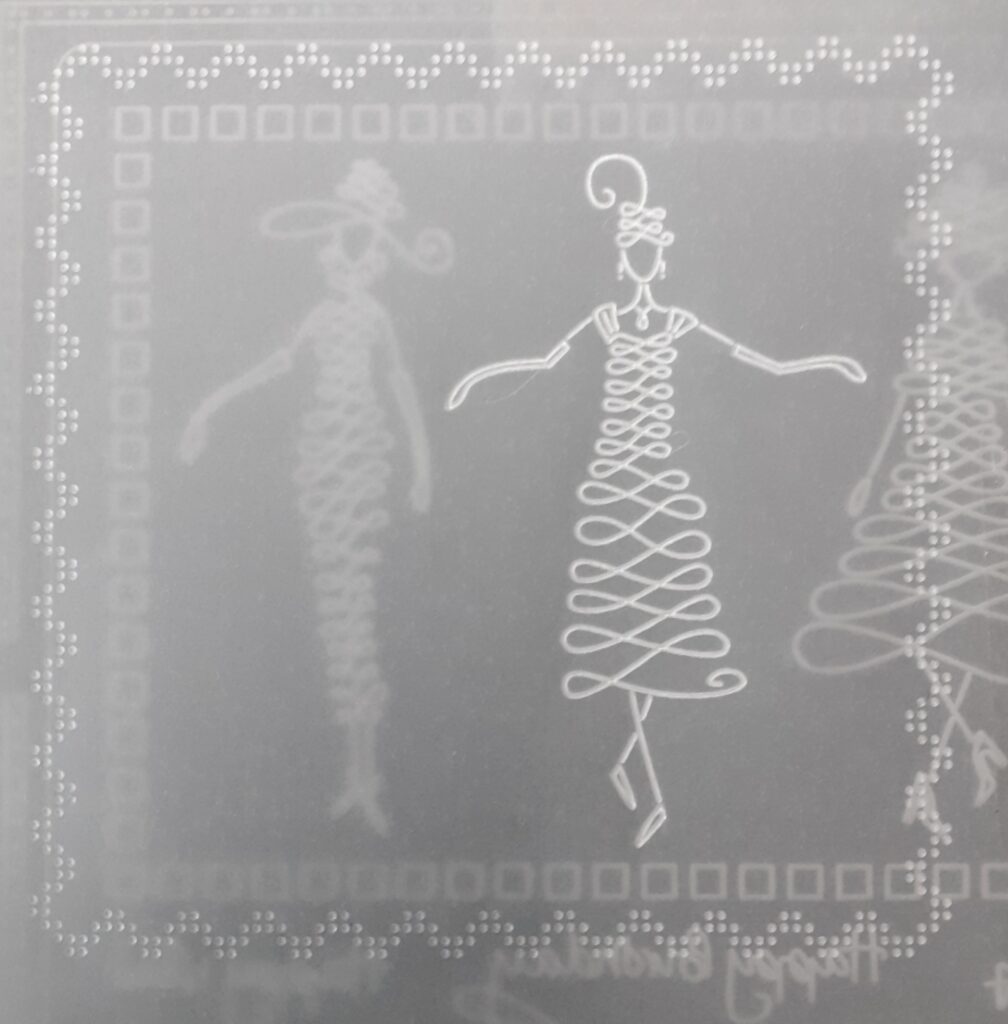
Step 8. Turn your work around and line up the set of squares on the calligraphy ladies plate (it is underneath them on the inside of the first point at either side of your border). Emboss the squares and Happy Birthday with number 1 tool.
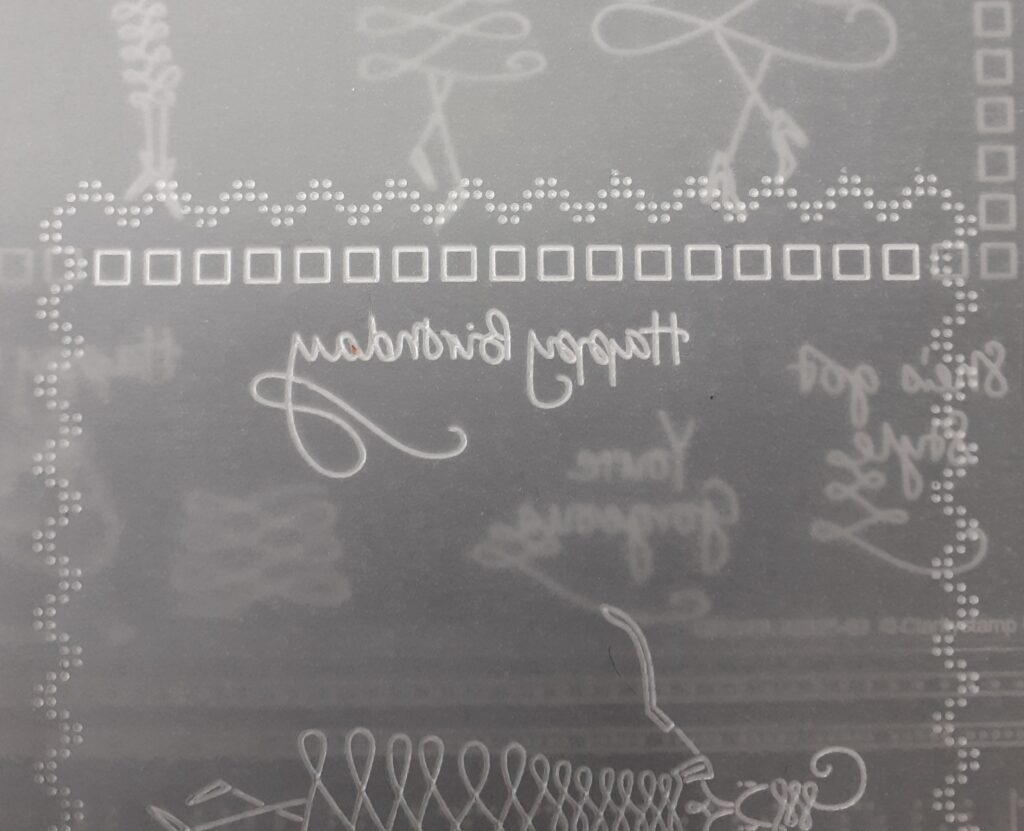
Step 9. Turn your work around and line the squares up inside the fourth points on the inside of your border. Emboss with the number 1 tool. This set of squares will be just underneath the flourish of the Happy Birthday.

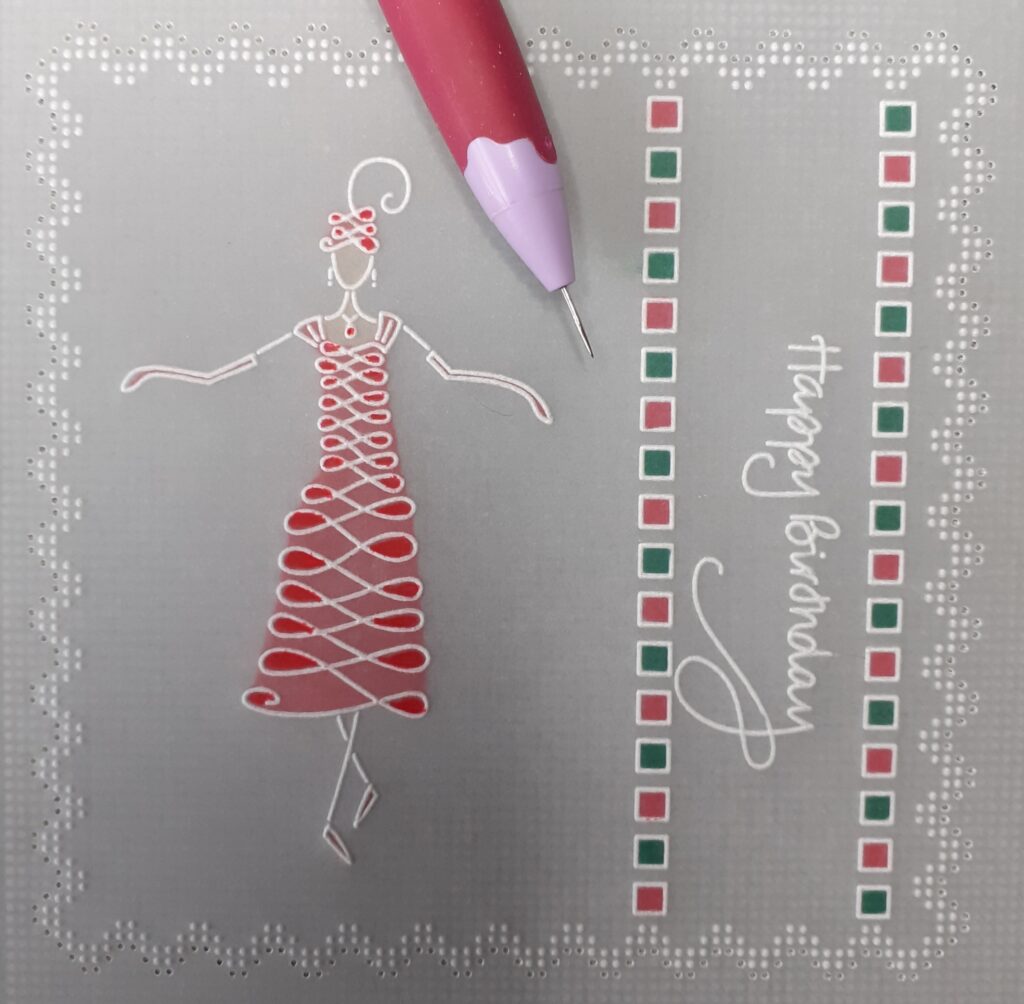
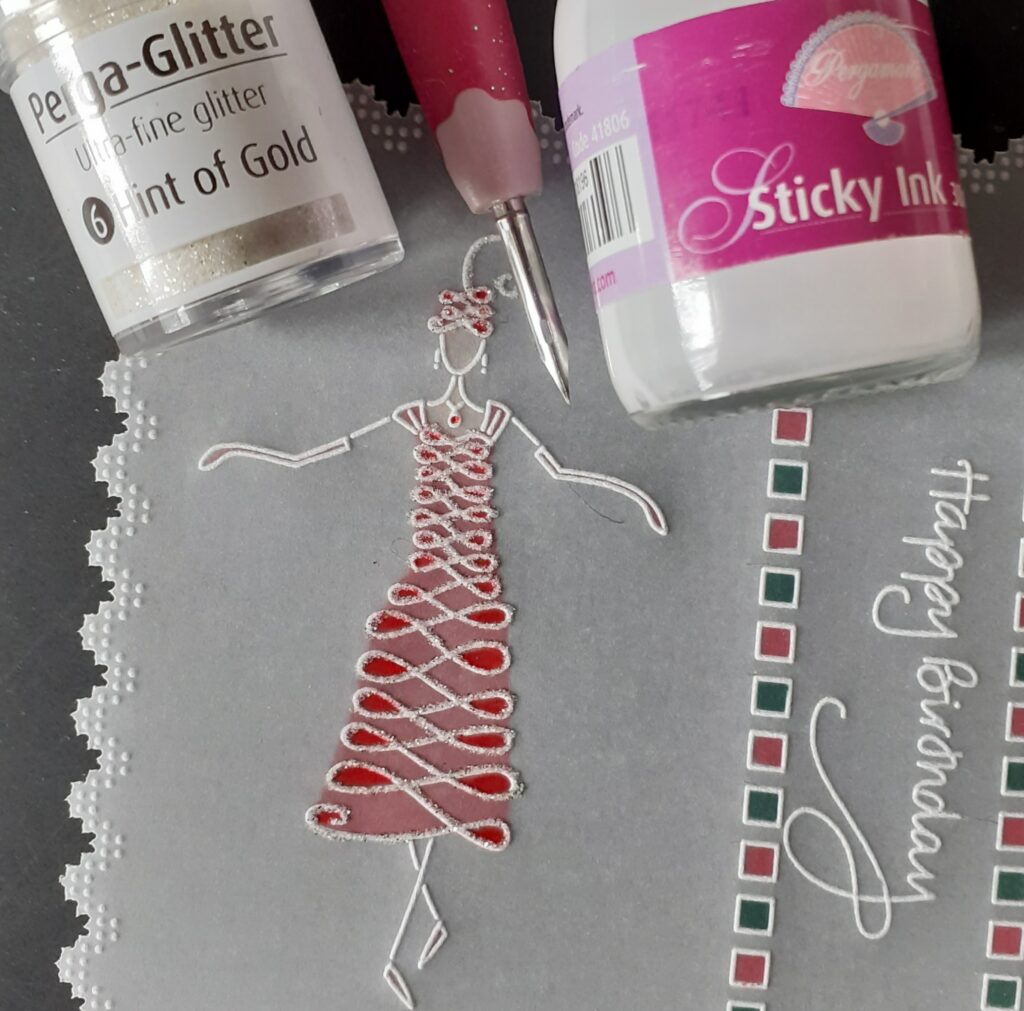
Step 10. Place some Dorso Oil onto a spot on sponge and using a blending nib add red to the back of the lady using Pergaliner pencils. Use the B10 pencil to colour her face and neck on the back of the work and blend. Still working on the back of the parchment, colour the squares with Perga Colours alternating between red and green. I apply the colour directly onto the parchment from the pen. Working on the front of the parchment, use the fine nib of the red Perga Colour to colour the outer curls on the ladies dress.
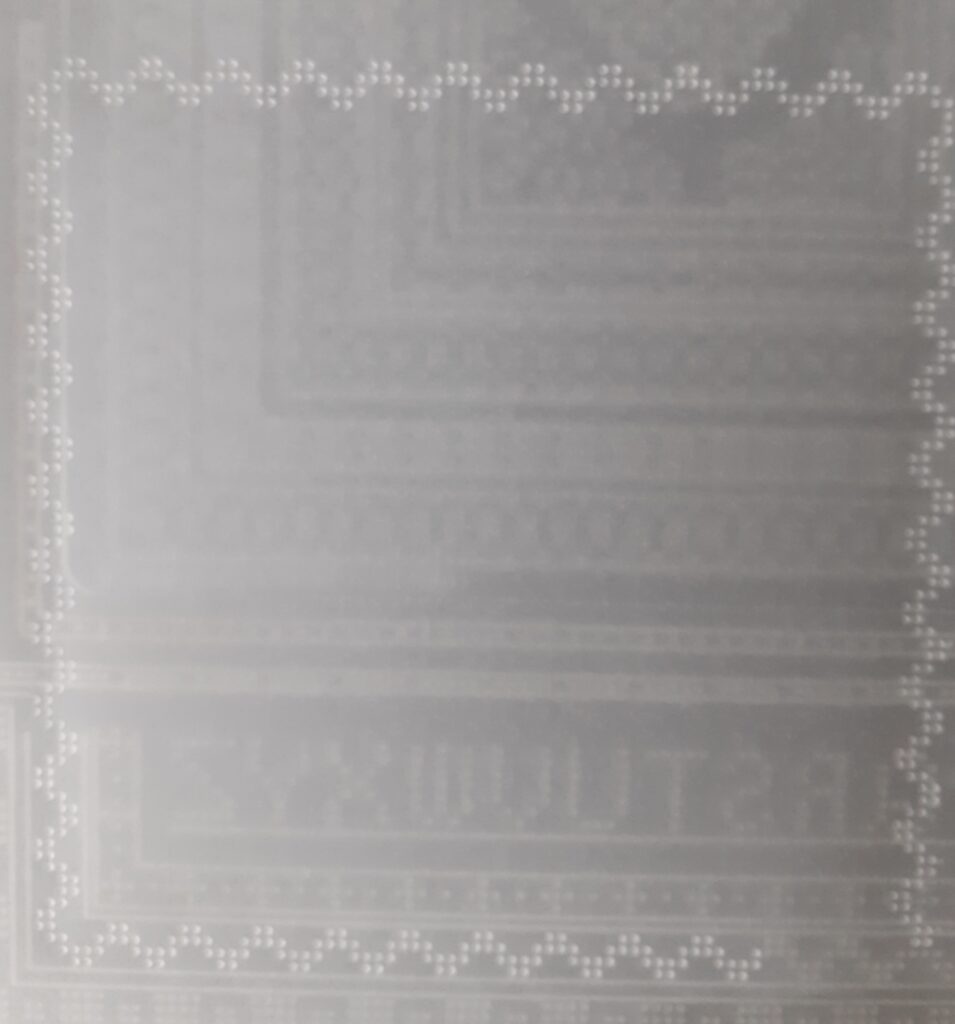
Step 11. Line the dots of your border up on the straight grid and secure well with Groovi tabs. Working on a thick foam mat, perforate around the outline of the border with the bold single needle tool.
Step 12. Picot cut the perforations around your border.

Step 13. Add glitter to the swirls on the ladies dress with sticky ink and mapping pen.
Step 14. Cut a piece of red companion paper to a 5.75 inch square and green companion paper to 5.5 inch square. Attach your work to the green paper with brads. This can be matted onto the red paper and then onto your card blank. And your project is complete!
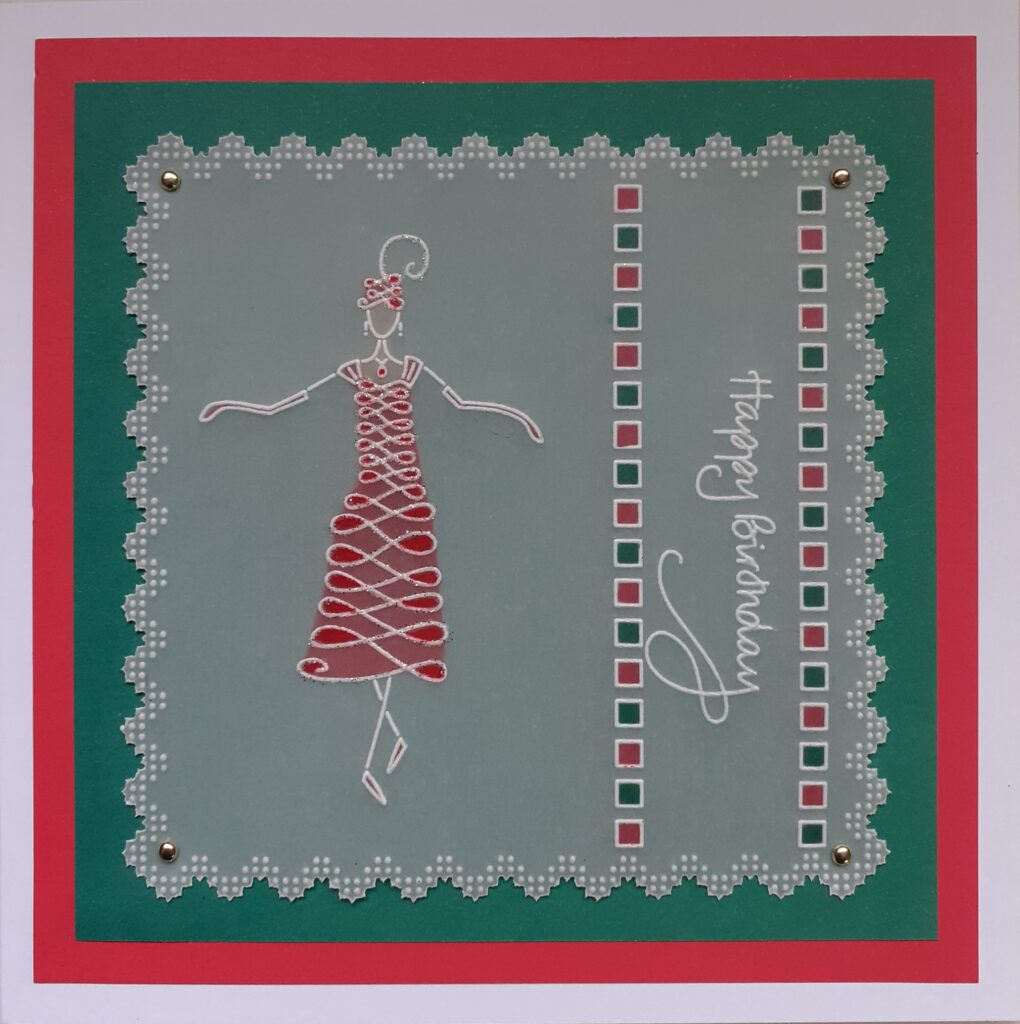
What a stunning card!
Thank you, Josie, for sharing this step-by-step project with us. Another fantastic and easy to follow project that we are sure will inspire you at home!
Everything that Josie has used in this particular project is available in a shopping list, HERE.
I just love these Calligraphy girl designs, created in the SHAC by Barbara Gray. Don’t forget that Mum will be doing a FREE Craft Along with these Stamps & Groovi plate on Thursday 30th May – Live on Facebook & YouTube at 7pm.

Available HERE.
Now, looking at the busy week ahead…
Monday 13th May:
In the SHAC with Barbara – 10am Live on Facebook & YouTube
Tuesday 14th May:
Groovi Tuesday with Paul – 10am Live on Facebook & YouTube
Wednesday 15th May:
One Day Special with Paul on Create & Craft – 6pm & 9pm
Thursday 16th May:
One Day Special with Paul on Create & Craft – 10am & 2pm
Saturday 20th April:
Crafting with Clarity with Deborah Wheeler on Create & Craft – 1pm & 4pm
See you there!
Lotsa love, Grace & Josie xoxo
Clarity – The Home of Art, Craft, and Well-Being.
Thank you Grace and Josie for this tutorial.
I will certainly be making this card, love this groovi plate.
Grace please ask Barbara if we can we have the Camper Van in stamps and groovi also.
Love Janet Cummings
Thank you both for this step by step guide. Love the fashion ladies. Great card.
What a fabulous tutorial, thank you Josie.
Very elegant set. Thanks for sharing this idea.
Well thank you grace and josie very informative for me to use the plate mate more.
Also congratulations to you grace on passing your driving test, well done.