
Clarity Matters Blog Tutorial: Using Designer Parchment and Matching Paper
Hello hello! Grace here
I hope this finds you well, safe and enjoying your Sunday! Sorry there wasn’t a Saturday Share yesterday, it’s been a busy week. I’ll make it up to you next weekend! 🙂
We’re having a May Bank Holiday weekend sale!

A great opportunity to grab those bits and pieces you’ve had your eye on! Explore more on our website, HERE.
We are joined by our friend (and super talented Clarity Design Team member) Jane Telford, for another spectacular step-by-step blog tutorial.
I’ll hand you over to our teacher…

Using Designer Parchment and Matching Paper
I love the designer parchment and matching papers but sometimes they are so nice I don’t want to use them. But use them we must!
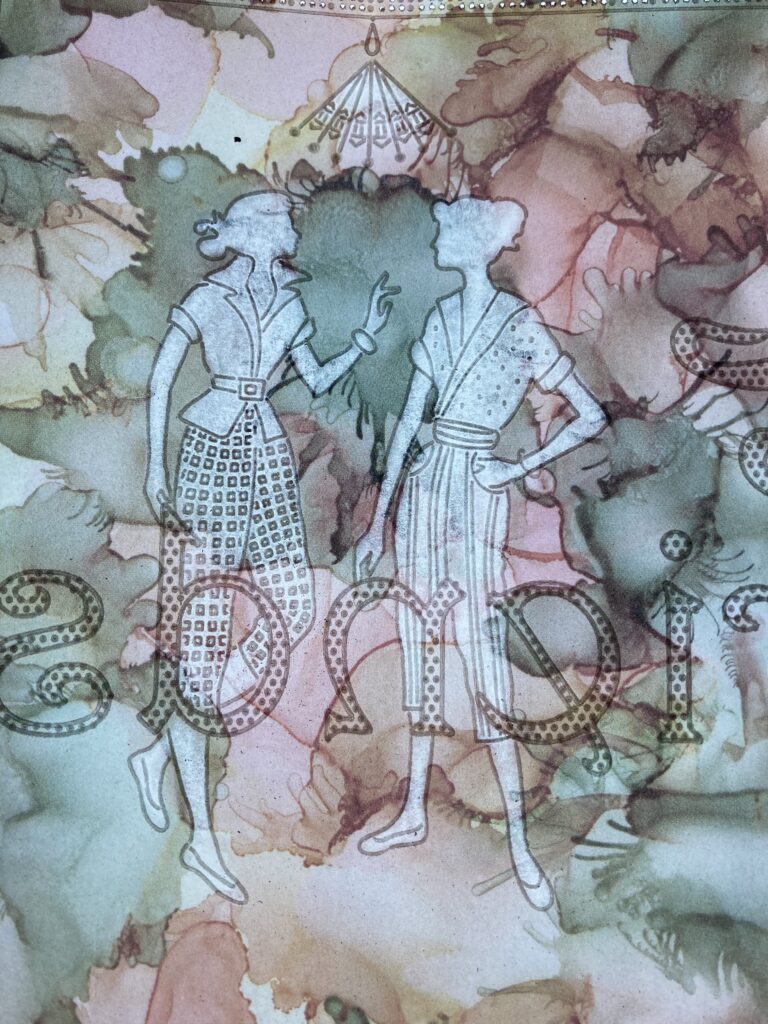
This is one of my favourite pieces of parchment and paper but I know a lot of people shy away from using it as it is quite a busy and bold design. Here is a tutorial to show you how it can be used.
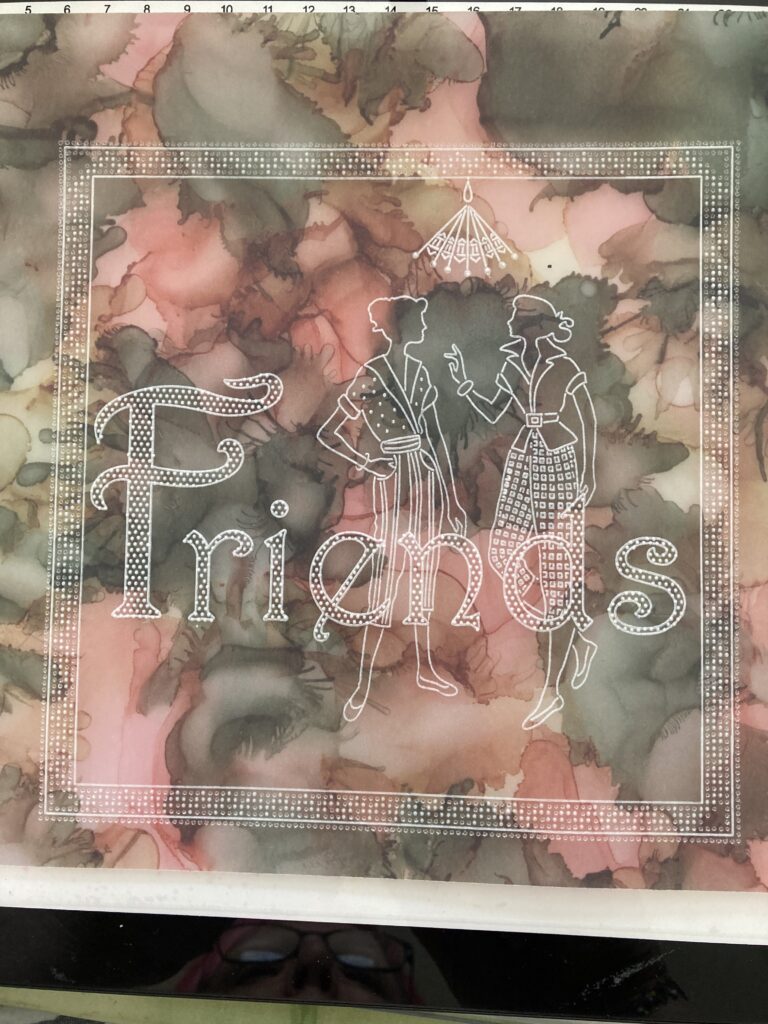
This is where we are headed…

Ingredients
Barbara’s Elegant Ladies – Grace A5 Sq Groovi Plate (GRO-FA-41791-03)
Friends Dangles A5 Plate (GRO-WO-40838-04)
Groovi Plate Mate for A5 Sq Grids (GRO-CO-41706-08)
Calligraphy Plate Mate (GRO-MA-40517-08)
A4 Basic Straight Grid Piercing Plate (GRO-GG-40528-17)
A4 Basic Diagonal Grid Piercing Plate (GRO-GG-40529-17)
Groovi Embossing Tool 1 & 2 (GRO-AC-40026-XX)
Groovi Embossing Tool 3 & 4 (GRO-AC-40027-XX)
Pencil Eraser (ACC-PE-30670-XX)
Polychromos – Rose Carmine 124, Burnt Carmine 177, Walnut Brown 193
4 Silver Brads (PER-AC-70275-XX)
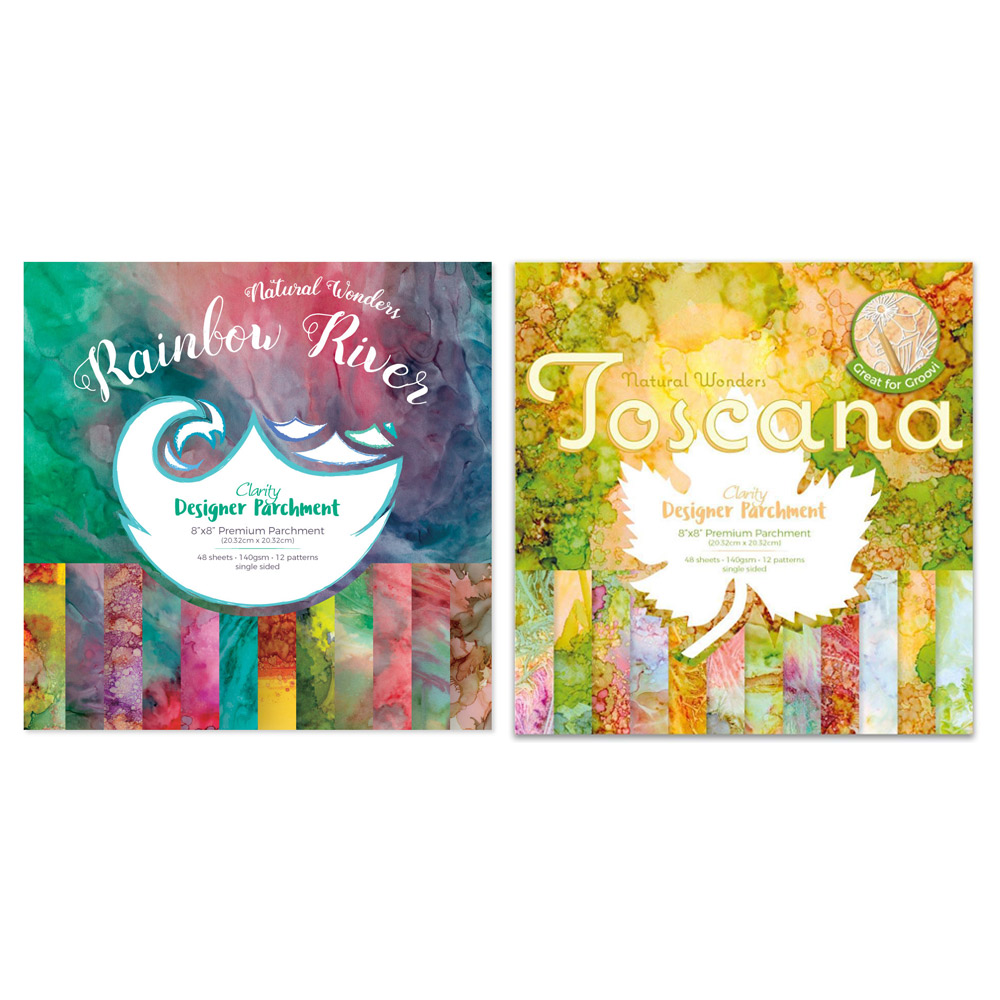
Rainbow River Parchment (ACC-CA-30540-88)
Rainbow River Paper (ACC-CA-30539-88)
Leonie’s Words Sticker Collection (ACC-SC-30834-A5)
8 x 8 Card Blank (ACC-CA-30620-88)
Method
Step 1. Attach the parchment to the plate mate using the lines on the plate to help you get the parchment straight.
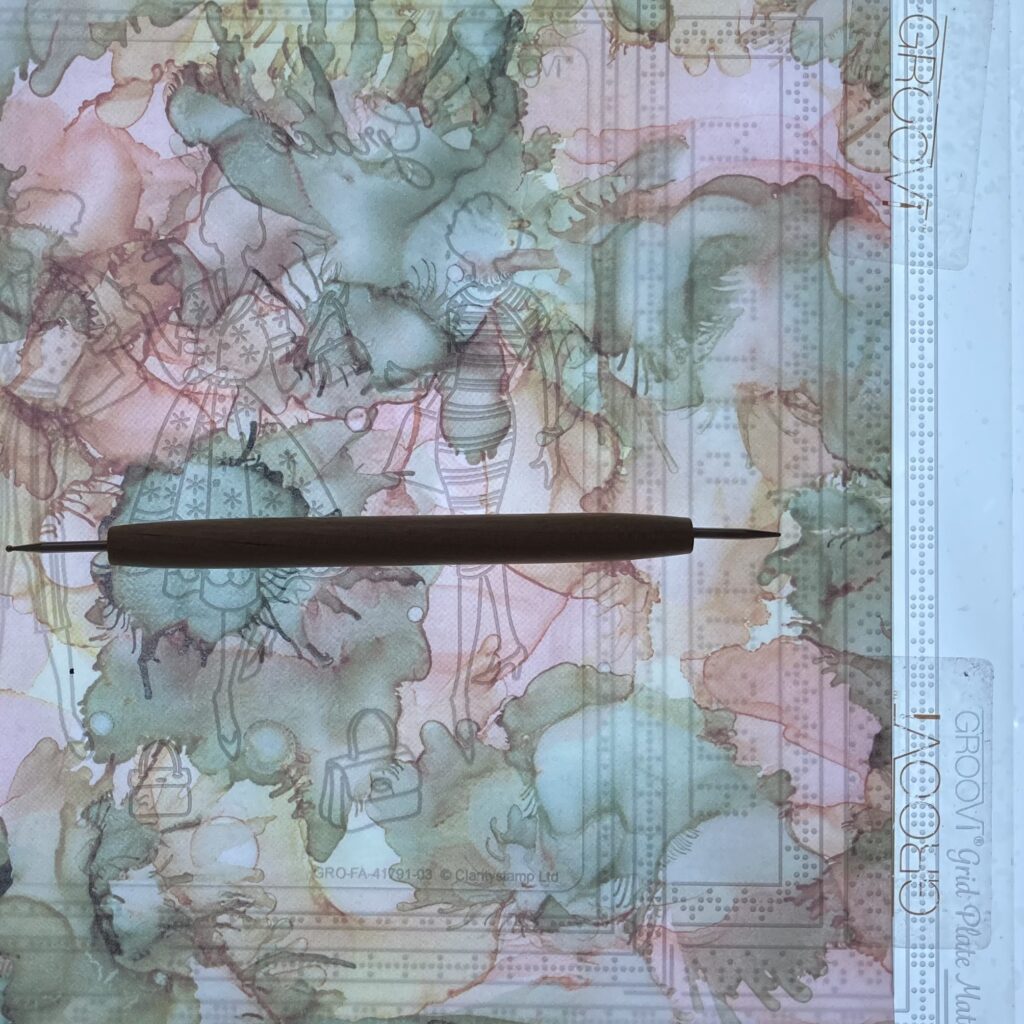
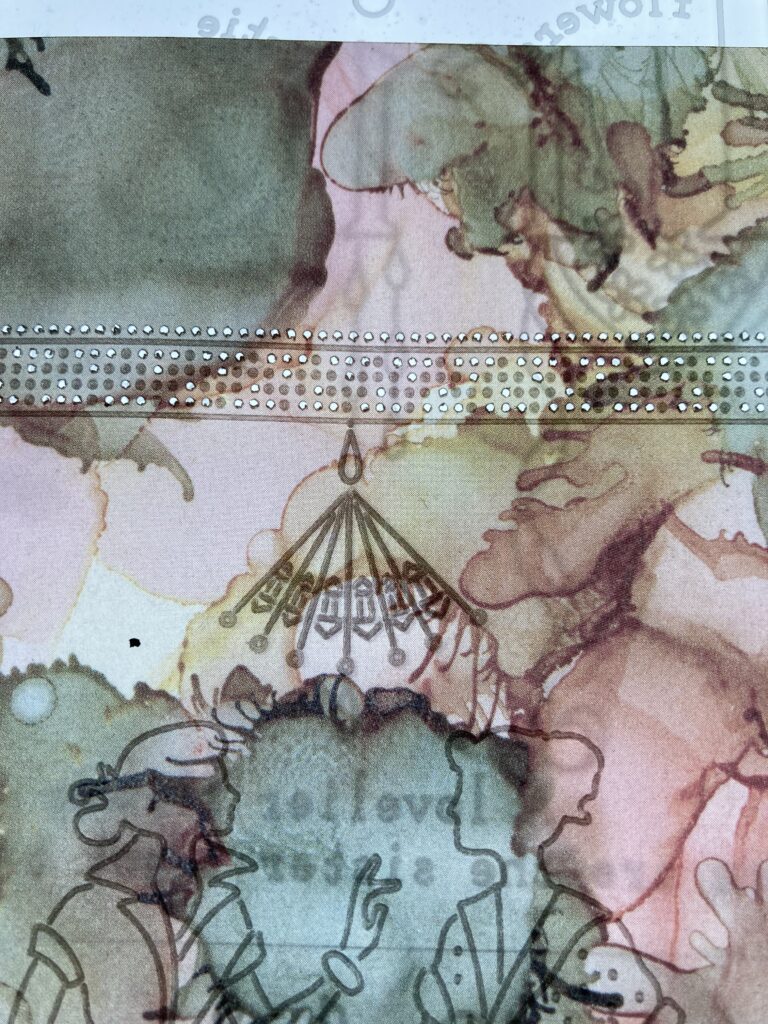
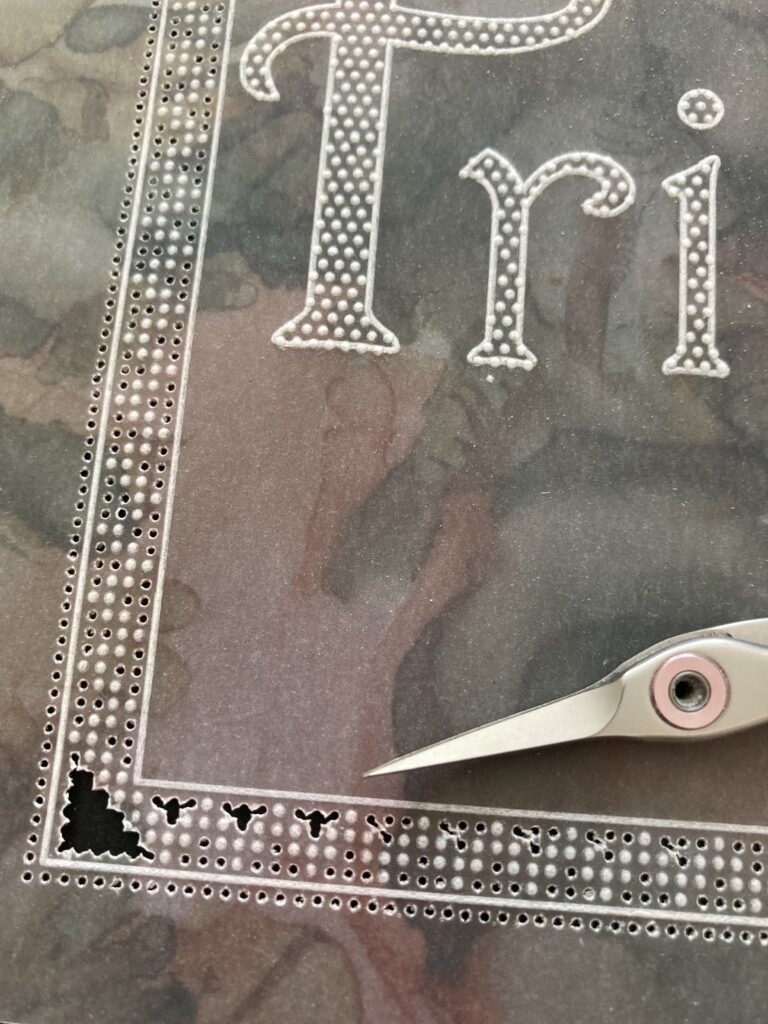
Step 2. Emboss the side and corners of the border.
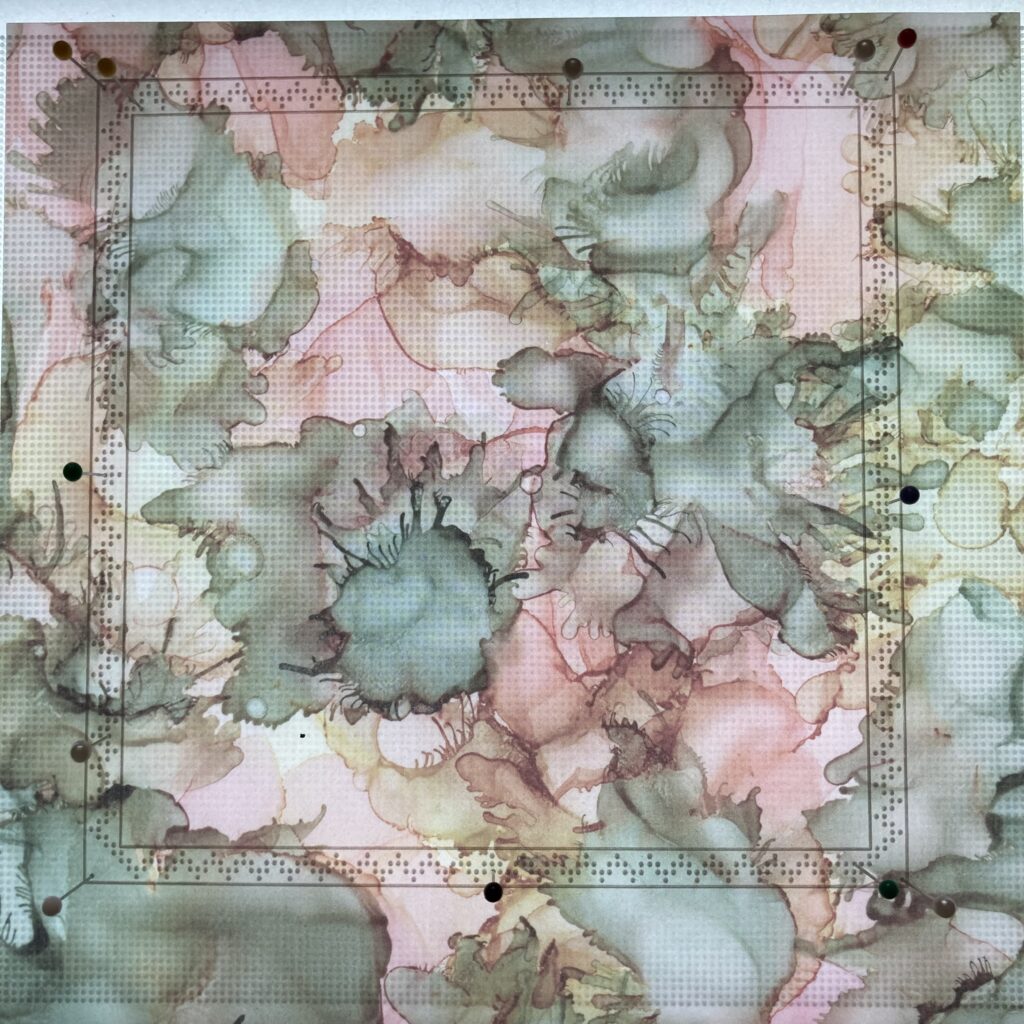
Step 3. Move the parchment round to add the other sides of the square using the lines and dots on the plate mate to make sure it’s square. If you have lined it up correctly it should match up.
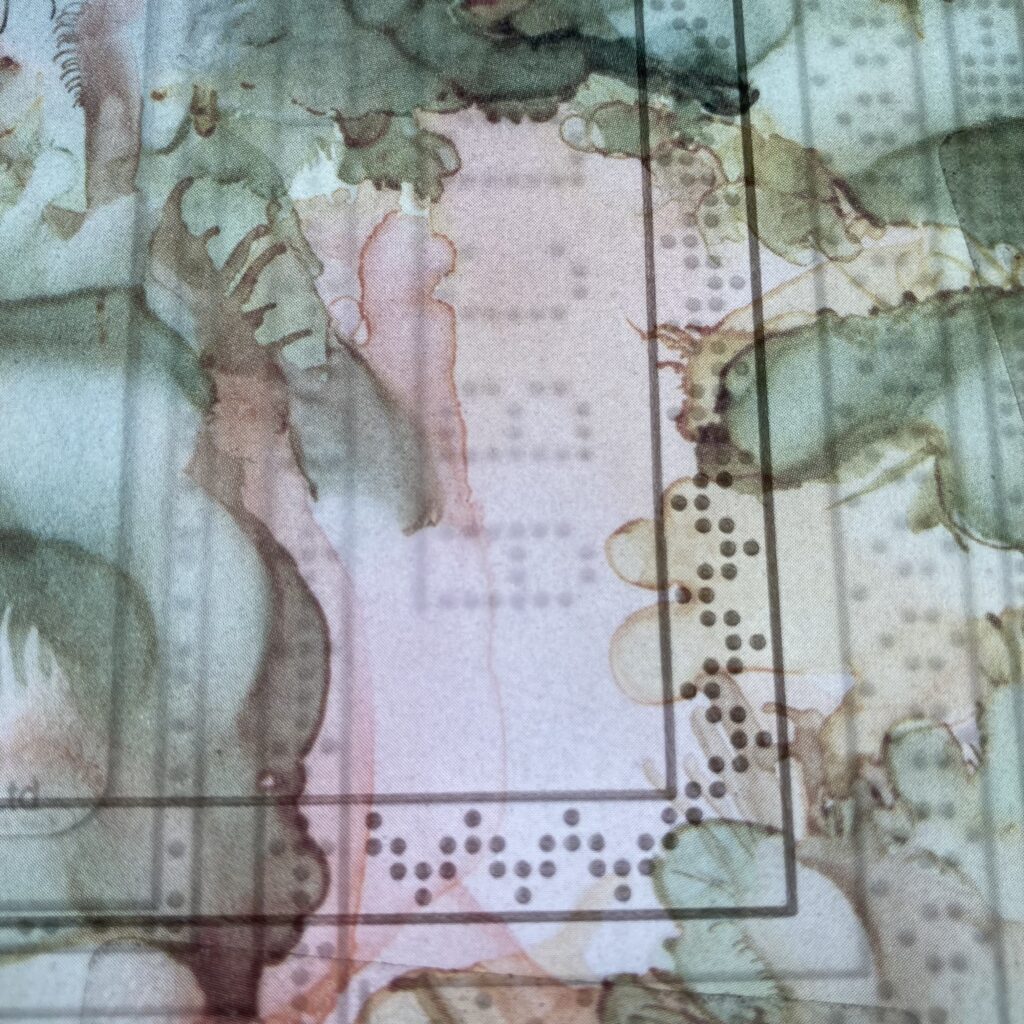
Step 4. Line up the parchment face up on the straight grid using pins to help hold it in place. You may need a lightwave to help you do this.
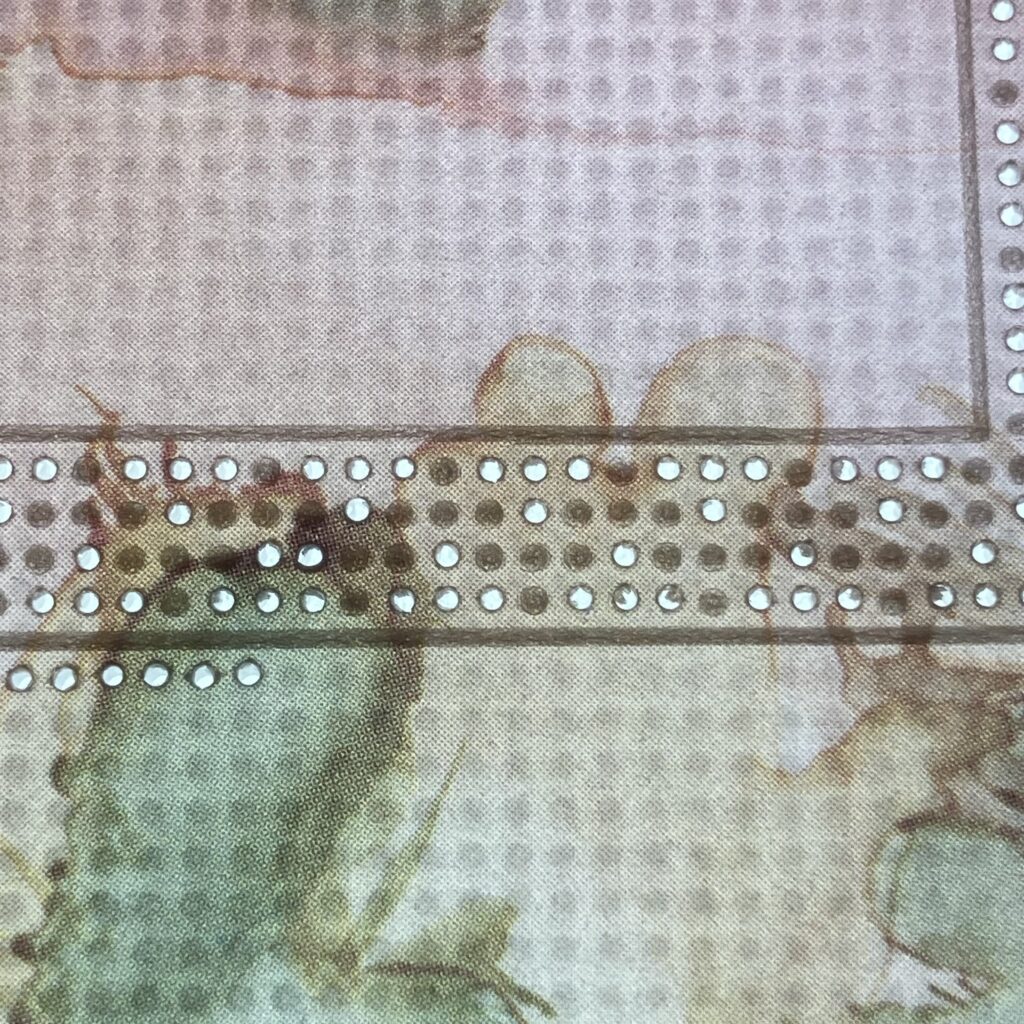
Step 5. Perforate the holes in the design around the embossed dots.
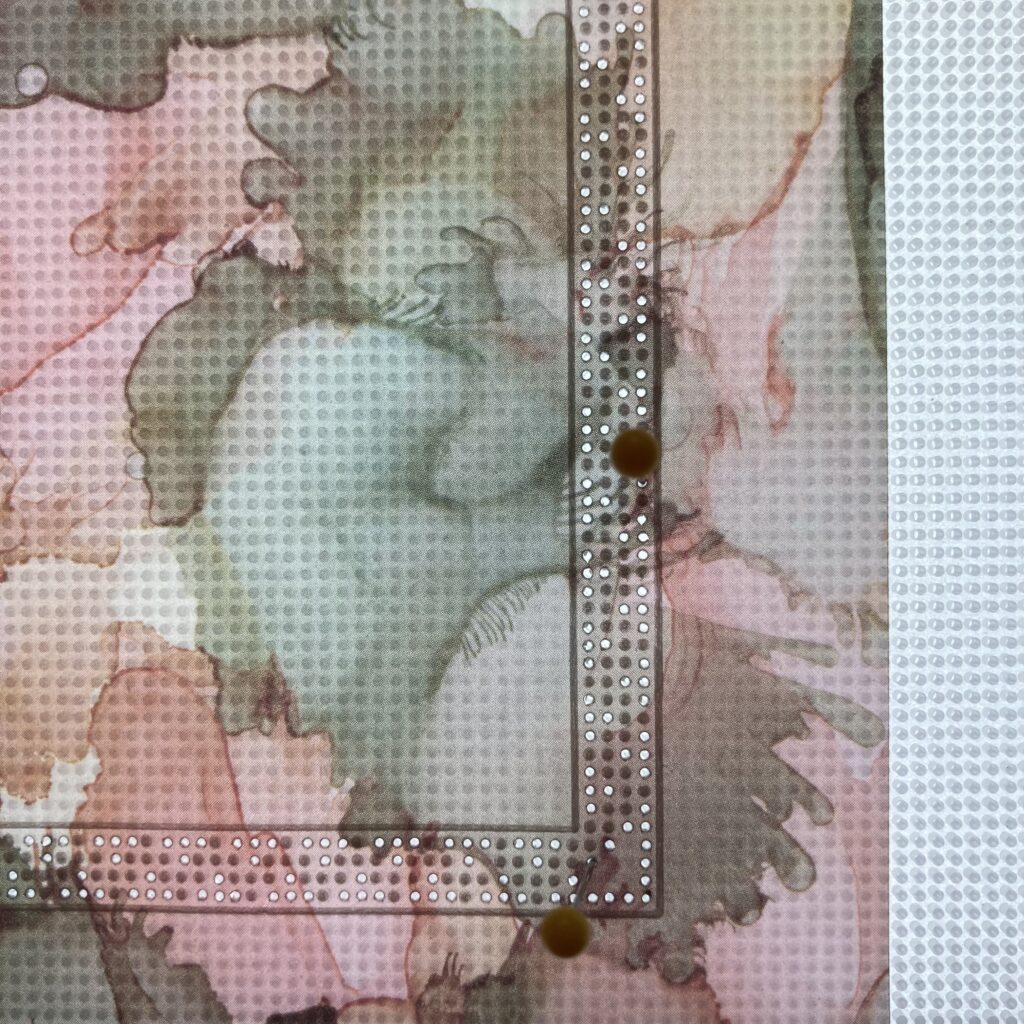
Step 6. Perforate around the outside of the embossed line using the straight grid to help you.
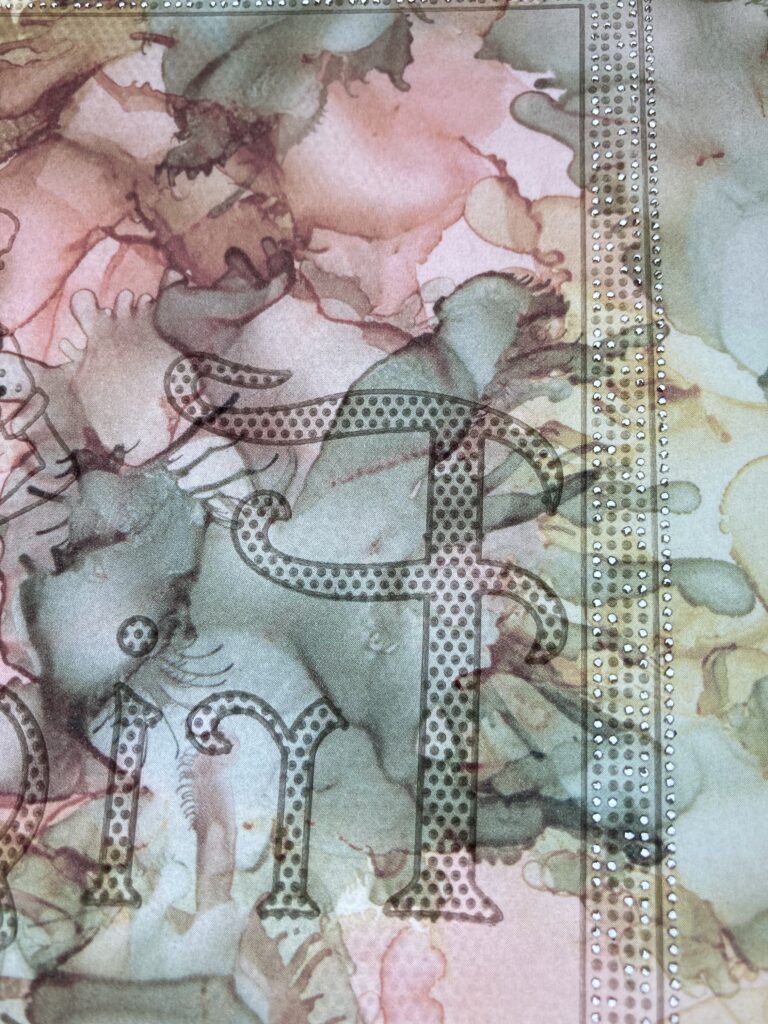
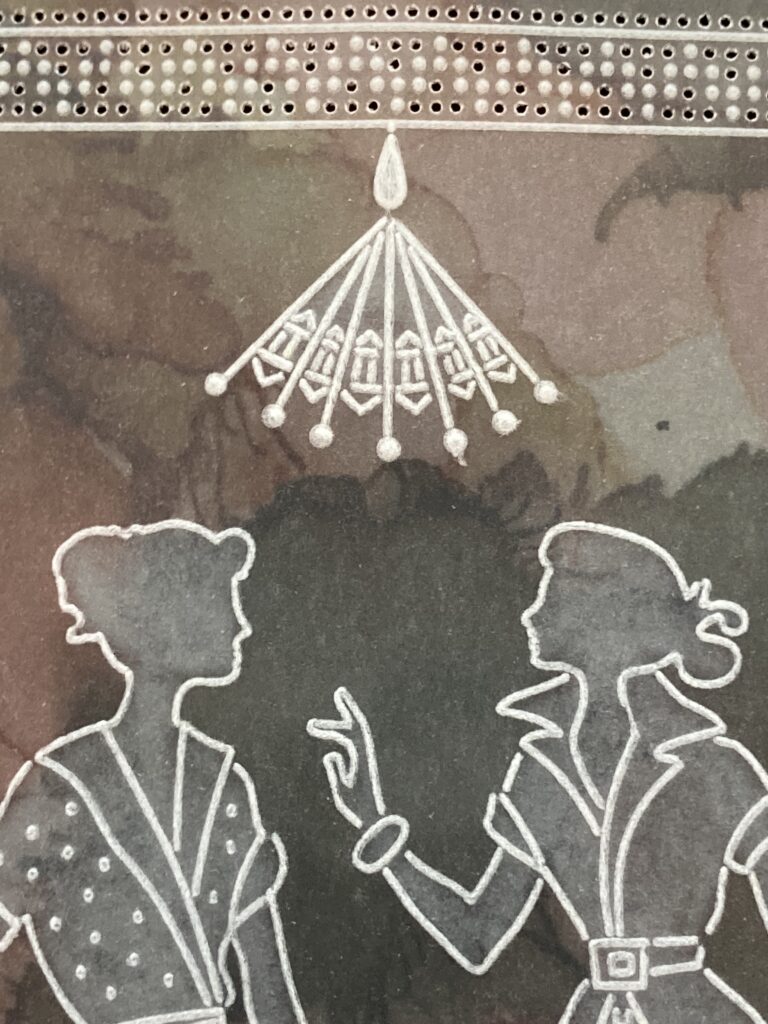
Step 7. Position the parchment face down over the friends dangle plate and emboss the F.
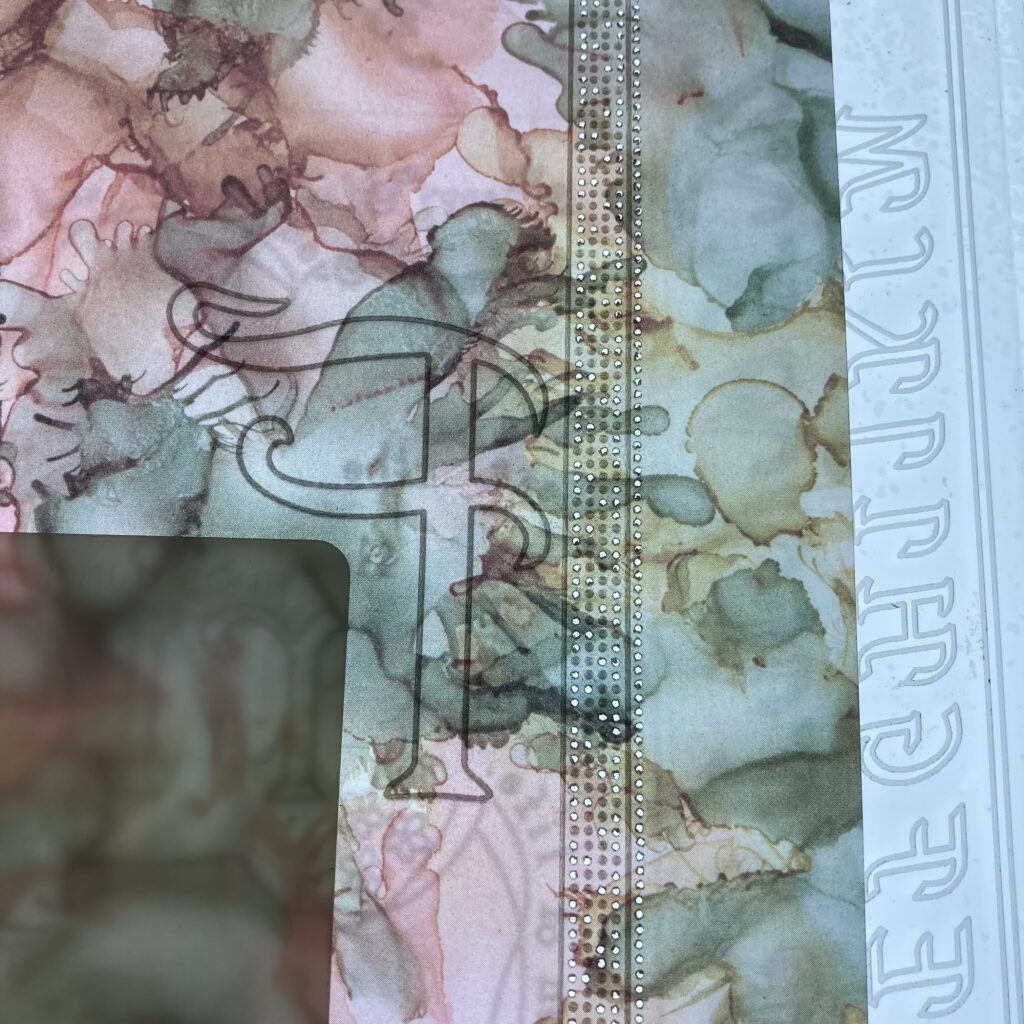
Step 8. Move the parchment slightly to the right so the rest of the word fits in the space, then emboss it.
Step 9. Swap plates and mates and emboss the two ladies so they are standing behind the words.
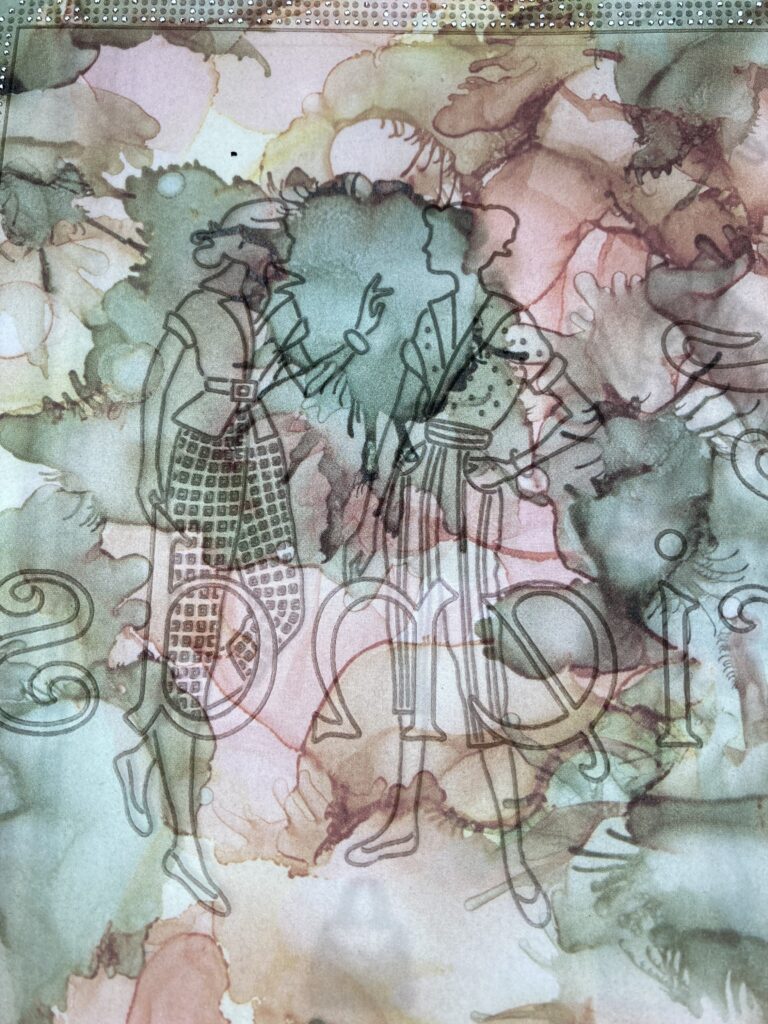
Step 10. Emboss the dangle from the friends plate above the ladies to look like a light.
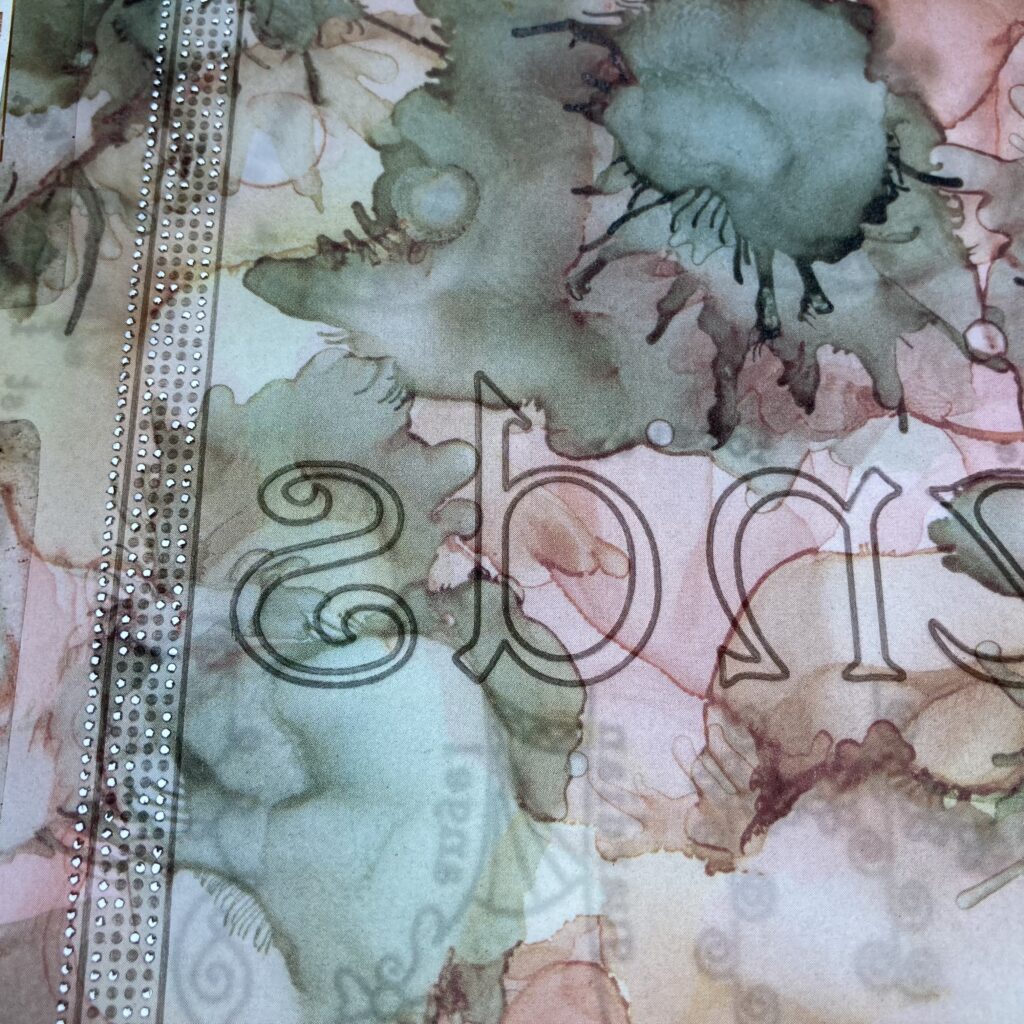
Step 11. Using the diagonal grid plate emboss dots into the letters of FRIENDS.
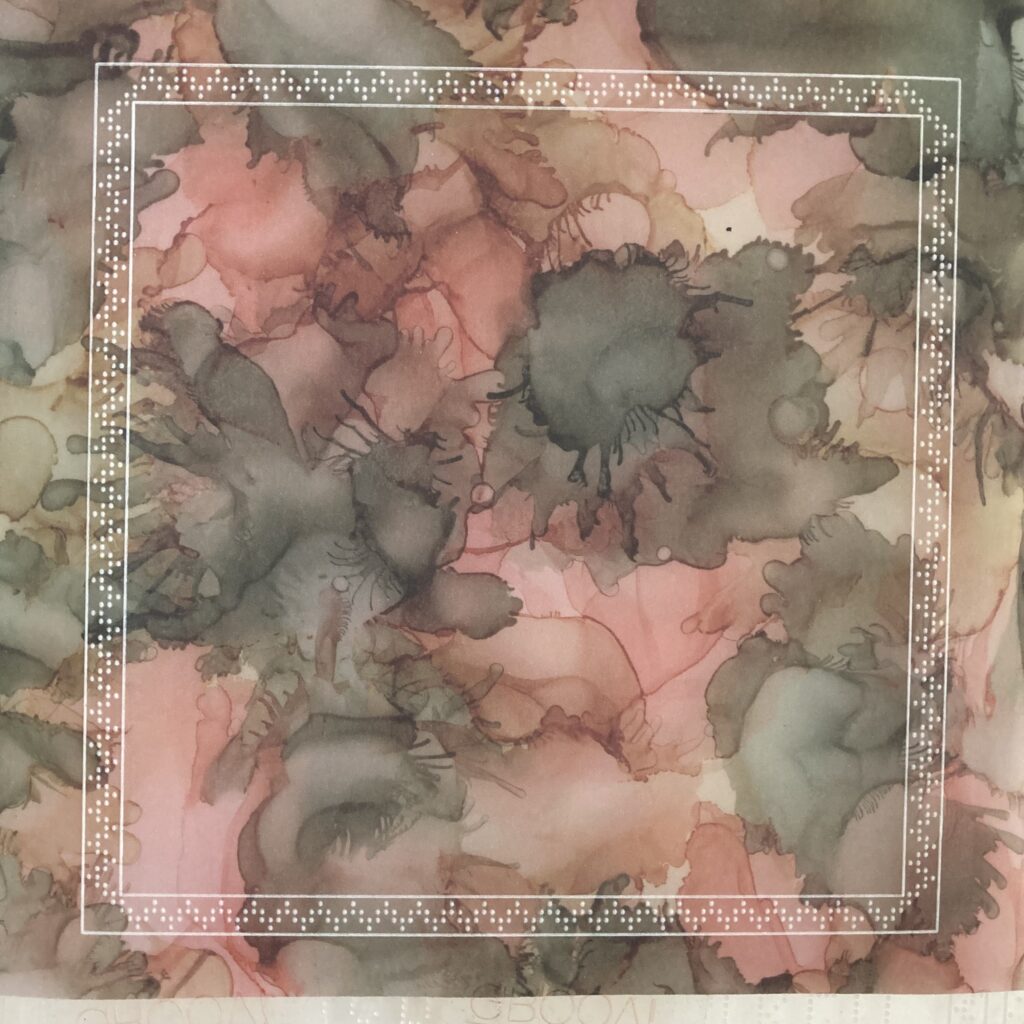
Step 12. This is what it should look like now…
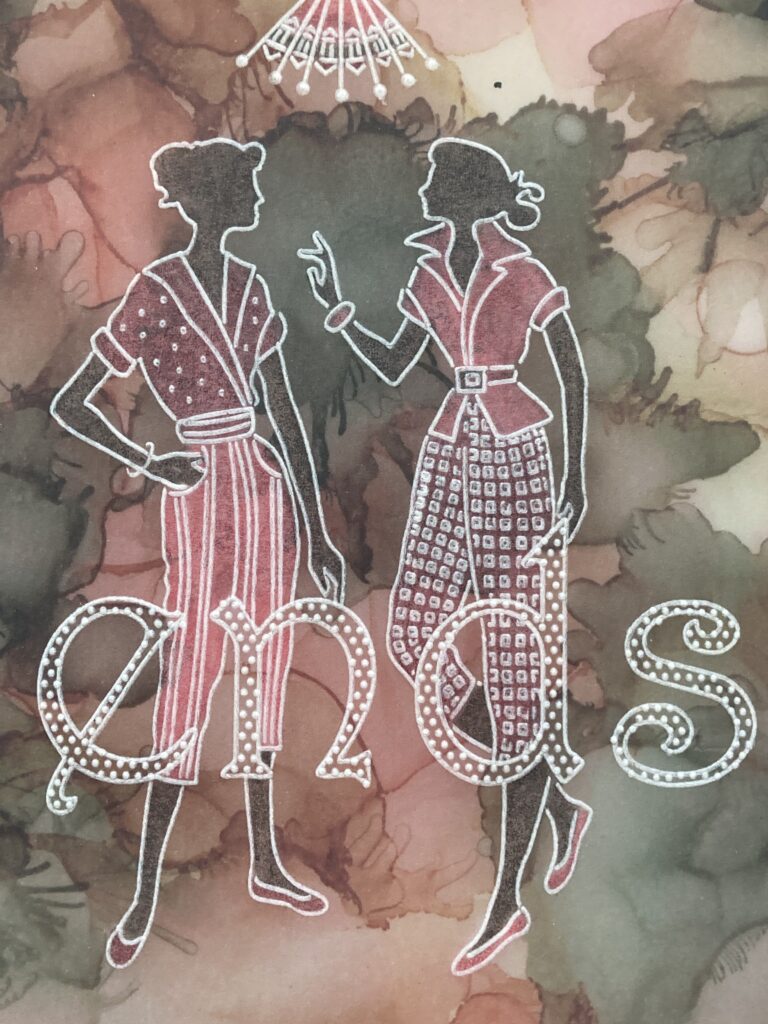
Step 13. Remove the colour from the ladies and light shade using a white pencil eraser.
Step 14. Do white work in the dots and top of the light shade.
Step 15. Using the three colours, add colour to the ladies and light shade.
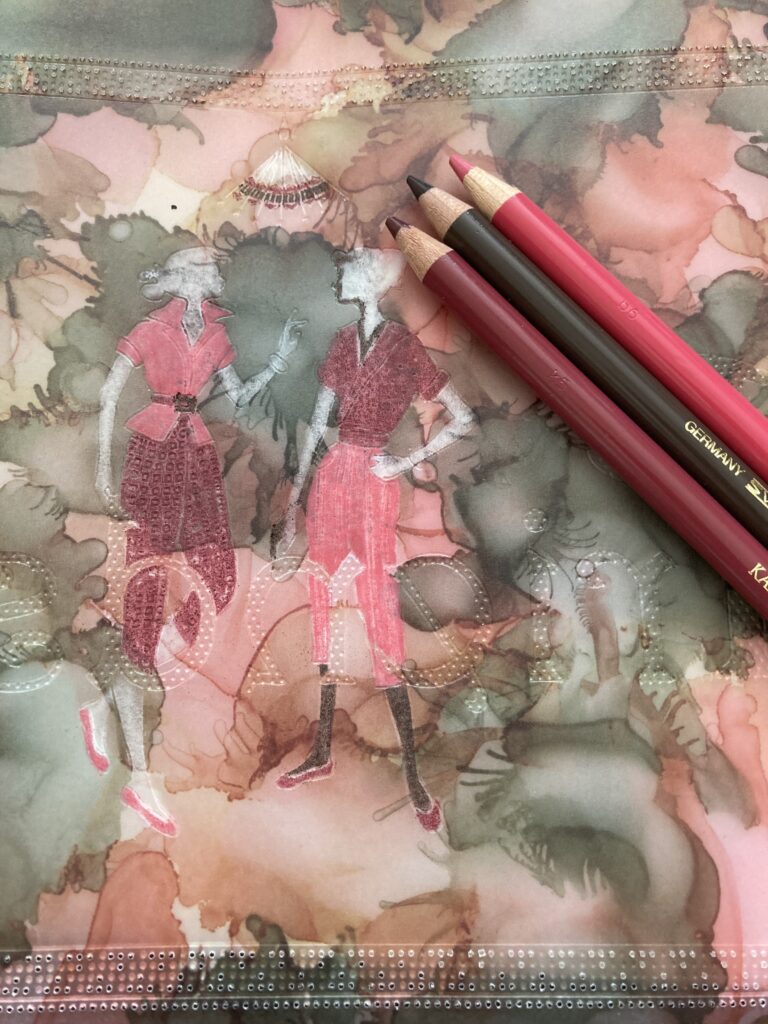
Step 16. Cut waste from inside the border and then snip parchment from around the frame.
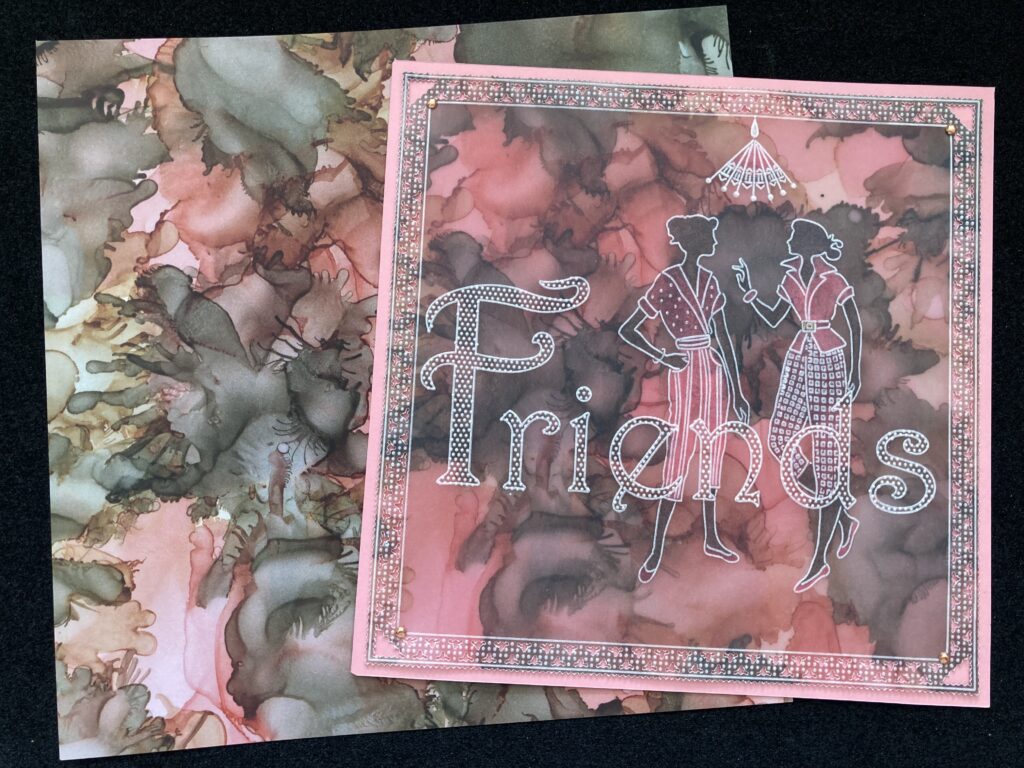
Step 17. Cut a piece of pink card to 6½”x 6½” and a piece of designer paper to 7½” x 7½”. Attach the parchment to the pink card using brads and attach it to the designer paper using a tape runner.
Step 18. Attach to an 8×8 card blank and the project is complete.
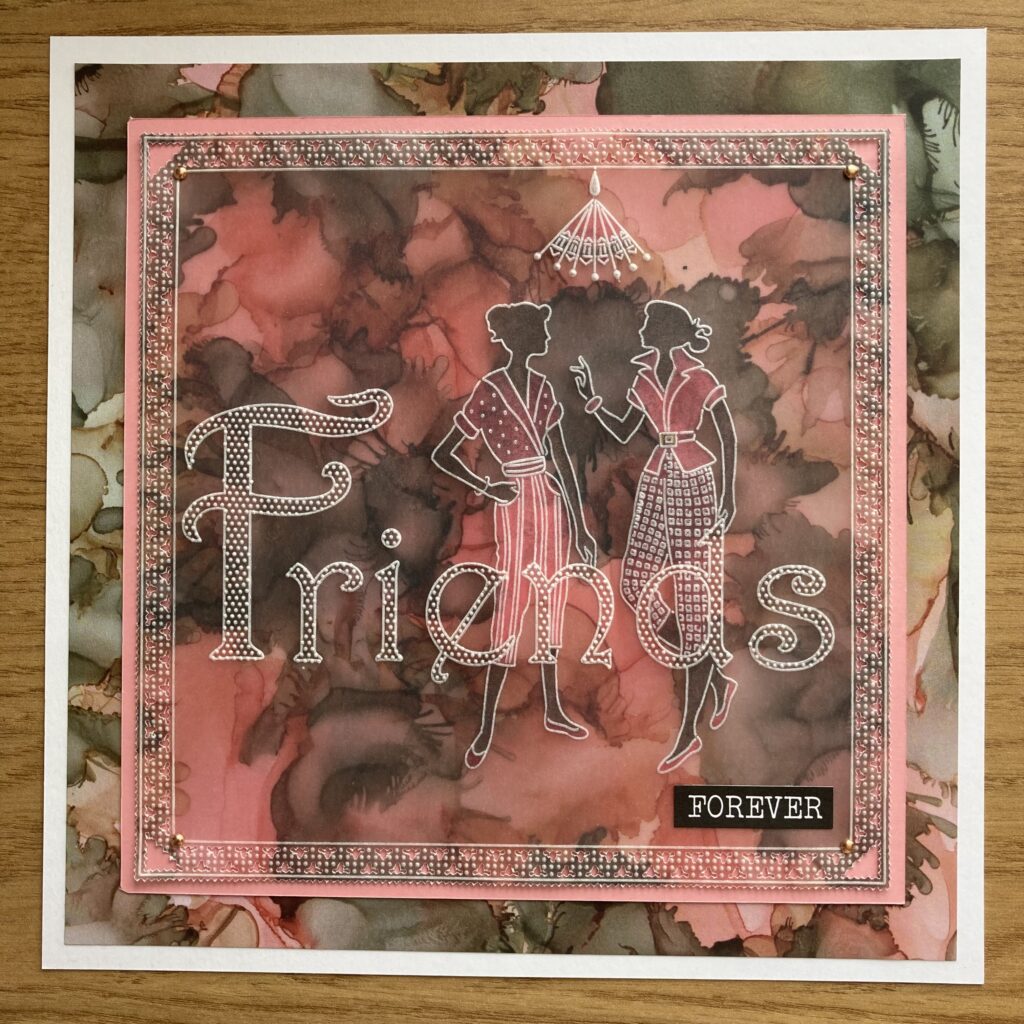
And voila! Your project is complete 🙂
Thank you, Jane, for putting this easy to follow step-by-step project together for us. What a beautiful finished card!
Everything that Jane has used in this particular project is available in a shopping list, HERE.
We also have a May Day Super Saver on our Designer Parchment – BOGOF! Buy One Get One Free. 3 options to choose from so it may the perfect option to stock up


Available HERE
Now, looking at the week ahead…
Sunday 5th May:
Clarity Classics with Barbara on Create & Craft – 3pm – 5pm
Tuesday 7th May:
Groovi Tuesday with Paul – 10am Live on Facebook & YouTube
Thursday 9th May:
The Pergamano Show with Jane Telford on Create & Craft – 11am & 3pm
Reminder, there’s no SHAC on Monday or Thursday next week! Mum’s having a little staycation and will be back on Monday 13th May 🙂
But she’s on Create & Craft this afternoon for a GREAT show. I hope you’ll join her. See you there!
Travel gently, friends.
Lotsa love, Grace & Jane xoxo
Clarity – The Home of Art, Craft, and Well-Being.
Thank you Grace and Jane. Such lovely artwork, Jane and great step-by-step.
Beautiful project Jane ! Well done on passing your driving test Grace ! Have a good weekend everyone and looking forward to Barbara later xx
Good morning Grace & Jane. A lovely card using some of the older plates that many of us will have lurking in our stash. Like Jane says I am one of those who look at the designer parchment rather than use it so this week I will definitely give it a go !!
Have a good week everyone x
What a beautiful card Jane and great tutorial. I’m sure the Clarity family forgive you Grace; the amount of work that must go into viewing all the beautiful projects posted and selecting only a handful must be take quite a lot of time and some weeks time is not on your side. Have a wonderful weekend ladies.
Great project Jane. Sometimes it takes courage to use certain not so colourful papers. This was certainly the right match. Thank you for your step by step guide.
Hi Grace and Jane.
Lovely project. I’ll be having a go x
Fabulous project, thank you Jane xxx
Great step by step, thank you Jane. x