Clarity Matters Blog Tutorial: How To Colour with Perga Liner Pencils
Hello hello! Grace here.
I hope this finds you well, happy and enjoying your Sunday morning! They swing around quickly, don’t they?
We are joined by the crafting machine that is Glynis Whitehead, Clarity Design Team member and friend.
I’ll hand you right over to our brilliant teacher…

Dandelion Blog
This is a technique we learned from Linda Williams at one of the Spa Retreats down in Kent. If you have never been to one of these retreats, it is well worth booking! You can explore more HERE.
Ingredients
Green Parchment From Pear Green & Apple Green Pack (GRO-AC-40773-A4)
A Small Piece of Plain Parchment (GRO-AC-40024-A4)
Linda’s 123 Dandelion A4 Sq Plate (GRO-FL-41237-15)
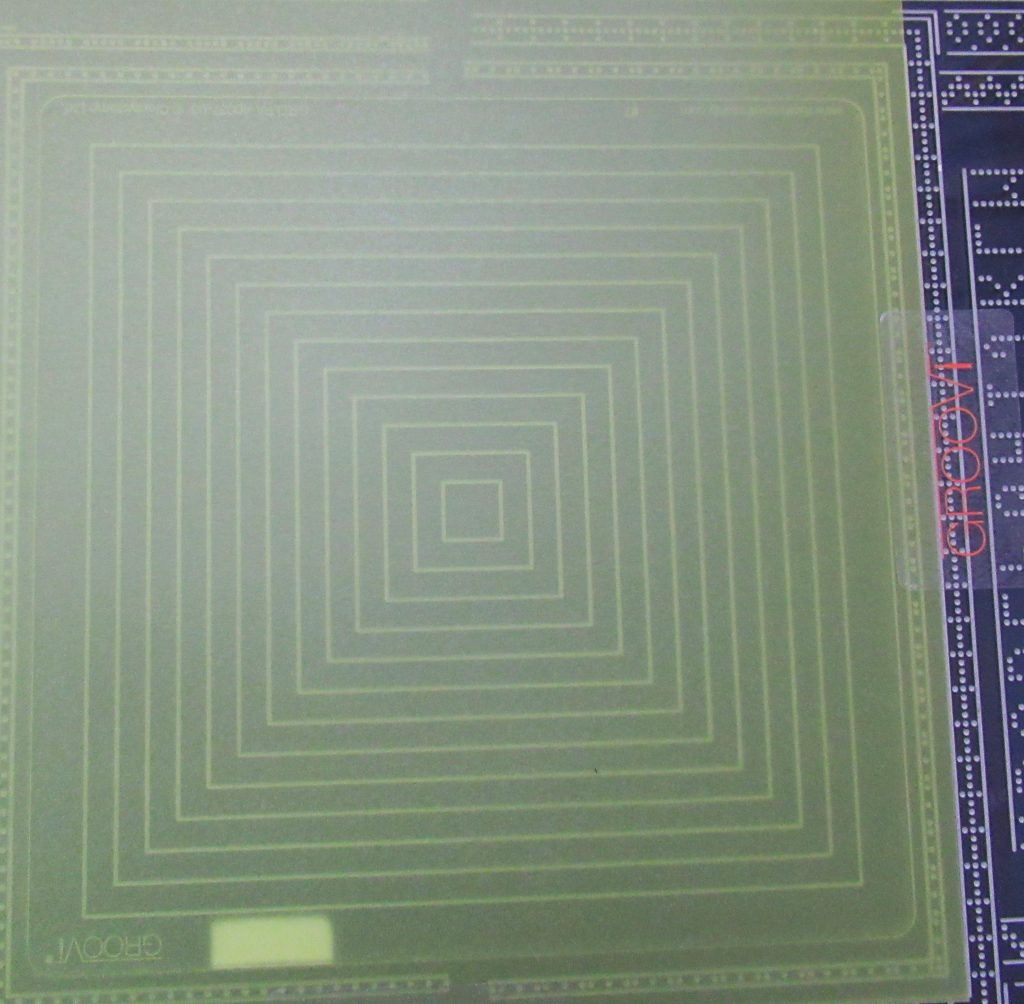
Nested Squares A5 Sq Plate (GRO-PA-40037-03)
Diagonal Border Grid Number 1 (GRO-GG-40354-14)
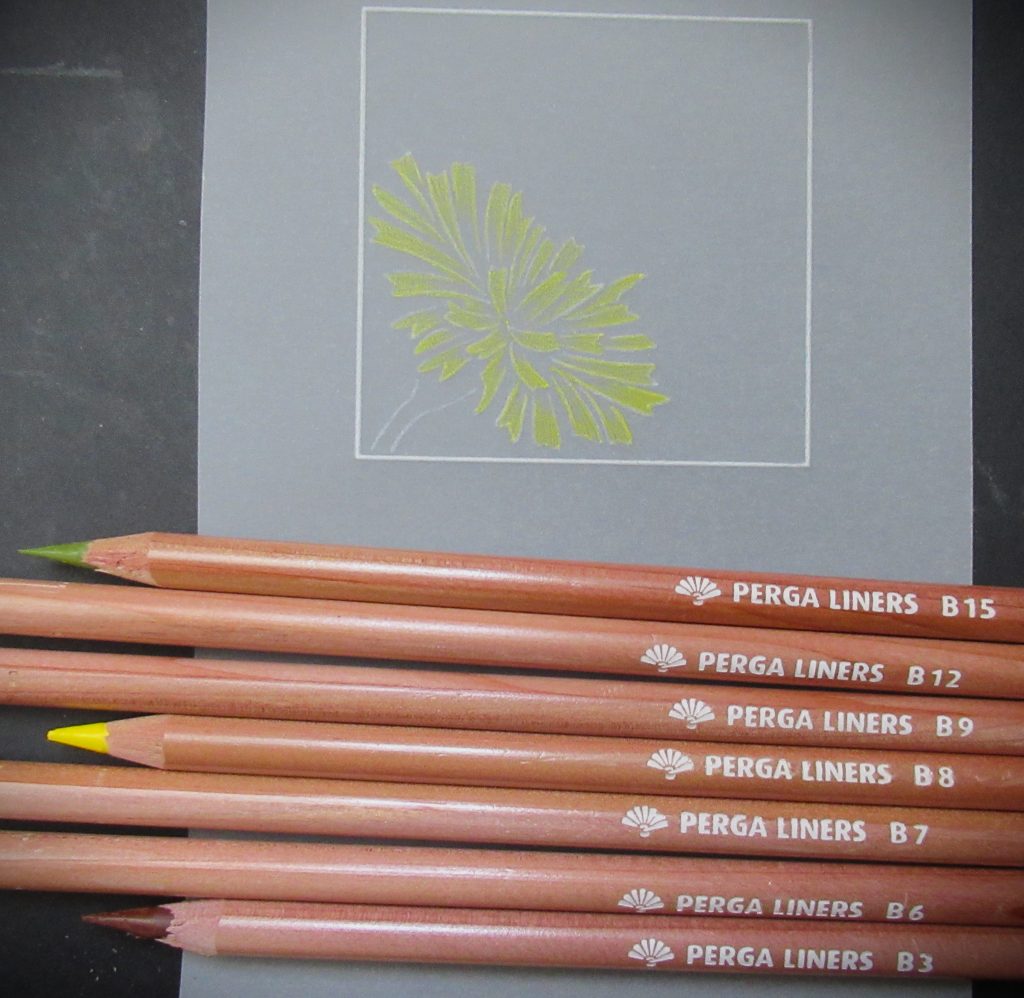
Perga Liner B Pencils (PER-CO-70063-XX)
Faber Castell White Eraser (ACC-PE-30670-XX)
Numbers 1 & 2 Groovi Tools from the Starter Kit (GRO-AC-40026-XX)
0.5mm Pergamano Embossing Tool (PER-TO-70009)
4.5mm Pergamano Embossing Tool (PER-TO-70015)
3mm Pergamano Embossing Tool (PER-TO-70005)
6mm Pergamano Embossing Tool (PER-TO-70016-XX)
Medium Picot V Pergamano Perforating Tool (PER-TO-70283-XX)
Fine 2-Needle Pergamano Perforating Tool (PER-TO-70037-XX)
Indian Summer Designer Paper (ACC-CA-30525-88)
Method
Step 1. Remember that the right side of the parchment has the lightest colour and the back is the darker shinier side. When embossing from the plate, the darker side needs to be facing upwards.
Attach the parchment to the nested squares plate and emboss the largest square to give you a margin.
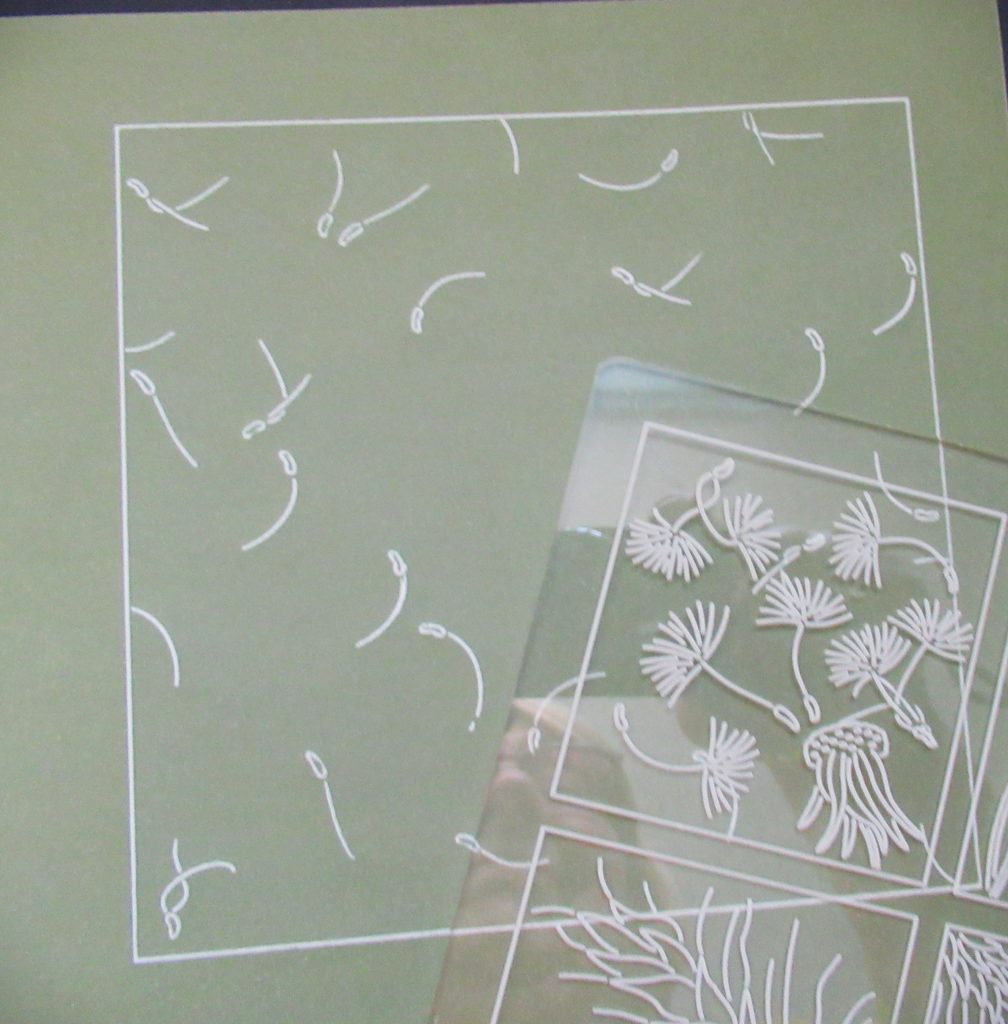
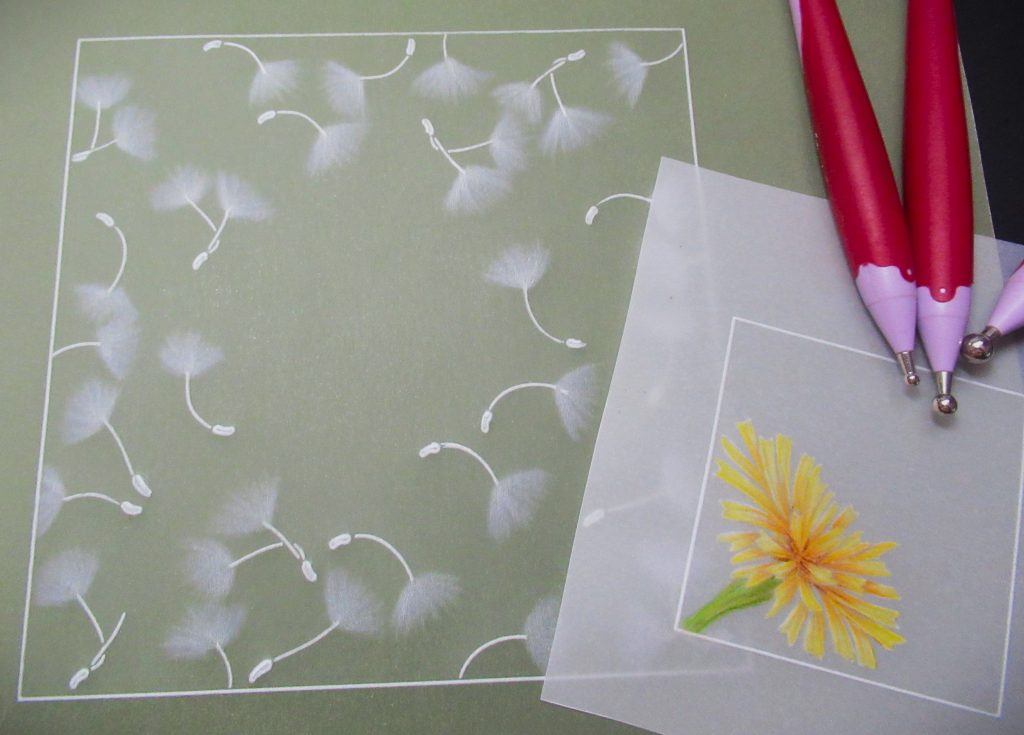
Step 2. Use the 123 Dandelion plate and emboss (from the top left-hand corner) some random stems of the seed heads. Just emboss the stems and little seed pods at the end. Put them going in different directions, leaving room for some embossing and allowing some to ‘come off the page’.
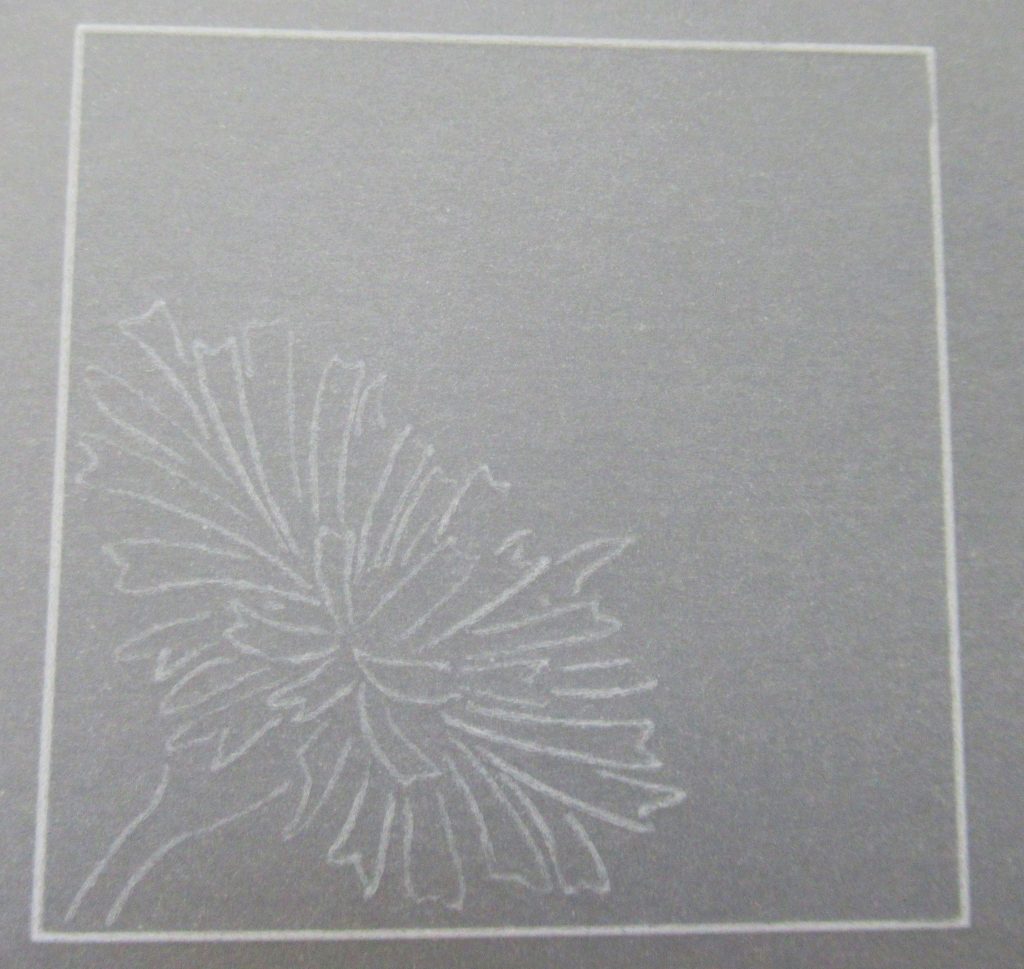
Step 3. Take a piece of plain parchment and trace out the dandelion in the top, centre square. The frame is embossed with the number 1 tool and the dandelion, very gently, with the number 2 tool. Leave out the buds.
Step 4. Colour the dandelion. I have used numbers 3, 6, 7, 8, 9, 12 and 15. Make sure the pencils are very sharp and starting off with the yellow, do long and short strokes from the tip of the petals down towards the centres. Cover the white lines.
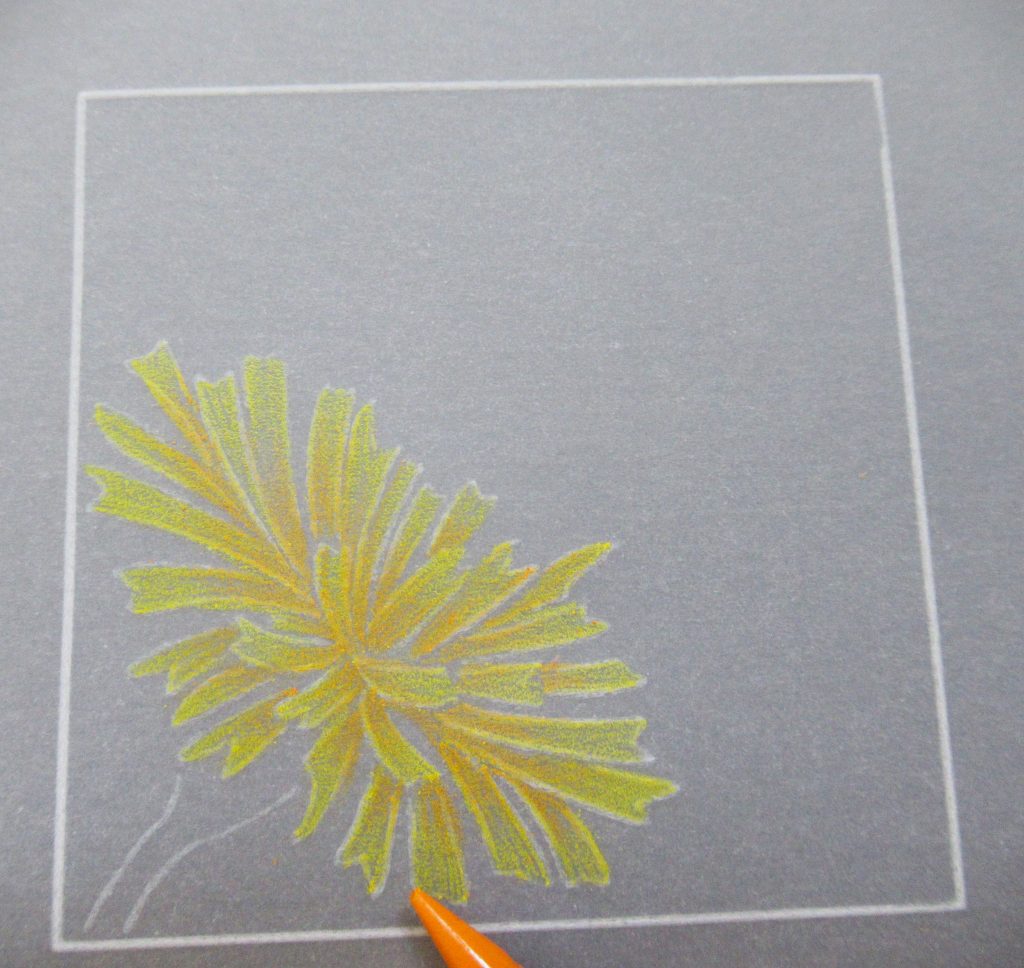
Step 5. Next, use the orange, doing the same long and short strokes but from the centre outwards part way towards the tips.
Step 6. Now move to B12 and just put in a few strokes at the centre of the flower. Add some tiny dots of 3B to the centre of the flower too.

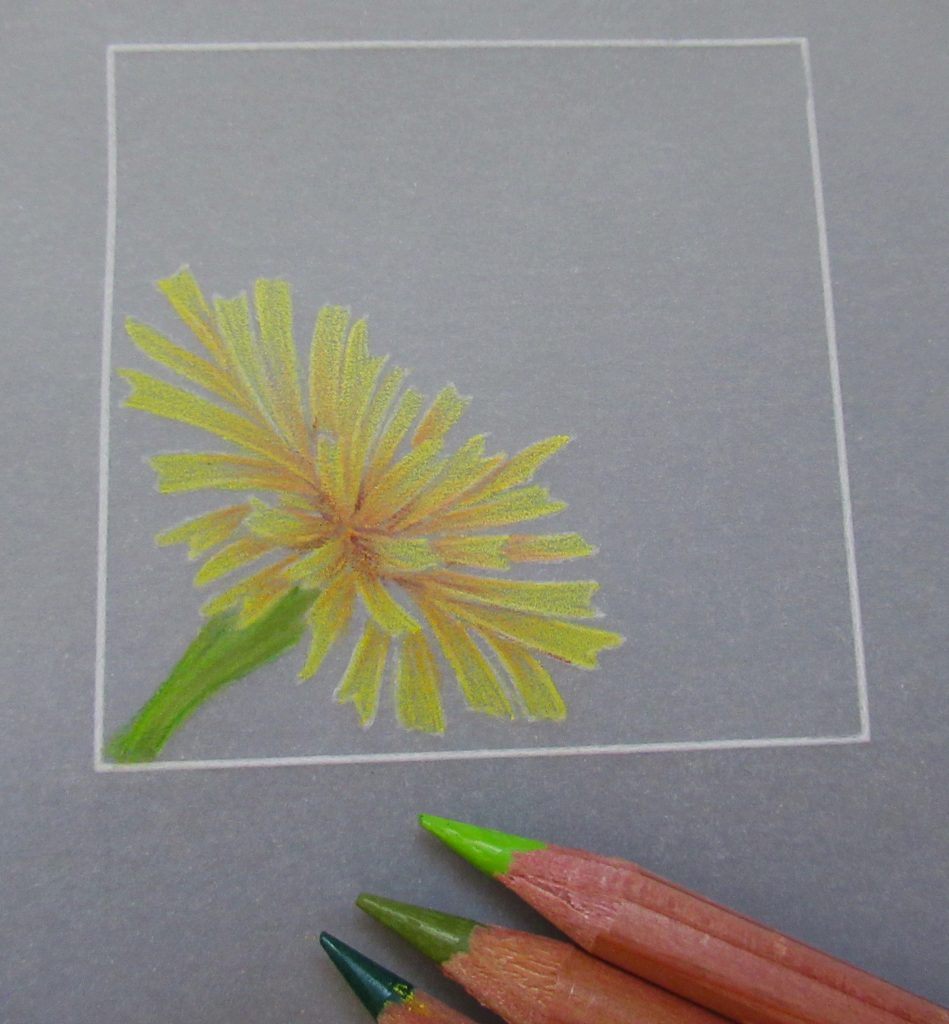
Step 8. Time to colour the stalk. Start off with a layer of the lightest green (B7), then some strokes of the mid green (B15), and some of the darker green where the petals would cast a shadow (B6).
Be very sparing with the B6. Then go over the whole lot, blending all the colours together with the B7.
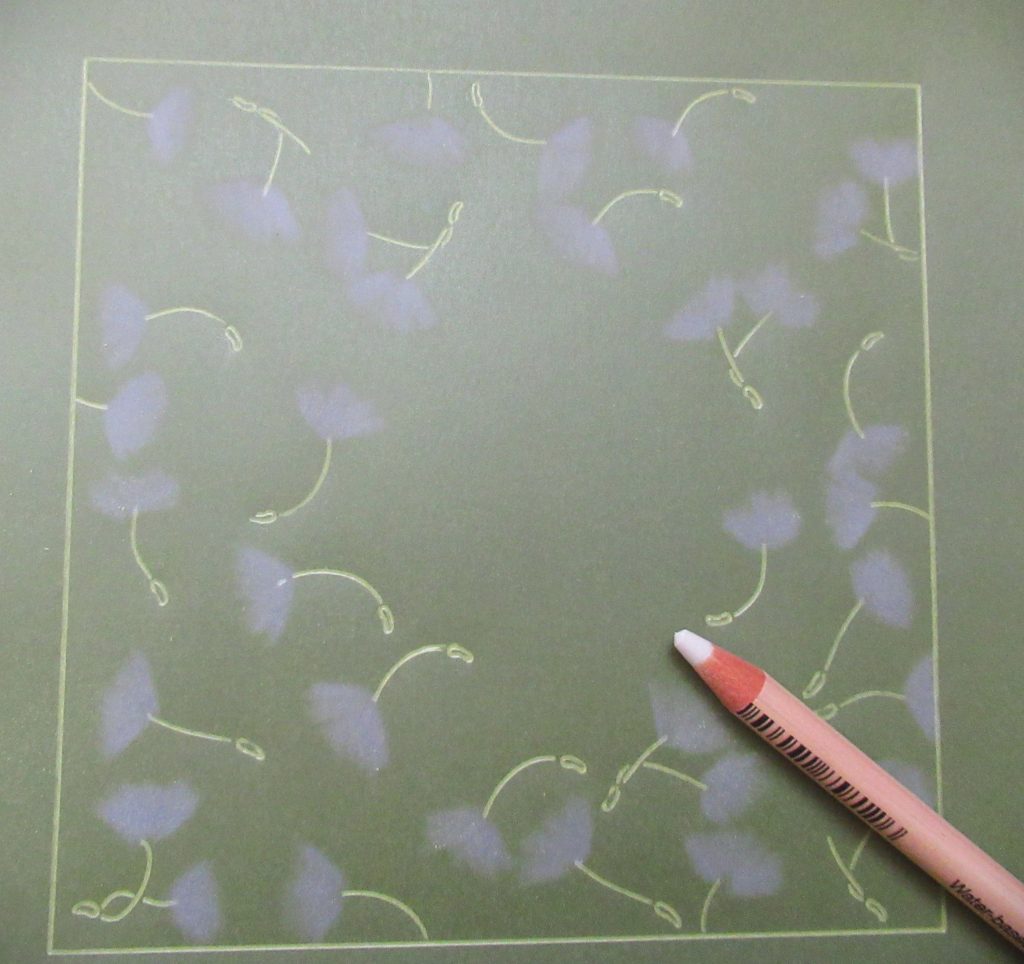
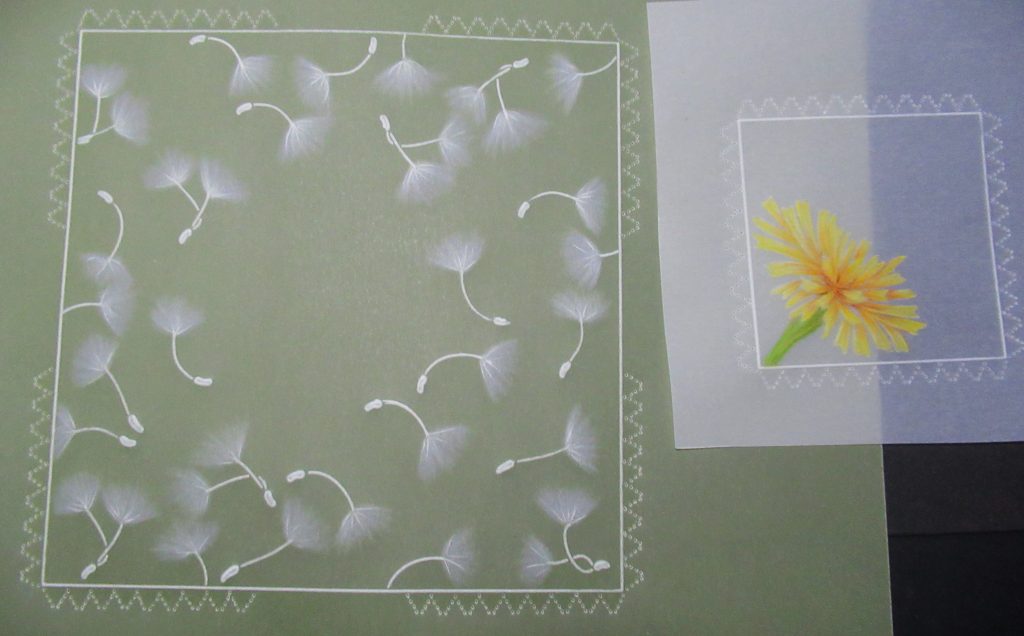
Step 9. Time to work on the background. Take the white eraser and (working on the back) rub out the ink at the top of the stems of the seed heads. The erasing needs to be done in a fan shape as illustrated on the plate.
Step 10. Emboss the petals of the dandelion with the 4.5mm ball tool – just gently to give shape. Do the stalk with the 6mm ball tool. Next, move onto the background. Using a 6mm ball tool, emboss the seed heads, working from the stalk outwards. Gently press at the end of the stem and then lift to give it a fluffy effect. Also, emboss the little pods at the end of the stems using the 3mm ball tool.
Step 11. Use a 0.5mm ball tool to gently put a few spines into the seed heads. Then go around the outsides of the margins and shallow perforate using the medium Picot V tool. I have gone all around the edge of the dandelion topper, but have just perforated 9 picot V’s on the corner of the background piece.
Step 12. Put some dots into the picots v’s using the Diagonal Border Grid and the number 1 and number 2 Groovi tool.
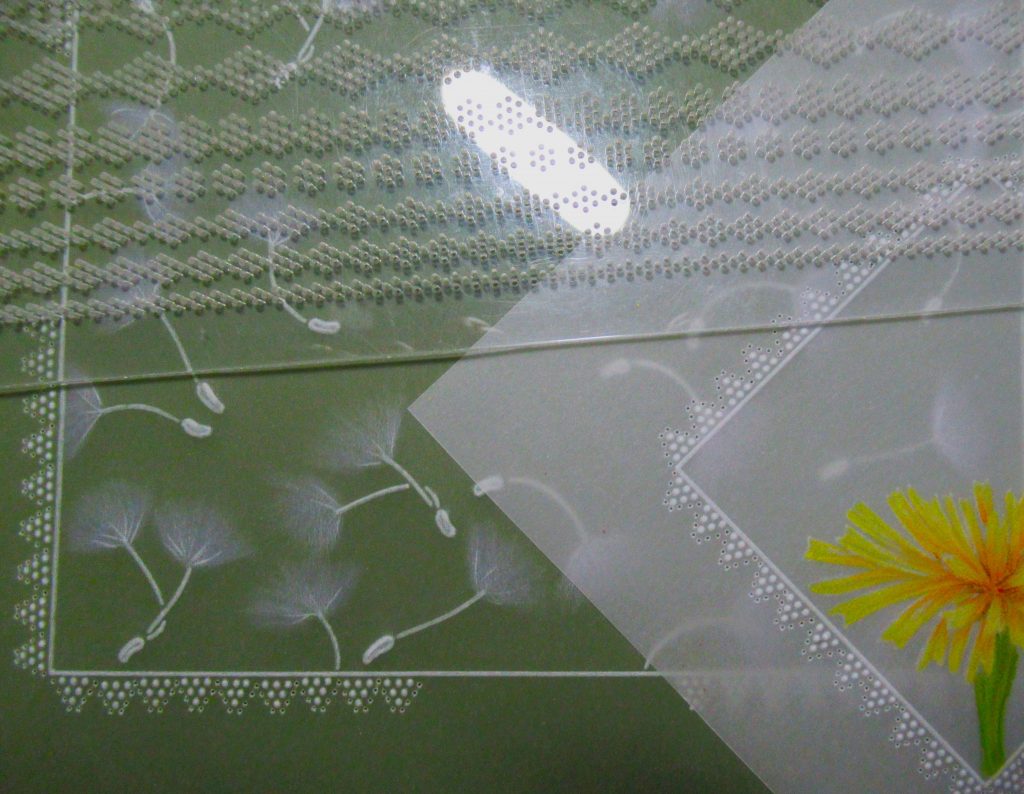
Step 13. Re-perforate the picot v’s deeply and perforate with the 2-needle tool between the ‘v’s along the sides. Then snip out the work. Attach your pieces onto the backing paper using brads.
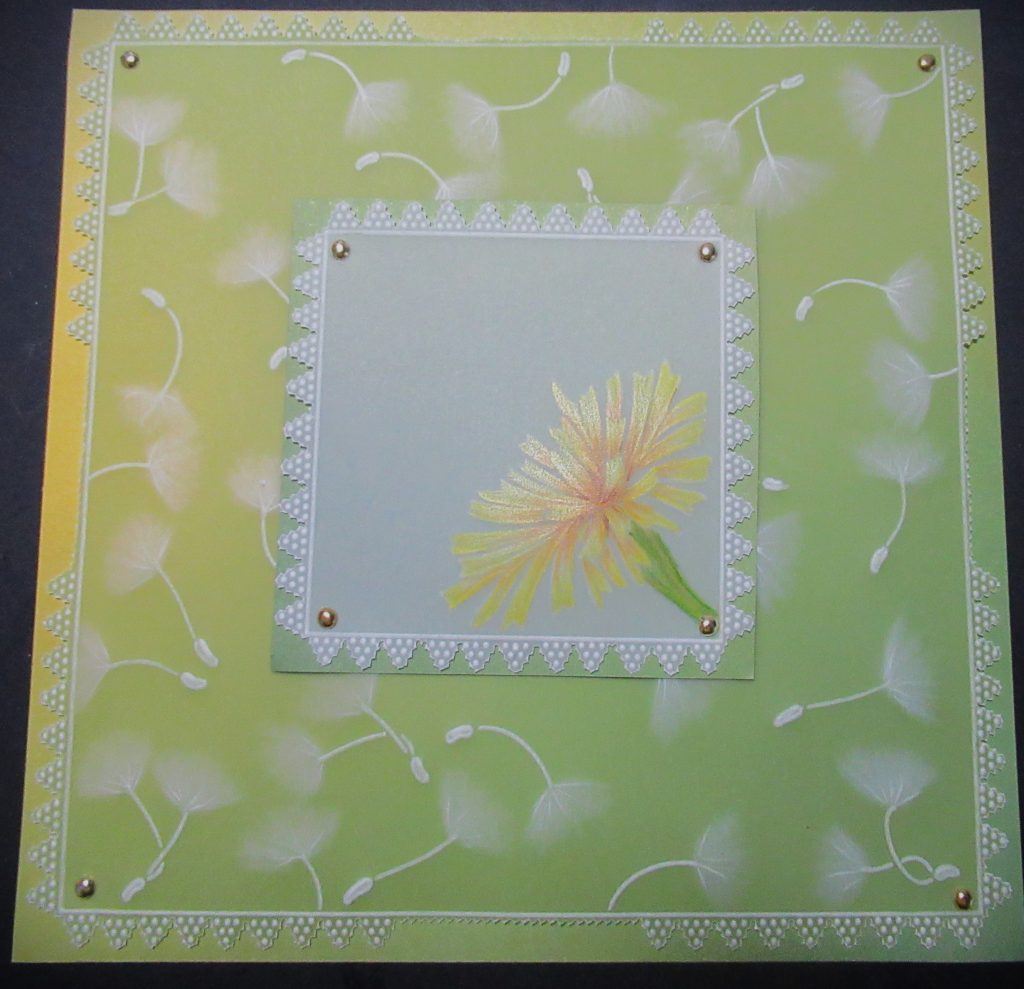
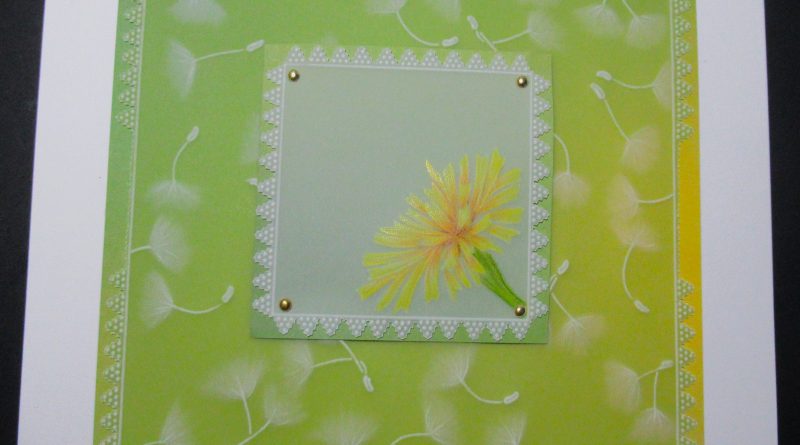
Step 14. Mount this onto your 7 x 7 card blank. And you’re card is finished!
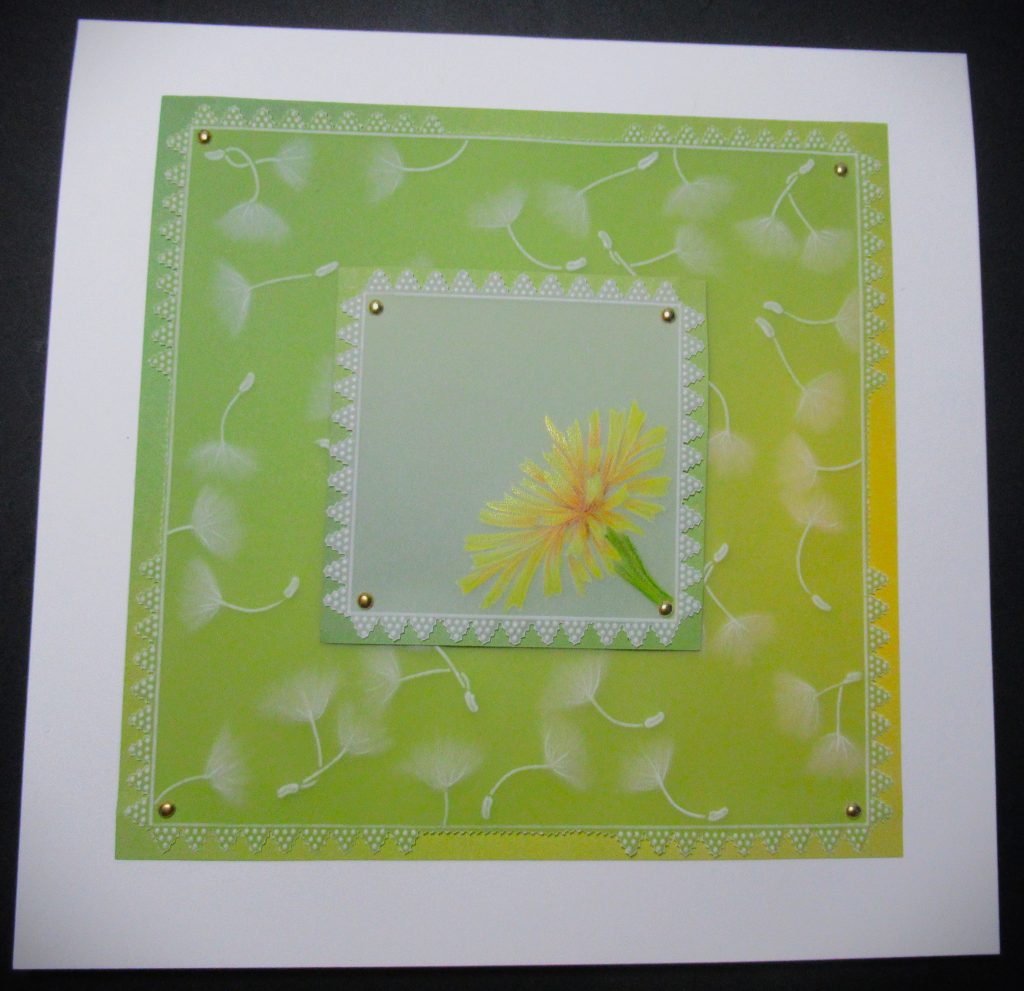
What a gorgeous Summery card! I love those colours. Thank you, Glynis, for sharing your tips and tricks with us. It’s astounding what can be achieved when broken down into simple steps.
Everything that Glynis has used in this particular project can be found in a shopping list, on the Clarity website HERE.
Sunday 2nd July:
Clarity Classics with Clarity with Barbara – 3pm-5pm – 2 hour showMonday 3rd July :
In the SHAC with Barbara – 10am Live on Facebook and YouTube
Tuesday 4th July:
Groovi Tuesday with Paul – 10am Live on Facebook and YouTube
Thursday 6th July:
The Pergamano Show with Tina Cox – 11am & 3pm
Friday 7th July:
A Moment of Clarity with Barbara – 7pm Live on Facebook and YouTube
See you there! Travel gently, friends.
Lotsa love, Grace & Glynis xo
Clarity – The Home of Art, Craft, and Well-Being.
Absolutely smashed it. Such beautiful colours and colouring for a perfect sunny summer. Love it! Well done ladies. Happy Sunday.xx
Stunning result. Thank you for the step by step.
Gorgeous, thank you x
Beautiful work. Thank you Glynis
Another great step by step, thank you Glynis. My to do list is growing !! Need to catch up with my SHAC project first otherwise I will get a detention from the Bus Driver – not that there is ever really any pressure to do it just from myself. Have a great week everyone xx
Brilliant step by step, thank you Glynis. x