Clarity Matters Blog Tutorial: How To Use Elements Of A Design
Hello hello! Grace here.
I hope this finds you well, safe and enjoying your Sunday morning.
Hands up, who went to the Clarity Open Days? Let us know how your experience was!
We’re joined today by the fabulous Jane Telford (who is likely northbound after an exhausting but fun two days at the Open Days herself). She has kindly put together ta step-by-step project for us. I’ll hand you over to our teacher!

I wanted to create something different and use poetry plates which I think I overlook. I saw a picture of a sample I had made when the plates first came out and thought it would be good to do an updated version and include some newer plates to build the design too.
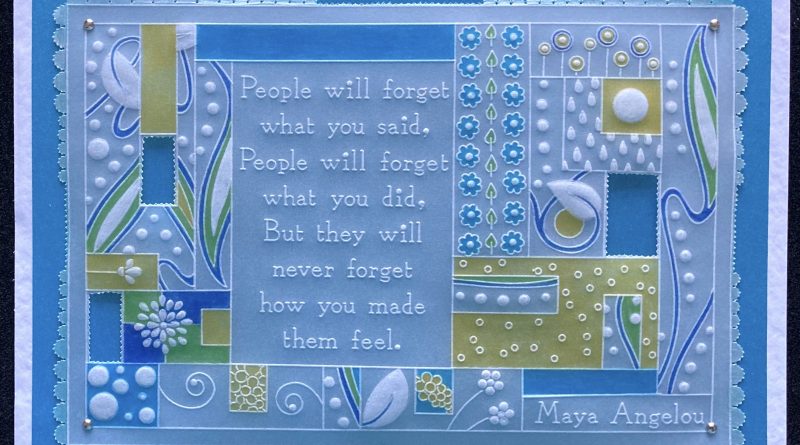
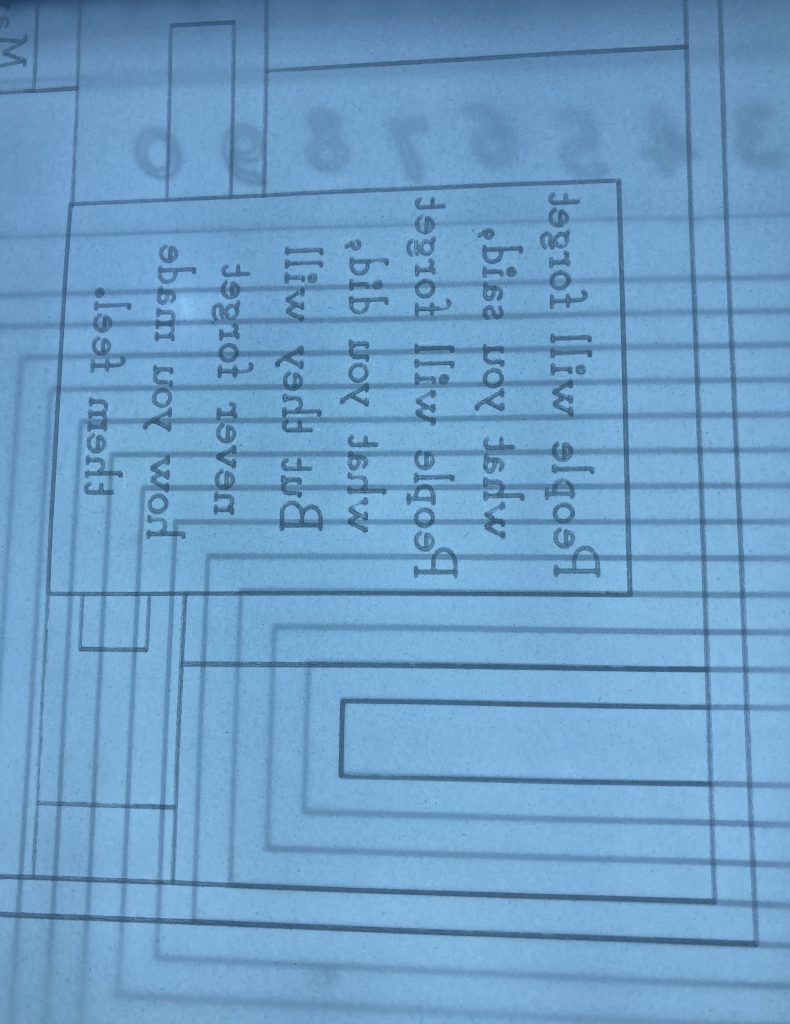
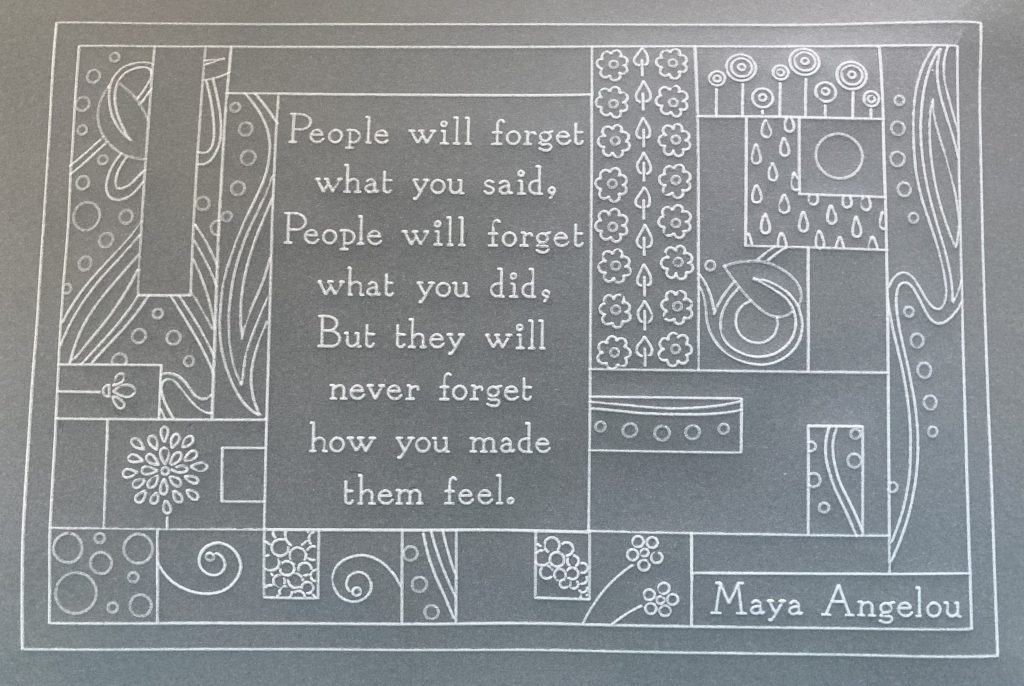
This is my original sample.
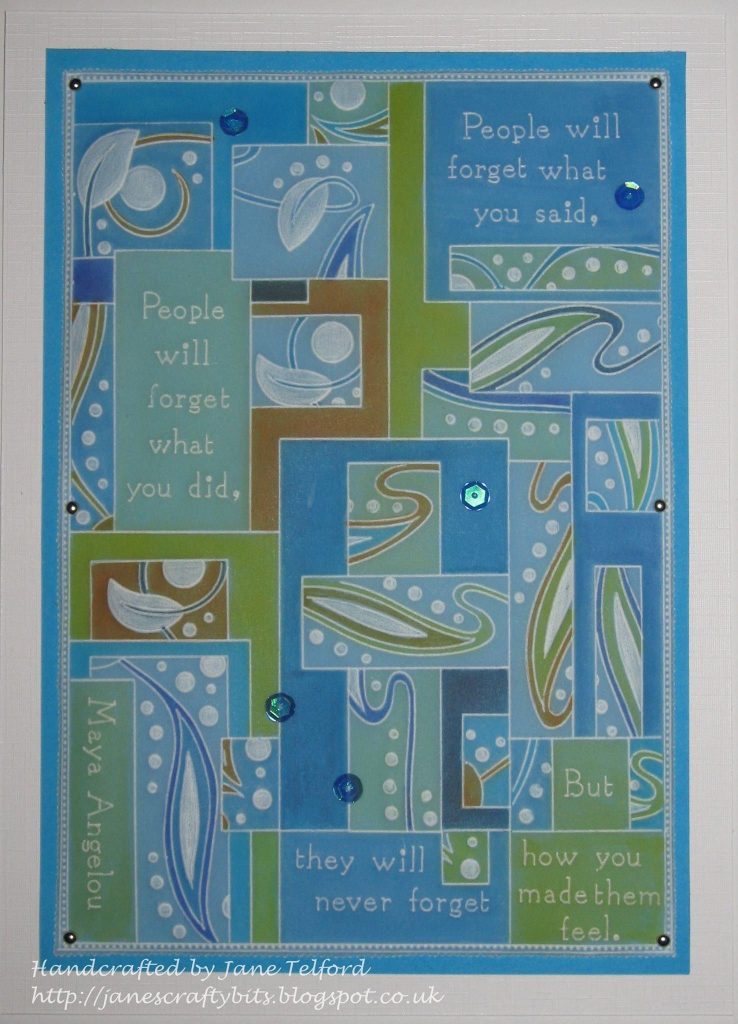
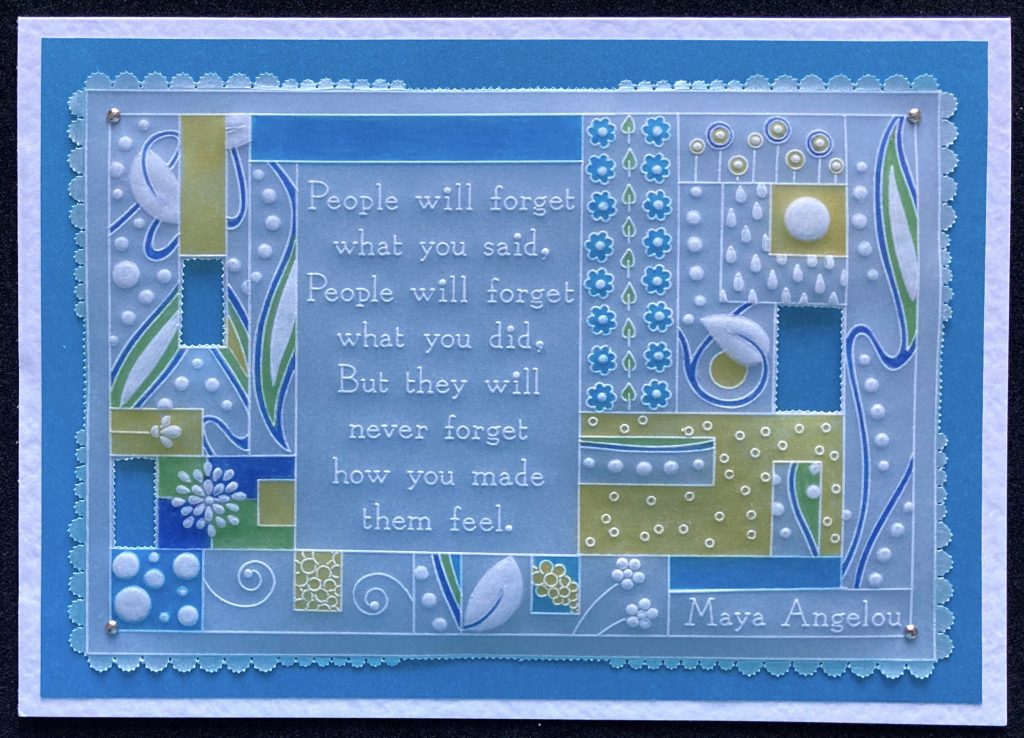
This is where we are headed on this tutorial.
Ingredients
Nested Rectangles A5 Groovi Plate (GRO-PA-40524-04)
Calligraphy Alphabet A5 Groovi Plate Mate (GRO-MA-40517-08)
Never Forget A5 Groovi Plate (GRO-WO-40544-04)
Tina’s Sunshine Doodles A5 Groovi Plate (GRO-FL-41879-04)
Tina’s Buttercup Doodles A5 Groovi Plate (GRO-FL-41878-04)
Black Dual-Purpose Groovi Mat A4 (GRO-AC-40194-A4)
Lightwave (ACC-LP-30352-A4)
Groovi® embossing tool 0.8mm – 1.3mm (GRO-AC-40026-XX)
Groovi® embossing tool 2.0mm – 2.8mm (GRO-AC-40027-XX)
2-Needle Perforating Tool (PER-TO-70037-XX)
Semi-Circle Perforating Tool (PER-TO-70017-XX)
Semi-Circle Mini Perforating Tool (PER-TO-70034-XX)
Perga Colours Exclusive (PER-CO-70060-XX)
4 silver brads (PER-AC-70275-XX)
Ringlock Scissors (PER-TO-70041-XX)
Pergamano Mix-Mat (PER-AC-70304-XX)
Round Brush No. 2 (PER-BR-70044-XX)
Pebeo Acrylic Paint 59ml – Pearl White (ACC-PA-31305-XX)
Waimea Falls Companion Paper 8″ X 8″ (ACC-CA-31343-88)
Piece of A4 card to make an A5 card blank.
Method
Step 1. Put the nested rectangle in the Calligraphy Plate mate. Emboss the 2nd largest rectangle with the No. 1 tool.
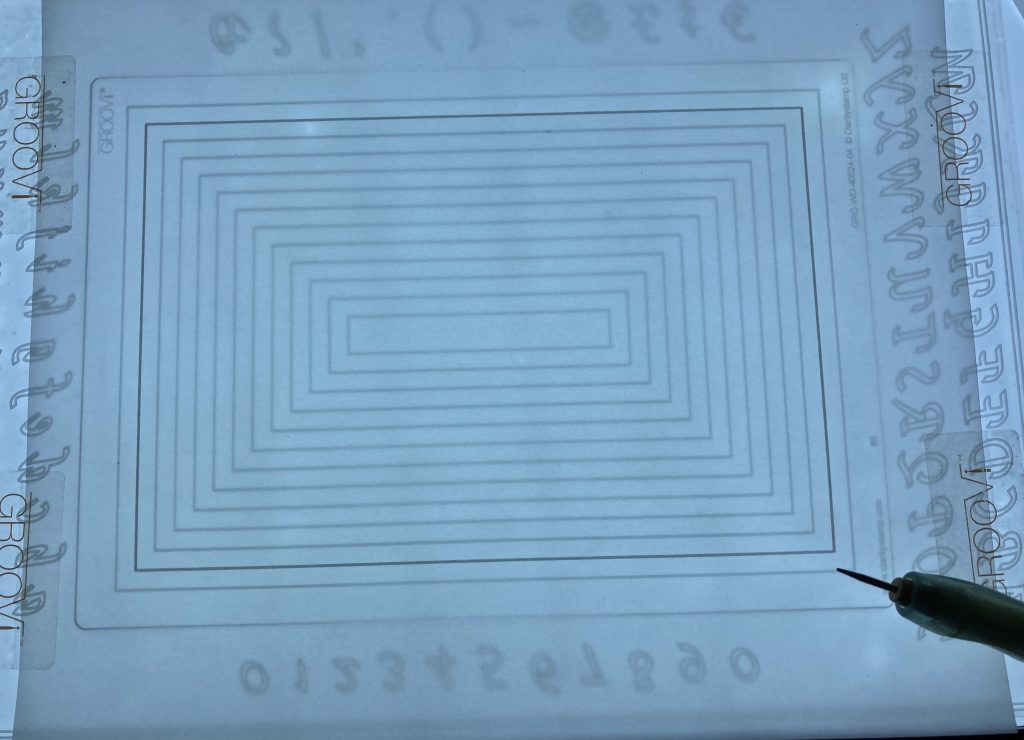
Step 2. Emboss the 3rd rectangle in to create a frame.
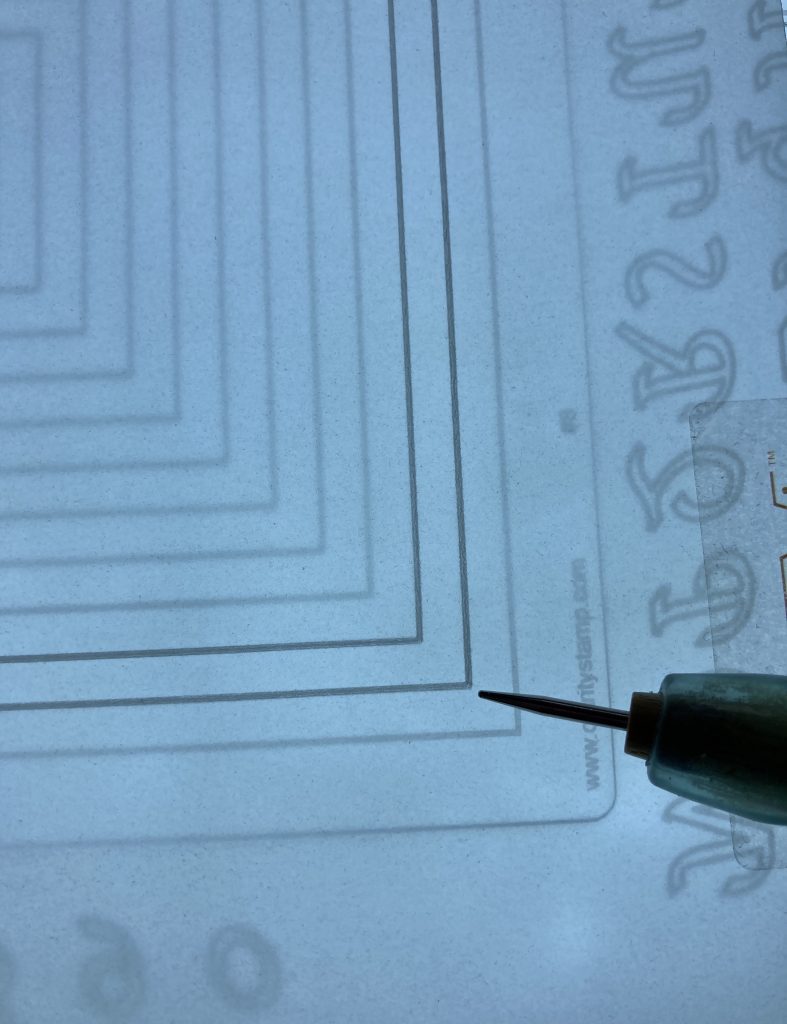
Step 3. Turn the plate mate round so it is lengthways on the lightwave and add the poetry plate. Position the parchment so that the poem is off-centre and the outer frame lines up with the edge of the plate. Emboss the poem but not the name.

Step 4. Move the parchment so that the name is in the bottom left corner as you look at it. (This will be the right-hand corner when you turn it over.) Emboss the name.
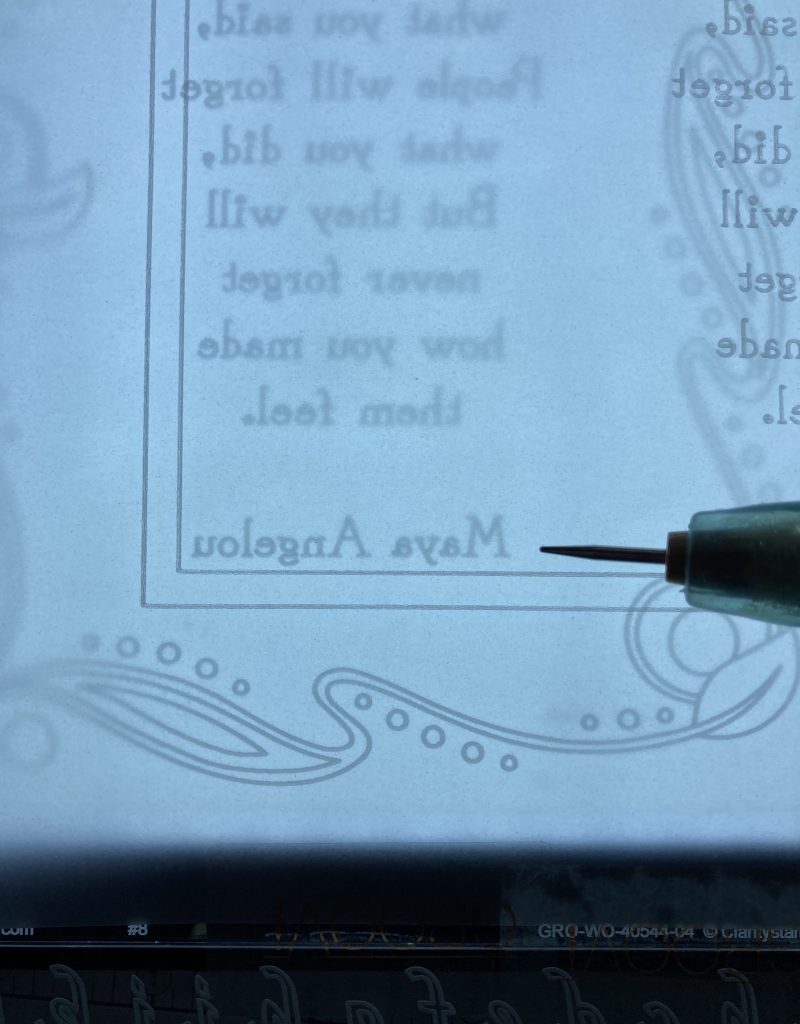
Step 5. Put the rectangle plate back in the plate mate and line it up so the frame helps keep this part straight. Emboss the rectangle top and part way down the sides.

Step 6. Move the parchment down using the lines on the plate and emboss the rest of the sides and the base of the rectangle.
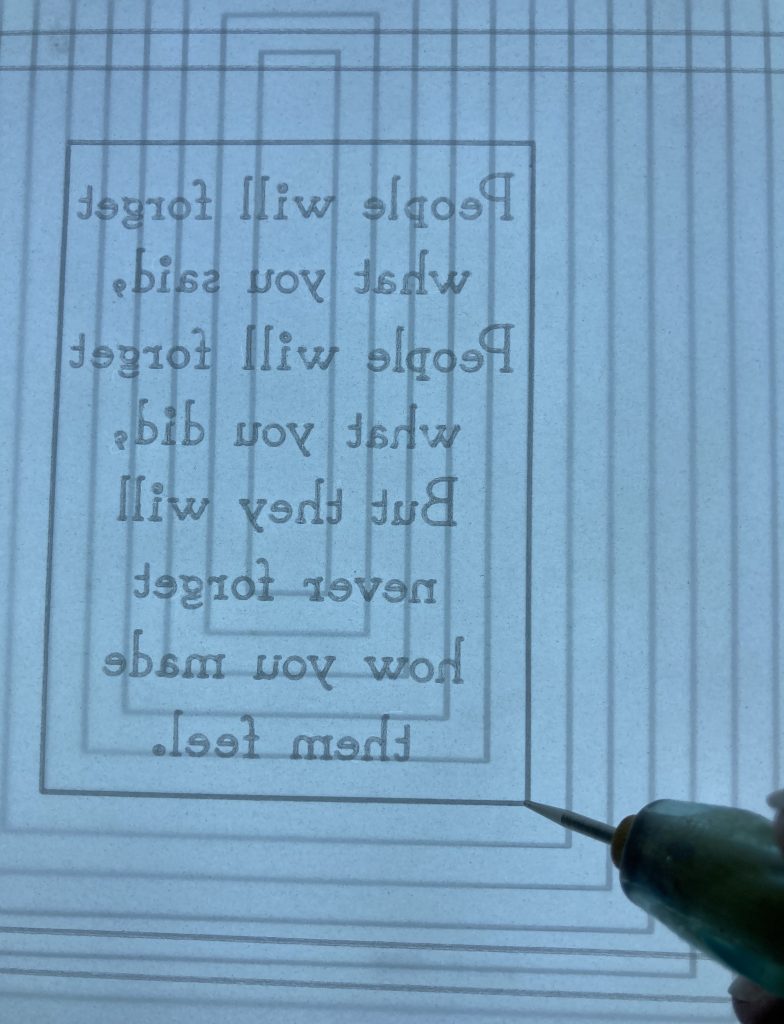
Step 7. Move the parchment again and emboss lines around the name.
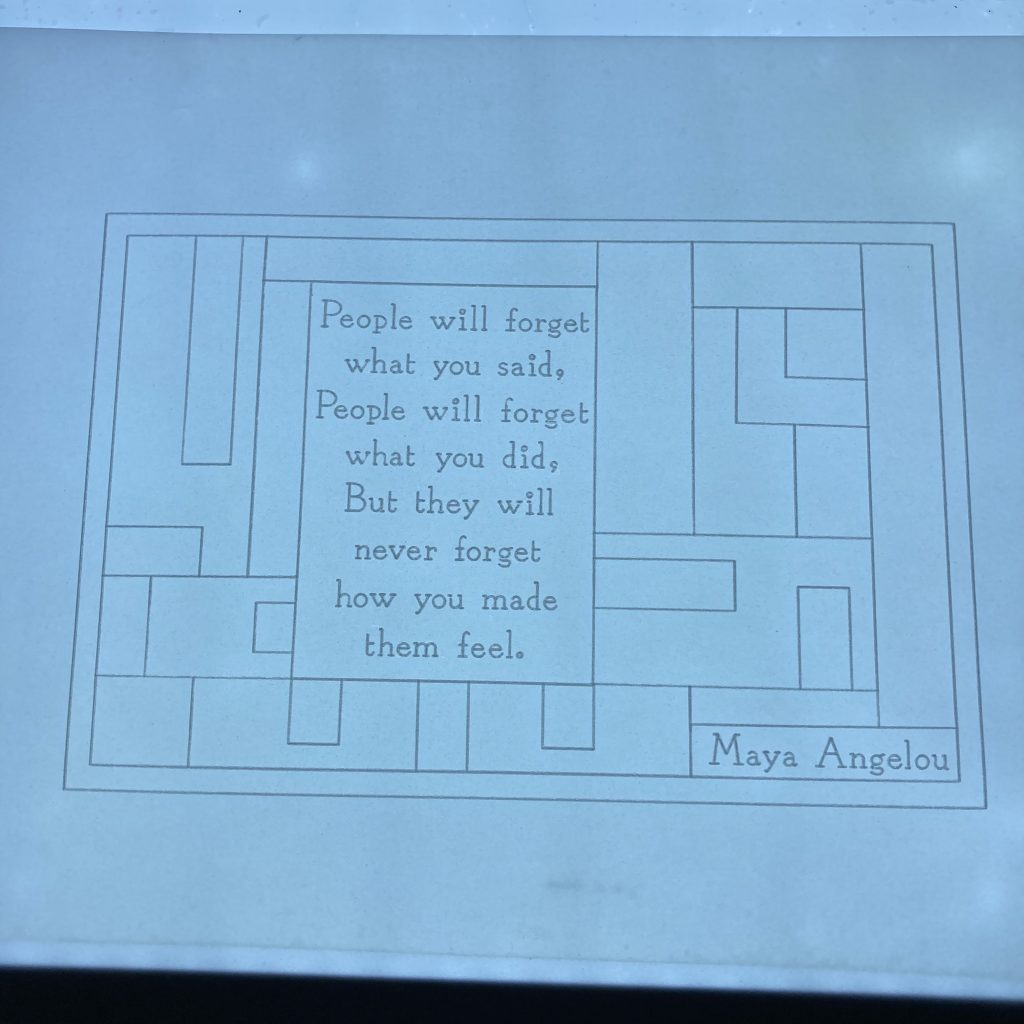
Step 8. Use lines on the rectangle plate to create boxes of different shapes around the poem and name. Overlap some and have some inside other boxes.
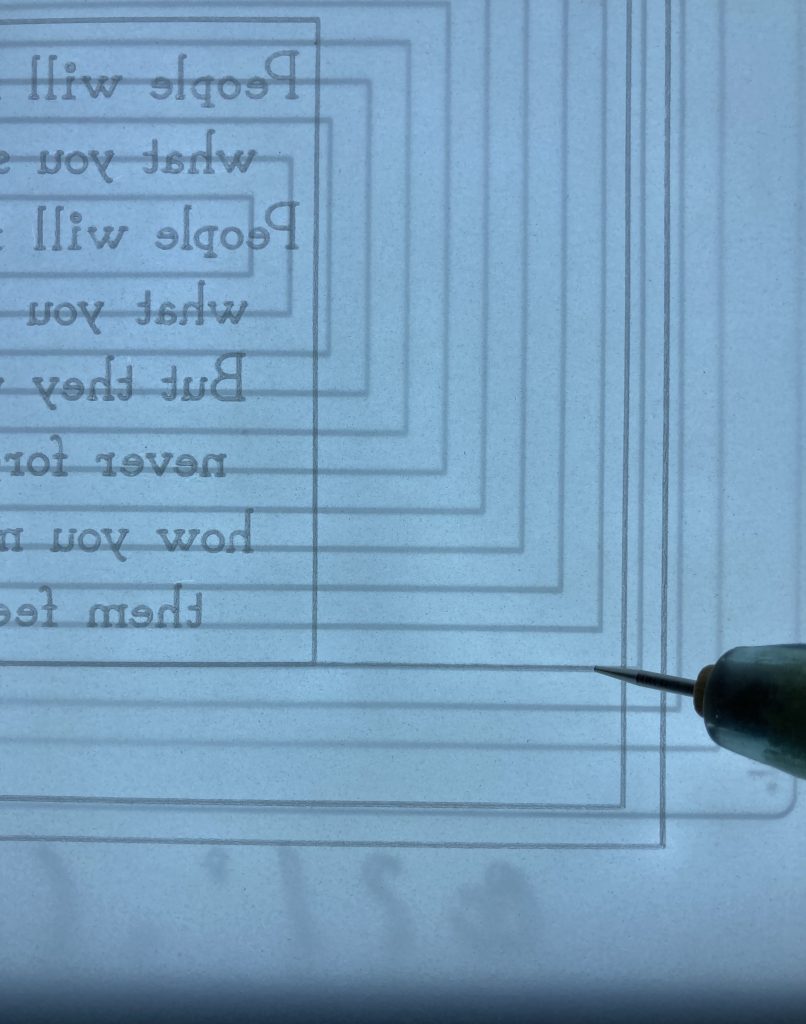
You should have something that looks like this.
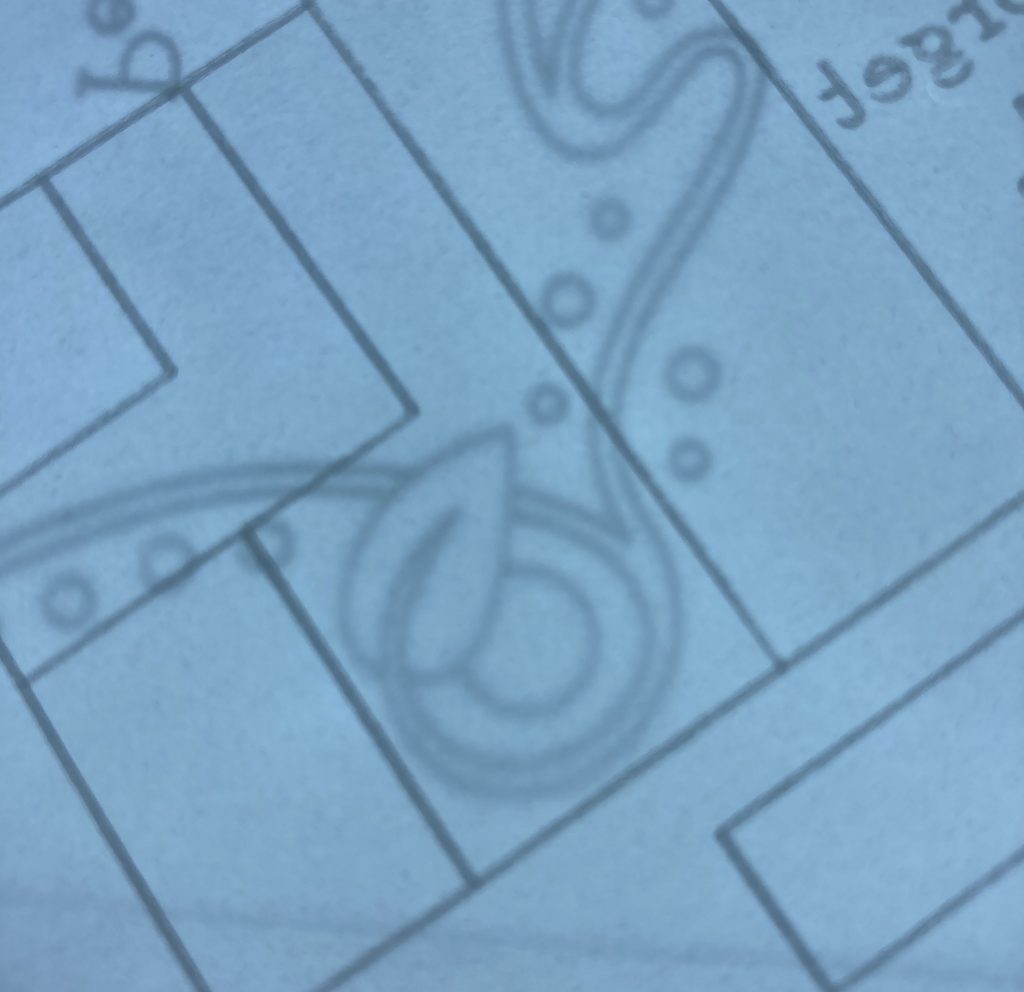
Step 9. Put the poetry plate back in the plate mate and in some sections add some of the patterns and dots. Use the no. 1 tool for solid lines and the no. 2 tool for areas you want to have as white work.
Step 10. Use the doodles plates to add details to other sections but leave some blank.
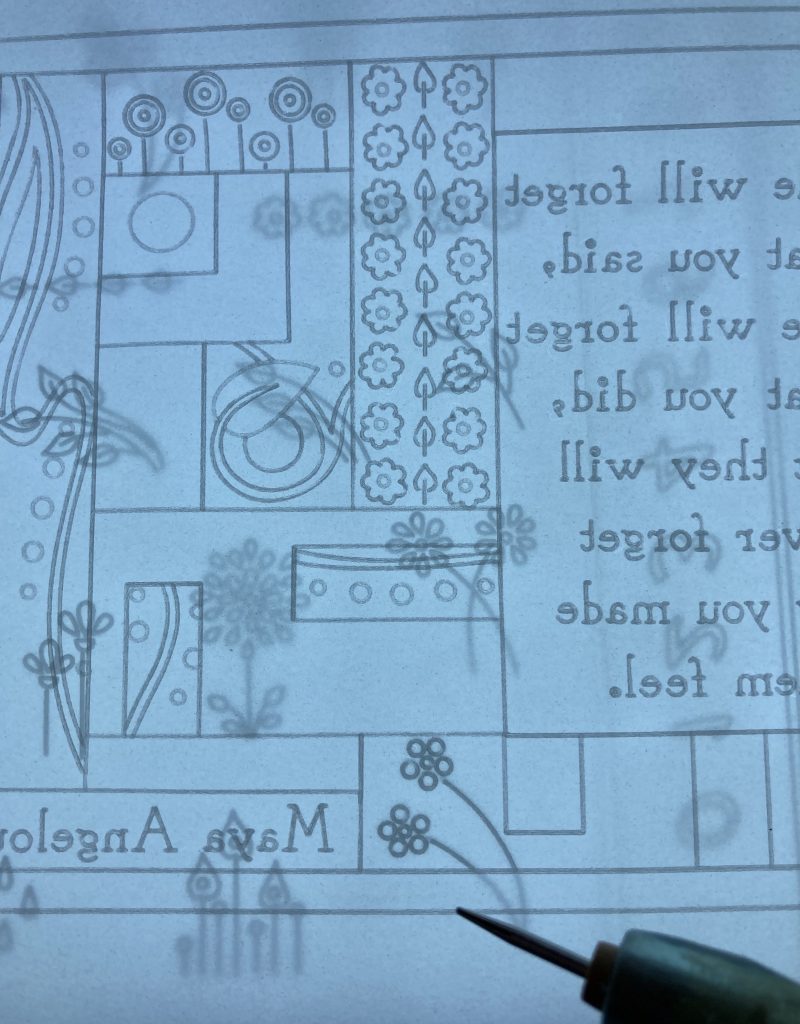
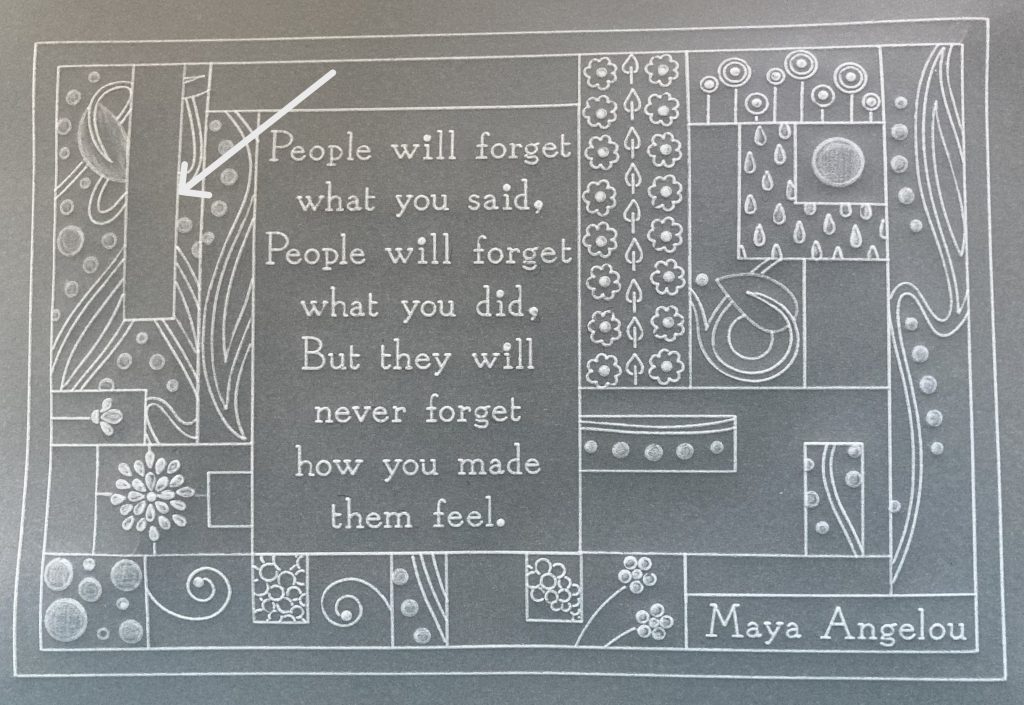
Your completed line art should look similar to this.
Step 11. Use the No. 4 tool to start doing whitework. Let it rest especially in the larger areas.
Step 12. It was whilst it was resting, I decided to add an extra line here to split up that longer box.
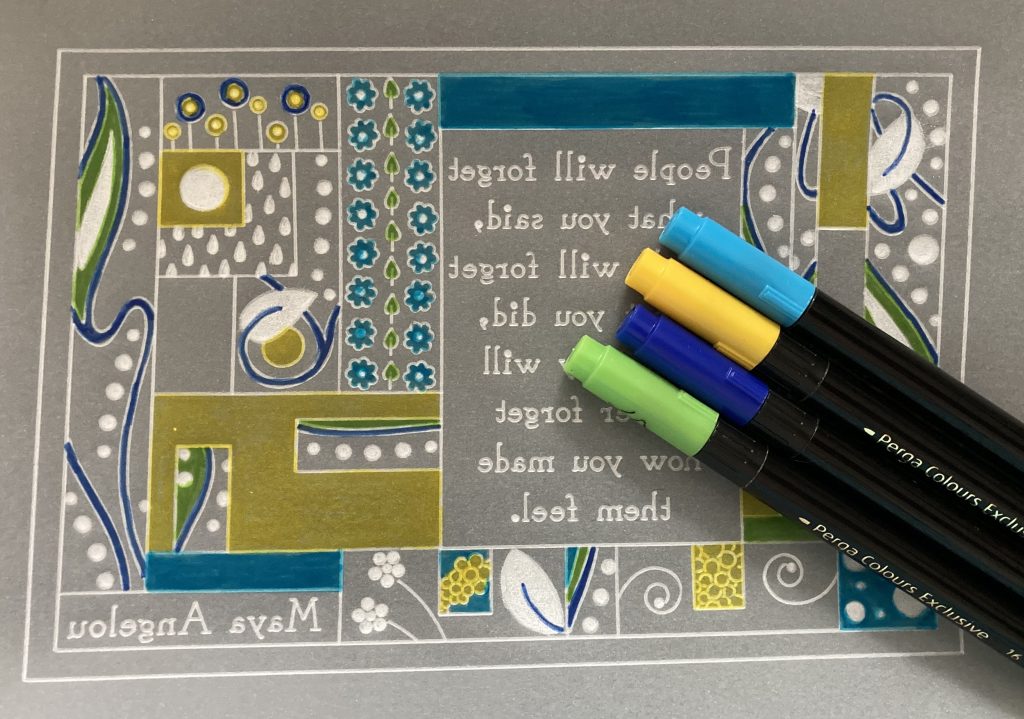
Step 13. Once your white work is done add colour using the Perga Colour Exclusives. I used Nos. 1, 12, 16, and 28 but you could change the look completely by using different colours. I left 3 blank sections without colour.
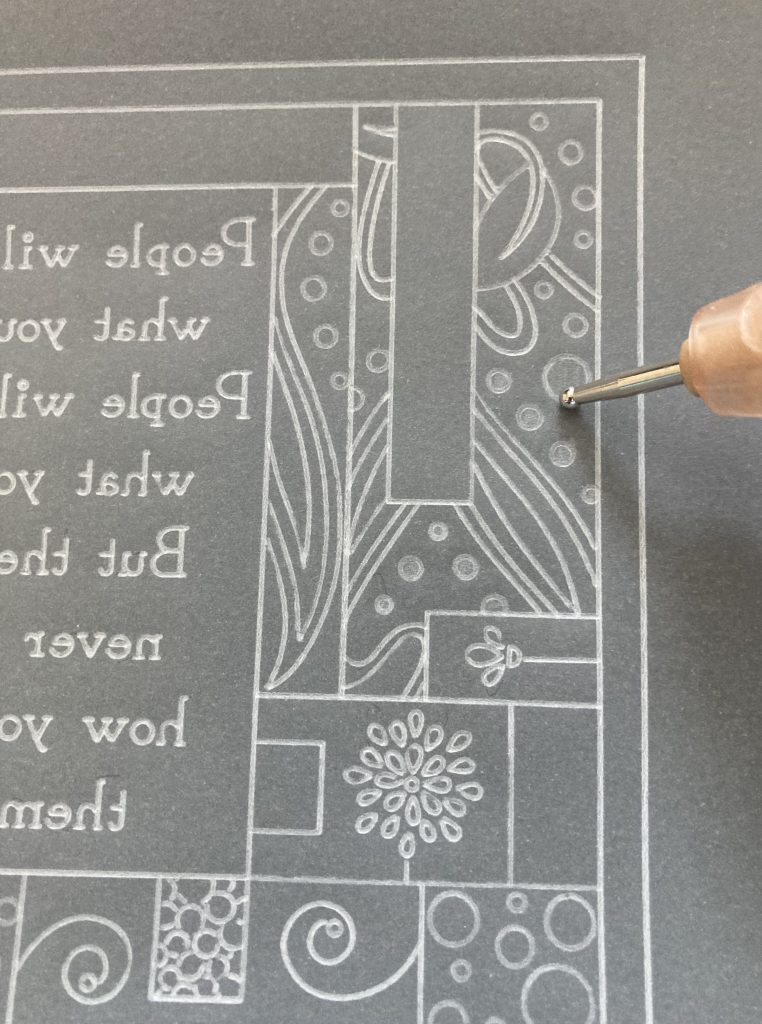
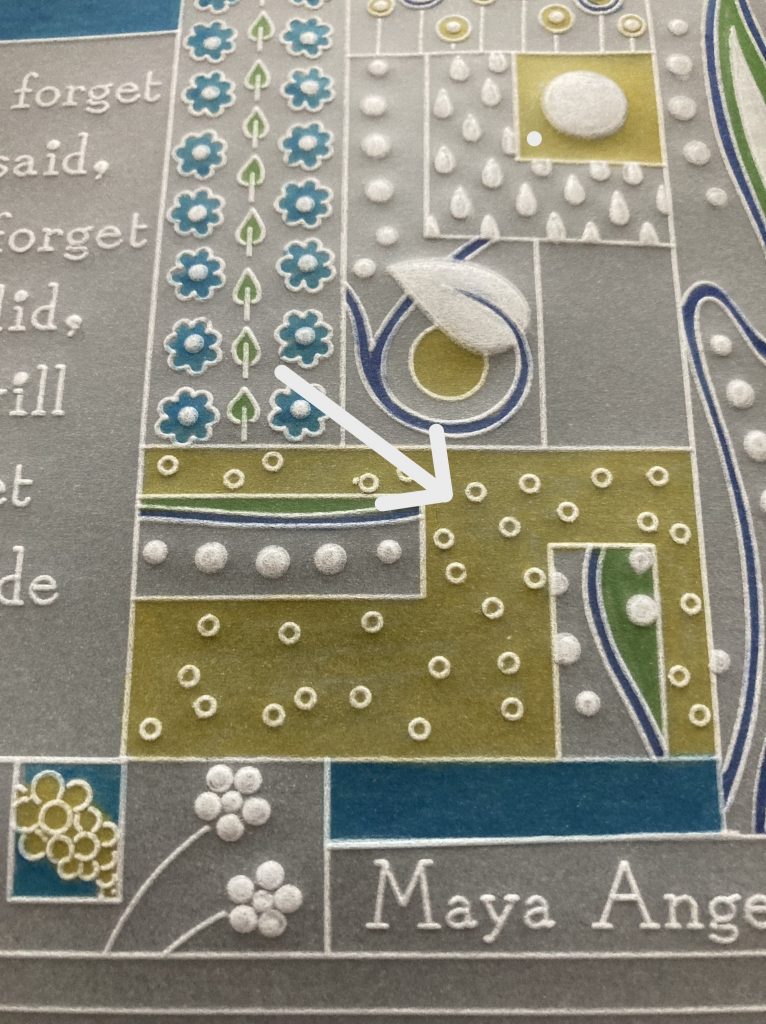
Step 14. I then decided to add tiny circles from the doodle plate to this section. No set pattern just be random.
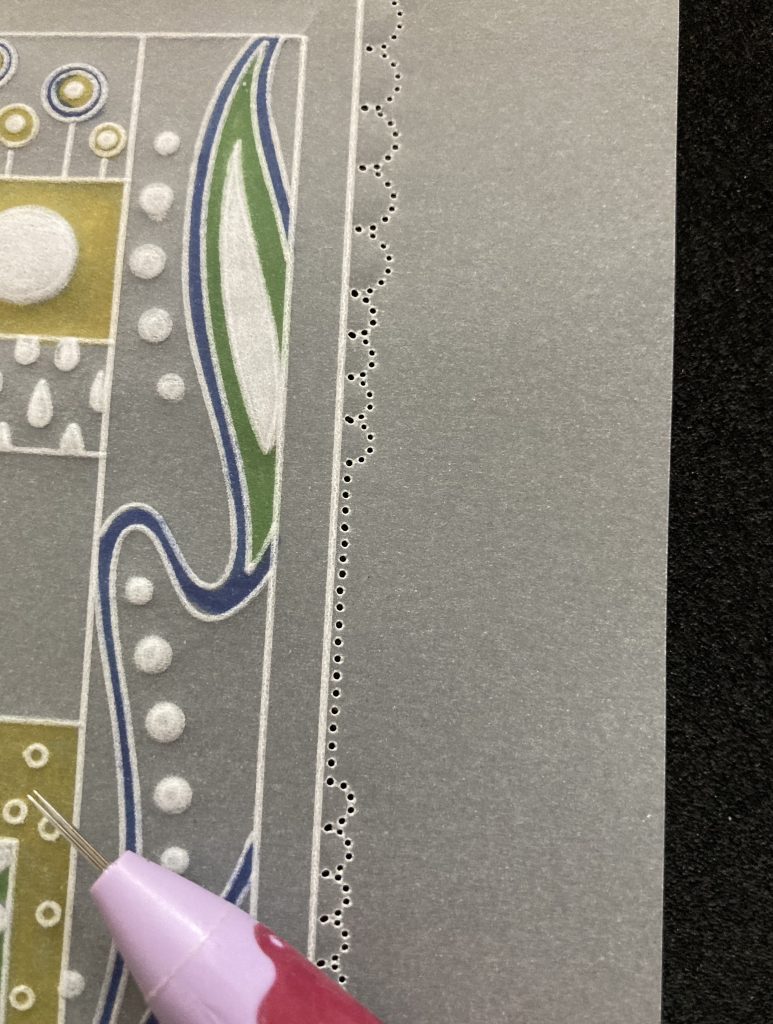
Step 15. Shallow Perforate with the semi-circle and the semi-circle mini around each corner leaving a gap long on each side. I did 5 scallops of each tool along the short edges and 7 scallops with each tool along the longer edge.

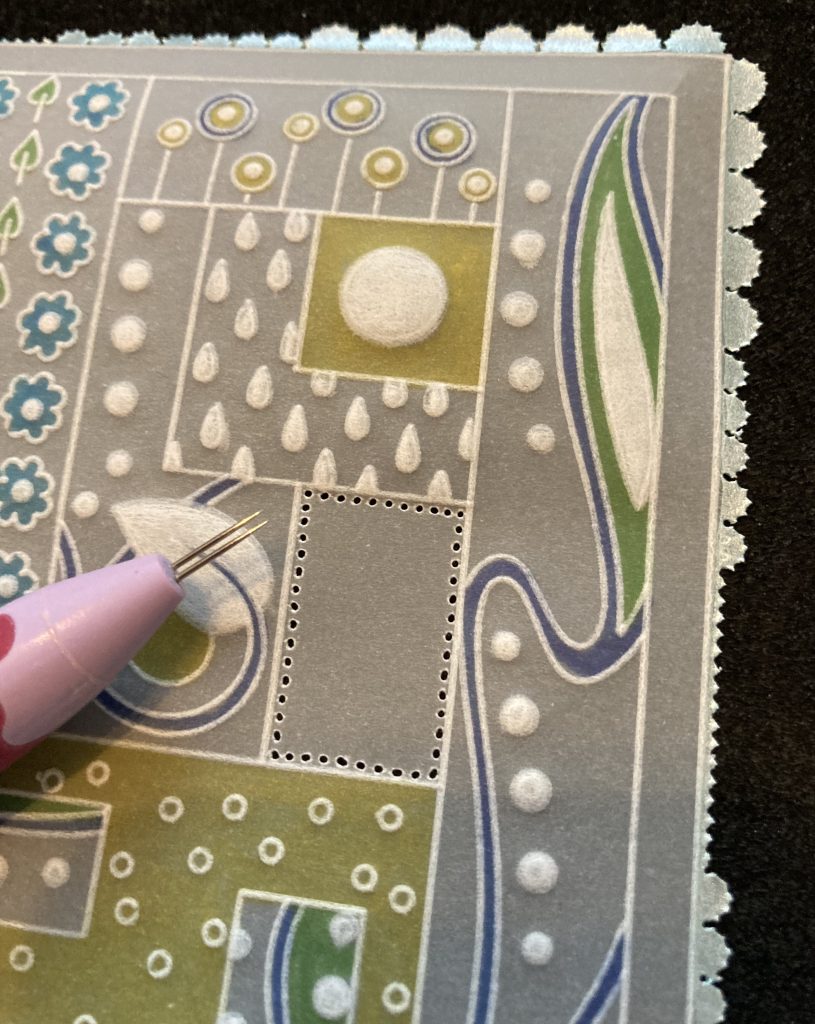
Step 16. Use the 2-needle tool to fill in the gap.
Step 17. On a mix mat put a small blob of the white pearl paint and scribble the lighter blue pen next to it. Use your brush to mix blue into the paint.
Step 18. Paint with the pale blue pearl paint over the perforations. Let it dry then reperforate.
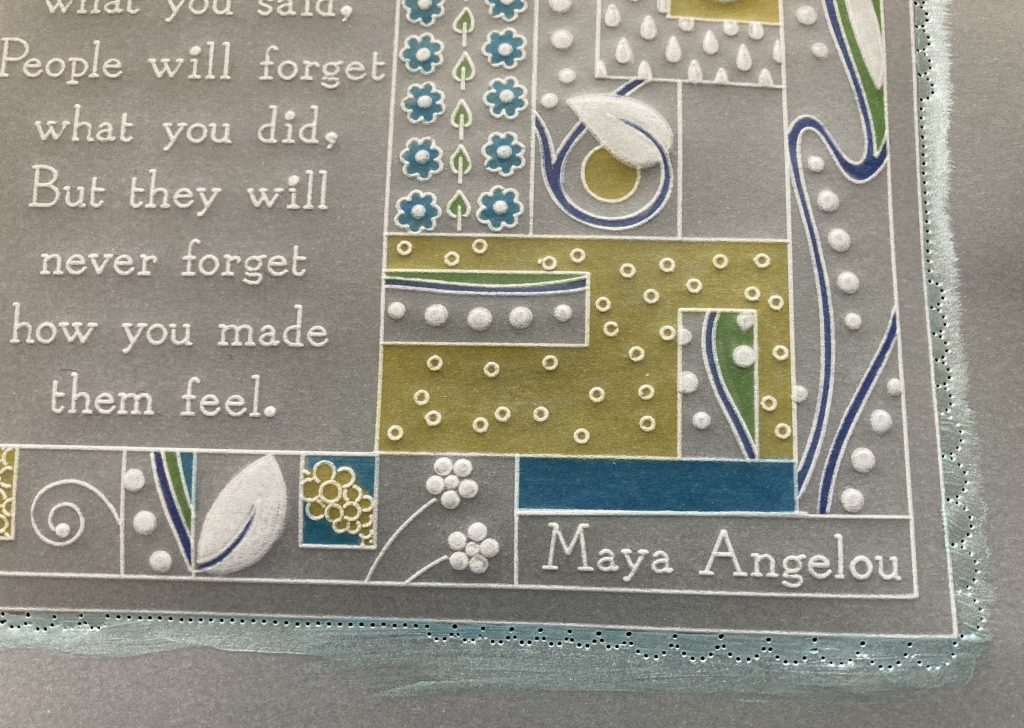
Step 19. Snip away the waste around the edge.
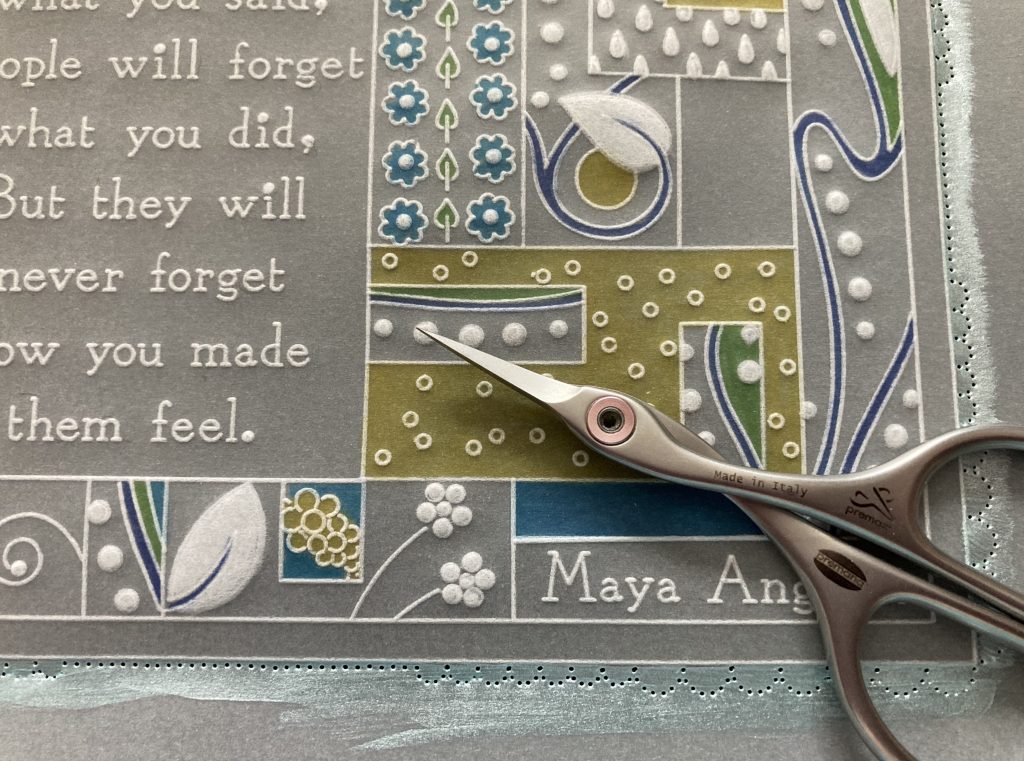
Step 20. I realised I hadn’t perforated the uncoloured sections. Use a 2-needle tool to perforate the inside of these shapes and snip away the waste.
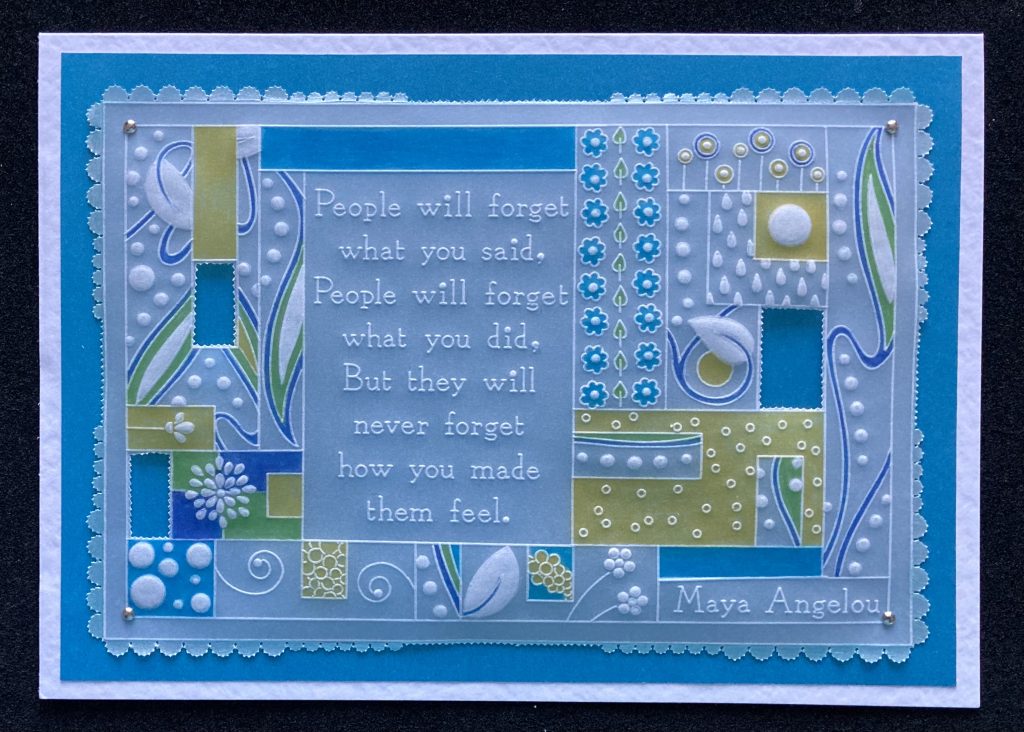
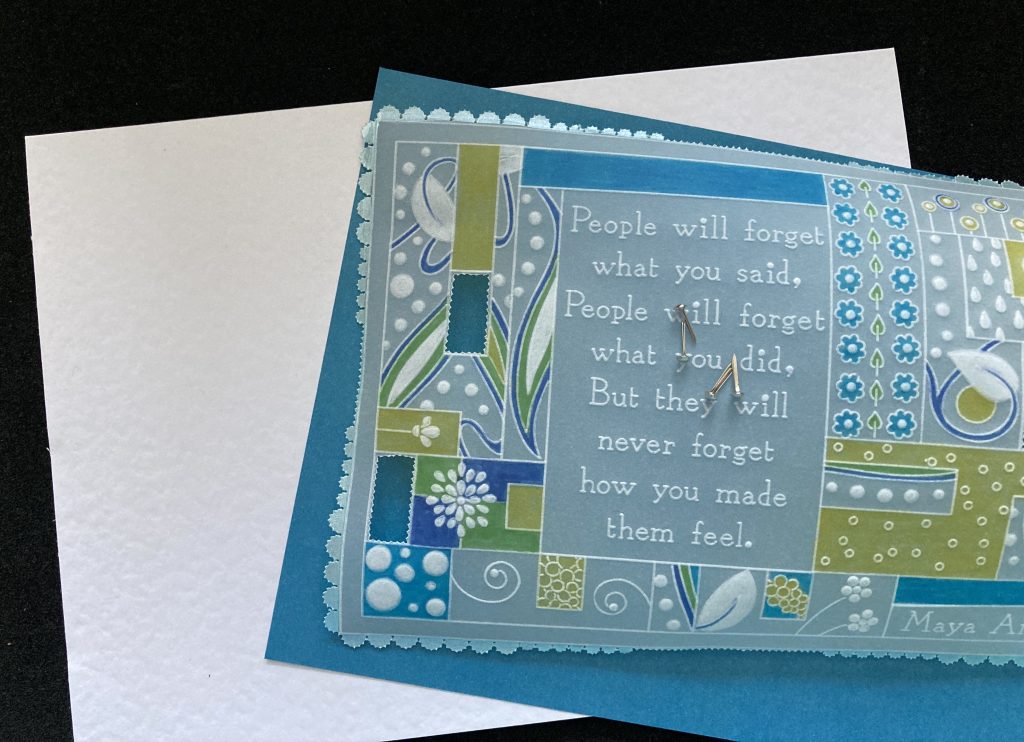
Step 21. Cut a piece of Companion paper to measure 14cm x 20cm. I chose the blue to match my colour scheme. Attach the parchment to this using 4 silver brads. Fold the A4 card in half to make a card blank and adhere the paper and parchment to it with double-sided tape. (Pic 24)
You have now completed your project.
Absolutely fabulous, Jane! I love that finished project. Thank you so much for sharing your tips and tricks with us.
Now it just happens to be that the Poetry Plates are our Design of the Week over on the Clarity website with 30% (plus club discounts) available HERE and if you have been following Paul on his Groovi Tuesday sessions, he will be using this design next week
Available HERE.
Everything that Jane has used in this blog tutorial can be found on the Clarity website HERE.
As the team recover from the amazing Open Days in Ditton, we still have a busy week ahead of us at Clarity Towers:
Monday 12th June:
In the SHAC with Barbara – 10am Live on Facebook and YouTube
Tuesday 13th June:
Groovi Tuesday with Paul – the 100th Episode! – 10am Live on Facebook and YouTube
Wednesday 14th June:
Groovi One Day Special with Paul on Create & Craft – 6pm & 9pm
Thursday 15th June:
Groovi One Day Special with Paul on Create & Craft – 10am & 2pm
Right, time to relax! Enjoy the rest of your weekend.
Travel gently, friends.
Lotsa love, Grace & Jane xoxo
Clarity – The Home of Art, Craft, and Well-Being.
Wow – what a great tutorial Jane…….Thankyou. I so enjoyed our chat on Friday and learned how to use those Dorso crayons that have been languishing in my Groovi drawer for ages cos I didnt know how to use them properly!
Grace – missed you this Open Day!!!!! We all had a fabulous time….❤️❤️
What a great project which also shows how the Groovi craft has evolved & grown over the last few years. I will definitely be giving this ago at some point as I have the plates. Thank you Jane for showing us how to add to the original design to make a completely different piece of art.
For all those travelling home today from Ditton today a safe and hopefully not too hot a journey. Thanks to everyone who made it a wonderful 2 days.
Thanks Grace for putting the blog together, hope you have a better week ahead xx
Ow wow, fabulous. Thank you Jane 💖
Thanks Grace too 💖
Thank you Jane, beautiful work.
Hope all is well with you Grace. Safe travels everyone.
I did, yesterday! Thank you to all the demonstrators and all of the team which made the day run so smoothly.
This is a fabulous project, Jane. Thank you.
Hope you have recovered from your procedure, Grace. Xx
Wow!!! Absolutely love, love love this project!!! And so adaptable for those of us who do not have all the Groovi tools. Can’t wait to have some time to play, when all this school work is over.
Thank you so much, Jane
As always, a lovely project Jane. Hope you had a fantastic 2 days at Ditton.
And Grace hope you are recovering well. Like you I couldn,t be there, but hopefully next year.
Great project Jane. Glad everyone enjoyed the Open Days have loved reading the posts and i expect there are more to come ! X
Hi Jane
Love the tutorial and the demos you gave us at the show on Saturday. Well we lost the match so the hubby is not pleased. My daughter and I loved the show, you must all be exhausted. Thank you for showing me how to use the Dorso crayons that are still in the box, but not for long.
Regards
Janet Cummings, High Wycombe