Clarity Matters Blog Tutorial: Get Well Soon Card
Hello hello! Grace here.
I hope this finds you safe, well and enjoying your Sunday morning!
We are joined today by the incredibly talented Josie Davidson. She has kindly put together a step-by-step blog tutorial for us. I’ll hand you right over!

Get Well Soon Step-by-Step Blog
Ingredients
A4 Dotted Squares Plate (GRO-PA-42264-16)
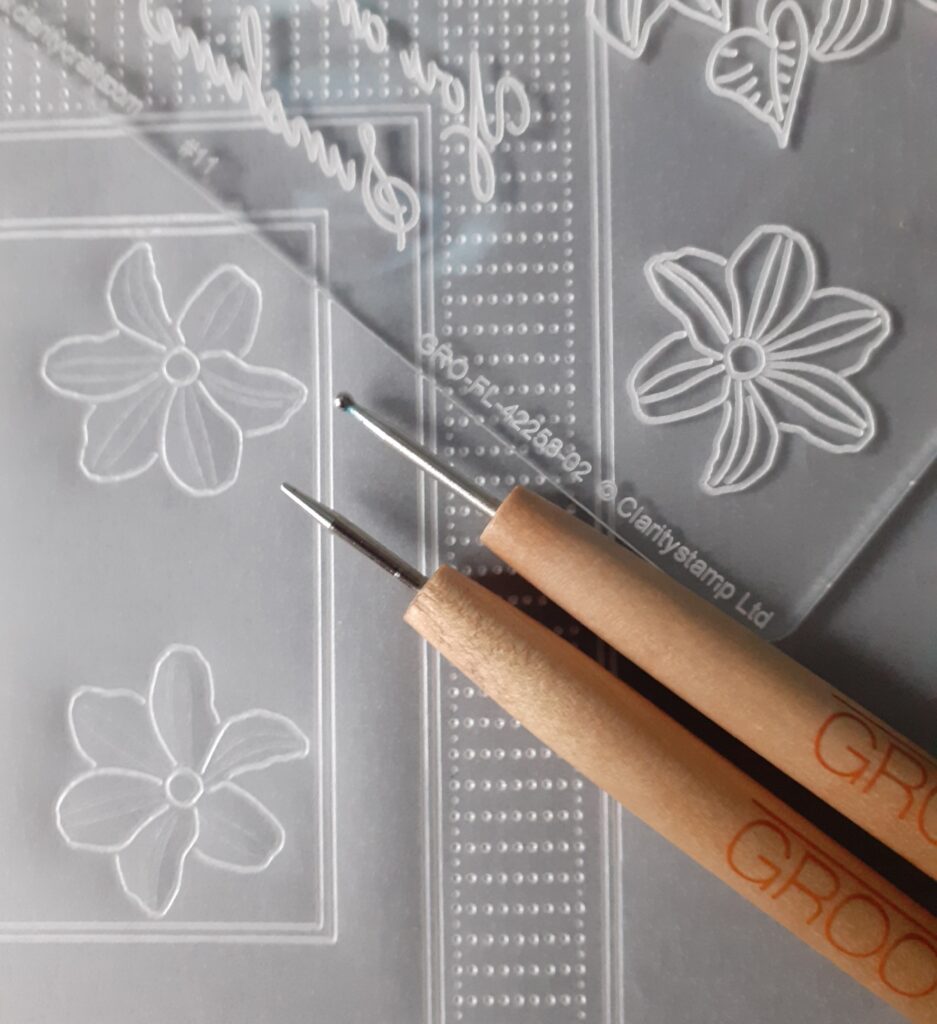
Clematis Floral Overlay Plate (GRO-FL-42258-02)
Floral Overlay Spacer Plate (GRO-FL-42262-06)
Basic Straight Grid (GRO-GG-40202-12)
A5 Plate Mate (GRO-MA-40002-07)
A4 Plate Mate & Extenders (GRO-MA-41768-21)
Pergamano Excellent Embossing Mat (PER-AC-70075-XX)
Black Dual Purpose Groovi Mat (GRO-AC-40194-A4)
Pergamano Bold Single Needle Tool (PER-TO-70028-XX)
Groovi Embossing 1 & 2 Tool (GRO-AC-40026-XX)
Groovi Embossing 3 & 4 Tool (GRO-AC-40027-XX)
Blending Pen With 3 Nibs (PER-AC-70300-XX)
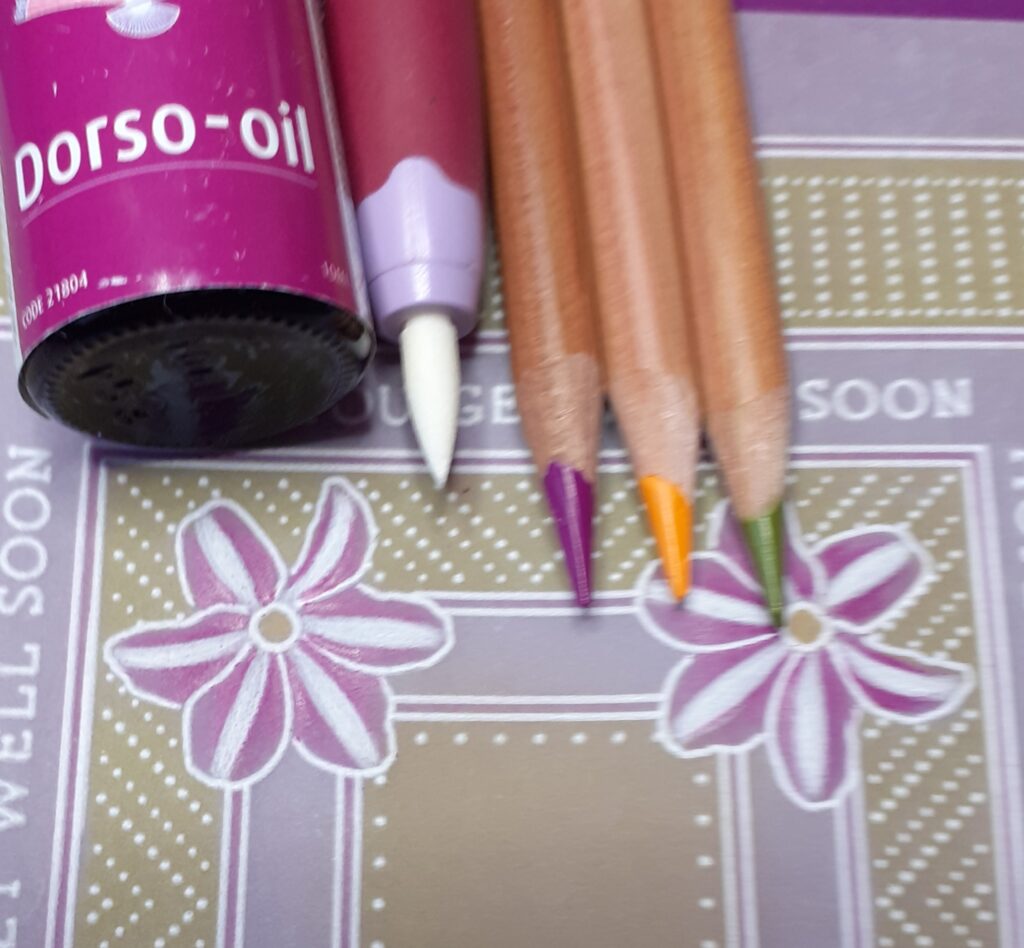
Dorso Oil (PER-CO-70066-XX)
Pergaliner Pencils (PER-CO-70063-XX)
Plain Parchment (I used A4 but A5 could be used)
Groovi Guard (GRO-AC-40345-XX)
Groovi Tabs (GRO-AC-40437-XX)
Amazonia Companion Paper (ACC-CA-31344-88)
6×6 White Card Blank (ACC-CA-30618-66)
Glue Tape Runner (ACC-MS-31065-XX)
Gold Brads (PER-AC-70274-XX)
Tumble Dryer Sheet
Instructions
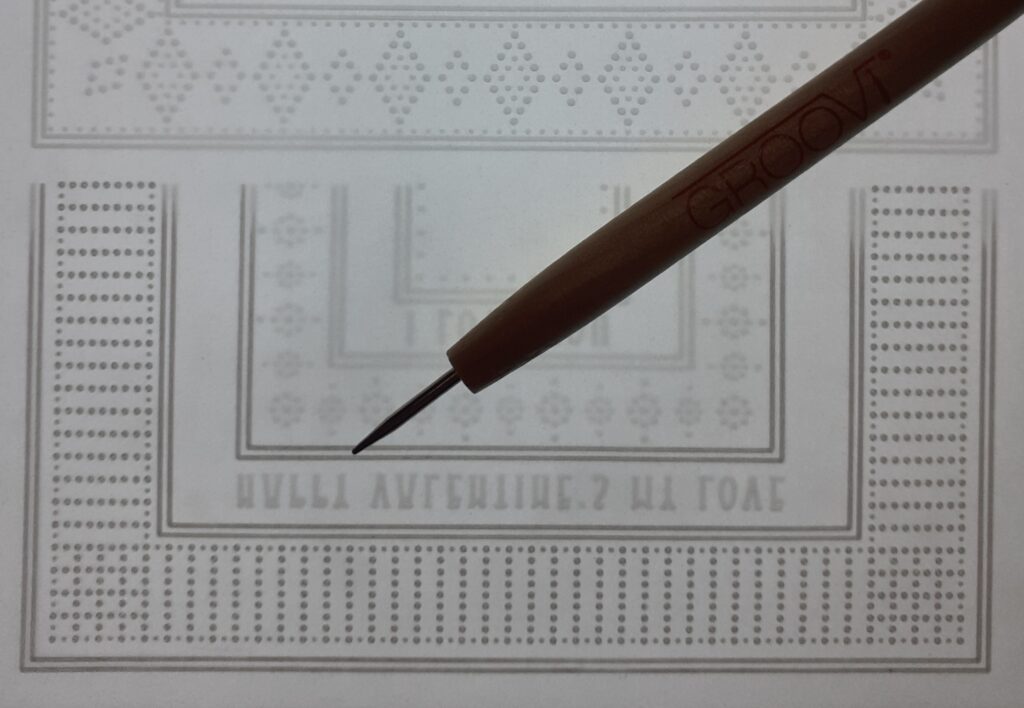
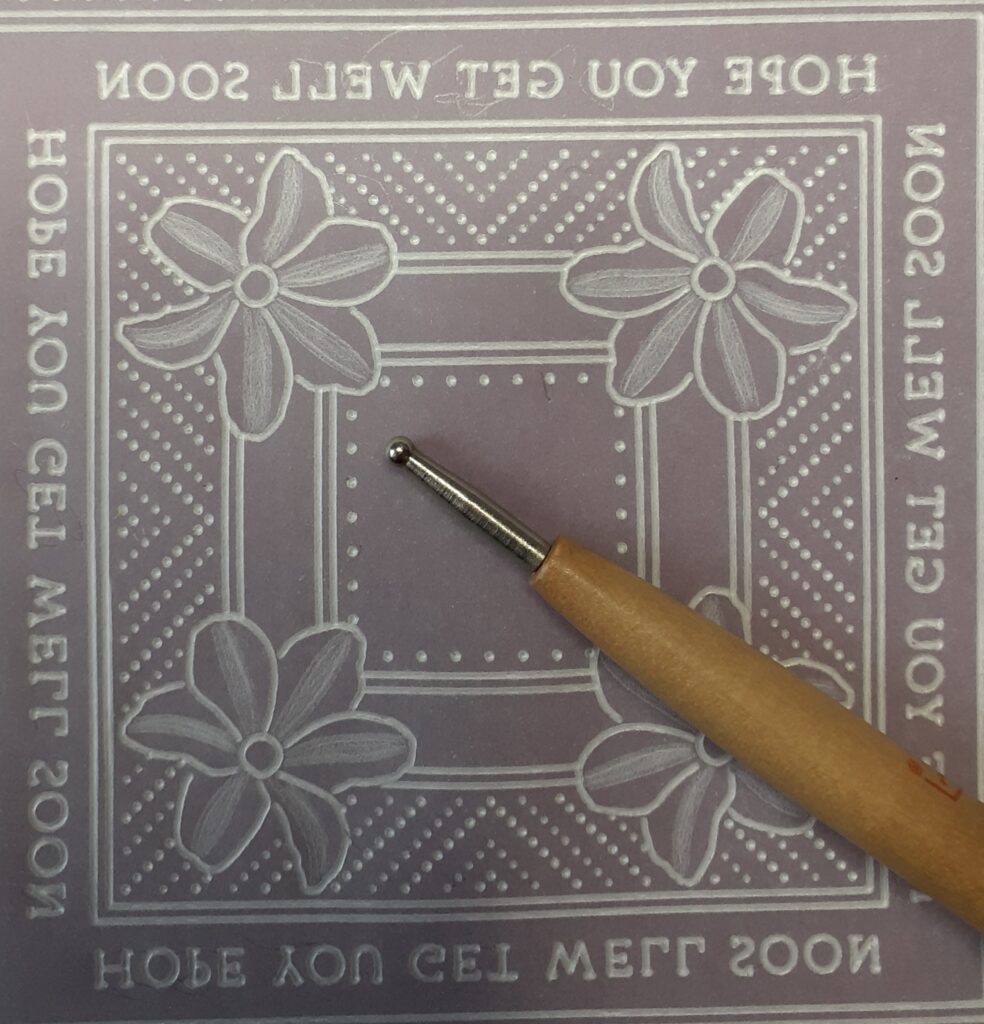
Step 1. Emboss the dots and 3 outer pairs of lines from the ‘Valentine’ corner (but not the greeting), using the No 1 Groovi tool. When embossing the two shorter lines, start at the corner but flick your tool off the parchment as you get towards the end of the line. This will give a neater finish when you complete the lines.
Step 2. I like to work the next two corners individually as I find this gives me a neater finished square. Realign the dots and lines you have embossed into the grooves in the plate and work the next corner.
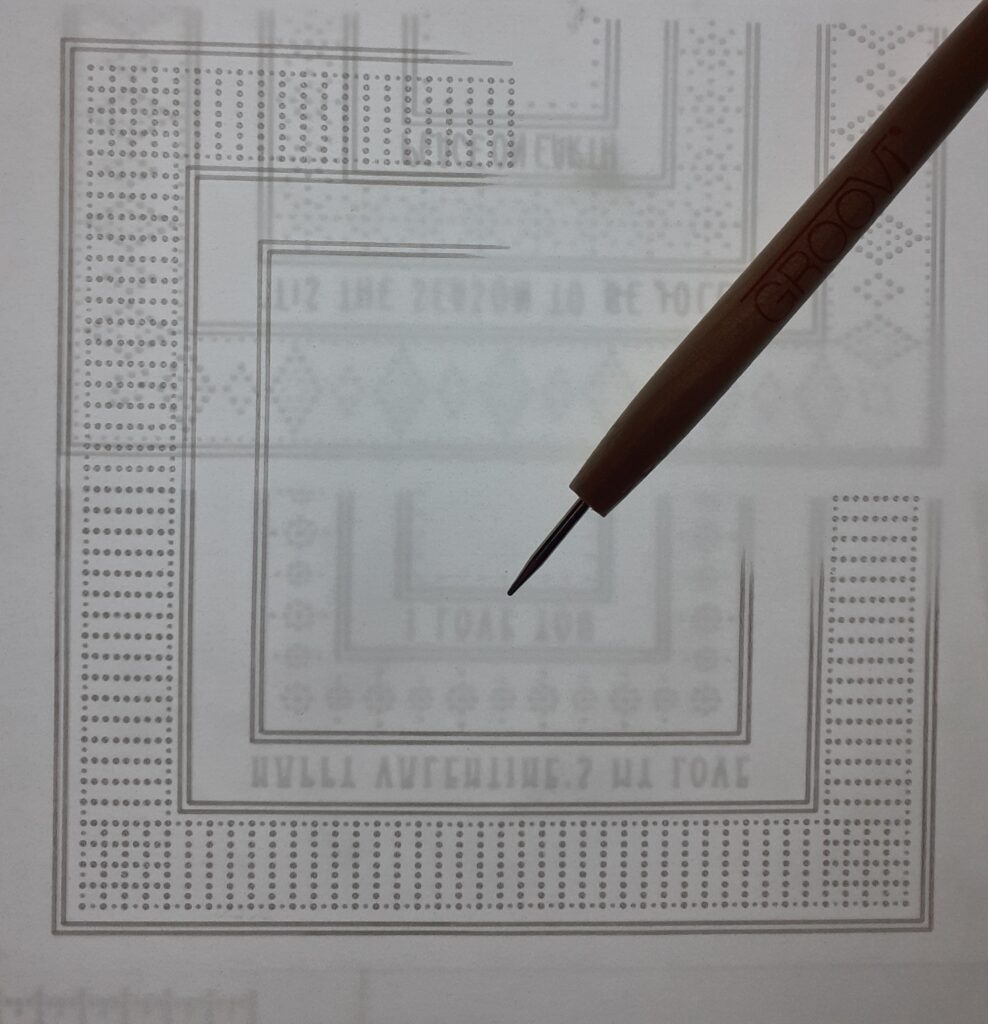
Step 3. You will find that when you work the fourth corner the lines don’t meet so you need to place them on the long lines in the plate and you can then join them up.
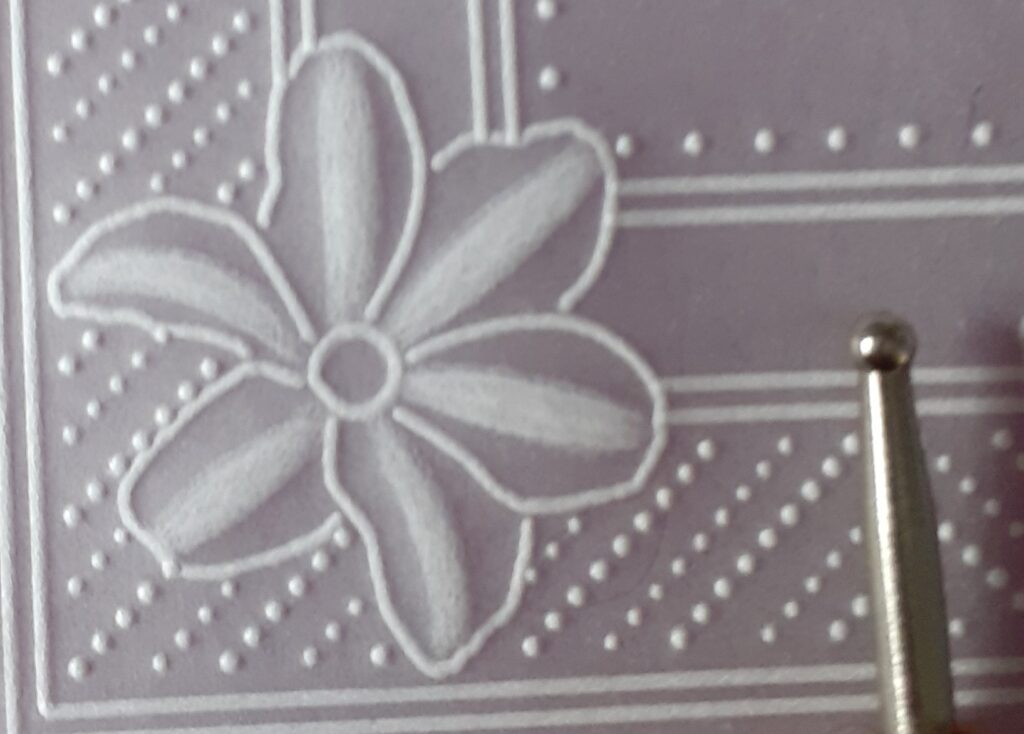
Step 4. Emboss the single clematis head in each of the four corners of your inner square, using the No 1 Groovi tool for the outlines of the flowers and the inner circle. Use the Groovi No 2 tool to emboss the two lines down the centres of each petal.
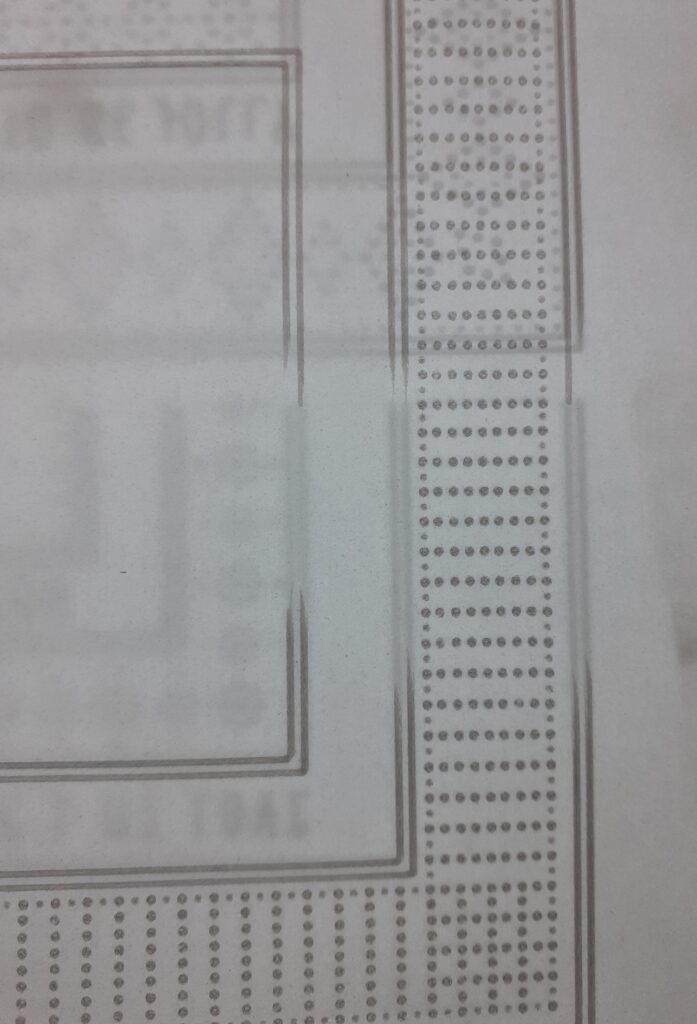
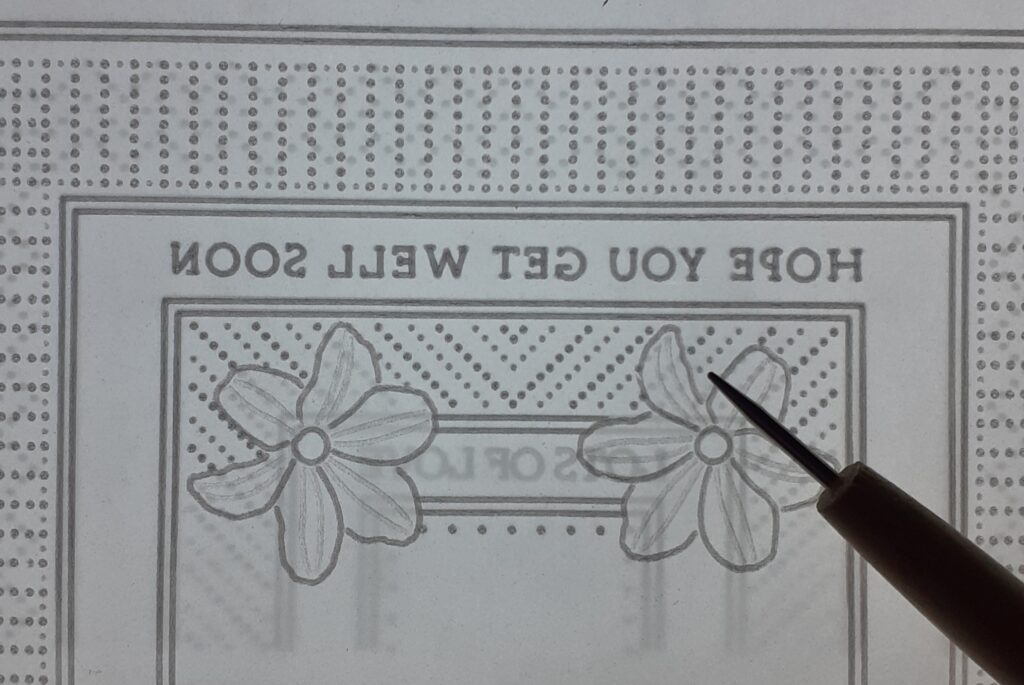
Step 5. Emboss the greeting, two inner pairs of lines and the dots using the Groovi No 1 tool between and around the flower heads. I find it easier to work all of the four sides seperately.
Step 6. On the back of your work, emboss between the double lines down the centres of the petal, with No 4 Groovi tool.
Step 7. Add another layer of embossing with the Groovi No 4 tool and allow the parchment to rest.
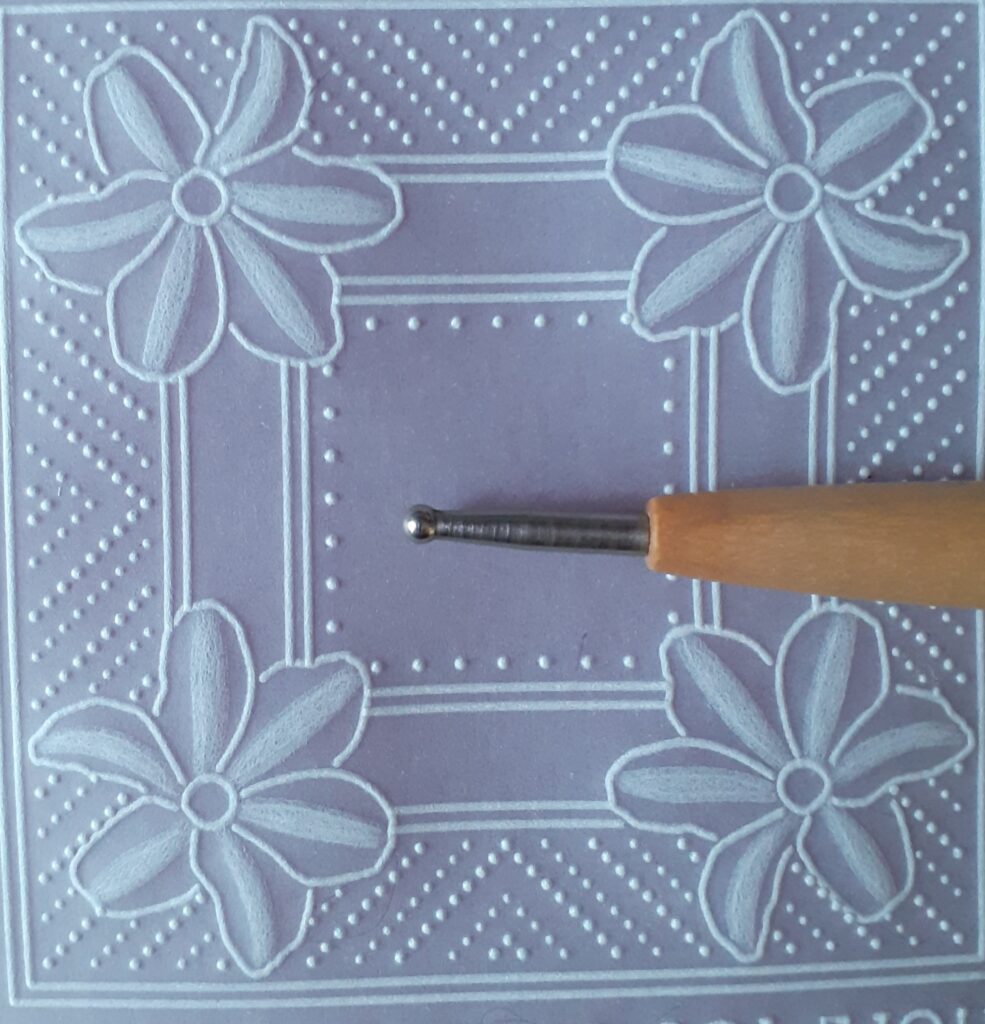
Step 8. A final layer of embossing can be added with either the No 4 or No 3 Groovi tool.
Step 9. All colouring on the back of the work is blended with dorso oil and blending nibs. Use the B15 pergaliner to add colour to the dotted areas of your work. The back of the flower petals are coloured with B14 for the petals and B9 in the centres. Colour between the pairs of lines with B14. Using a sharp B14 pencil, add colour to the front of the petals from the centres flicking out towards the tips – do not colour all of the petal as this is just to add depth to them.
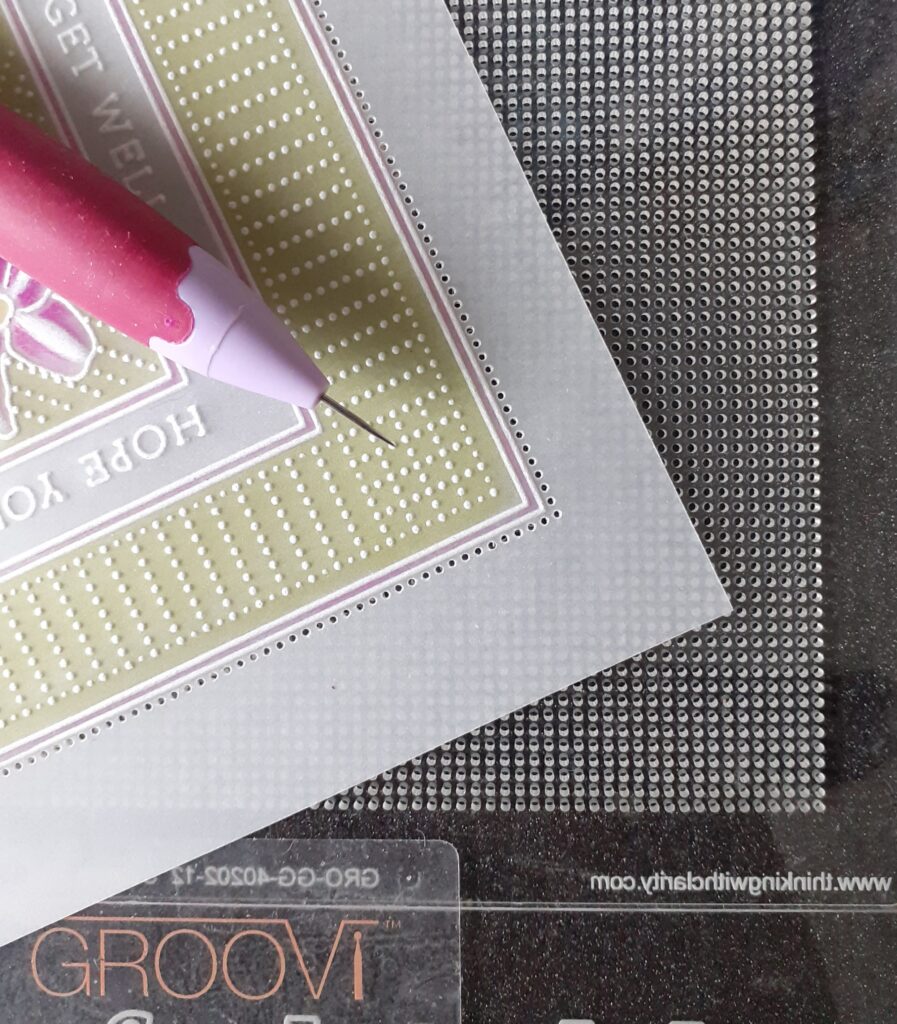
Step 10. Perforate around the outline of your work using the single needle tool on a the bold straight grid. Take time to line it up and attach securely with Groovi tabs to prevent it moving as you work.
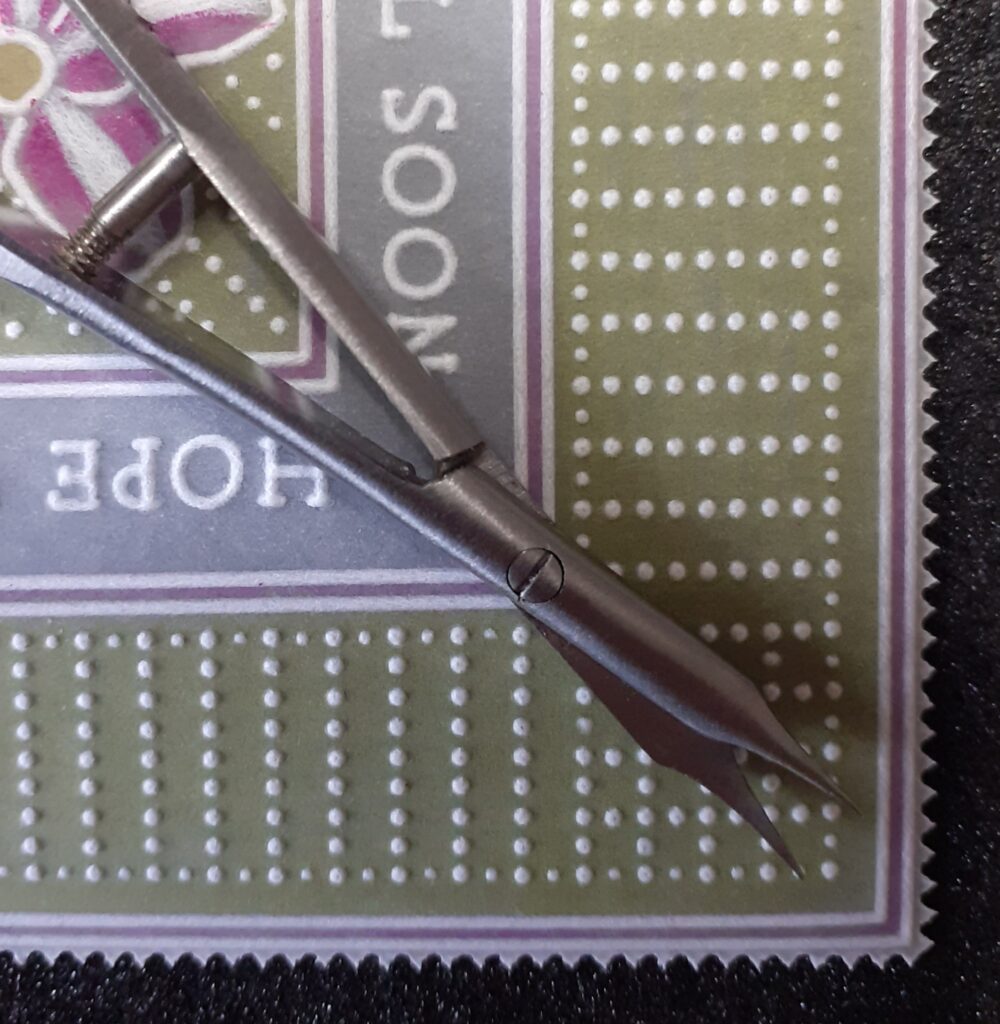
Step 11. Picot cut with scissors or Perga cutters.
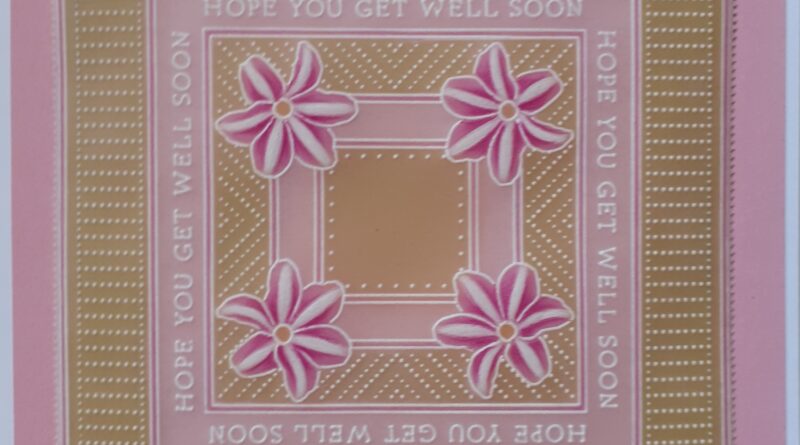
Step 12. Cut a piece of pink Amazonia Companion paper to a 5.5 inch square. Attach your artwork to it using brads and stick to your card blank with the glue runner. Your project is now complete!
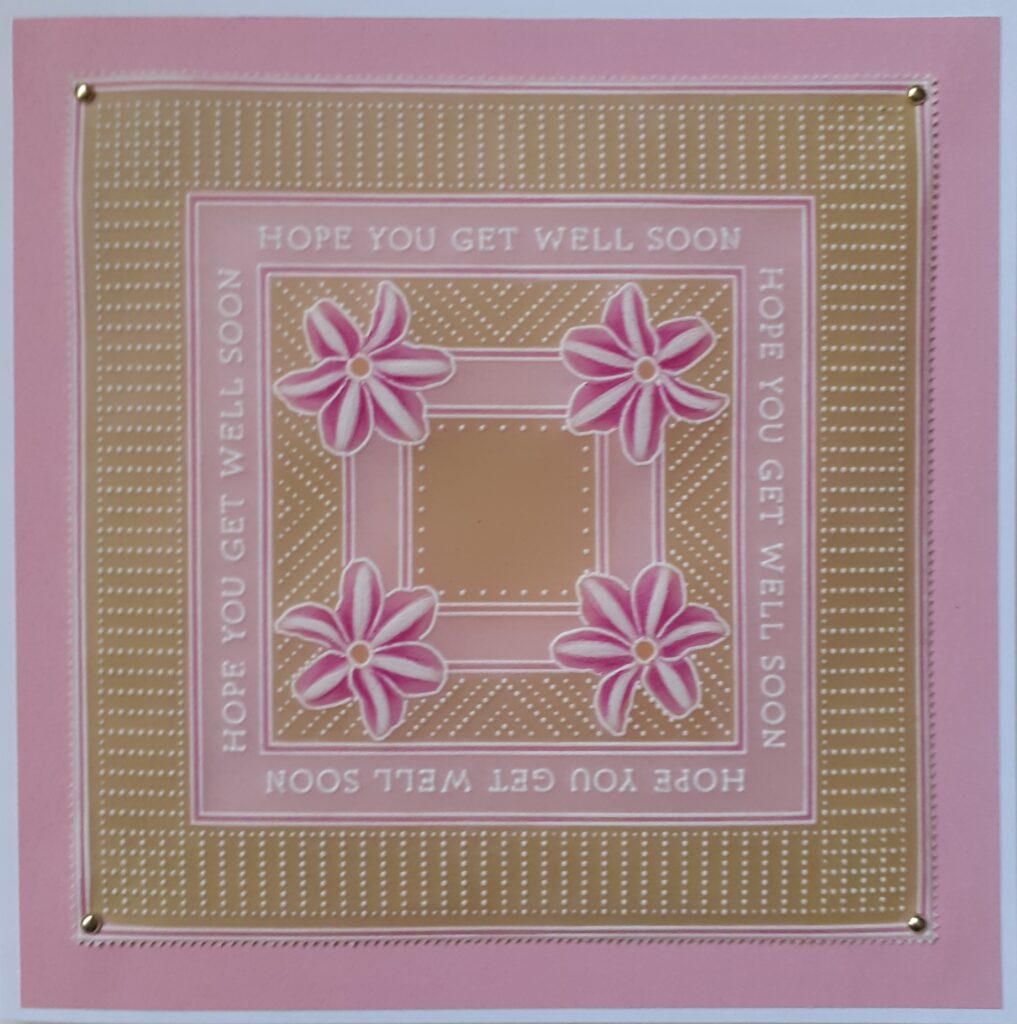
What a beautiful card!
Thank you, Josie, for sharing this step-by-step project with us. Another fantastic and easy to follow project that we imagine will inspire you at home!
Everything that Josie has used in this particular project is available in a shopping list, HERE.
Now, looking at the busy week ahead…
Sunday 14th April:
Felt by Clarity with Paul Church on Create & Craft, 3pm & 7pm
Monday 15th April:
In the SHAC with Barbara – 10am Live on Facebook & YouTube
Wednesday 17th April:
One Day Special with Barbara Gray on Create & Craft – 6pm & 9pm
One Day Special with Barbara Gray on Create & Craft – 10am & 2pm
Friday 19th April:
Craftalong with Barbara Gray – 7pm Live on Facebook & YouTube
Saturday 20th April:
Crafting with Clarity with Deborah Wheeler on Create & Craft – 1pm & 4pm
Paul is on Create and Craft today, 3pm and 7pm, with the Felt by Clarity range. Exciting!
And don’t forget that the Pergamano Party ends tomorrow night! Head over to the Pergamano website to make the most of the sale prices 🙂

Travel gently, friends.
Lotsa love, Grace & Josie xoxo
Clarity – The Home of Art, Craft, and Well-Being.
What a lovely card to receive if you’re unwell. Great instructions. Think I’d have to make a few in advance or the recipient may have recovered before I finish (lol)
Thank you Josie, what a pretty card, I have found a substitute for the flower as I only have set 1 but I think it will work. Like sympathy cards I never have a get well soon card when I need one so I plan to do this ready for that time.
Another busy week at Clarity Towers so I have put todays shows on to record as the sun is shining & I really need to help tidy the garden before OH removes a plant thinking it is a weed !! Although he is getting better & has lots of seeds growing – both flowers & veg so I mustn’t complain. My mom did raise the question what will happen when you are down in Kent so I must ask that question to him before its too late to organise anything !!
Have a good week everyone, thanks Grace for doing these blogs every weekend xx
Lovely card. Thank you.
Pretty card, great step by step, thank you Josie and Grace.