Clarity Matters Blog Tutorial: How To Use Circular Grids to Frame Your Work
Hello hello! Grace here.
I hope this finds you well, safe, and feeling calm. We at Clarity hope that you’ve had a restful and lovely Christmas period. We have! It’s been lovely being home. Just what the doctor ordered 🙂
Sorry there wasn’t a Saturday Share blog yesterday. I’ll get back on it shortly, I promise. For now, I’m making the most of spending time with Mum and Dave, and just traveling as gently as possible. I’m sure you understand <3
We are joined this weekend by the fabulously talented, Glynis Whitehead.

Woodland Animals in a Frame
I saw this back issue from the Groovi New Design Club and thought ‘what a great card for either a man or a woman to receive’. Hence this blog. Check out all of the back numbers of the New Design Club, as there is so much treasure there.
Ingredients
New Design Groovi Club Back Issue #56 – Hare, Fox and Badger A6 Sq Groovi Plate (GRO-AN-41531-01)
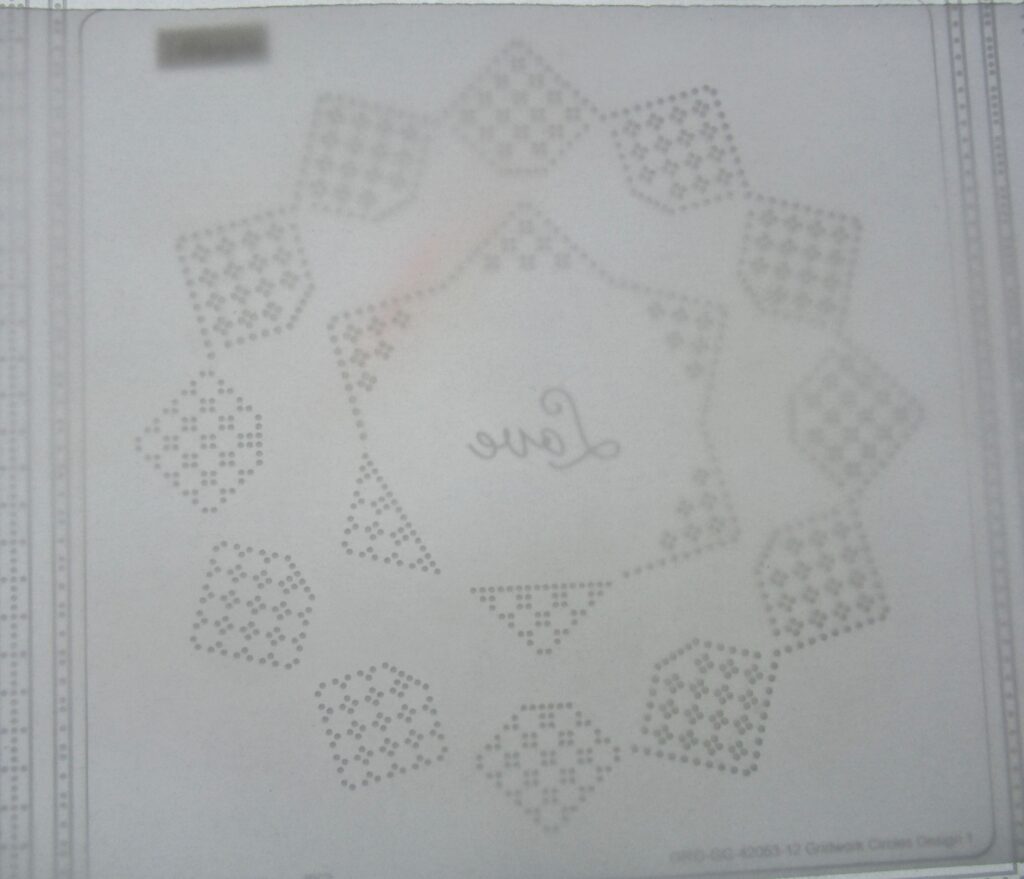
Josie’s ‘Love’ Circular Lace Duet A5 Sq Grid (GRO-GG-42053-12)
Nested Circles A5 Sq Groovi Plate (GRO-PA-40051-03)
Deluxe Groovi Plate Starter Kit & Butterfly Wreath A5 Sq Plate (GRO-SK-41709-XX)
Rainbow River Designer Paper (ACC-CA-30539-88)
Pergaliners B Pencils (PER-CO-70063-XX)
Dorso Oil (PER-CO-70066-XX)
Blending Nibs (PER-AC-70299-XX)
Blending Pen (PER-AC-70300-XX)
1 Needle Bold Perforating Tool (PER-TO-70028-XX)
2 Needle Fine Perforating Tool (PER-TO-70037-XX)
*Alternatively the 2 Needle Bold Perforating Tool (PER-TO-70279-XX)
Mix Mat for Oil (PER-AC-70304-XX)
A4 Piece of Plain Parchment (GRO-AC-40024-A4)
7 x 7″ Craft Card Blank (ACC-CA-30754-77)
Gold Pergamano Brads (PER-AC-70274-XX)
Roll-A-Tape Permanent Glue Tape Runner (ACC-MS-31065-XX)
Method
Step 1. Cut the piece of parchment in half to make 2 A5 pieces. On a trimmer, this will be at 14.8 cm. Then line an A5 piece up on the circular grid. Make sure the grid is the right way up for embossing dots. You can perforate and emboss dots on this grid without having to turn it over. If you can read the Claritystamp web address correctly you have it the right way up.
Step 2. With the bold 1 needle Perforating tool, perforate all the holes around the grid. When you run out of holes on the grid, move the paper around and you will find that the perforated parts, will ‘plug’ into place. These grids are so easy to use.
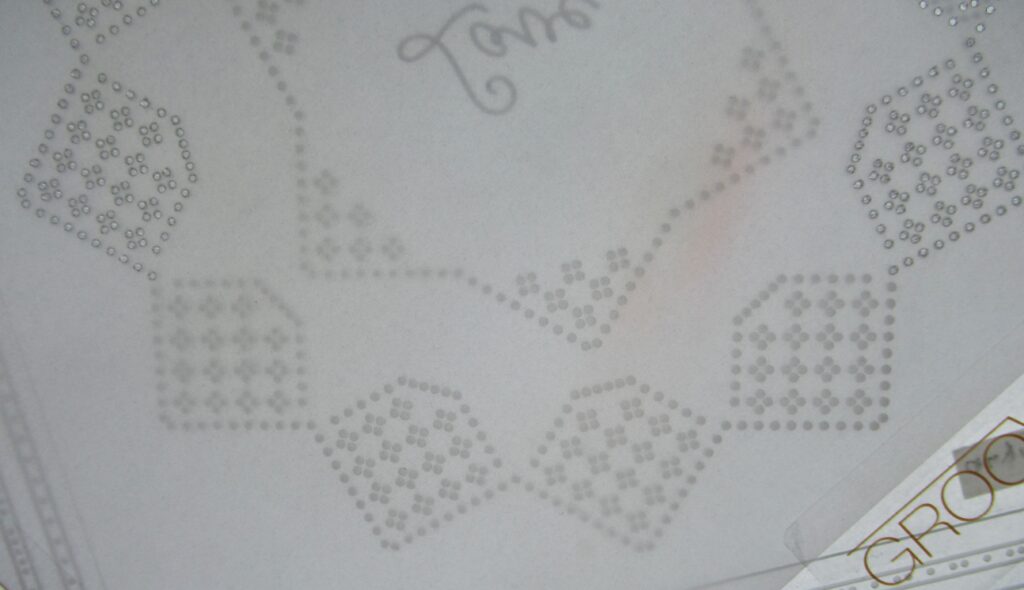
Step 3. Working on the back, line up the work so that the dots fit in between the perforations, then use the number 2 tool from the starter kit to emboss all the dots. Move the work around the grid until the whole circle has embossed dots.
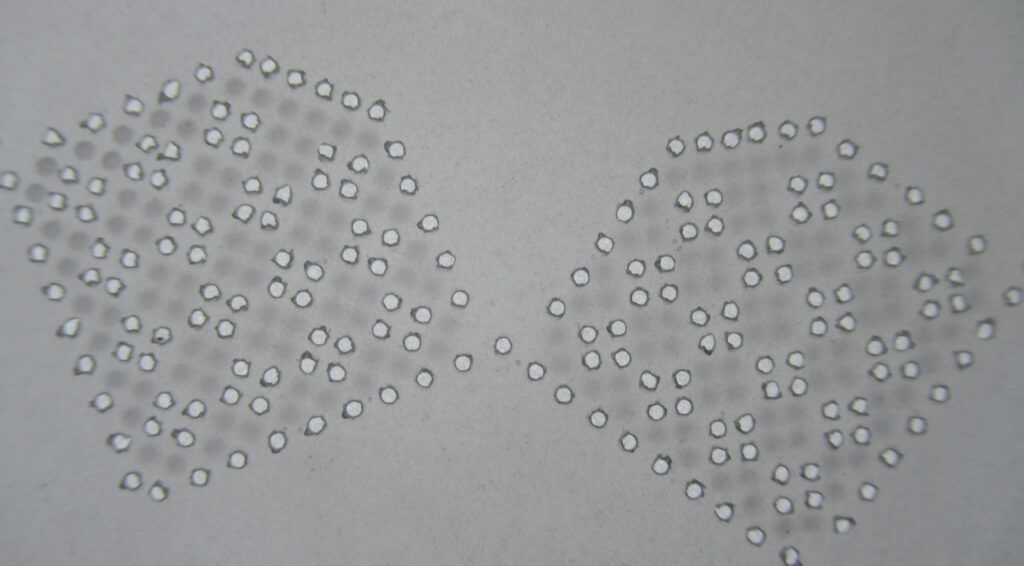
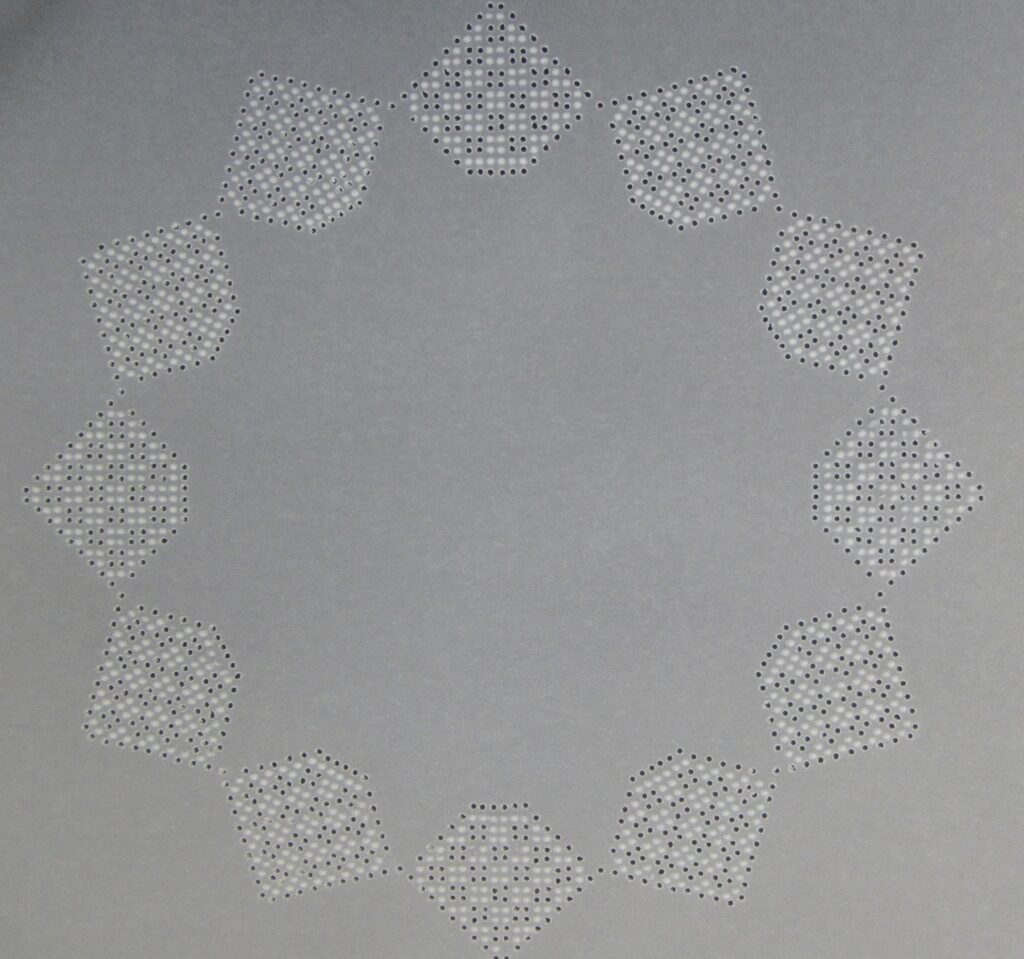
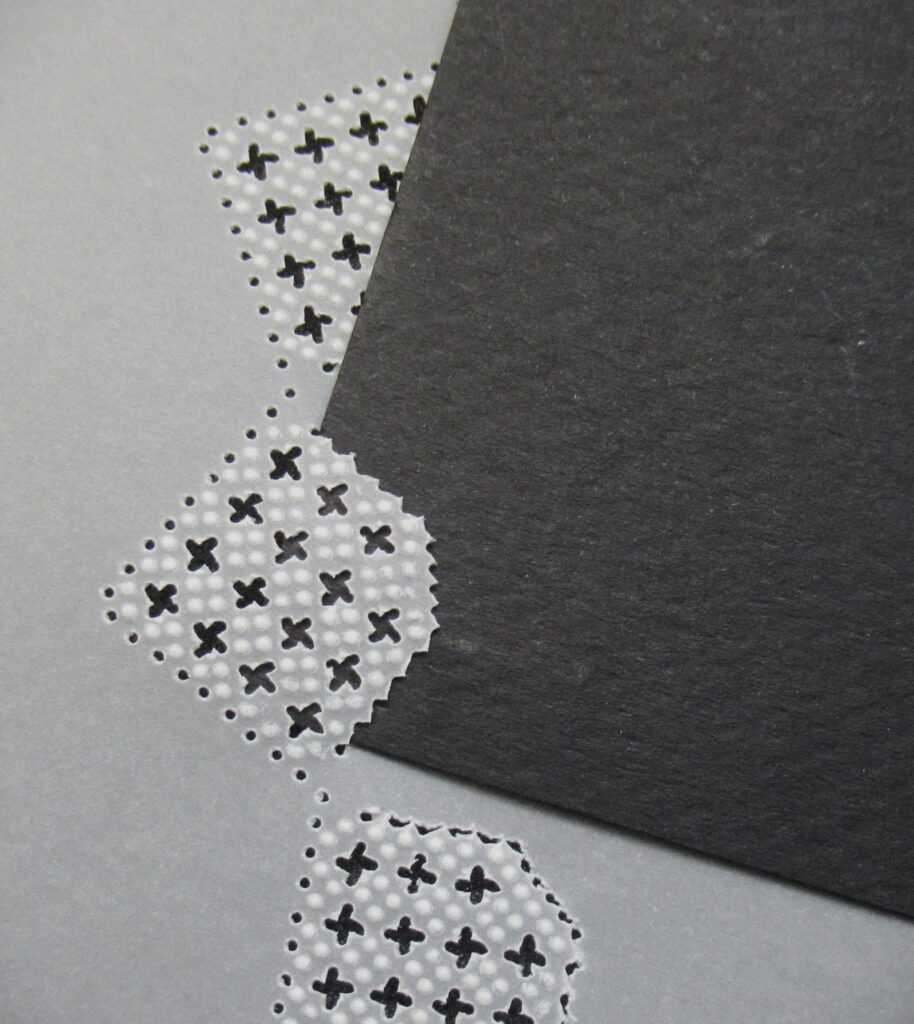
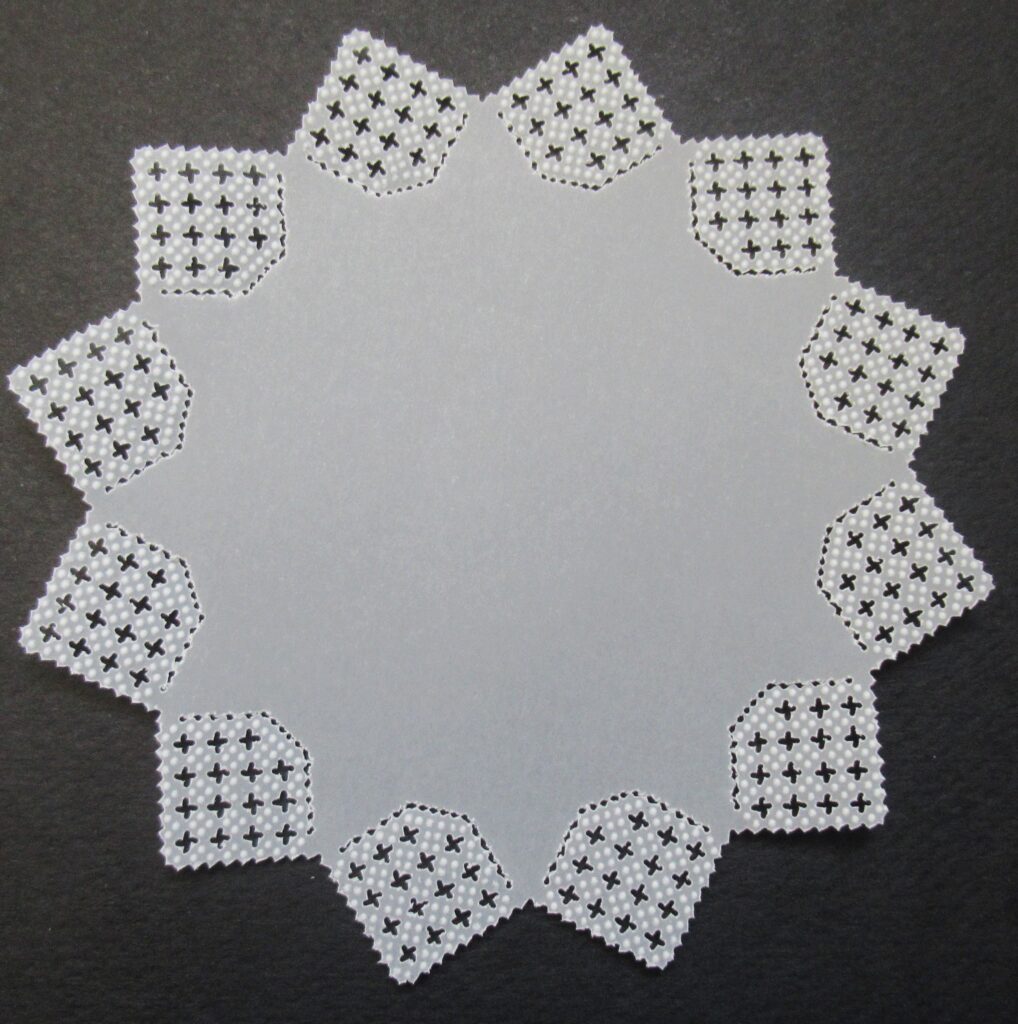
Step 4. Snip out the grid, the crosses first, then the inside part of each scallop and then the outside. Snip all the diagonal perforations first when snipping around the edges. When snipping round the inside of the circle, make sure not to snip into the perforations at the top.
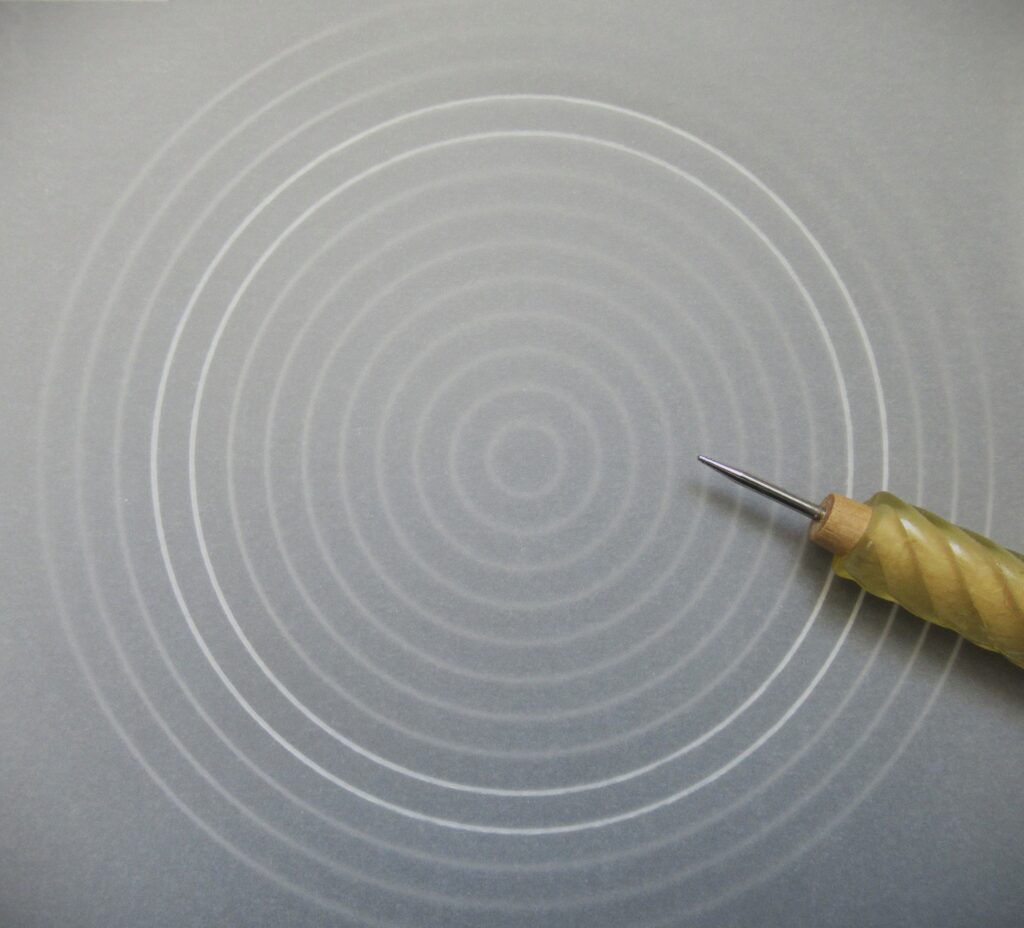
Step 5. Now that the frame is complete, move on to making the focal point. Line up the second piece of parchment onto the nested circles and emboss the 4th and 5th lines in from the outside edge.
If you are using a different circular grid, you will need to hold the nested circle plate up to your finished frame and see which size will fit.
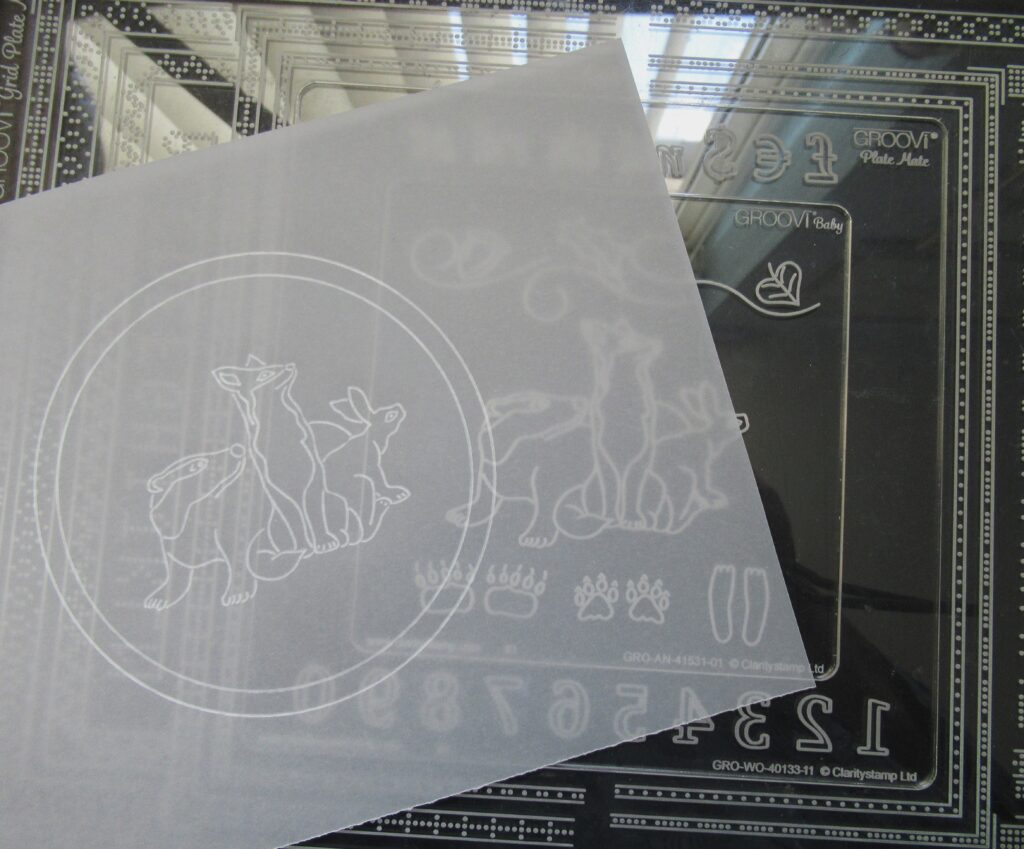
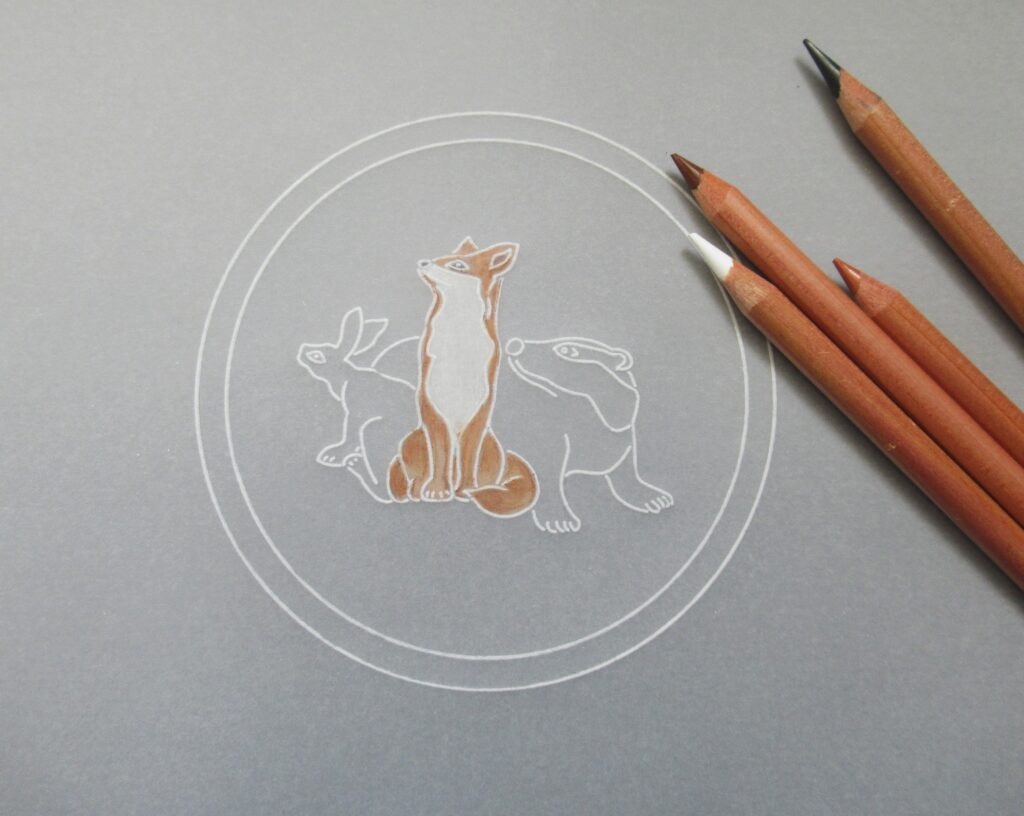
Step 6. Take the hare, fox and badger plate, fit it into the numbers, ovals and tags inset plate – this will then fit into the A5 square plate mate, and now your baby plate will fit nicely. Centralise the animals within the circle, and emboss with the number 1 tool.
Step 7. Working on the back, colour the fox in with B12 for his body, B1 for his ‘bib’, and B2 for his eye and nose. Then turn over the work and colour on the front. Add a little of the darker brown (B3) around the edges, including the outer edge of the ‘bib’.
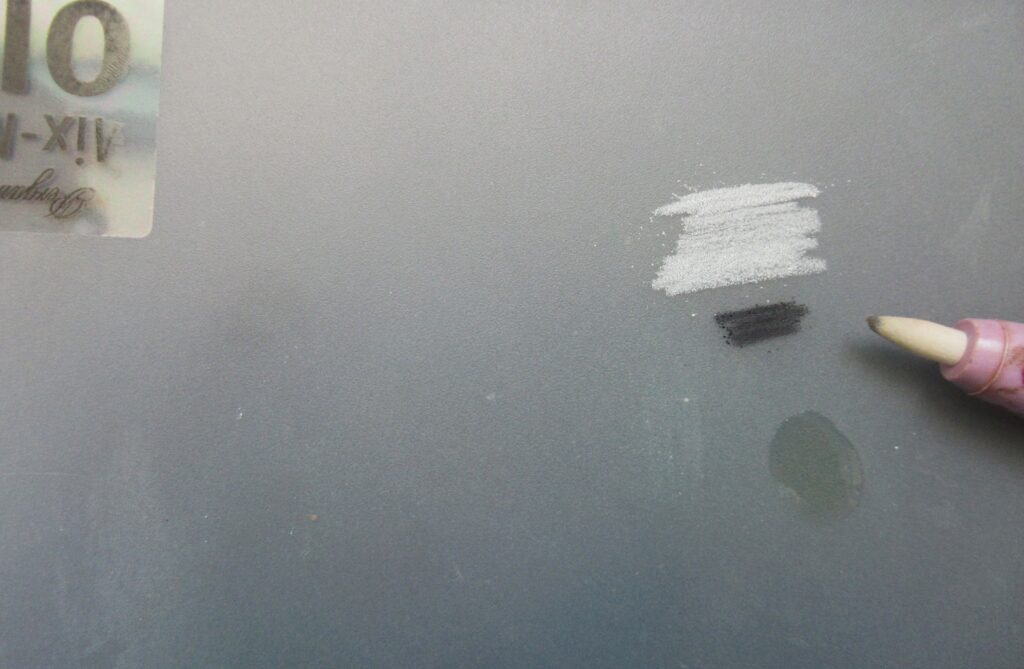
Step 8. Do the same with the hare, but do not use the white. When it comes to the badger and you need a grey for the body of the animal, use a mix mat (for oil) and scribble out some white and a small amount of black, then add a dot of Dorso oil and mix the colours until you get the colour grey you want. Pick up the colour on a blending nib and apply it to the body. The part around the eye will be black and the side of the head, white. The eye and nose black. Allow the colour to dry on the back, then turn the work over and add some shadows to the front. Then add some green underneath the animals to ‘ground, them and into the frame (B6).

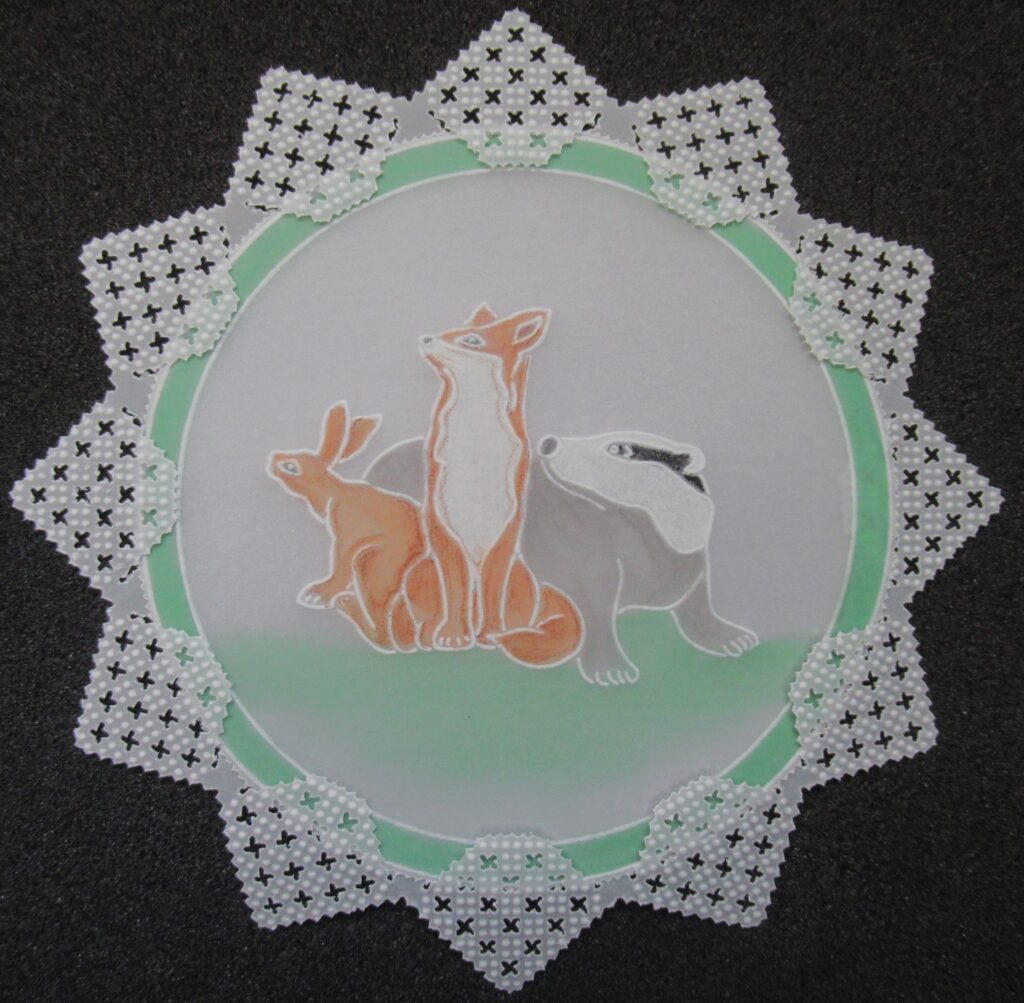
Step 9. Go around the outside of the circle with a two-needle perforating tool and then snip out the work. Turn the work as you go and your picots will be nice and even.
Step 10. Fit the circle into the lace frame. Go very gently at this stage because it is very delicate and easily torn.
Step 11. Cut your background paper to 5.5 x 5.5 inches and attach the work with Perga Brads. Then use the Roll-A-Tape to affix the piece onto a 7 x 7 inch craft card blank.
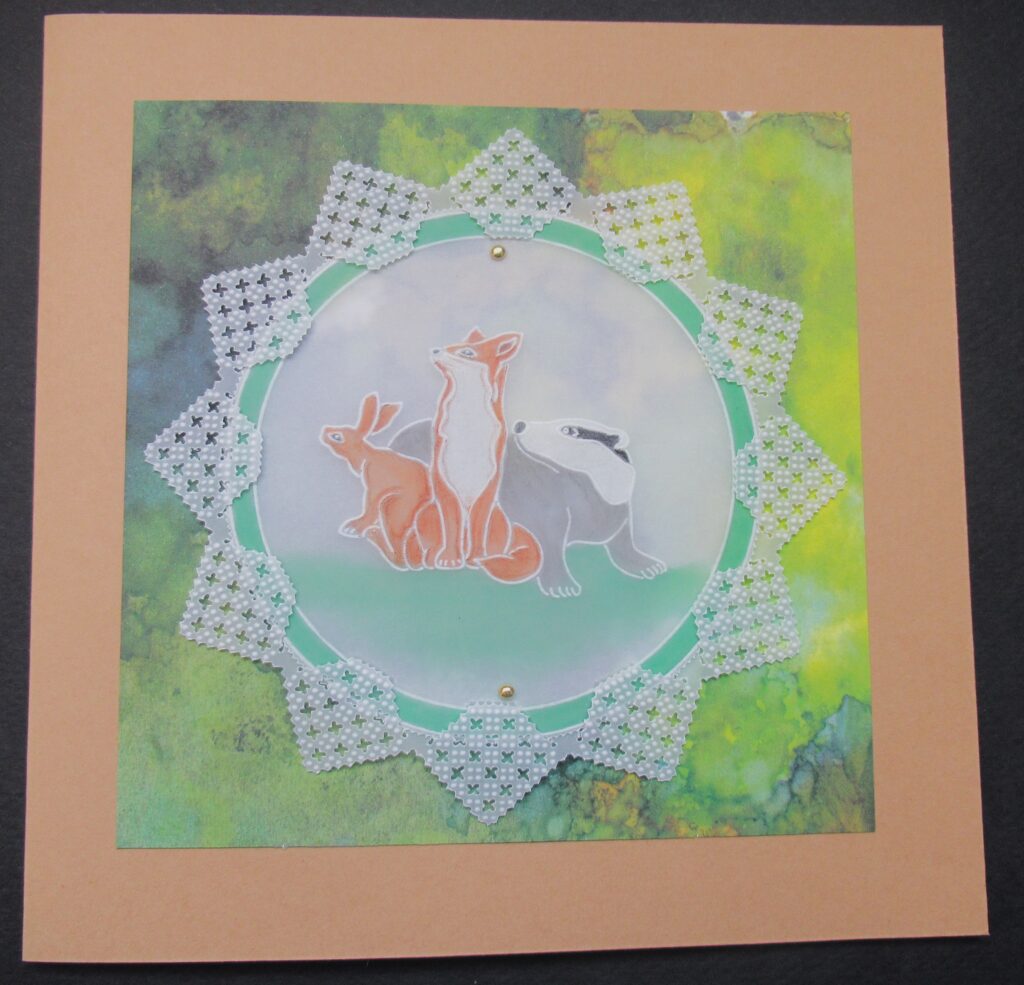
What a fantastic project! Very cosy and British vibes, which match up with this time of year. Thank you, Glynis, for sharing your tips and tricks with us.
Everything that Glynis has used in this particular project can be found in a shopping list, HERE.
Now, looking at the week ahead…
Tuesday 2nd January:
Groovi Tuesday with Paul – 10am Live on Facebook & YouTube
Thursday 4th January:
In the SHAC with Barbara – 7pm Live on Facebook & YouTube
Sunday 7th January:
Crafting with Clarity on Create & Craft with Barbara – 3pm-5pm – 2hrs
See you there!
Thanks for stopping by and checking in on our Sunday blog tutorial.
Travel gently, friends.
Lotsa love, Grace & Glynis xoxo
Clarity – The Home of Art, Craft, and Well-Being.
Thanks Grace & Glynis, a lovely tutorial, I do like these grids and need to use them more ! All good wishes for a Happy, Healthy, New Year to you and all the Clarity team xx
Great work Glynis and to both of you a very Happy New Year.
Great step by step Glynis, thank you.
Continue enjoying your downtime, Grace with your lovely family.
Wishing you all a very happy, healthy and peaceful new year.
Lynn x
Lovely tutorial and many thanks to all who have contributed to the tutorials or the Saturday share in the past year. Wishing all a healthy, happy 2024.
Another great project from Glynis, thanks for reminding us if all the fabulous projects included with the Groovi NDC. I really need to try & do a few more this year.
Glad you are having a good time with your family Grace, as your mom is always saying ”travel gently, one day at a time”.
As 2023 draws to a close may I wish everyone all the very best for 2024. There will bound to be ups & downs but hopefully more ups !!
Happy New Year
Sue x
Lovely project Glynis, a good reminder of the treasures lurking in our Club folders.
Missed your craft selection yesterday Grace but pleased you are able to spend valuable time with your family, it’s what Christmas is all about.
I have made just one new resolution for 2024 – to go through ALL my Groovi folders, to trace out those not yet traced as is, and to make a card from each one, and make an early start on next Christmas cards. Ambitious? Yes, but with all the adverse things thrown at us this past year Clarity has kept me going and for that I am grateful.
May I wish everyone in the great Clarity community a very Healthy and Happy New Year.
Another lovely project, thank you. Wishing everyone a Happy New Year especially you Grace spending time with the family. Xxxxx
A great step by step, thank you. Wishing all a Happy Healthy New Year. x
Thank you Glynis for the design I used it once for a great grandson. Not as good as yours. wishing you all a very happy healthy new year. Enjoy your stay Grace.lovely to be with family . Xxx