Clarity’s Matters Blog Tutorial: How To Do Resist Embossing
Hello hello! Grace here.
I hope this finds you well, safe and feeling crafty.
I’ve been looking forward this inky/stampy project! We’re joined by the fabulous Jane Telford, who is here to share her step-by-step tutorial with us. I’ll hand you straight over to the pro…

Black, White and Colourful
This was a sample I made using the Block Print Stamps that Barbara recently used on Create and Craft. This technique isn’t new. I saw it done a long time ago, so long ago that I can’t remember where I saw it or who by!
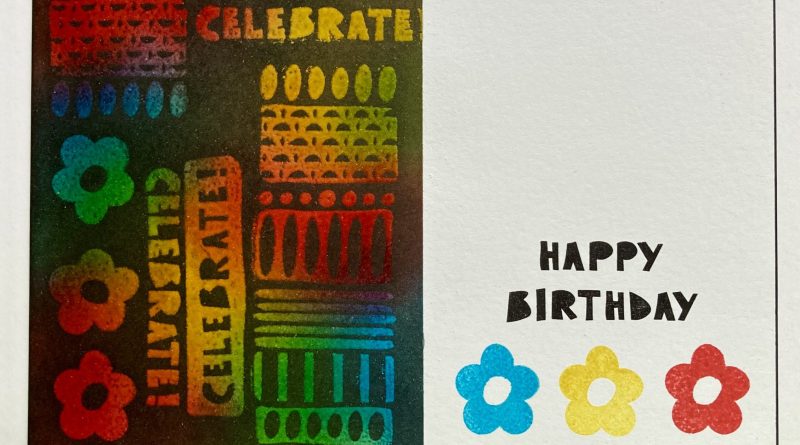
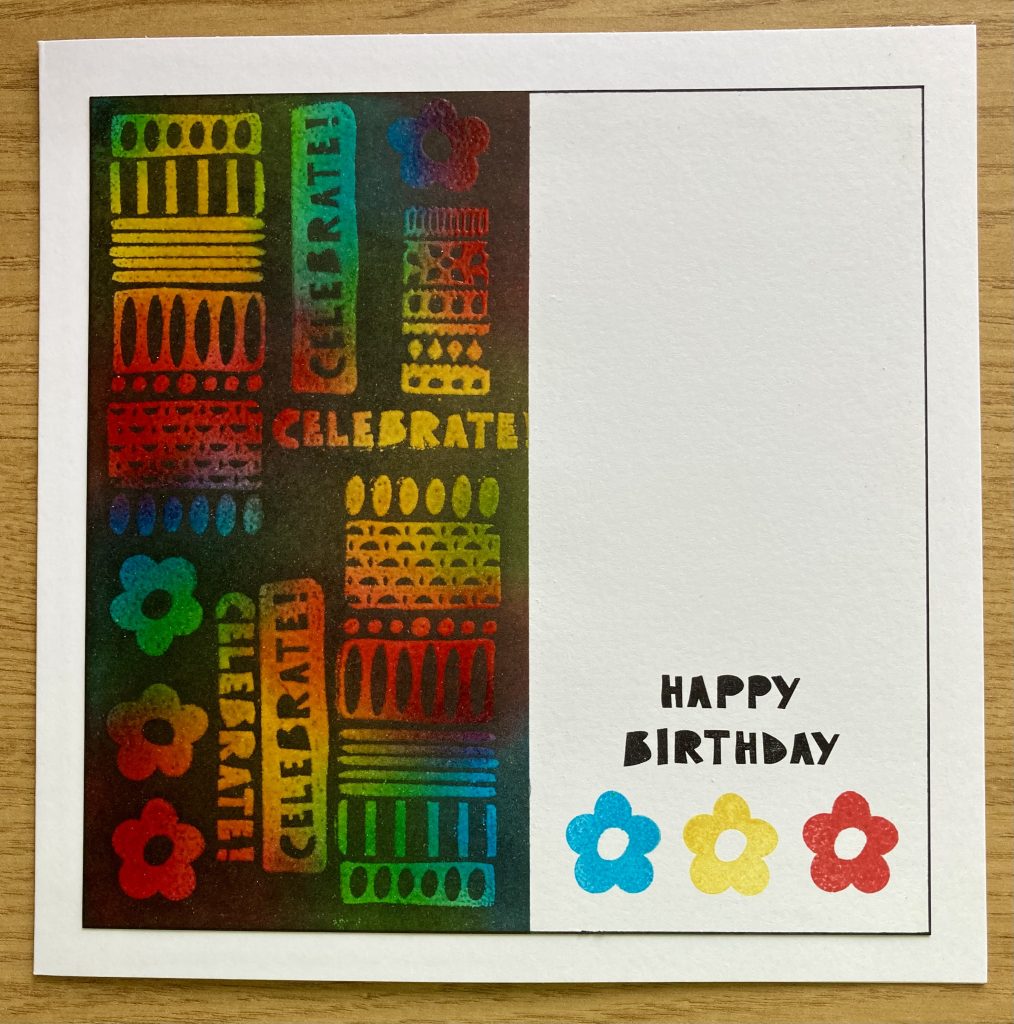
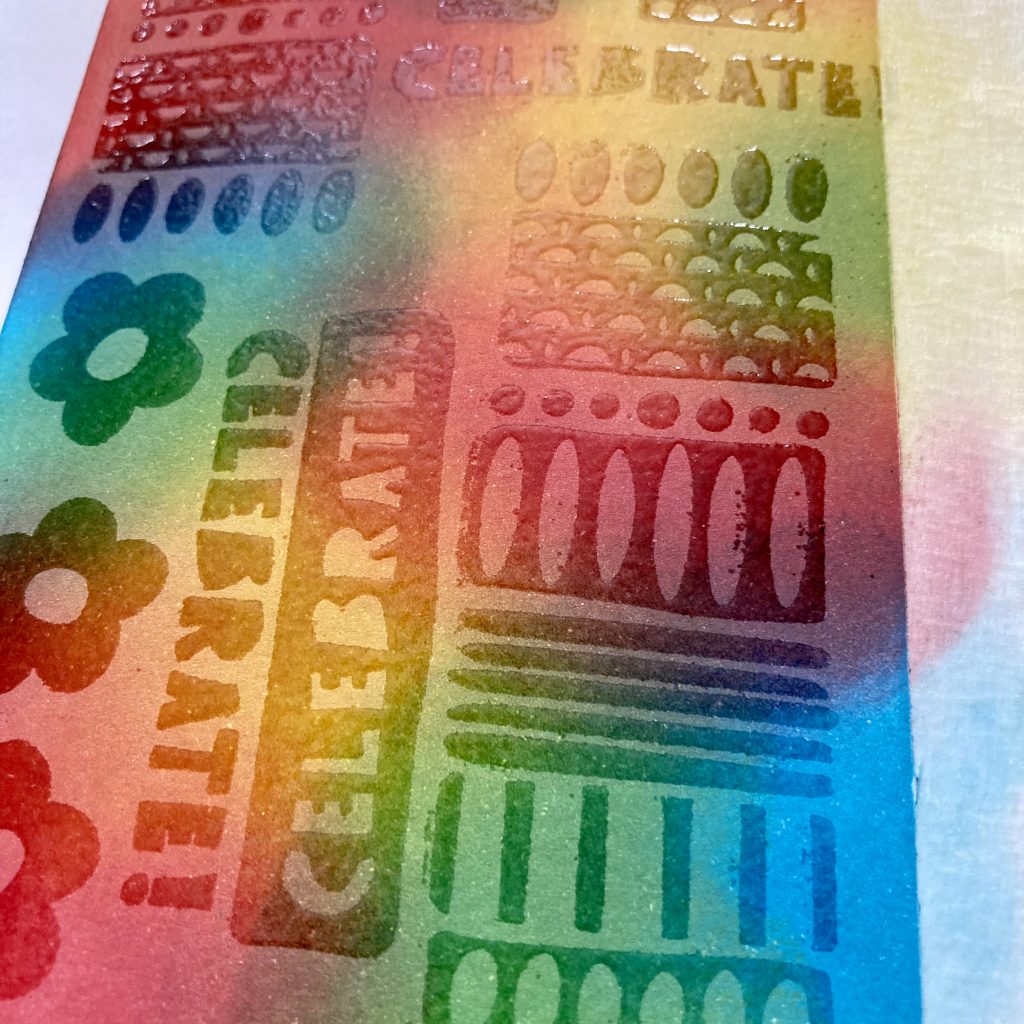
I like it, as it looks very dramatic when it is finished. This is where we are headed…
Ingredients
7×7 Stencil Card (ACC-CA-30095-77)
Barb’s Celebrate Elements Block Print A5 Stamp Set (STA-PA-11411-A5)
Barb’s Happy B-Day Elements Block Print A5 Stamp Set (STA-PA-11410-A5)
Low Tack Tape (ACC-AD-31211-XX)
A4 paper to mask off
Distress Inks:
Black Soot (INK-DP-50071-XX)
Mermaid Lagoon (INK-DP-50349-XX)
Festive Berries (INK-DP-50081-XX)
Mustard Seed (INK-DP-50089-XX)
Mini Alcohol Ink Applicator Tools (ACC-MS-30846-XX)
Artistry Ink – Blending Foam Pack (INK-AT-50230-XX)
WOW! Clear Ultra Slow Drying Embossing Pad (ACC-EM-31270-XX)
Embossing Powder Ultra High 15ml – Clear (ACC-EM-30463-XX)
Archival Ink Pad – Jet Black (INK-AR-50030-XX)
8×8 Card Blank (ACC-CA-30620-88)
Talc & A Soft Brush
Paper Towel
Black Sharpie Pen
Method
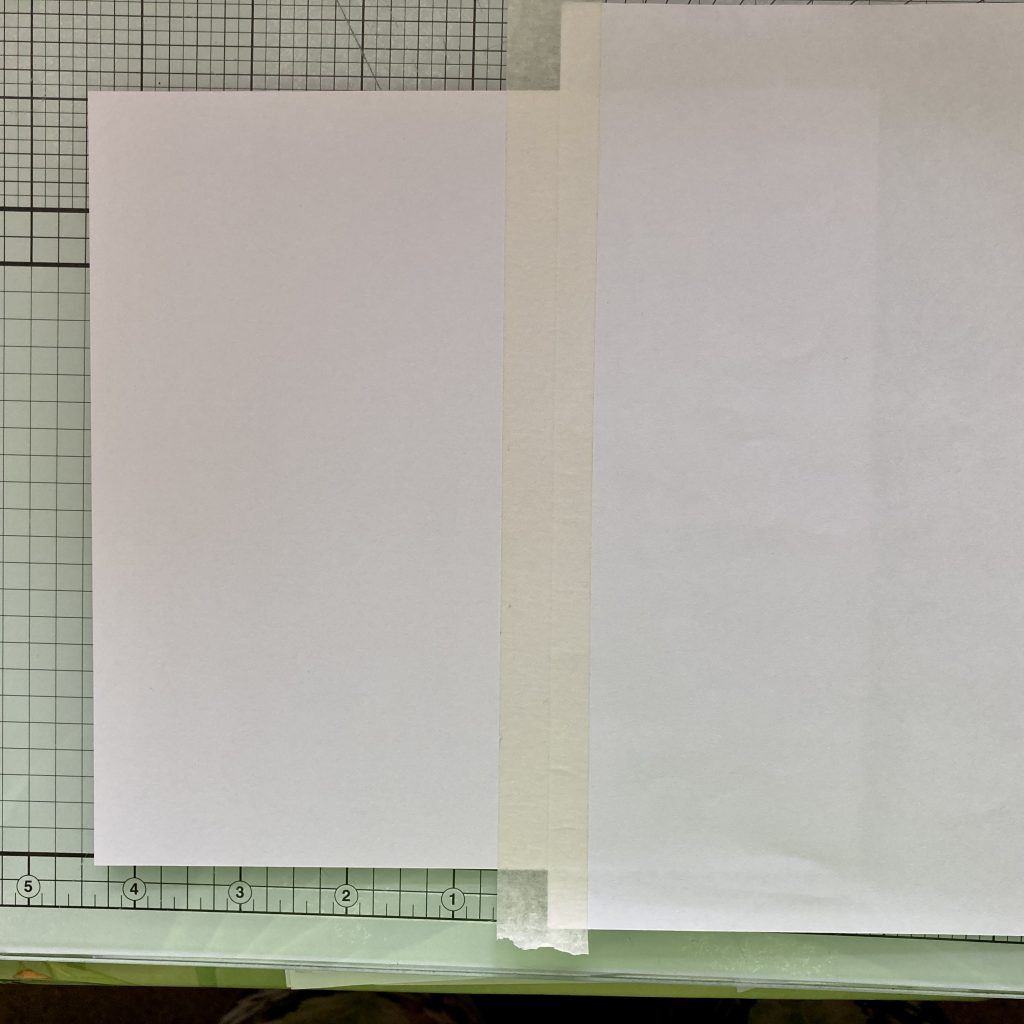
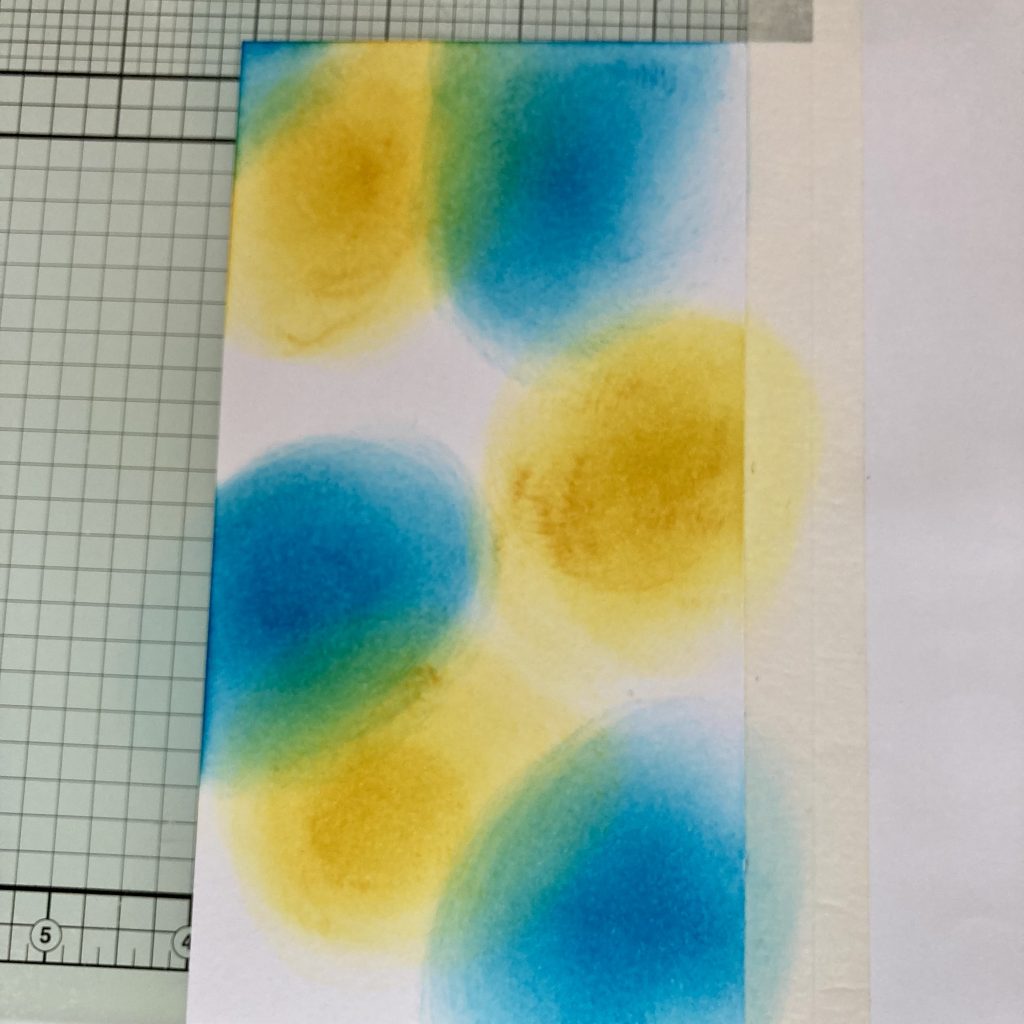
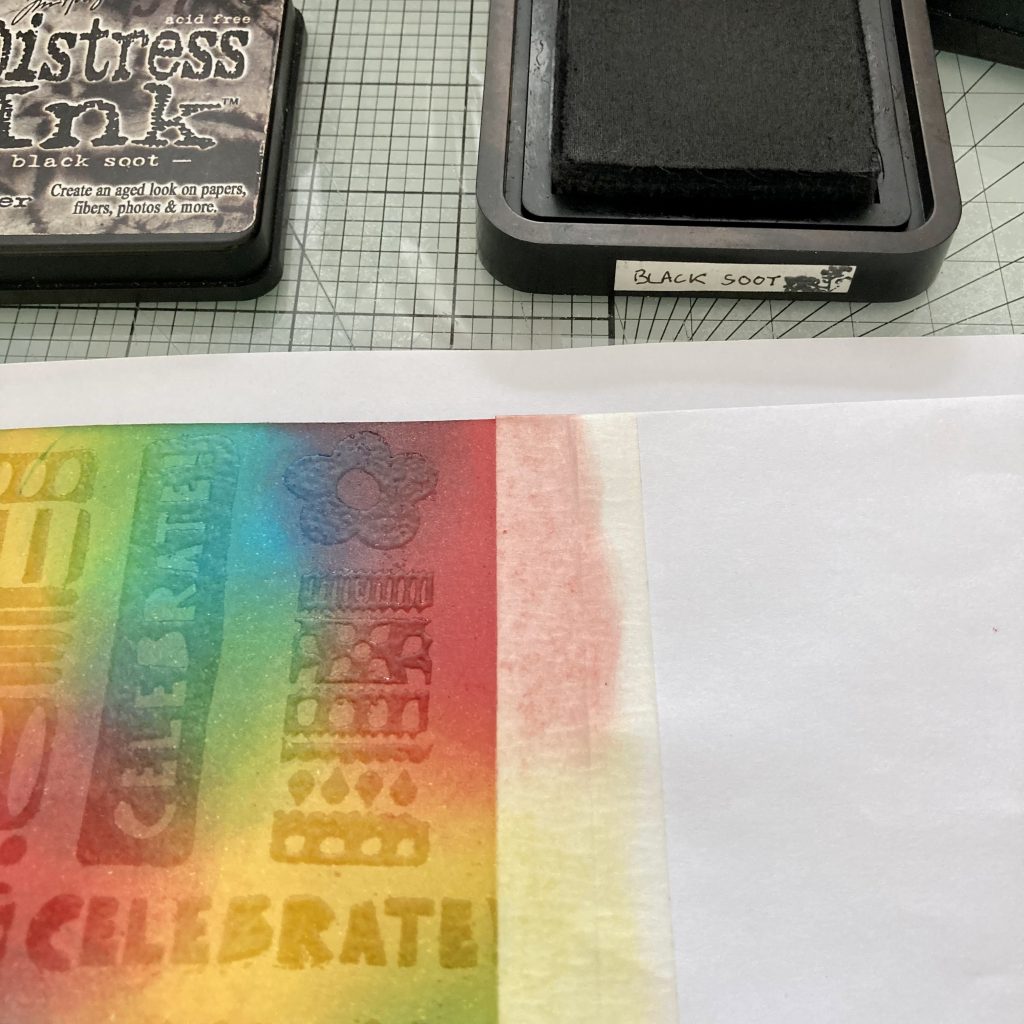
Step 1. Taking a piece of A4 paper and a piece of low tack masking tape, mask off just under half the card (leaving the bigger part open to work on).
Step 2. Use 3 bright colours of distress ink to colour that section of the card. Start with the lightest colour and then add the other colours so they overlap each other slightly.
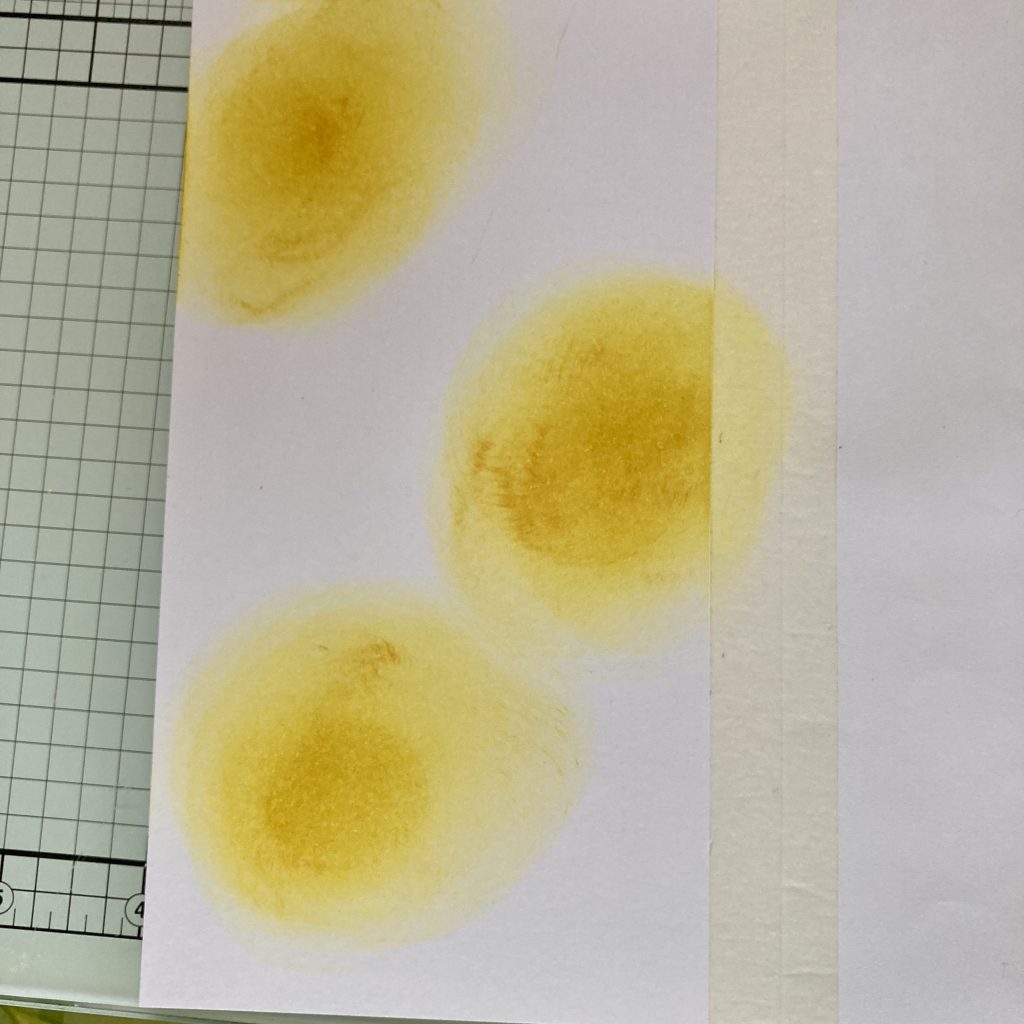
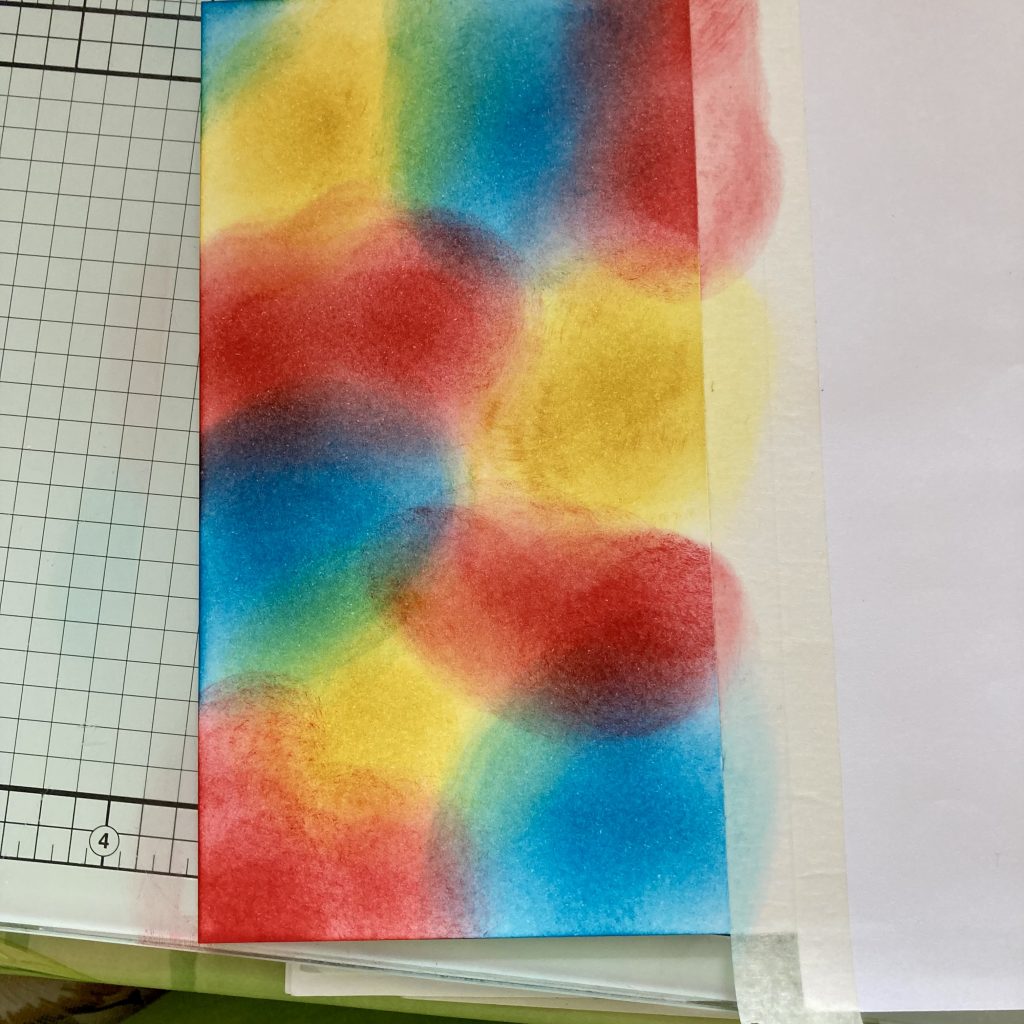
Step 3. Go over each colour again so that the background is really bright.
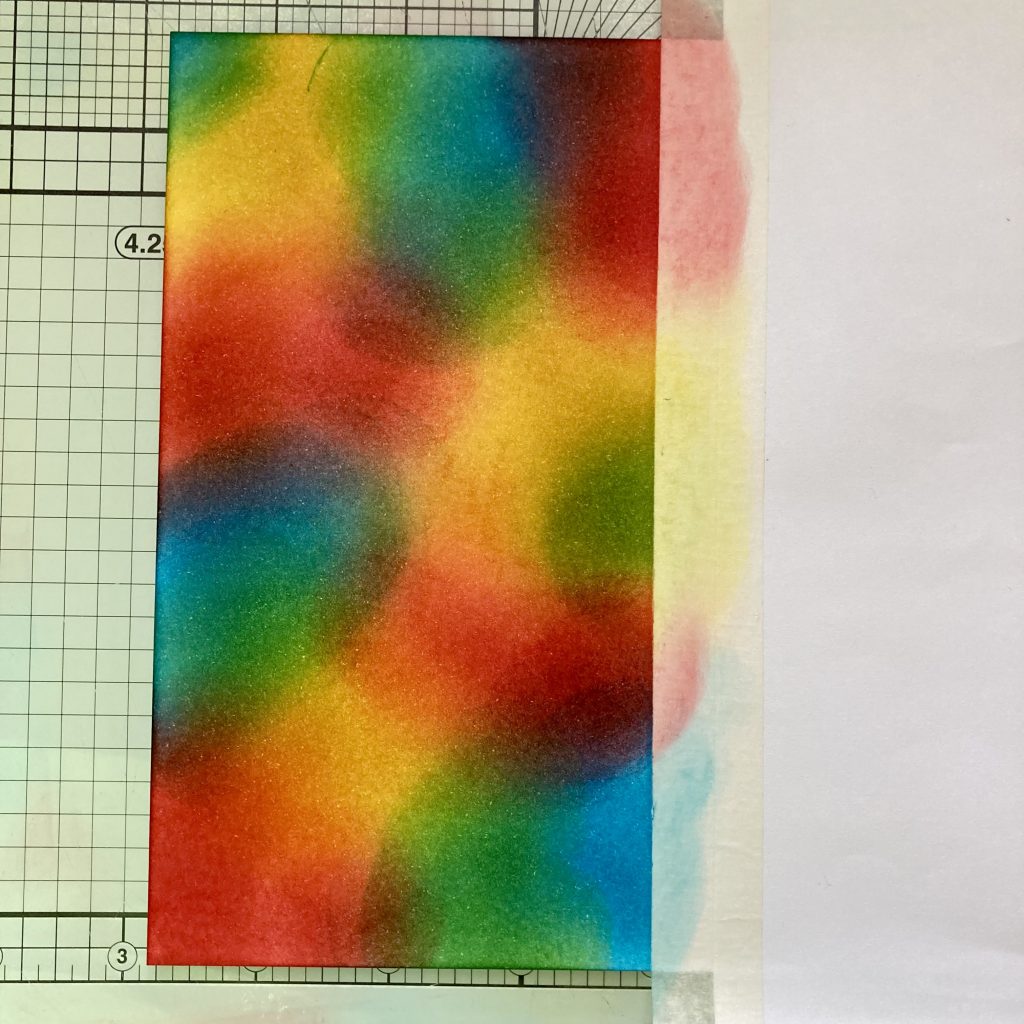
Step 4. Leave the mask in place and dry the ink. THIS IS VITAL!!
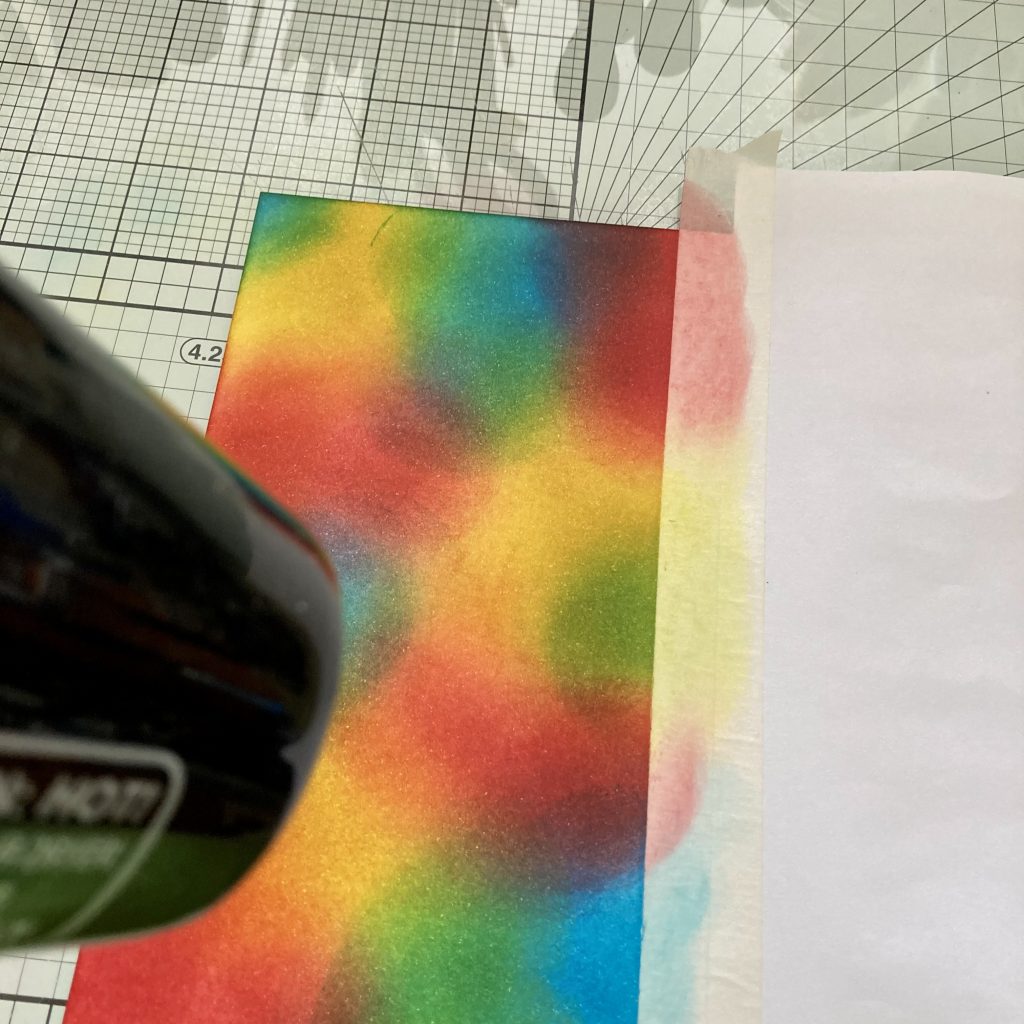
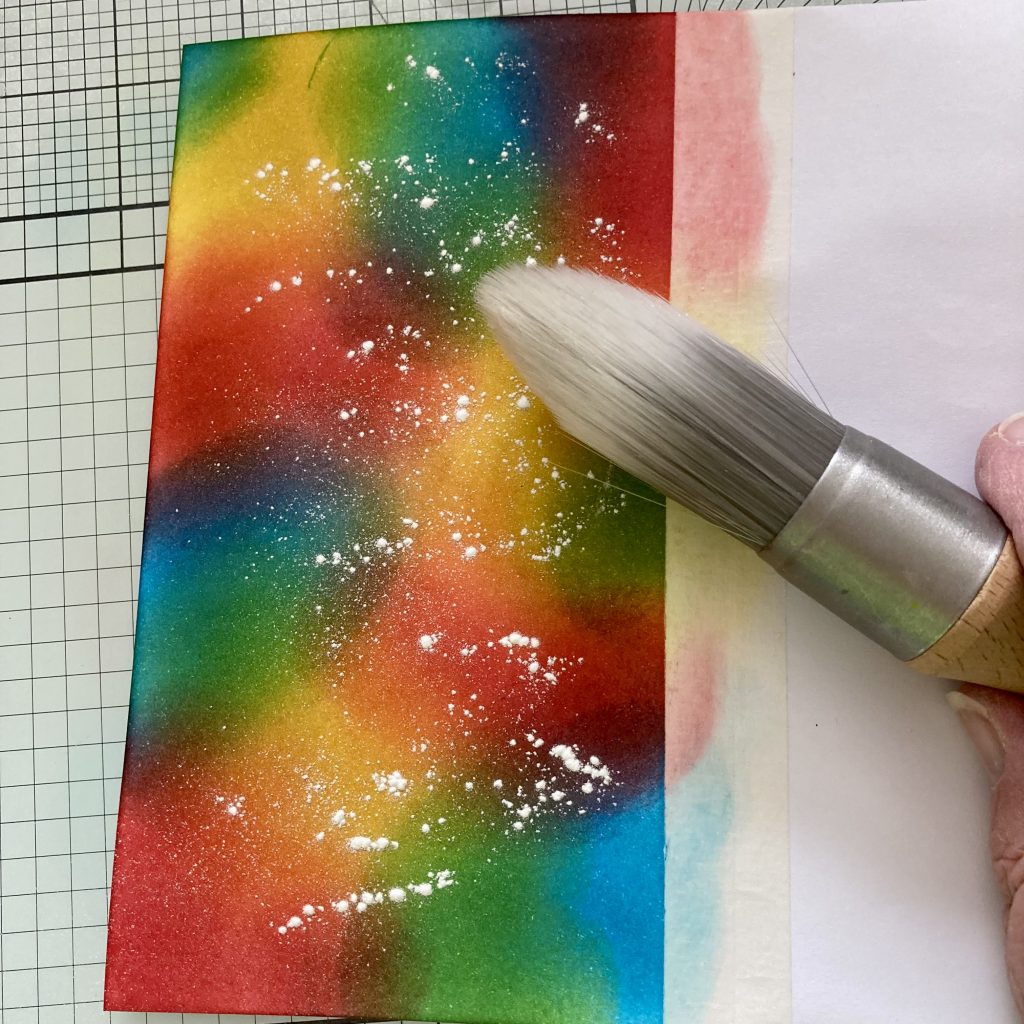
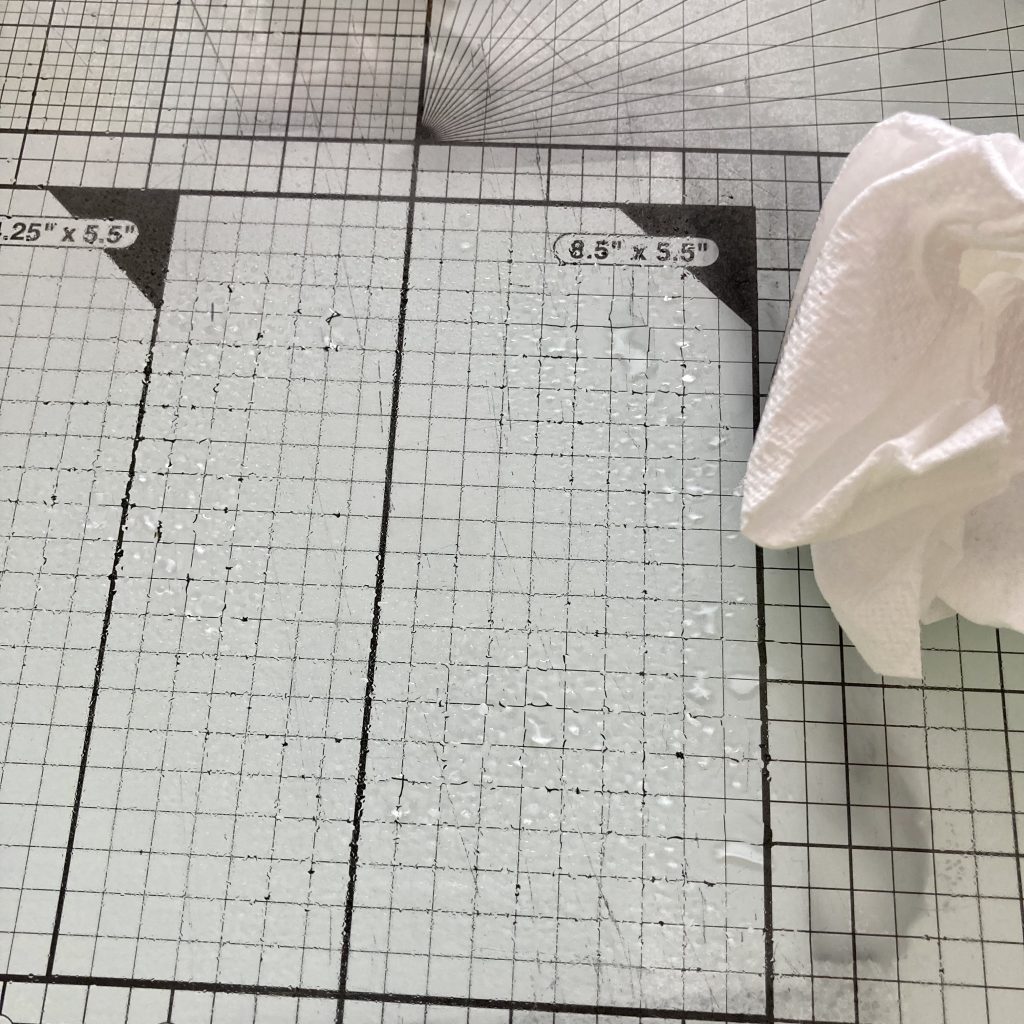
Step 5. Sprinkle with Talc and brush it over the surface.
Step 6. Stamp the images using the embossing ink pad.
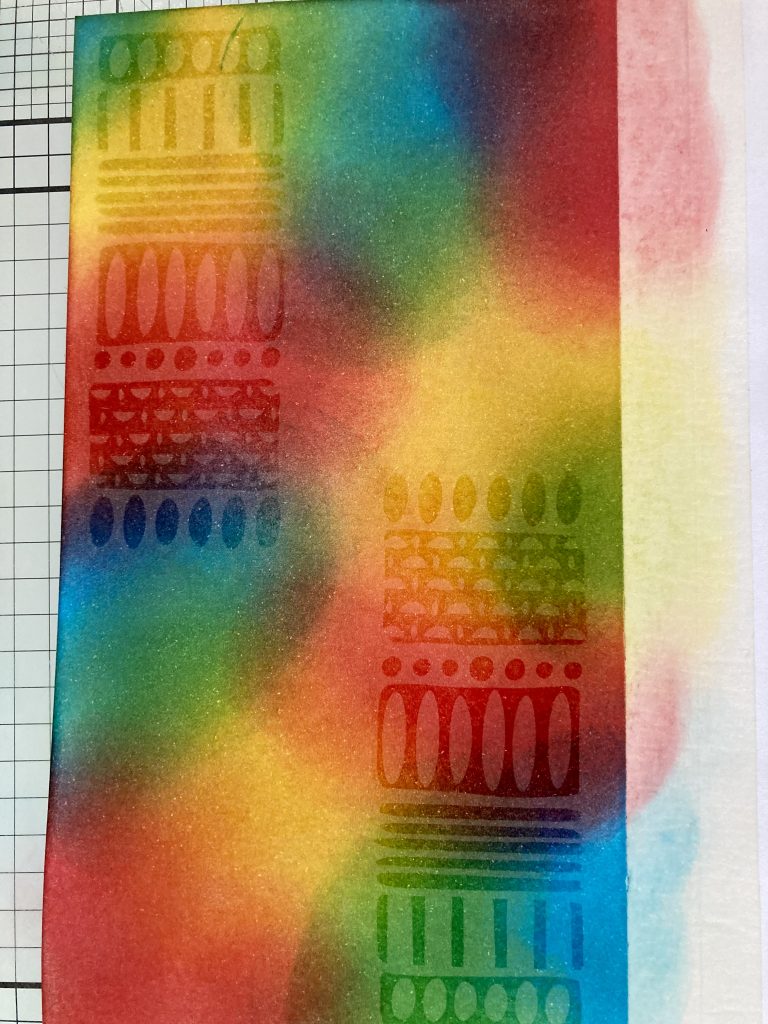
Step 7. Add the clear embossing powder and check that there are no stray specks.
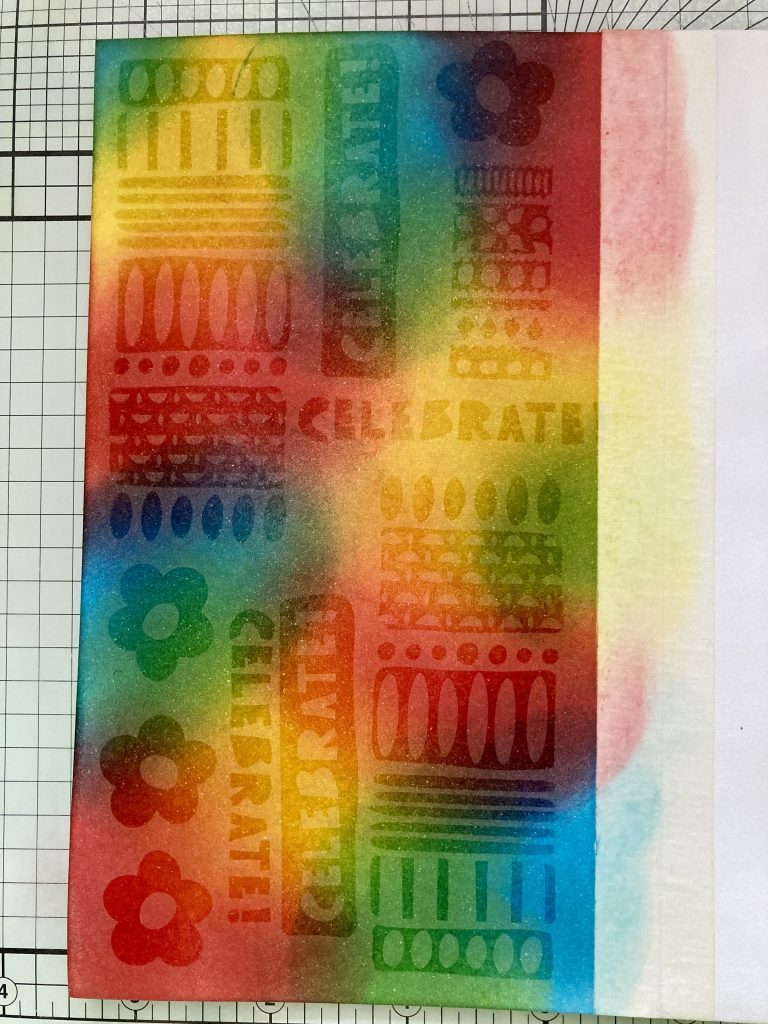
Step 8. Heat emboss it to turn it shiny. You can do this from underneath or above. For speed, you can heat from the top. If you do it from underneath though, it embosses a little smoother and less bubbly.
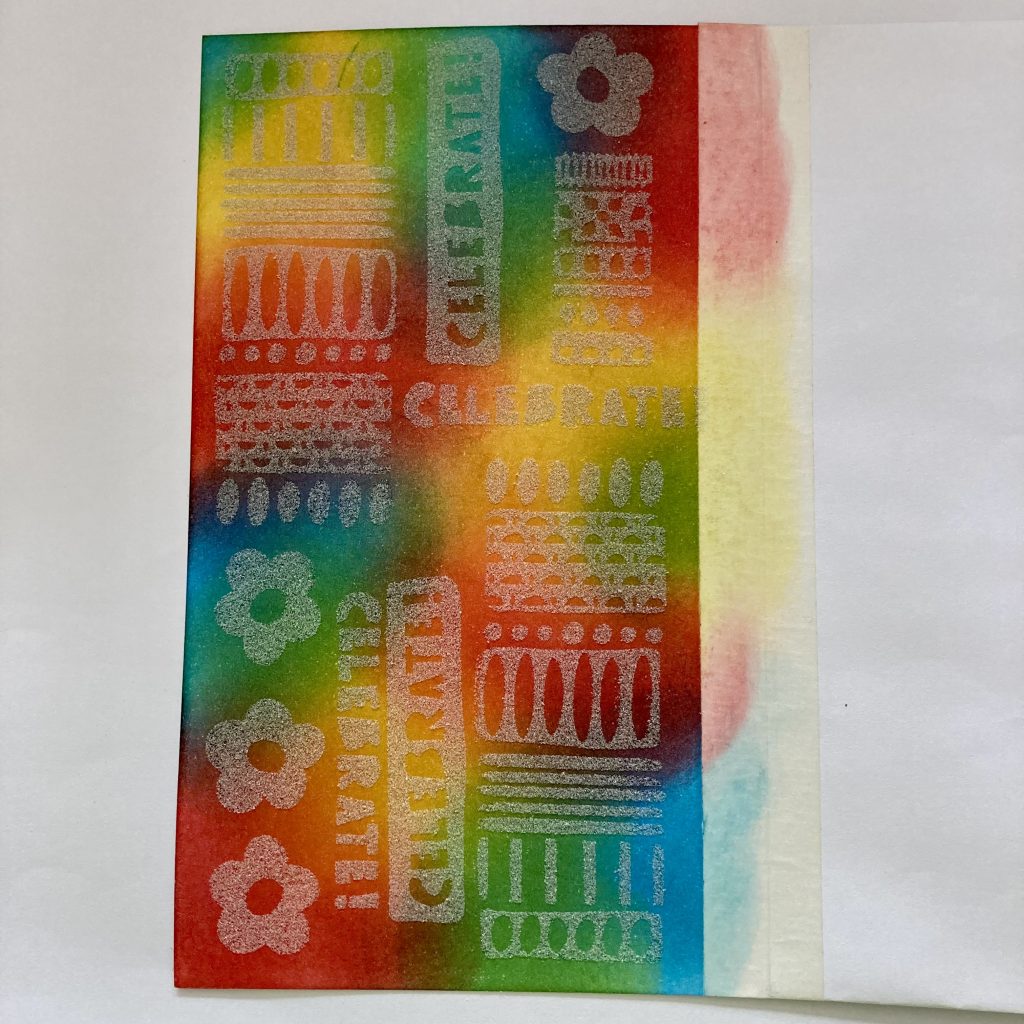
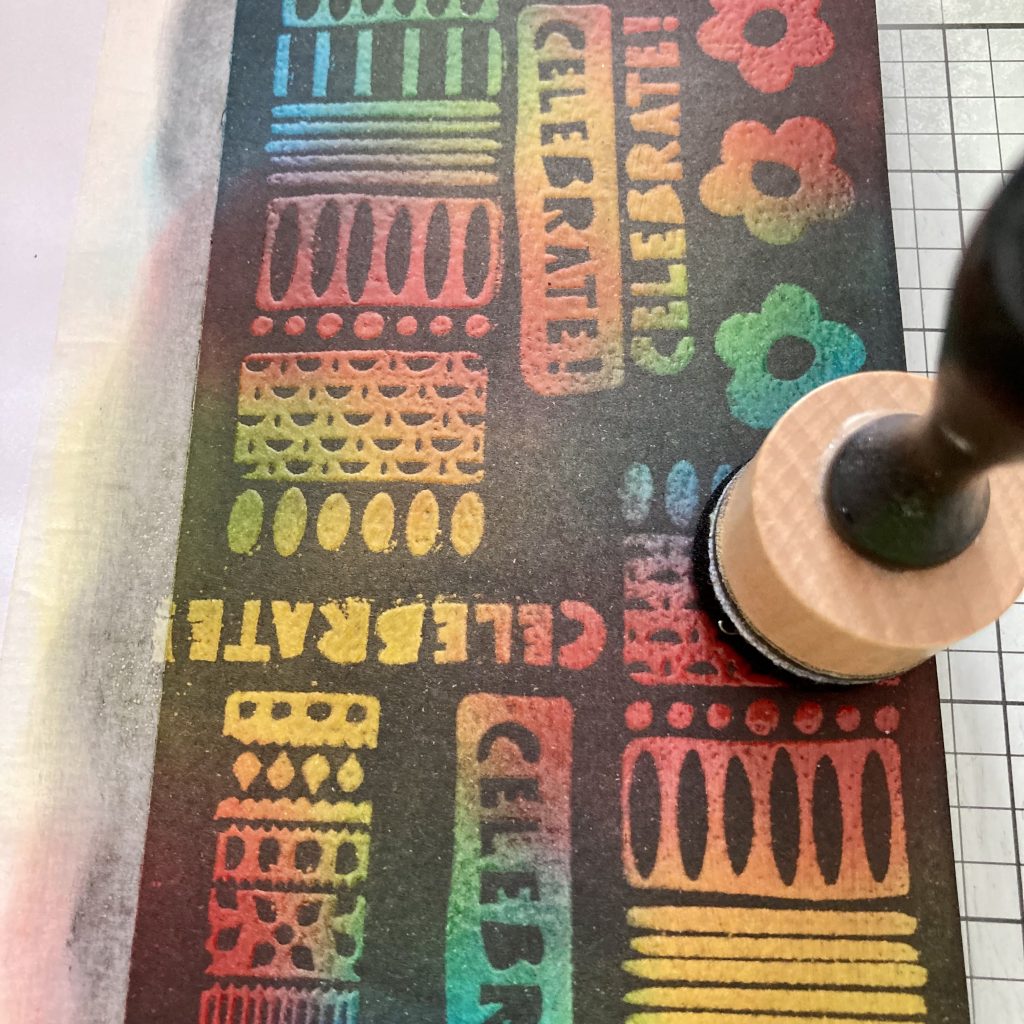
Step 9. Leaving the mask in place now, cover the coloured area with black distress ink. When working near the edge of the masking tape, be careful not to let the tool lift the tape up, so that you get a nice sharp edge.
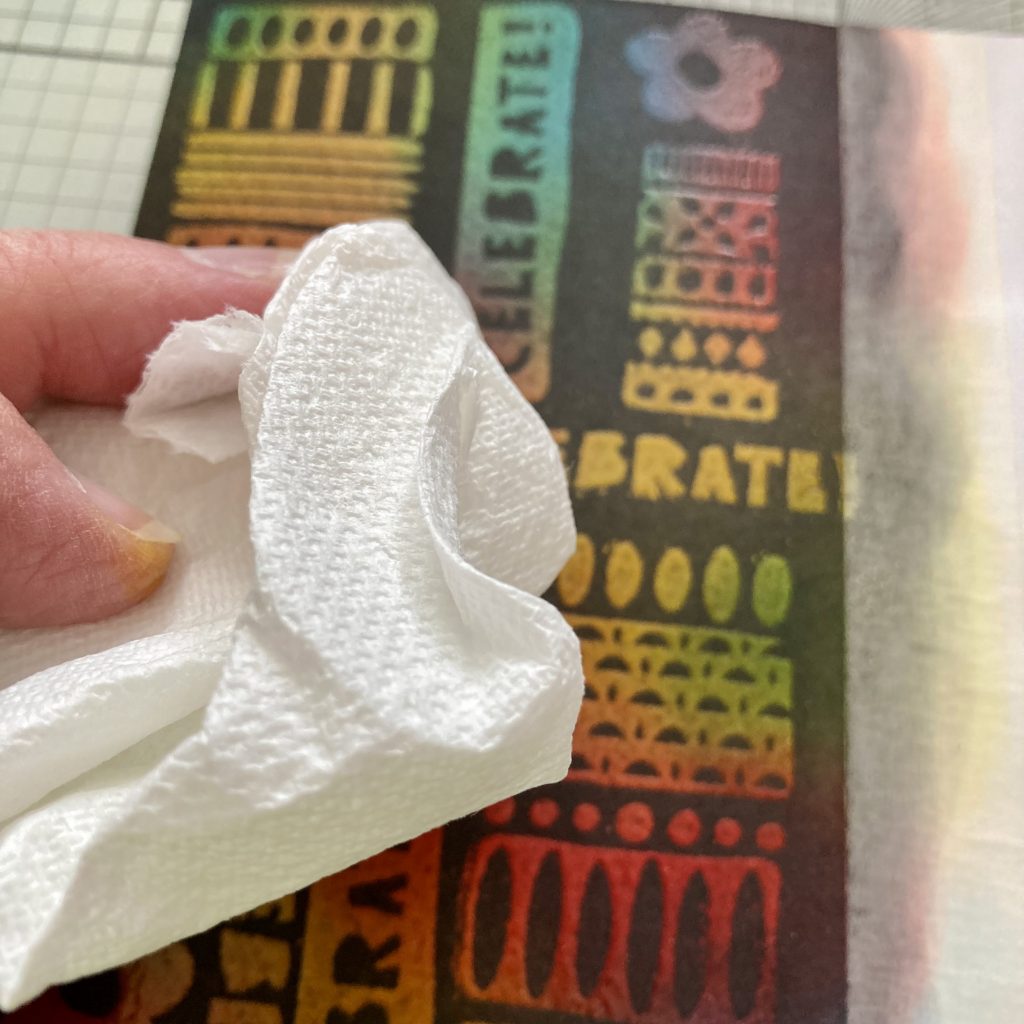
Step 10. Let it dry for a couple of minutes. Then gently rub the surface with a piece of paper towel (over the embossed parts) to get rid of excess ink.
Step 11. Clean your workspace (and your inky fingers!) before you do the next part.
Step 12. Remove the mask and low tack tape very carefully so that you don’t rip the card. Stamp the flower in the 3 colours of distress ink, cleaning the stamp thoroughly in between each colour.
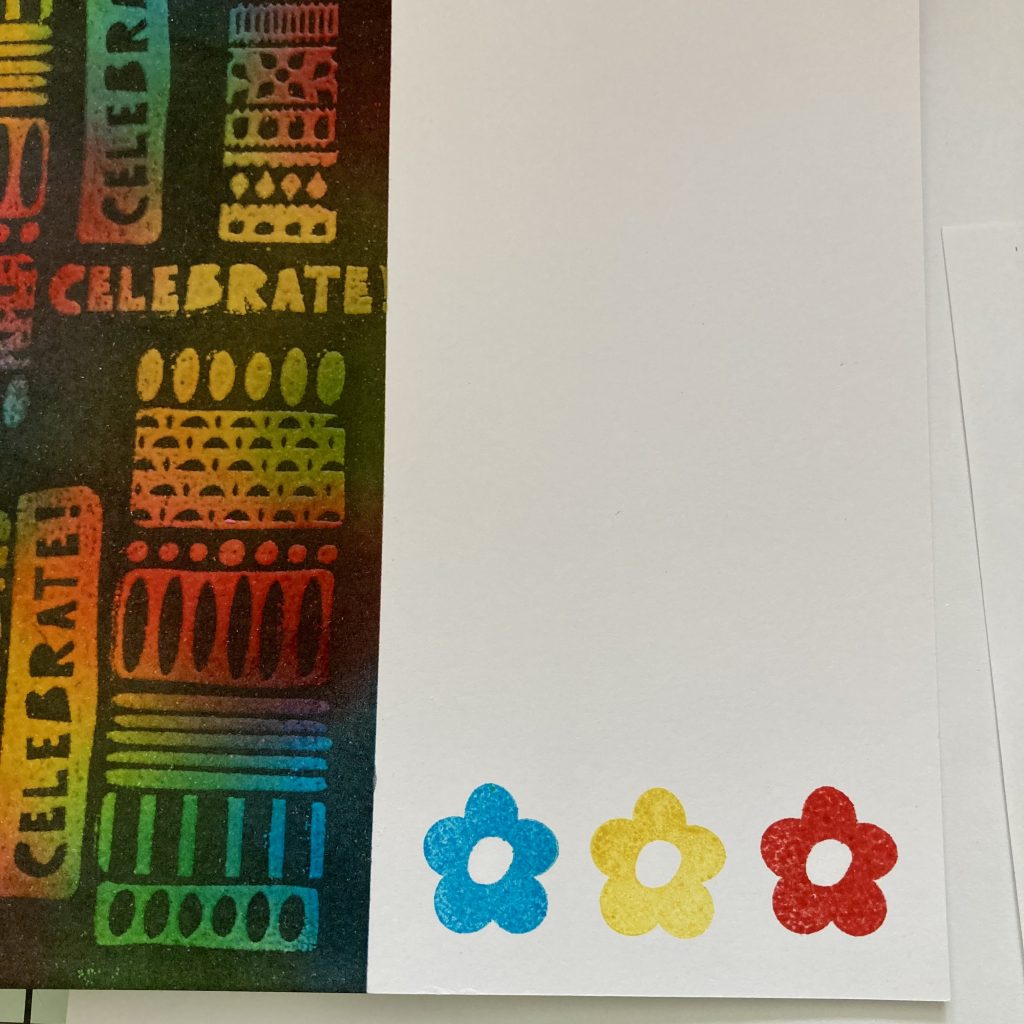
Step 13. Edge the card with a black sharpie pen. Stamp the Happy Birthday in black Archival ink. Mount it to an 8×8 card blank.
The project is now complete.
SO SO COOL!
Thank you, Jane, for sharing these fun tricks and techniques with us. I wouldn’t have had any idea how you achieved that otherwise. Does anyone fancy giving this a go yourself? If so, please email me your artwork: Grace@claritystamp.com
As always, everything that Jane has used can be found HERE on the Clarity website.
If you are looking for more stampy/arty inspiration, don’t forget that Mum is on Create and Craft, from 3pm-5pm with some brand new designs and some Clarity classics. Not to be missed!
And for all you Groovi Parchers, the Parchment-Paper-Party sale is HERE. Some crazy bargains are here, so don’t miss out…

Now, let’s take a gander at the week ahead…
Tuesday 8th Nov:
Groovi Tuesday with Paul – 10am Live on Facebook and YouTube
Wednesday 9th Nov:
Groovi One Day Special with Paul on Create and Craft
Thursday 10th Nov:
SHAC Shack – 10am Live on Facebook and YouTube
Thursday 10th Nov:
Groovi One Day Special with Paul on Create and Craft
There won’t be a SHAC Shack on Monday, but it’ll be back Thursday 🙂 Lots to look forward to!
For now though, we’re off. Plenty to do before the Create And Craft shows this afternoon.
Travel gently, friends.
Lotsa love, Grace & Jane xoxo
Clarity – The Home of Art, Craft, and Well-Being.
Thank you so much Jane for this I really love it. I think I’ve heard this technique called Jacob’s Coat?
Beautiful project, thanks Jane and Grace xx
Love this project such a change from just straight forward stamping. Thanks Jane x
Fabulous inky step by step, once I get a minute I will defo give that a try.
Much easier than you think when it’s broken down step by step. Fabulous Jane. Thanks for sharing.xx
Wonderful tutorial. Love the effect!
Hi Grace & Jane. What a great project which when broken down to the step by step instructions makes it so easy to achieve. Thanks for reminding us about the resist technique. I must give it another go when I have found my desk. Trying to tidy up but have got to the stage when things are far worse now than when I started!!
Have a great week everyone xx
Thanks Jane. Another lovely technique and card. Shall try and remember this when attempting Christmas cards!
Thanks Jane for reminding us of this technique-I had forgotten all about this.
Yours is a lovely card, I think I will have to give it a go!
Love this technique! Haven’t done it for ages but it looks great with leaves and autumn colours too. Thanks for the reminder x