Clarity’s Blog Tutorial: How To Use The Floral & Rosie Doodle Plates
Hello hello! Grace here.
I hope this finds you well and enjoying your Sunday.
We are joined today by the super talented Tina Cox, who has prepared a stellar step-by-step project for us. I’ll pass you right on over to our teacher!

How To Use The Floral And Rosie Doodle Plates
INGREDIENTS
Deluxe Groovi Plate Starter Kit + Butterfly Wreath A5 Sq Plate (GRO-SK-41709-XX)
Word Chain Alphabet Groovi Border Plate Mate (GRO-MA-40559-13)
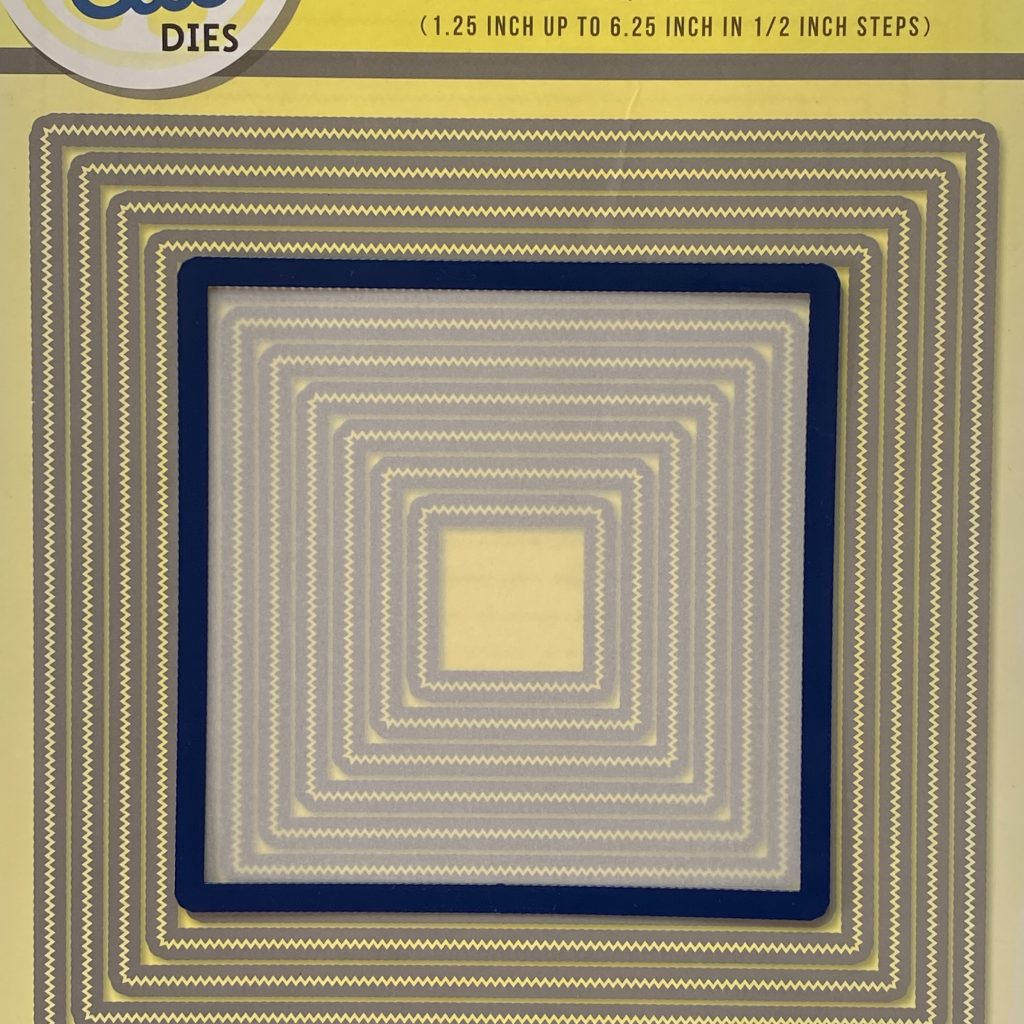
Nested Squares Picot Cut Die Set & Groovi Plate (ACC-DI-30698-66)
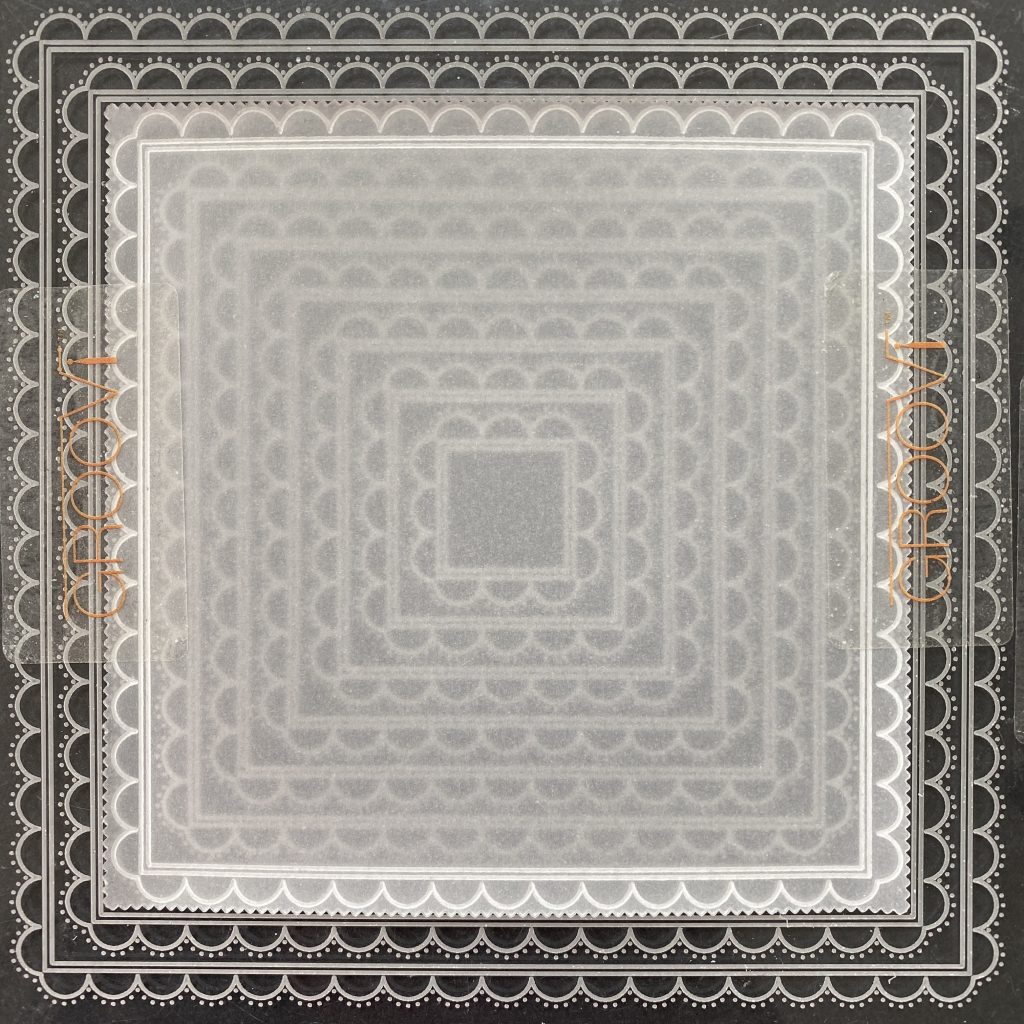
Nested Scallops Squares A5 Sq Groovi Plate (GRO-PA-40557-03)
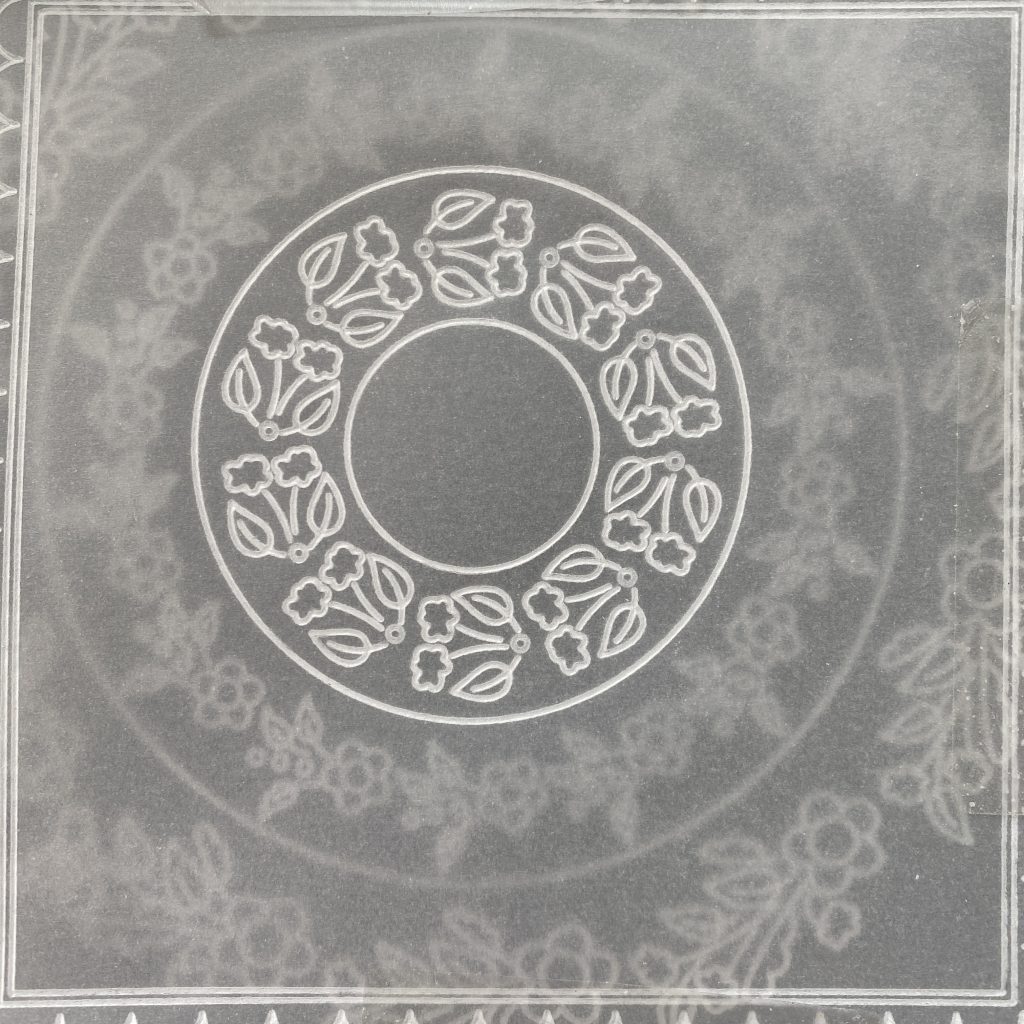
Tina’s Floral Doodle Wreath A5 Sq Groovi Plate (GRO-FL-40830-03)
Tina’s Rosie Doodle Border A5 Sq Groovi Border Plate (GRO-FL-40832-09)
Straight Basic Bold A5 Sq Groovi Piercing Grid (GRO-GG-40202-12)
Clarity Lightwave LED Light Panel (ACC-LP-30352-A4)
Waimea Falls Designer Paper Pack 8×8″ (ACC-CA-30892-88)
Groovi A4 Clear Parchment Paper (20 sheets) (GRO-AC-40024-XX)
Perga Liner – Combi Box (PER-CO-70063-XX)
Pergamano Colouring Essentials Kit (PER-AC-70431-XX)
Perga Colours Exclusive (PER-CO-70060-XX)
Pergamano 1-Needle Bold Perforating Tool (PER-TO-70028-XX)
Pergamano 2-Needle Bold Perforating Tool (PER-TO-70279-XX)
Ringlock Scissors (PER-TO-70041-XX)
A4 Translucent White Super Foam (GRO-AC-40603-A4)
A4 Picot Foam (GRO-AC-40625-XX)
Groovi Sticker Tabs x16 (GRO-AC-40437-XX)
Groovi Guard (GRO-AC-40345-XX)
Perga-Glitter Ultra-Fine Glitter (PER-AC-70252-XX)
Pergamano Sticky Ink (PER-AC-70134-XX)
Pergamano Brads – Pastel Mix (PER-AC-70270-XX)
NOTE:
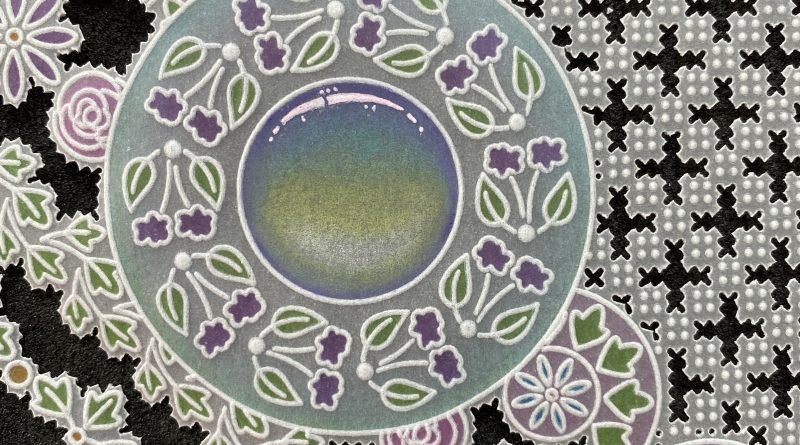
All the embossing on this project is done on the back. The colouring on this project is also done on the back, except for the gem which is done on the front and back. All the perforating and cutting on this project are done from the front.
METHOD
Step 1: Die cut the 5th largest nested picot square on clear parchment using the Nested Squares Picot Dies.
Step 2: Attach the parchment to the Nested Scallops Squares Groovi Plate using Groovi tabs. Emboss the 3rd largest squares and scallops border using the Groovi No.1 tool (or Pergamano 1mm embossing ball tool).
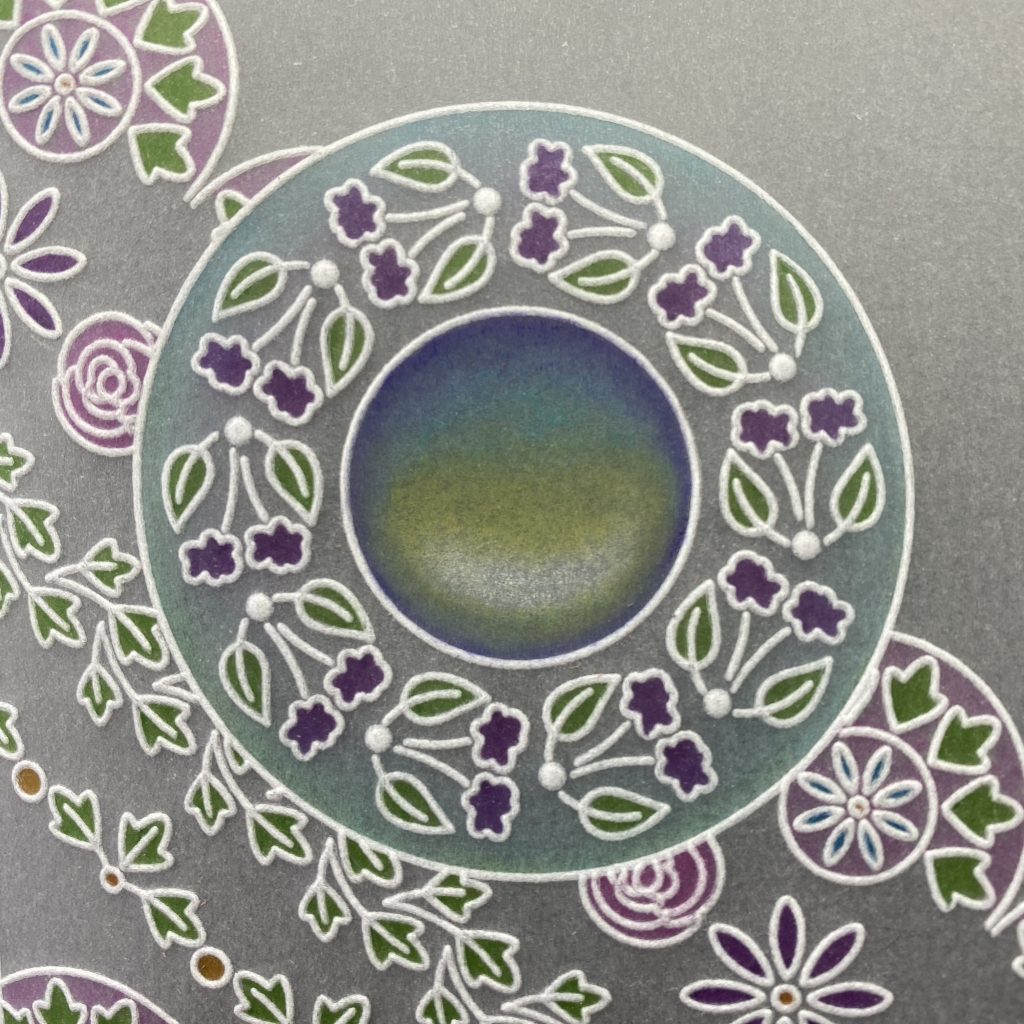
Step 3: Over the Floral Doodle Wreath Groovi Plate, emboss the smallest wreath and the 2 circles using the Groovi No.1 tool (or Pergamano 1mm embossing ball tool).
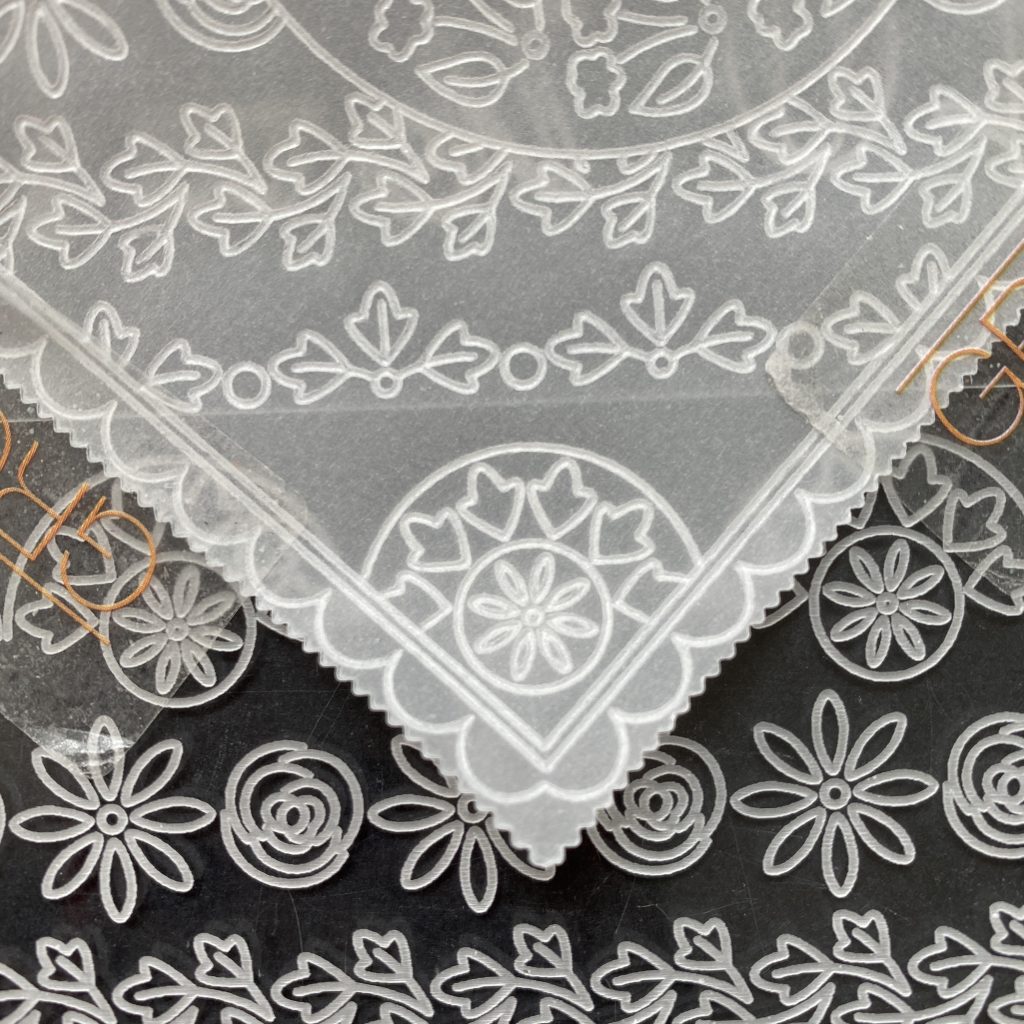
Step 4: Over the Rosie Doodle Border Groovi Border Plate, emboss all of the borders at a diagonal using the Groovi No.1 tool (or Pergamano 1mm embossing ball tool).
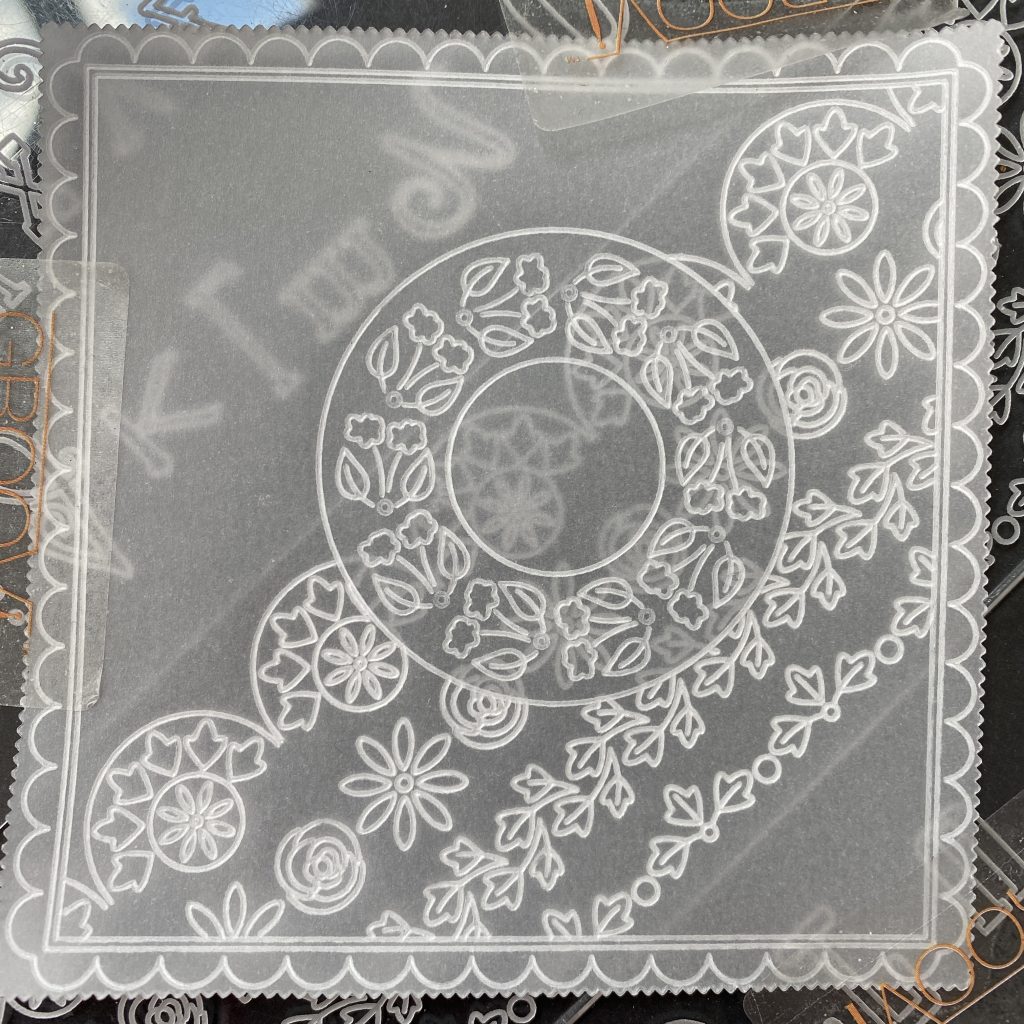
Step 5: To fill the space in the corner, move the parchment along the plate to emboss part of the border.
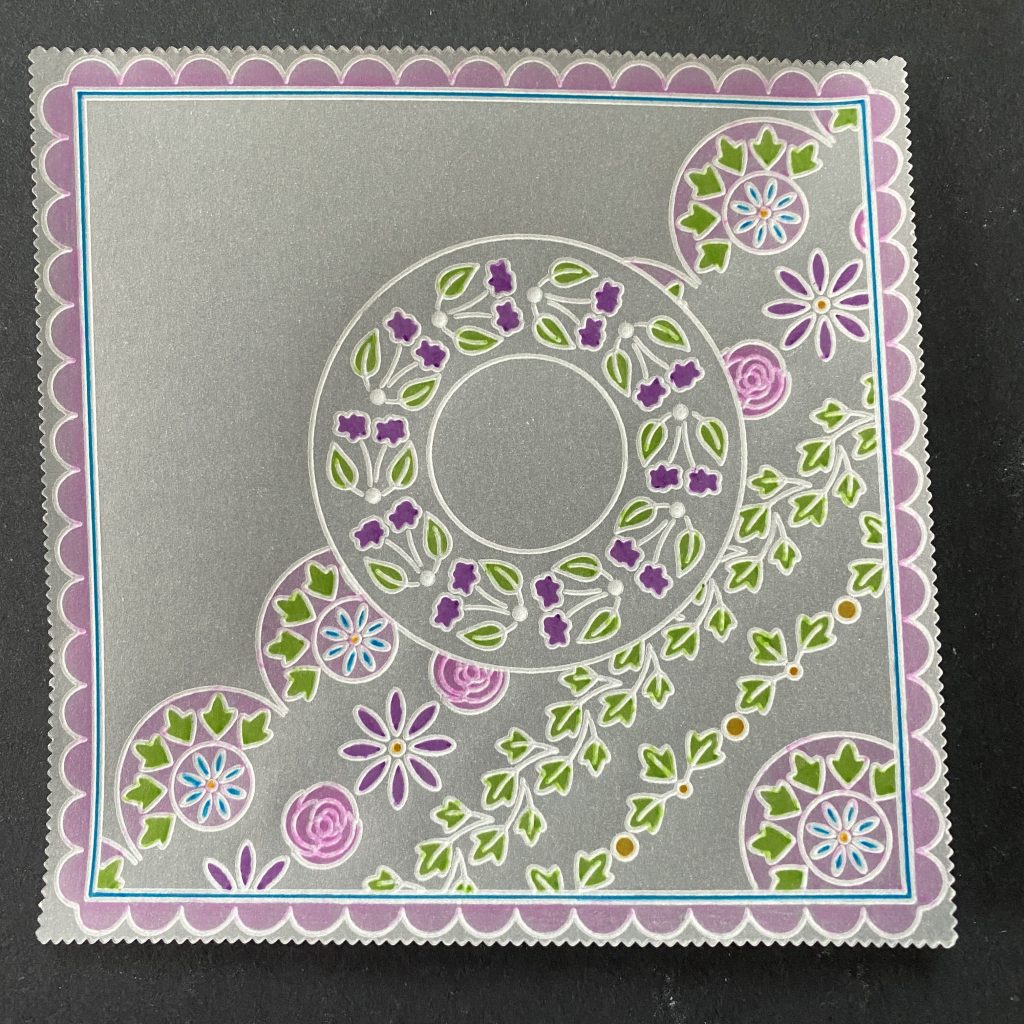
Step 6: Still working on the back, colour using Perga Colours Exclusive pens.
TOP TIP: It’s always a good idea to choose your backing paper first for colour ideas. For this project I have used Waimea Falls Designer paper for my backing paper.
Step 7: Colour around the edge of the wreath using the Perga Liner B pencils. Blend the colours using a little Dorso oil on a sponge and a blending nib.
TOP TIP: If you have too much oil on your nib, the colour will come off, so blot off the excess on a piece of kitchen towel. If you have too little oil, the blending will not be smooth, so touch just the very tip of the nib on the Dorso oil for the tiniest amount of oil.
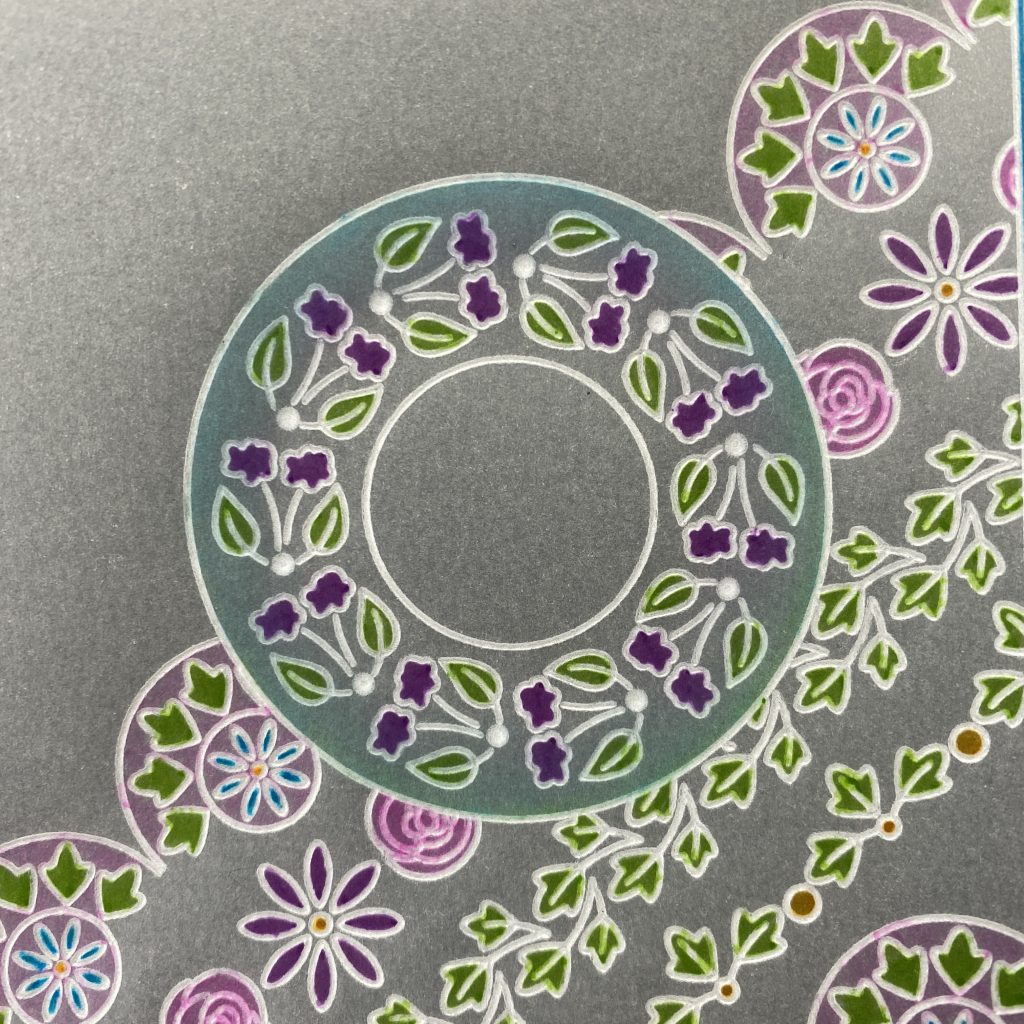
Step 8: The gem is coloured both on the front and back. On the front, colour the gem in bands starting with white in a jellybean shape followed by colours that correspond to those on your backing paper. I have used yellow, blue and purple.
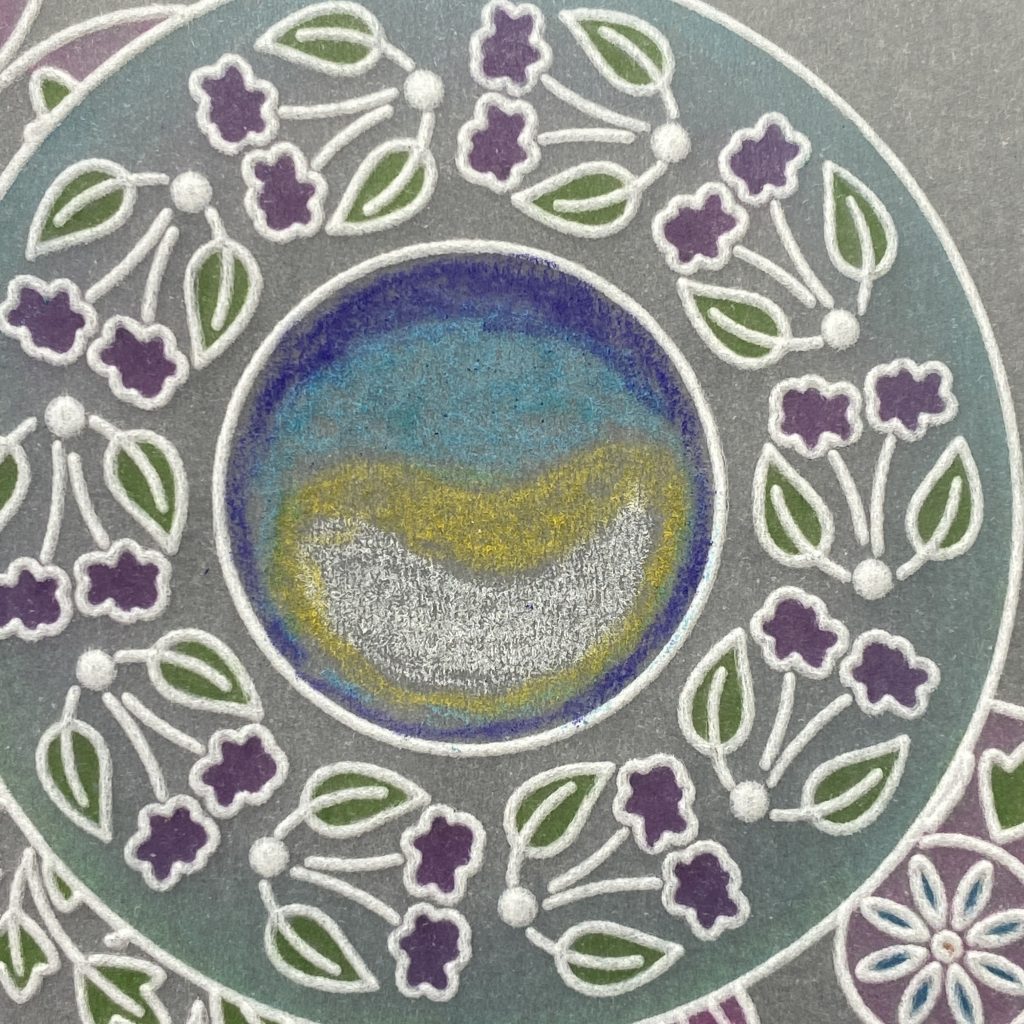
Step 9: Blend the colours using a little Dorso oil on a spot on sponge starting with white. Use a different nib for each colour if possible. If you do not have enough blending nibs try and keep one nib separate for the white.
TOP TIP (repeated): If you have too much oil on your nib, the colour will come off, so blot off the excess on a piece of kitchen towel. If you have too little oil, the blending will not be smooth, so touch, just the very tip of the nib, on the Dorso oil for the tiniest amount of oil.
Repeat on the back for depth on the gem.
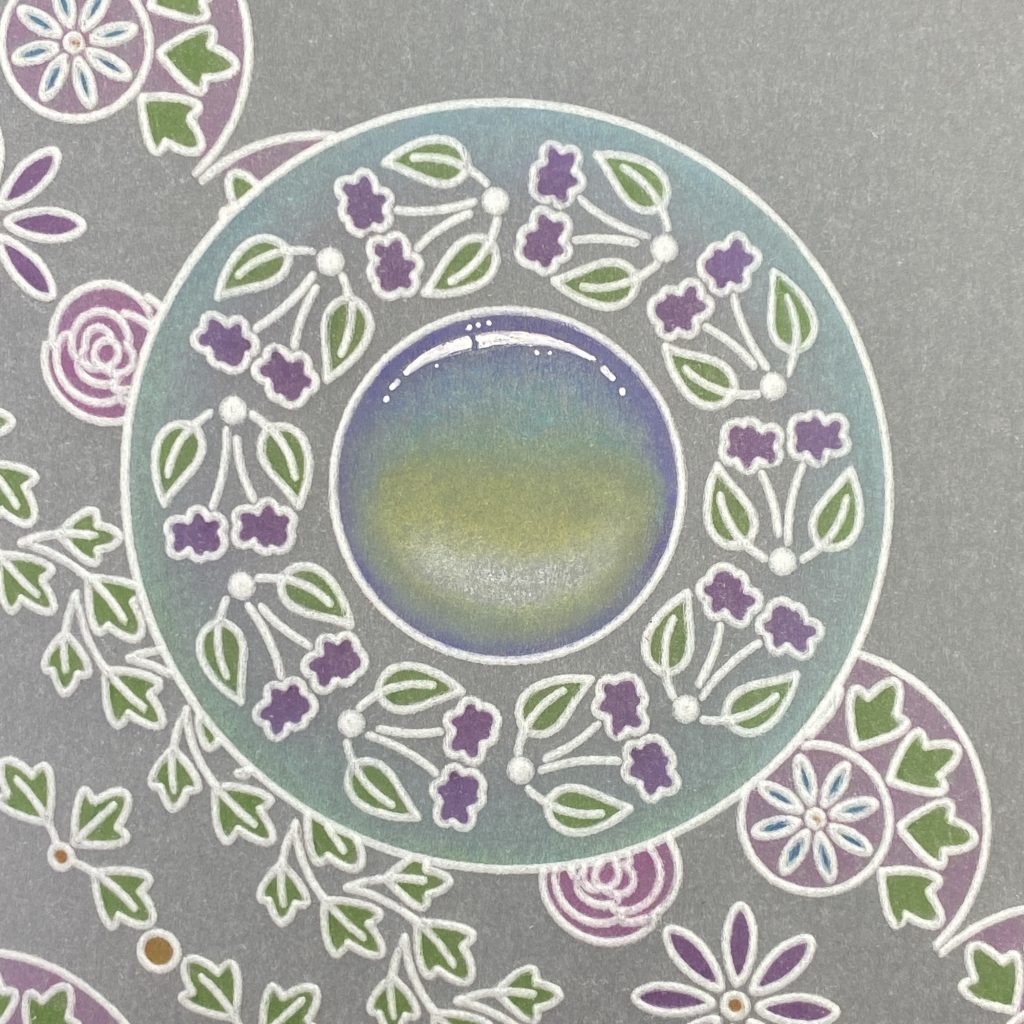
Step 10: Once you finish colouring the gem and you are happy with the depth of colour, add a white highlight on the opposite side of the white reflection, using a Pergamano white gel pen.
Step 11: Now focus on the front in the corner, opposite the borders. With you work over the super foam and using the Straight Basic Bold Piercing Grid, perforate the crosses design using the bold 1-needle perforating tool.
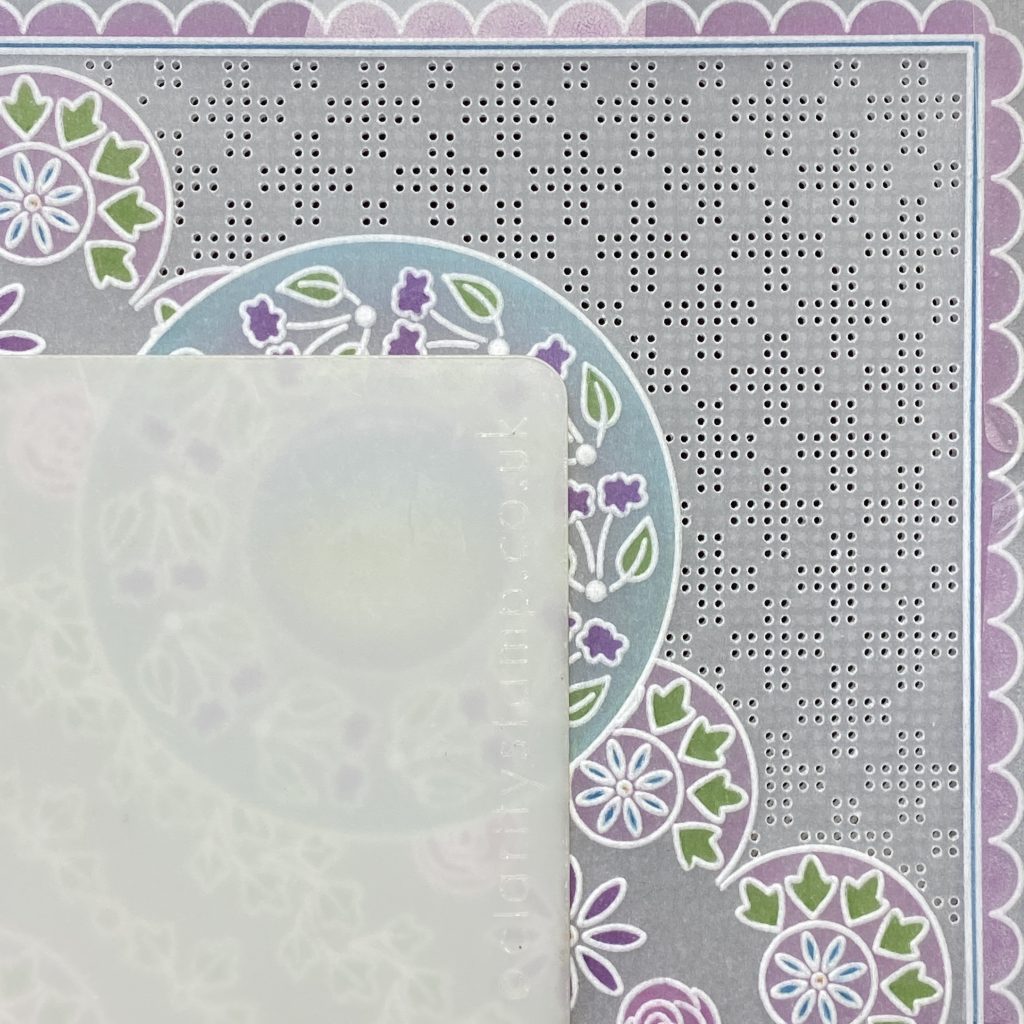
Step 12: Remove the parchment from the grid, turn it over to the back and emboss the dots between the perorated design using the Groovi No.2 tool (or Pergamano 1.5mm embossing ball tool).

Step 13: From the front, perforate between the Rosie doodle borders using Pergamano bold 2-needle perforating tool.

Step 14: Picot cut between all the perforations making sure the scissors are over the waste when you cut.
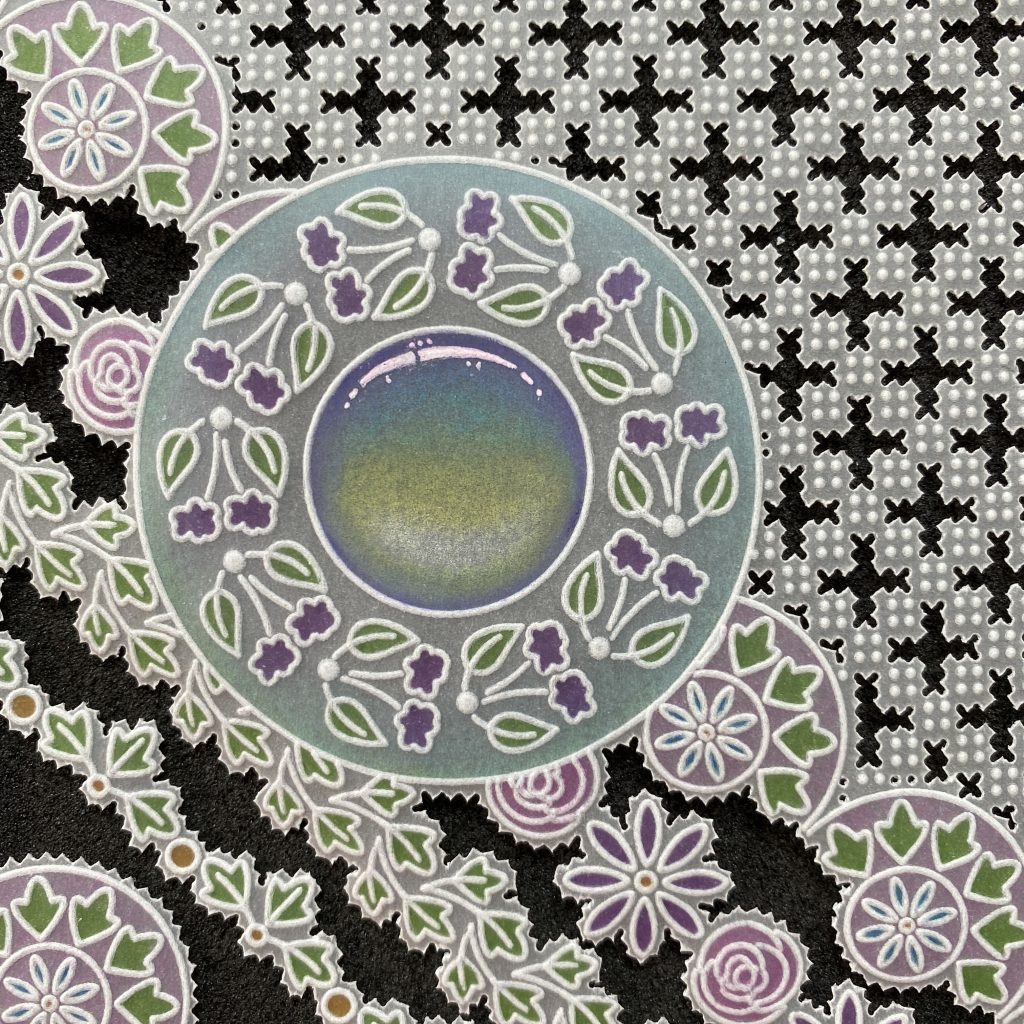
Step 15: Add Perga glitter on the circles around the wreath, flower centres and inside the scallops.
Using the Nested Squares Picot Dies, cut the 4th largest nested picot square from Designer Paper and 3rd largest nested picot square from white card. Mount the parchment on these using Pergamano brads.
Stick this on folded white card using foam pads. And you’re finished!
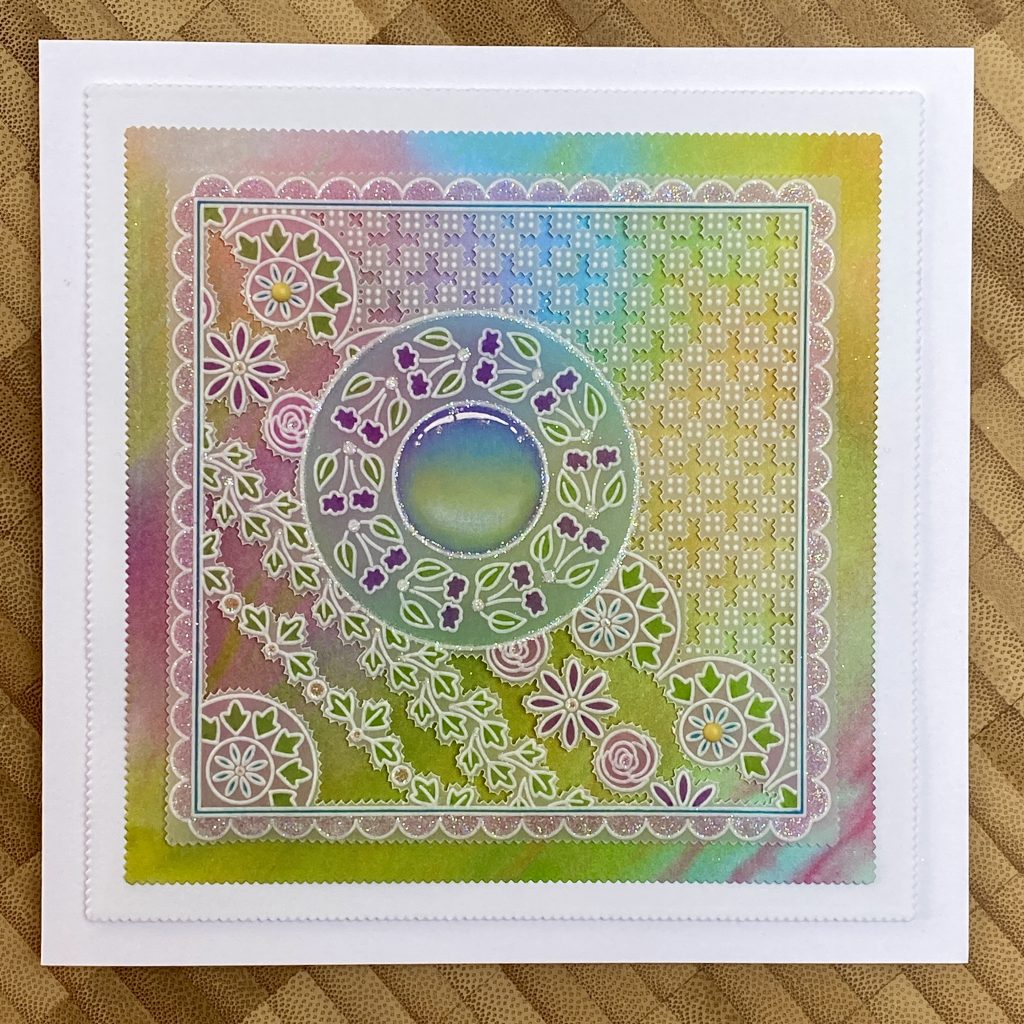
LOVE it. That is beautiful, and so achievable when broken down into easy to follow steps. Thank you, Tina, for sharing your skills with us. I hope those at home will give this a go themselves.
If you do, please don’t hesitate to email it to me (Grace@claritystamp.com) and/or share it on our Facebook group: Groovi Worldwide.
If you like these designs from Tina or looking for more inspiration, then we have created a collection together with the iiBook
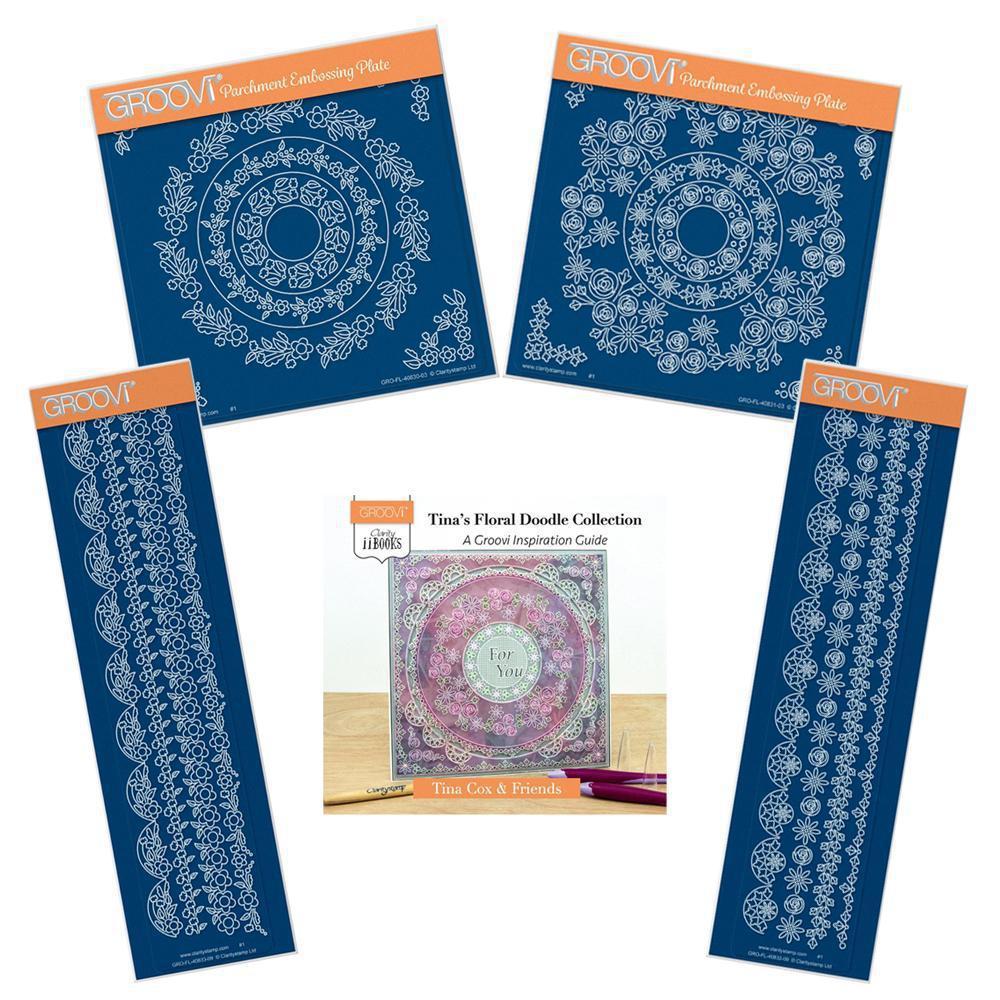
Available HERE
Everything that Tina has used in this project is available on the Clarity website HERE
Lets have a look at the week ahead at Clarity Towers:
Monday, July 25th:
SHAC Shack with Barb – Live at 10am on Facebook & YouTube
Tuesday, July 26th:
Groovi Tuesday with Paul – Live at 10am on Facebook & YouTube
Thursday, July 28th:
New & Exclusive with Barbara – 4pm & 8pm on Create and Craft
Friday, July 29th:
New & Exclusive with Paul – 8am on Create and Craft
Crafting with Clarity with Barbara – 9am & 1pm on Create and Craft
Travel gently, friends.
Lotsa love, Grace & Tina xoxo
Clarity – The Home of Art, Craft, and Well-Being.
Thank you Tina for this fabulous step by step tutorial. Watched the show yesterday and that was brilliant as well. I must admit you are making me think I should get my groovi stuff out again and have another go (I just don’t have the patience to ‘let the parchment rest’ when doing white work as much as I love to see it on others work).
Hi Beverley. I was like that but now I have several projects on the go at any one time to curb that need to continue the white work too soon.
Thanks Tina and all at Clarity Towers for another great tutorial. I have tried the gem once and was relatively pleased but need much more practice to get it to look like Tina’s and so realistic. When I first saw it on YouTube from Tina, I really thought it was an actual gem, it was that good
Stunning card Tina, thank you. Think I will have a Groovi day today.
Gorgeous project Tina, I have to catch up on the show as we had family over but I do have these plates so must get on and use them again! Thank you xx
Beautiful project; something other than a set design.
Love all these plates. Thanks Tina for your inspiration. 🍒
Thanks Tina for another great doable project, I have the plates so will try & give it a go this week. In fact I could take to do at our meeting of the Bromsgrove Parchers on Thursday.
Have a good week everyone x
Thanks Tina, and Grace, that is beautiful.
WHAT an exquisite design I just love it. Don’t have all the plates but do have some TINA in my collection. Love the plates for their versatility. I am definitely going to have a go at this one.
Definitely going on my list of projects to try. Thank you Tina! X
That’s so inspiring and absolutely beautiful 💖
Have quite a few of Tina’s plates but not these ones. Would love to give it a go so will need to hunt through my stash to see what I can come up with
Beautiful, great step by step, thank you Tina & Grace. xx
How lovely. I have all these plates so must give it a go!