Clarity Matters Blog Tutorial: Poppet in a Circle
Hello hello! Grace here.
I hope this finds you well, safe and enjoying your Sunday!
We are joined by our friend (and talented Clarity Design Team member) Glynis Whitehead, for another impressive step-by-step blog tutorial. I’ll hand you over to our teacher…

Poppet in a Circle
Ingredients
Nested Picot Cut Circles Die Set (ACC-DI-30680-66)
Parchment Poppets Flower Collection Artwork (PER-PA-70392-A4)
Waimea Falls Companion Paper (ACC-CA-31343-88)
Nested Scallops Circles A5 Sq Groovi Plate (GRO-PA-40558-03)
Josie’s Lace Duet Circle A5 Sq Groovi Plate (GRO-GG-42053-12)
1 Needle Pergamano Perforating Tool Bold (PER-TO-70028-XX)
2 Needle Pergamano Perforating Tool Fine (PER-TO-70037-XX)
Strong Double Sided Adhesive Tape (ACC-MS-31065-XX)
Embossing tools:
Groovi 1 & 2 (GRO-AC-40026-XX)
Groovi 3 & 4 (GRO-AC-40027-XX)
Pergamano Embossing Tool – 6mm (PER-TO-70016-XX)
6 x 6″ 20 White Card Blanks (ACC-CA-30618-66)
3 Sequins and 3 Small Beads
Needle and Thread
Method
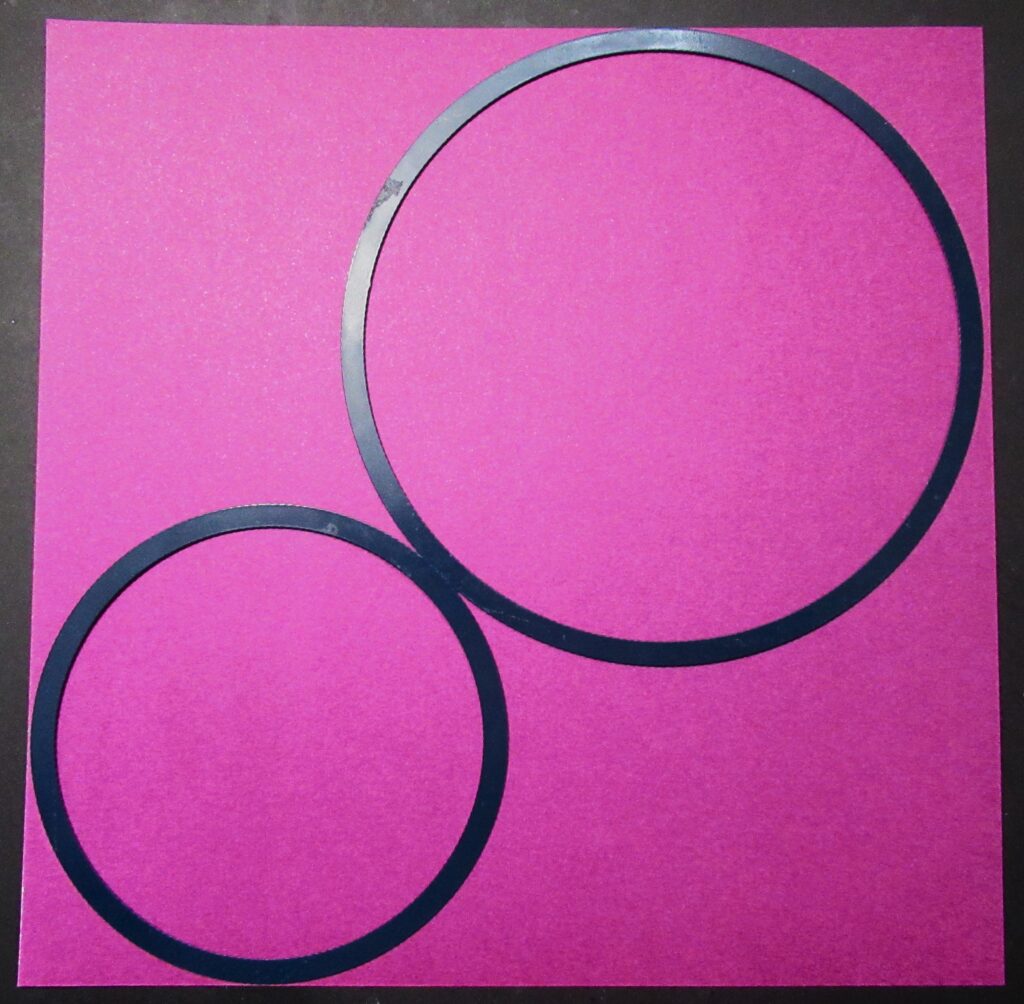
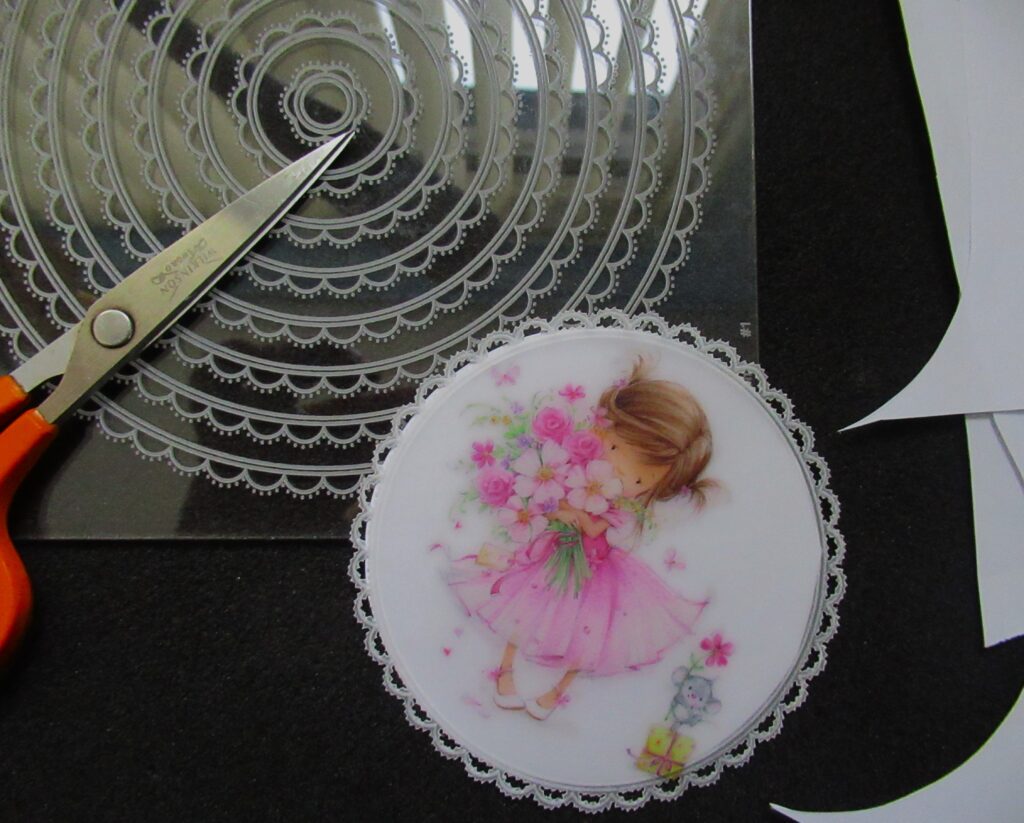
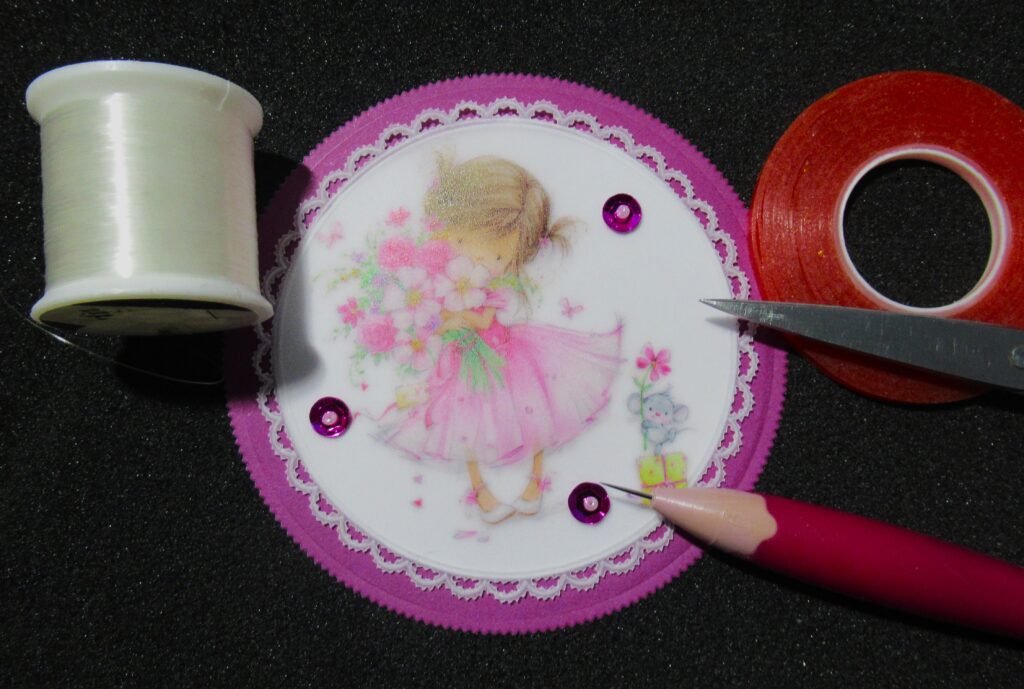
Step 1. Cut out the backing papers using the 3rd and 6th dies in from the edge. Keep them to one side.
Step 2. Choose your Parchment Poppet and use a tumble dryer sheet on the back, then centralise it on the Nested Scallop Circle plate within the 4th circle in from the edge. *Make sure that the brightest side of the design is face down and you are tracing on the back.
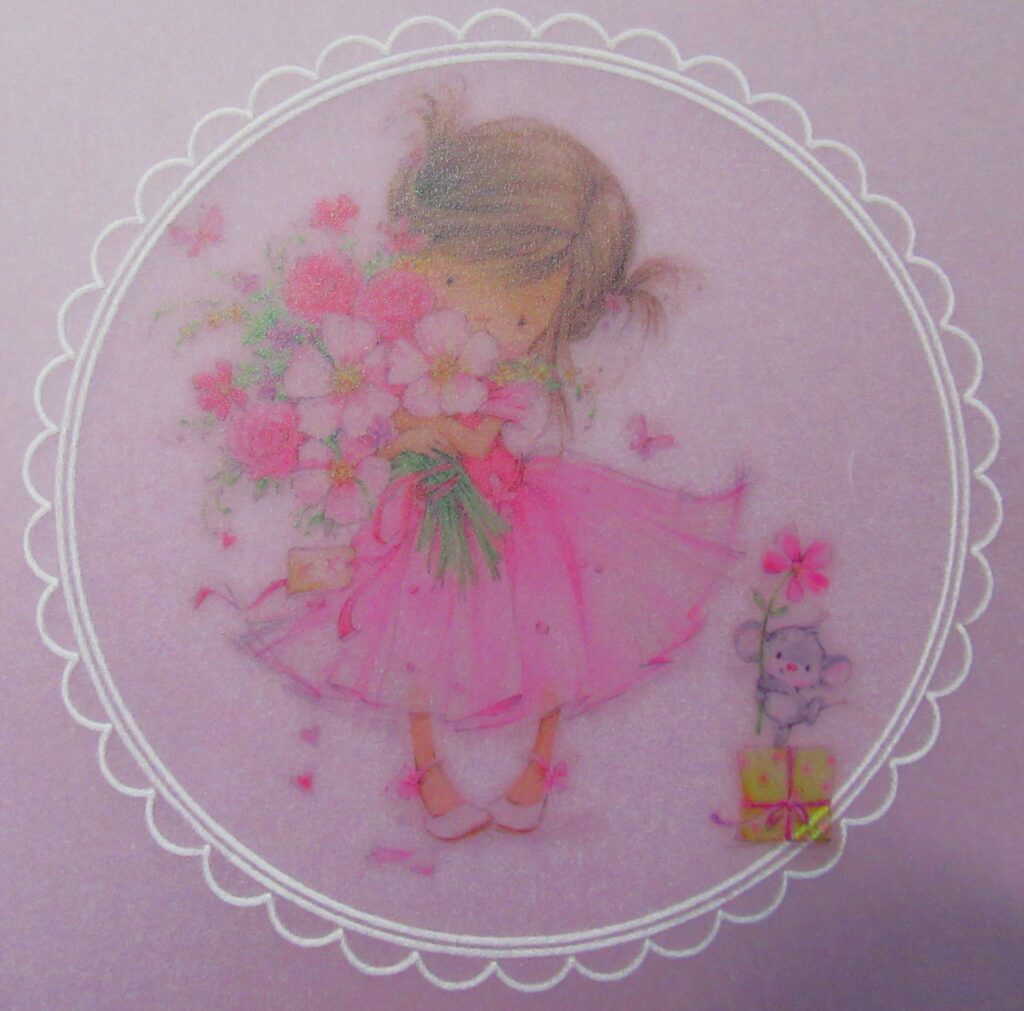
Step 3. Emboss the image on the reverse. Use the 6mm ball tool on the skirt and to add a little light to the hair. The number 4 tool for the larger flowers and the number 3 for the smaller flowers. Be very careful not to over emboss. You only need a few highlights.
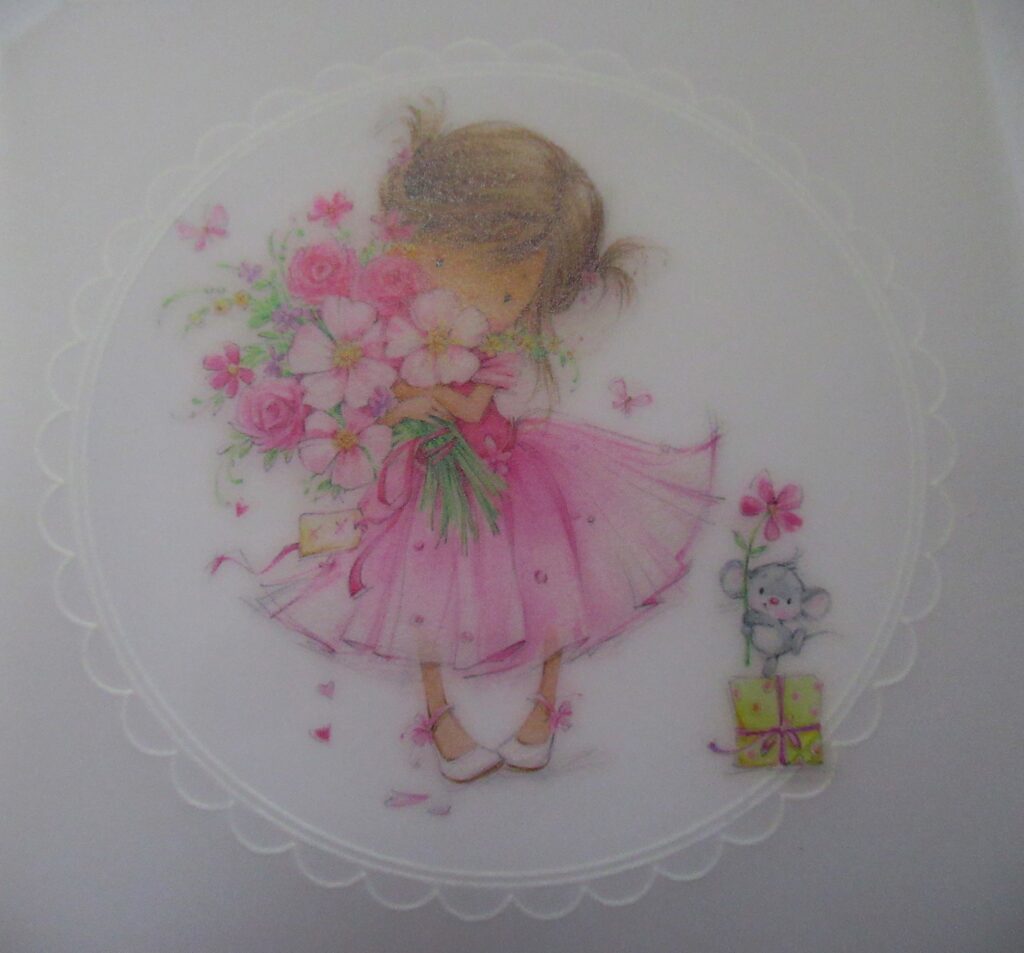
Step 4. Go around the inside and outside of the scallops, perforating with the fine two-needle perforating tool. Then snip the work out. *If you do not want to cut out the insides of the scallops, it would still look very nice if you colour the scallops with a contrasting colour and then go around the outside.

Step 5. Use the Scallop Groovi Plate to emboss a circle on a piece of copy paper. Cut around the line you have made for a disc to sit behind the Poppet image.
Step 6. Line up an A5 piece of parchment on Josie’s Lace Duet plate. *Make sure you can feel the etched dots – this is the right way up for the grid. Perforate all the holes using the Bold 1-needle perforating tool, move the parchment around to complete the circle. You will find it so easy to do because the perforated segments will ‘plug’ into the holes, allowing you to line the parchment up again.
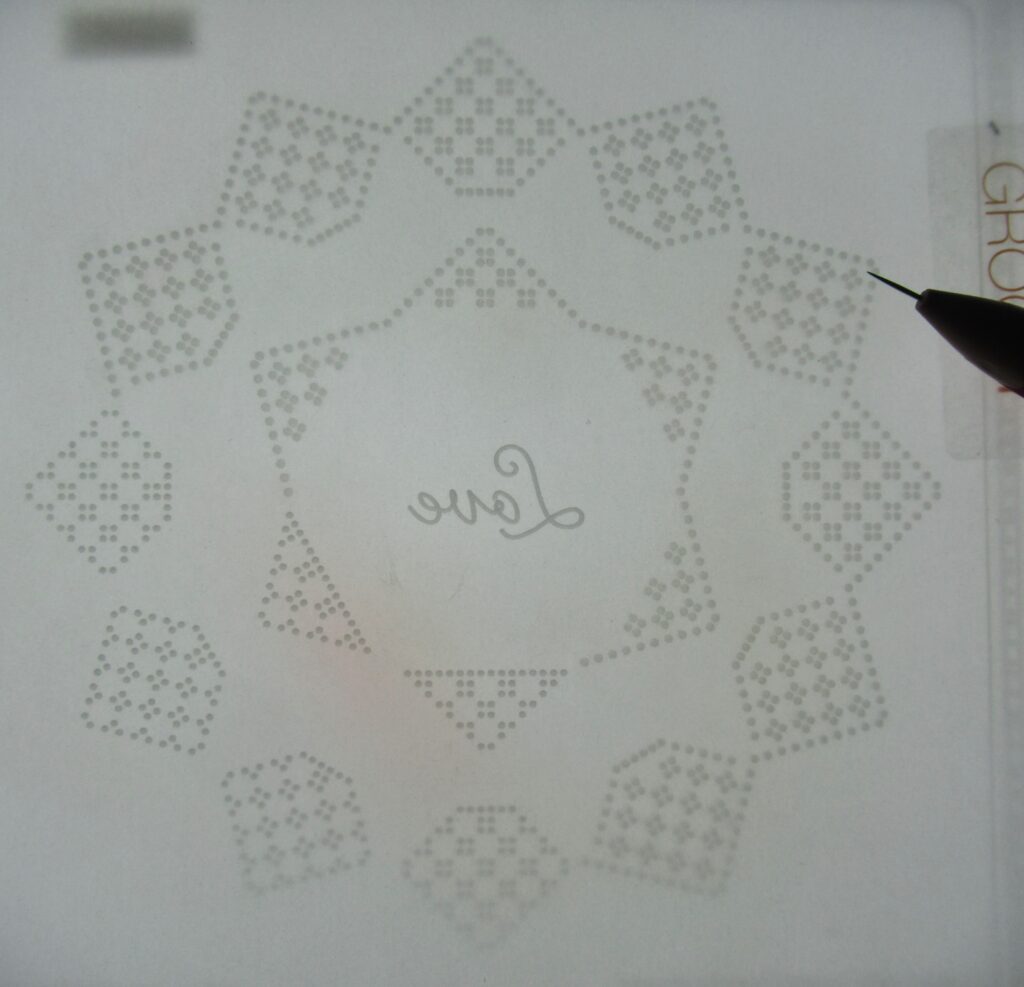
Step 7. There is no need to turn the plate over, but do turn the parchment over and work on the back. Using the number 2 tool, and lining up on the grid, emboss all the dots between the holes.
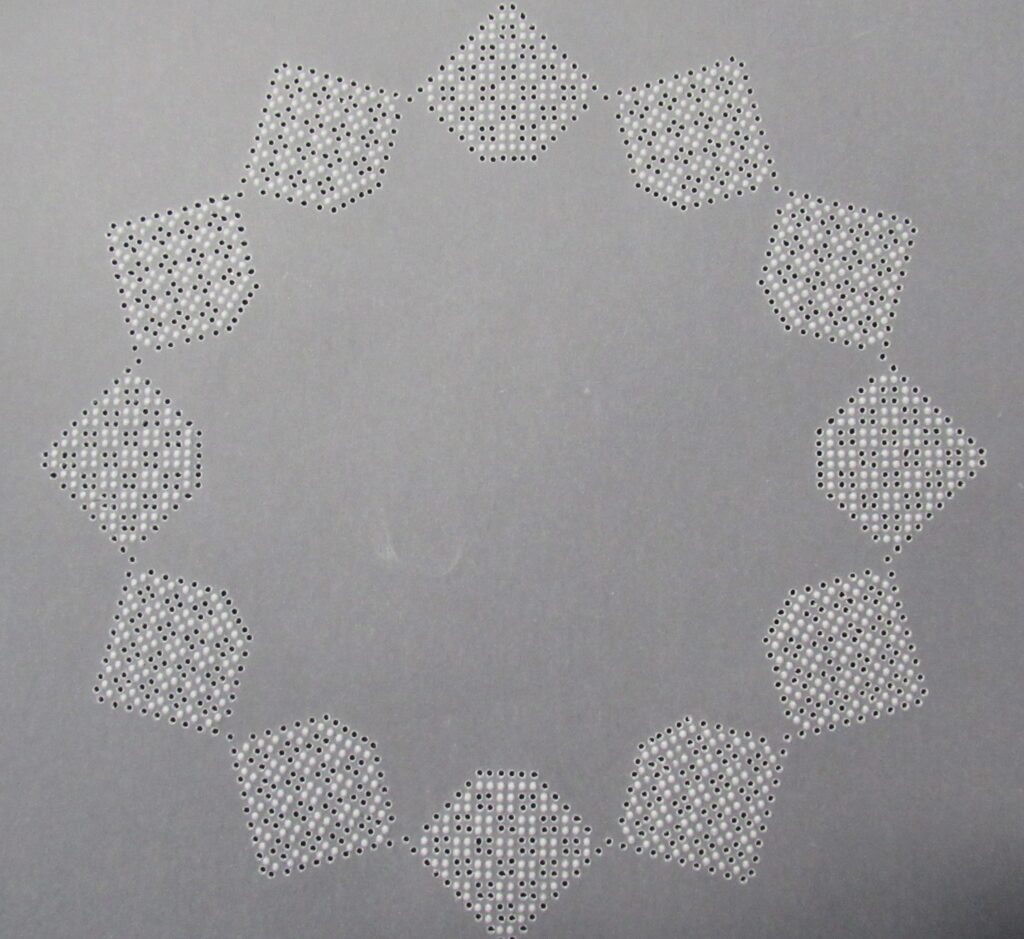
Step 8. Snip all of the crosses in the grid pattern, around the outside of the circle and then around the inside, making sure to leave the pieces in between the segments intact.
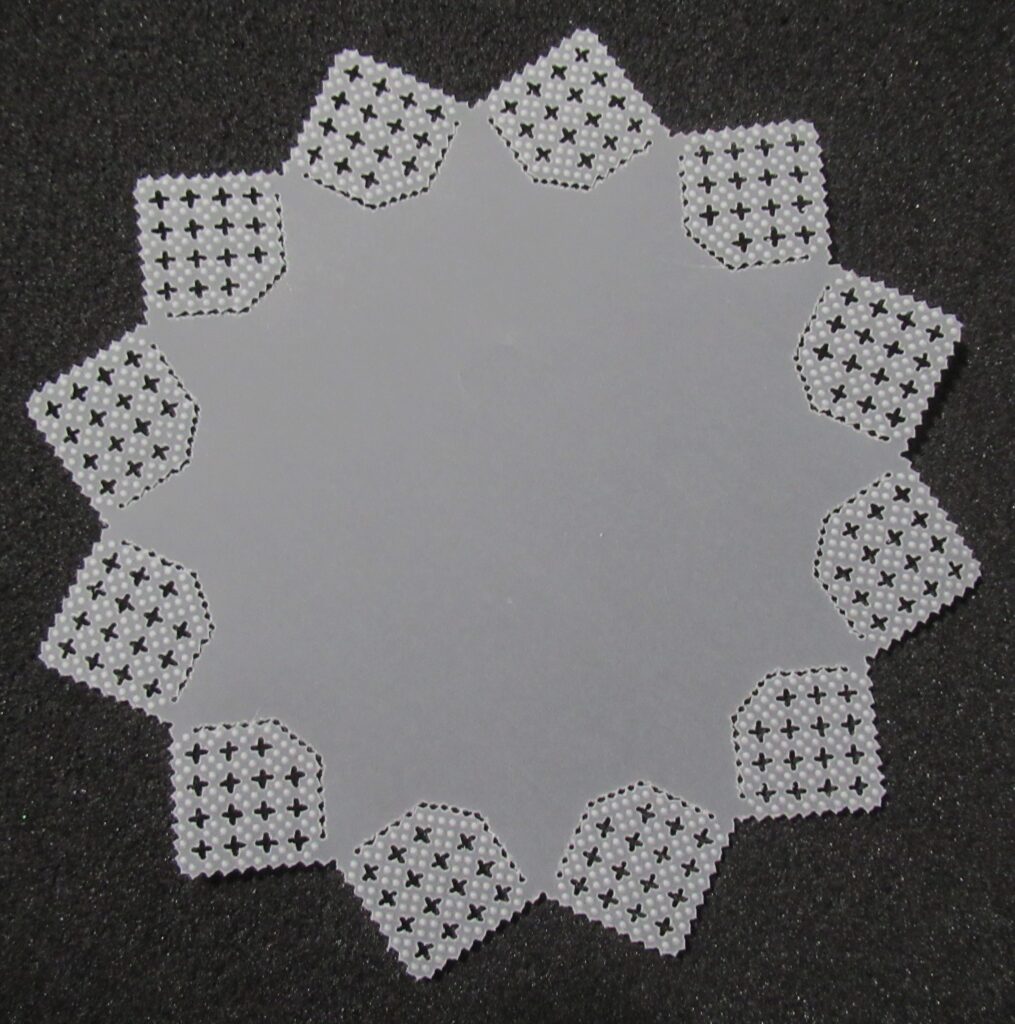
Step 9. Using the 1 needle perforating tool, pierce a hole, then sew through from the back and attach the end with strong double sided tape. Thread on a sequin, followed by a small bead and then take the needle through to the back again. Do this in three places to attach the finished ‘topper’ to the small picot cut circle.
Step 10. Catch the small circle under the segments of the circular grid.
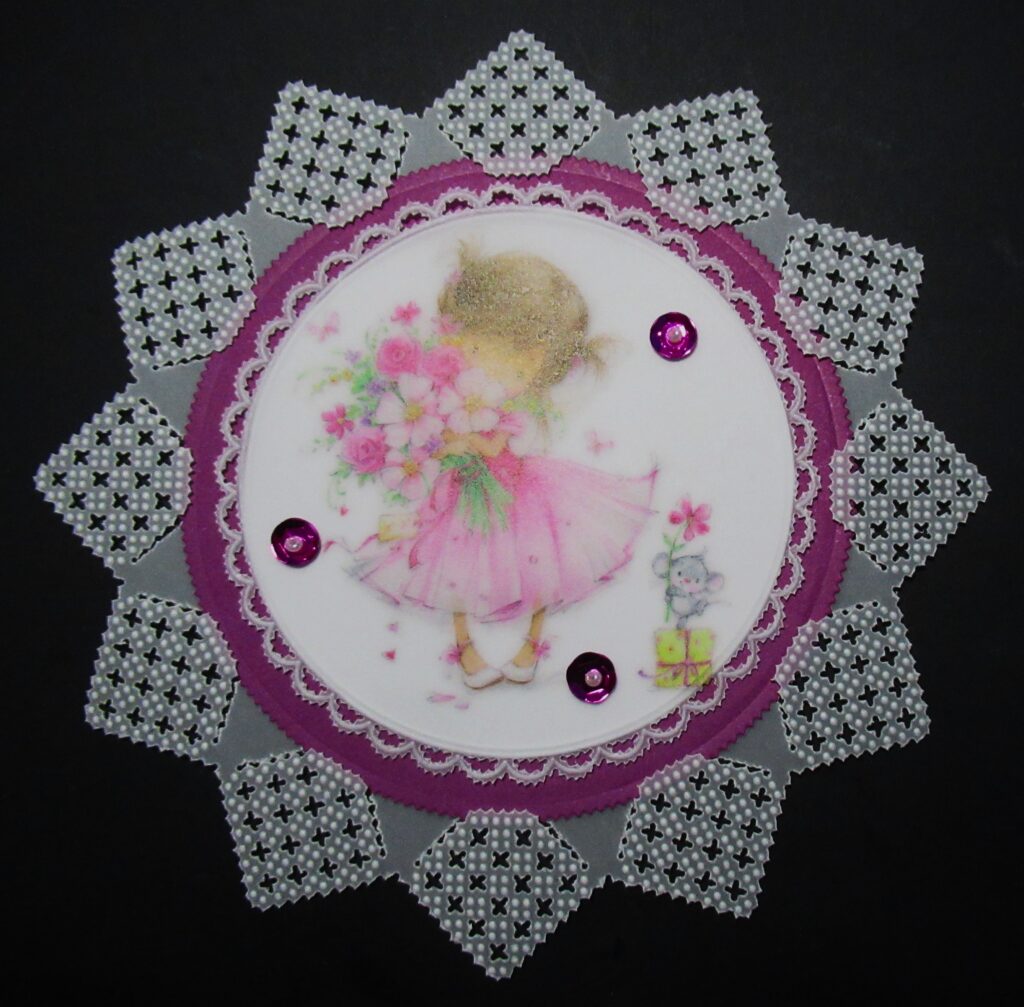
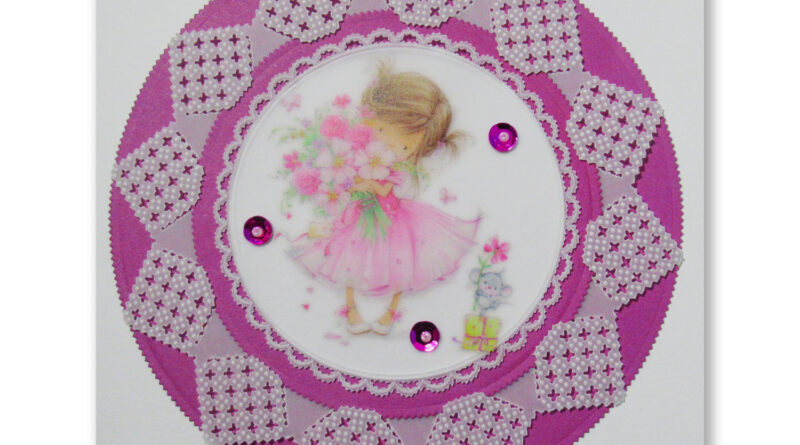
Step 11. Layer up the centre piece onto the larger circle and attach it to a 6 x 6 white card blank.
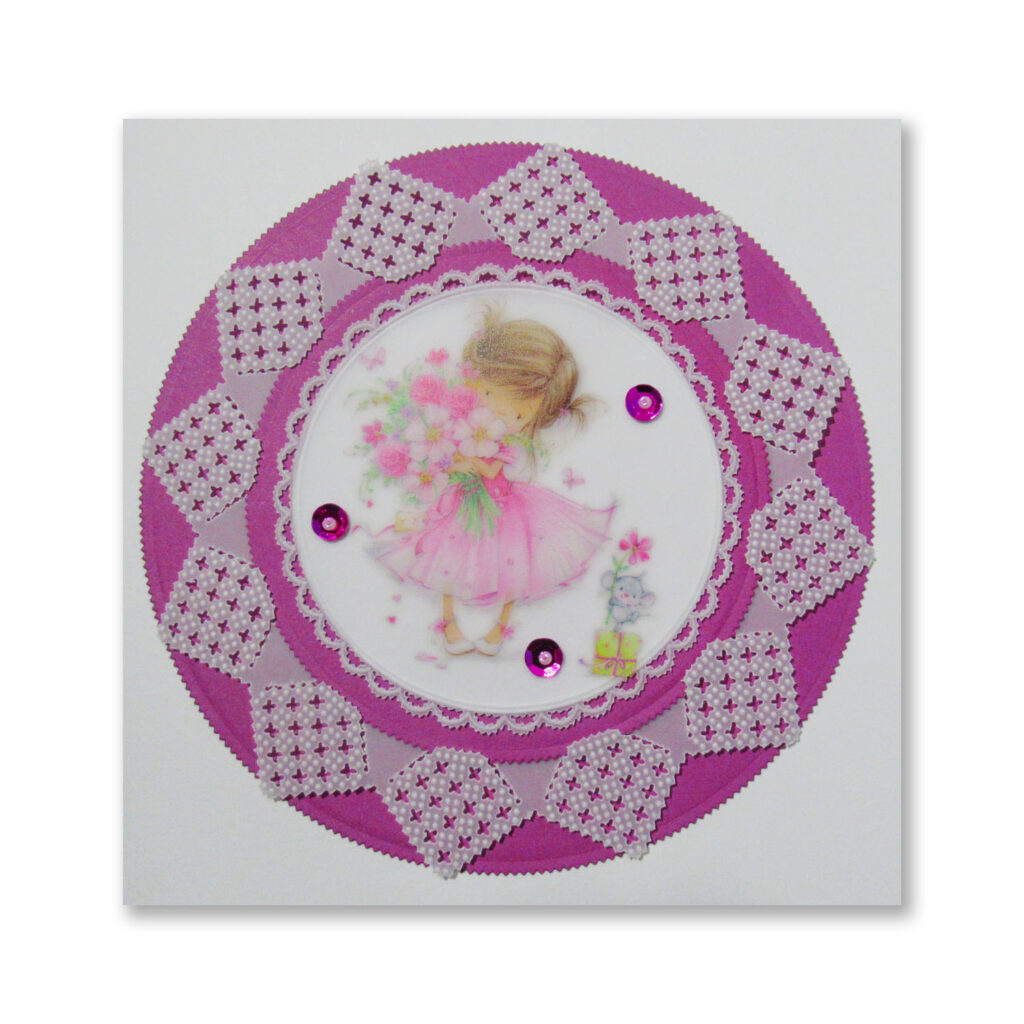
What a pretty finished card! So beautifully put together.
Thank you, Glynis, for sharing this easy to follow step-by-step project with us. Another amazing project that you at home should be able to replicate in your own way!
Everything that Glynis has used in this particular project is available in a shopping list, HERE.
Now, looking at the week ahead…
Sunday 7th April:
Clarity Classics with Barbara Gray on Create & Craft, 3pm – 5pm
Monday 8th April:
In the SHAC with Barbara – 10am Live on Facebook & YouTube
Tuesday 9th April:
Groovi Tuesday with Paul – 10am Live on Facebook & YouTube
Thursday 11th April:
The Pergamano Show with Paul on Create & Craft – 8am, 12pm & 4pm
In the SHAC with Barbara – 7pm Live on Facebook & YouTube
Also this week… we’re having a PERGAMANO PARTY!
Monday April 8th – Monday April 15th!

We’re in the mood to celebrate the joy of parchment craft.
That’s right, from this Monday until next Monday we’re giving you 30% OFF our entire Pergamano range, with some items a massive 50%-75% OFF. Whoa
To sweeten the deal, we’re also giving away (sale-exclusive) Groovi Plates designed especially for our Pergamano Party.
Spend £40+ to receive our brand-new It’s Time To Party Plate.
Spend £80+ and you’ll also receive our brand-new Let’s Celebrate Plate.

No need to add your gift to your basket, simply spend £40+ or £80+ and we will pop it in your parcel whilst packing your order!
Don’t forget, you get FREE UK delivery on all orders over £35.
So, why not aspire to parching perfection and join in with our Pergamano party? Head on over to the PERGAMANO website (Not Clarity) from Monday and enjoy up to 50% OFF!

Right, must dash! Enjoy the rest of your weekend.
Lotsa love, Grace & Glynis xoxo
Clarity – The Home of Art, Craft, and Well-Being.
Hi Grace & Glynis, thank you for another lovely project. A busy week for Clarity Towers but it will keep us all occupied especially today as the weather is very mixed. Strong winds & sunshine at the moment but with clouds lurking on the horizon so definitely a day to stay indoors as much as you can.
Have a good week everyone, Sue x
Lovely step by step Glynis, thank you. x