Clarity Matters Blog Tutorial: Owl Verse Plate
Hello hello! Grace here.
I hope this finds you well, safe and enjoying your Sunday morning.
We are joined today by the super talented Glynis Whitehead! I’ll hand you right over to our teacher…

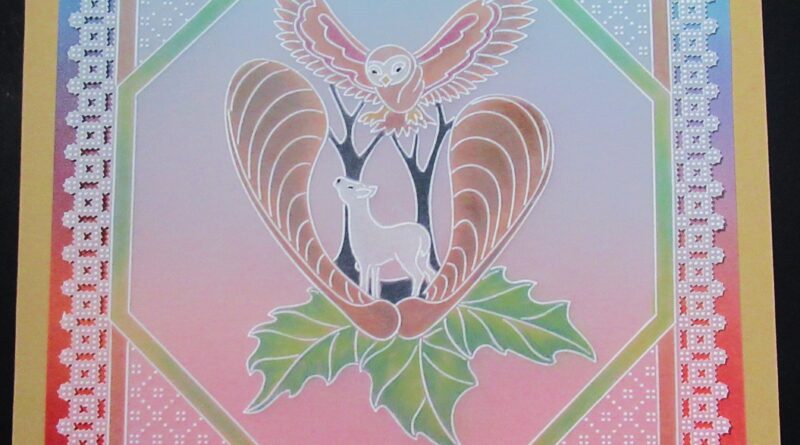
Psalm 91:4 (Owl Verse Plate)
Ingredients
Nested Octagons Extensions A4 Sq Groovi Plate (GRO-PA-40552-15)
Nested Squares Extensions A4 Sq Groovi Plate (GRO-WO-40538-15)
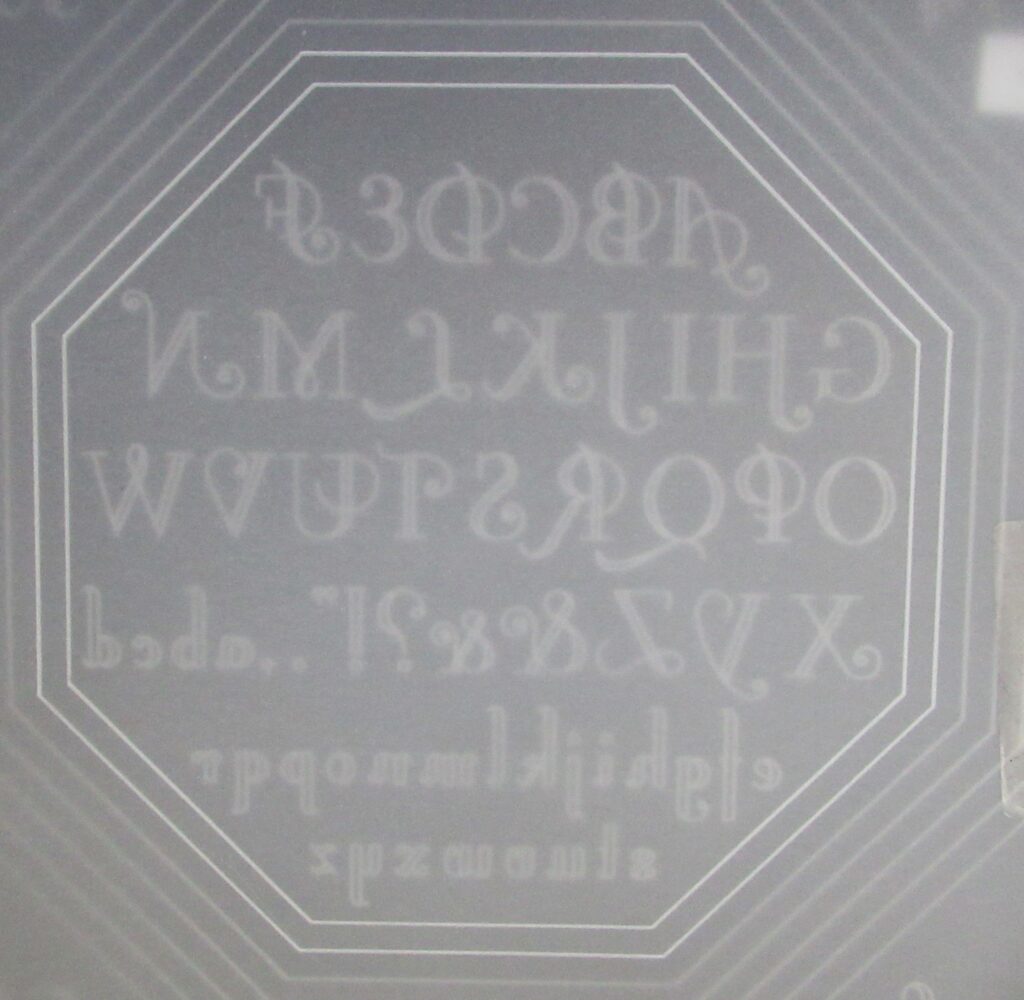
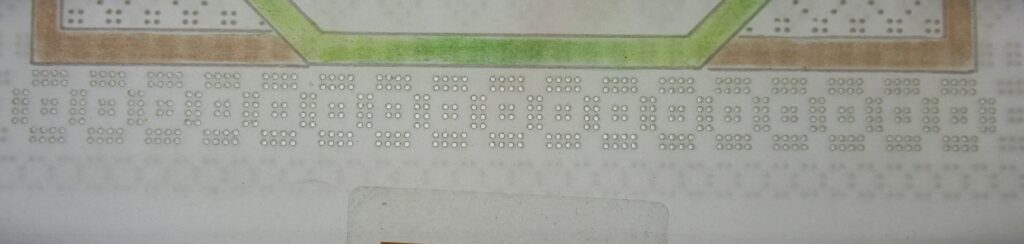
Sycamore Verse A5 Groovi Plate (GRO-WO-40828-04)
Josie’s Straight Grid Samper 2 (GRO-GG-41792-24)
Straight Border Grid 1 (GRO-GG-40350-14)
Basic Piercing Grid Straight (GRO-GG-40384-14)
Pergaliner Pencils (B for blending) (PER-CO-70063-XX)
Pergamano Colours Exclusives (PER-CO-70060-XX)
Dorso Oil (PER-CO-70066-XX)
Pergamano Blending Pen (PER-AC-70300-XX)
Blending Nibs (PER-AC-70299-XX)
Faber Castell Pencil Eraser (ACC-PE-30612-XX)
Pergamano Bold two-needle Perforating Tool (PER-TO-70279-XX)
Numbers 1 and 2 tools from the Starter Kit
Northern Lights Designer Paper (ACC-CA-30443-88)
8 x 8 Kraft Card Blank (ACC-CA-30755-88)
Method
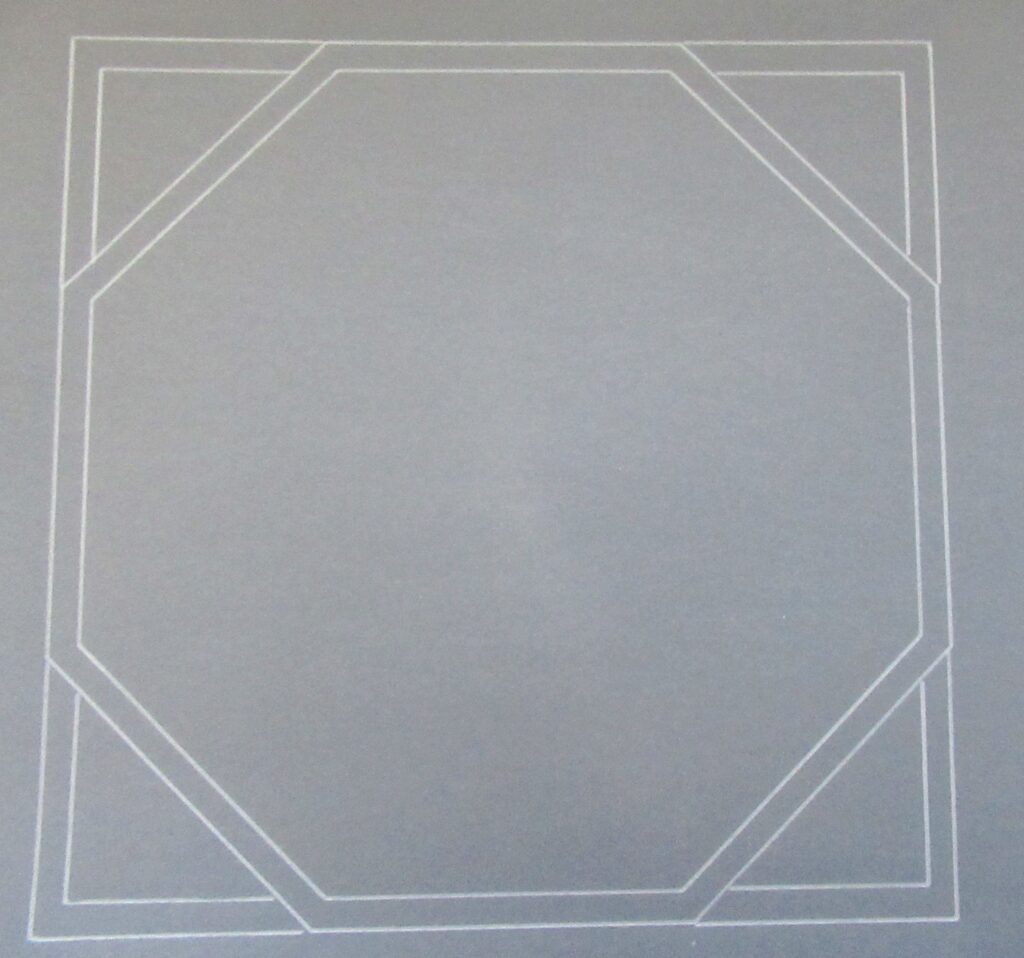
Step 1. Attach a piece of plain parchment to the nested octagons extension plate and trace out the first lines from the inside.
Step 2. Leaving the parchment attached to the Plate Mate, replace the octagons with the nested squares extensions plate. The parchment will automatically be matched up to the octagons enabling you to trace out the corners.
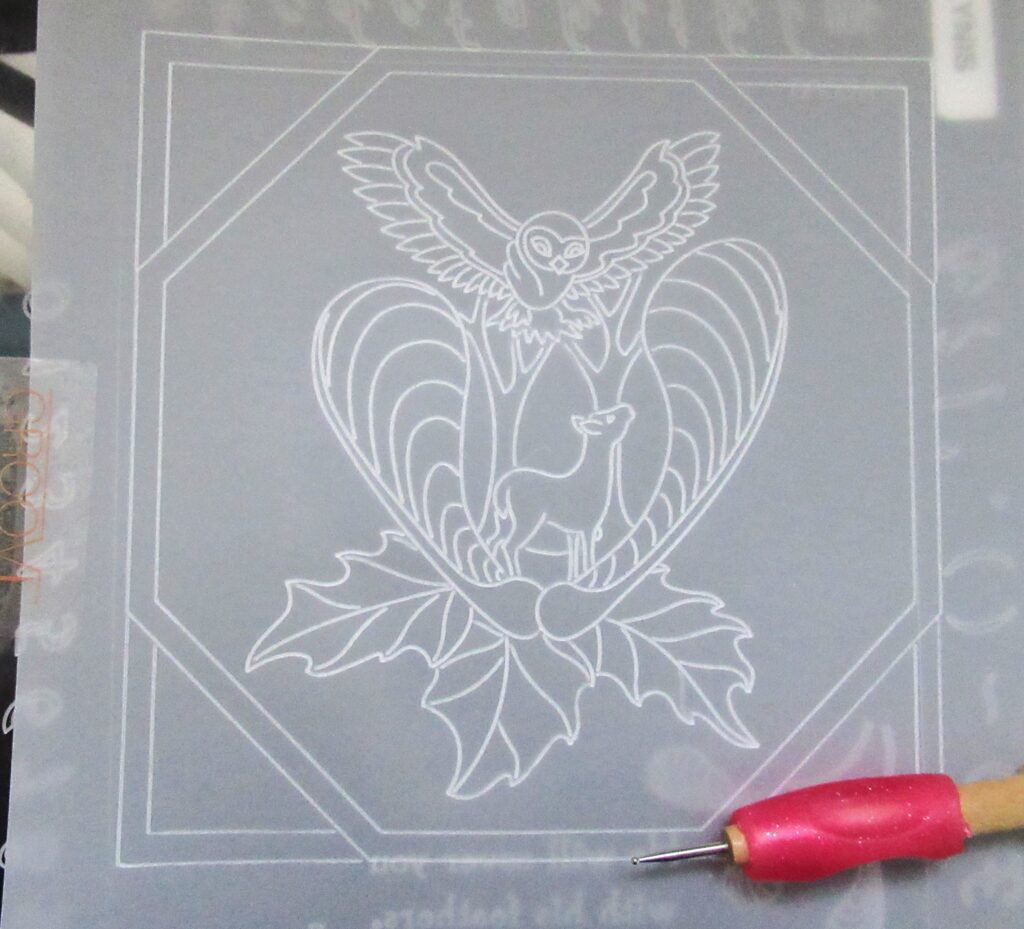
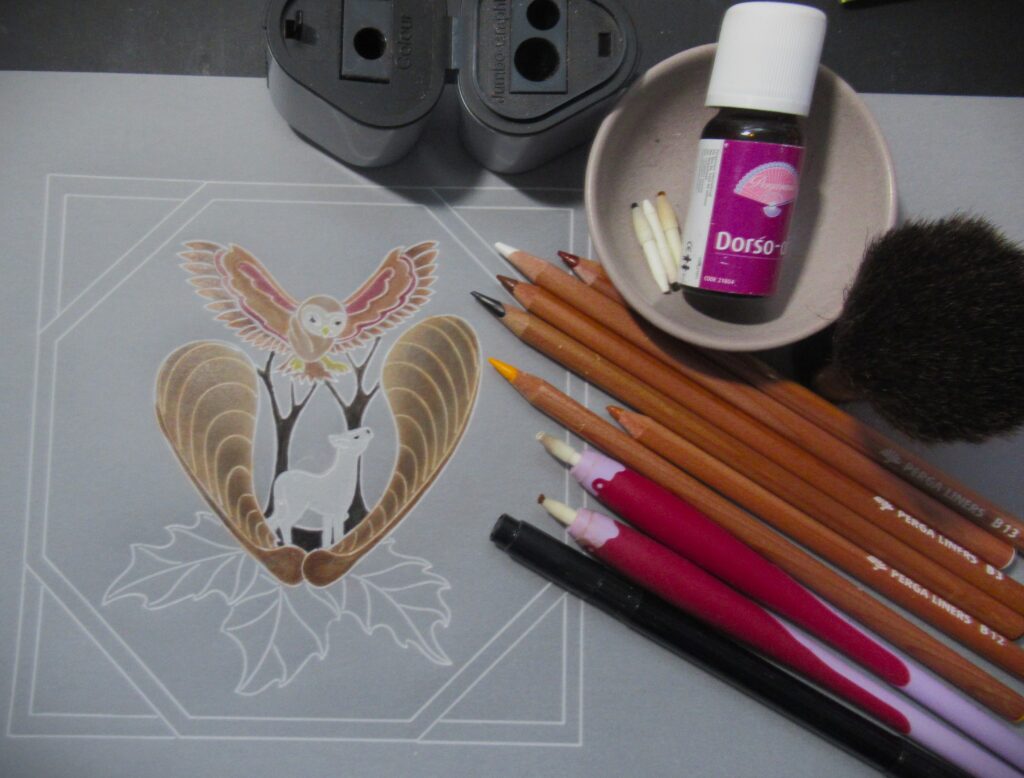
Step 3. Centralise the Owl and Sycamore image into the octagon and trace out the whole thing.
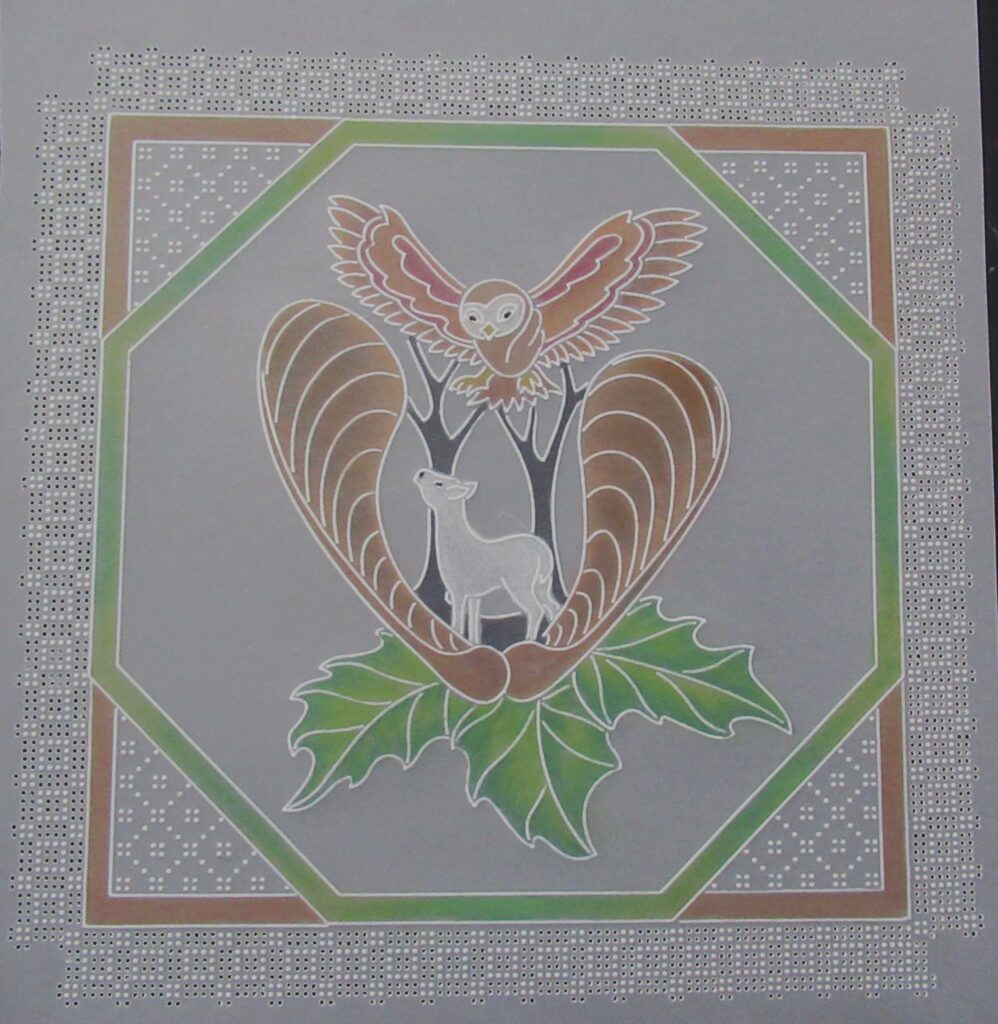
Step 4. Using Perga liners, colour the sycamore seed pod and owl first. I have used numbers B3, B12, B13 and a little B2. *Use a tiny bit of B2 to darken the brown where more shadow is needed. B1 is used on the face of the owl and on the lamb. Pergamano Colour Exclusive number 20 (black) for the tree trunks and branches, eyes of the owl and eye and nose of the lamb. B9 on the feet and beak of the owl. Use the brown blending nib to knock the colour back a bit.
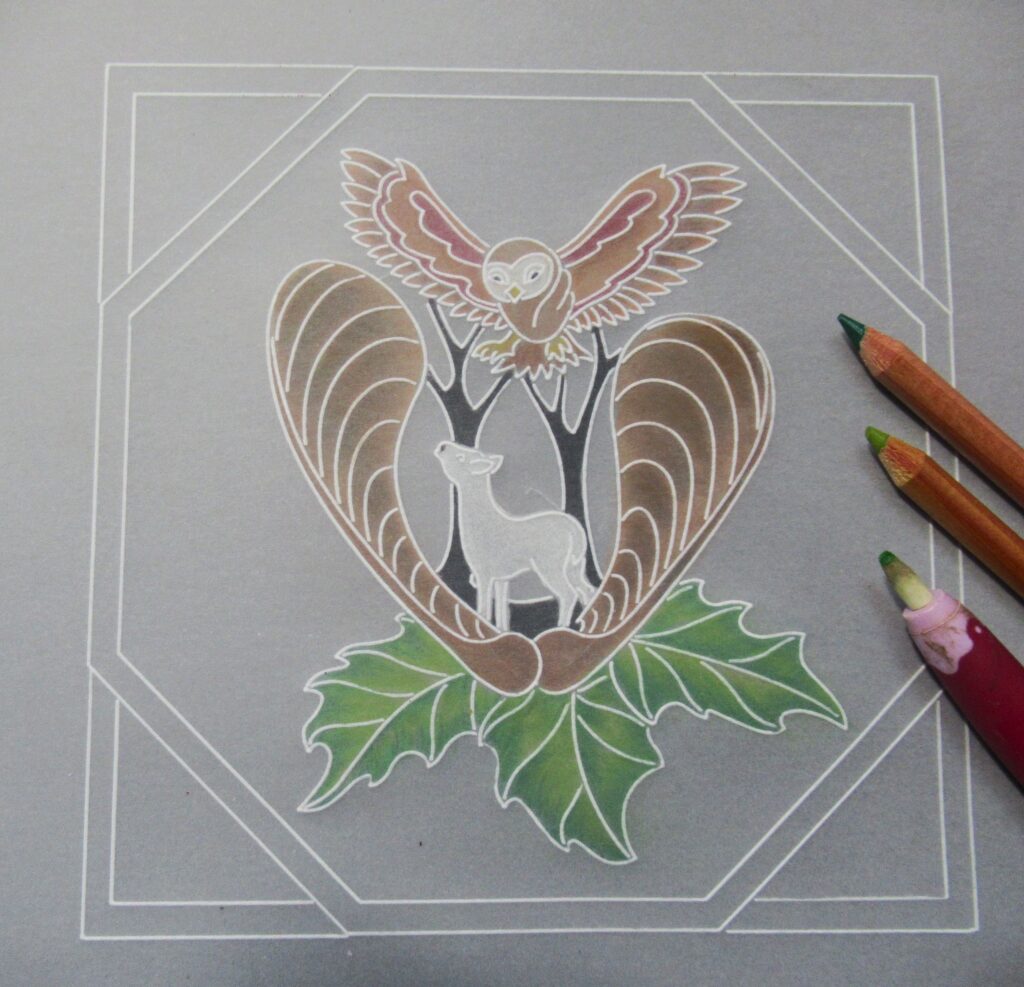
Step 5. For the leaves, use B6 and B15. Decide from where the light is coming and start at one edge, going dark, light, dark then light. Blend the greens together using a blending nib. To make the nib fairly dry, dip into some Dorso oil and then onto a tissue to remove some. Blend the two greens together.
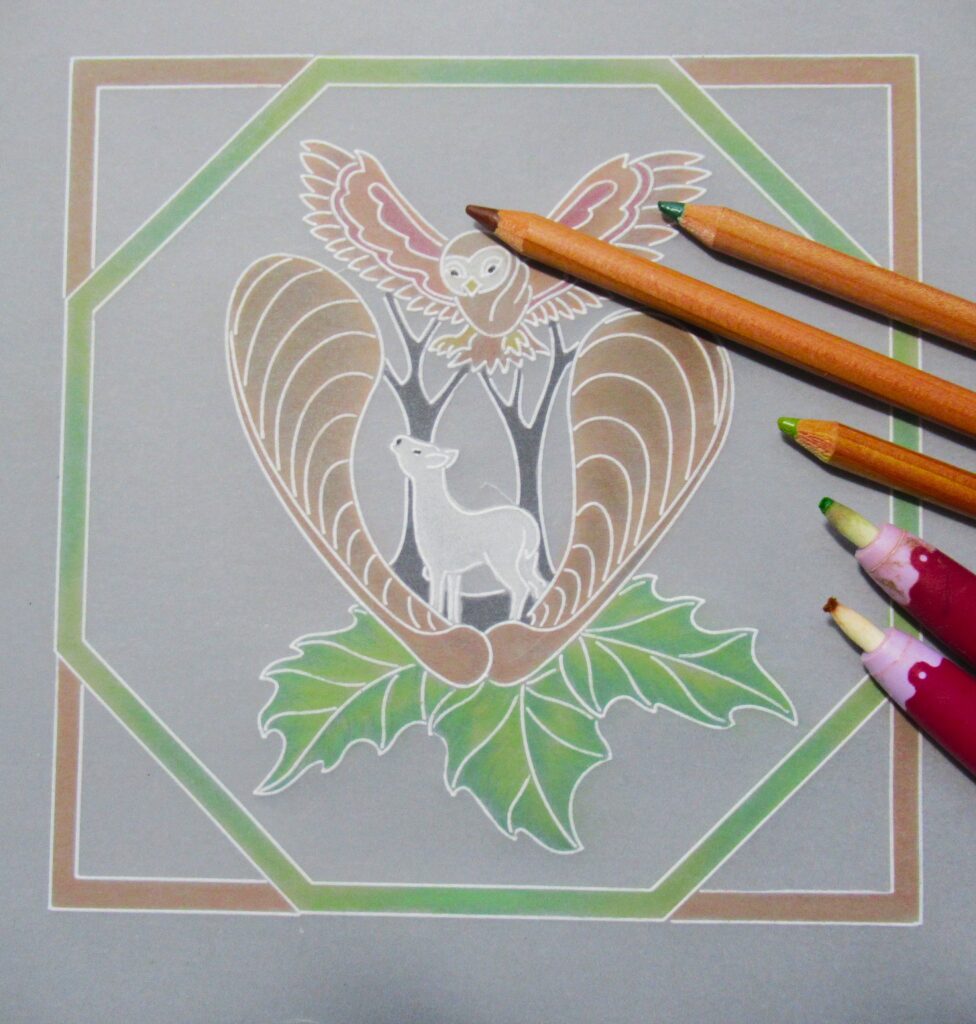
Step 6. Colour in the margins using B3, B6 and B15. Blend the colours into each other using a near dry nib (as in step 5). If you go over the edges whilst blending, use the pencil eraser to remove it.
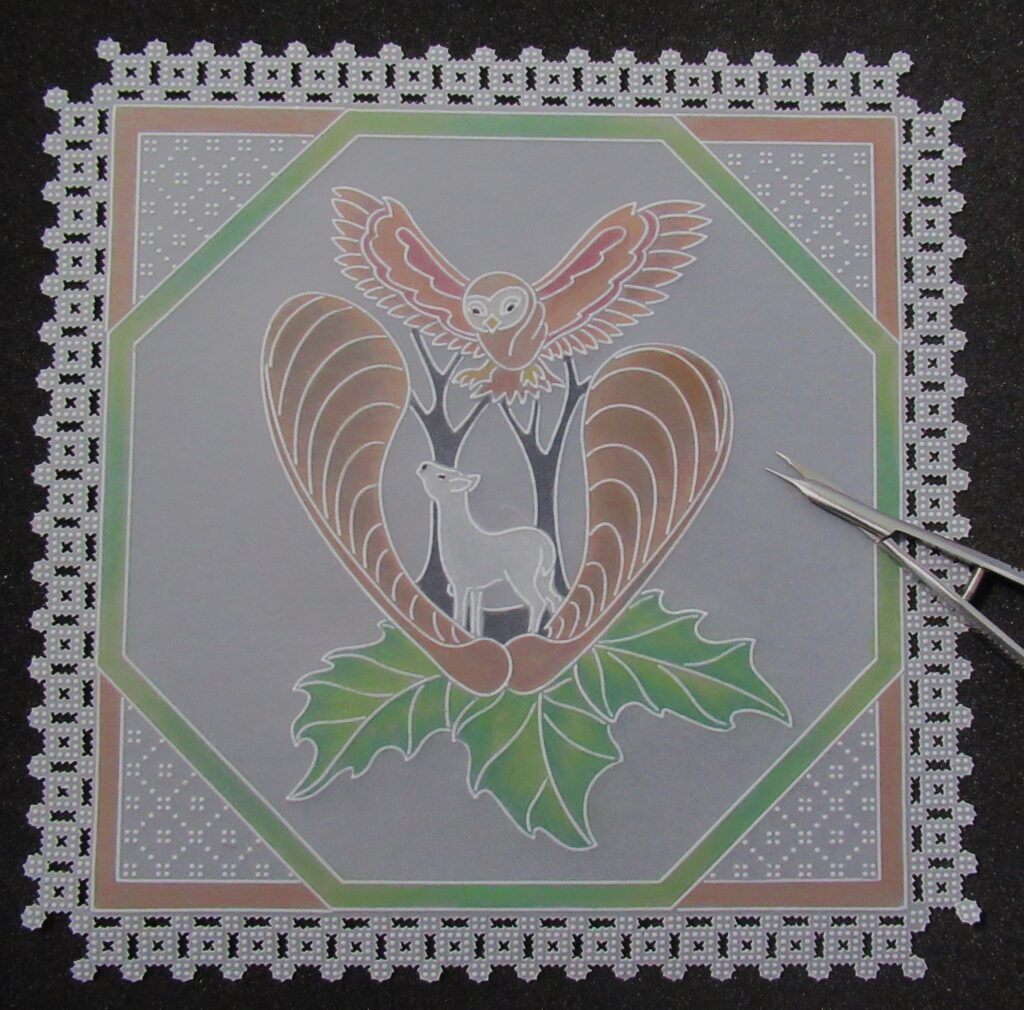
Step 7. Use Josie’s Embossed Grid Sampler number 2 to add some pattern into the corners.
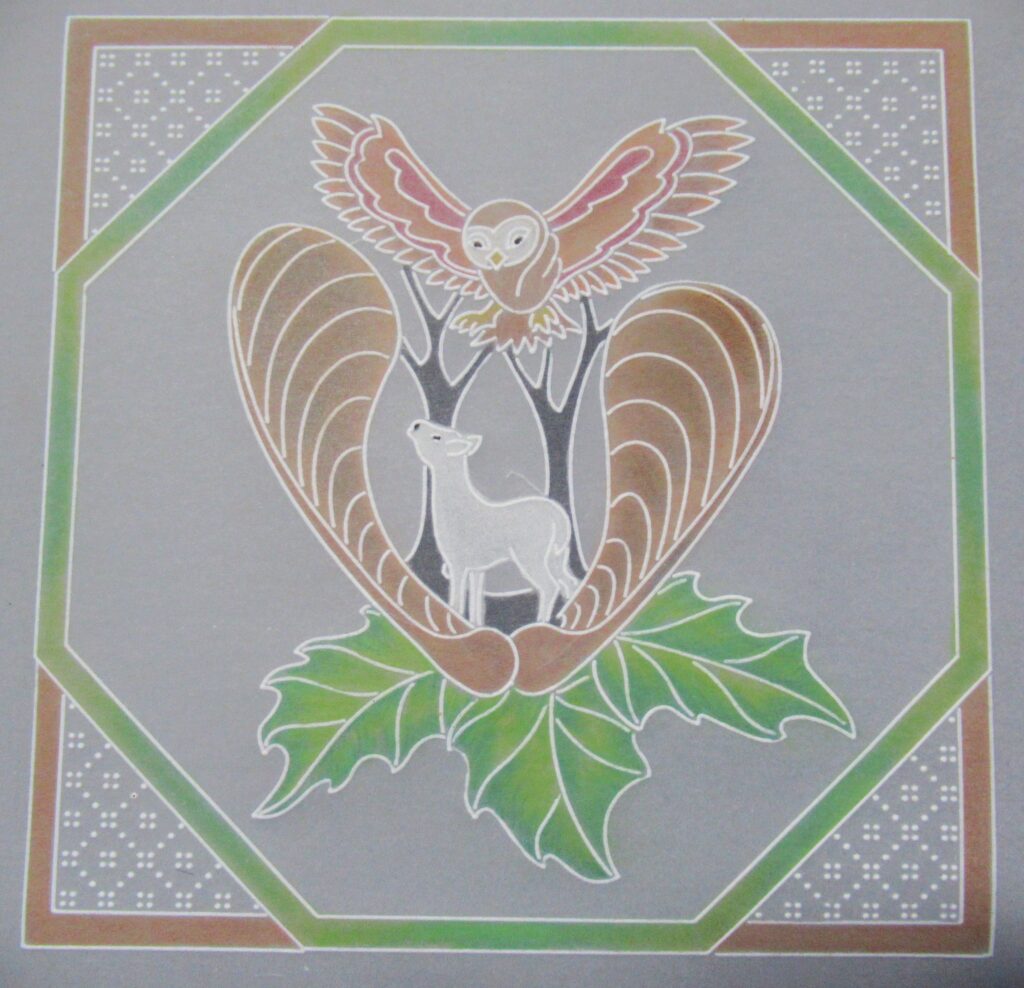
Step 8. Line up the edges of the work onto the Straight Border Grid 1. There should be a complete ‘square’ pattern at each corner. Perforate with the Bold two-needle tool. Line up each line in turn until you have completed the square.
Step 9. Turn the work over and attach the parchment to the Basic Piercing grid so that the dots fit between all the holes of the grid pattern. Use the number 2 tool to emboss dots into all the spaces.

Step 10. Now turn the work back over and pierce the holes under all the double dots around the edge of the piece.
Step 11. Snip all the crosses in the lacework and around the edge of the piece.
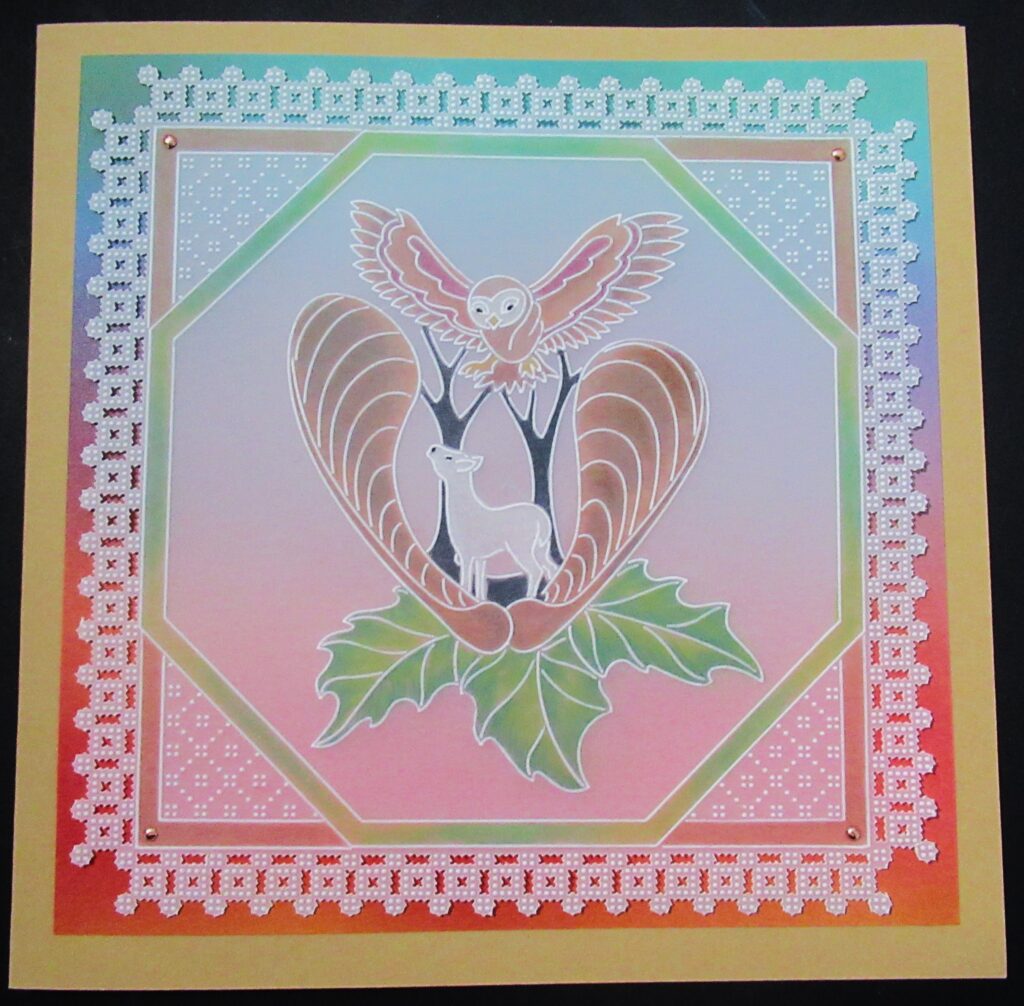
Step 12. Layer the work up onto a 7.25 x 7.25 inches piece of Northern Lights Designer paper, then onto an 8 x 8 inch card blank.
What a fabulous project! So well executed.
Thank you, Glynis, for sharing this step-by-step project with us. Another impressive project, with easy to follow steps, so you can feel inspired and recreate this beauty at home!
Everything that Glynis has used in this particular project is available in a shopping list, HERE.
Now, looking at the week ahead…
Tuesday 2nd April:
Groovi Tuesday with Paul – 10am Live on Facebook & YouTube
Thursday 28th March:
In the SHAC with Barbara – 7pm Live on Facebook & YouTube
Don’t forget about our brilliant Easter sale! 40% off our Rhyme Time Alphabet products, until Tuesday. And then the sale continues through the month at 25% off. Explore more, HERE.

See you there! Happy Easter!
Travel gently, friends.
Lotsa love, Grace & Glynis xoxo
Clarity – The Home of Art, Craft, and Well-Being.
Thank you for this lovely step by step Glynis highlighting different techniques, very useful.
Happy Easter Sunday Grace, Glynis and All
This is a lovely step by step & I really appreciate you saying which colours you have used where. Thank you.
Thank you Glynis and Grace for highlighting this lovely Groovi plate. It is one of the very few I do not have and don’t recall having seen it before. I will be adding it to my next order.
Hope you are having a relaxing weekend.
Thank you Glynis for a beautiful project. I love this plate. Will give it a go.
Happy Easter to you, Grace, and everyone x
looks like you’ve layered this design when you first see it. Lovely project Glynis.
Hi Grace & Glynis, bit late today but catching up now after a day with the family. Another lovely step by step project that could be adapted with other plates as this is another plate I haven’t actually got.
Enjoy the rest of the Easter weekend everyone x