Clarity Matters Blog Tutorial: How To Create A Card for Mothers Day
Hello hello! Grace here.
I hope this finds you well, safe, and feeling crafty.
This week, our talented friend (and Clarity Design Team Member) Julie Campbell has prepared a fantastic step-by-step blog tutorial project for us.
I’ll hand you over to our teacher…

Mother’s Day Card
Using Frosted Floral Groovi Plates Part 2, Spacer plate, and A4 Square Dotted Frames and Extenders
Hi everyone, welcome to today’s blog. Hope you are all well and looking forward to another step-by-step project. This Mother’s Day card is the sample I made for the One Day Special for Create and Craft on the 14th and 15th of February of this year. I hope you like it.
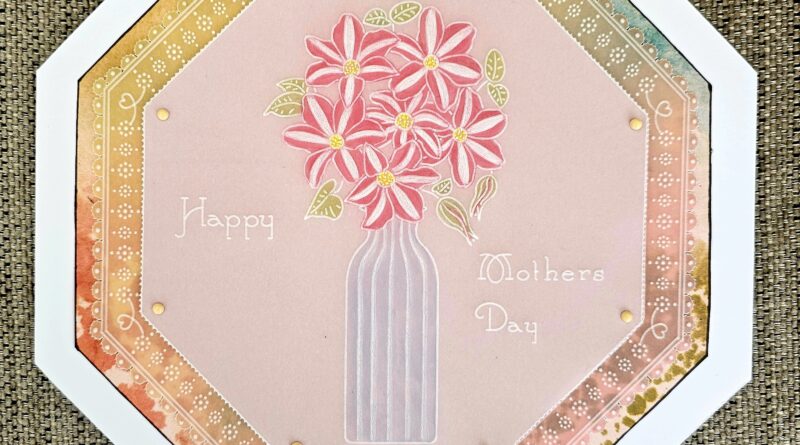
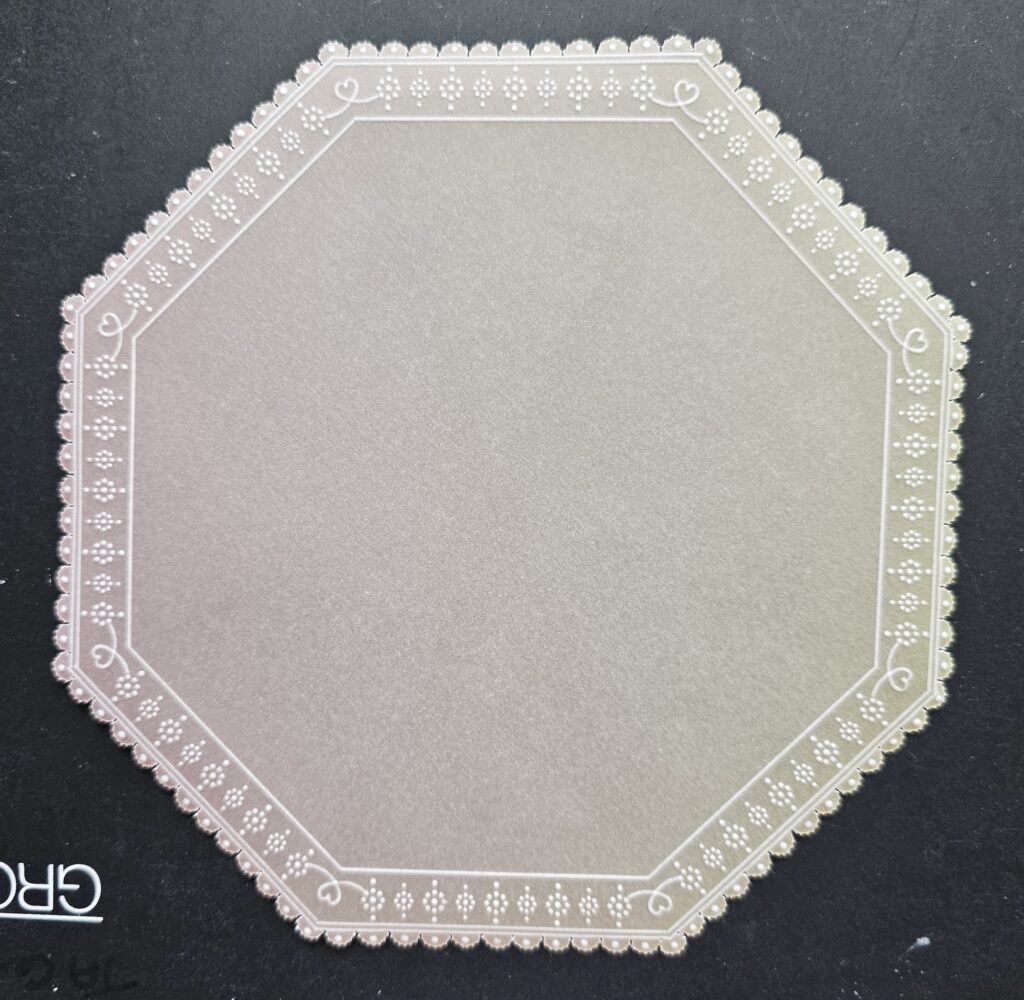
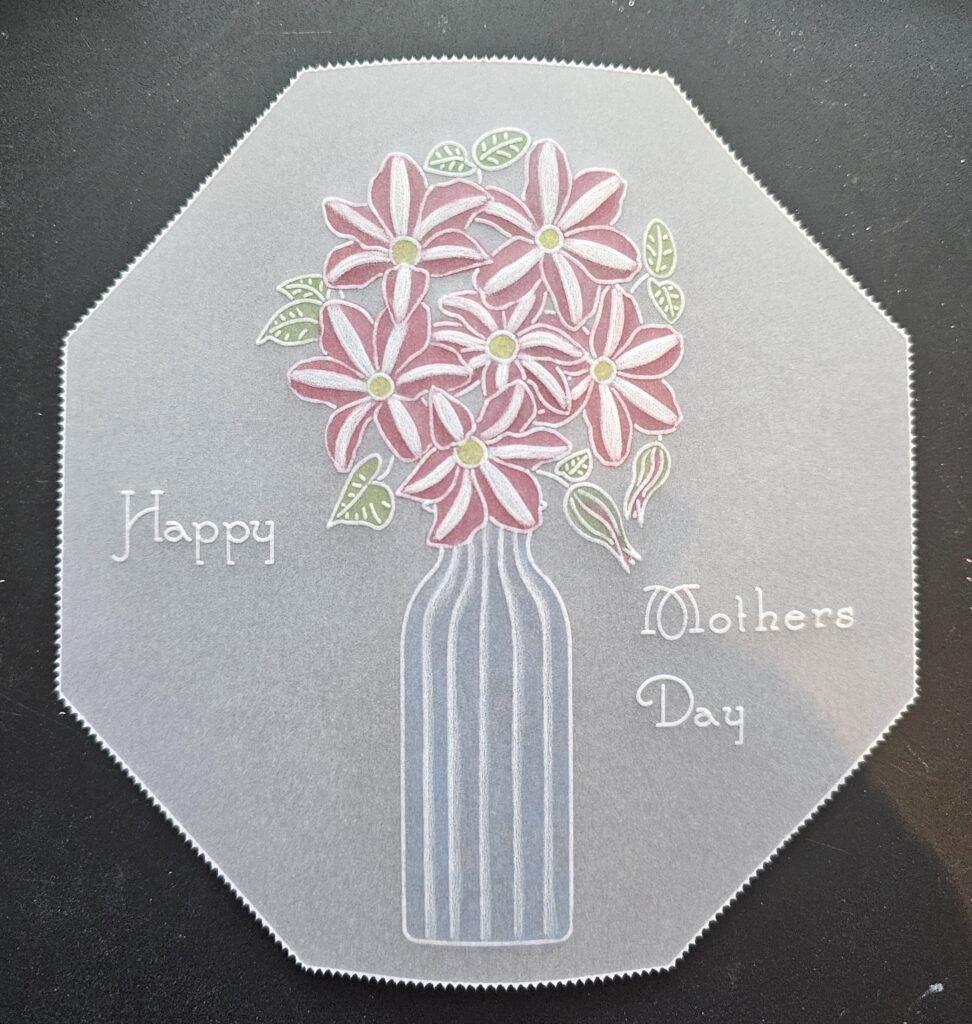
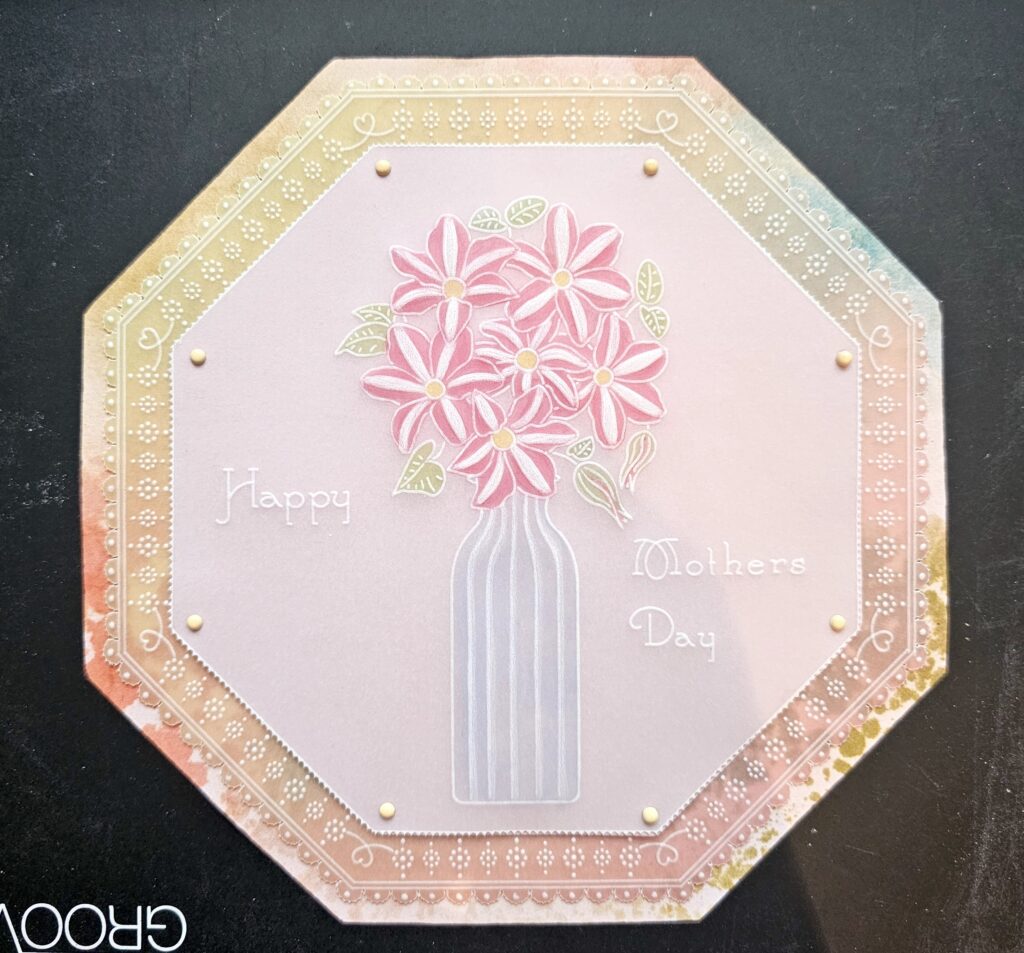
This is the completed card that we are heading towards. Have fun!
Ingredients
Clear Parchment (GRO-AC-40024-A4)
Lemon Sorbet Sunrise Parchment (GRO-AC-42002-XX)
Octagon Extension & Art Deco Alphabet A4 Sq Plate (GRO-PA-40552-15)
Linda’s Clematis A6 Groovi Plate (GRO-FL-42258-02)
Linda’s Frosted Floral Vase Groovi Spacer Plate (GRO-FL-42262-06)
Nested Squares Ext & Alphabet Frame A4 Sq Plate (GRO-WO-40538-15)
Dotted Lace Frame Extenders A4 Groovi Plate (GRO-PA-42265-16)
Semi-Circle Perforating Tool (PER-TO-70017-XX)
8”x 8” White Card Blank (ACC-CA-30620-88)
2-Needle Bold Piercing Tool (PER-TO-70279-XX)
1-Needle Bold Piercing Tool (PER-TO-70028-XX)
Pergamano embossing tools:
4.5mm, 3mm, 1.5mm and 1mm
Double-Sided Sticky Tape (ACC-AD-30375-XX)
Roll-A-Tape (ACC-MS-31065-XX)
Faber Castell Polychromos or Pergaliner B Pencils
Dorso Oil (PER-CO-70066-XX)
Blending Pen and Nibs (PER-AC-70440-XX)
Ruler (PER-AC-70278-XX)
Lightwave (ACC-LP-30566-XX)
Snips, Exclusives or ring lock scissors (whichever you prefer)
Paper Trimmer/ guillotine or Scissors (ACC-CT-30223-XX)
Toscana Companion Paper (ACC-CA-31342-88)
Hibiscus loose leaf Infusion Paper (ACC-CA-31459-88)
Pencil and Eraser (ACC-PE-30611-XX)
Mini Brads
Method
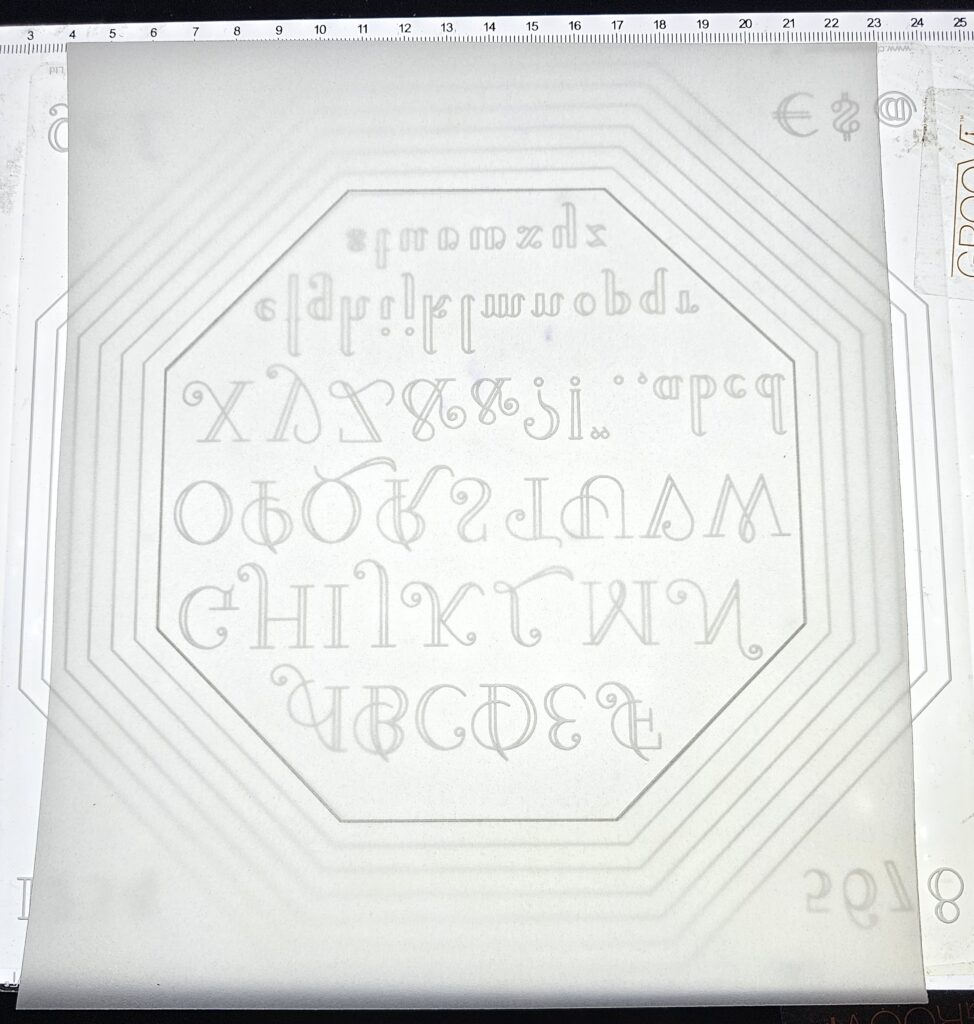
Step 1. Using clear parchment and the Octagon Extension & Art Deco Alphabet plate, trace out the innermost (smallest) octagon using a Number 1 embossing tool.
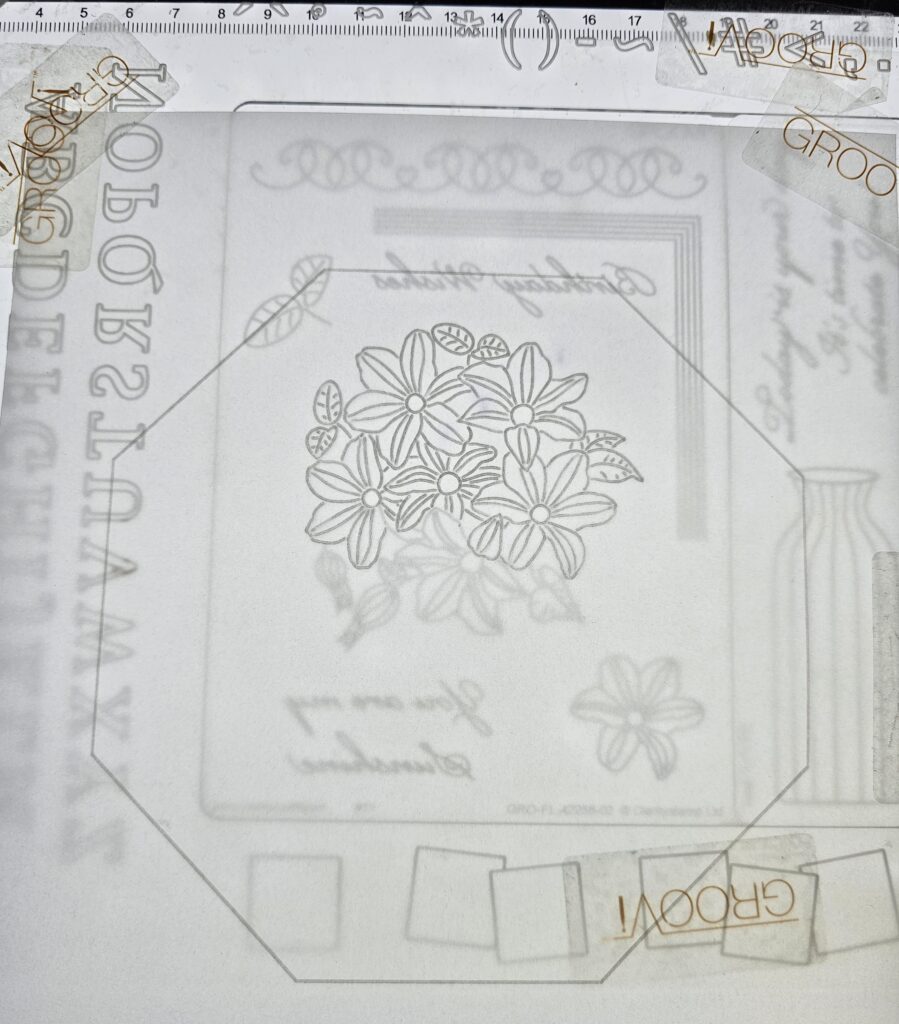
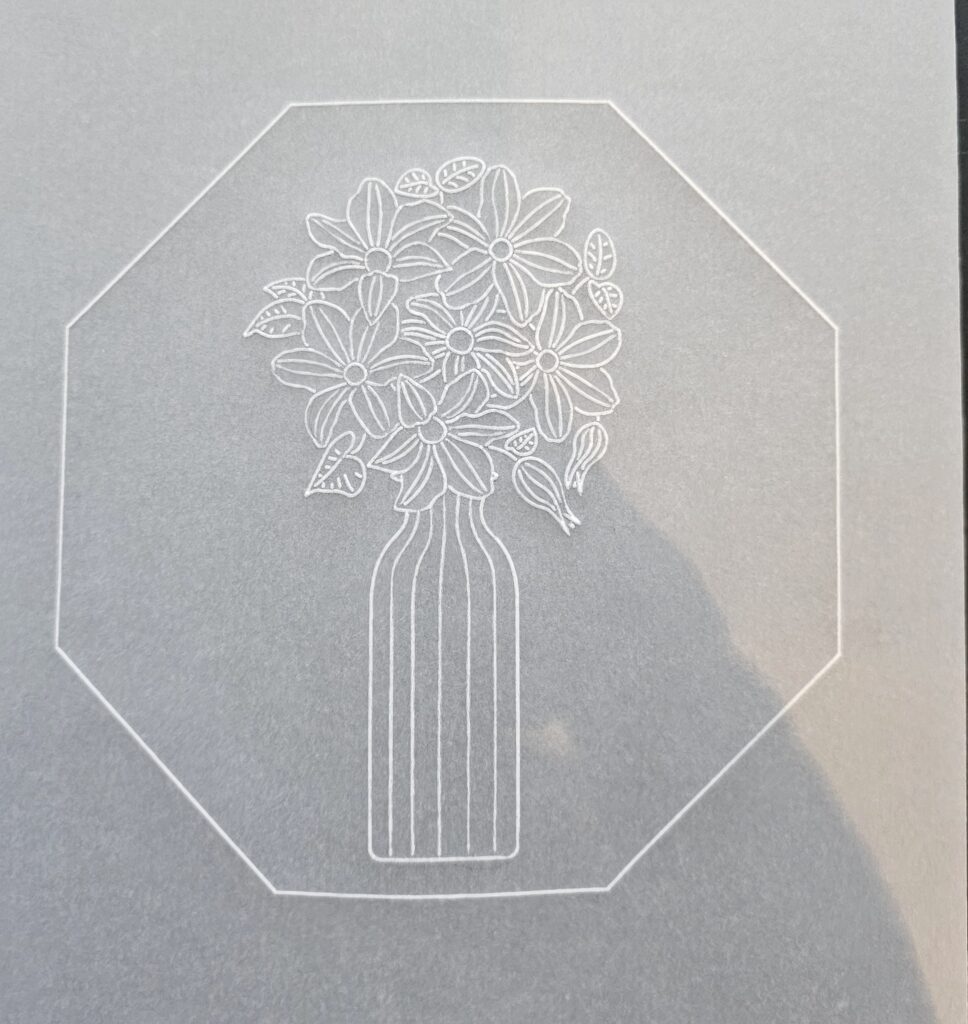
Step 2. Trace the Clematis flowers lightly from Linda’s Clematis A6 Groovi Plate (pictured below) then fit the vase around them from Linda’s Frosted Floral Vase Groovi Spacer Plate.
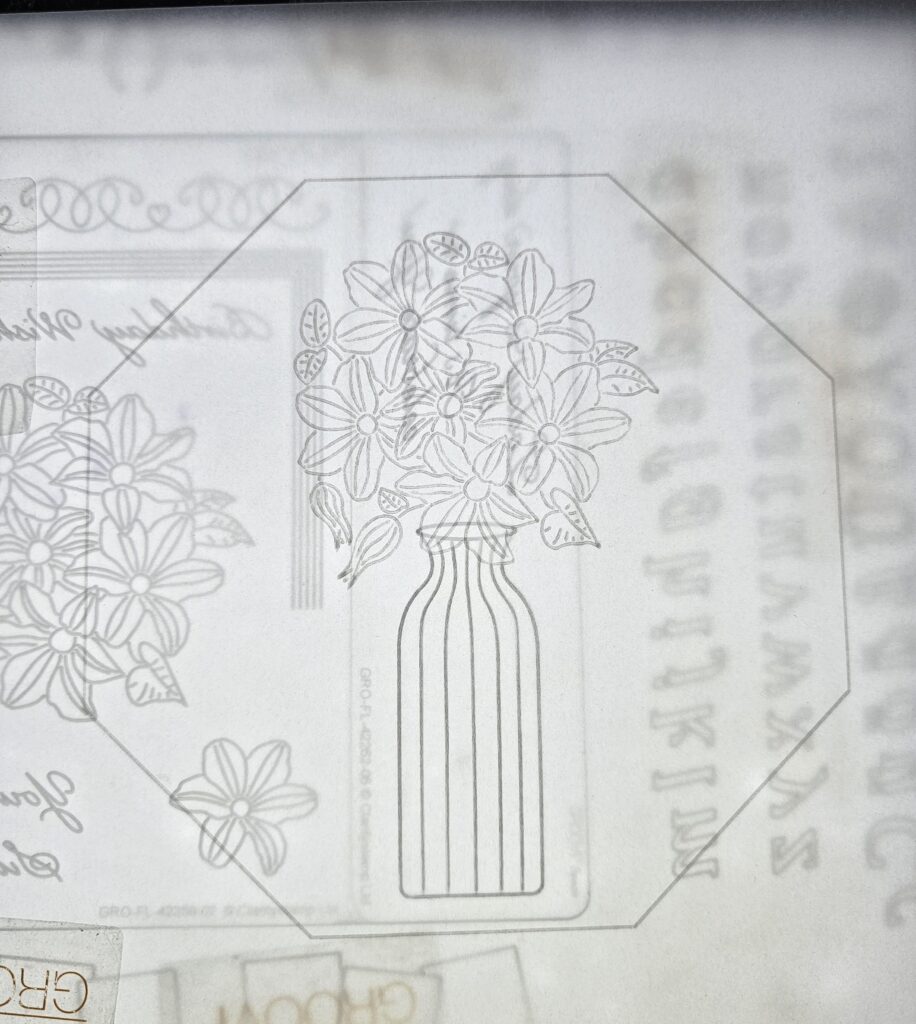
Step 3. It should look like this…
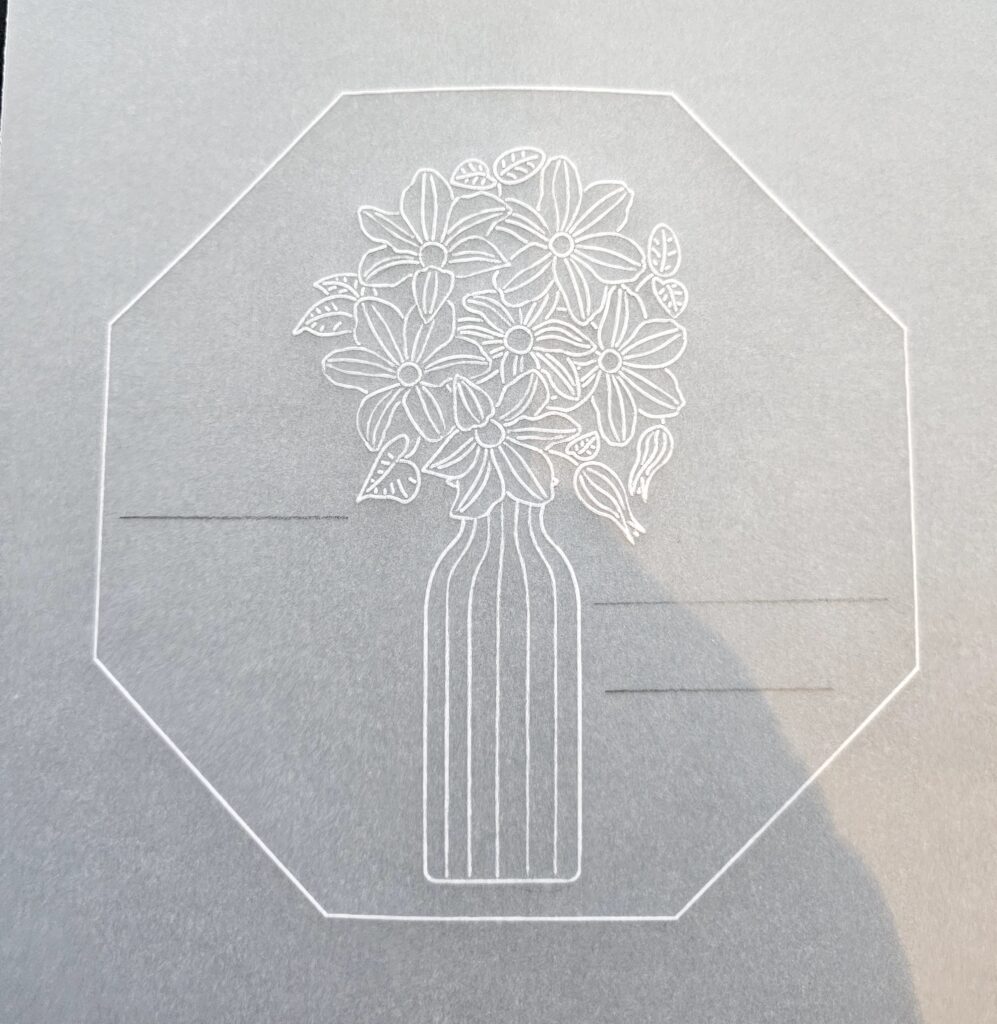
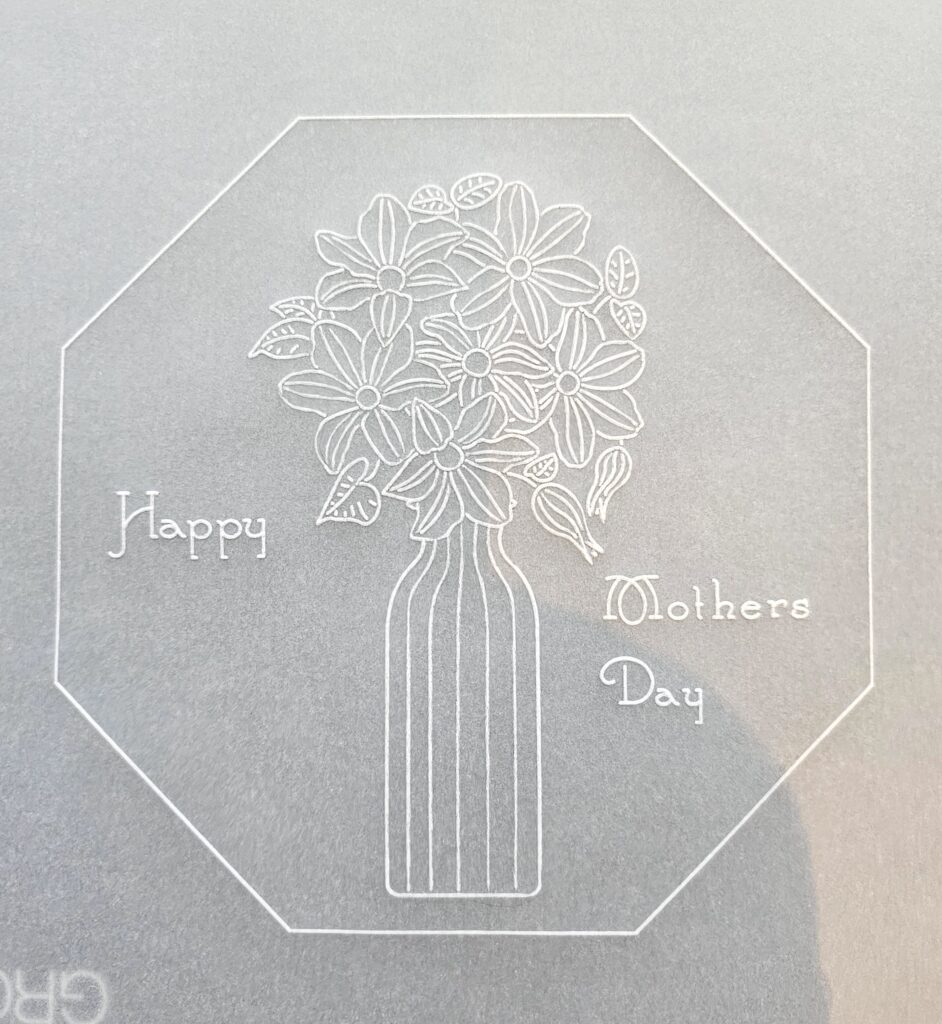
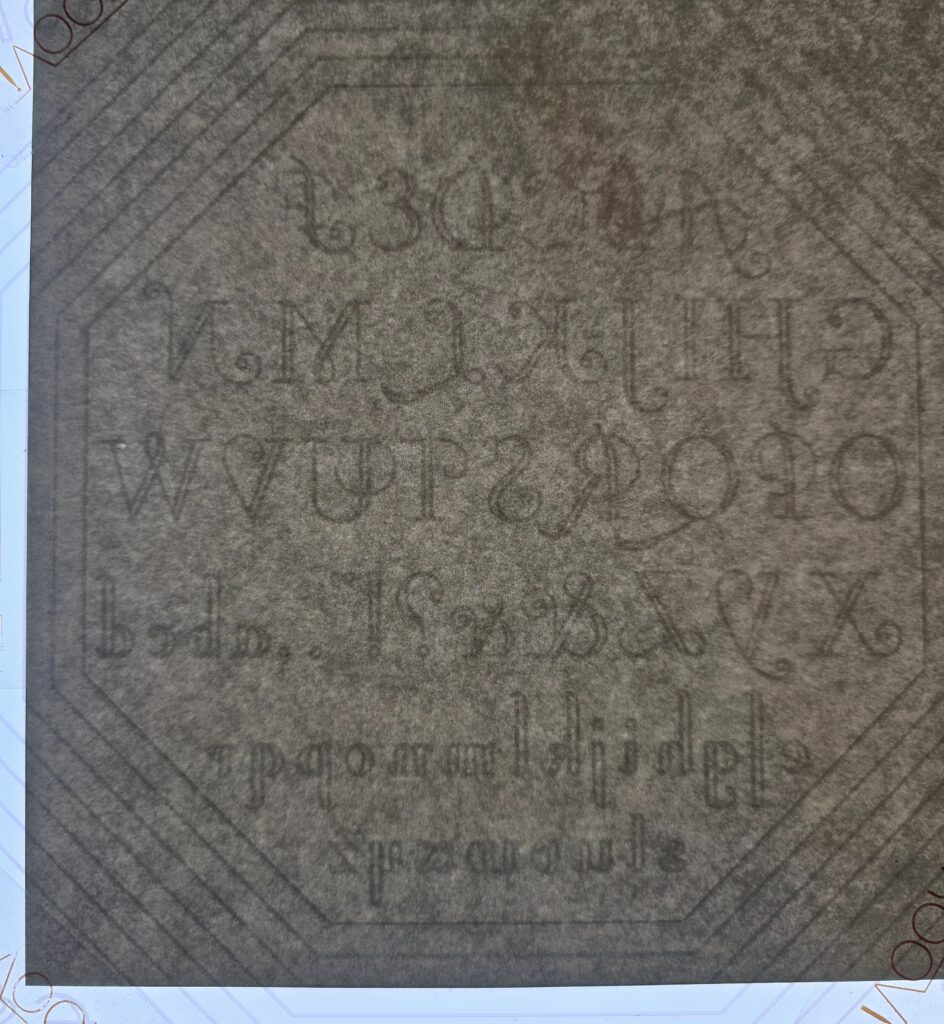
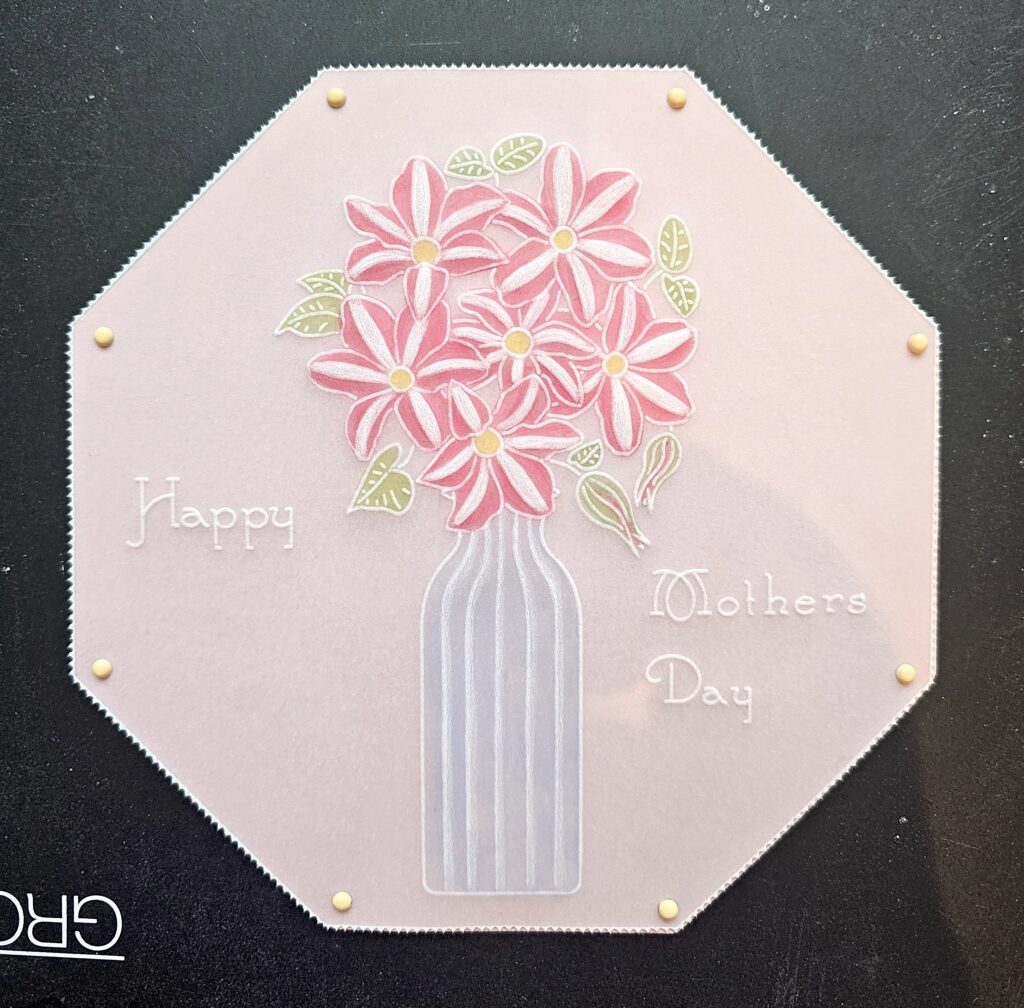
Step 4. On the front of your work, with either a graphite pencil or a Pergamano white pencil, draw 3 lines (pictured below). Turn your work over to the back and using plate GRO-WO-40538-15 (remembering you have to reverse the letters and words!) write Happy Mother’s Day. Return to the front of your work and rub out the pencil lines.
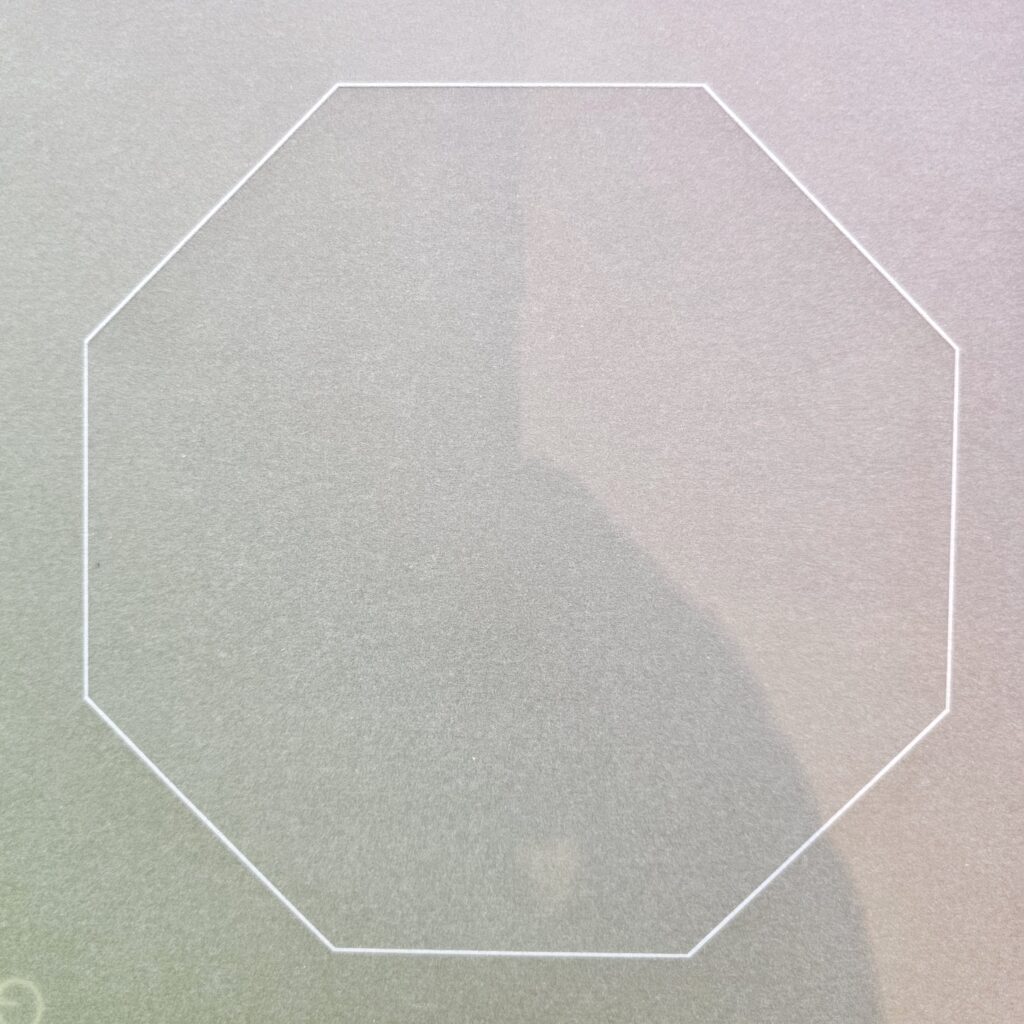
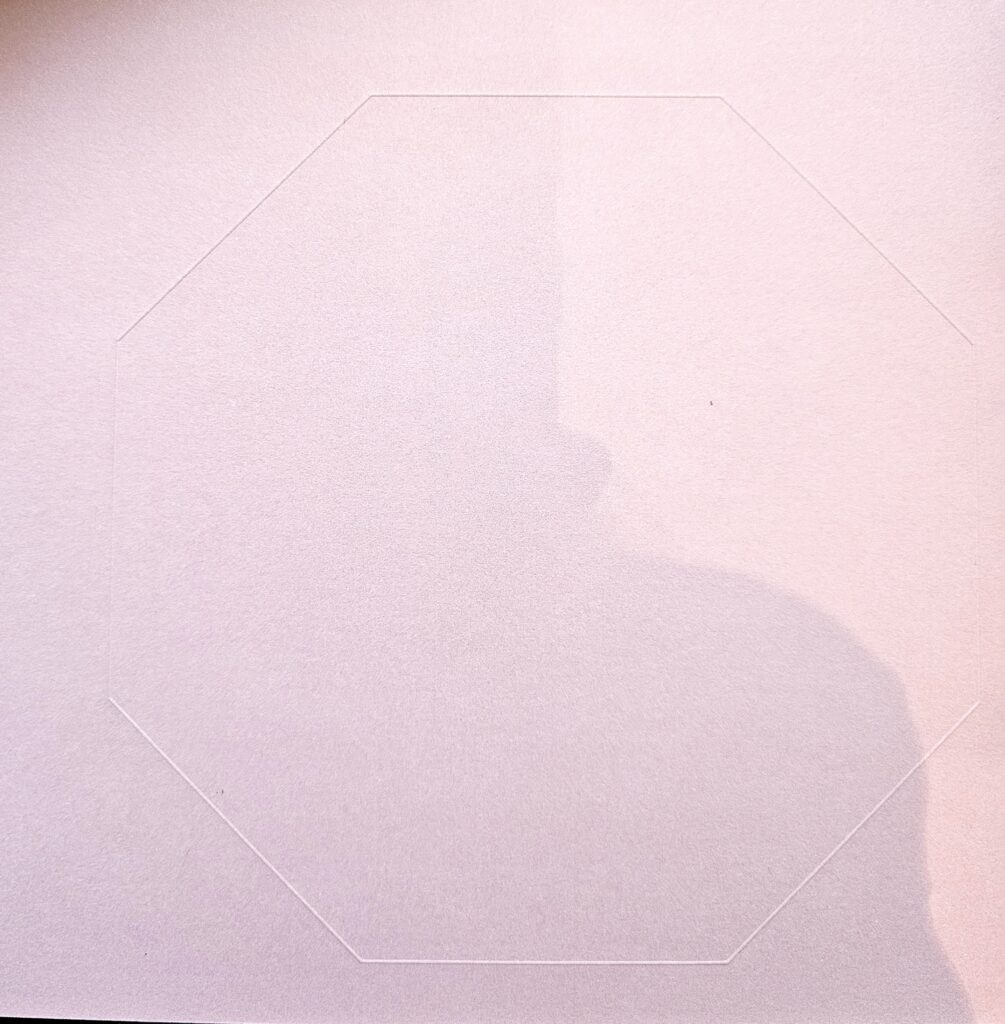
Step 5. On the Lemon Sorbet Sunrise parchment (on the shiny side) trace out the same size octagon as in step 1.
Step 6. Turn the parchment over to the front. The embossed octagon should look like this…
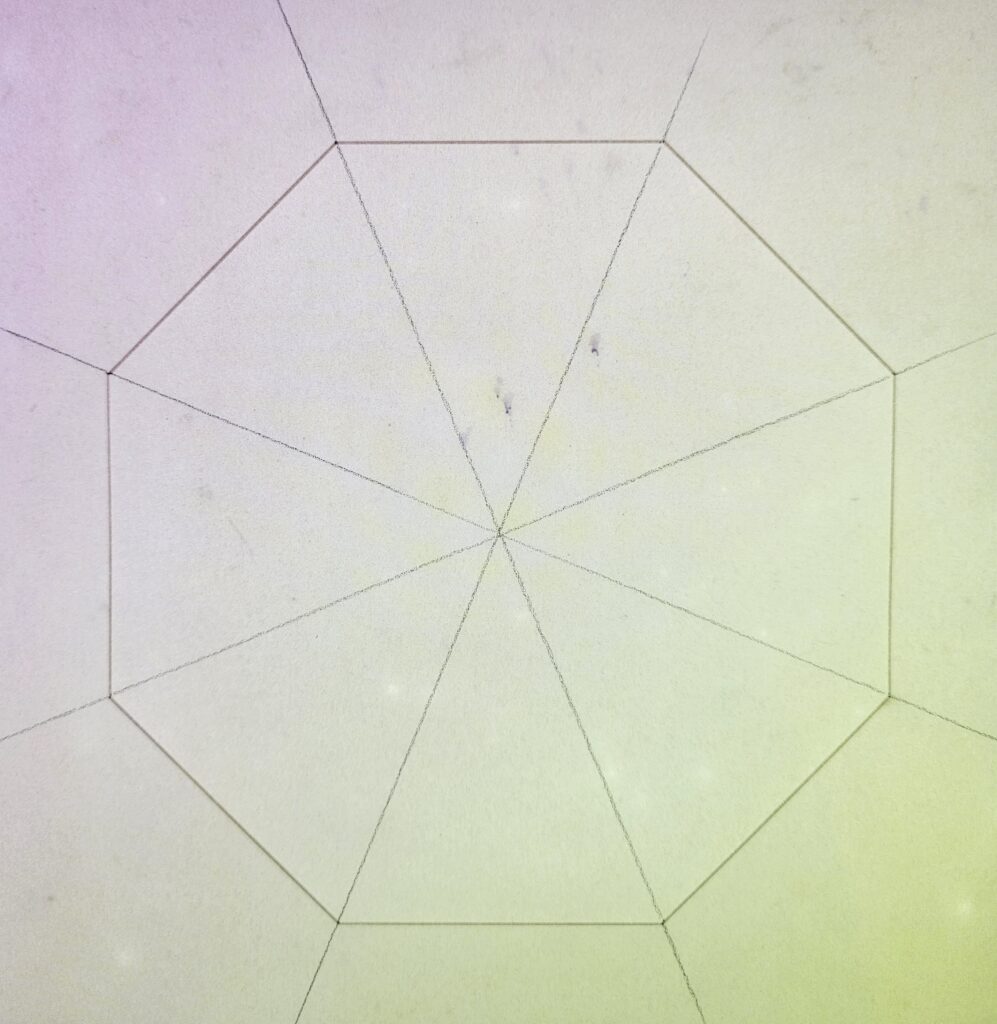
Step 7. Now using the ruler on the front of your work, draw pencil lines (either graphite or white Pergamano pencil) through all diagonal points to transect the centre of the octagon.
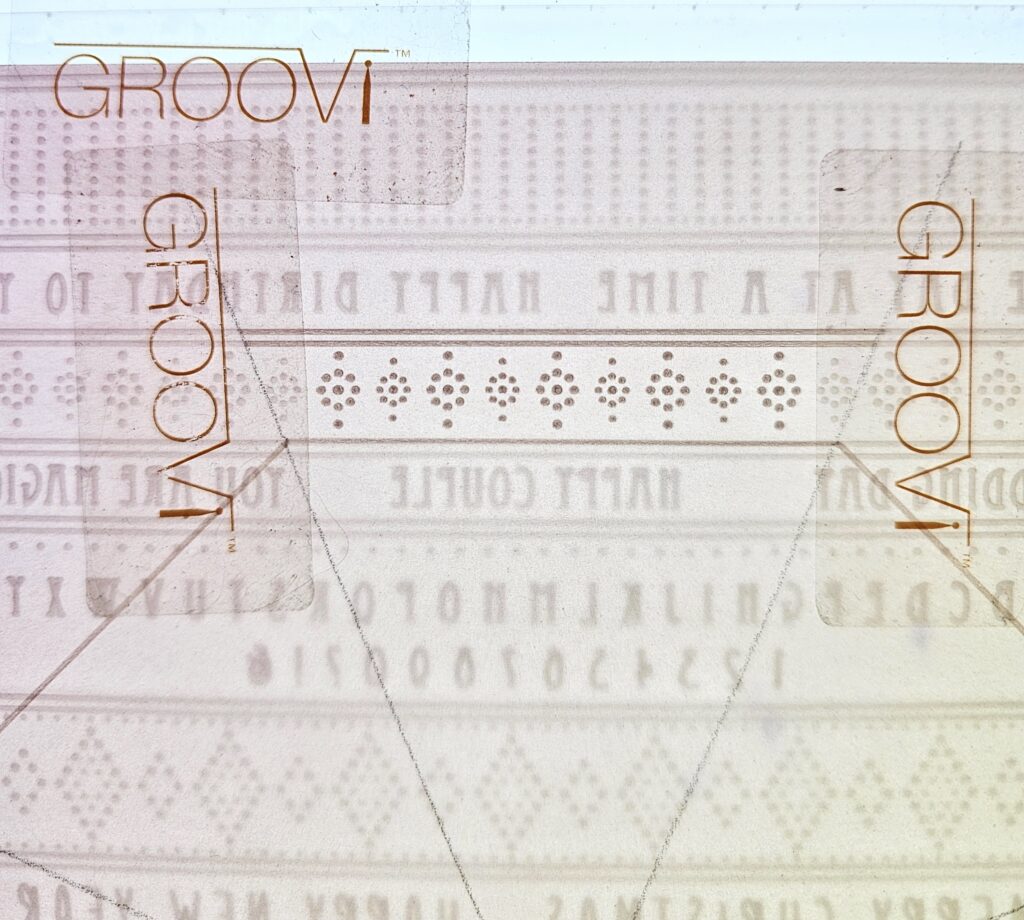
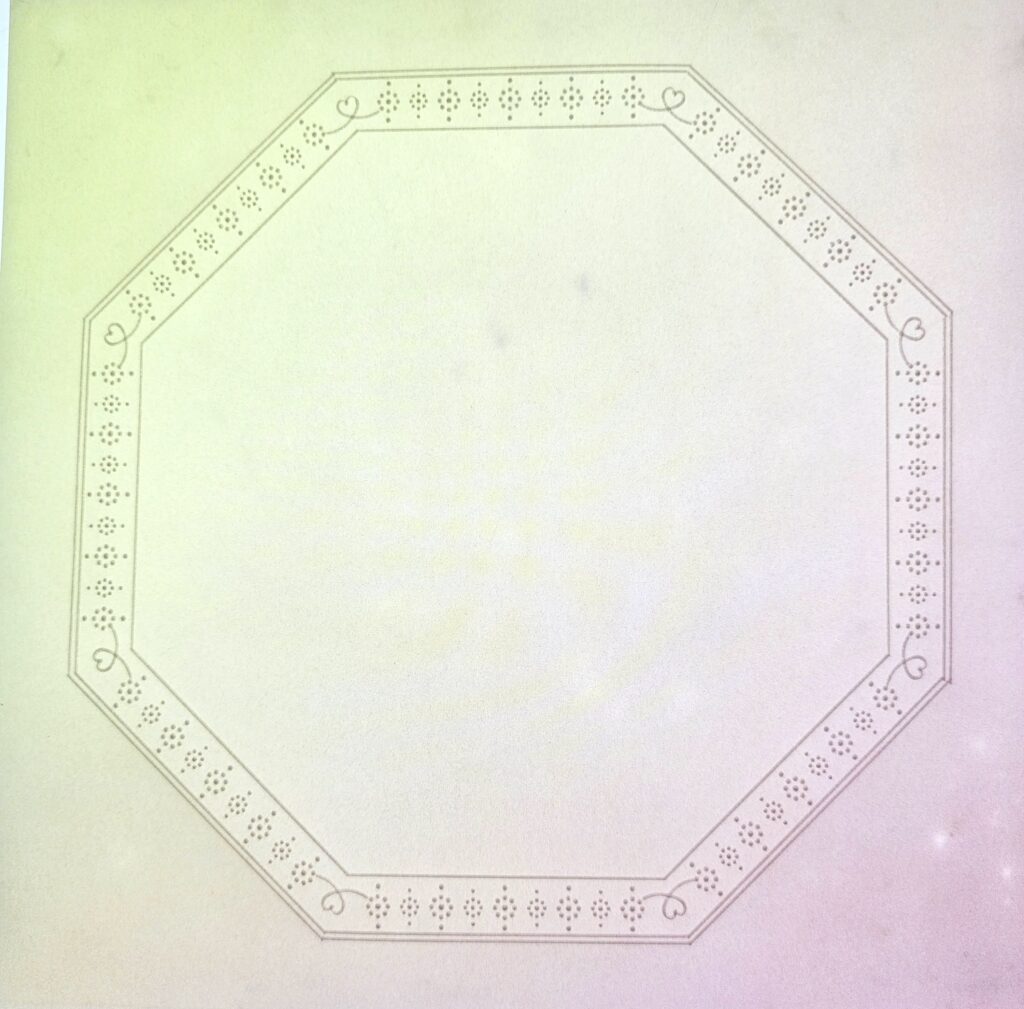
Step 8. Working on the reverse of your project, fit one straight line of the octagon over the GRO-PA-42265-16 plate. Emboss the dotted flowers and the upper 2 lines from the pattern selected, up to the Groovi tabs (shown in the photo below) ensuring that the gap at either end is equal. To do this use a number 1 tool for the lines and small dots and the number 1.5 (Pergamano tool) or a number 2 groovi tool for the larger dots.
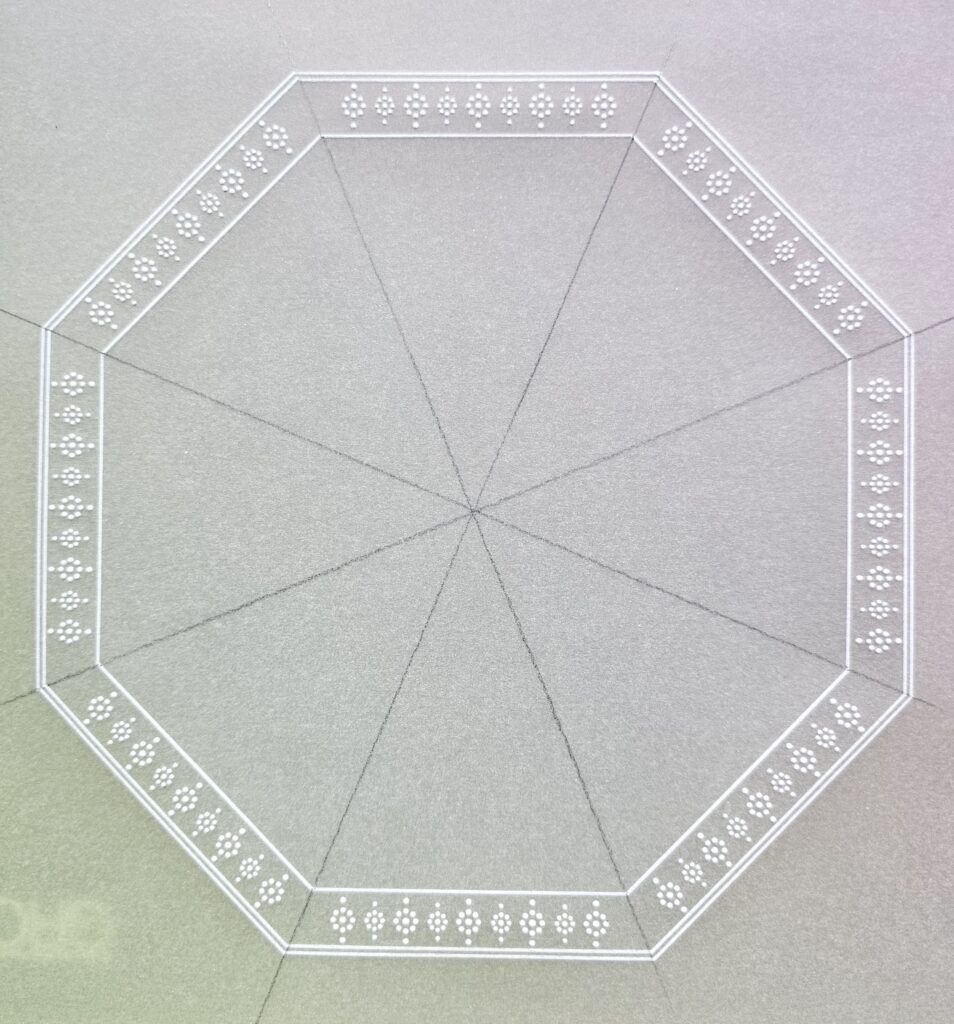
Step 9. Now rotate your work around each section of the octagon, remembering to place the parchment in the same position for each section. This border should then look like this.
Step 10. Rub out the pencil lines. In each of the corners use plate GRO-FL-42258-02 to add in a heart as seen in the photo below.
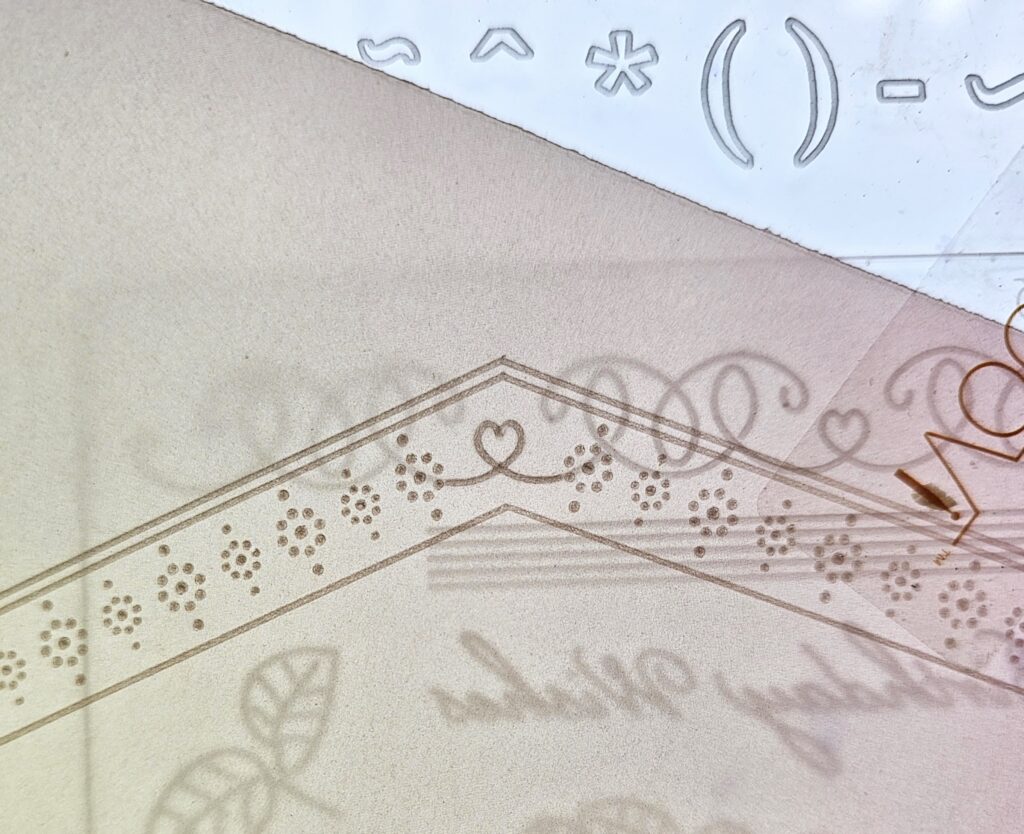
When completed it should look like this…
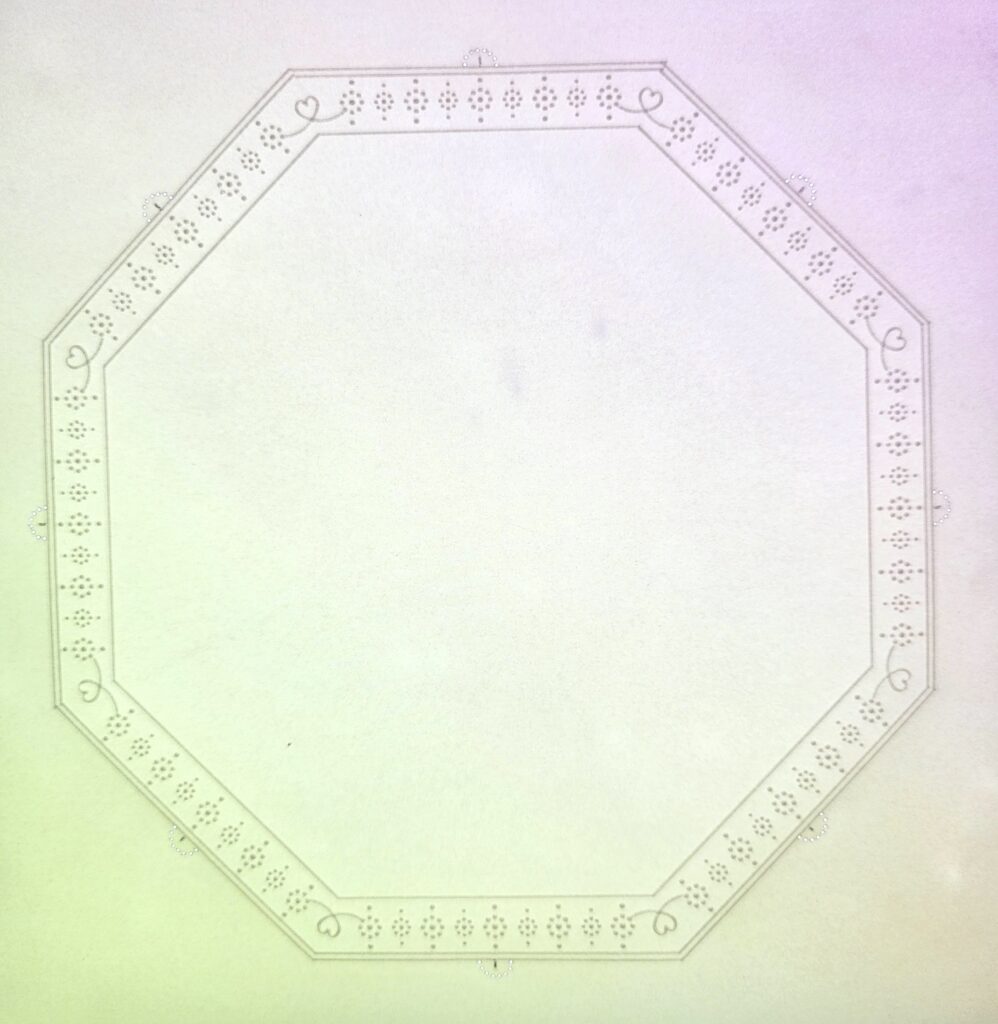
Step 11. Find the centre of each of the straight sections on the coloured parchment and make a small mark. Now, using the large semi-circular piercing tool, pierce over the centre of the first semi-circle to create the border. Then pierce either side of the first one until you get to the corner. Repeat on each section 5 semi-circles on either side of the central 1 (as seen in the first photo below) then in each corner add 1 more semi-circle to join it all together (as seen in the second photo below).
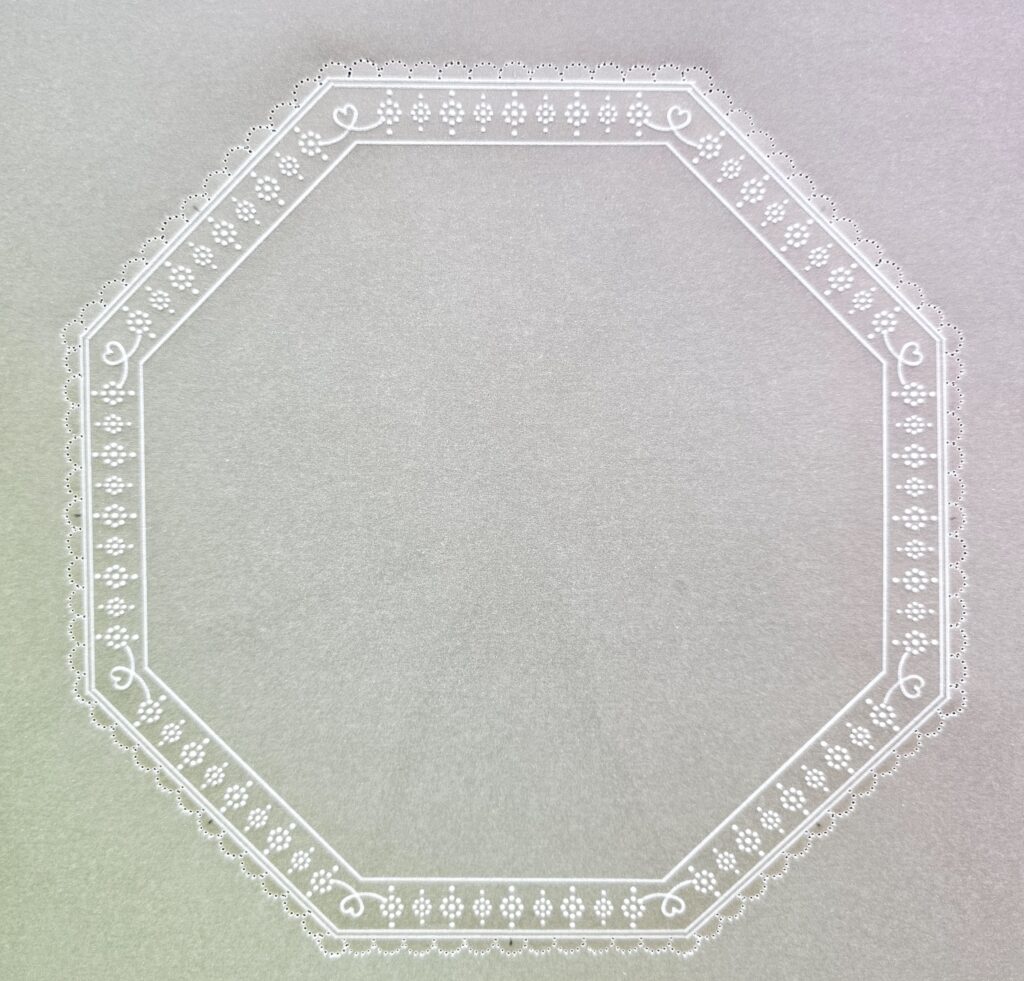
Step 12. Using a 1.5 Pergamano tool, emboss a small dot inside each of the semi-circles you have created. Picot cut out the outer border (all of the semicircles). That is the outer border completed.
Step 13. Going back to the clear parchment (with the flowers and vase on) on the back of your work, emboss the flowers using the 4.5, and the 3 Pergamano embossing tools. Don’t forget to let your work rest between layers of white work.
Step 14. Keeping to the reverse of your work, colour the flowers and vase in colours of your choice and blend with Dorso oil. Then turn your work over and pierce around the outside of the octagon with the number 2 bold piercing tool and picot cut out. Your finished clear parchment should look like this.
Step 15. Using plate GRO-PA-40552-15, on a lightwave, place a piece of Toscana paper on top and secure. Emboss the inner octagon as backing paper for the clear parchment.
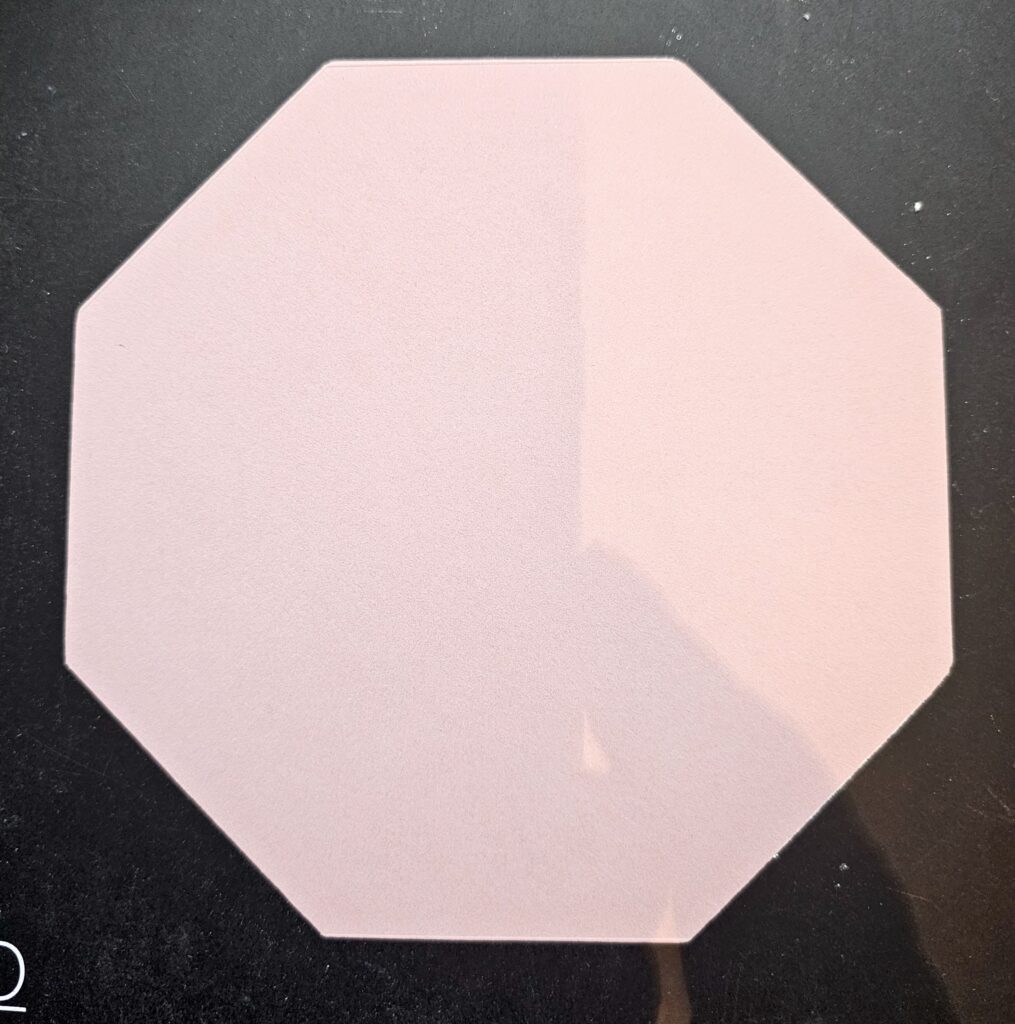
When embossed it looks like this…
Using these embossed lines, cut off the unwanted paper with either a paper trimmer, scissors, or guillotine. It should then look like this…
Step 16. Now repeat this process with the Hibiscus designer paper loose leaf infusion of your choice (or other backing paper that you have already). Use the same plate, but this time emboss the 3rd octagon from the outside. Once embossed repeat the cutting away of unwanted paper. Now using a black Sharpie, draw a black line on all the edges.
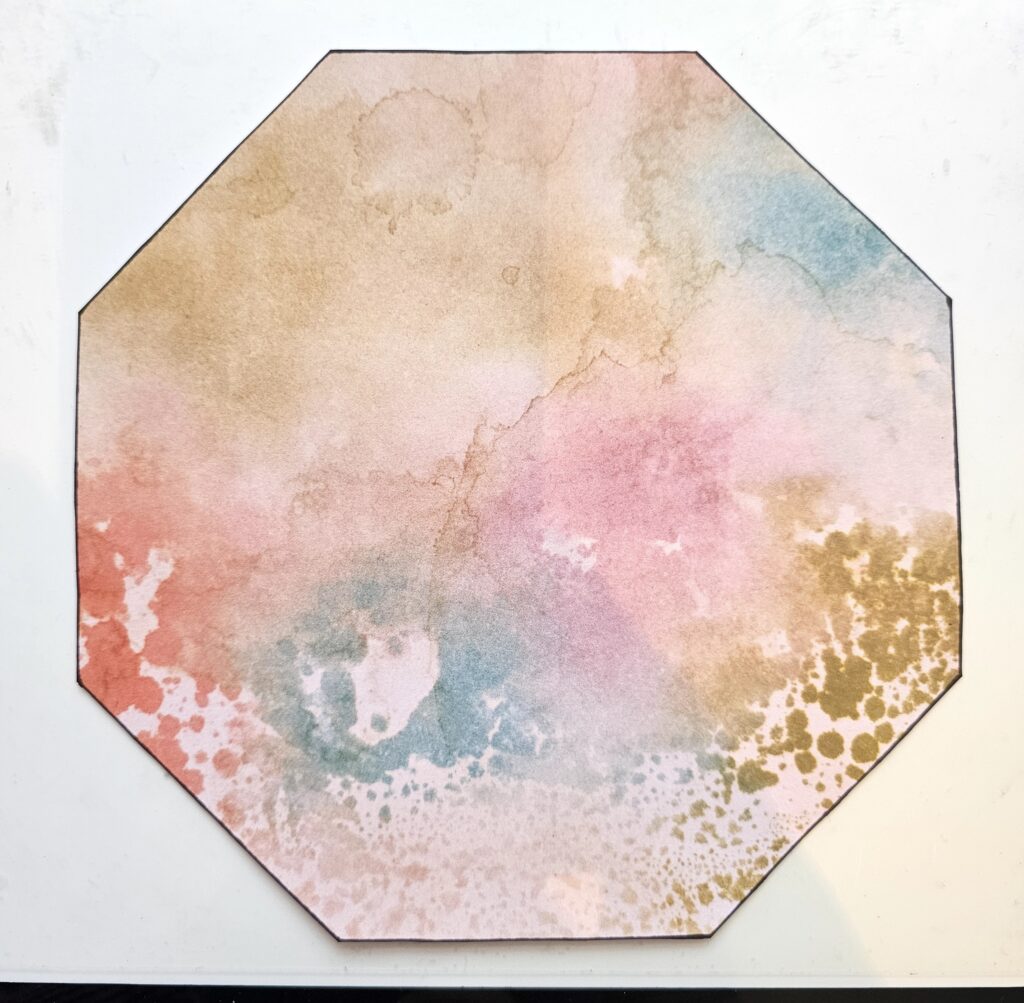
Step 17. Assemble your project. Attach the clear parchment to the companion paper with mini brads using a pokey tool or Number 1 bold piercing tool.
Step 18. Attach the centre portion to the outer coloured parchment with double-sided tape, then attach to the infusion paper with tape where it can’t be seen.
Step 19. Finally, place your topper onto an 8 x 8 white card blank with low tack tape. Measure equally around the topper and using a trimmer or guillotine, cut off the corners.
Step 20. Assemble the card with either roll-a-tape or double-sided sticky tape, then add a few tiny dots of acrylic paint (or Perga Colour exclusives, fine point) to the centre of the flowers to make the stamens.
This is now your completed card. I hope you like it and I would love to see your makes if you decide to try it.
A fabulous Mother’s Day card! And a perfectly put-together step-by-step project. Many thanks to our beloved Clarity Design Team Member, and friend, Julie Campbell. We so appreciate you.
Everything that Julie has used in this particular project can be found in a shopping list, HERE.
We have really enjoyed seeing your versions of these Sunday step-by-step tutorials on Facebook. You’re so talented! Thank you for checking in each Sunday on these bloggy tutorials.
Now, looking at the week ahead…
Monday 26th February:
In the SHAC with Barbara – 10am Live on Facebook and YouTube
Tuesday 27th February:
Groovi Tuesday with Paul – 10am Live on Facebook & YouTube
Thursday 29th February:
In the SHAC with Barbara – 7pm Live on Facebook and YouTube
Saturday 2nd March:
TV – One Day Special 6pm, 9pm, 10am & 2pm
Sunday 3rd March:
TV – Clarity Classics – 3pm-5pm
See you there!
Travel gently, friends.
Lotsa love, Grace & Julie xoxo
Clarity – The Home of Art, Craft, and Well-Being.
What a lovely project – just wish I still had a Mum to make it for xxxxx
A lovely card, great step by step. Will use as a Birthday card, as sadly I like Beverly no longer have a Mum to make it for. xxxx
A lovely project & a great step by step on how to build the frame from scratch. This card can be adapted for any occasion so a useful one to have in your stash awaiting a sentiment to be added.
Thanks Grace & Julie for bringing us another Sunday Claritymatters blog. Hope you continue to improve Grace & will catch up with you next weekend xx
What a lovely blog tutorial! Thank you, Julie! And thanks, Grace, for preparing this arty feast for us x
Very pretty card! Thanks Julie!